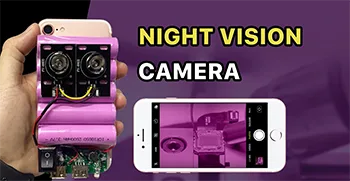
An extra iPhone can be used for many purposes. In this video, we will not only share how to turn an extra iPhone 7 into a night vision camera but also install a massive external battery pack.
Tag: iphone
-
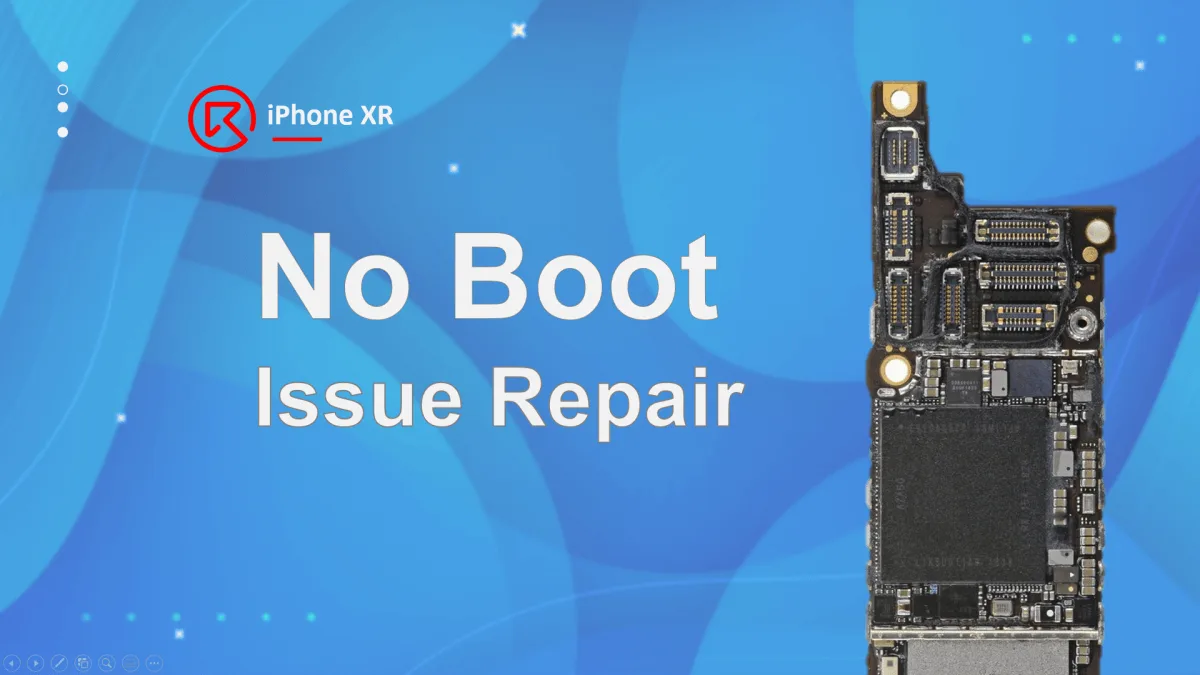
How to Fix an iPhone XR Won’t Turn On: Short Circuit Diagnosis and Repair Guide
When your iPhone XR won’t turn on, it can be frustrating — especially when there’s no visible damage. In this repair case, we’ll show you how a short circuit near the audio amplifier IC caused the iPhone XR to draw excessive current and fail to boot. Using professional tools like a DC power supply, rosin, and REFOX Bitmap, we accurately diagnosed and fixed the issue by replacing a faulty capacitor.
Whether you’re a repair technician, a DIYer, or a repair shop owner, this detailed guide will help you approach similar “no boot” cases with confidence.
Repair Case: iPhone XR Not Powering On
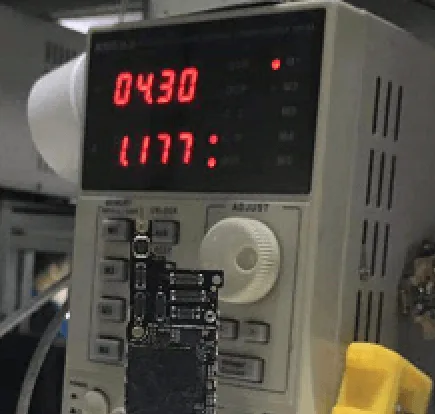
Upon receiving the iPhone XR, we connected it to a DC power supply for diagnosis. The current draw was around 1A, indicating a possible short circuit on the board.
Since the current leakage starts immediately after connecting to DC power, we suspected a short on one of the following power rails:
PP_BATT_VCCPP_VDD_MAINPP_VDD_BOOST
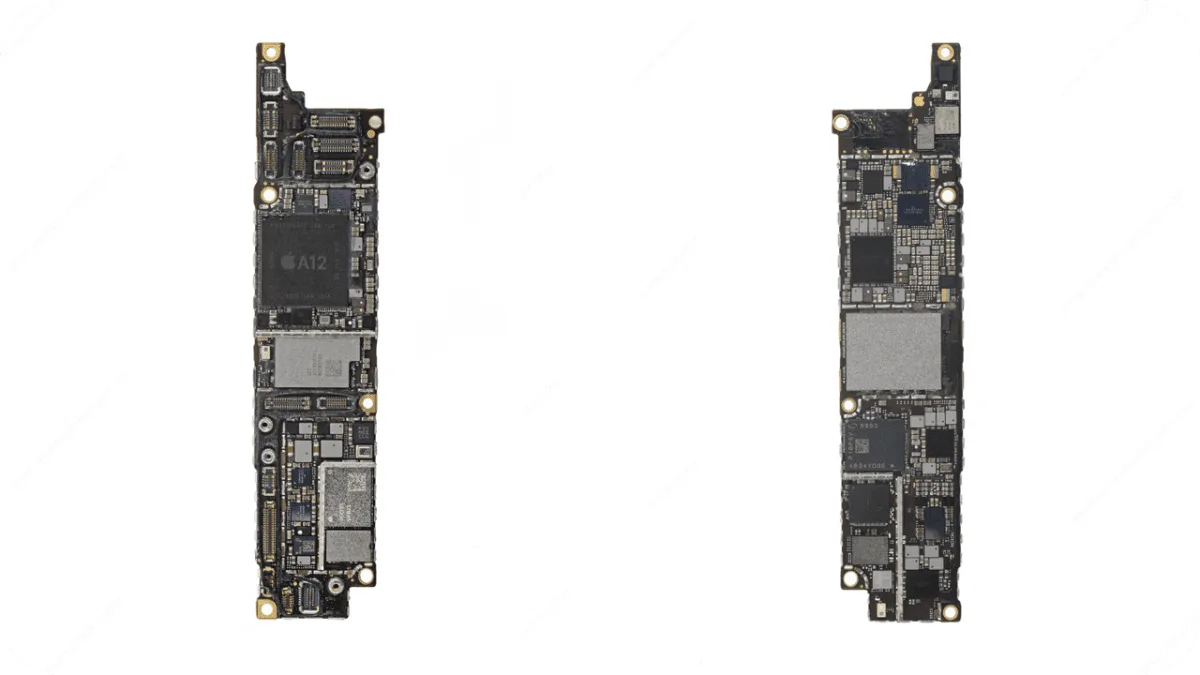
The iPhone XR’s board structure is similar to that of older models like the iPhone 8 Plus. Based on experience, we can use either the rosin inspection method or a thermal imager to detect overheating components.
Before using any tools, we first applied a simple method: finger test while applying DC power. We felt unusual heat around the audio amplifier IC area.
To confirm, we applied rosin to the board and powered it again. The rosin melted directly on top of the audio amplifier IC, confirming heat in that area.
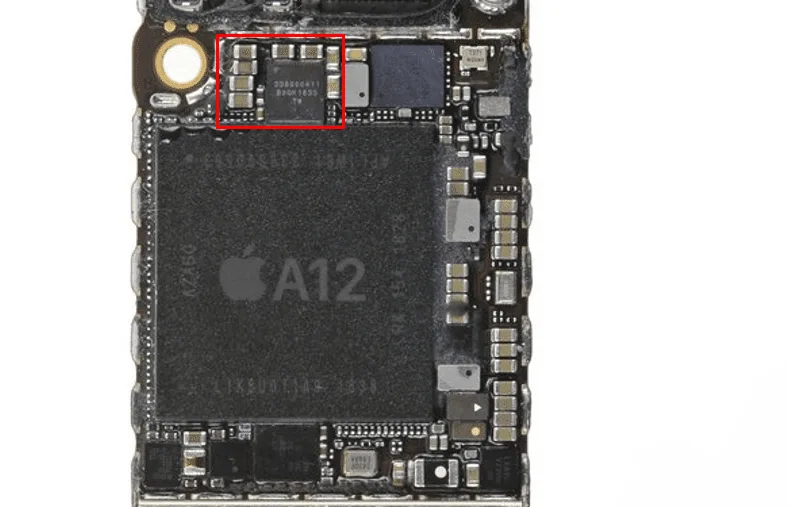
At this point, most would replace the audio amplifier IC. However, due to its proximity to the CPU, replacing it could risk CPU pseudo soldering (a condition where CPU connections become unstable from heat exposure). Additionally, the audio amplifier circuit has multiple power lines, meaning a shorted capacitor could also be the cause.
Narrowing Down the Issue
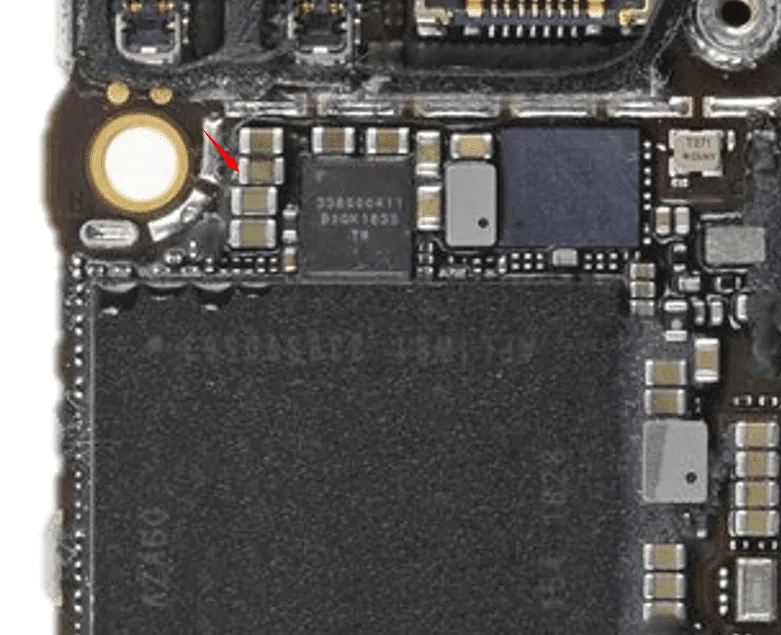
Using this insight, we inspected the small capacitors around the audio amplifier IC. Sure enough, we located a shorted capacitor, as shown in the image (marked with an arrow in the original content).
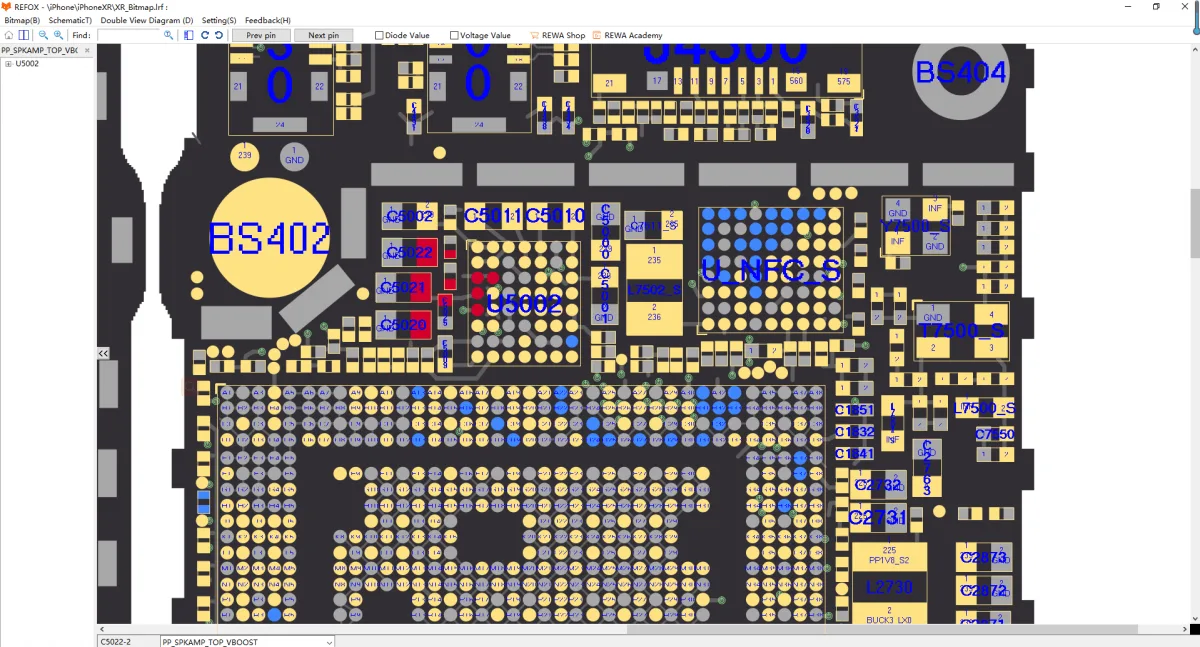
By checking with the REFOX Bitmap, we identified this capacitor belonged to the PP_SPKAMP_TOP_VBOOST power rail.
Repair Process
We removed the faulty capacitor and tested the current draw again. The startup current returned to normal levels.
Next, we replaced the capacitor with one of identical specification. After reinstalling, the iPhone XR booted up normally.
We reassembled the phone and conducted a full function test — all features worked perfectly.
Pro Tips
- In this case, replacing a single shorted capacitor was enough to fix a severe no-boot issue.
- When multiple components feel hot, check small passive components (like capacitors) first.
Conclusion
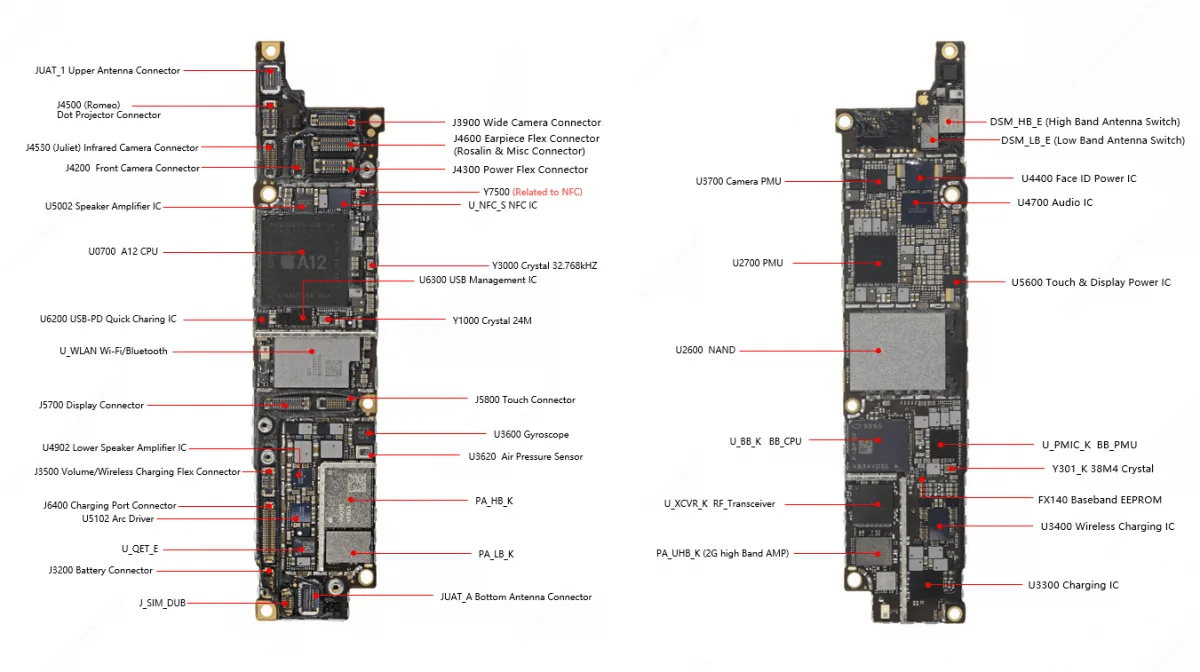
A no-boot iPhone XR might seem like a major failure, but with the right diagnostic approach, even complex issues like short circuits can be fixed efficiently. In this case, a careful inspection revealed a shorted capacitor near the audio amplifier IC, and replacing it brought the phone back to life. This repair highlights the importance of understanding circuit behavior, using boardview tools like REFOX Bitmap, and not rushing to replace major chips. If you’re in the repair business or enjoy DIY phone repairs, mastering these diagnostic techniques can save you time, reduce risk, and improve success rates.
-
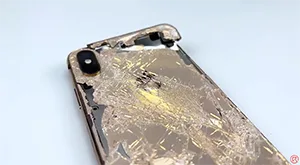
How to Turn Destroyed iPhone XS Max into Brand New “iPhone 13 Pro Max”
We have received a heavily dropped iPhone XS Max from one of our fans. The fan asked us if we could restore the phone and turn it into an iPhone 13 Pro Max. The phone is severely damaged with a completely cracked screen and back cover. What’s worse, the Face ID is not working and the touch screen is unresponsive. Check out this video to see how we restore the iPhone and turn it into an iPhone 13 Pro Max.
-
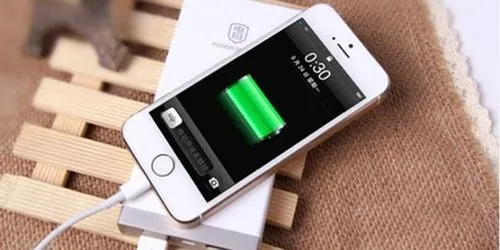
Troubleshooting Slow iPhone Charging: Causes and Solutions
Your iPhone charges slowly and you don’t have a clue why. This issue could be brought about by your iPhone’s charging port, cable, charger, or programming — the four parts of the charging system. In this article, we will clarify why your iPhone is charging slowly and tell you the best way to fix the issue for good!
Why Is My iPhone Charging Slowly?
More often than not, an iPhone charges slowly for one of two reasons:
1. Slow charging of your iPhone is on the grounds that you’re utilizing a low amperage charging source. Envision a fire hose: If voltage is the speed water courses through the hose, then, at that point, amperage is the width of the hose, or how much water can move through on the double. iPhones can charge at 5 volts, yet the amperage shifts from one charger to another — typically from 500mA (milliamps) to 2.1 amps, which compares to 2100 milliamps. The more amperage the charger has, the quicker your iPhone will charge.
2. Your iPhone is charging slowly because there is a type of gunk or garbage stuck inside the charging port of your iPhone. The cable you use to charge your iPhone has 8 pins, and on the off chance that any of those pins gets blocked by trash, it might make your iPhone charge slowly or not charge by any means.
Clean Out Your iPhone’s Charging Port
In the first place, clean out your iPhone’s charging port to eliminate any gunk or garbage. We suggest utilizing an anti-static brush, a similar apparatus specialists and Geniuses use at the Apple Store. In the event that you don’t have an anti-static brush, a pristine toothbrush makes a decent substitution.
Stick your brush inside the port and delicately scoop out any build-up, gunk, or trash inside. You might be shocked by how grimy it is!
In the wake of cleaning out the port, have a go at charging your iPhone once more. Is it charging at a typical rate? If not, you might need to give cleaning out the port another attempt. It’s conceivable that the trash has become profoundly compacted in the port. Thereafter, assuming your iPhone is as yet charging slowly, continue to read!
Examine Your iPhone’s Charging Cable
The following significant piece of the charging system is your charging cable. In the event that the cable is harmed or frayed in any capacity, it very well may be the reason behind why your iPhone is charging slowly.
Take a closer look at your charging cable and examine it for any harm. In the picture beneath, you’ll see an illustration of a damaged cable.
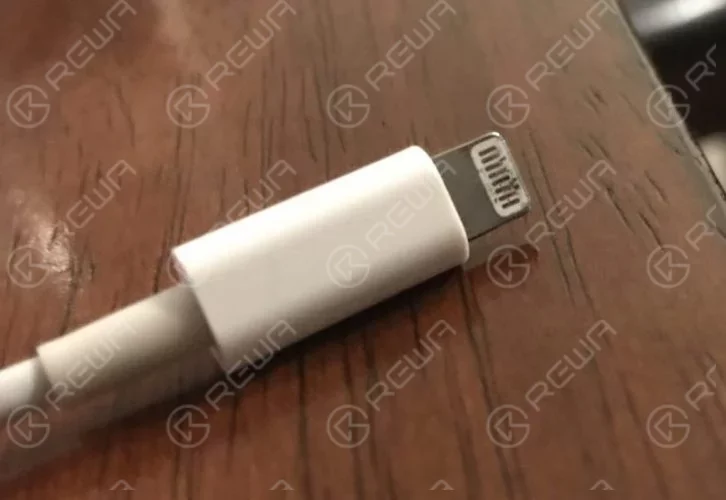
Assuming that you think your cable is damaged, try to charge your iPhone with a couple of different cables. If you want to change your Lightning cable, we strongly suggest one of our selected charging cables in our online shop.
Try A Few Different Chargers
Not all power sources are made equivalent! Charging your iPhone with a power source that has a low amperage could bring about your iPhone charging slowly.
Assuming you don’t have the foggiest idea the number of amps your power source has, take a stab at charging your iPhone while connected to numerous various sources. If you ordinarily charge your iPhone utilizing the USB port on your PC, have a go at connecting your iPhone to a wall charger (as well as the other way around).
Troubleshooting Software Problems
The regularly neglected part of the charging system is the product of your iPhone. Each time you plug a charging link into your iPhone, it’s the product that chooses if the battery will be charged. Along these lines, assuming there’s an issue with your iPhone’s product, your iPhone might charge gradually regardless of whether there’s nothing bad about your Lightning port, Lightning link, or power source.
Update Your iPhone
Apple routinely delivers software updates to patch bugs with and present new highlights. It’s really smart to refresh your iPhone when new updates become accessible so your iPhone runs as productively as could be expected.
Open Settings and tap General – > Software Update. Tap Download and Install or Install Now if another iOS update is accessible.
DFU Restore Your iPhone
The DFU (Device Firmware Update) restore is the most inside and out restore you can perform on an iPhone. Each line of code on your iPhone is deleted and reloaded.
Before you do, make sure you back up your iPhone. Without a backup, you’ll lose every one of the information on your iPhone, including your photos, videos, and contacts.
For phone repair information sharing, you can subscribe to our YouTube channel. If you need any replacement parts or repair tools, please visit REWA Shop.
-
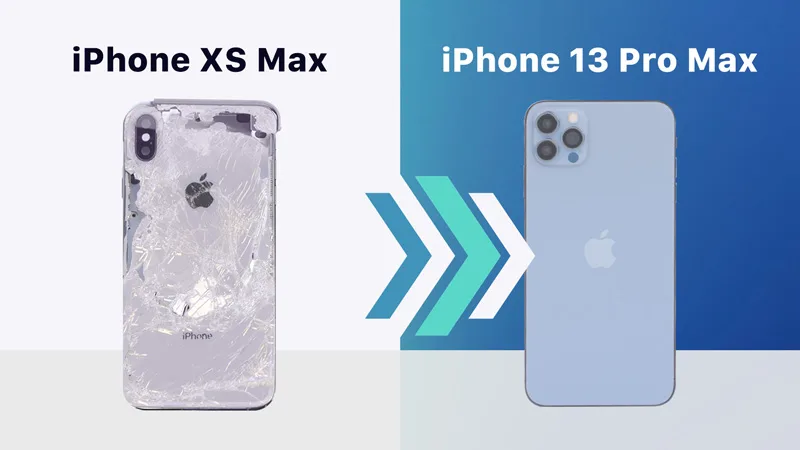
How to Turn Destroyed iPhone XS Max into Brand New “iPhone 13 Pro Max”
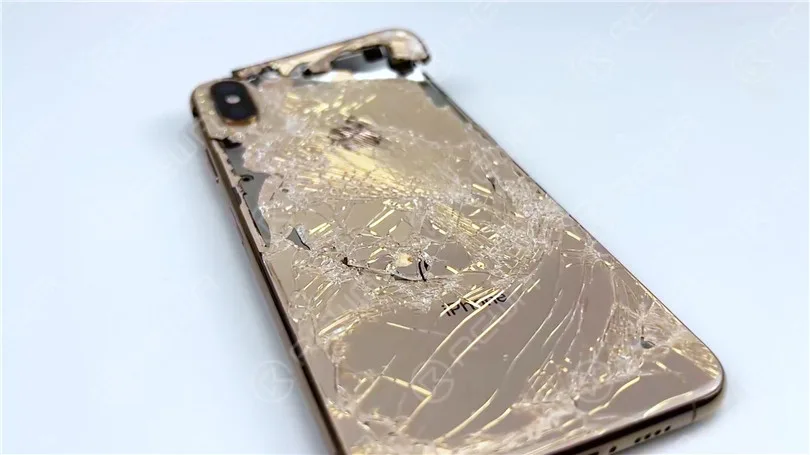
We have received a heavily damaged iPhone XS Max from one of our fans. The fan asked us if we could restore the phone and turn it into an iPhone 13 Pro Max. It is evident that the phone has suffered severe damage.
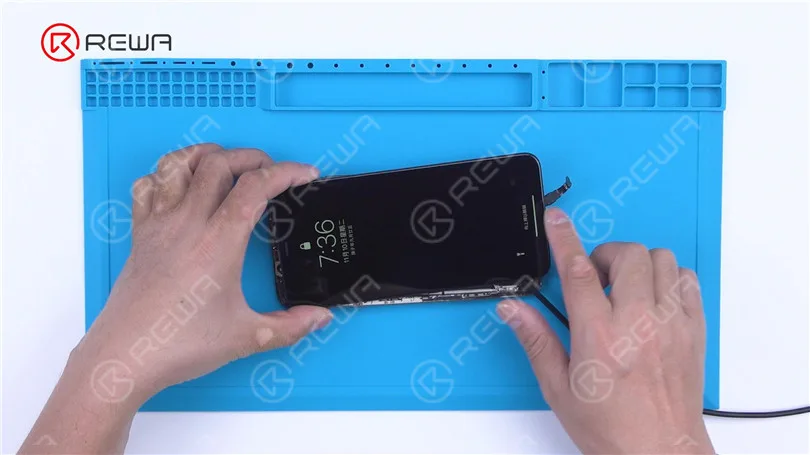
Firstly, we verify the motherboard’s condition. Remove the damaged screen and proceed to establish a connection between the motherboard and a replacement screen. As a result, the phone powers on, yet the touch screen fails to respond.
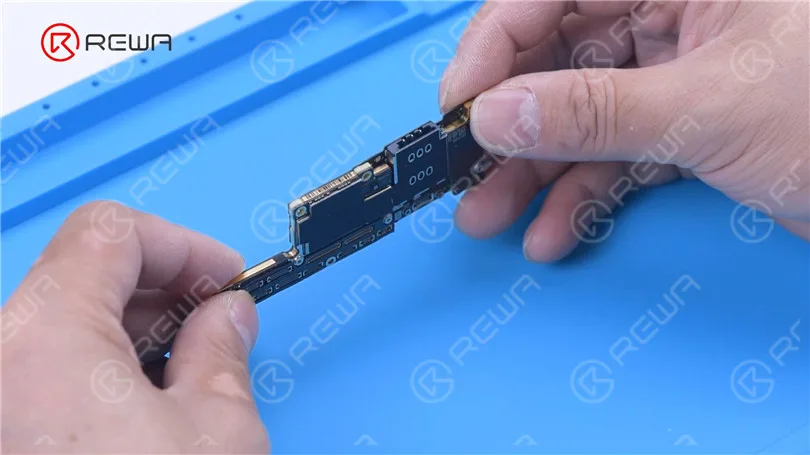
Remove the motherboard, and we can see that the signal board is deformed. To fix the problem, replacing the signal board is required.
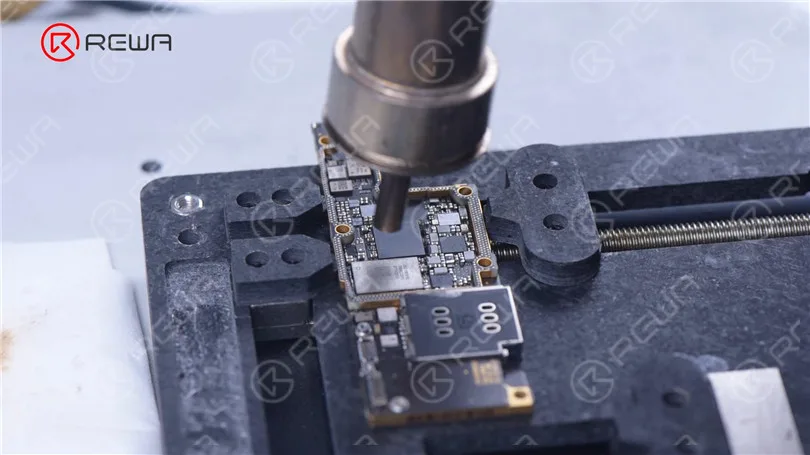
First of all, remove the baseband CPU, EPROM, and NFC chip on the signal board. After reballing these three chips, solder them to a good signal board.
Since the signal board is changed, we need to remove the NAND to unbind the WiFi. Attach the NAND to the programmer for WiFi unbinding.
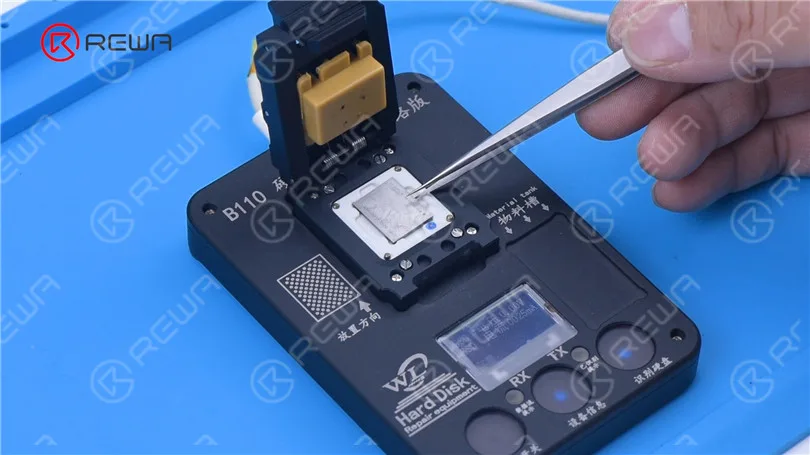
After unbinding, we solder the NAND back on.
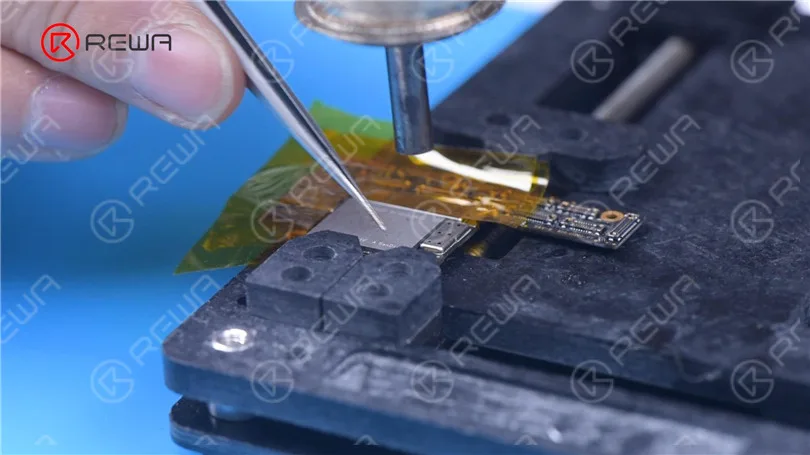
Apply some solder paste to the bonding pads of the new signal board. Next, we use a heating platform to recombine the signal board with the logic board.
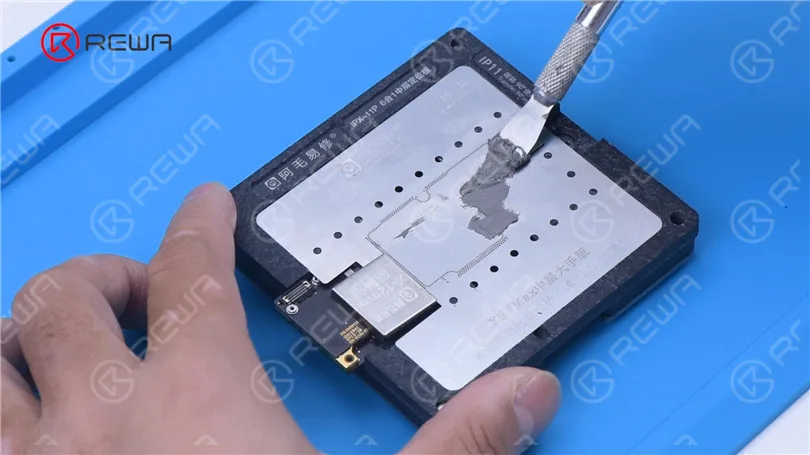
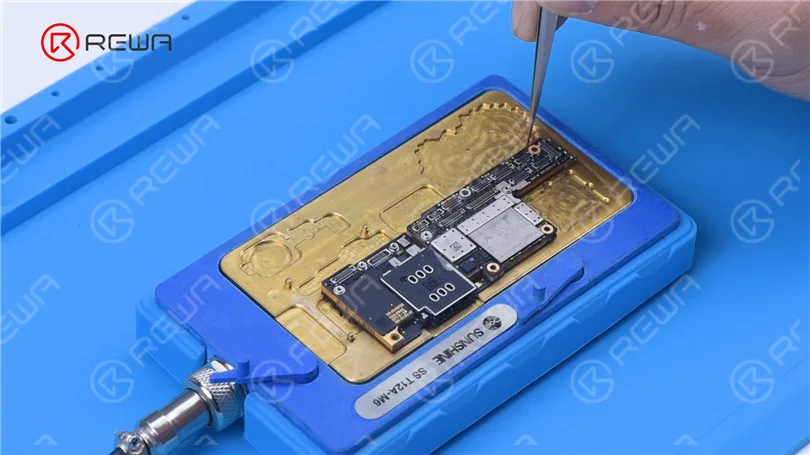
Connect the screen to test. The phone turns on and the touch screen is working fine. The motherboard is restored.
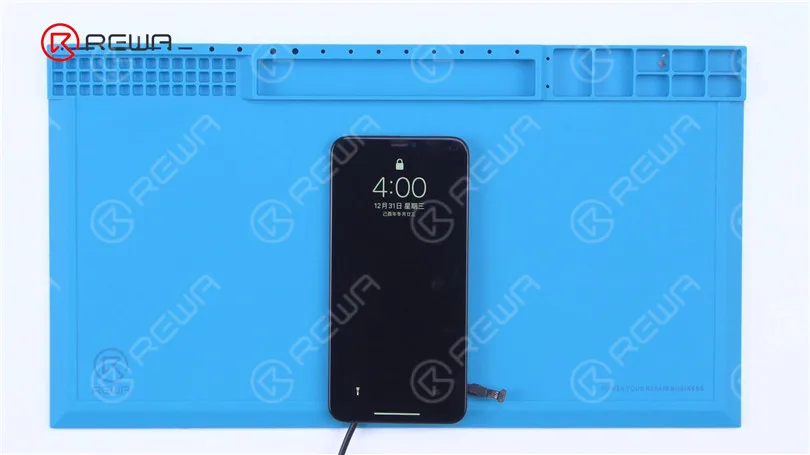
The dot projector of the front camera module is also damaged. Then we need to move the flex cables of the infrared camera and dot projector to a new front camera module. Grind to remove the infrared camera. Install the infrared camera to a new front camera module and secure it
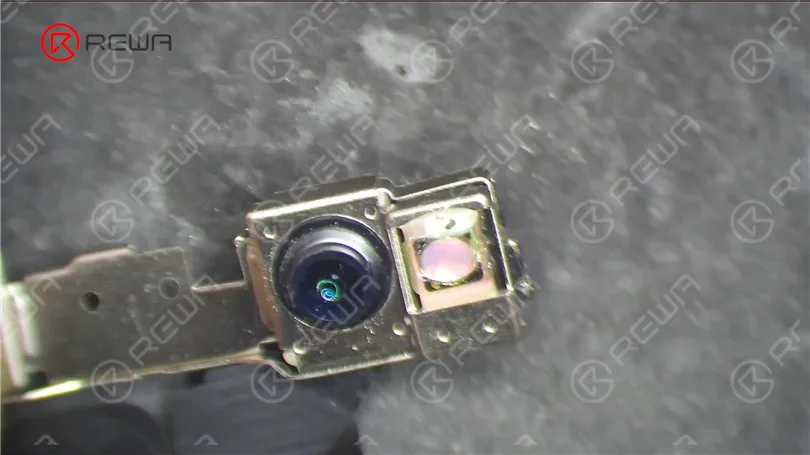
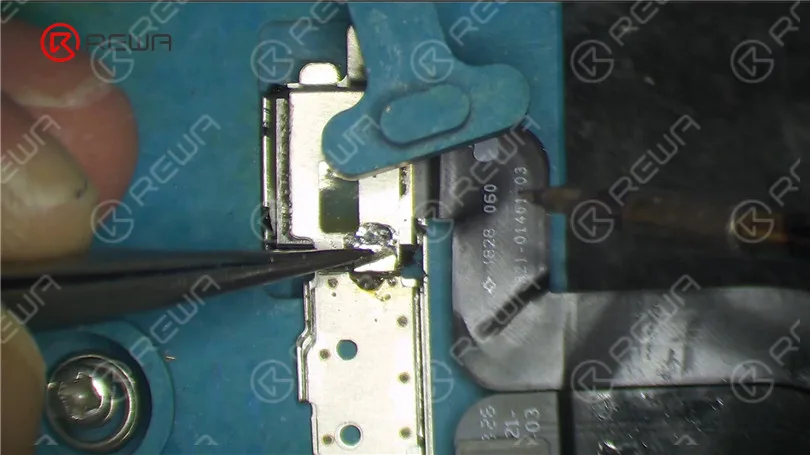
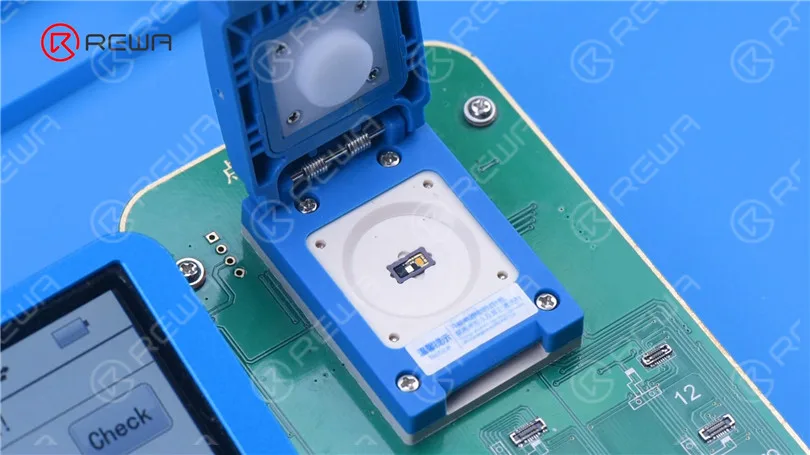
Remove the broken dot projector flex cable. Then remove the dot projector module and read its data. Write the data to a new flex cable.
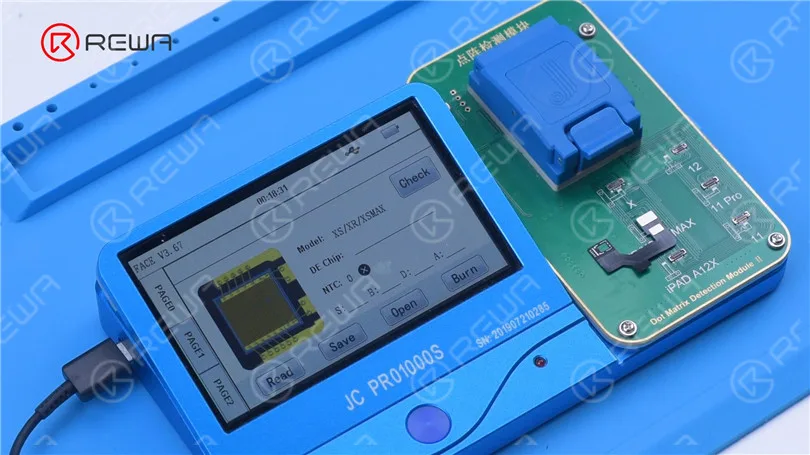
Before soldering the dot projector module, we need to remove the MOSFET and short pin 2 and 3.
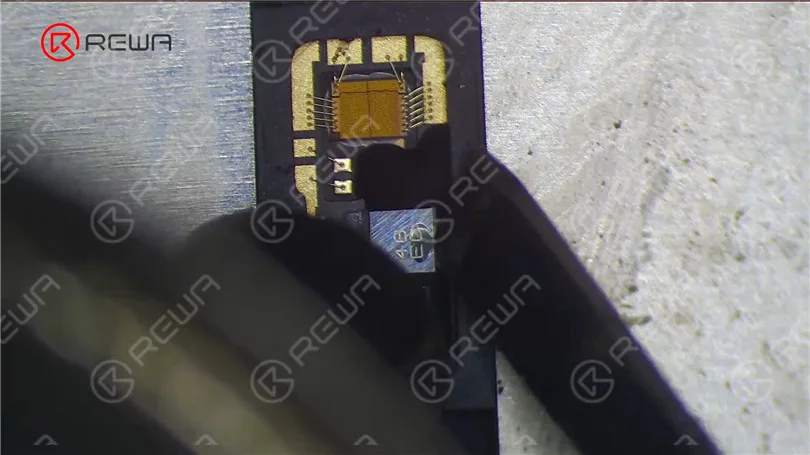
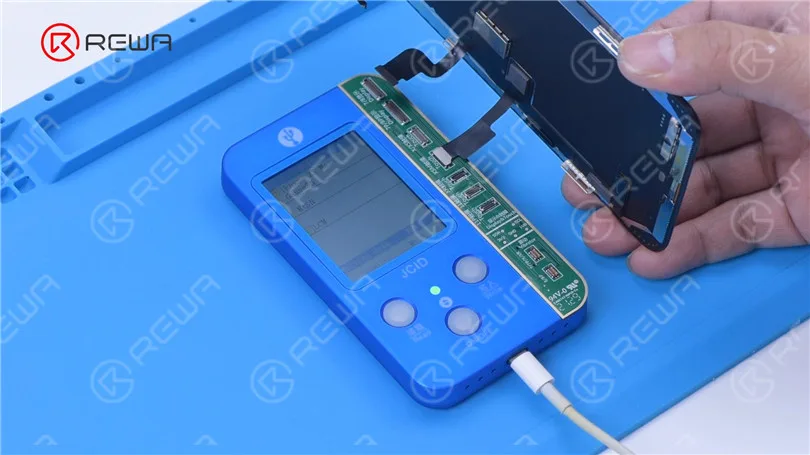
Next, we solder the dot projector module to a new flex cable. Put the new dot projector flex cable back to the front camera module. Align the flex able and fix it with adhesive. After we have repaired the front camera module, the next step is to restore the True Tone of the screen. Remove the earpiece flex cable from the broken screen and install it on a new screen. Read the screen data from the damaged screen and write the data to the new screen.
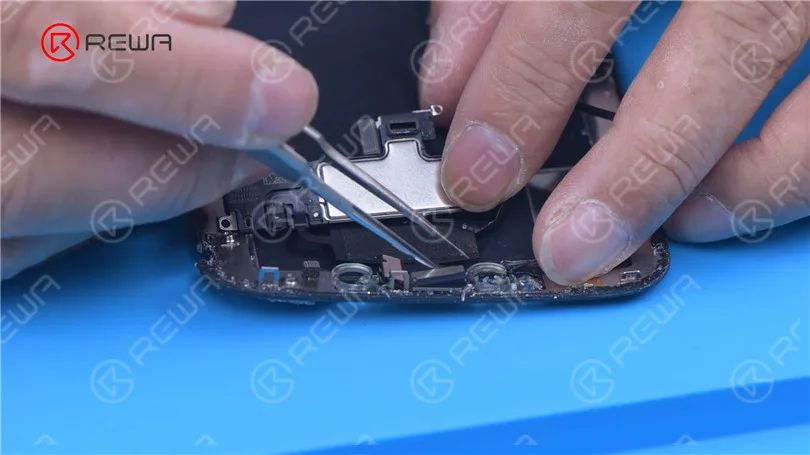
As the original back cover is severely damaged, we need to replace it with a specialized iPhone 13 Pro Max back cover. Move parts of the damaged back housing to the new back cover.
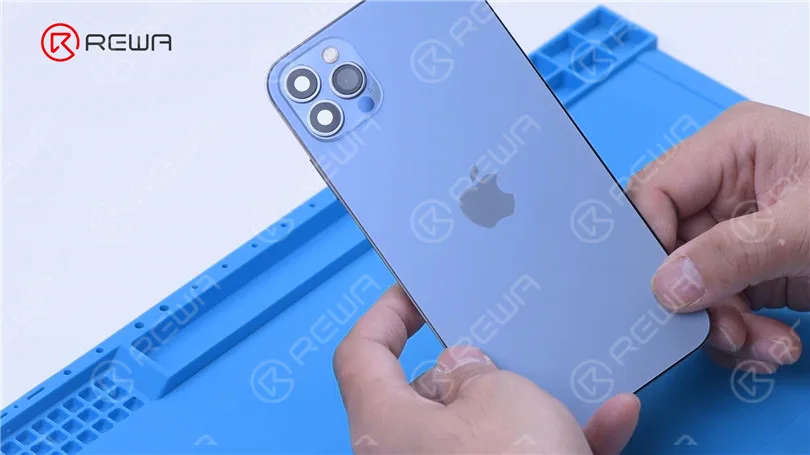
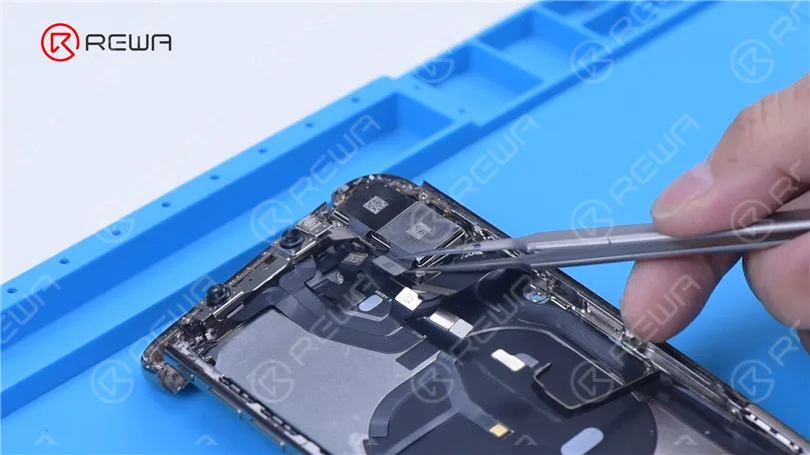
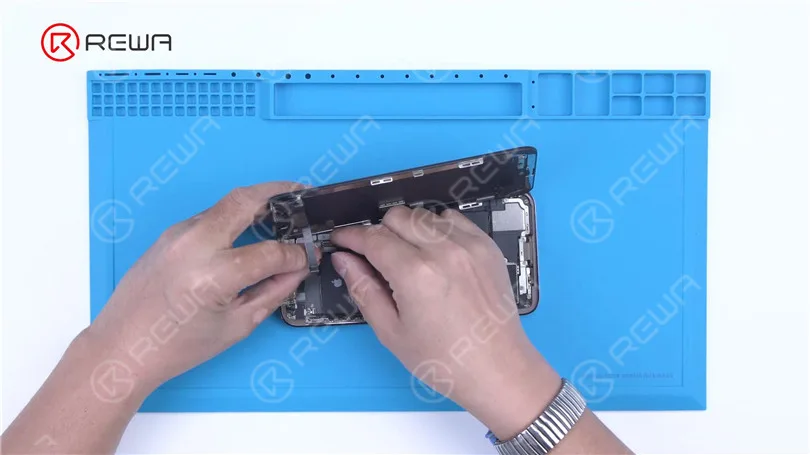
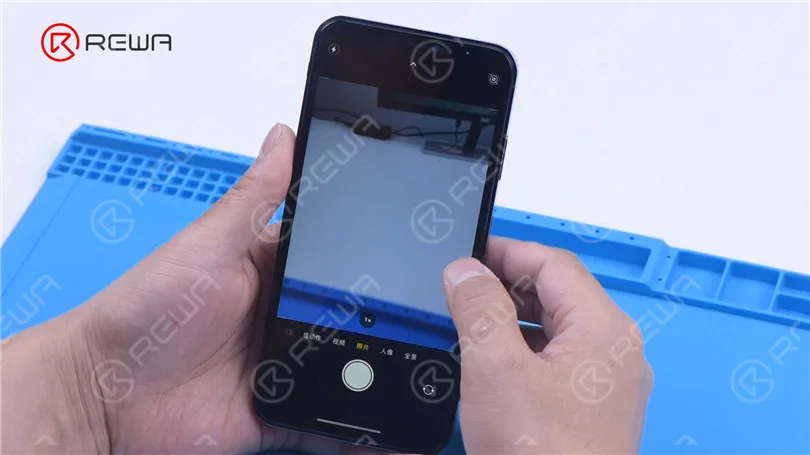
The iPhone XS Max has been successfully restored and all functions are normal.
-
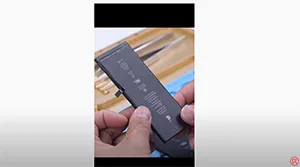
Fix iPhone 13 Face ID Not Working after Screen Replacement
Recently, Phone Repair Guru posted a video about iPhone 13 screen replacement. After replacement, “Important Display Message” pops up. What’s worse, Face ID is not available. Check out this clip to see how we fix the problem.
-
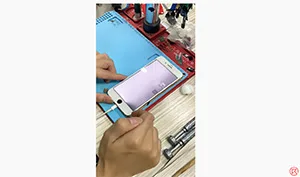
Fix iPhone 8 Plus Backlight Not Working
The backlight on the iPhone 8 Plus is not working. After an inductor replacement, the problem was fixed.
-
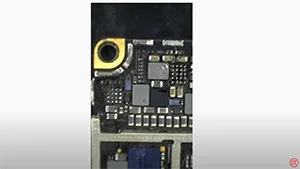
Fix Water Damaged iPhone 8 Plus that Won’t Turn On
This iPhone motherboard get serious water damage and caused backlight IC & display IC all short current. We fixed it by replacing two backlights ICs and one display IC.
-

Find the Faulty Component by LINCSEEK Infrared Thermal Camera
The iPhone 7 is stuck in Apple Logo and won’t turn on. With the help of LINCSEEK Infrared Thermal Camera, RF IC is found short-circuited.
-
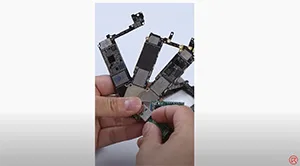
Turn NAND To USB Flash Drive
E-waste is most commonly seen in repair shops. You can also turn waste into treasure. Check out our video today and learn how to turn an iPhone NAND into a USB flash drive.
-
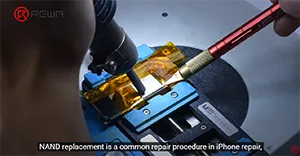
Fix iPhone XS Won’t Turn On with MJ P12 NAND Programmer
NAND replacement is a common repair procedure in iPhone repair. For NAND replacement, a NAND programmer is needed to read and write the NAND data. Today we will repair an iPhone that won’ turn on with the latest NAND programmer P12. With one click, P12 can not only enter purple mode but also read all BGA110 NAND SYSCFG.
 English
 Español
 Français
 Deutsch
 Italiano