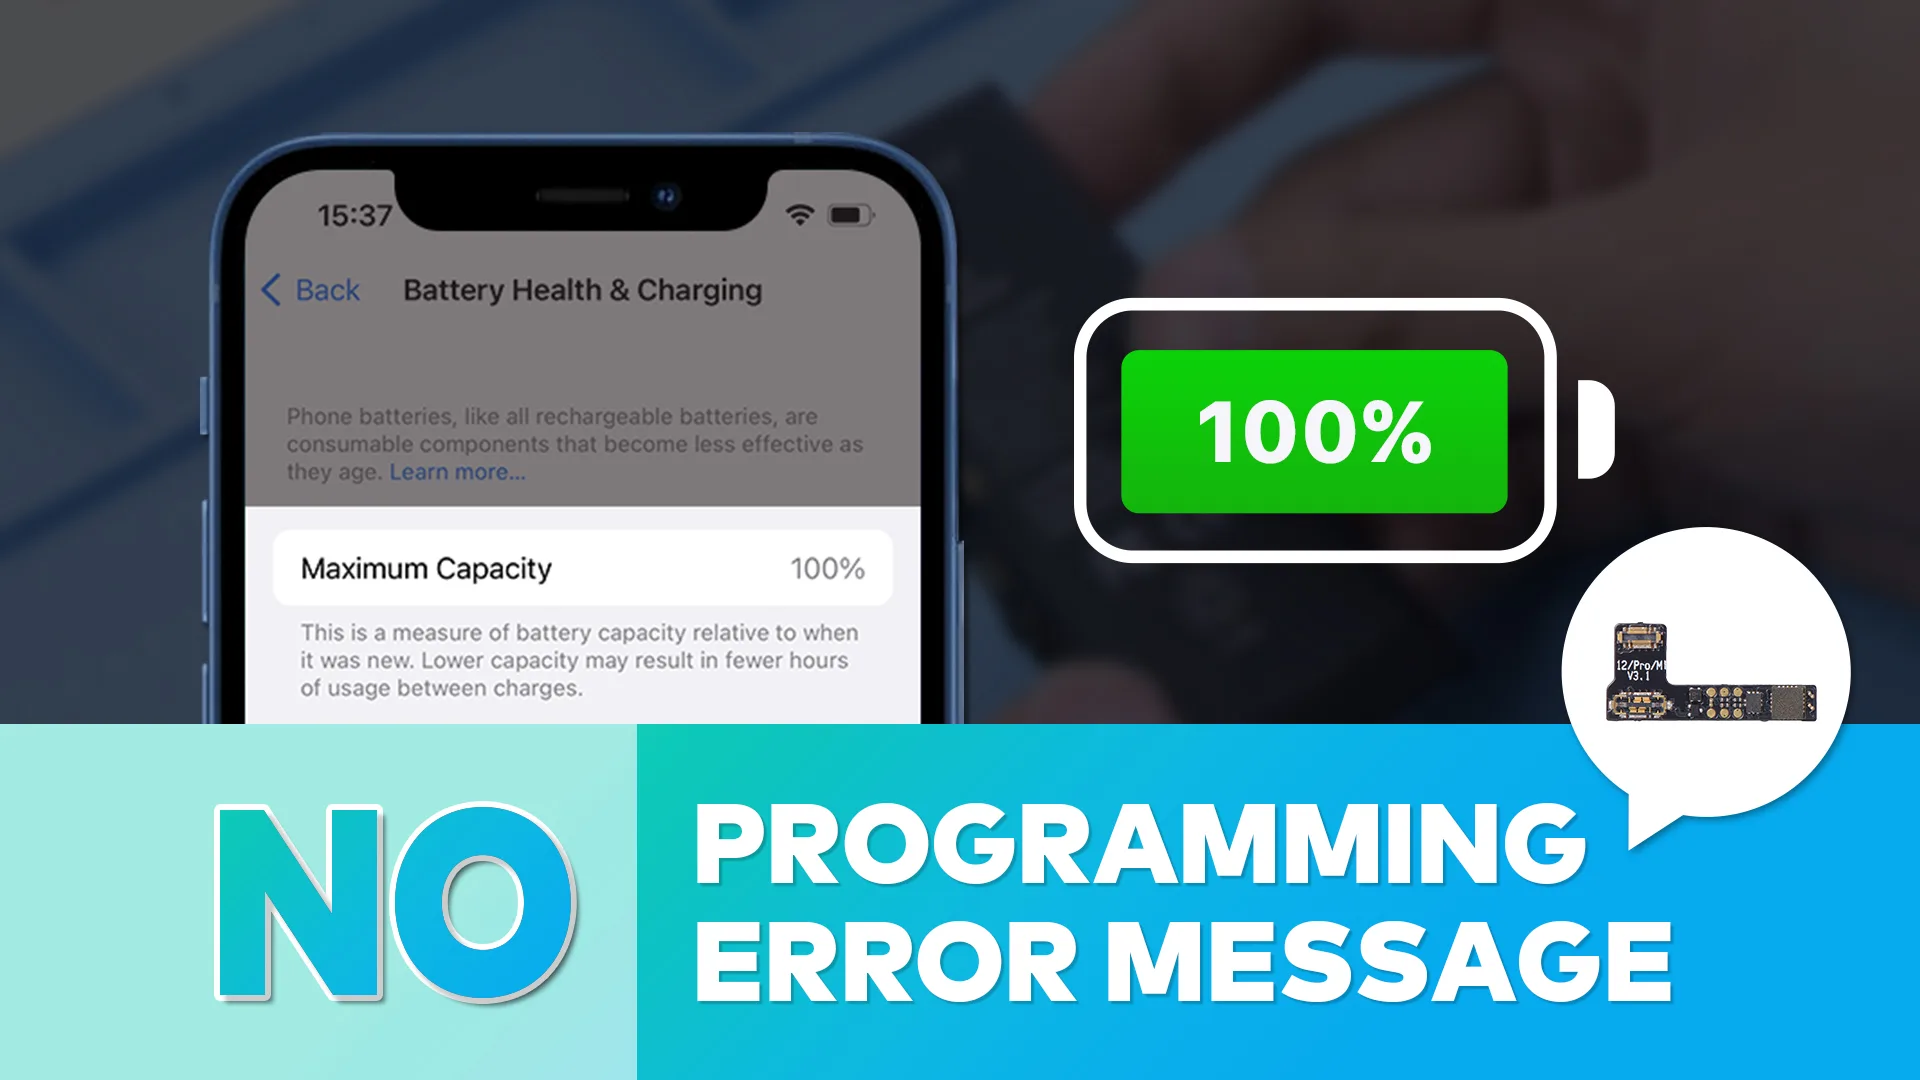
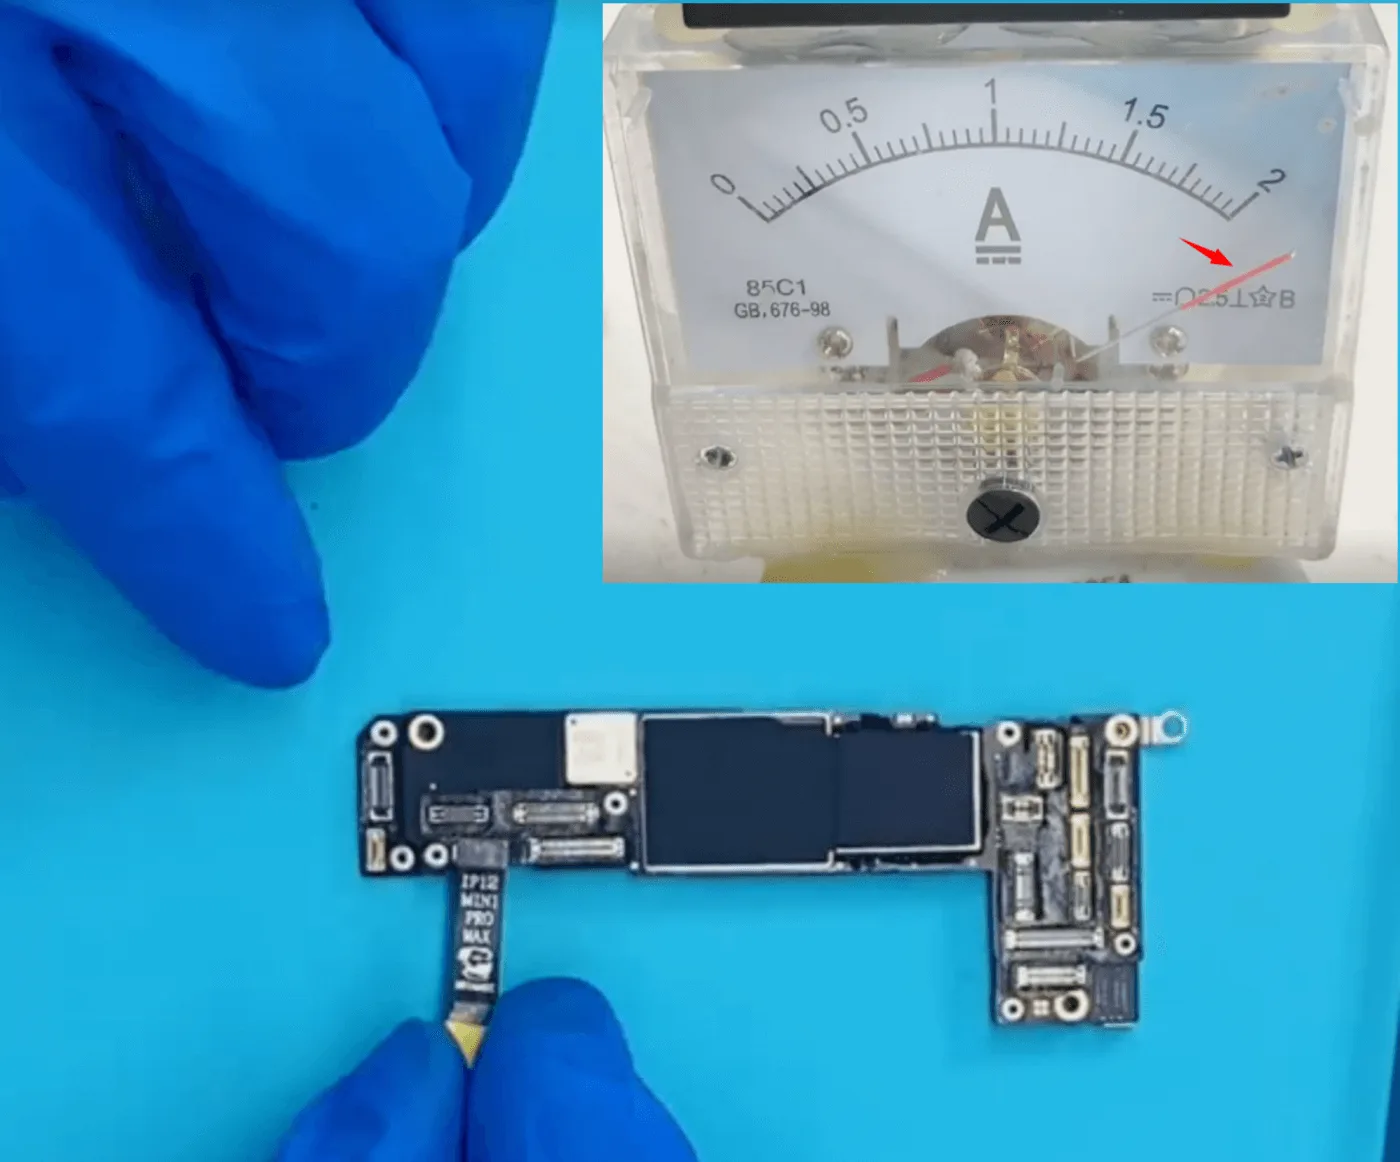
Are you tired of complicated battery repair methods that require extensive programming knowledge? REWA Technology has the solution for you! In this video, we’ll showcase the latest battery repairing method that requires no programming at all. Gone are the days of connecting a repair programmer and an extension board to modify the data. All you need now is a REFOX tag-on flex that comes pre-set with the value of 100% battery health and 0 cycles. Once installed, restart your device, and the battery health will be 100%.
This revolutionary method is a game-changer in the world of iPhone battery repair. Not only is it faster and easier, but it’s also more reliable. Plus, the no-programming approach means that anyone can perform the repairs, even without programming experience. If you’re looking for a more efficient and effective way to repair your iPhone’s battery, this video is a must-watch. Join us as we reveal the latest method for achieving 100% battery health without any programming.
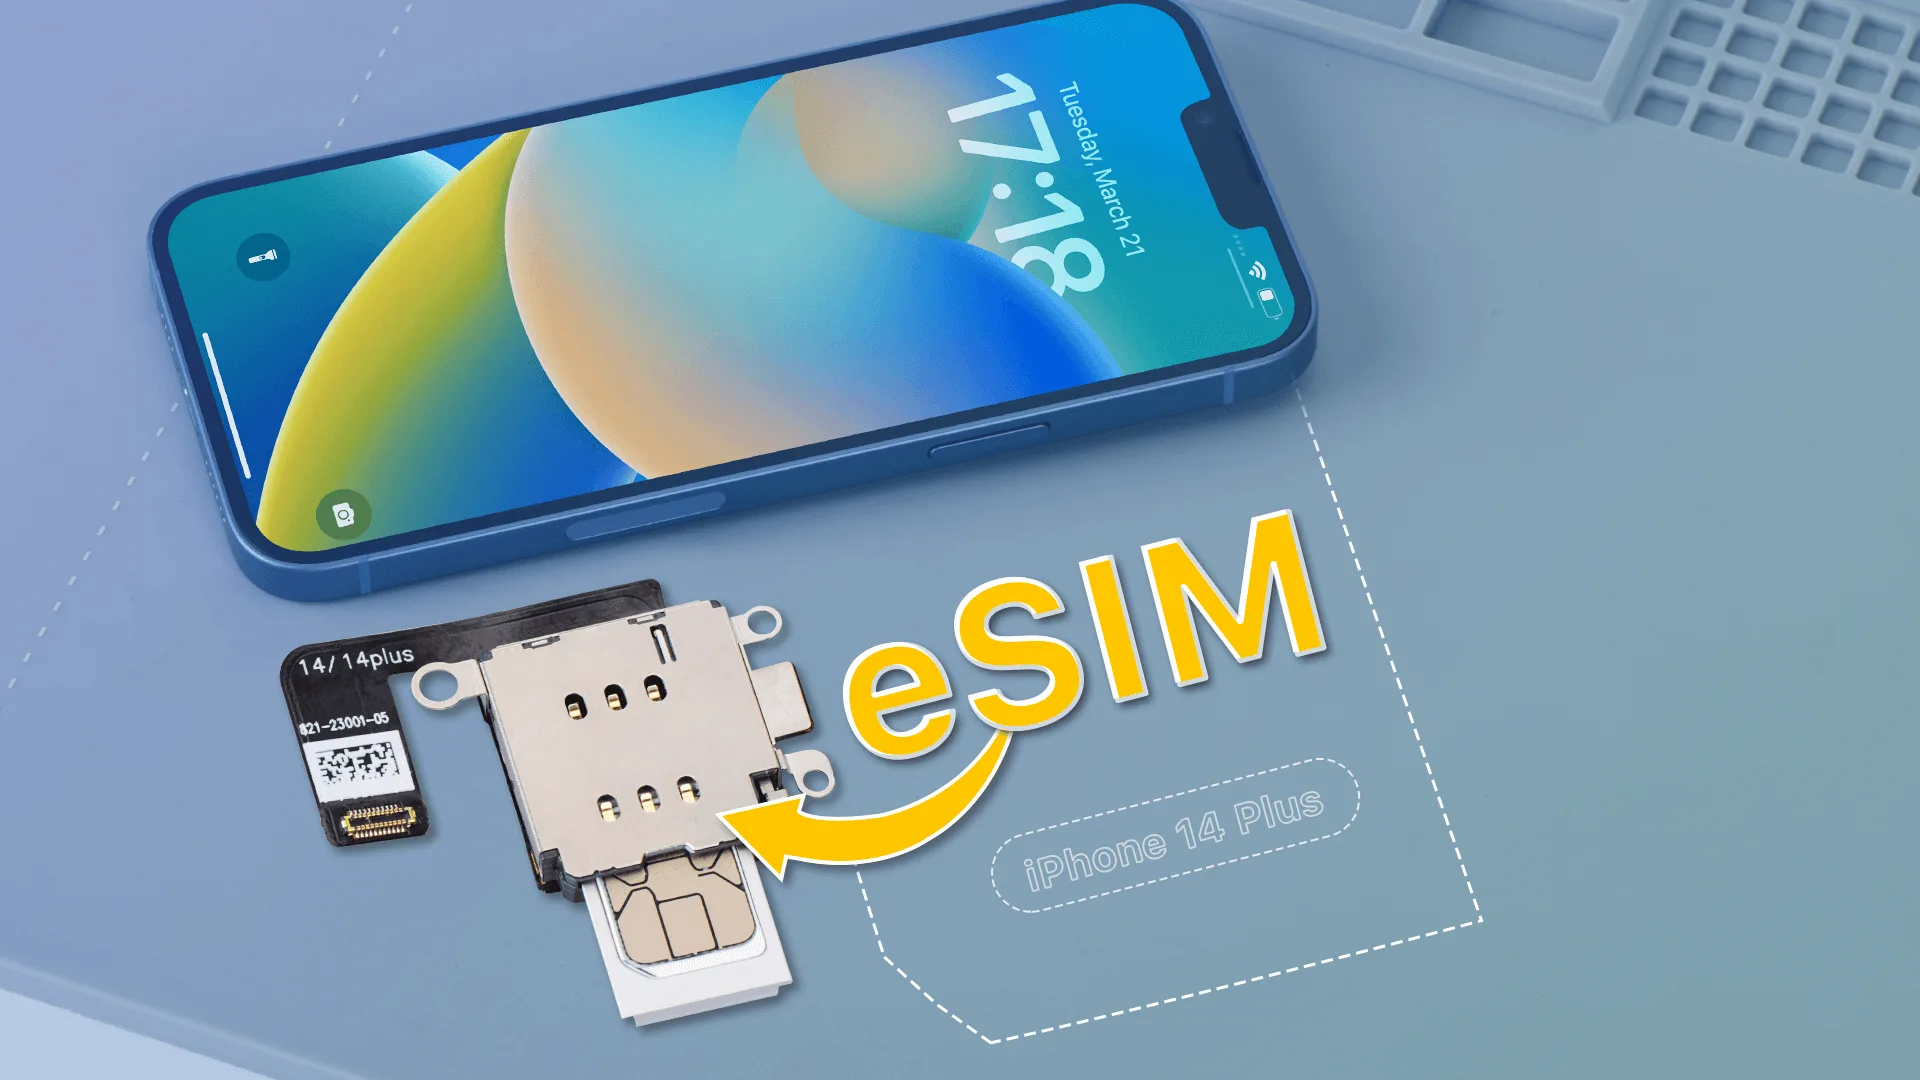
Global resellers are worried about Apple’s decision to switch from physical Sim cards to Esims for the US market. In this tutorial video, we have guided you through the process of converting eSIM to physical dual SIM on the iPhone. With the help of REWA Tech’s expert, you will learn the detailed s eps and tools required to successfully execute this conversion.
This procedure can be useful for those who prefer to have two separate SIM cards for different purposes, or for those who wish to switch between eSIM and physical SIM as needed. Watch this video to learn a new skill and enhance your technician expertise!
As iPhone users, we are all aware of the damage that water can cause to our devices. Even though iPhones are water-resistant to a certain extent, this feature can become compromised. Therefore, it is essential to know how to maintain your iPhone’s water resistance after a repair such as a screen or battery replacement.
To assist you in this process, REWA Technology has created a helpful video tutorial. By following this guide, you will learn how to preserve your iPhone’s water resistance after a repair. You’ll discover effective ways to keep your device protected so that you can use it worry-free. Join us in this tutorial and continue to enjoy your iPhone to the fullest.
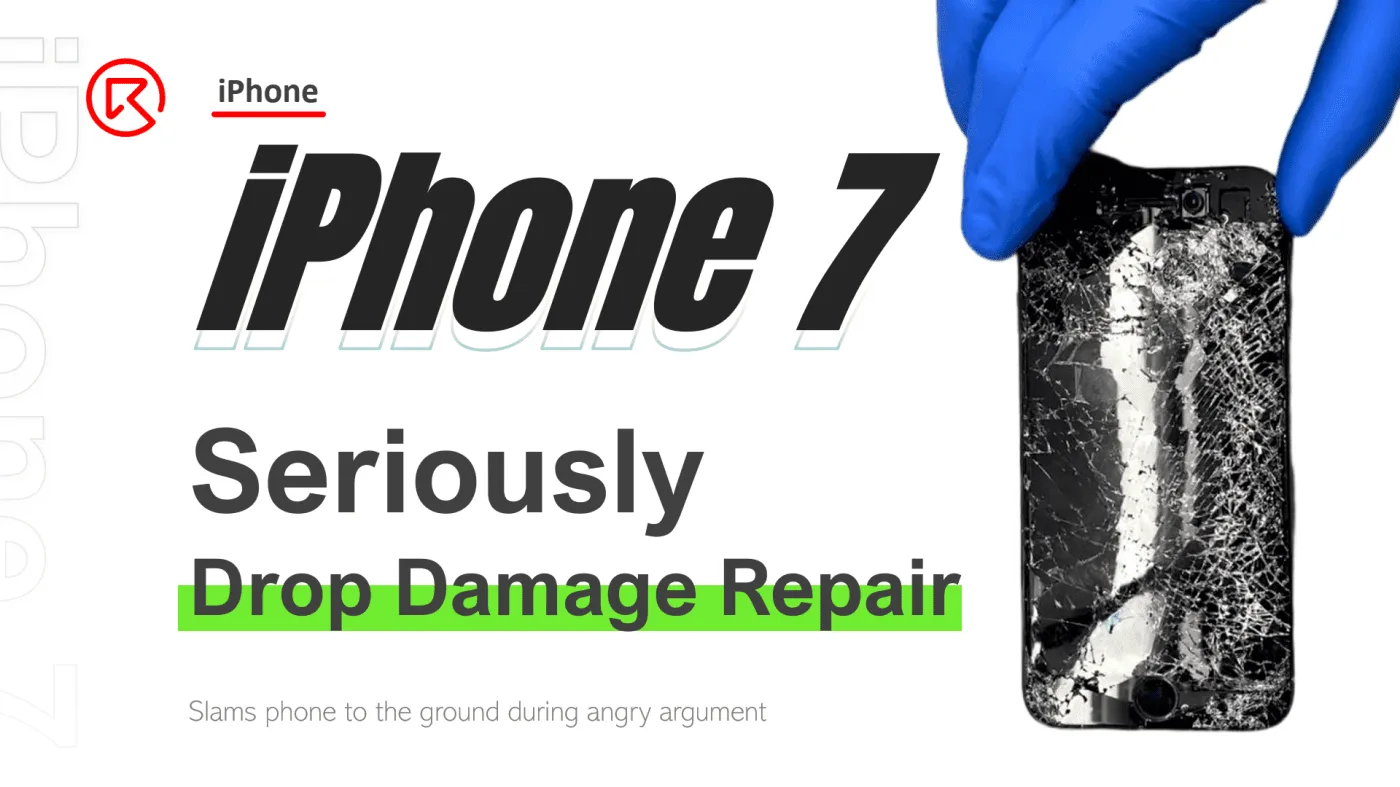
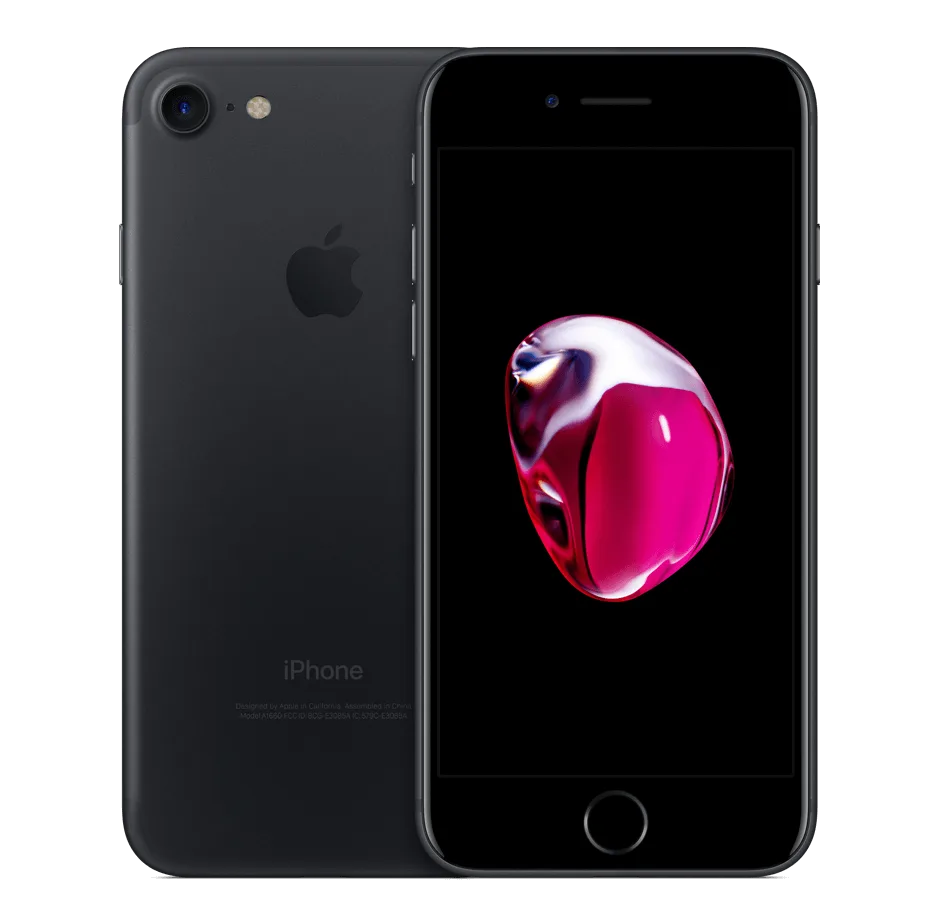
When an iPhone 7 is slammed to the ground, the damage can be severe, affecting not only the screen but also internal components. In this guide, we’ll walk through the process of diagnosing and repairing an iPhone 7 serious drop damage, rendering it unable to boot. From addressing display issues to resolving baseband problems, this step-by-step guide will help you restore your iPhone 7 to full working order.
Phone Details:
Model: iPhone 7
Announced: 2016, September 07
Defect Phenomenon
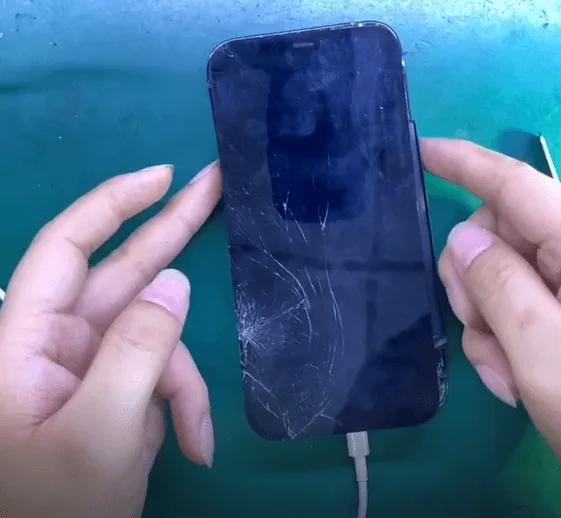
The iPhone 7 was slammed to the ground during an argument, resulting in a shattered screen and the inability to boot.
Troubleshooting to Repair iPhone 7 Drop Damage
1: Initial Inspection
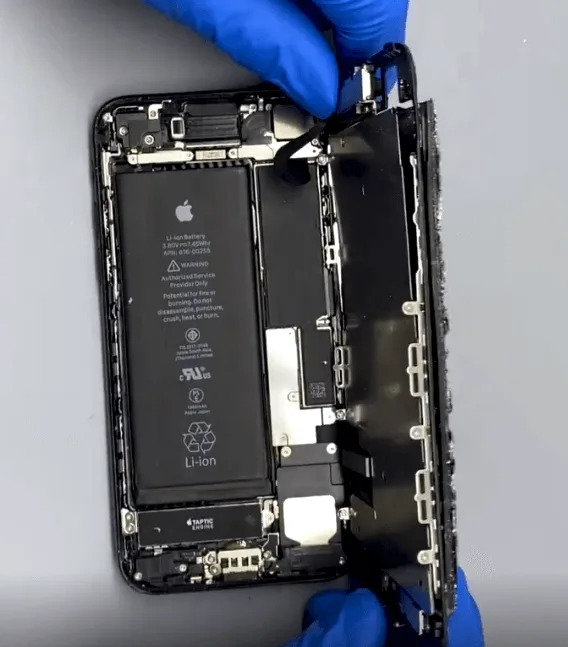
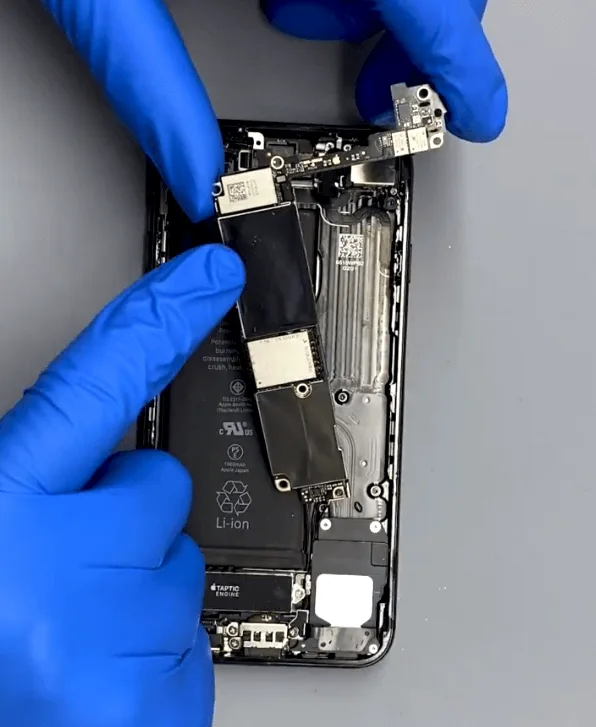
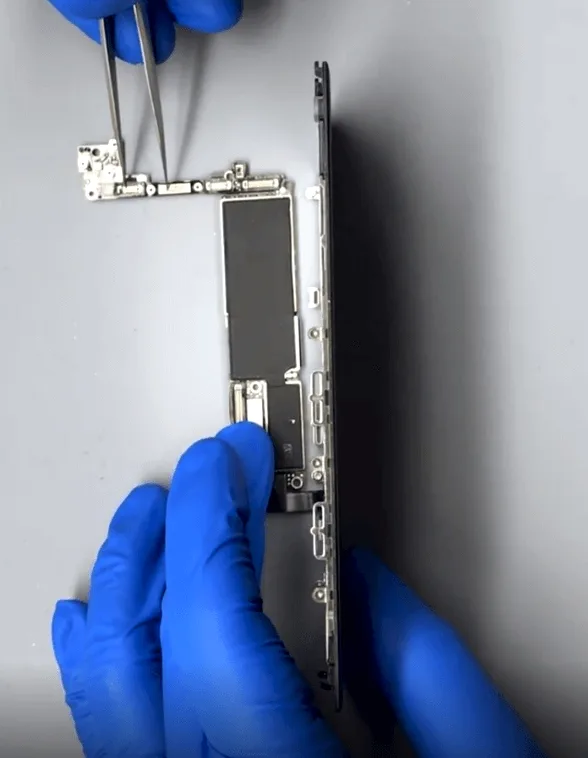
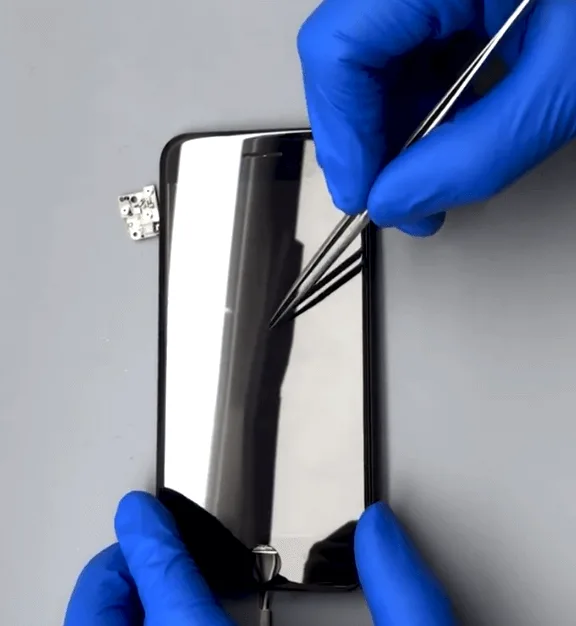
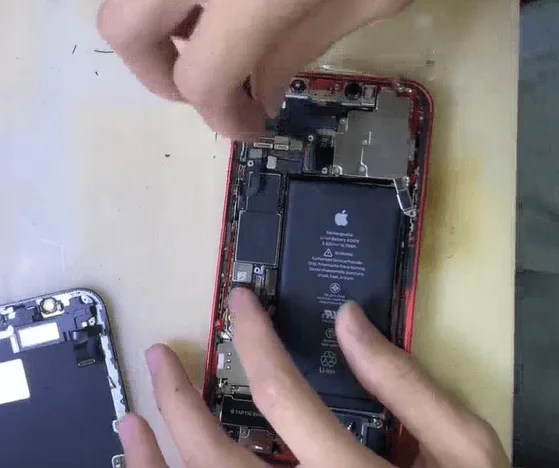
Disassemble the phone and carefully remove the motherboard for inspection.
The motherboard appears to be in good condition with no visible deformation or missing components.
2: Screen Replacement and Testing
Replace the shattered screen with a new one and attempt to boot the phone.
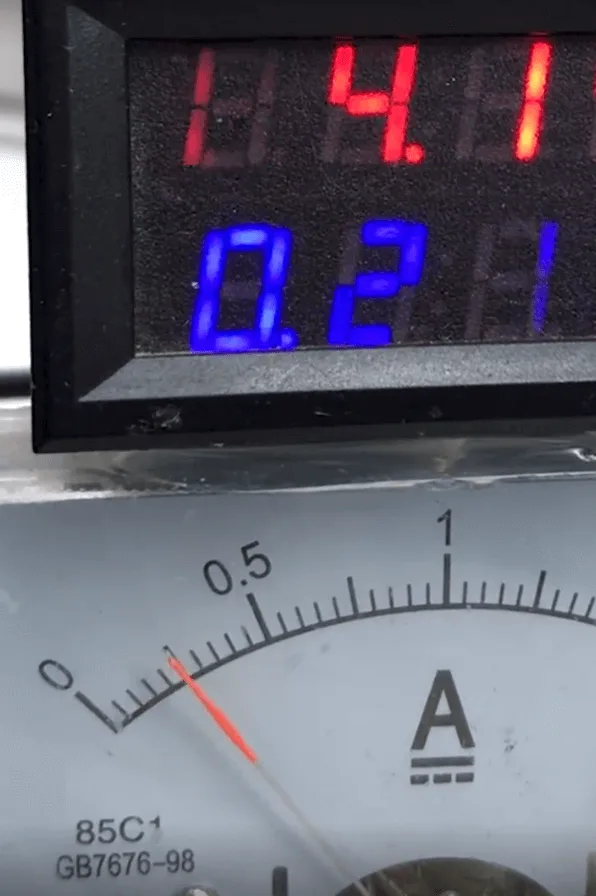
The boot current is normal, but the screen remains blank, indicating a possible issue with the display circuit.
3: Diagnosing the Display Circuit:
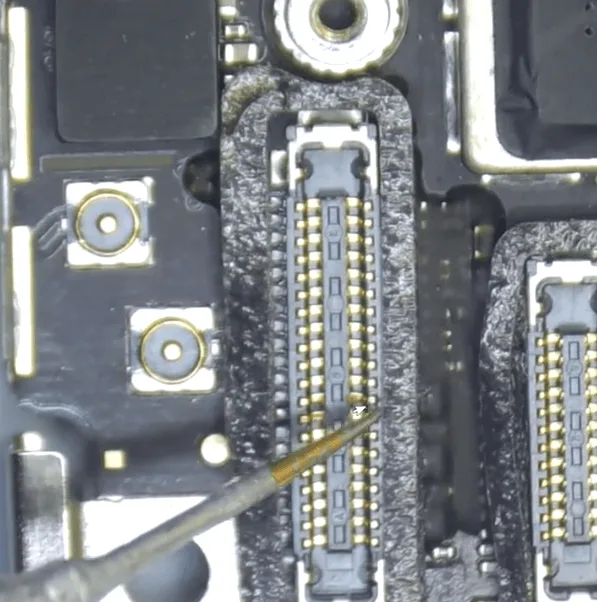
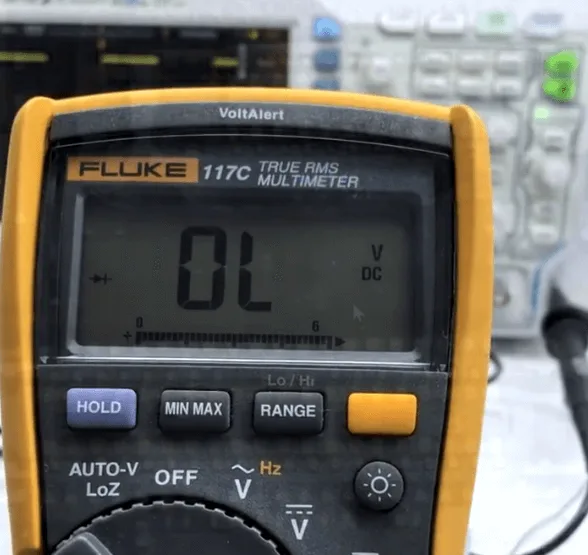
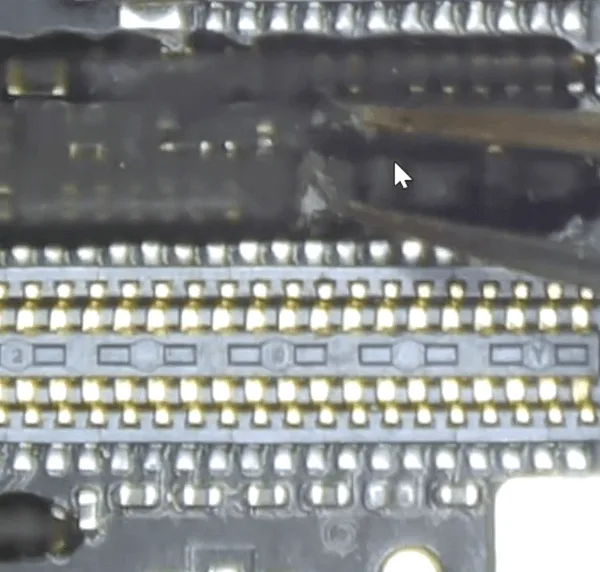
Measure the diode values on the display connector. One pin shows an abnormal diode value of OL (open loop).
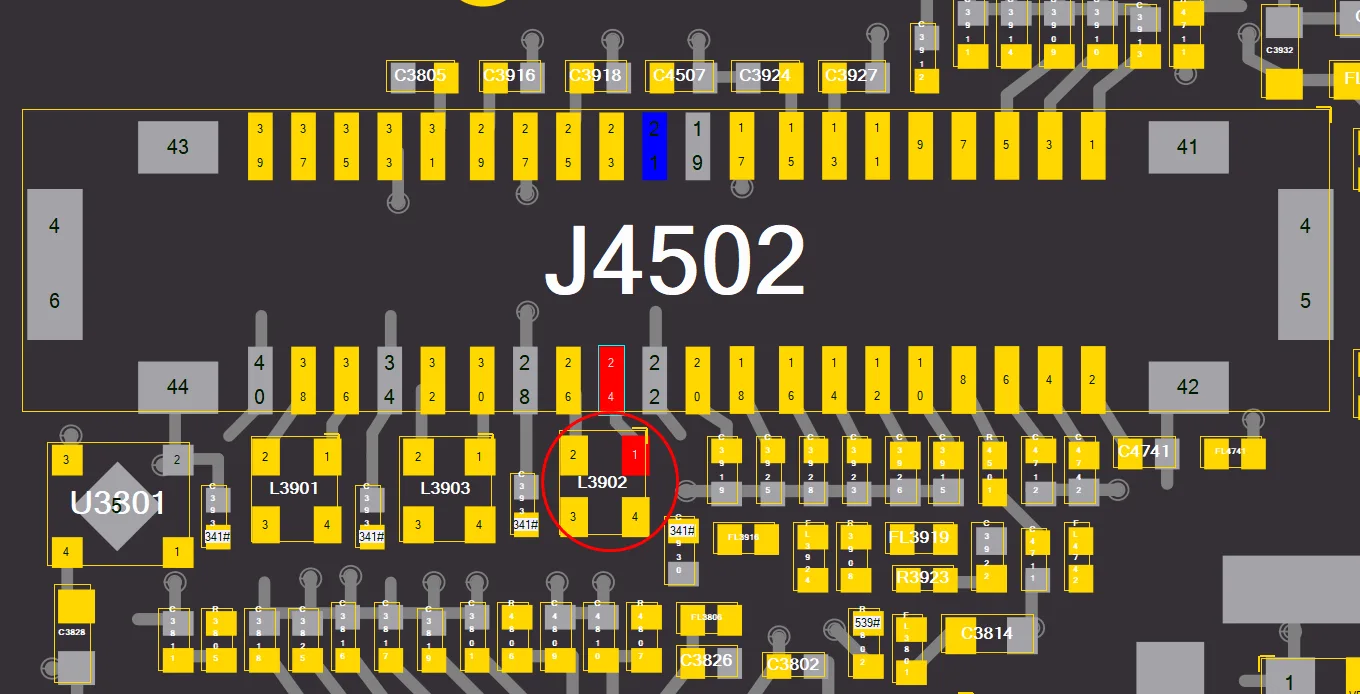
According to the bitmap, this pin is connected to L3902, indicating a problem with the combined inductor.
4: Repairing the Inductor
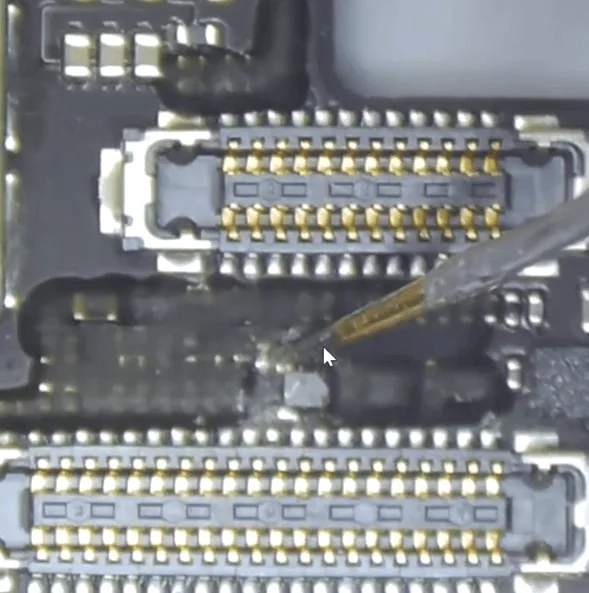
Remove the black glue on the surface of the inductor.
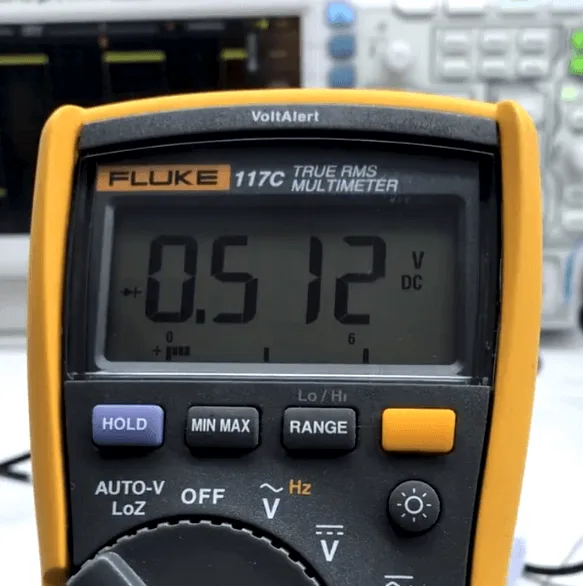
After removal, the diode value on the inductor pin is 512, confirming that the inner rail is broken.
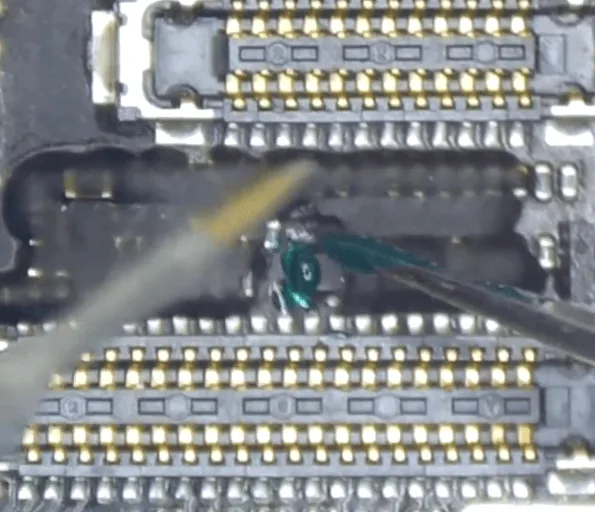
Instead of replacing the inductor, which could cause soldering issues due to the number of connectors, jump a copper wire to repair the connection.
5: Completing the Display Repair
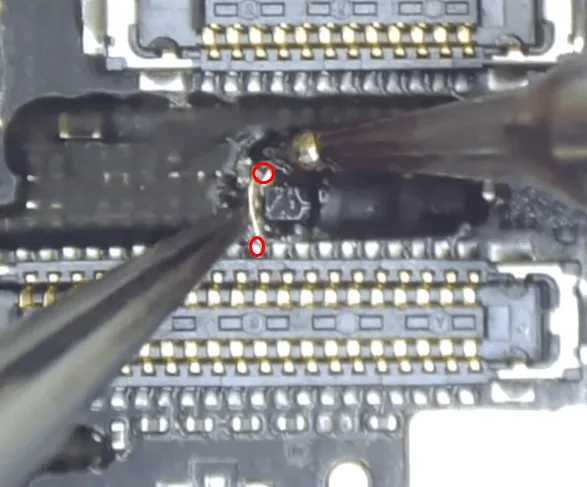
Use the red-circled points to jump a wire, reconnecting the display signal (90_MIPI_AP_TO_LCM_DATA0_P).
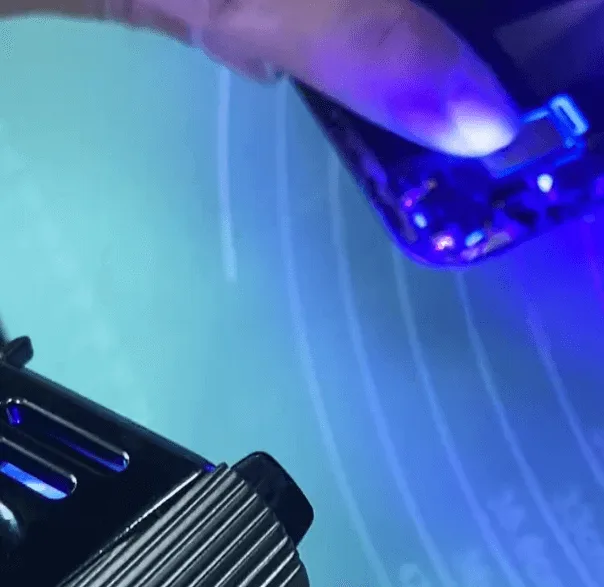
Apply a UV mask and cure it with UV light to secure the connection.
Reassemble the phone and test it again. The phone now boots normally, and the display functions properly.
Addressing the Baseband Issue
1: Identifying the Problem
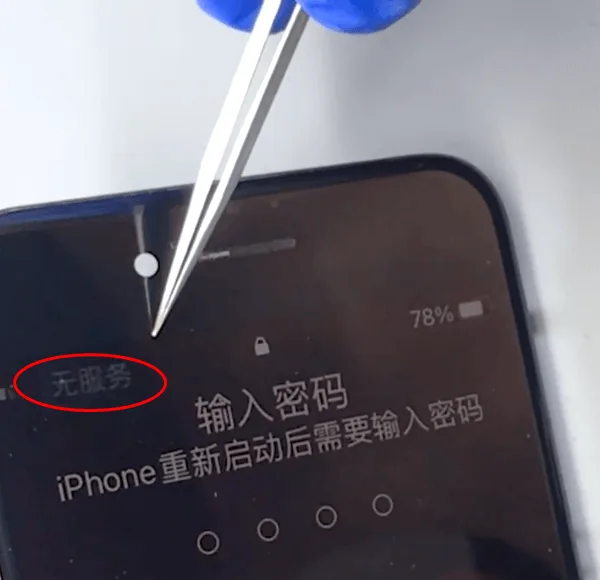
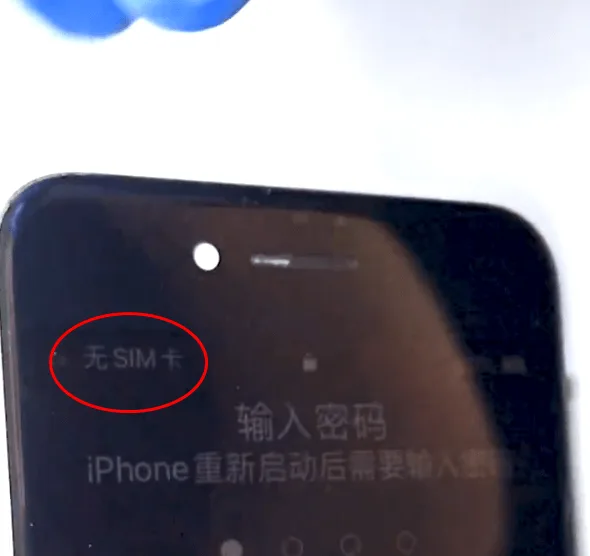
After the initial repair, the phone boots, but there is no service, which is a common issue in iPhone 7s after serious drops. This typically points to damage in the Baseband PMU or Baseband CPU.
2: Repairing the Baseband PMU
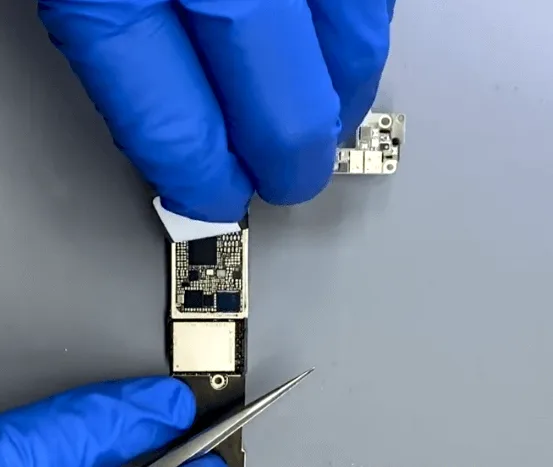
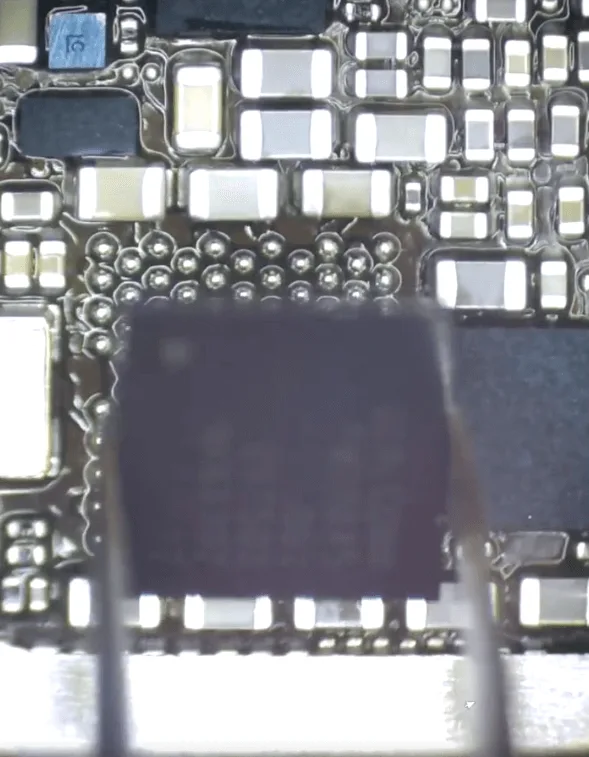
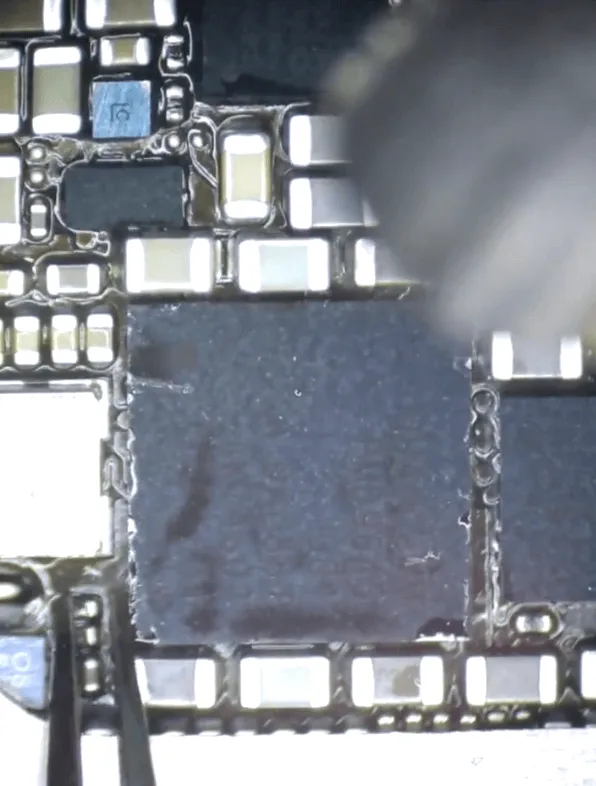
Remove the protective sticker to access the Baseband PMU chip.
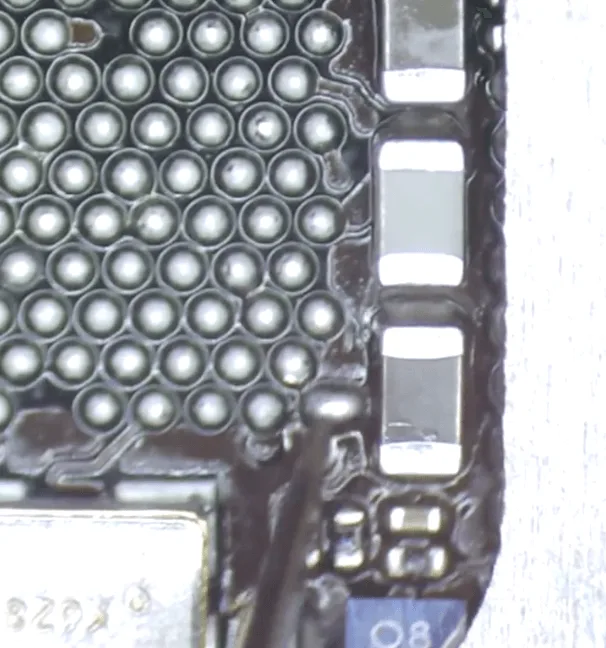
Reconnect the broken wire using a soldering tin ball and resolder the Baseband PMU chip in place.
3: Final Testing
Clean the motherboard with PCB cleaner to ensure all components are properly soldered and free of debris.
Reassemble the phone and test it again. This time, the phone successfully recognizes the SIM card, and the “No Service” issue is resolved.
Conclusion
Repairing an iPhone 7 serious drop damage is a multi-step process that requires careful diagnosis and precision. By addressing both the display circuit and the baseband issues, you can restore full functionality to your device. If you encounter similar issues, follow these steps to effectively repair and revive your iPhone 7. For more detailed repair tutorials, visit REWA Academy and enhance your technical skills.
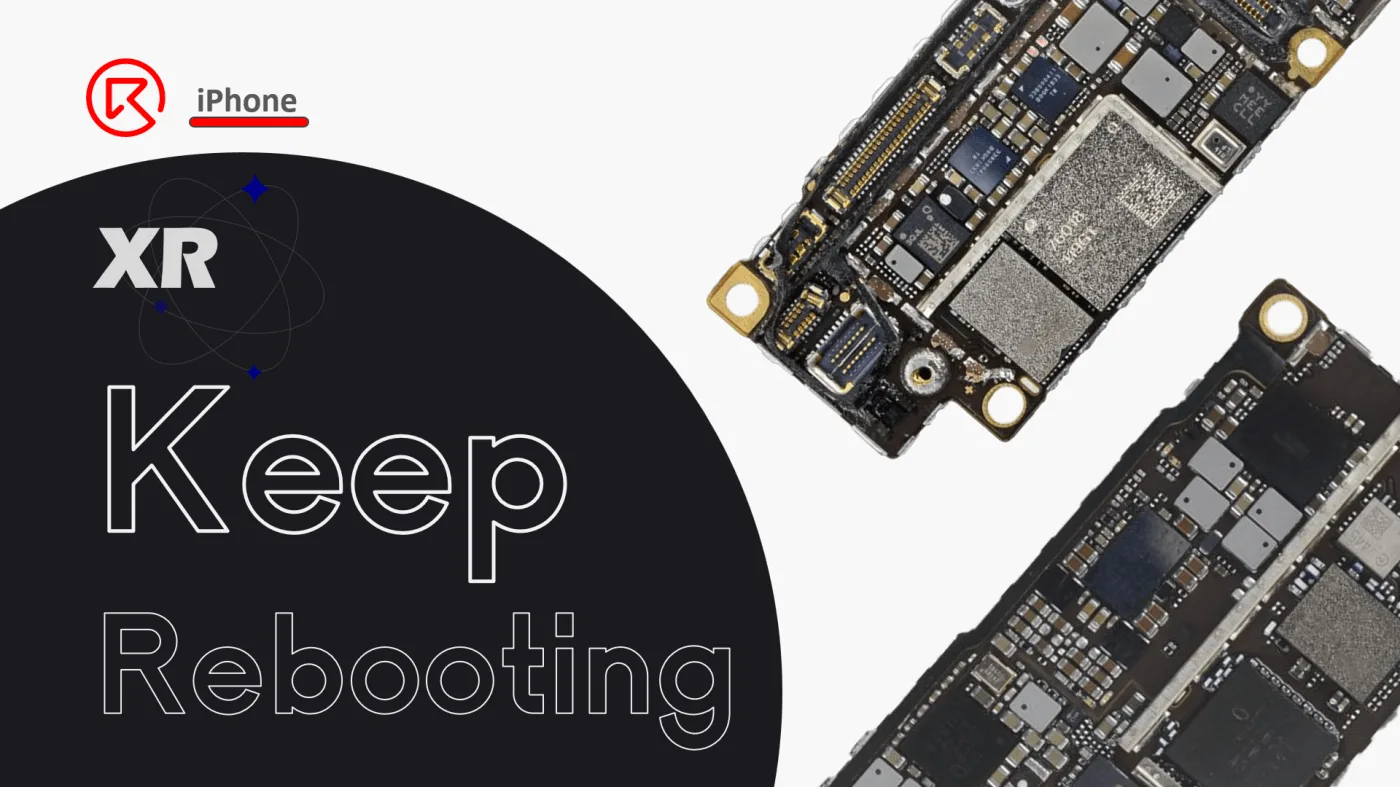
Is your iPhone XR keeps rebooting, especially when playing games? You’re not alone. This common issue often stems from overheating at the chip level, causing the device to trigger Apple panic codes and enter a reboot loop. In this tutorial, we’ll walk you through a professional-level solution: chip-level board repair involving CPU, NAND, EEPROM, and baseband CPU transfer. Whether you’re a repair shop, technician, or DIYer, this guide will help you understand the root cause and how to fix it permanently.
Device Details
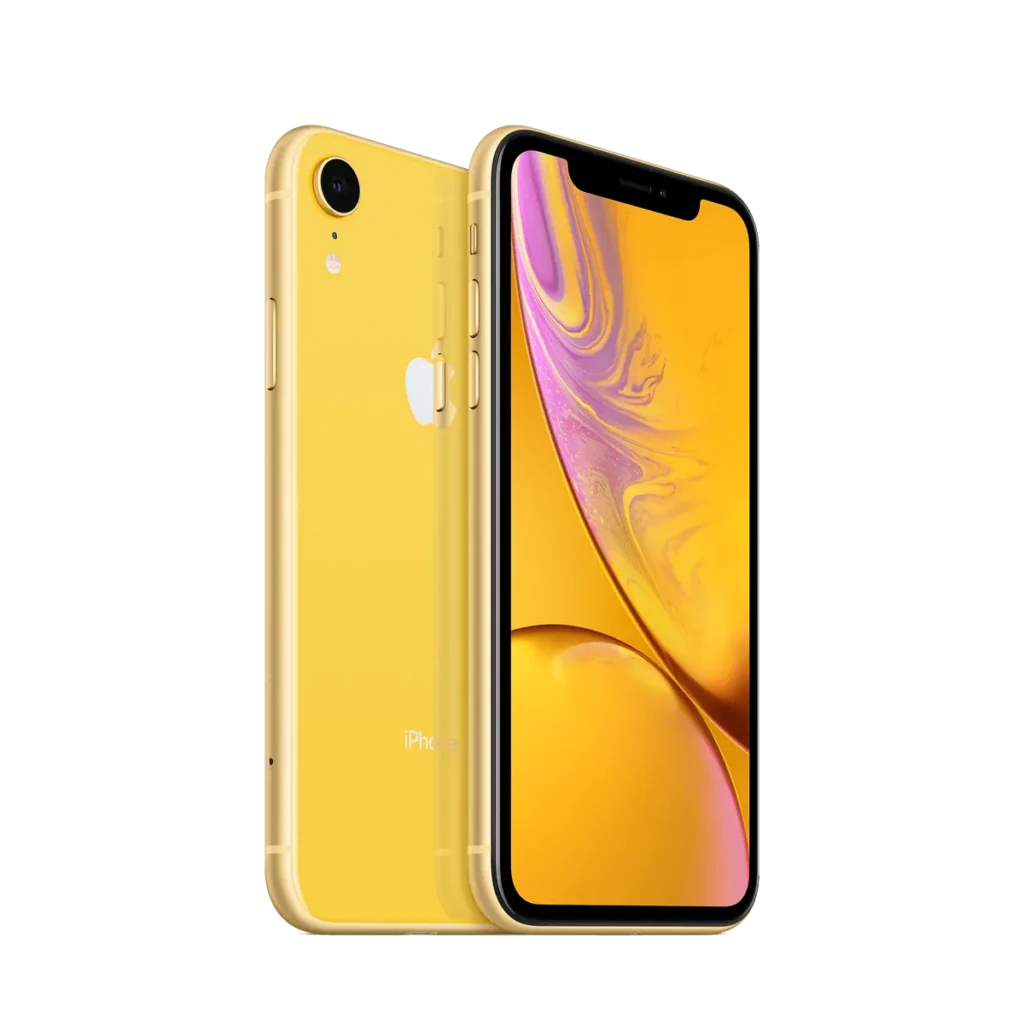
Model: iPhone XR
Announced: September 12, 2018
Customer Faced iPhone XR Keeps Rebooting
A customer’s iPhone XR would crash while playing games and then enter a constant reboot loop. The device wasn’t dropped, water-damaged, or improperly charged—ruling out external physical causes.
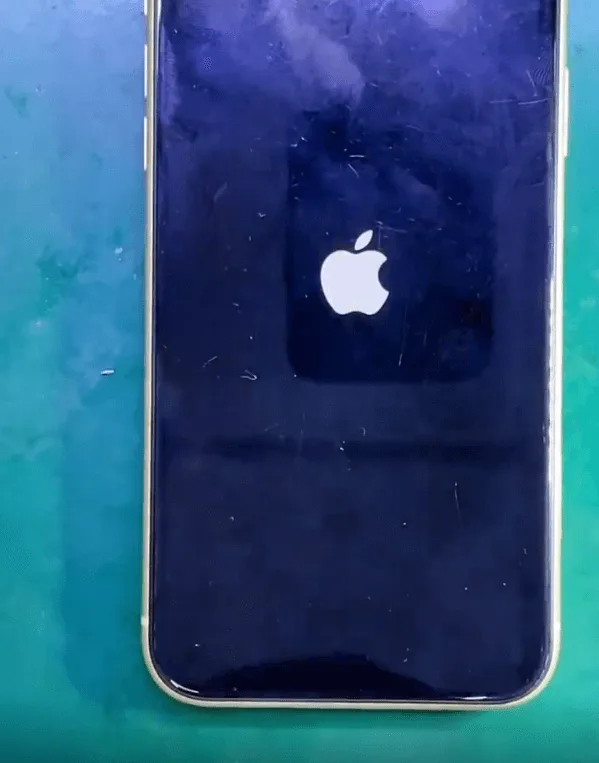
Step 1: Observe the Boot Loop
The phone repeatedly shows the Apple logo but fails to boot into iOS. Occasionally, it enters the system after several failed attempts.
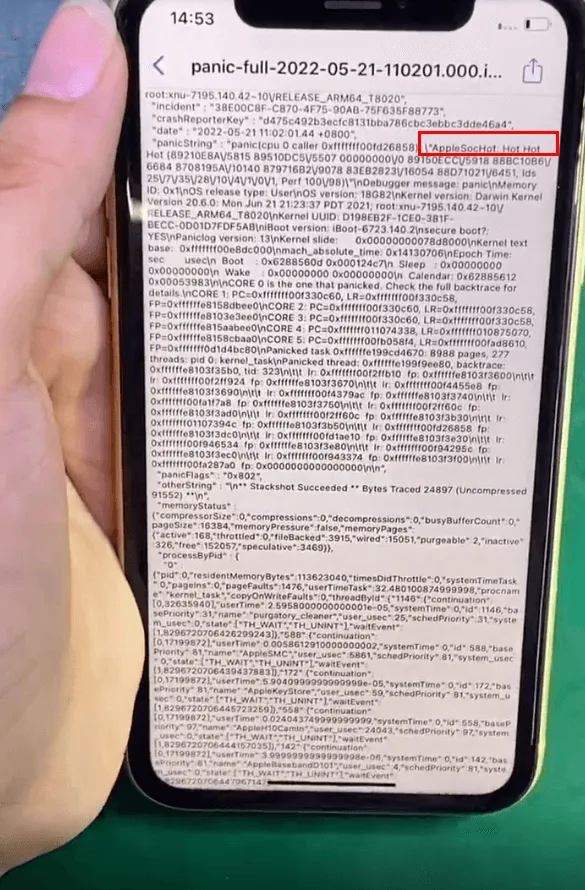
Step 2: Analyze Panic Logs
We check the panic-full logs in the system. One key entry stands out:
AppleSocHot
Hot Hot Hot...
This message indicates SoC (System on Chip) overheating, which causes the phone to reboot. This type of error often stems from internal chip failure rather than external factors.
Solution: Swap Encrypted Chips to Another Working Board
Due to the chip-level failure, a board swap with encrypted chip transfer is required. The following components need to be moved:
CPU
NAND chip
Baseband CPU
Logic EEPROM
Repair Process
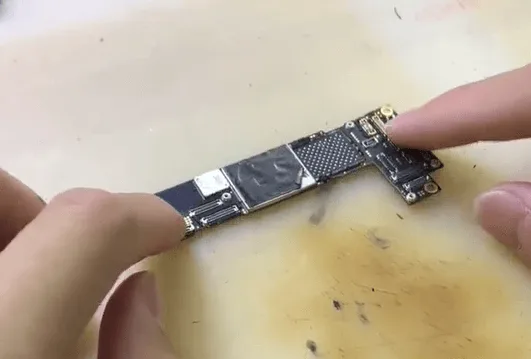
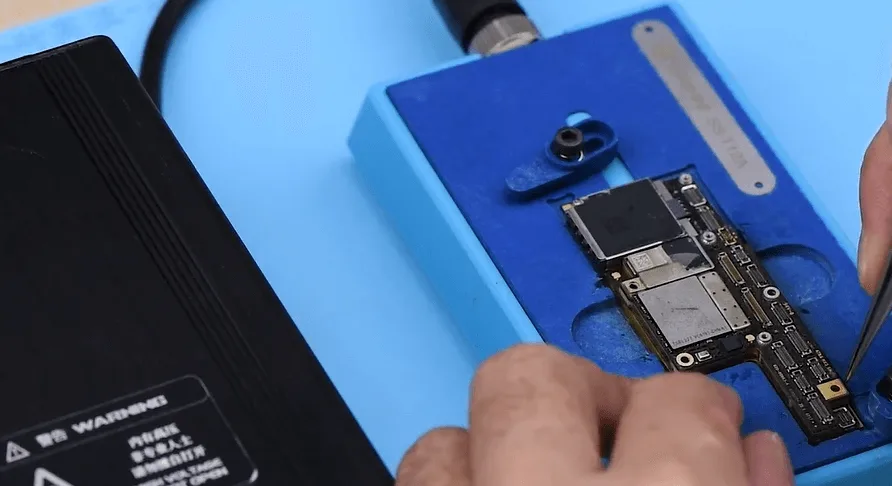
1. Disassemble the iPhone and Remove the Motherboard
Open the phone and safely remove the motherboard.
2. Remove the Shielding Cover and Clean CPU
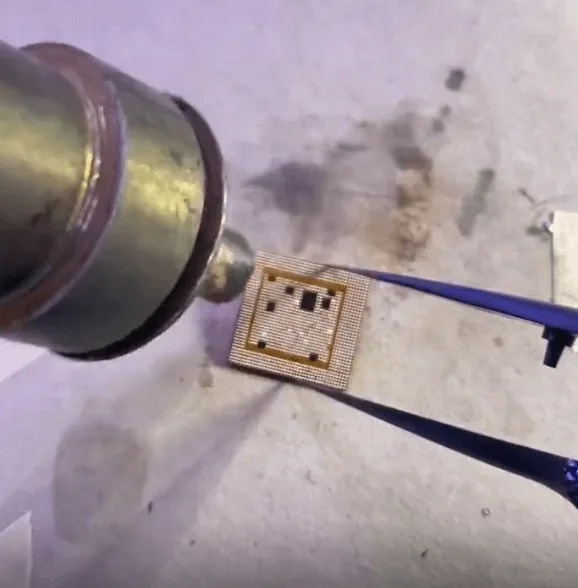
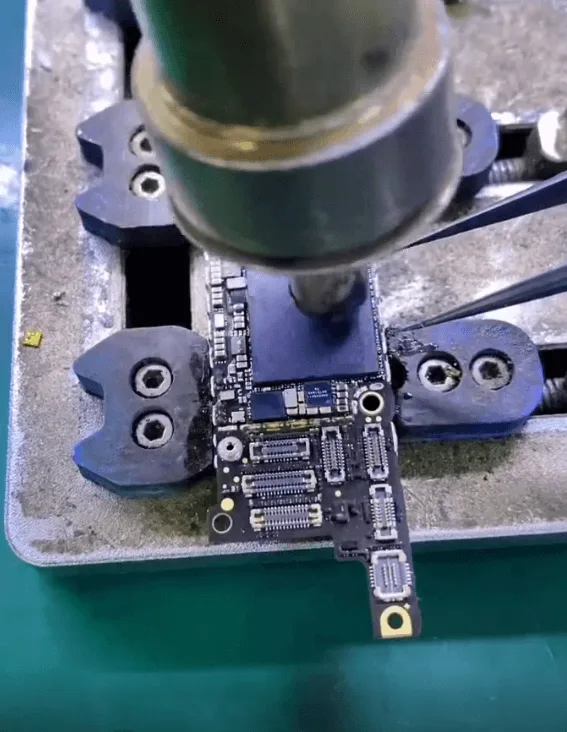
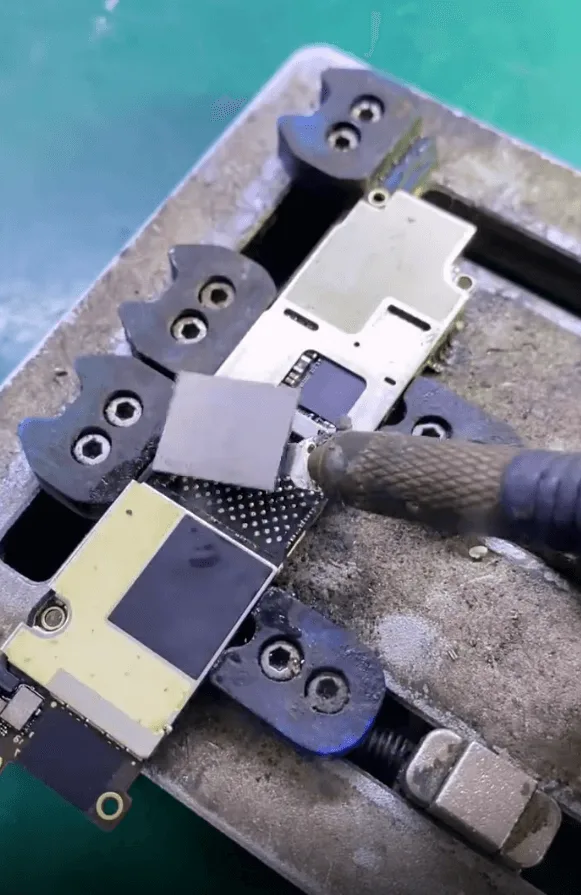
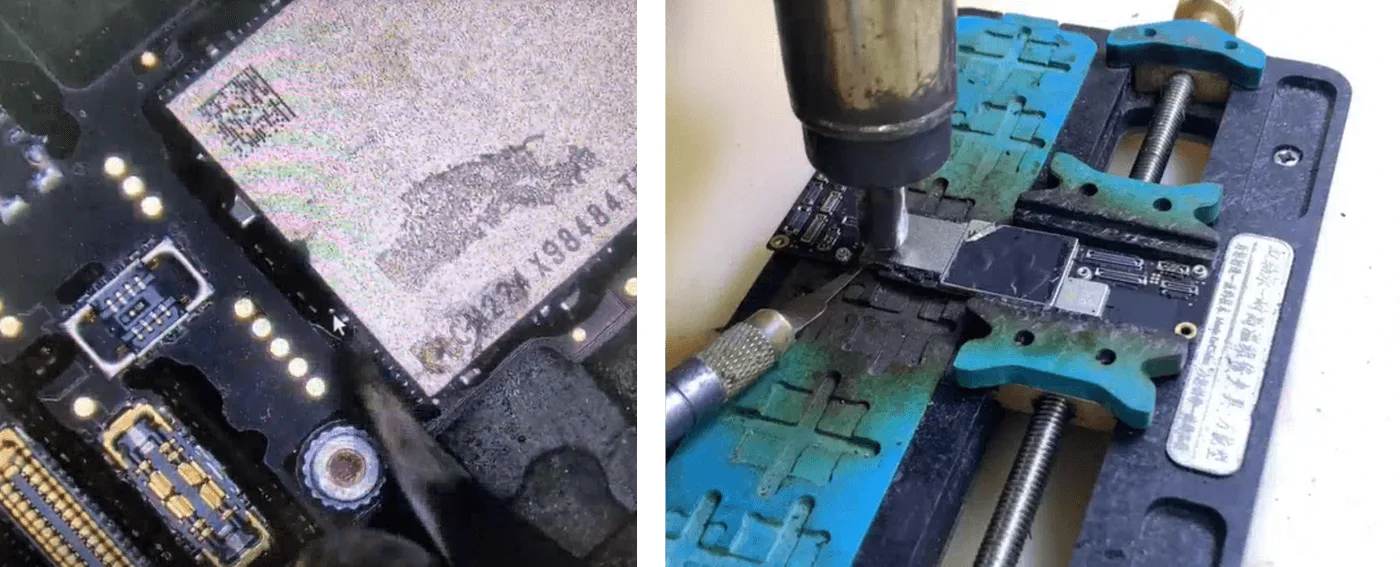
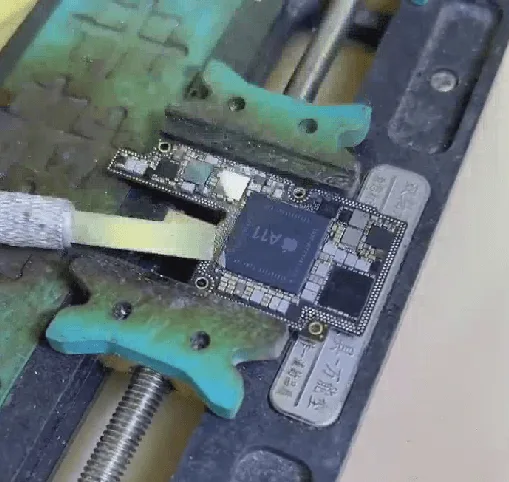
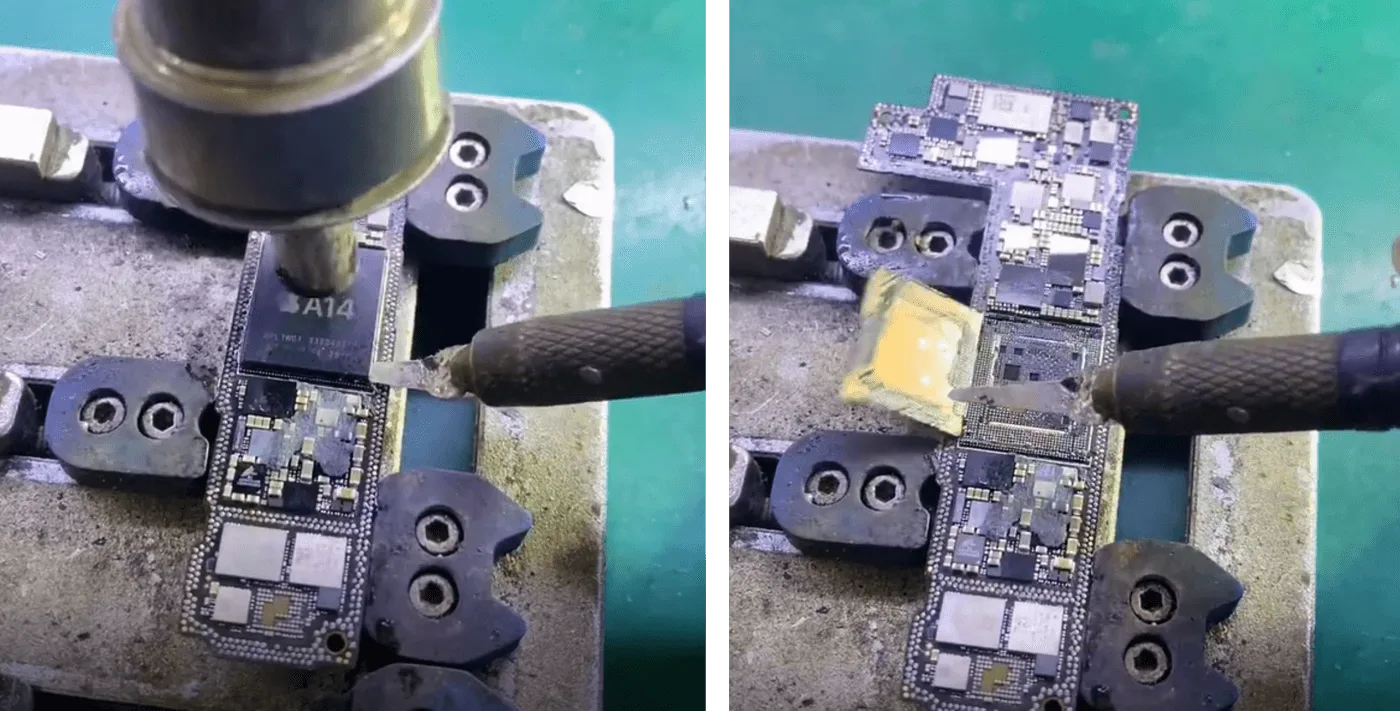
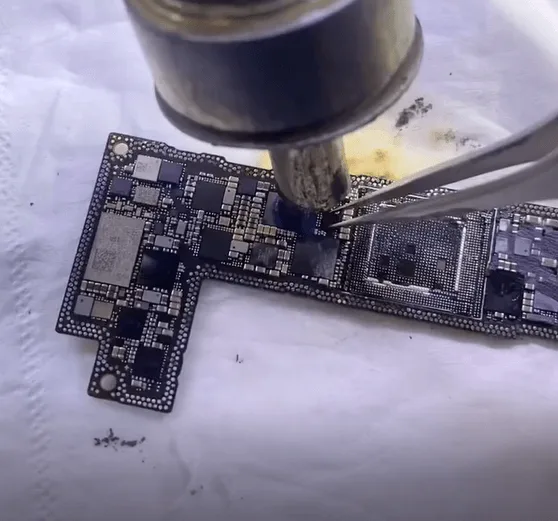
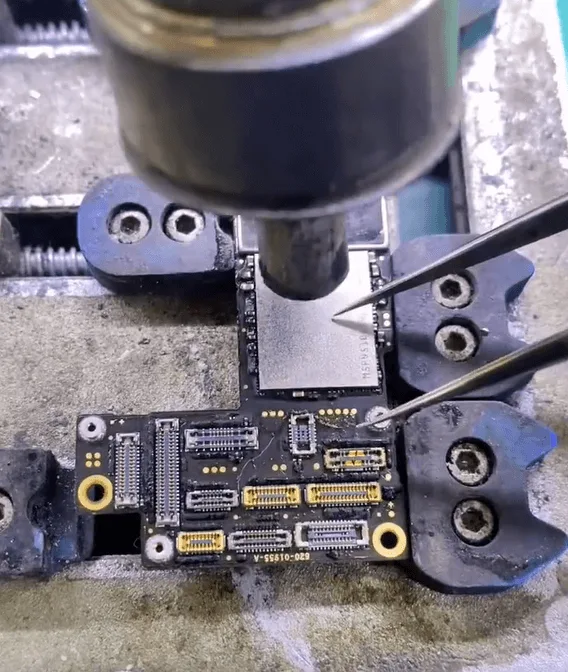
Use a hot air gun to remove the shielding cover.
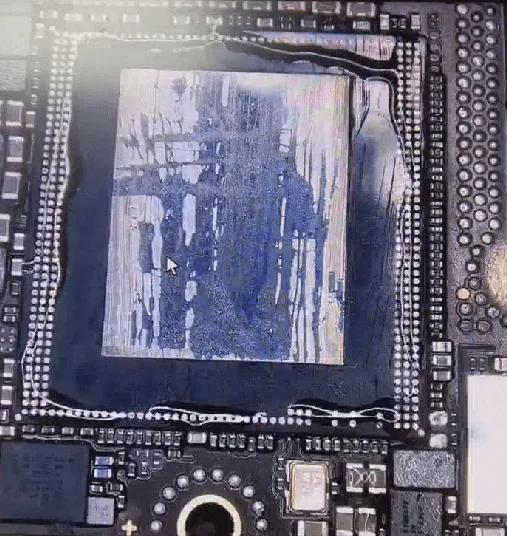
Clean the thermal grease from the CPU.
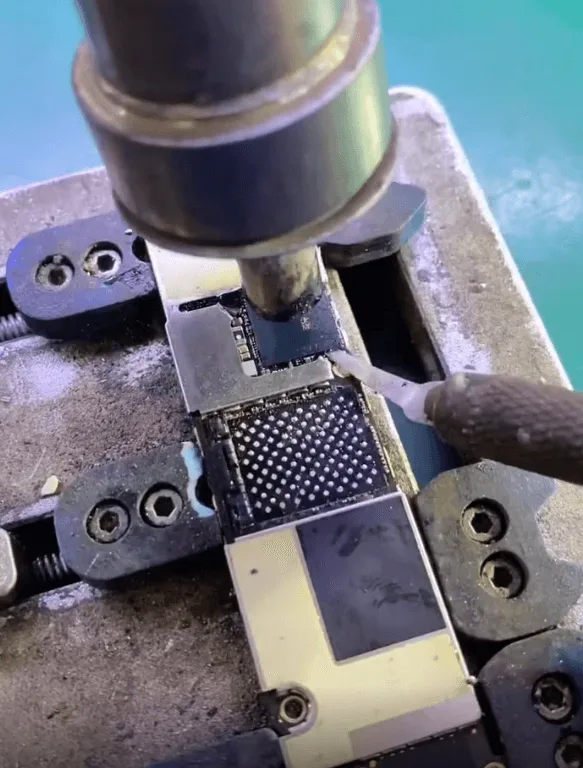
3. Remove Black Glue & Detach the CPU
Carefully remove the black glue surrounding the CPU.
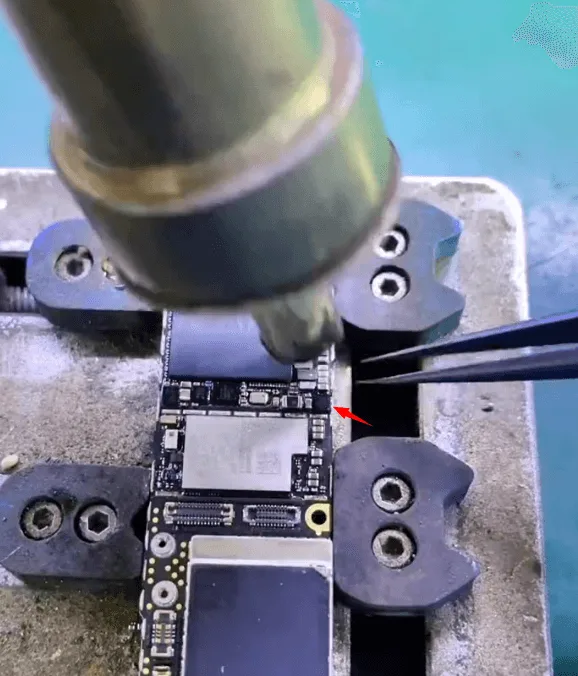
Reheat the area using a hot air gun.
Gently insert a thin blade while heating until the CPU chip is removed.
⚠️ Caution: Do not blow away the nearby Logic EEPROM (U1401) when heating.
4. Clean and Resolder the CPU
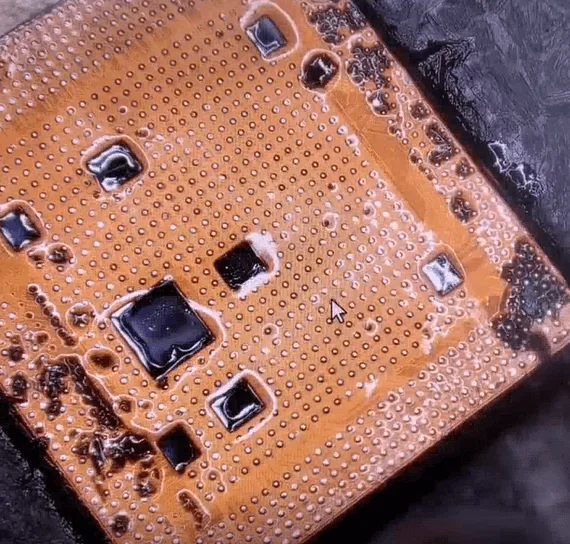
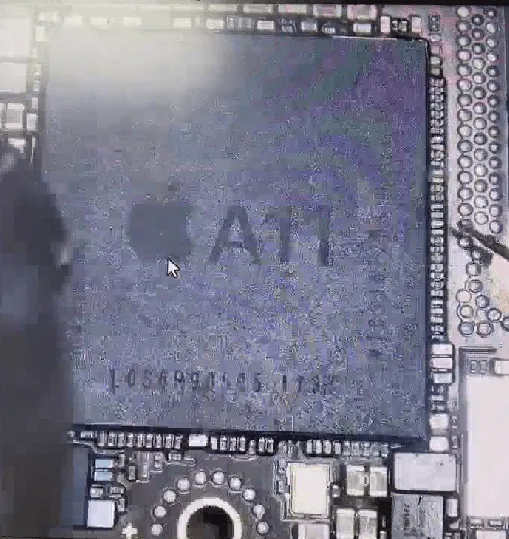
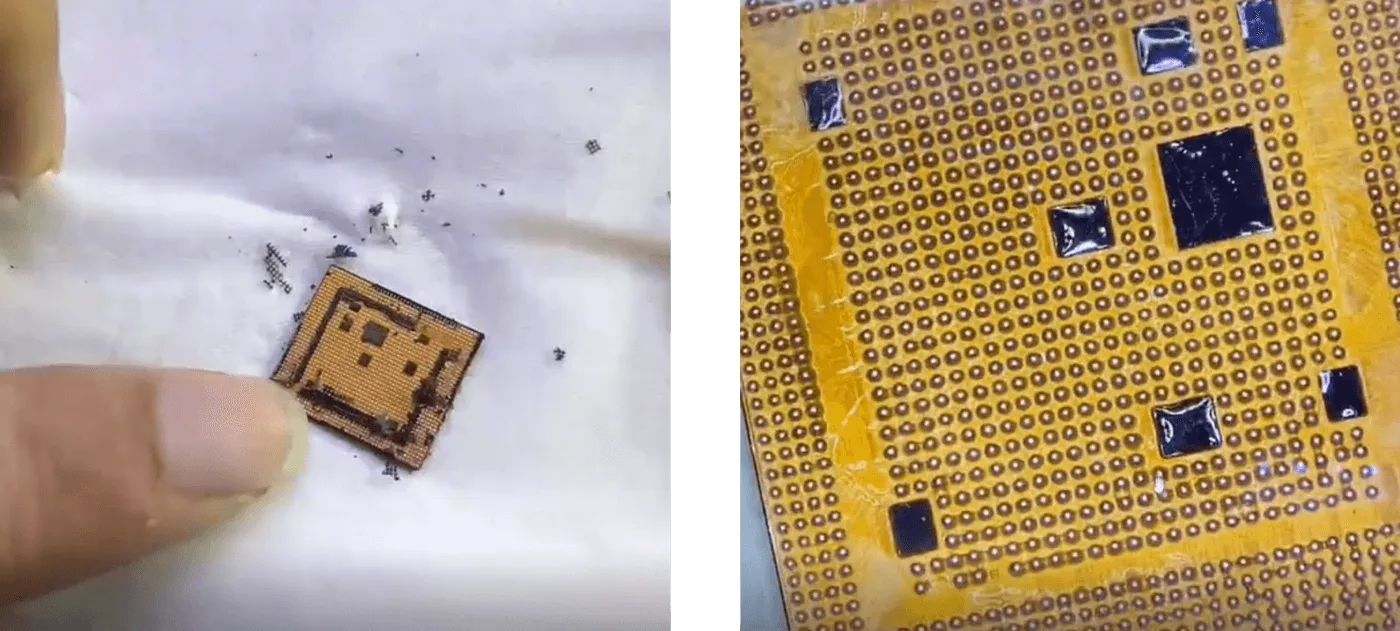
Clean the removed CPU and the board’s contact pads.
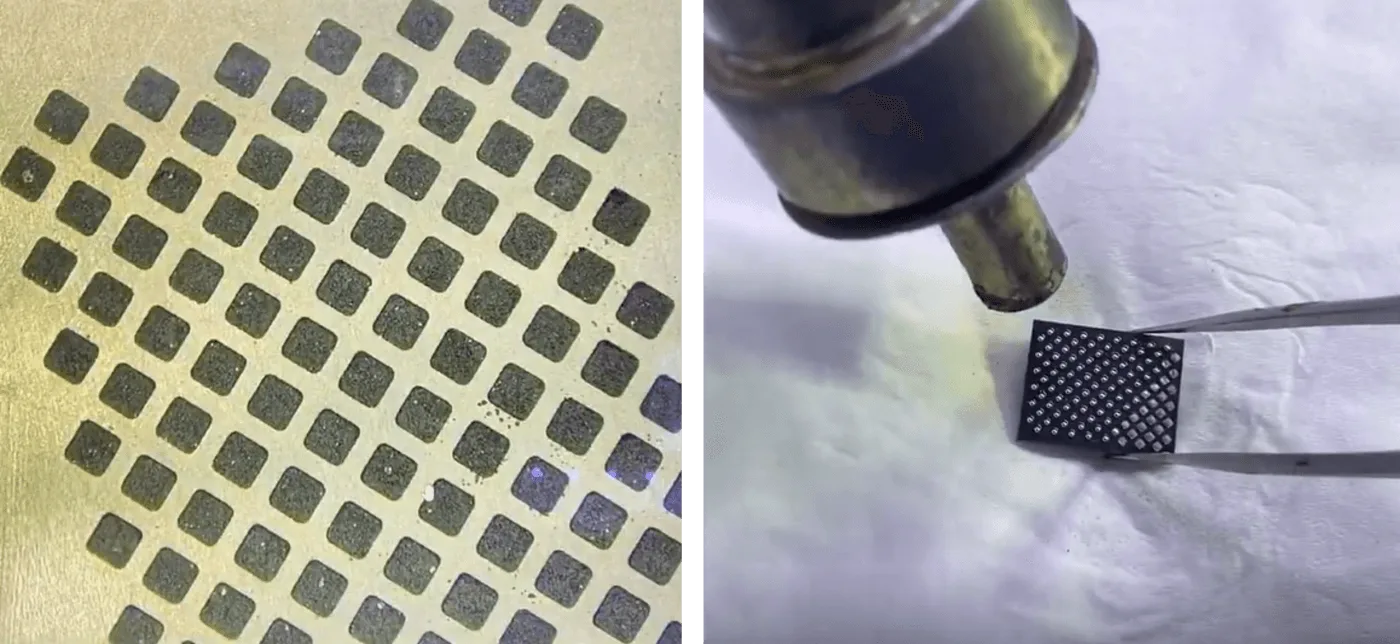
Reball and solder the CPU to a new donor motherboard.
5. Resolder the Logic EEPROM
Once the CPU is soldered, install the Logic EEPROM back in place.
Power-On Test
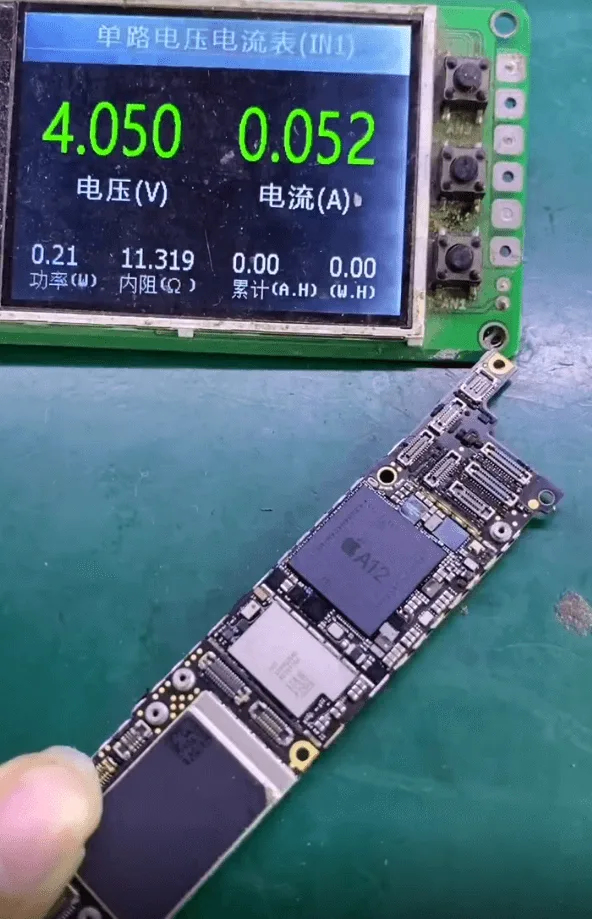
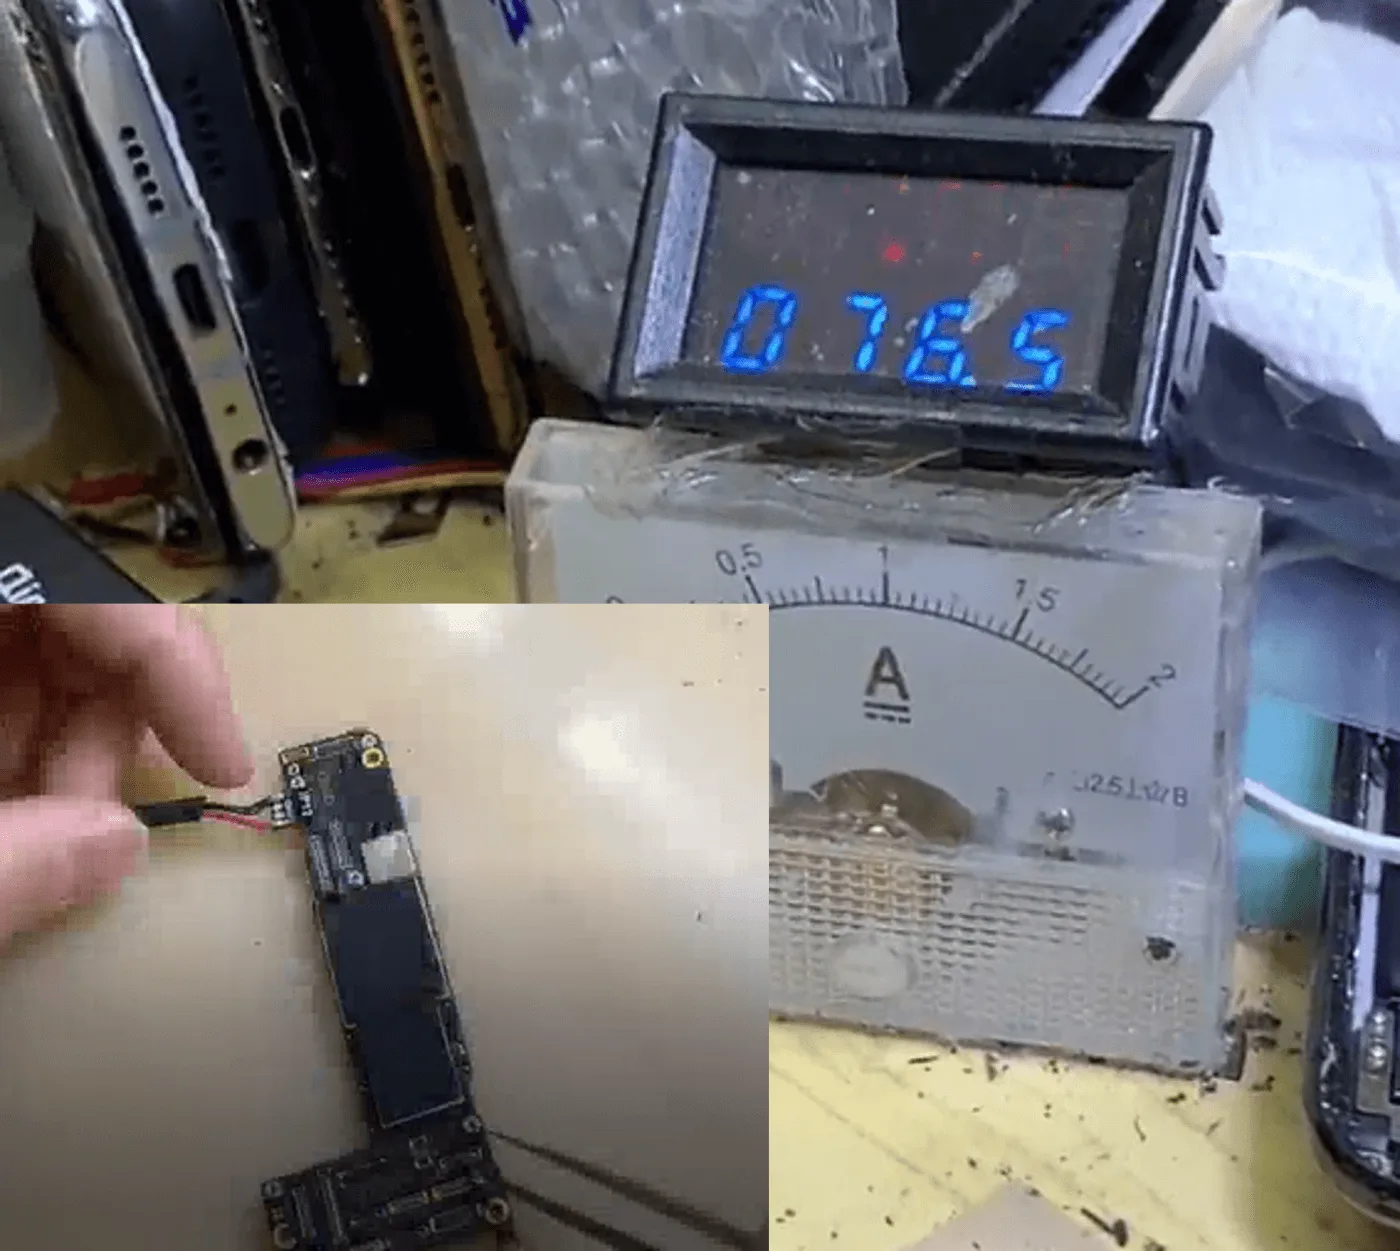
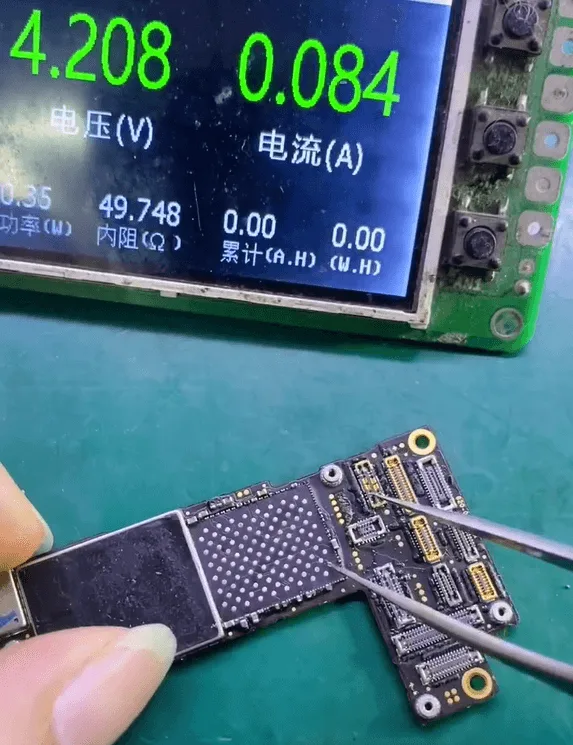
Connect the reassembled motherboard to a DC power supply and trigger the boot. A stable current jump to around 50mA indicates the CPU is functioning correctly.
Remaining Steps
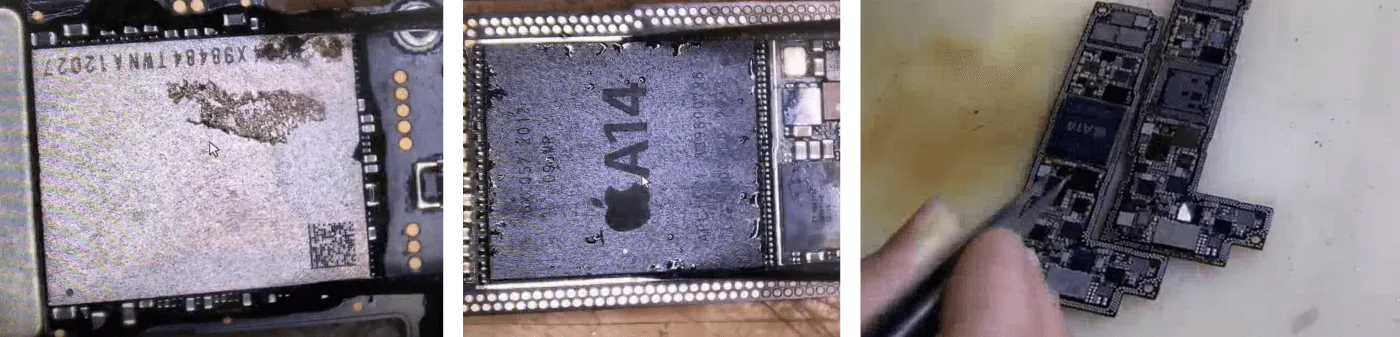
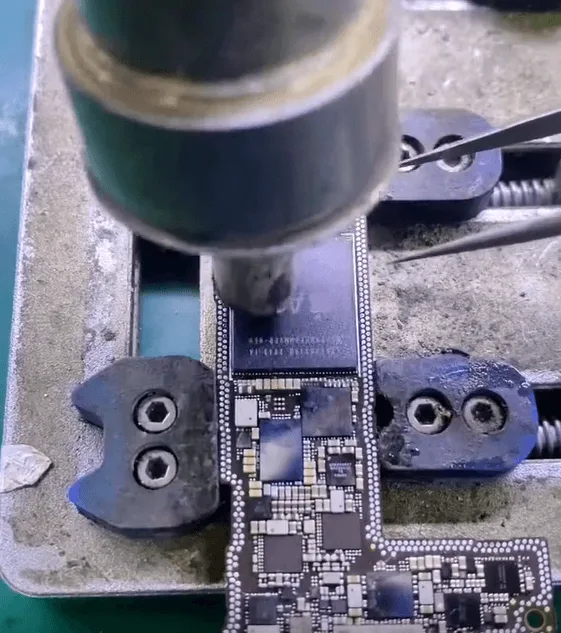
Remove and reball the NAND chip and Baseband CPU from the original board.
Solder them onto the new motherboard along with the already-transferred CPU and EEPROM.
Reballing and soldering steps are similar to the techniques taught in REWA’s Handwork Course.
Final Testing
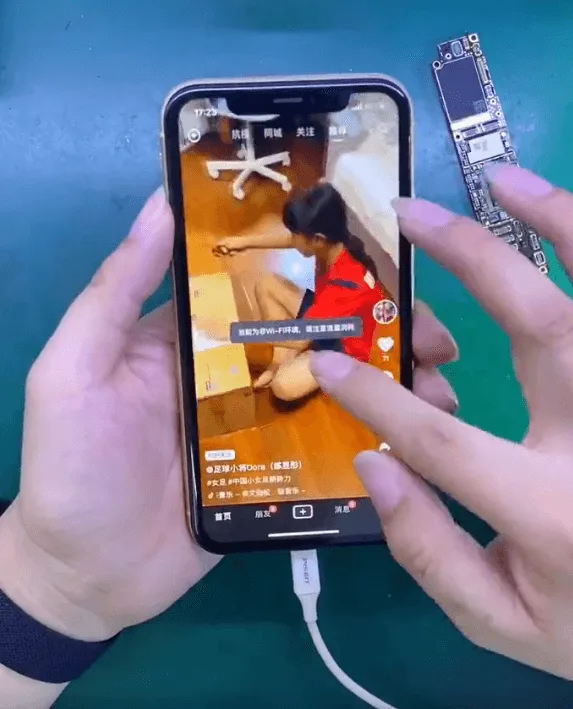
Once all encrypted chips are swapped and the board cools down, reassemble the phone.
Results:
All functions work normally.
The phone no longer reboots.
It runs games and videos smoothly for over 30 minutes with no crash or loop.
Conclusion
An iPhone XR keeps rebooting while gaming is typically suffering from a chip-level fault, especially overheating related to the SoC. The key solution is swapping all critical encrypted chips—CPU, NAND, Baseband CPU, and EEPROM—to a healthy donor board. Though this process requires advanced soldering skills and professional tools, it’s a proven and permanent solution. For repair shops and experienced technicians, this guide offers a reliable path to restore full functionality to affected iPhones.
Tools & Parts Used:
Tools:
Hot air gun
Thin blade
Tweezers
DC power supply
Soldering iron
Microscope (recommended)
Thermal grease cleaner
Reballing station (optional but preferred)
Parts:
Donor iPhone XR motherboard
Original iPhone XR CPU (encrypted)
Original NAND chip
Original Logic EEPROM (U1401)
Original Baseband CPU
Technical Term Clarifications:
AppleSocHot – A panic log error indicating SoC overheating.
CPU (Central Processing Unit) – Main processor of the phone.
NAND chip – Memory storage chip that holds iOS and user data.
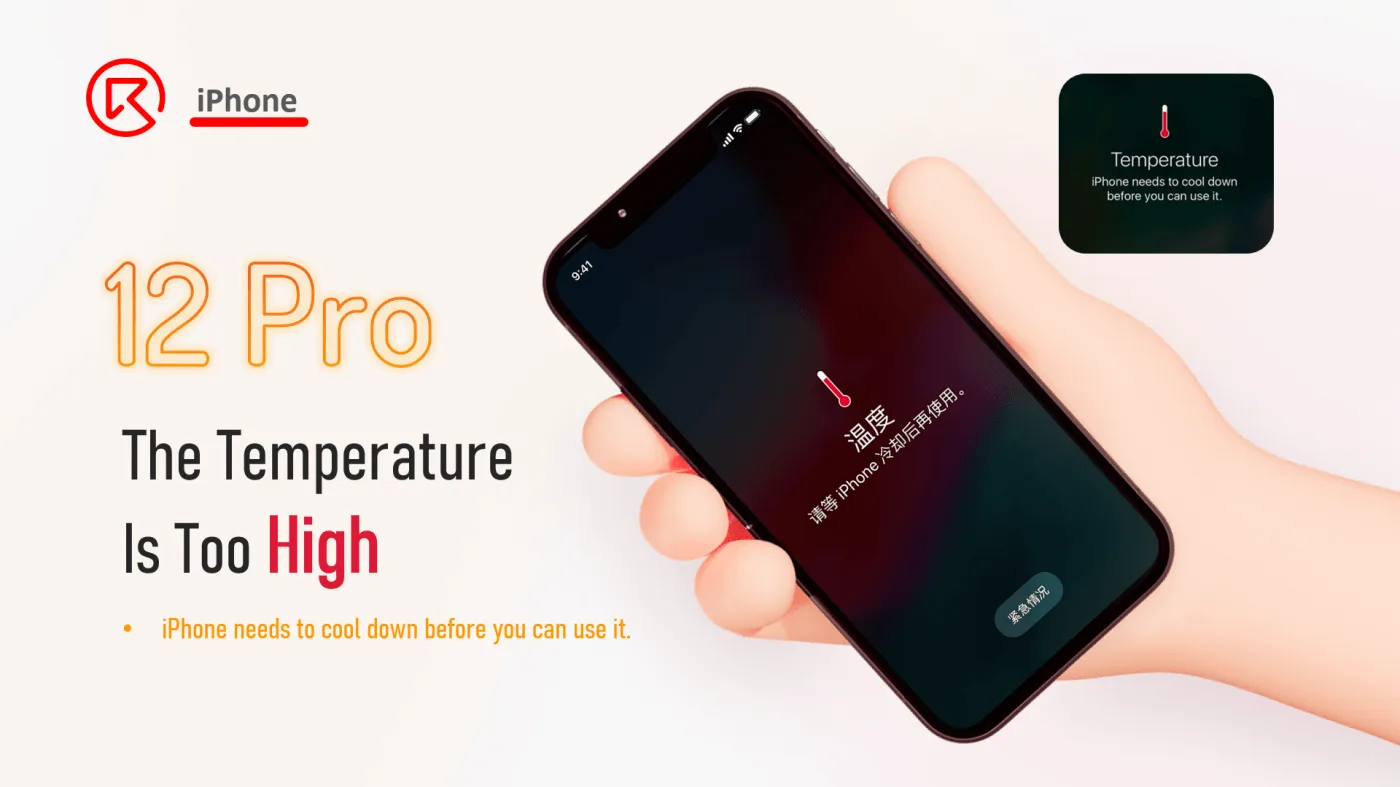
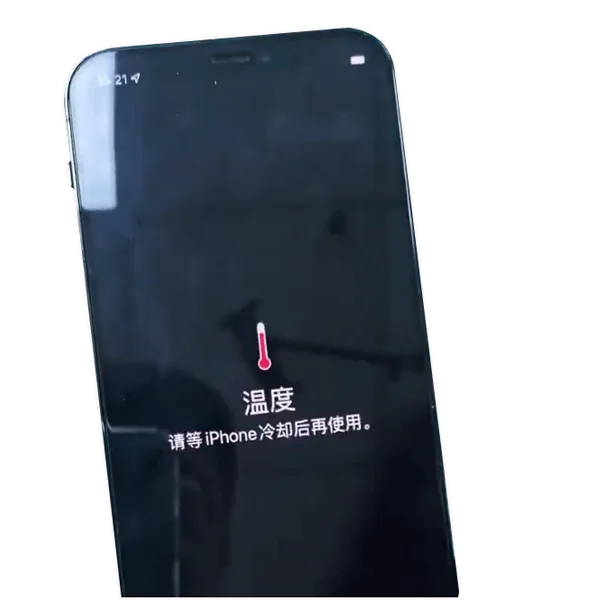
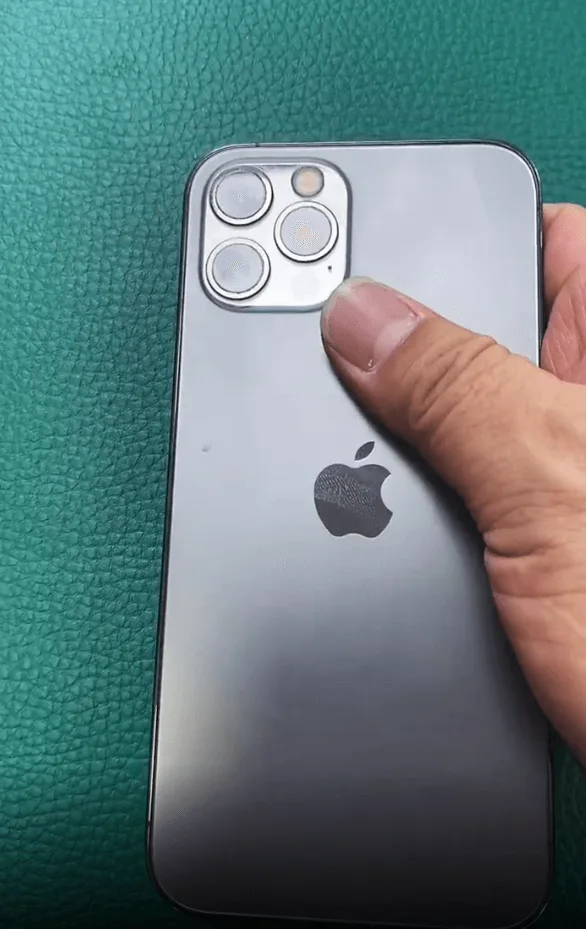
Have you encountered the dreaded “iPhone needs to cool down before you can use it” message on your iPhone 12 Pro? Overheating can cause your phone to become unstable, slow, or even shut down completely. This is a common problem faced by both technicians and phone users alike—but what causes it, and how can you fix it?
In this guide, we’ll take you through a real-life repair case involving an iPhone 12 Pro that experienced severe overheating due to a damaged earpiece flex cable. We’ll outline the repair steps, the tools used, and provide tips to help prevent similar damage in future repairs.
Symptoms of iPhone 12 Pro Overheating
iPhone 12 Pro shows: “Temperature: iPhone needs to cool down before you can use it.”
Heat is noticeably coming from the back cover
Device shuts down or freezes due to high temperature
Troubleshooting Process
Disassemble the iPhone 12 Pro and remove the motherboard.
Connect the motherboard to a DC power supply and trigger the boot process.
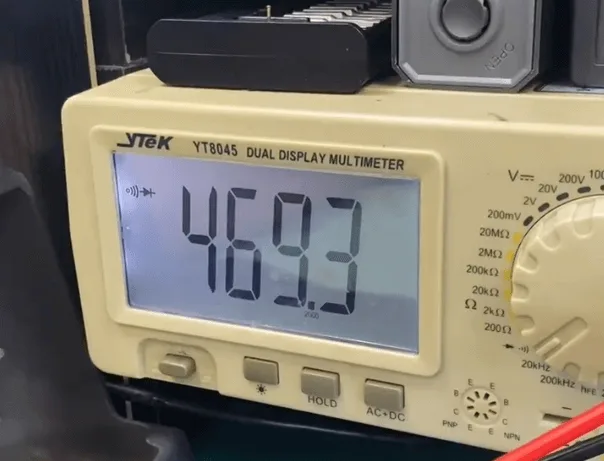
The phone boots normally and current readings are within normal range, which means the motherboard itself is not causing the iPhone 12 Pro overheating.
🔍 Initial Diagnosis:
The issue likely originates from internal components other than the motherboard, such as flex cables, battery, or other connected modules.
Identifying the Real Culprit
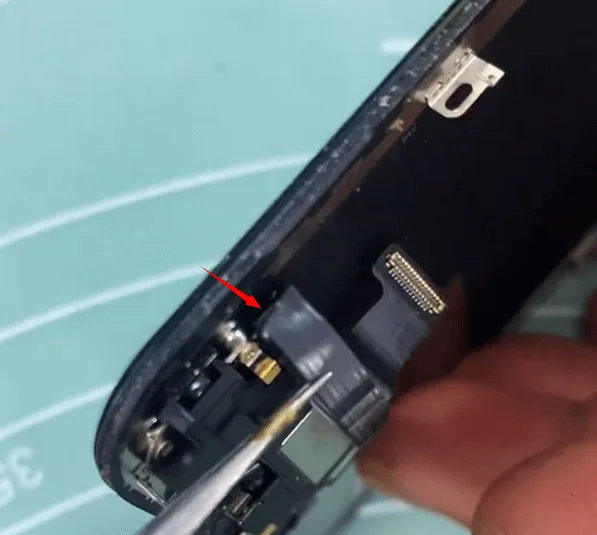
Upon close inspection, a crack was discovered in the earpiece flex cable. This component is often damaged during previous repairs like screen replacement, battery swaps, or logic board servicing.
Over time, exposed copper wires on the flex cable can lead to short circuits, resulting in excessive heat generation.
💡 Tech Tip: Flex cables are thin and fragile. Improper folding or pinching can expose internal wiring, causing shorts that lead to iPhone 12 Pro overheating.
Repair Steps
Inspect the damage:
The crack on the earpiece flex cable was minor, so no need to replace it or jump wires.
Apply UV Solder Mask:
Coat the damaged section of the flex cable with UV solder mask to insulate the exposed copper.
Cure with a UV lamp for several minutes until hardened.
Reassemble the phone:
Carefully reattach the motherboard.
Pay extra attention to the earpiece flex cable during screen reassembly to avoid further damage.
Final Testing
Power on the device and run high-load tests such as video playback and gaming for 30+ minutes.
✅ Result: No overheating message, and the device remains cool and stable.
Tools & Parts Used
Tools:
DC Power Supply
UV Solder Mask
UV Curing Lamp
Screwdrivers and disassembly tools (plastic pry tools, tweezers)
Anti-static gloves and mat (optional but recommended)
Parts:
Original iPhone 12 Pro earpiece flex cable (not replaced but inspected)
UV Solder Mask (for insulation)
Conclusion
This iPhone 12 Pro overheating issue wasn’t caused by a motherboard problem as initially suspected, but by a slightly damaged earpiece flex cable. By identifying and repairing the faulty flex using a UV mask instead of replacing the entire module, the issue was fully resolved.
When troubleshooting iPhone 12 Pro overheating problems, don’t overlook small internal components. Flex cables, dock connectors, or even a poorly executed battery replacement can all contribute to heating issues.
Lessons Learned
Not all problems come from the motherboard.
Precision matters. When handling internal parts like flex cables, be meticulous to avoid causing additional damage.
A good repair technician must have strong diagnostic skills and pay attention to small details.
Stay Ahead in Mobile Repair
📢 REWA Academy launched iPhone 12 Pro Repair Course !
If you’re serious about mastering iPhone board-level and component repair, stay tuned and subscribe to REWA Academy for updates.
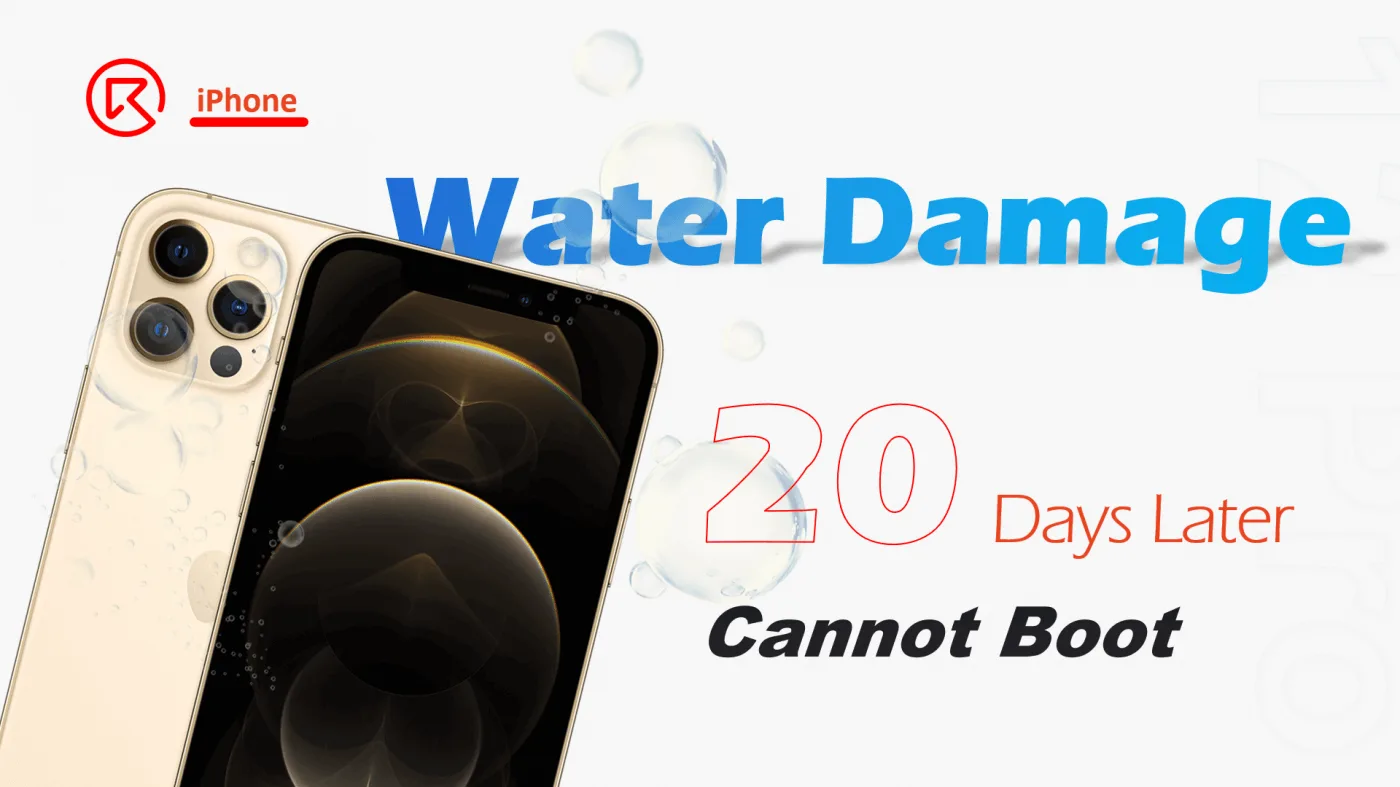
Water damage is one of the most common and frustrating issues faced by iPhone users—especially when the phone won’t power on. In this detailed repair guide, we’ll show you how to diagnose and fix an iPhone 12 Pro water damage and remains unresponsive, even after 20 days. You’ll learn how to disassemble the device, locate the short-circuited component, and restore full functionality by removing a damaged capacitor on the motherboard.
Whether you’re a repair technician, shop owner, or an experienced DIYer, this article offers expert-level insights and real repair case experience to help you successfully revive a water-damaged iPhone 12 Pro.
Step-by-Step Repair Guide: iPhone 12 Pro Water Damage Repair
1. Initial Inspection & Disassembly
Client complaint: The iPhone 12 Pro cannot boot after water damage and has been sitting for around 20 days.
Disassembly steps:
Remove the two screws at the bottom of the device.
Place the phone on a heating platform at ~70°C to soften the adhesive between the screen and the frame.
Use a plastic pry card to gently separate the screen.
2. Water Damage Indicators
iPhones have Liquid Contact Indicators (LCIs) that turn red when exposed to water.
✅ Indicator near the SIM card slot: Normal (white).
❌ Indicator near the earpiece speaker: Turned red.
Conclusion: Water likely entered the motherboard through the earpiece speaker mesh.
3. Screen & Motherboard Check
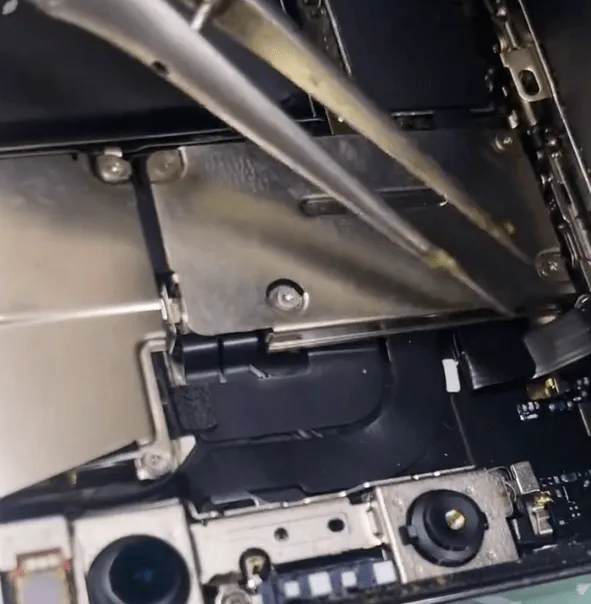
Protect sensitive modules like the front camera, infrared camera, and dot projector.
Remove the screen — no visible damage observed.
Take out the motherboard and connect it to a DC power supply for testing.
Result: High current draw immediately after connection, indicating a short circuit.
4. Identifying the Faulty Component
Visual inspection under a microscope: No physical damage or corrosion detected.
Diode mode test reveals:
PP_VDD_MAIN line is shorted to ground.
Use a thermal imaging camera while connected to DC power:
No heating component detected — the short must be internal.
5. Motherboard Separation & Deep Inspection
Use a heating platform and hot air gun to separate the sandwiched motherboard layers.
Upon inspection, a capacitor labeled C413_E appears discolored — likely damaged.
Based on repair experience, this indicates internal capacitor failure.
6. Remove the Faulty Capacitor
Desolder and remove C413_E without replacing it:
Reason:
It’s located near the middle layer — re-soldering could damage nearby connections.
The Baseband CPU is adjacent — excessive heat could cause baseband failure.
PP_VDD_MAIN has multiple filter capacitors — removing one won’t affect performance.
Re-check the PP_VDD_MAIN line:
✅ Short circuit resolved.
7. Reassemble and Test
Recombine the motherboard layers.
Reassemble the iPhone and power it on.
✅ All functions are working properly.
Tools & Parts List
🛠️ Tools Used:
Heating platform (70°C)
Hot air gun
Microscope
DC power supply machine
Thermal imaging camera
Plastic pry card
Screwdriver set
Multimeter (with diode mode)
🔩 Parts/Components Involved:
iPhone 12 Pro motherboard
Capacitor C413_E (removed, not replaced)
Technical Terms Explained
PP_VDD_MAIN: The main power rail distributing voltage to critical components on the motherboard.
DC Power Supply Machine: A diagnostic tool that simulates the iPhone battery, helping identify short circuits based on current flow.
Thermal Imaging Camera: Detects abnormal heat to help find shorted components.
C413_E: A small filter capacitor used to smooth voltage spikes — one of many on the PP_VDD_MAIN line.
Diode Mode Testing: A multimeter function that checks for short circuits or open circuits by measuring voltage drop across components.
Conclusion
Water damage doesn’t always mean your iPhone is beyond saving. With the right tools and expertise, even a non-booting iPhone 12 Pro can be revived. In this case, the culprit was a shorted capacitor (C413_E) on the PP_VDD_MAIN line, which was successfully removed to restore full functionality.
If you’re a technician or DIYer, always proceed carefully when dealing with internal motherboard repairs. And for those looking to enhance their skills, REWA Academy’s iPhone 12 Pro Online Course is a great place to deepen your understanding.
When an iPhone 12 experiences a severe drop, it’s not just the screen or back glass that suffers—internal logic board components can also sustain serious damage. If your iPhone 12 won’t boot and only shows a fixed current of around 70mA on a DC power supply, this guide details a real-world board-level repair case. We’ll cover how to identify NAND or CPU damage, perform encrypted chip swaps, and restore the phone to working condition—perfect for advanced repair technicians, refurbishers, and repair shop owners.
Device Overview
Model: iPhone 12
Release Date: October 2020
Issue: Severe physical damage, screen/back cracked, cannot boot
Initial Diagnosis: Phone Doesn’t Boot
After disassembling the iPhone 12, the motherboard was tested using a DC power supply. The boot current remained fixed at ~70mA, a common indicator of NAND or CPU failure.
Internal Board Inspection
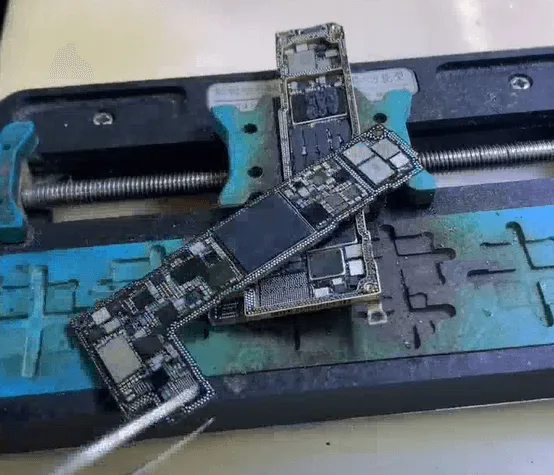
The motherboard was separated into upper and lower layers using a heating platform. Upon inspection:
Some pads were missing.
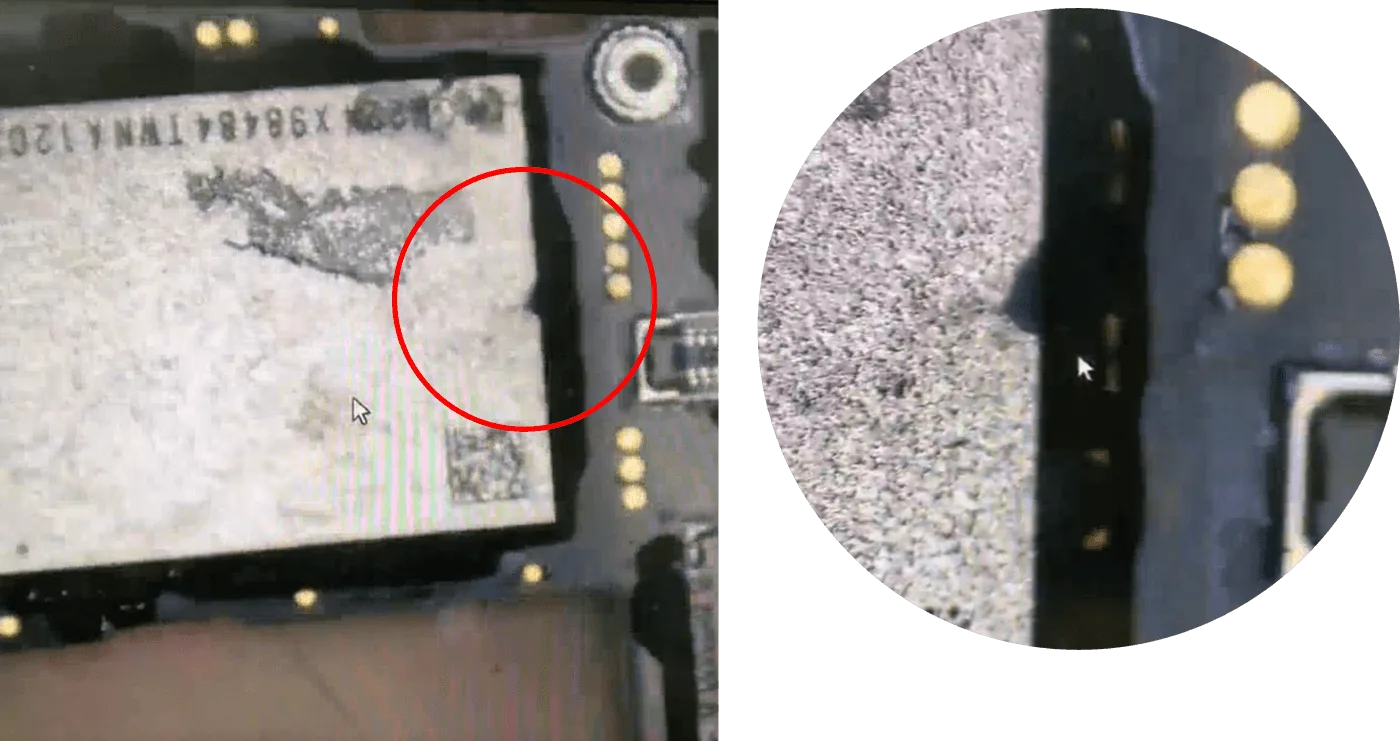
The NAND chip had a minor crack on the edge.
The rest of the board looked intact.
Under normal circumstances, removing the NAND still allows the phone to connect to iTunes or 3uTools, but this one didn’t. This raised suspicion of CPU damage.
NAND & CPU Removal
Carefully removed black glue around NAND with a sculpting knife and heat gun.
Heated the chip until solder melted and pried it off.
Board under NAND was heavily deformed (seesaw-like).
CPU was then removed and inspected — no visible cracks or missing pads.
Chip Swapping Repair Process
Given the physical deformation, the likely fix involved transplanting key encrypted chips to a new board.
Swapped the following from the damaged board to donor board:
NAND chip
CPU
Logic EEPROM
Connected upper logic board to DC power — the phone booted successfully!
Signal Board Chip Swap
To restore network and connectivity functions:
Baseband CPU and Wi-Fi chip were also transferred to the donor signal board.
With both board layers temporarily connected for testing, the phone booted properly again.
Final Assembly
Upper and lower layers were permanently rebonded.
Phone was fully reassembled.
All functions passed — iPhone 12 fully restored!
Tools & Parts List
Tools:
DC power supply
Heating platform
Microscope
Hot air gun
Sculpture knife
Blade knife
Motherboard layered test fixture
Parts:
Donor iPhone 12 logic board
Replacement signal board
Logic EEPROM
NAND chip
CPU
Wi-Fi chip
Baseband CPU
Conclusion
Severe drop damage doesn’t always mean your iPhone 12 is unsalvageable. If it won’t boot and shows a 70mA current, a deformed board or NAND/CPU failure is likely. With careful inspection, encrypted chip transplants, and the use of donor boards, a skilled technician can revive a seemingly dead phone.
Got questions? Leave a comment or share your toughest iPhone 12 repair story below!
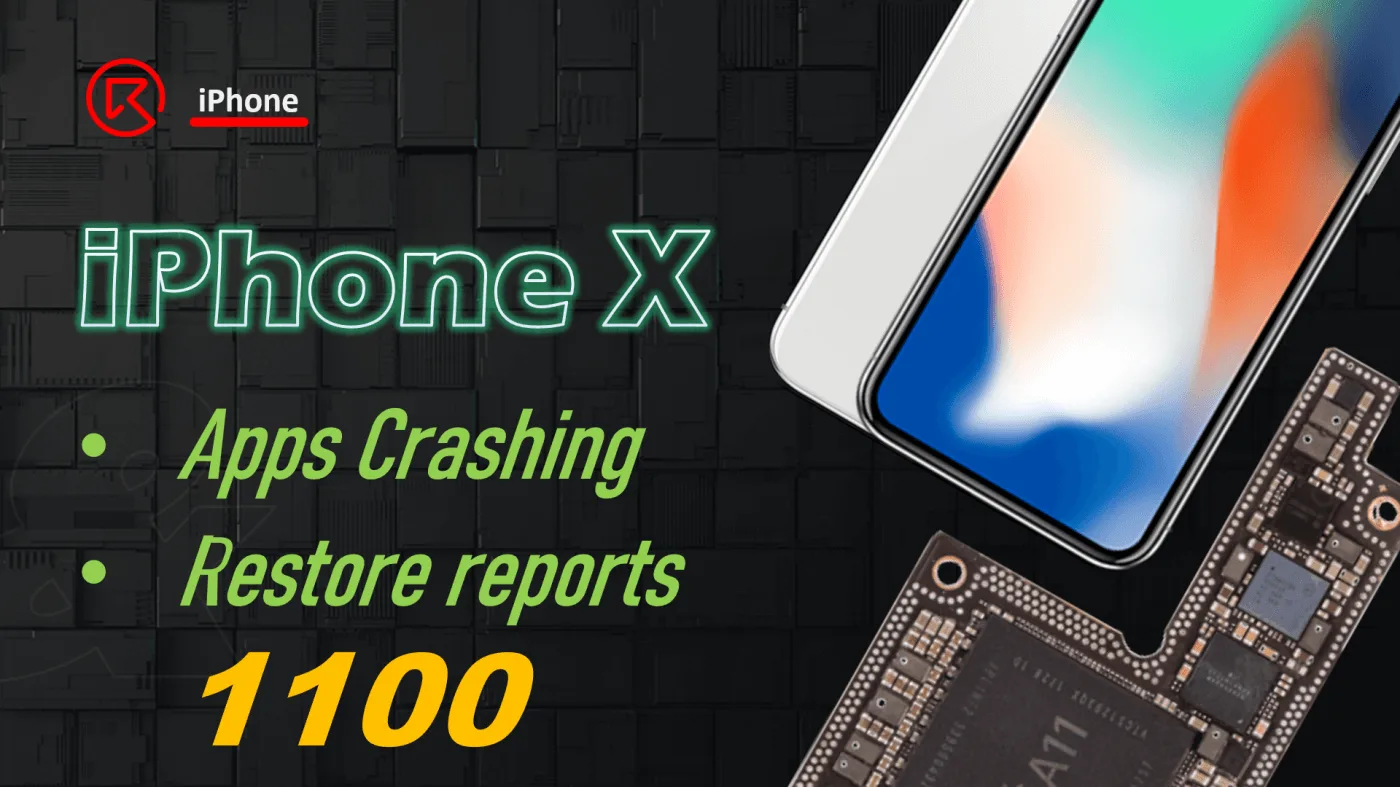
Is your iPhone X constantly crashing whenever you open apps—even after a restore? You’re not alone. This issue is often linked to a deeper hardware fault, especially if you’re seeing iTunes restore error 1100. While software problems are a common culprit, in this case, the cause is more likely poor CPU soldering on the motherboard.
In this comprehensive repair guide, we’ll walk you through how to diagnose and resolve iPhone X app crashing problems by resoldering the CPU upper layer and properly reassembling the motherboard. Whether you’re a repair technician, DIY enthusiast, or run a repair shop, this guide offers actionable steps to bring the iPhone X back to life.
Model Overview
Model: iPhone X
Announced: 2017, September 12
Issue: Apps keep crashing after restore; iTunes reports error 1100
Defect Analysis: iPhone X Apps Crashing Issue
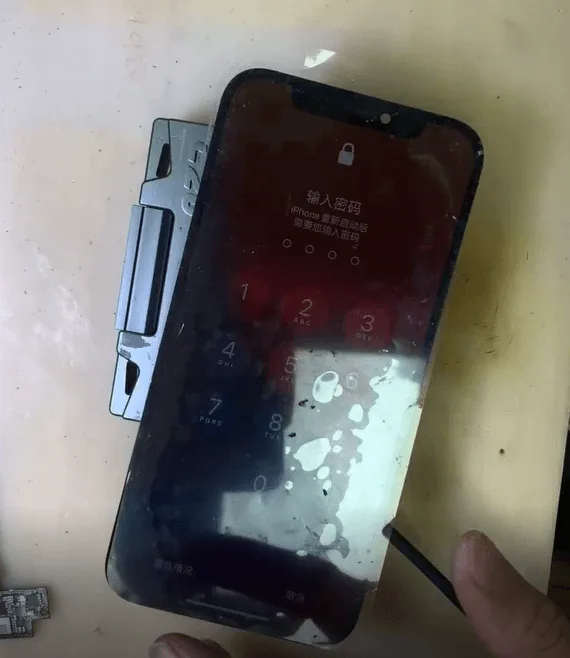
A customer brought in an iPhone X with persistent app crashing problems. Despite performing a full system restore just days before, the issue remained. We initially suspected a software glitch but ruled it out after another restore attempt via iTunes resulted in error 1100.
🔍 What’s Error 1100?
Error 1100 typically indicates a hardware communication failure, often related to the CPU or NAND soldering quality. In this case, the CPU’s upper layer connection was the root cause.
Repair Process: iPhone X CPU Resoldering & Motherboard Recombination
Here’s a breakdown of the hands-on repair process performed by REWA technicians:
Step 1: Attempt Restore via iTunes
Restored the device using iTunes → Error 1100 appeared
Diagnosis: Potential CPU upper layer soldering issue
Step 2: Remove the CPU Upper Layer
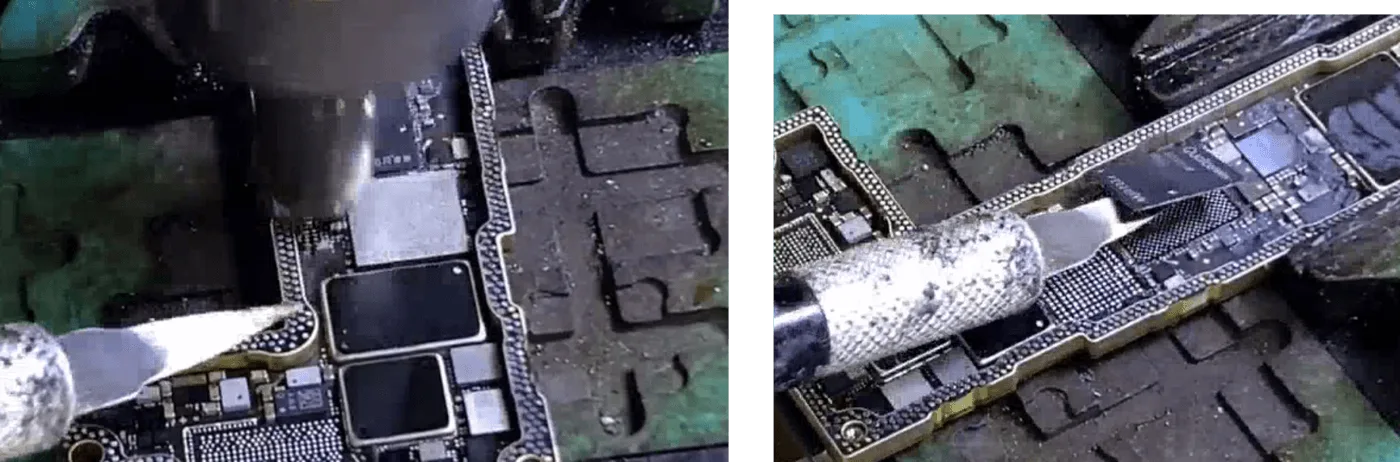
Tools used: Hot air gun, sculpture knife
Gently heat the CPU using a hot air gun
Carefully pry the upper layer off the chip with a sculpture knife
⚠️ Caution: Do not overheat. Avoid damaging the lower CPU layer.
Step 3: Clean the Tin Pads
Remove residual glue using cleaning solvent
Ensure all solder pads are clean and evenly exposed
Step 4: Solder the CPU Upper Layer Back
Tools used: Solder flux, tweezers, hot air gun
Apply solder flux to the CPU pad area
Align the upper layer with the lower layer using tweezers
Heat gently with a hot air gun and slightly press the chip
If the chip re-seats perfectly, soldering is successful
Step 5: Reassemble the Motherboard
Tools used: Heating platform
Align both layers of the motherboard using tweezers
Set heating platform temperature to 130°C
Start heating. Continue for 1 additional minute once the motherboard sinks and solder flux flows out
Step 6: Final Testing
Reassemble the phone
Power it on and test: ✅ Apps launch normally ✅ All functions work as expected
Tools & Parts Used
Hot air gun
Sculpture knife
Solder flux
Tweezers
Cleaning solution (for glue removal)
Heating platform
iTunes (for initial software restore)
Technical Terms
Sculpture knife: A precision tool used to lift components or remove glue without damaging the PCB.
Solder flux: A chemical agent that helps solder flow smoothly and prevents oxidation during soldering.
Tin pads: The contact areas on the motherboard or CPU where solder connects components.
Heating platform: A temperature-controlled base used to heat the motherboard evenly for soldering or reflow work.
Motherboard recombination: Reassembling a split-layered motherboard (common in iPhone logic boards) using controlled heat and alignment.
Conclusion: Mastering iPhone X App Crash Repairs
Fixing the iPhone X apps crashing issue—especially those tied to iTunes error 1100—often goes beyond software troubleshooting. As this case demonstrated, poor soldering between CPU layers can disrupt app stability. By mastering CPU resoldering and motherboard recombination, you can restore functionality and save devices that might otherwise be considered irreparable.
Want to perfect your soldering skills? Join the REWA Academy’s iPhone Motherboard Repair Course for in-depth, hands-on training.
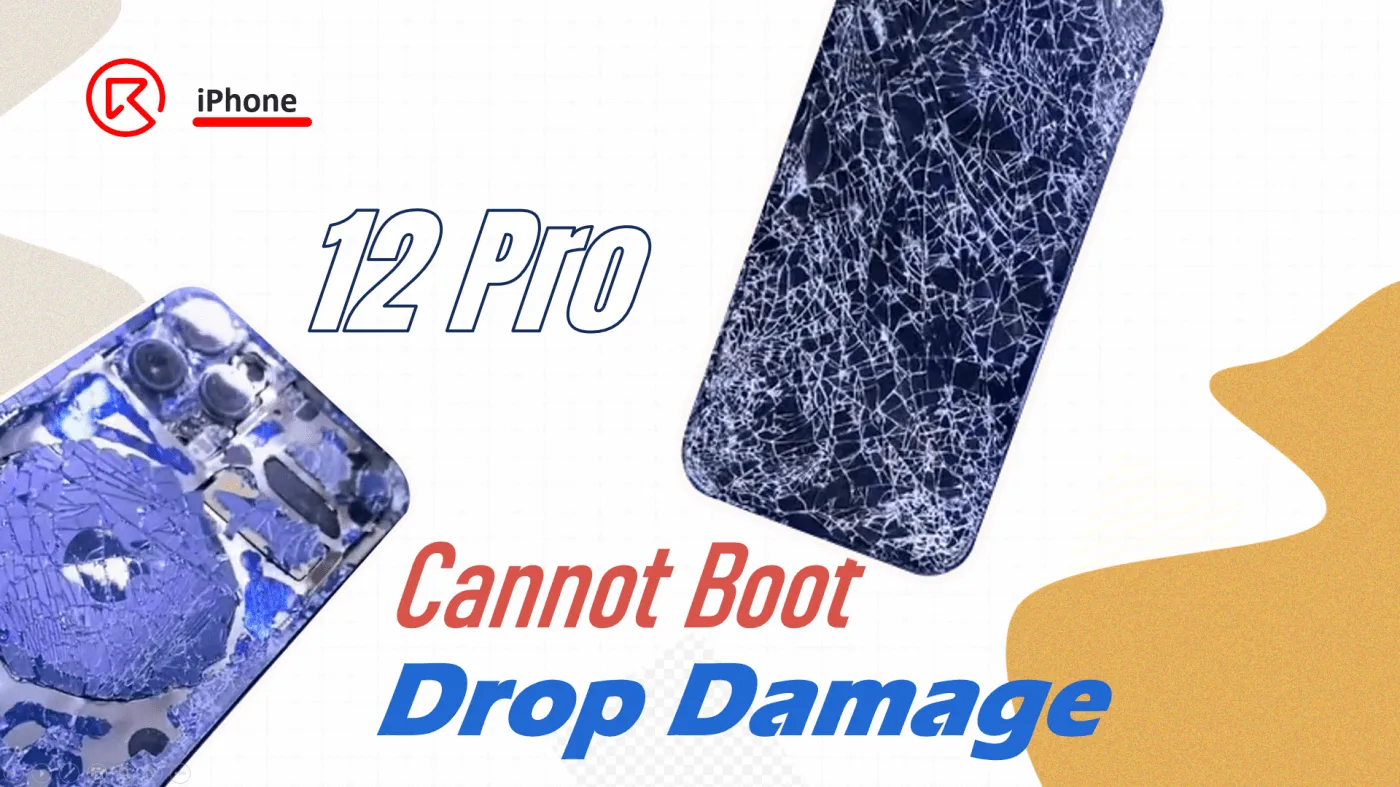
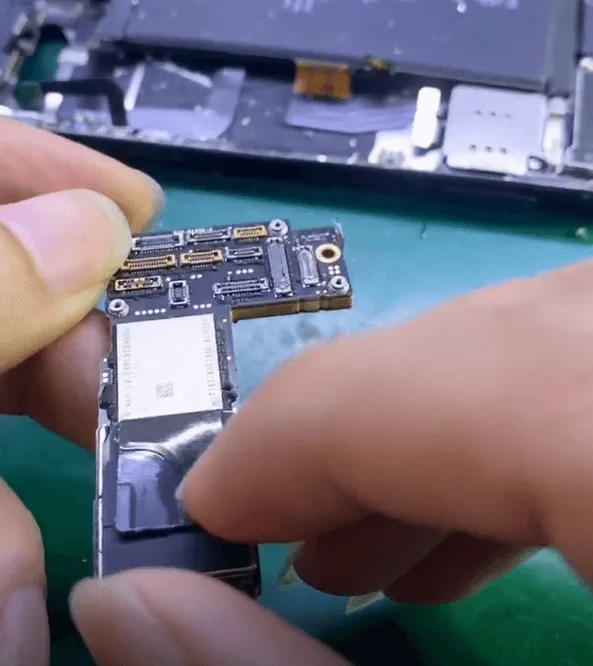
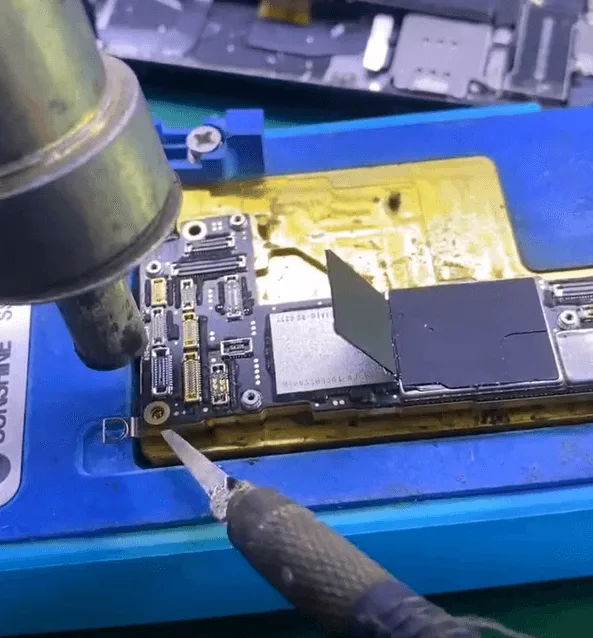
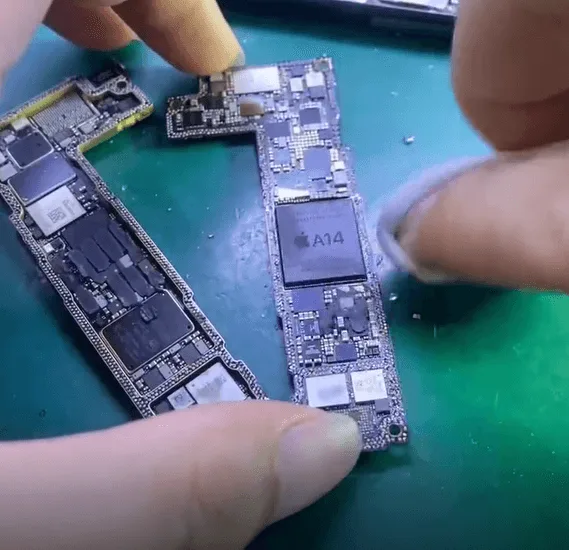
Have you experienced boot failure after dropping the iPhone 12 Pro? Drop damage is one of the most common causes of boot failure in smartphones. In this repair guide, we’ll walk you through the complete process of reviving a severely damaged iPhone 12 Pro that won’t boot due to a fractured double-layer motherboard. Moreover, we’ll show you how to recover lost data by swapping encrypted chips onto a donor board, such as irreplaceable photos. Whether you’re a professional repair technician or a DIY enthusiast, this article provides a deep look into advanced logic board repair methods.
Phone Overview
Model: iPhone 12 Pro
Announced: 2020, October 13
Damage Inspection:
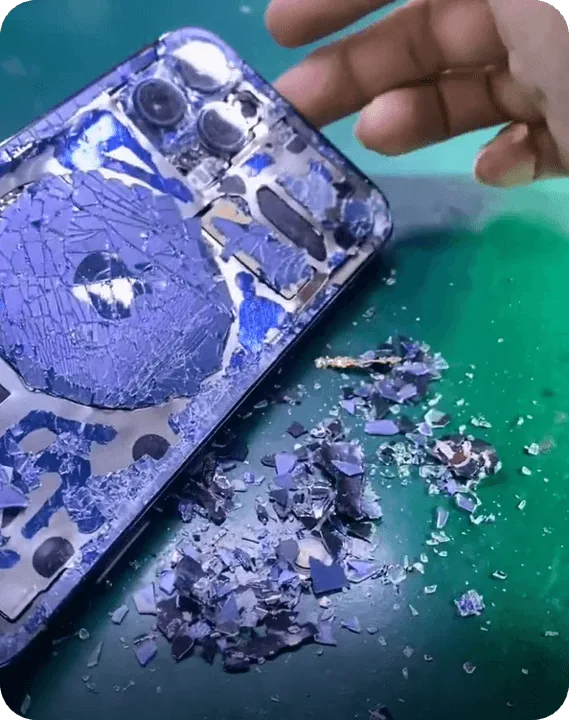
After the drop, the iPhone 12 Pro showed a cracked screen and back glass. More concerning iPhone 12 Pro boot failure. The customer urgently needed to recover important photos from the device.
Initial Diagnosis:
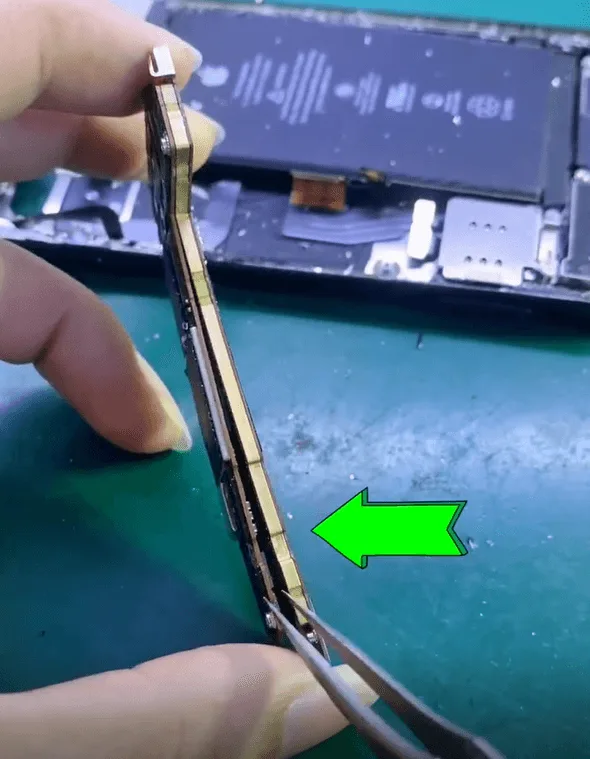
Upon disassembling the phone, it became clear the double-layer motherboard was nearly separated due to the impact.
Removed the protective sticker on the NAND chip – visually intact.
Heated the board using a hot air gun and heating platform to carefully separate the two layers.
Chip Condition Check:
After separation, both the NAND chip and CPU appeared undamaged.
However, internal damage was found in the logic board’s rail area, indicating the board was structurally broken and beyond full restoration.
Chip Swapping Process for Data Recovery:
Considering that the board inside the rails is cracked and broken, the data recovery can be accomplished by swapping out the encrypted chip for a different one.
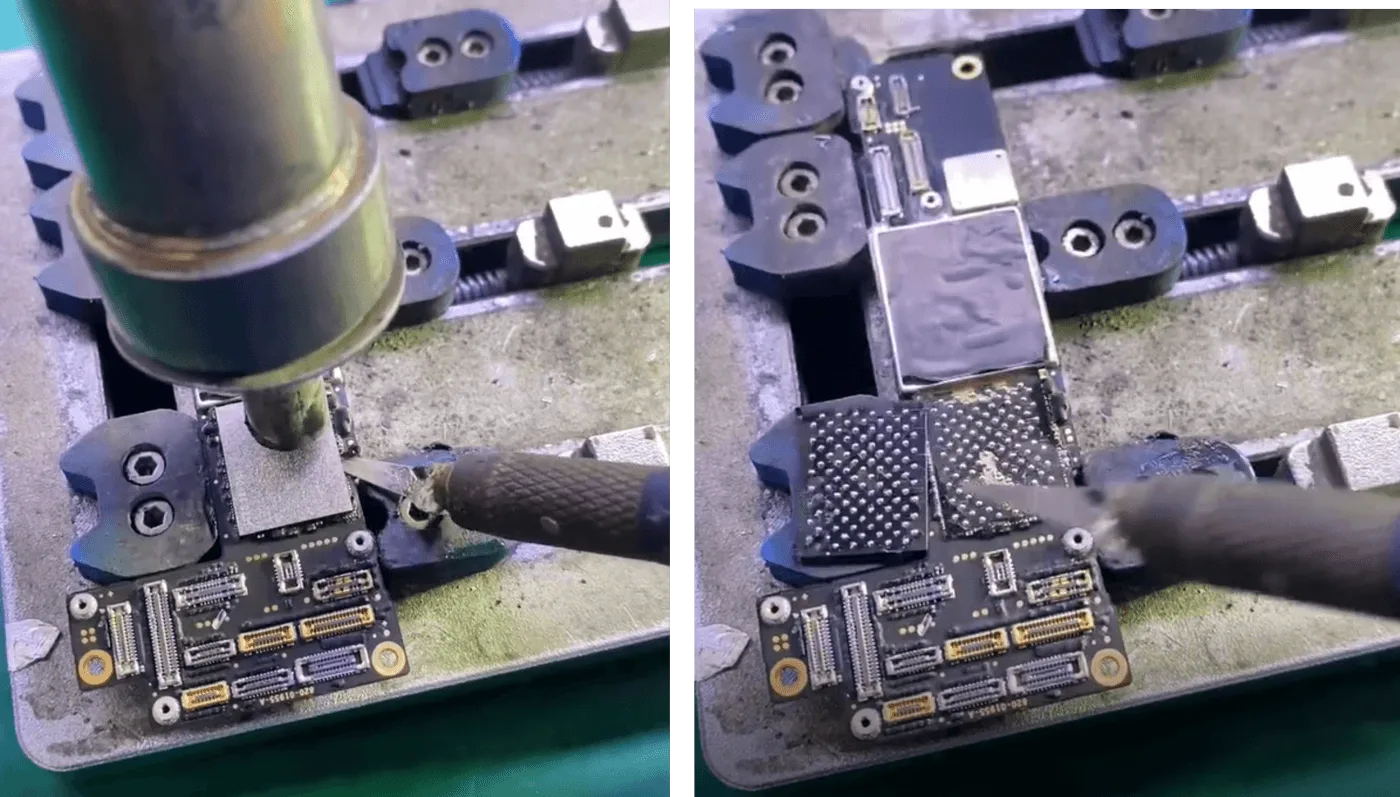
The first step is to carefully remove the NAND chip and CPU.
Remove the glue from the CPU pads, then clean them and reball them
Also, clean the pads on the NAND chip and reball it using the stencil, solder paste, and hot air gun.
We have now prepared the two most important chips.
Solder the CPU onto the new motherboard
Swapping the Logic EEPROM (stores calibration/configuration data).
Trigger Current Test:
Tested the board without the NAND chip installed.
Read a trigger current of 80mA, which is consistent with normal DFU mode—good sign.
NAND Installation & Boot Test:
Soldered the NAND chip back onto the new board.
Assembled and tested the device. Still wouldn’t boot.
Suspected dock flex cable damage. Re-tested the board by connecting only the battery and screen.
✅ The iPhone booted successfully.
Signal Board Repairs:
Reballed and reinstalled the Baseband CPU and Wi-Fi chip onto the baseband layer.
Cleaned the frame pads and rebonded the two motherboard layers together.
Final Testing:
After reassembling the iPhone 12 Pro:
All functions tested and passed.
Only the screen needed replacement.
The phone was successfully restored—full data recovery and operational. A true “full blood resurrection”.
Double-layer motherboard: The iPhone 12 Pro’s logic board consists of two layers soldered together, one handling signal processing (logic layer) and the other handling power and RF signals (baseband layer).
NAND chip: The flash storage chip that contains user data such as photos and apps.
CPU (Central Processing Unit): The phone’s main processing chip. In iPhones, it contains encrypted data tied to the NAND.
Reballing: A process where you apply new solder balls to a chip to allow it to be soldered onto another board.
DFU Mode (Device Firmware Update): A recovery mode that allows communication between the phone and a computer even when the phone isn’t booting normally.
Baseband CPU: Controls cellular communication. It must be matched and reballed if swapped.
Conclusion:
Physical damage doesn’t always mean the end for your iPhone 12 Pro—especially if important data is at stake. With advanced microsoldering skills and the right tools, it’s possible to swap critical encrypted chips like the CPU and NAND onto a new motherboard, recovering full functionality and preserving user data. For professionals and skilled DIYers, this repair highlights the importance of precision, patience, and a strong understanding of iPhone logic board architecture.
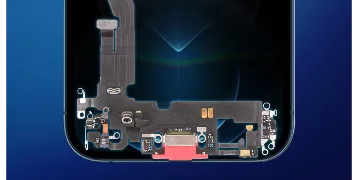
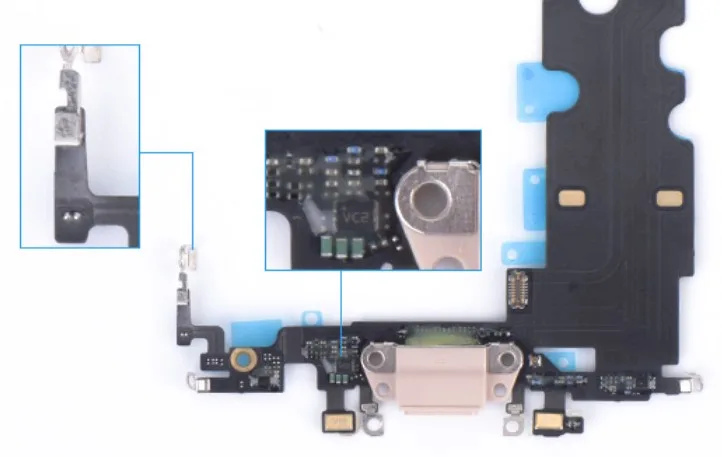
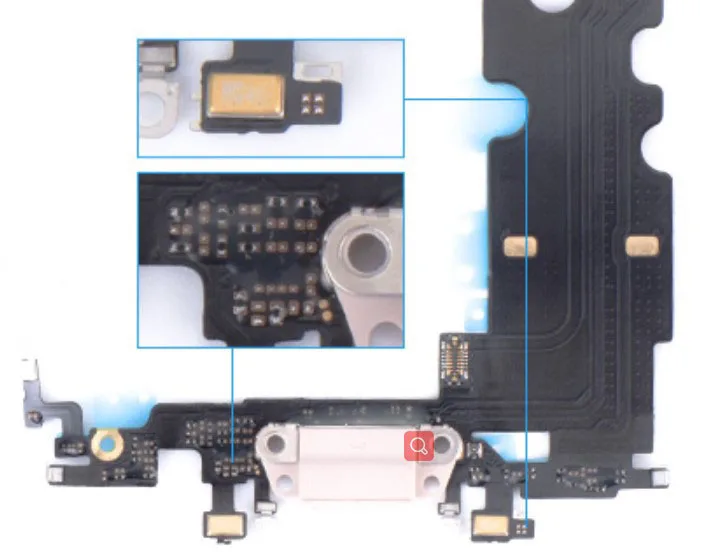
With the continuous expansion of mobile phone after-sales market, charging port flex cable, as perishable products, have a very huge market demand potential.
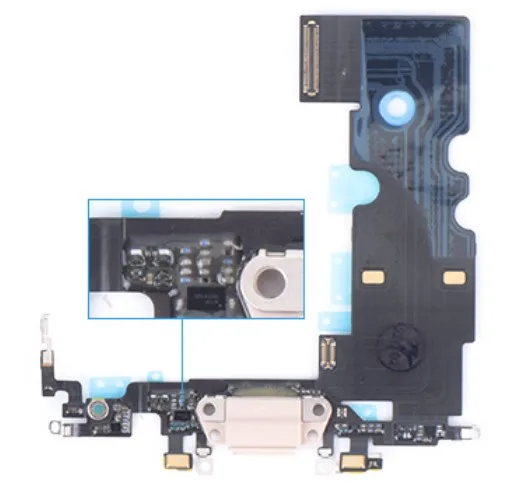
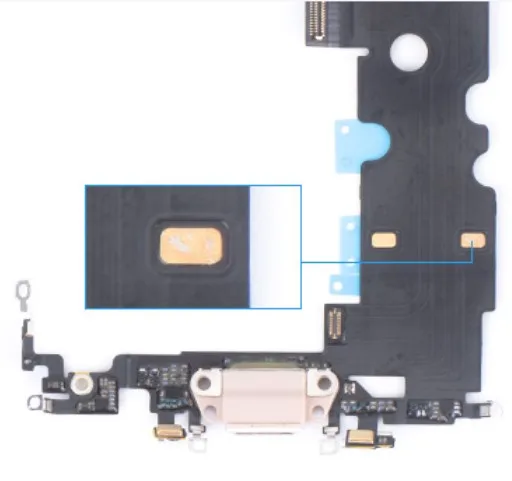
In order to meet the different needs of users, REWA will introduce four grades of iPhone charging port flex cable. Explore the difference bewteen those iPhone Charging Port Flex now!
OEM NEW
Brand new and fully-functional.
OEM USED
Signs of use but fully-functional.
S+
It has uneven sealing and some useless ICs.
A+
It has rough sealing and some missing ICs. FPC flex is bright black and not 1:1 made.
REWA-Selected iPhone charging port flex cables are best of the best. With multiple standard inspection procedures and clear quality standards, our product boasts high quality, stable charging speed and strong signal.
The iPhone XR remains a popular device, but like any smartphone, it’s not immune to hardware issues. Whether you’re a professional technician, repair shop owner, or DIY enthusiast, understanding real-world failure cases can help you troubleshoot and fix common problems more efficiently.
In this article, we share four practical iPhone XR repair cases covering issues such as failure to boot, speaker malfunctions, display problems, and baseband failure after a drop. Each case includes clear diagnostics, repair techniques, and component-level solutions to guide your repair process with confidence.
Case 1: iPhone XR Cannot Boot – High Current Draw on DC Power Supply
Symptoms:
Phone won’t boot
Large current spike when connected to a DC power supply
Diagnosis & Fix:
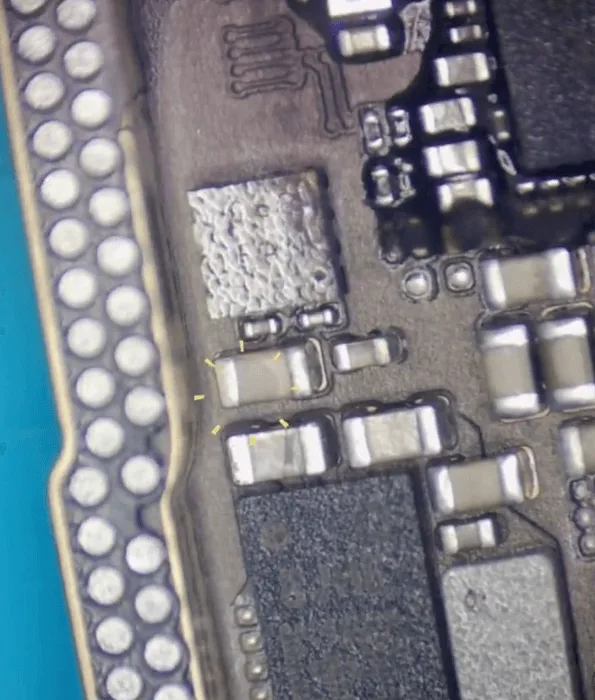
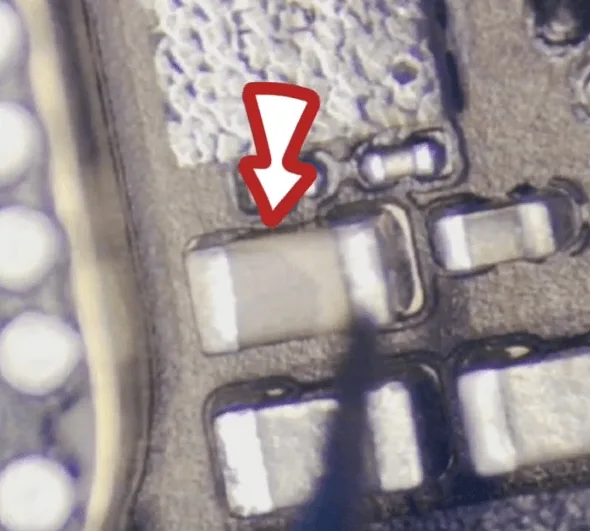
Using the rosin inspection method (a technique where rosin is applied to the board and heated to detect short circuits visually), a shorted capacitor—C5655—was found. This component is associated with the PP_DISPLAY_BL12_ANODE line, which powers the backlight.
Solution:
Replace the shorted C5655 capacitor. Once replaced, the short circuit disappears and the phone powers on normally.
Case 2: Speaker Rings Once, Then No Sound
Symptoms:
The speaker makes a single ring or sound
No audio afterward
Diagnosis & Fix:
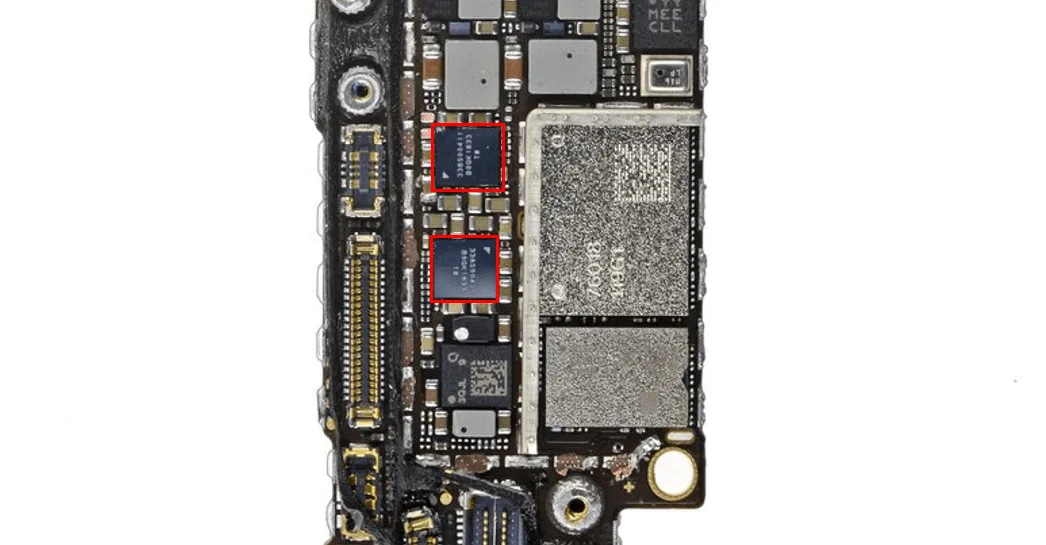
This issue is typically caused by poor soldering of the speaker amplifier ICs. Diagnosing each chip individually can be time-consuming, so the recommended approach is to directly replace both speaker amplifier ICs: U5102 and U4902.
Solution:
Replace both chips. After replacement, the speaker function returns to normal.
Case 3: No Display, But Normal Boot Current
Symptoms:
Screen remains black
DC power supply shows normal boot current
Diagnosis & Fix:
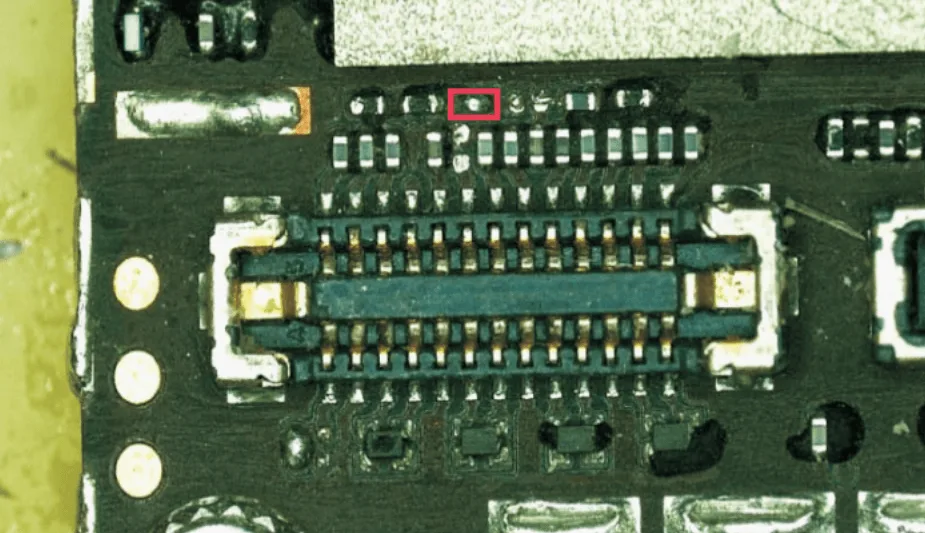
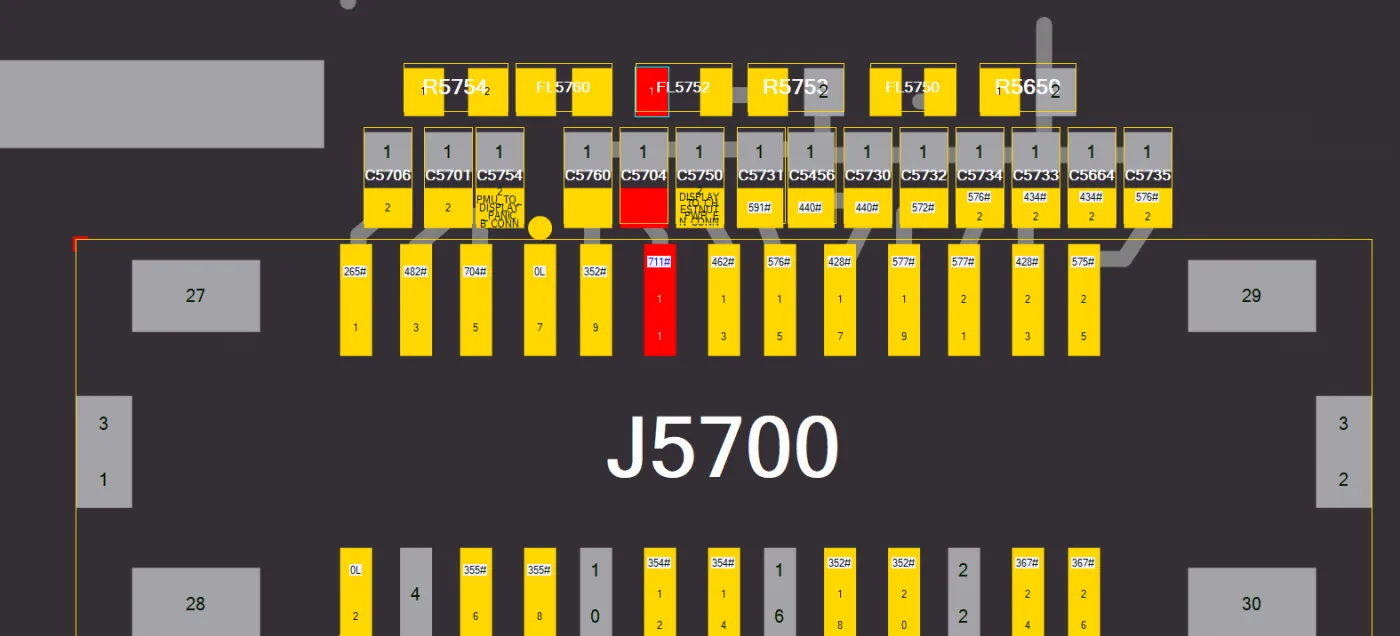
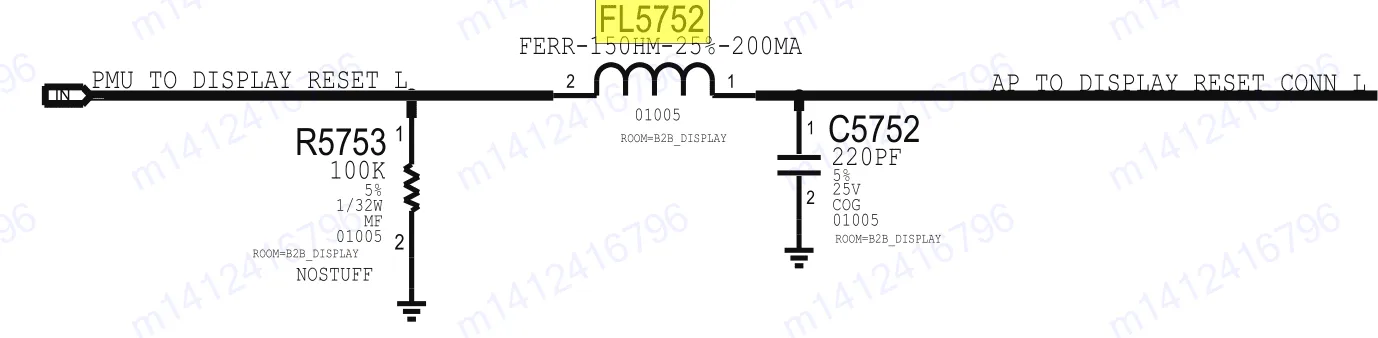
Check the display connector and nearby components. The FL5752 inductor was found missing. This inductor is responsible for the PMU_TO_DISPLAY_RESET_CONN_L signal, which is crucial for initializing the display.
Solution:
First, test by jumping a wire across the missing inductor location. If the display lights up, replace the FL5752 inductor with one of the same specification to complete the repair.
Case 4: No Baseband Function After Drop Damage
Symptoms:
Phone shows no service
Baseband information missing
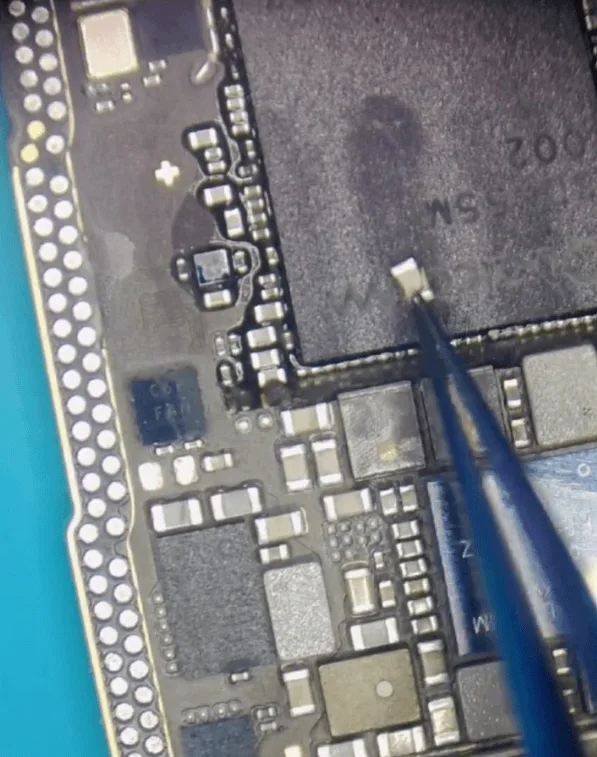
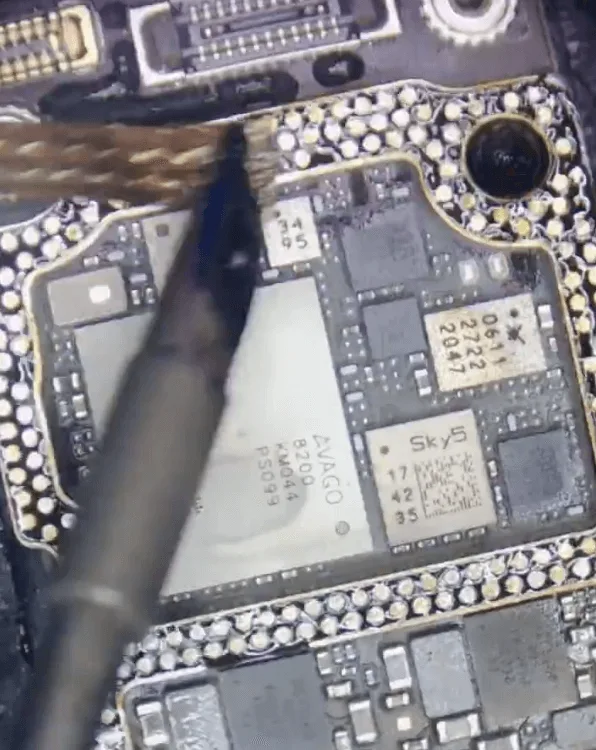
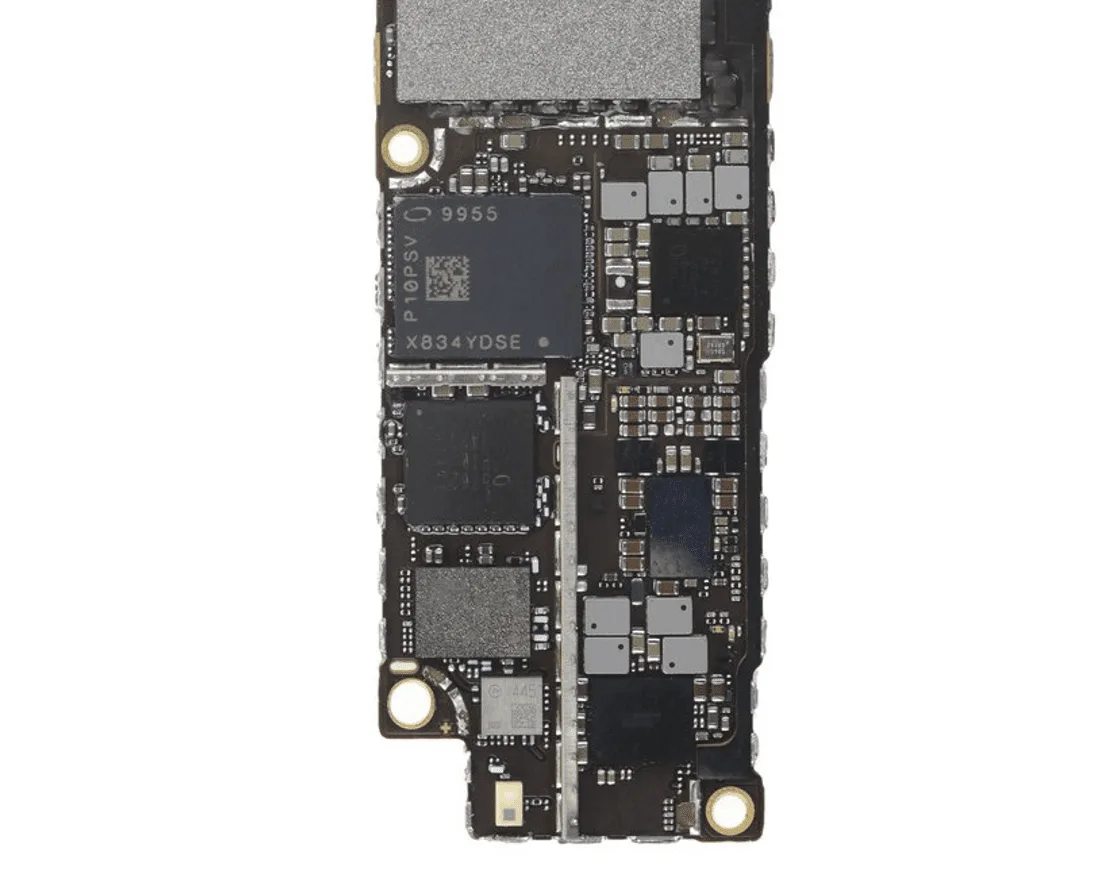
Diagnosis & Fix: Focus on components related to the Baseband CPU, Baseband PMU, and transceiver IC. Start by removing the shielding cover with a hot air gun (avoid using a cutter to prevent damage).
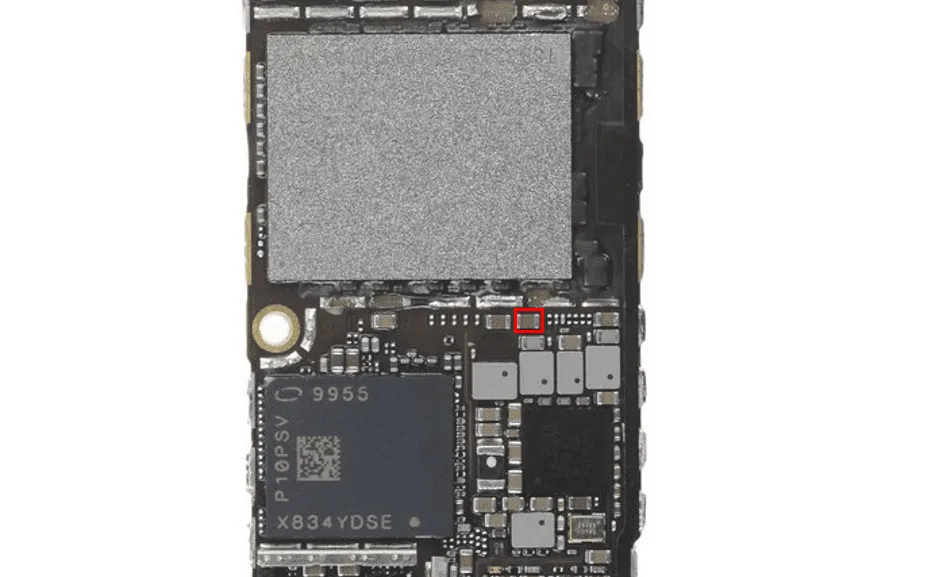
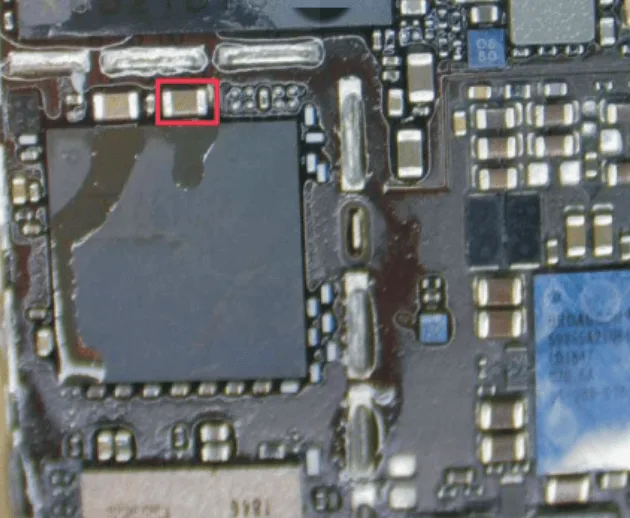
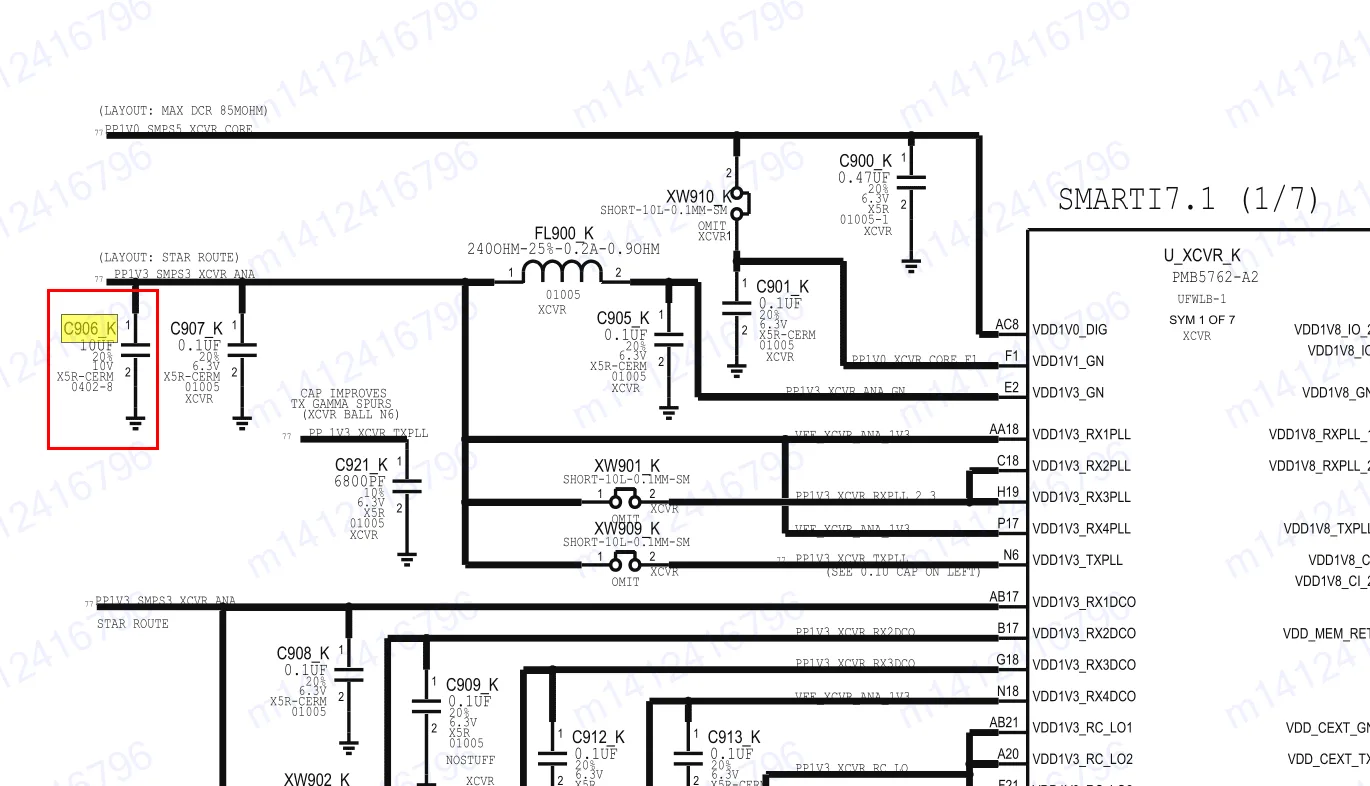
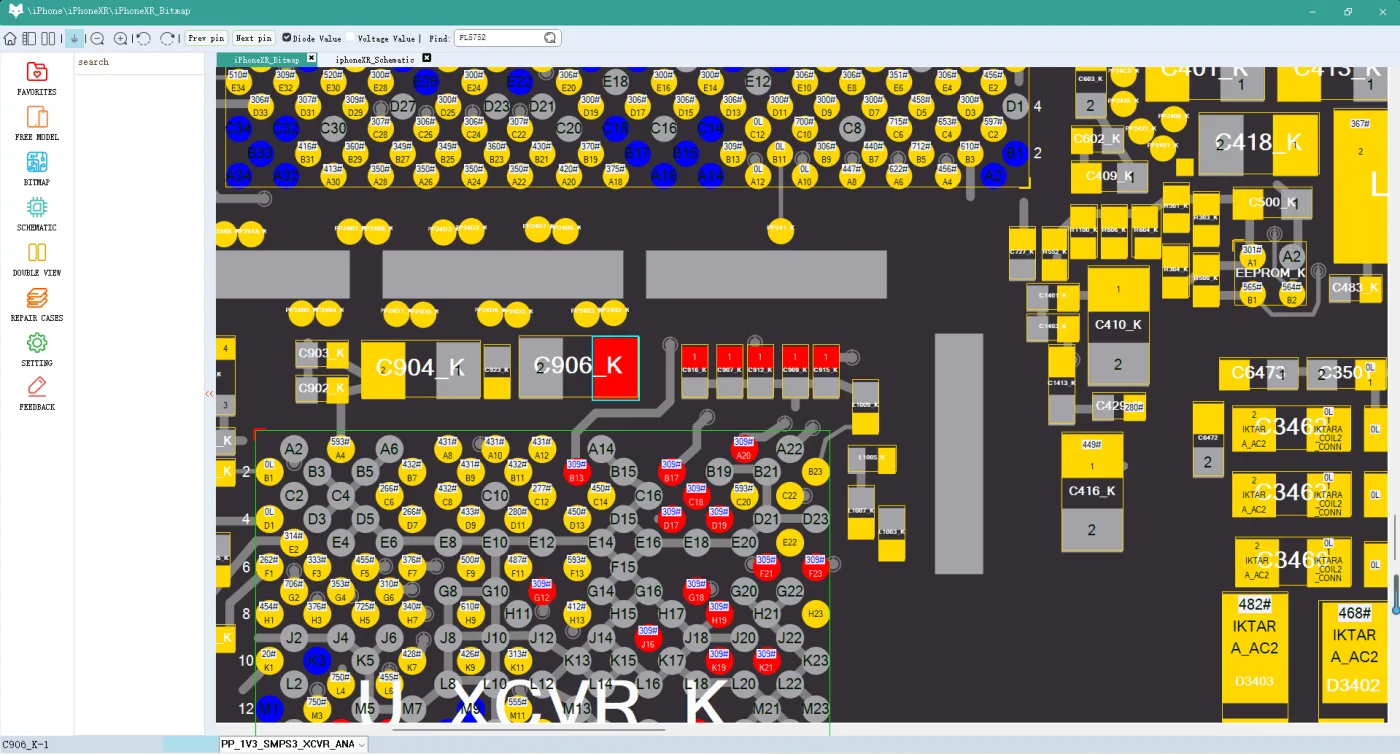
Next, measure the diode readings around these chips. In this case, C906_K capacitor was found shorted. It is connected to the PP_1V3_SMPS3_XCVR_ANA power supply and acts as a filter.
Solution: Replace the shorted C906_K capacitor with a new one of the same specification. This ensures long-term stability for the Baseband and RF functions.
(Tips: Use a hot air gun to remove the shielding cover slightly. Avoid using a cutter in order to prevent crack damage to the chips underneath)
Tools & Parts List
🛠 Tools:
DC Power Supply
Rosin + Heat Source (for rosin inspection)
Hot Air Gun
Multimeter (for diode value testing)
Soldering Station
REFOX Bitmap/Boardview Software
Precision Tweezers
Flux
🔩 Parts:
Capacitor C5655 (PP_DISPLAY_BL12_ANODE line)
Inductor FL5752
Capacitor C906_K (PP_1V3_SMPS3_XCVR_ANA line)
Speaker Amplifier ICs: U5102, U4902
Conclusion
These real-world iPhone XR function failure cases provide valuable insights into common hardware issues and how to fix them. From identifying shorted capacitors and missing inductors to replacing speaker amplifier ICs, the cases demonstrate how careful inspection and chip-level diagnosis can quickly restore devices.
Whether you’re an experienced technician or just starting with phone repairs, understanding these examples can enhance your repair skills and confidence. Always use boardview tools like REFOX for guidance and replace components with exact specifications to ensure long-lasting results.
Technical Term Explanation
Rosin Inspection Method: A technique used to locate shorts by applying rosin and heating it. The spot with a short typically produces smoke or changes color first.
PP_DISPLAY_BL12_ANODE: A power rail that supplies the display backlight circuit.
PMU_TO_DISPLAY_RESET_CONN_L: A low-level reset signal from the power management unit to the display.
PP_1V3_SMPS3_XCVR_ANA: A power supply line for the RF transceiver’s analog section.
Diode Value Test: A multimeter-based test to identify whether small components like capacitors or diodes are shorted or functioning.
We've detected you might be speaking a different language. Do you want to change to:


 English
 Español
 Français
 Deutsch
 Italiano