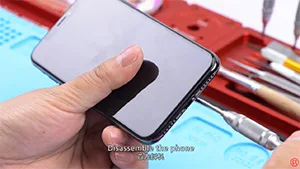
iPhone won’t turn on and the screen is black or frozen? After software issue being excluded, the problem may be caused by a faulty logic board. Since logic board of iPhone X is a single one that’s basically been folded over and soldered together, the unique design and structure have made any repairs to the logic board far more difficult than previous series. With our iPhone X won’t power on repair case today, the fault has been confirmed as inductor damage by voltage measurement. And we can fix the iPhone X won’t turn on issue by inductor replacing and board re-soldering. Let’s check out the video to see how to fix iPhone X black screen issue.
Tag: iphone
-
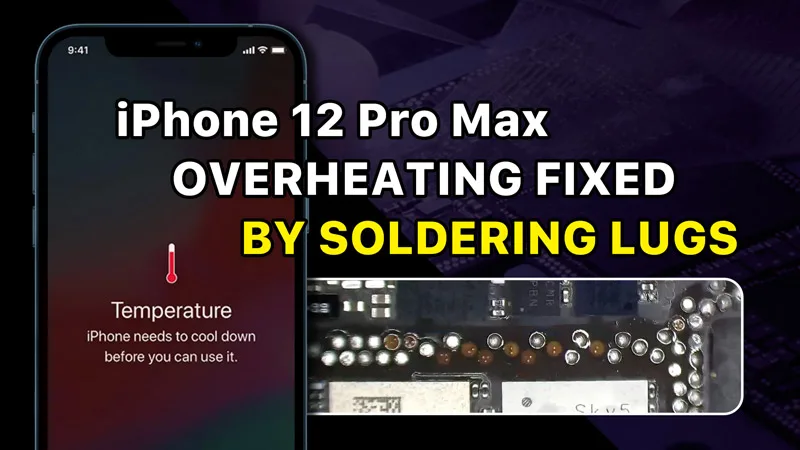
How to Fix iPhone 12 Pro Max Overheating Issue with Soldering Lugs
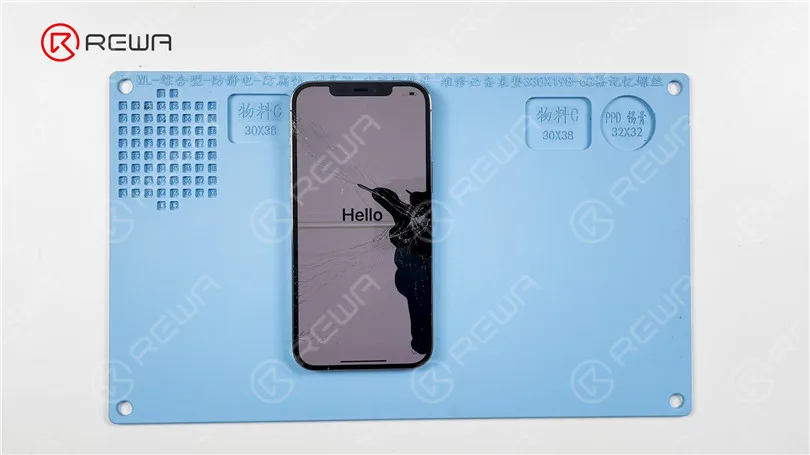
Today we will share how to fix iPhone 12 Pro Max overheating or temperature warning issue. The phone has been dropped before and the screen is cracked. After boot-up, the phone shows a temperature warning.
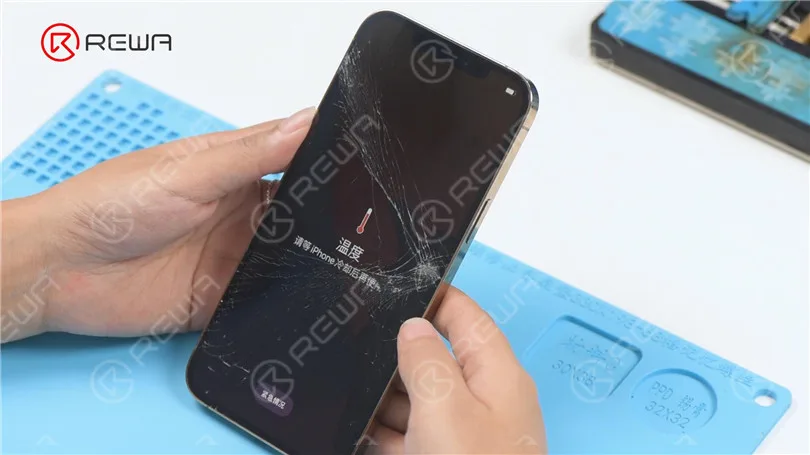
Next, we take apart the phone for testing. Disconnect the flex cables. Remove the motherboard. In the first place, we check if the motherboard is deformed. The motherboard is not deformed.
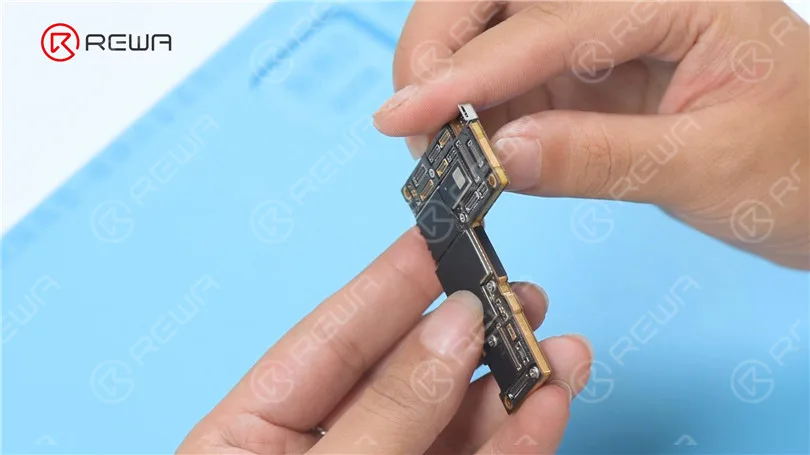
It can be seen under the microscope that the motherboard has pseudo-soldering. Then we need to separate the motherboard.
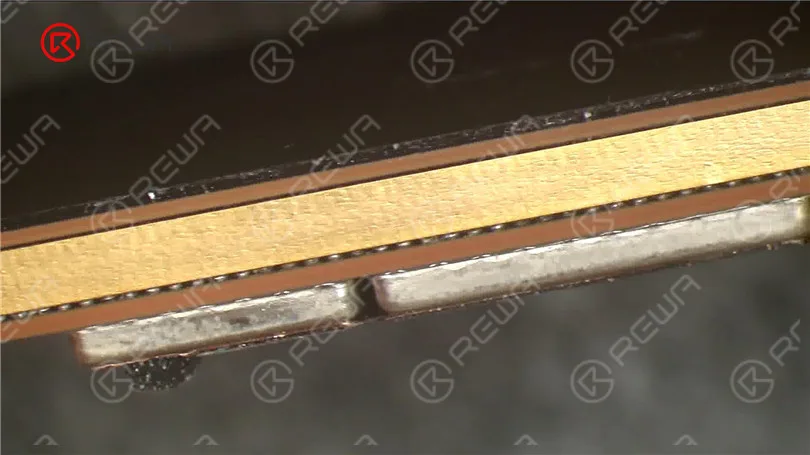
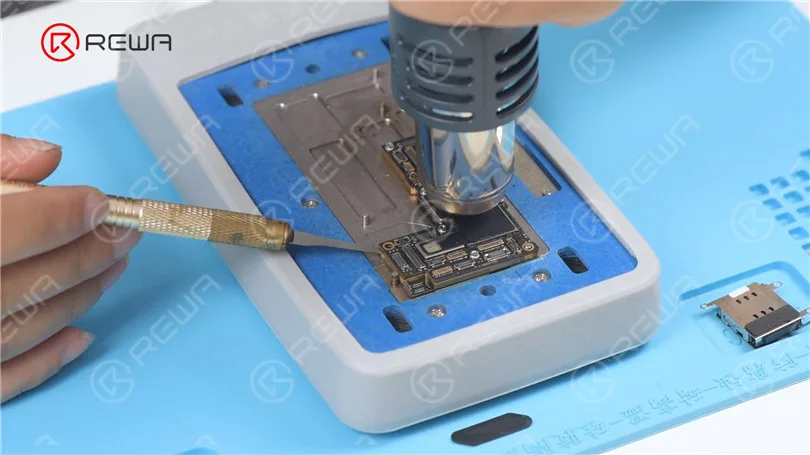
Detach the foam and plastic part. Put the motherboard on the 165 °C Heating Platform to heat. Since the middle layer of iPhone 12 lineup adopts middle-temperature solder paste for soldering, we need to assist the heating with a Hot Air Gun at 330 °C. Try to pry up the logic board with a Pry Blade while heating. If the logic board becomes loose, remove it. Then remove the signal board.
It can be seen under the microscope that pads on the logic board are missing. Then we need to repair the bonding pads. Clean the bonding pads with Soldering Iron at 380 °C and Solder Wick. Next, clean the bonding pads with PCB Cleaner.
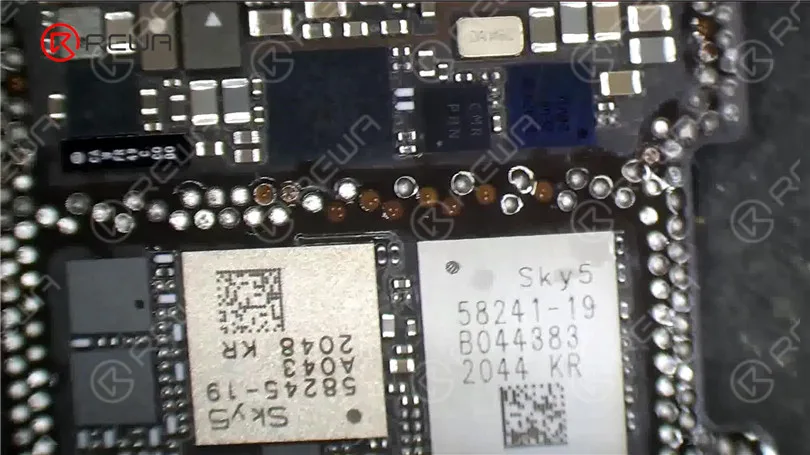
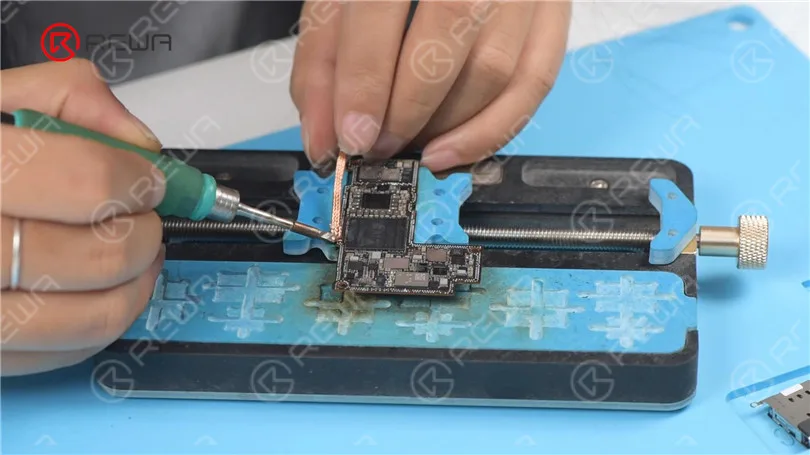
Then scrape the missing pads to show the circuits with a Sculpture Knife. Please pay attention not to damage the GND while scraping.
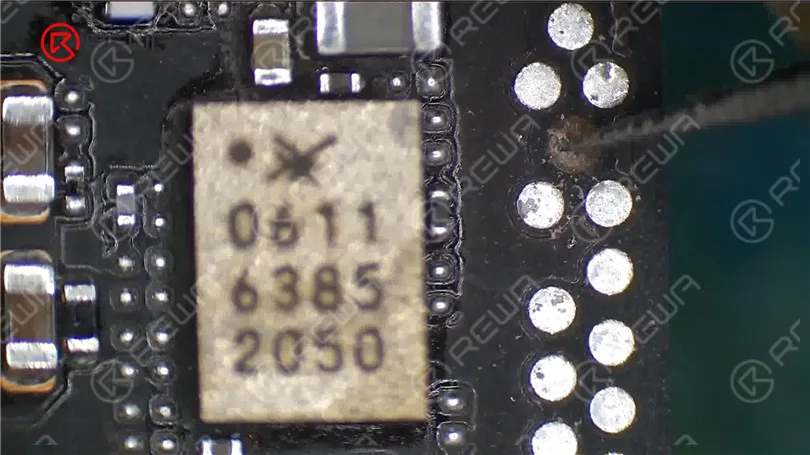
Clean the bonding pads with PCB Cleaner. Apply tin to the bonding pads with a Soldering Iron.
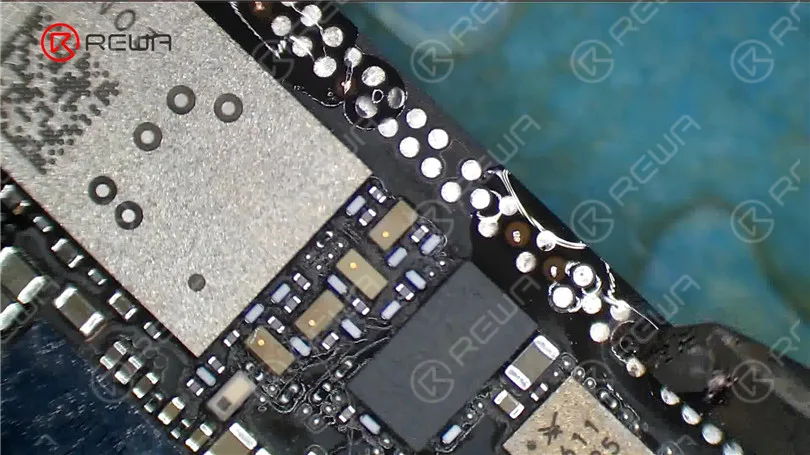
Then we put the Soldering Lugs in position. Apply some Paste Flux. Heat with a Soldering Iron to solder. Clean the bonding pads with PCB Cleaner.
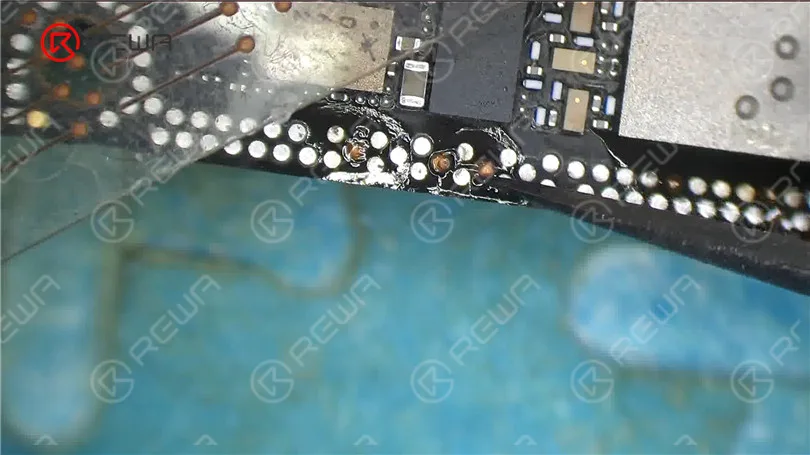
Apply some Solder Mask to the bonding pads. Then solidify with a UV Lamp. After solidifying, remove excess solder mask with a Sculpture Knife to show the pads.
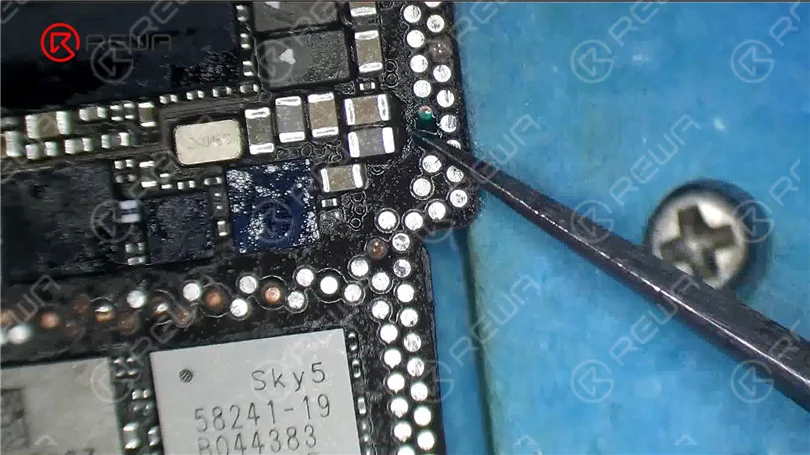
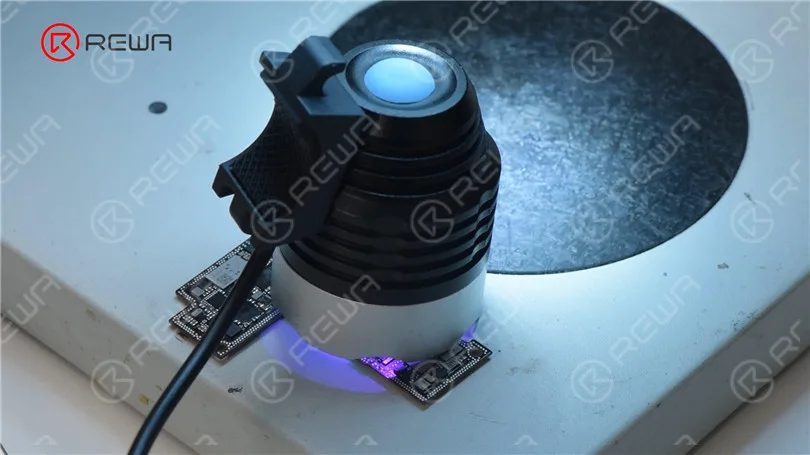
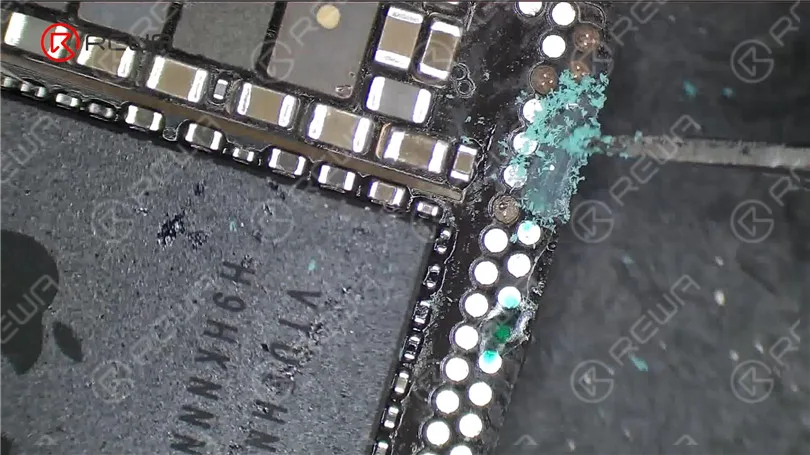
Clean the bonding pads with PCB Cleaner. Then clean the bonding pads with Soldering Iron and Solder Wick. Keep cleaning the bonding pads with a Dust-free Wipe.
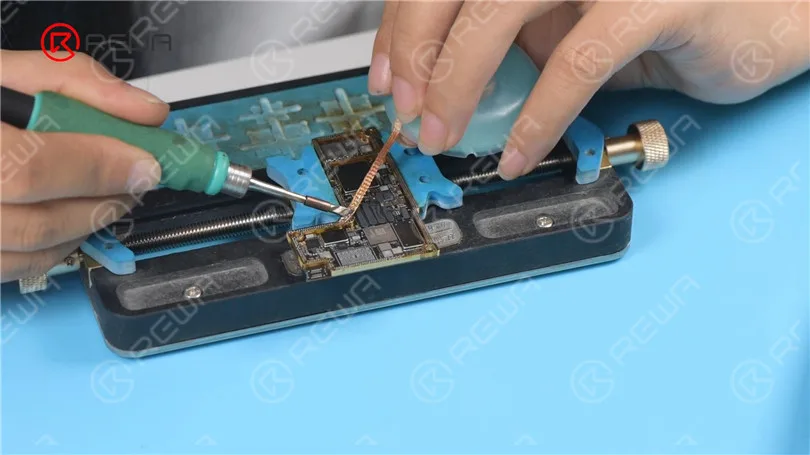
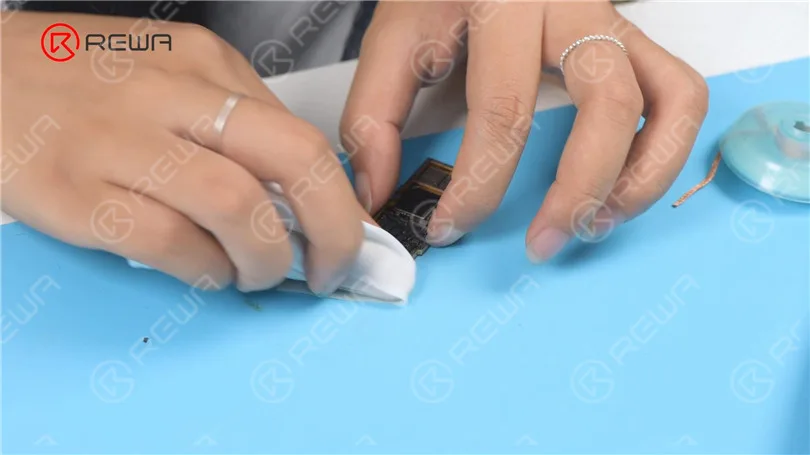
Next, we reball the signal board. Attach the signal board to the holder. Put the reballing stencil in position. Apply some low-temperature Solder Paste evenly. Remove excess solder paste.
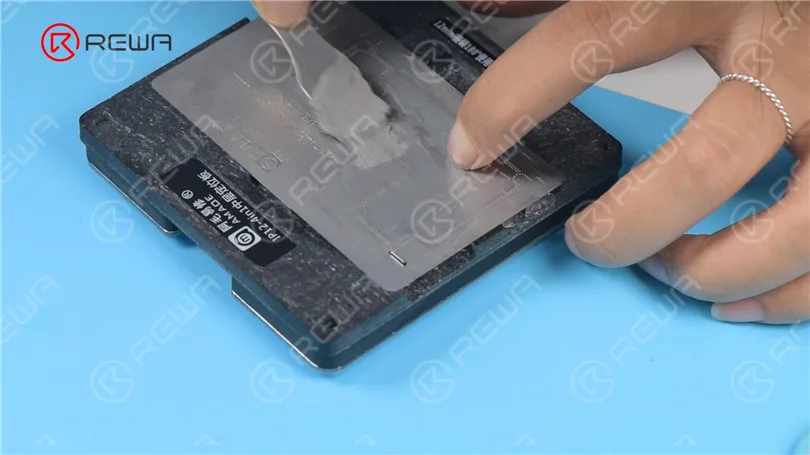
Detach the reballing stencil. Put the motherboard on the 165 °C Heating Platform to heat for recombination. Remove the motherboard after it has cooled for 5 minutes.
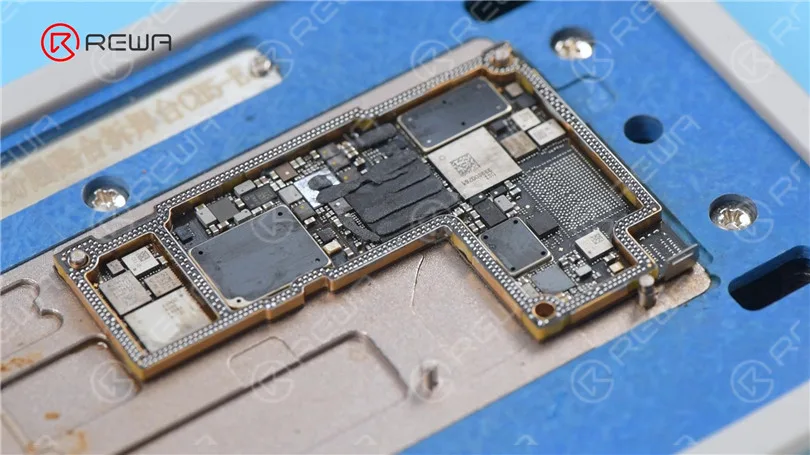
Install the motherboard for testing. Connect the screen. The phone turns on normally. The temperature warning has disappeared.
-
iPhone 11 Pro Won’t Turn on – Professional Repair Guide
Hello everyone! Our course today is about repairing an iPhone 11 Pro that won’t turn on.
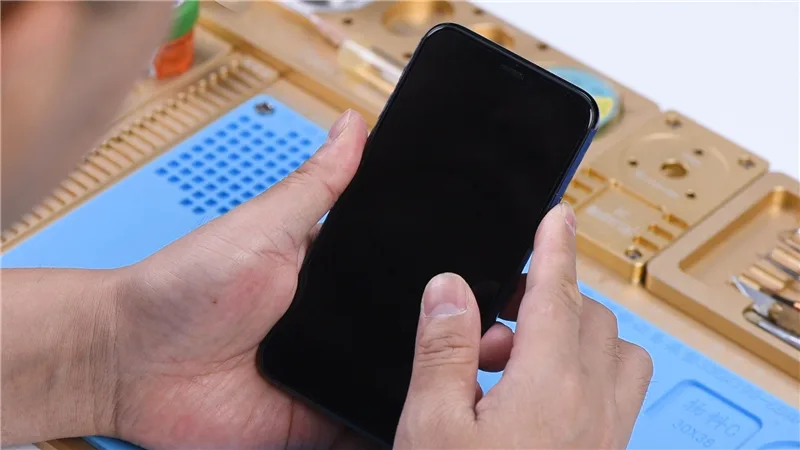
Press the power button. The phone won’t turn on.
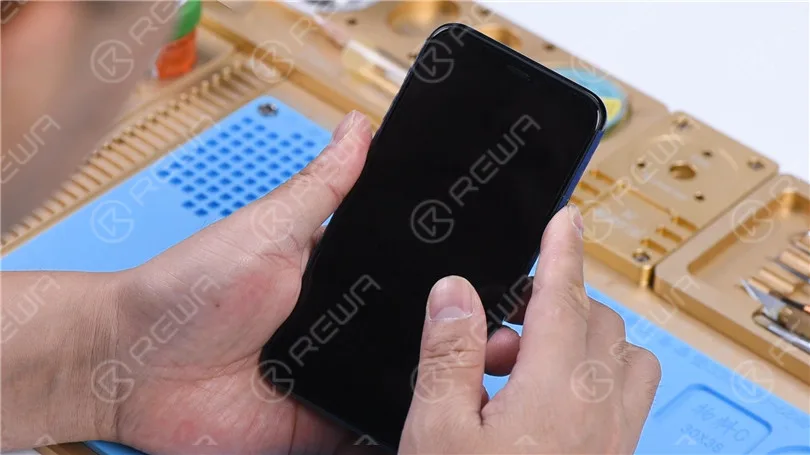
Disassemble and Test
Then we disassemble the phone and test.
Remove the two pentalobe screws at the bottom edge.
Pull up on the small nub on the Suction Cup to lift the screen.
Insert a Pry Piece when there is a gap and slide it along the gap.
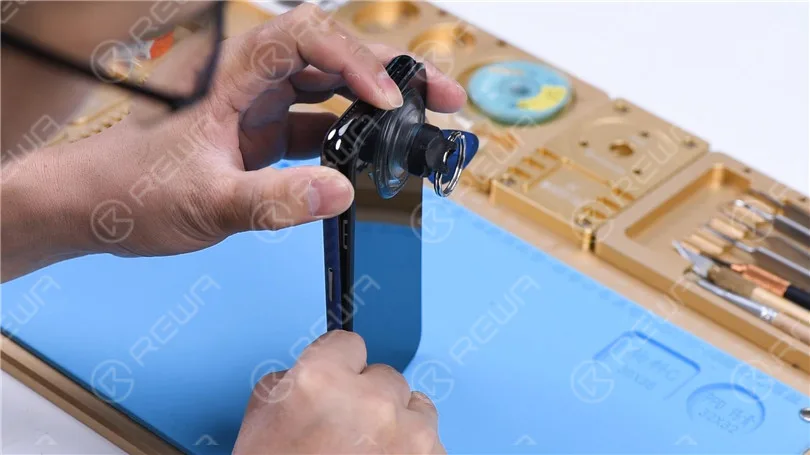
After the screen is lifted, take the shielding covers off.
Disconnect the battery and remove the screen. Connect the motherboard with the Power Cable.
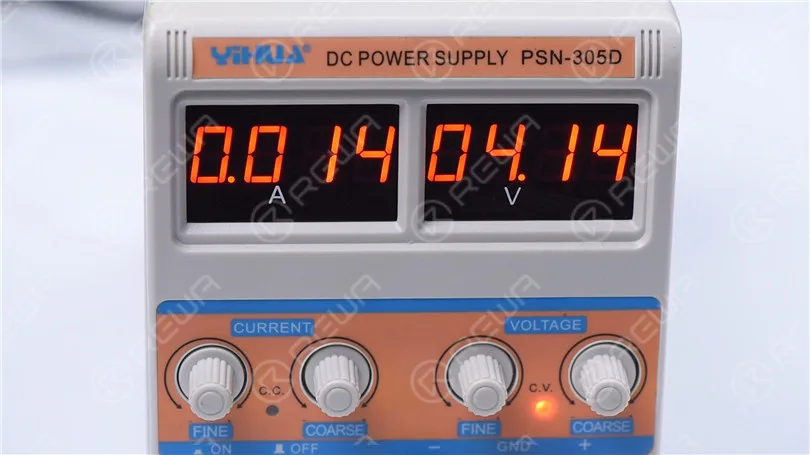
The ammeter shows a large current of 3.1A.
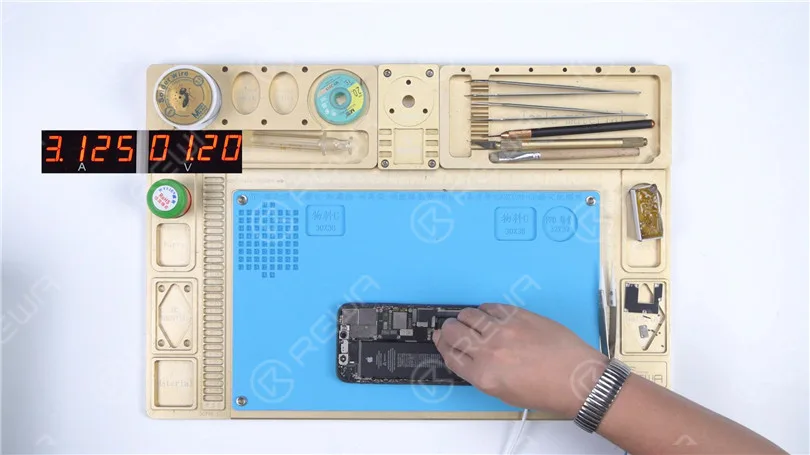
Disconnect the flex cables. Remove the SIM card tray.
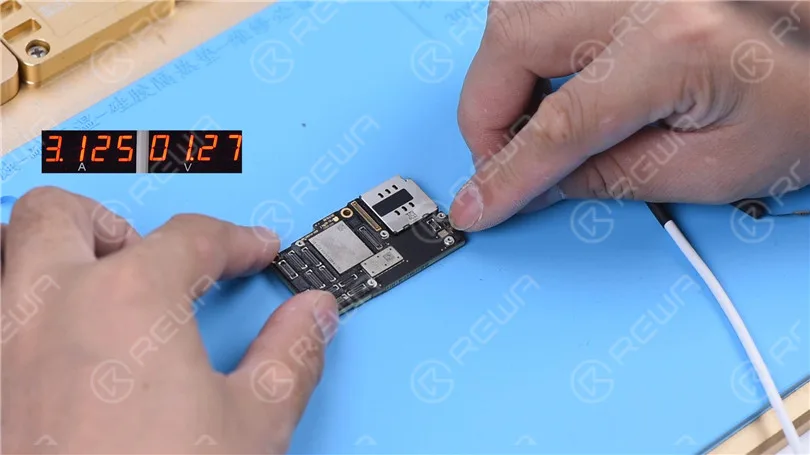
Detach the motherboard. Connect the motherboard with the Power Cable again.
The ammeter still shows a large current of 3.1A.
It indicates that the large current has nothing to do with other flex cables.
The fault is on the motherboard.
Diode Mode Measurement
Run diode mode measurement of pin 1 on the J7010 of the battery connector.
The diode value is 0. It indicates that the main power supply circuit is shorted to the ground.
Since the circuit simultaneously supplies power for the logic board and signal board, we need to separate the motherboard to locate the fault.
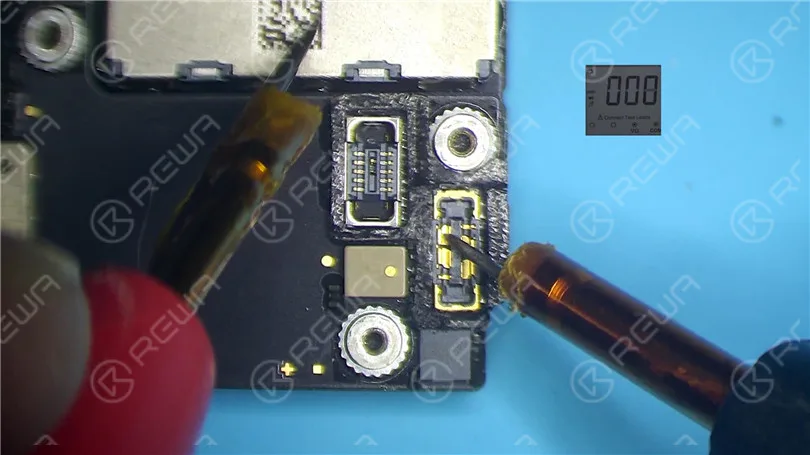
Motherboard Separation
Remove foam on the motherboard.
Heat the back of the motherboard with Hot Air Gun at 240 degrees celsius.
Remove the shielding paper.
Put the motherboard on the Heating Platform.
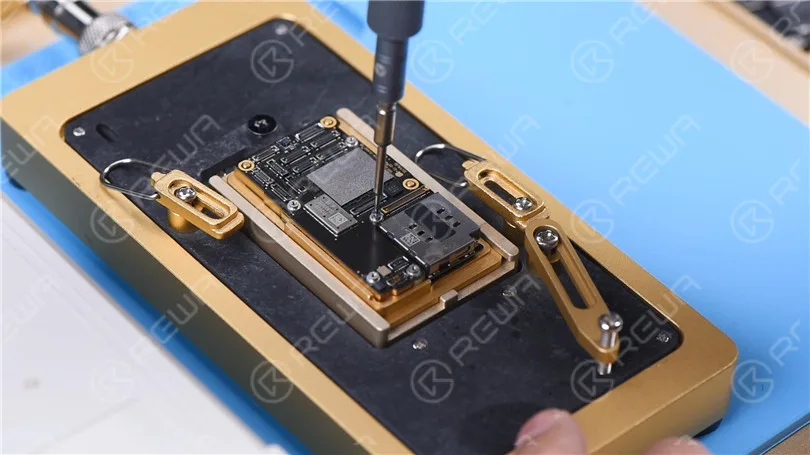
To make it easier to remove the logic board after separation, drive a screw on the logic board.
Set the temperature of the Heating Platform to 185 degrees celsius.
Clamp the screw to remove the logic board when the temperature has risen to 185 degrees celsius. Remove the signal board.
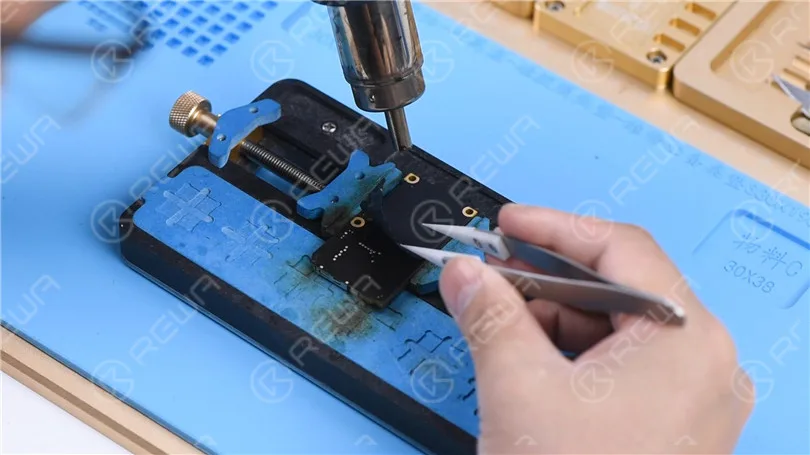
Diode Mode Measurement
Run diode mode measurement of pin 286 on the signal board. The diode value is 0.
It indicates that the main power supply of the signal board is shorted to the ground.
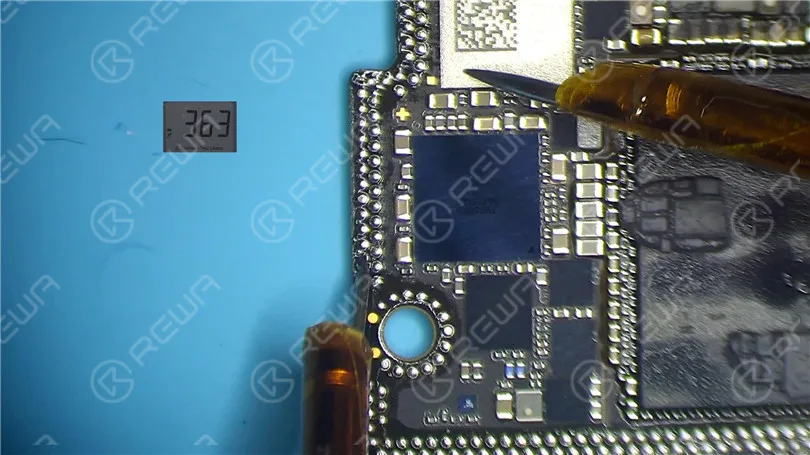
Measure pin 286 on the logic board.
The diode value is 363 which means the logic board is normal.
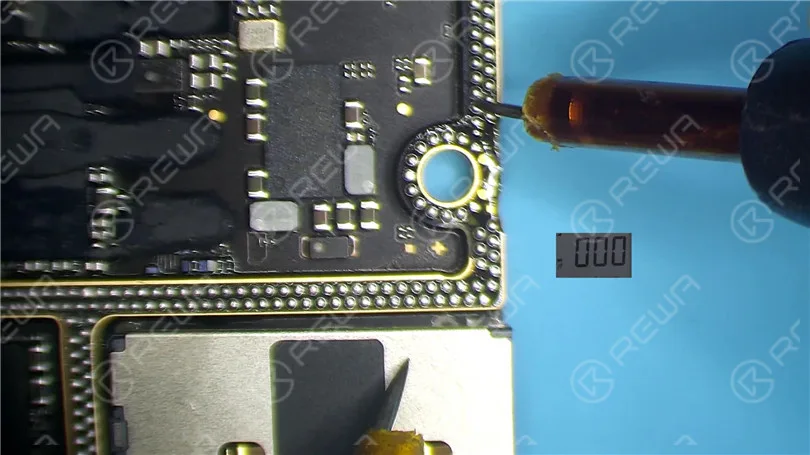
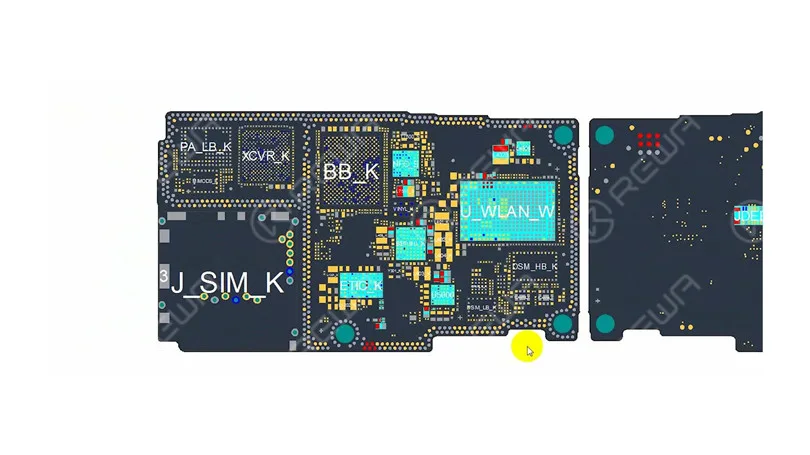
Open the bitmap. We can see there are many associated components on the main power supply circuit.
Rosin Detecting
Next, we need to locate the faulty component with rosin detecting.
Remove thermal grease with a Sculpture Knife.
Dip rosin with Soldering Iron at 365 degrees celsius.
Smoke rosin on the signal board. Set the direct current supply to 4.1V.
Connect the positive and negative anode of the direct current supply with multimeter probes.
Connect the black probe to the ground.
Connect the red probe to pin 286 on the signal board.
We can see rosin on C1200 K has melted. It indicates that the capacitor is damaged.
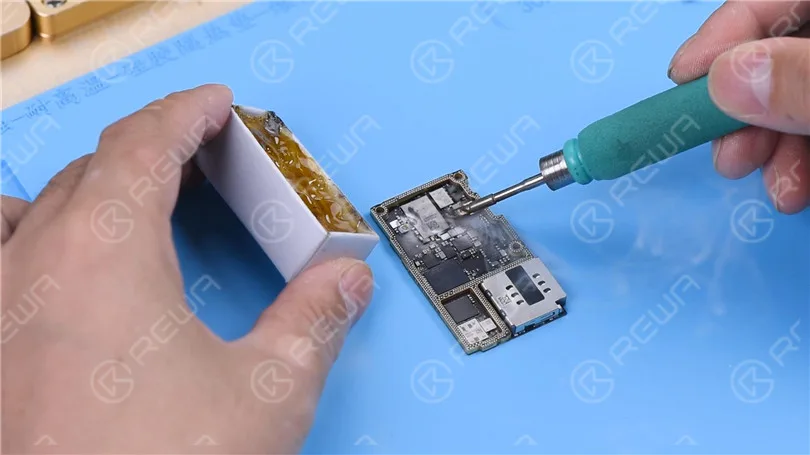
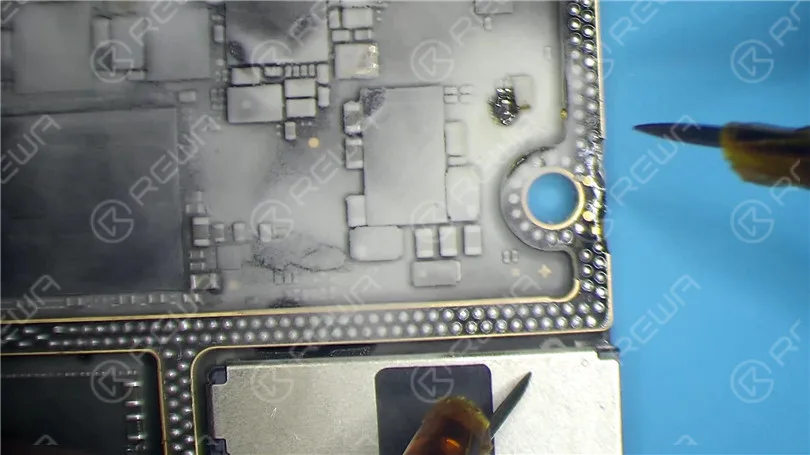
Then we heat it with Hot Air Gun at 350 degrees celsius. Remove the capacitor with tweezers.
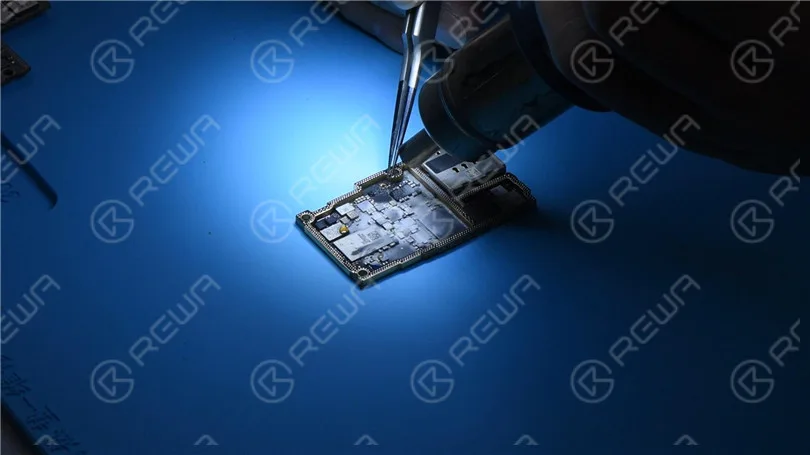
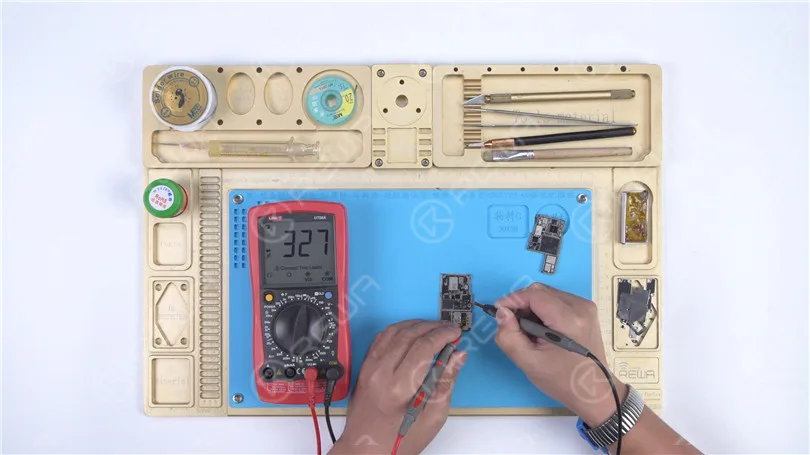
Clean rosin on the signal board with PCB Cleaner. Run a second diode mode measurement. The diode value returns to a normal value of 327.
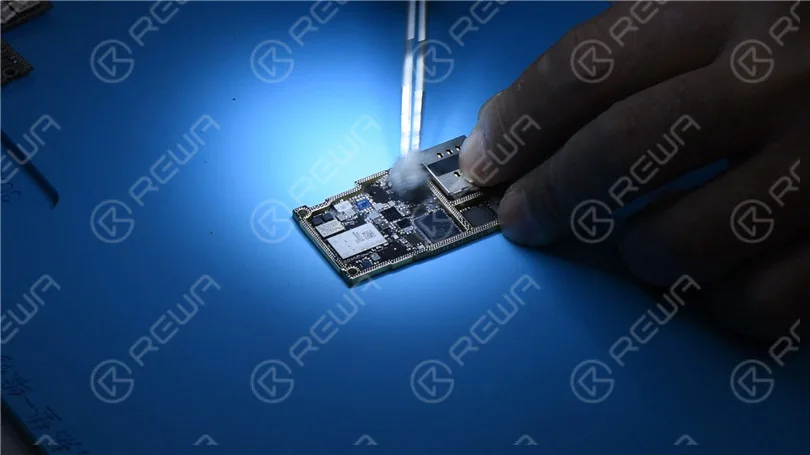
Motherboard Recombination
Smear rosin with Soldering Iron and solder wick at 365 degrees celsius to remove tin on the bonding pad.
Clean the signal board with PCB Cleaner. Remove tin and clean the logic board with the same method.
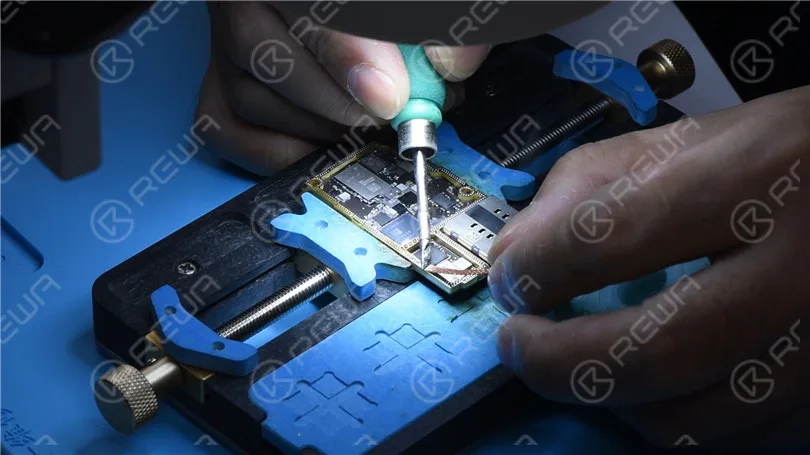
Attach the signal board to the Reballing Platform.
Put the Reballing Stencil in position. To prevent the solder paste from flowing into the motherboard crevices, insert a metal plate.
Apply a layer of low-temperature Solder Paste.
Remove the Reballing Stencil.
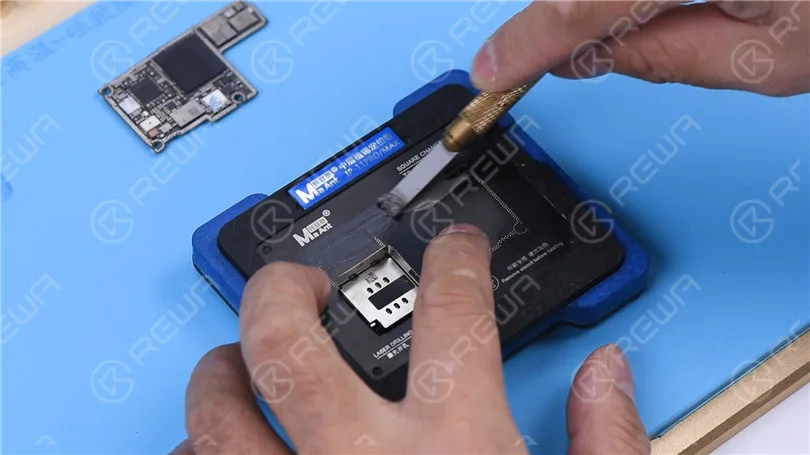
Put the signal board on the Heating Platform at 185 degrees celsius to heat.
After the solder balls are formed, turn the power off and cool the motherboard for 5 minutes.
Apply some Paste Flux.
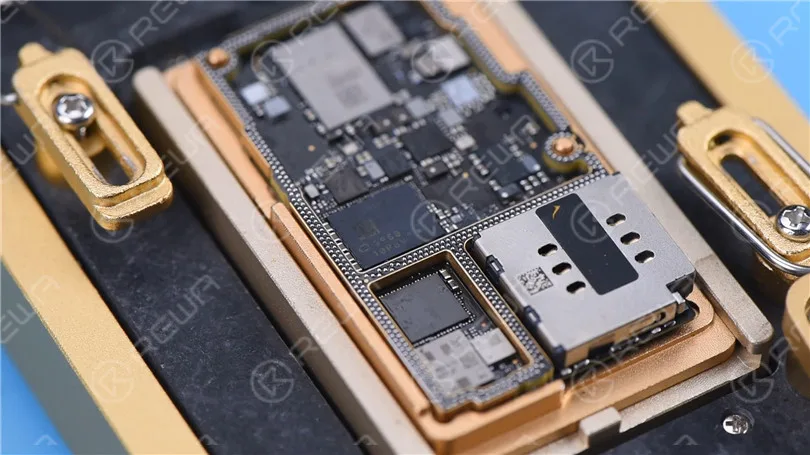
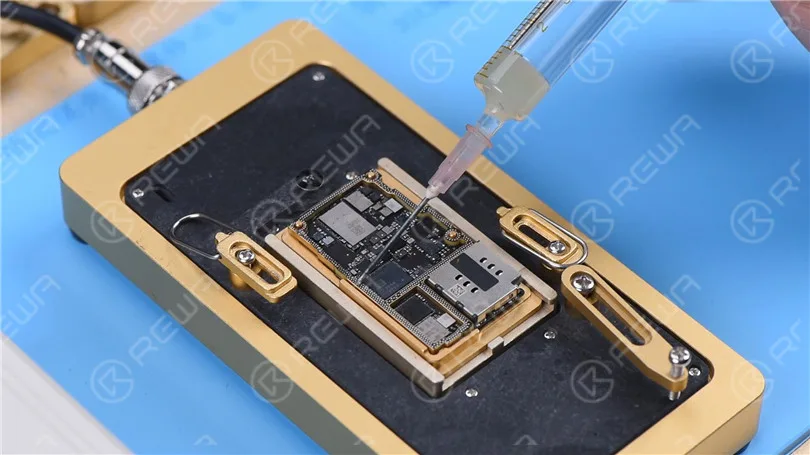
Align the logic board with the signal board.
Keep heating on the Heating Platform at 185 degrees celsius.
When the temperature reaches 185 degrees celsius, keep heating for 1 minute.
This step is to ensure that the logic board and the signal board fit closely.
Testing
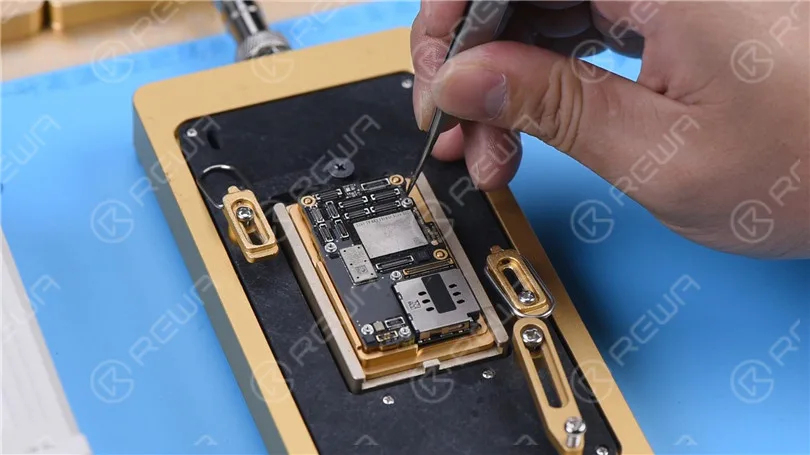
Connect the motherboard with the Power Cable.
Short to the ground of the J7700 pin 12. The boot current becomes normal.
Put the motherboard on the phone.
Connect the flex cables. Connect the screen and battery.
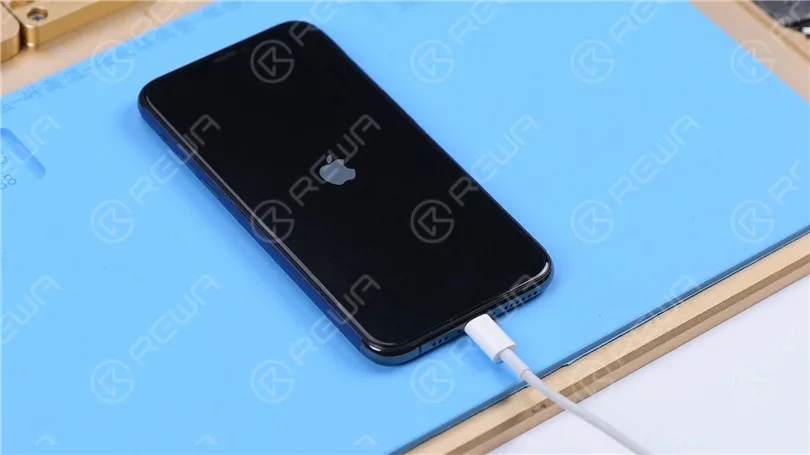
Because the battery is dead. Plug the charging cable and the phone turns on normally.
-
Fix iPhone X No Service by Jumping Wire
The iPhone X has no baseband, no IMEI number, and no service. Check out this video to see how we fix the problem by making jumper wires.
-
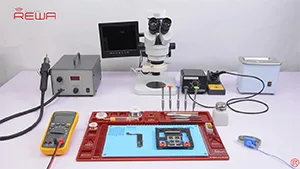
How To Repair iPhone 7 Home Button Not Working After Water Damage
Water damage is a common issue for iPhone in daily use. In this video, the home button of iPhone 7 is not working after water damaged, because lines on logic board get corroded and damaged. Since there is a high failure risk in repairing, REWA LAB presents you a method to fix heavily corroded and damaged logic board step by step by Ultrasonic Cleaner and making jumper wire. To fix your iPhone 7 home button issue caused by water damage, please follow the repair operations of our tutorial video.
-
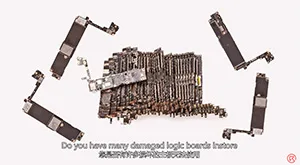
REWA iPhone/iPad/MacBook Logic Board Repair Service
Have no ideas with your faulty logic boards? Don’ t how to handle the tough repairs? Why not resort to REWA? We have been offering chip level logic board repair services for iPhone, iPad and MacBook. Professional experts and techniques can set you free from heavy and difficult repairs. Just 5 steps, we can solve almost all your iPhone, iPad and MacBook motherboard repair problems. Let’s check the video for the details.
-
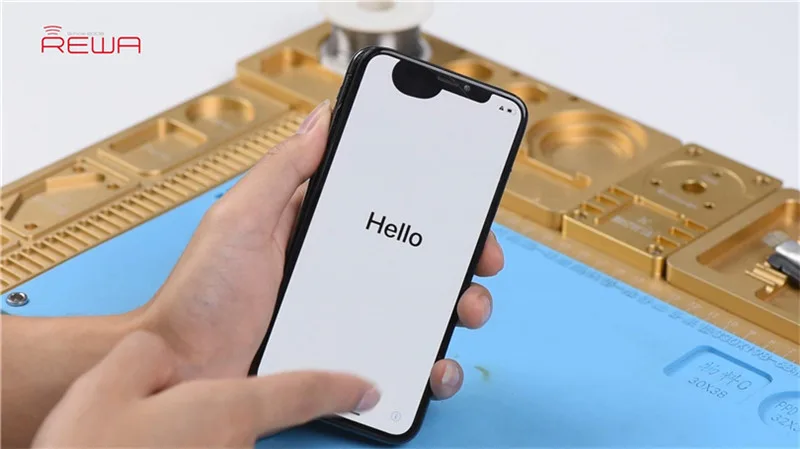
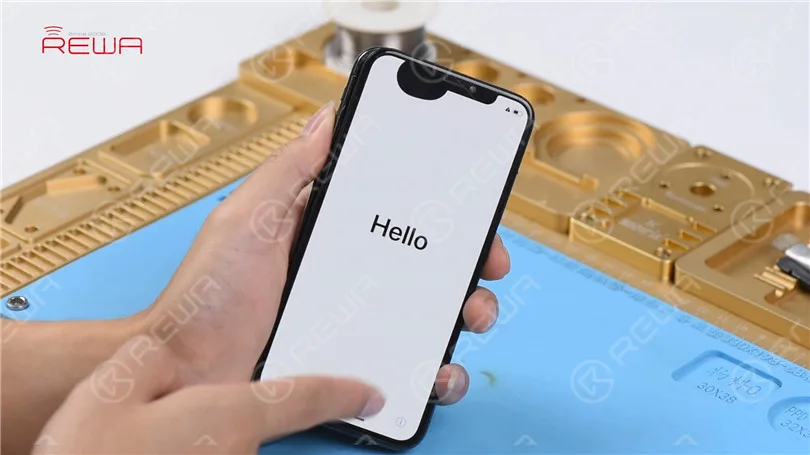
iPhone X Unresponsive Touch Screen Repair
Our course today is about iPhone X touchscreen unresponsive repair.
Press the power button to turn on the phone. The phone turns on normally. Touch screen of the phone is unresponsive.
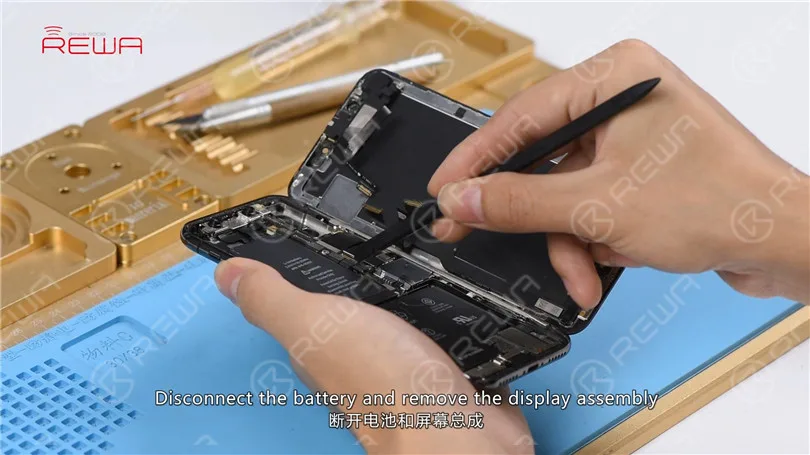
Turn off the phone and take apart it. Disconnect the battery and remove the display assembly.
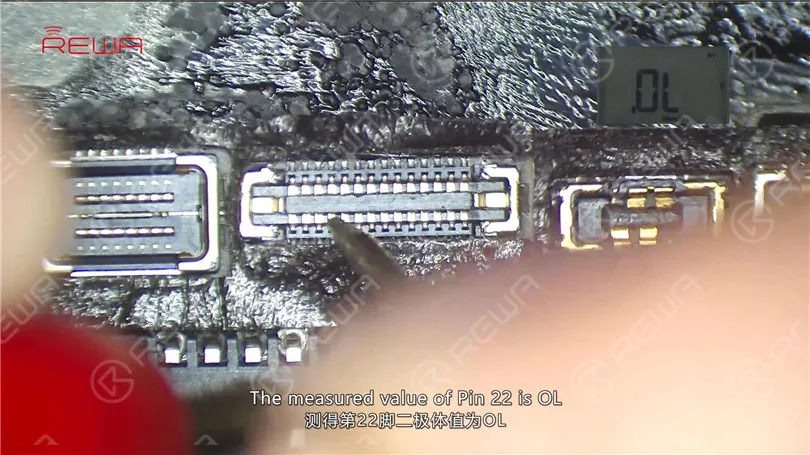
Take out the motherboard. The first thing we do is to check the Touch ID FPC connector J5800. Run diode mode measurement of J5800. The measured value of Pin 22 is OL which indicates that Pin 22 relevant circuit has open-circuited.
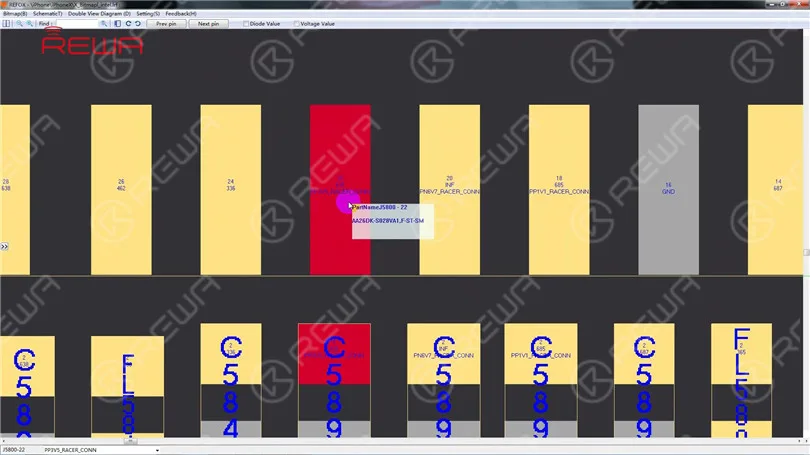
We can see that there is an inductor FL5893 on the circuit. Let’s start with FL5893.
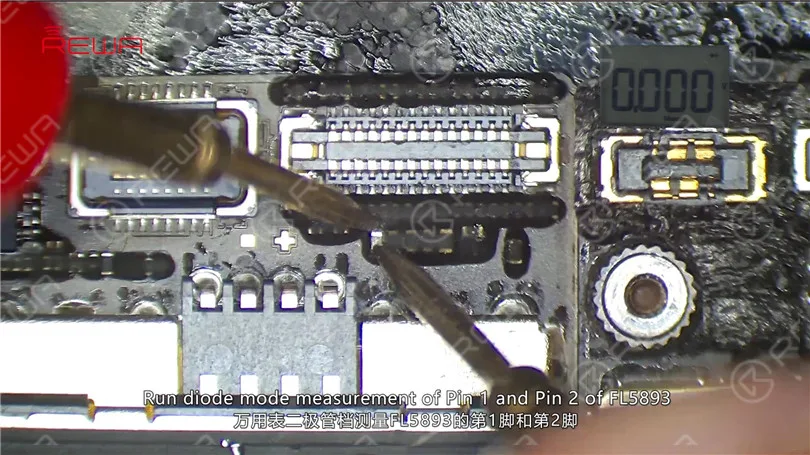
First, remove sponge around J5800 with tweezers. Run diode mode measurement of Pin 1 and Pin 2 of FL5893. The measured value of the two pins is 0. Judging by the measured value, FL5893 is in normal status.
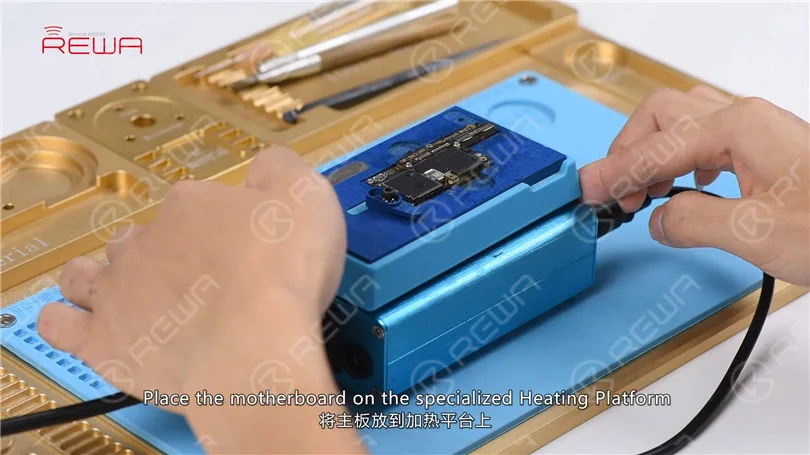
We can see that the circuit makes its way to the third space PCB. So we need to separate the motherboard to check the third space PCB. Place the motherboard on the specialized Heating Platform. With temperature of the platform reaching 160℃, pick up the upper layer with tweezers.
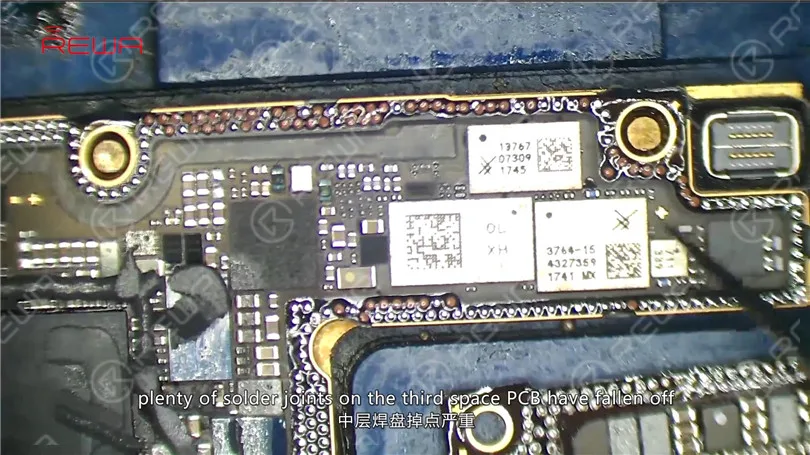
As you can see, plenty of solder joints on the third space PCB have fallen off. And the motherboard is severely deformed. Judging by this, the motherboard is unrepairable.
Conclusion
iPhone X touchscreen is unresponsive. The first thing we do is to check the Touch ID FPC connector J5800. Run diode mode measurement of J5800. Judging by the measured value, Pin 22 relevant circuit has open-circuited. We can see on the bitmap that the circuit makes its way to the third space PCB. Separate the motherboard and we find that plenty of solder joints on the third space PCB have fallen off. The motherboard is also severely deformed. Judging by this, the motherboard is unrepairable.
-
How to Fix iPhone X Bottom Speaker Not Working
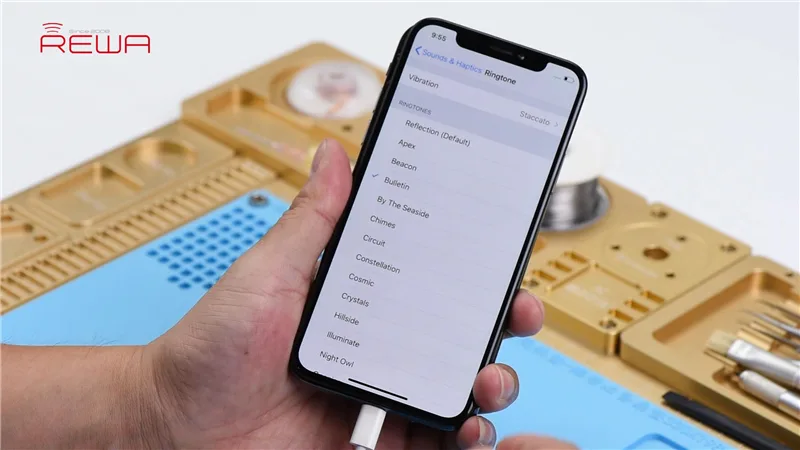
Today we will share how to fix iPhone X bottom speaker not working.
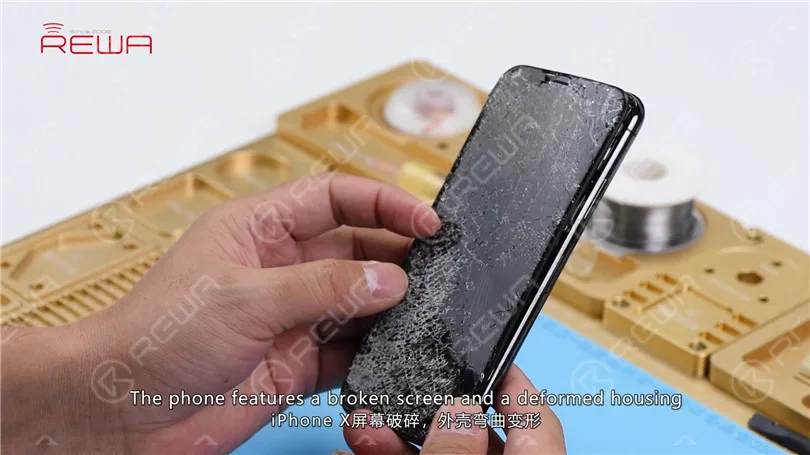
The phone features a broken screen and a deformed housing. Get a new display assembly installed and test. The phone turns on normally. Both the front camera and the rear camera work normally. WiFi also functions well.
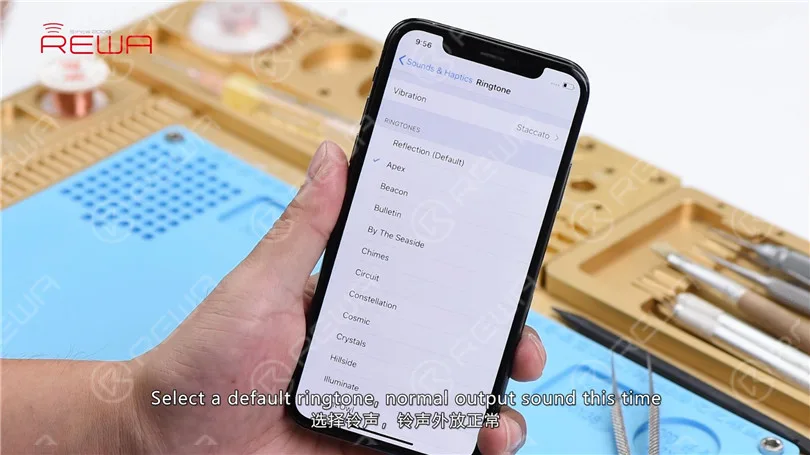
Go to Sounds & Haptics > Ringtone. Select a default ringtone and there is no output sound. But the sound works fine with headphones in.
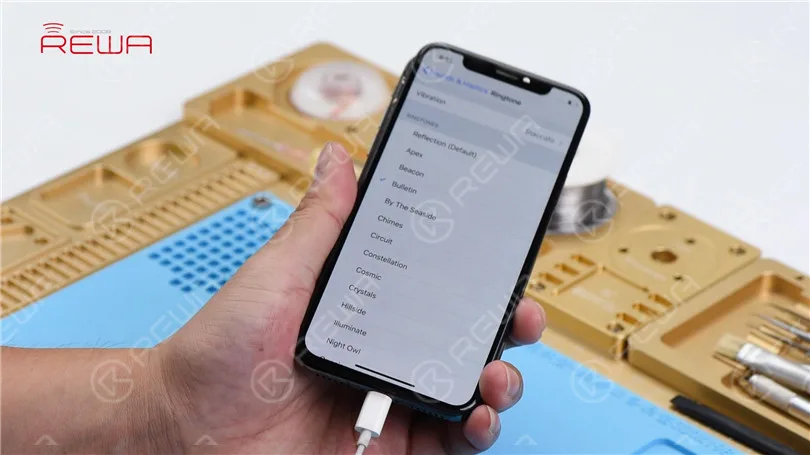
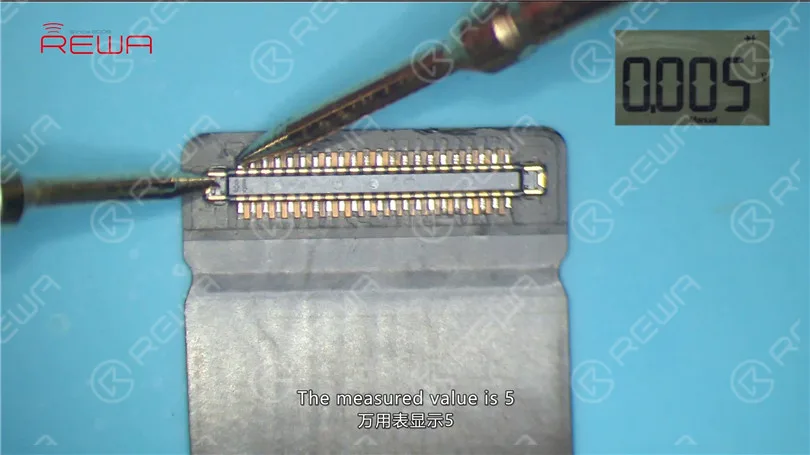
The preliminary judgment is that the audio circuit is in normal condition. It’s just that the bottom speaker is not working. Remove the display assembly and disconnect the battery. Disconnect the charging port flex cable. Run diode mode measurement of Pin 1 and Pin 45 of the DOCK connector. The measured value is 5, which indicates that the bottom speaker is in normal condition.
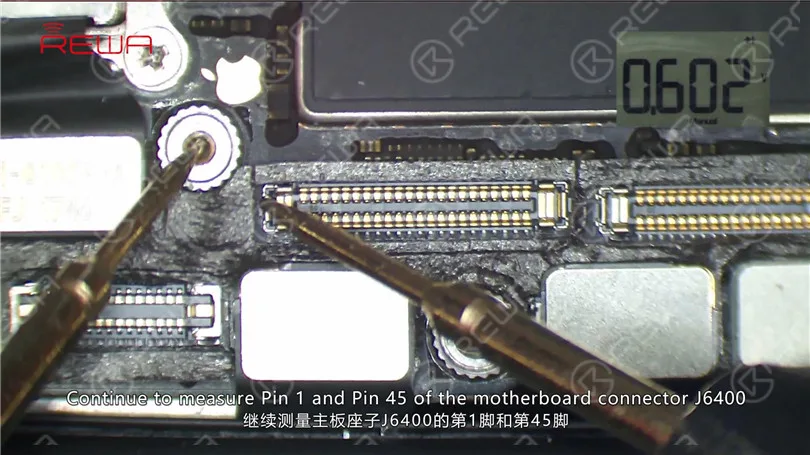
Continue to measure Pin 1 and Pin 45 of the motherboard connector J6400. The measured value of Pin 45 is 602, which is normal.
The measured value of Pin 1 is OL, which is abnormal.
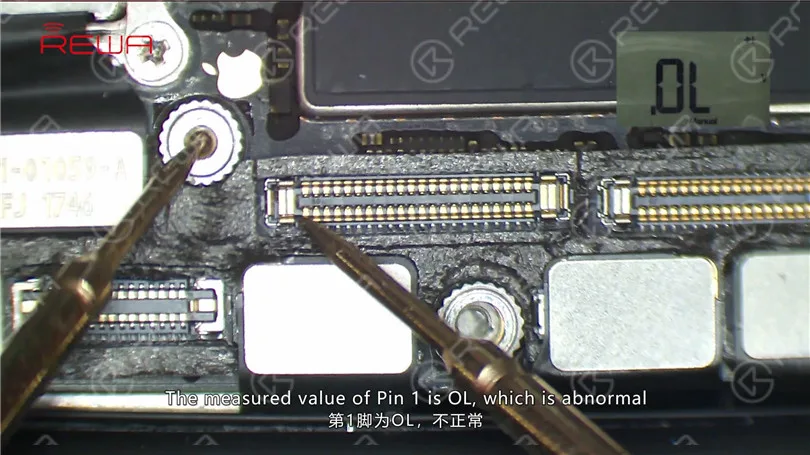
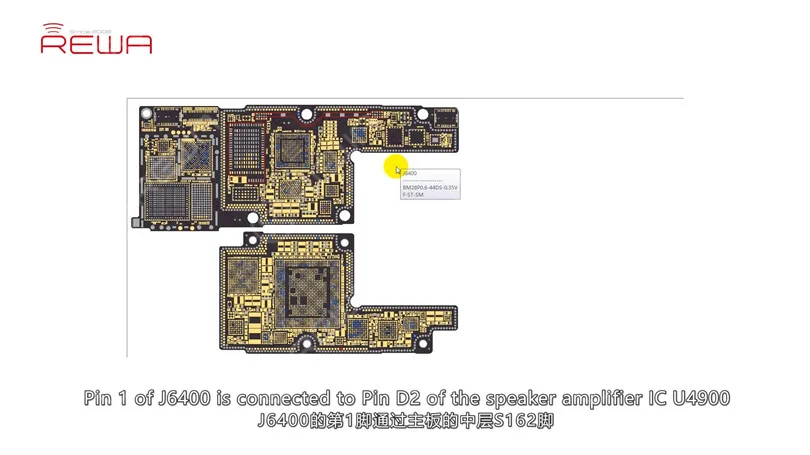
Judging by this, Pin 1 relevant circuit has been open-circuited. Pin 1 of J6400 is connected to Pin 2 of the speaker amplifier IC U4900 by way of Pin S162 on cylinders around the edge of the lower layer. So our next move is to check the circuit carefully. Disconnect flex cables on the motherboard and take out the motherboard. Fix the motherboard to the Holder. Heat with Hot Air Gun at 360℃, air flow 65.
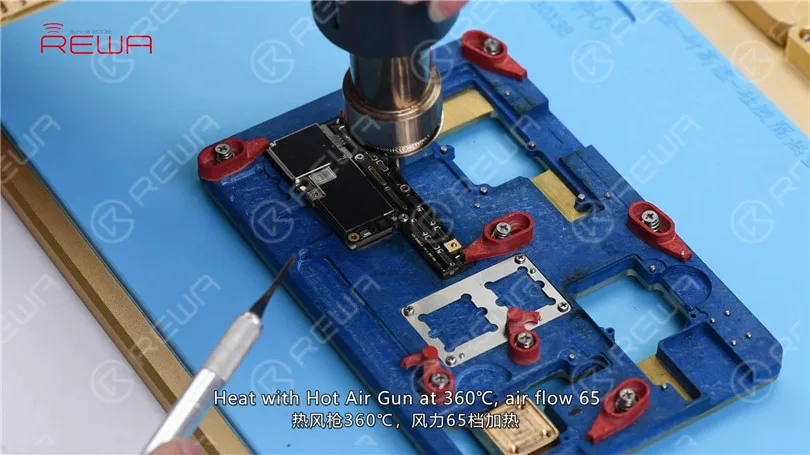
One minute later, pry up the upper layer step by step. Tips: make sure you pry up the upper layer at the right moment when tins on cylinders have melted. We can see clearly that there are multiple missing pins on the upper layer, including Pin S166 of the NFC circuit.
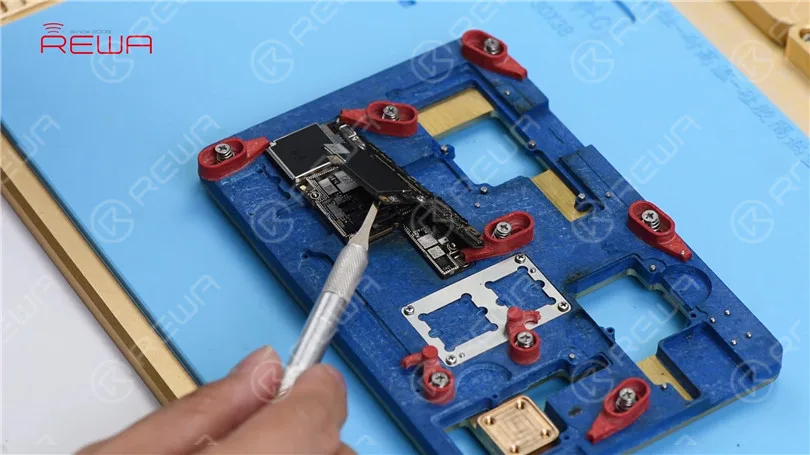
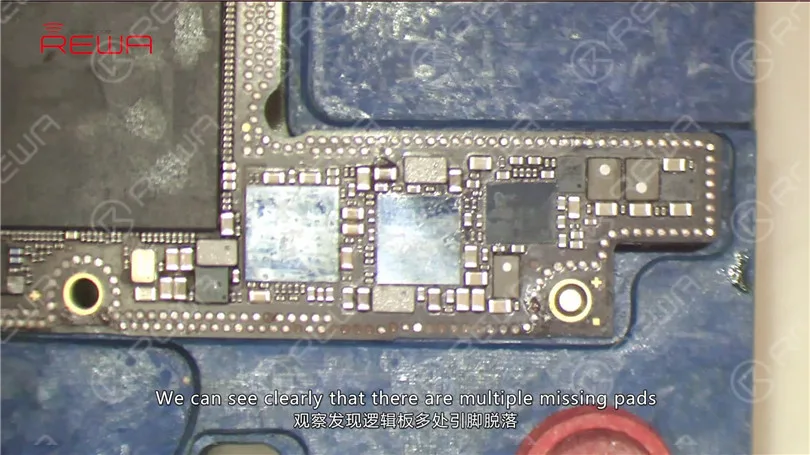
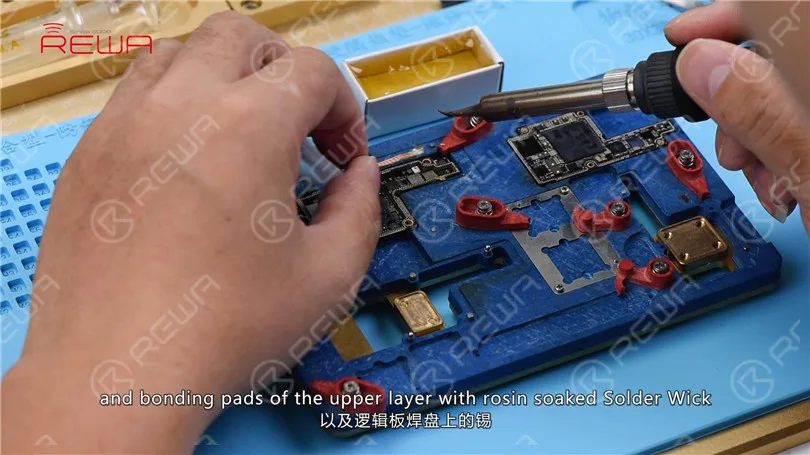
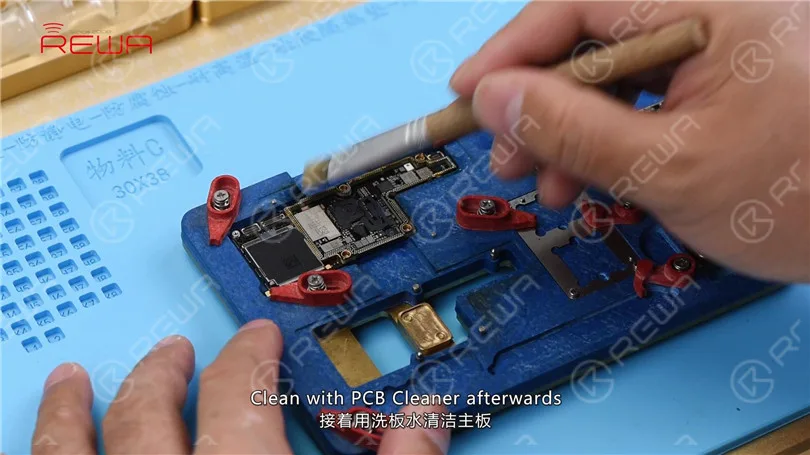
Judging by this, the phone has been dropped, which resulted in pseudo soldering of the motherboard accompanied with the detachment of pins. Since most of those missing pins are ground pins, we can just ignore them. Yet we need to treat Pin S166 with jumper wiring. Remove tins on cylinders around the edge of the lower layer and bonding pads of the upper layer with rosin soaked Solder Wick. Clean with PCB Cleaner afterwards.
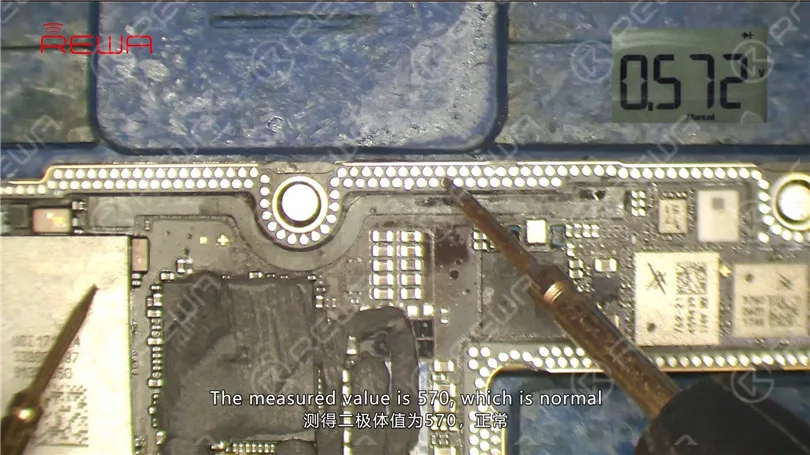
Run diode mode measurement of Pin S162 on cylinders. The measured value is 570, which is normal. Continue to measure Pin S163. The measured value is 570, which is normal. Judging by this, the open-circuited condition of Pin 1 relevant circuit is caused by pseudo soldering of cylinders around the edge of the lower layer.
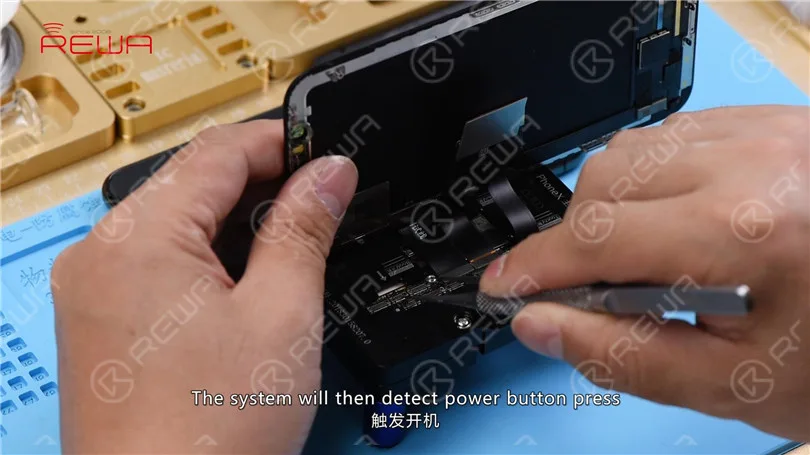
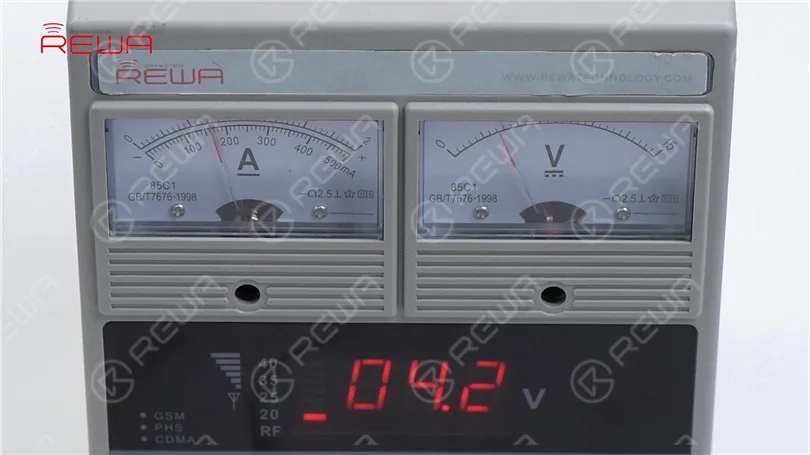
Now, let’s get the motherboard installed to the testing kit. Buckle up the extension flex cable of the display assembly. Then the charging port flex cable and the display assembly. Connect the battery connector with the DC Power Supply. Short Pin 9 of J4300 to the ground with tweezers. The system will then detect power button press. Current reading on the ammeter is normal.
Go to Settings > Sounds & Haptics > Ringtone. Select a default ringtone. Normal output sound this time.
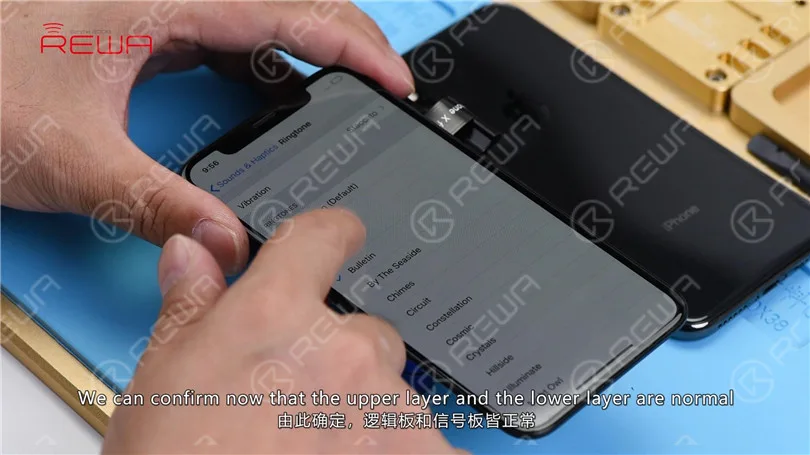
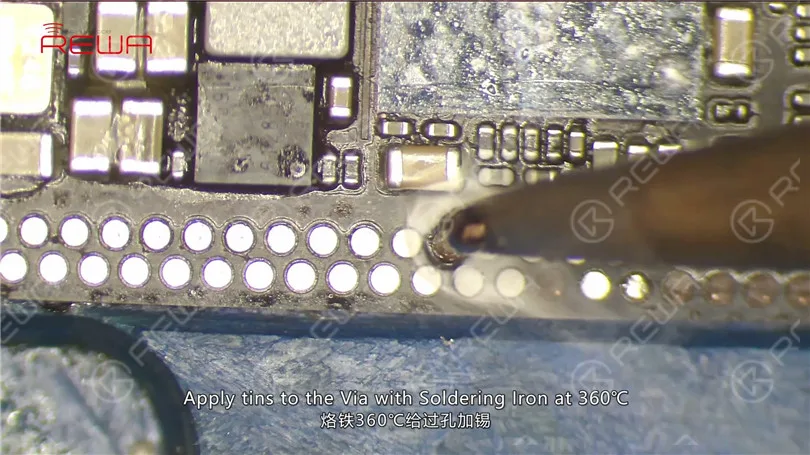
We can confirm now that the upper layer and the lower layer are normal. And the fault is caused by pseudo soldering of cylinders. We can fix the problem by soldering the two layers together. Also before soldering, we need to treat Pin S166 with jumper wiring. Apply tins to the Via with Soldering Iron at 360℃. Prepare a length of tin applied Enameled Copper Wire of 0.02mm in diameter. Solder one end to the tin applied Via.
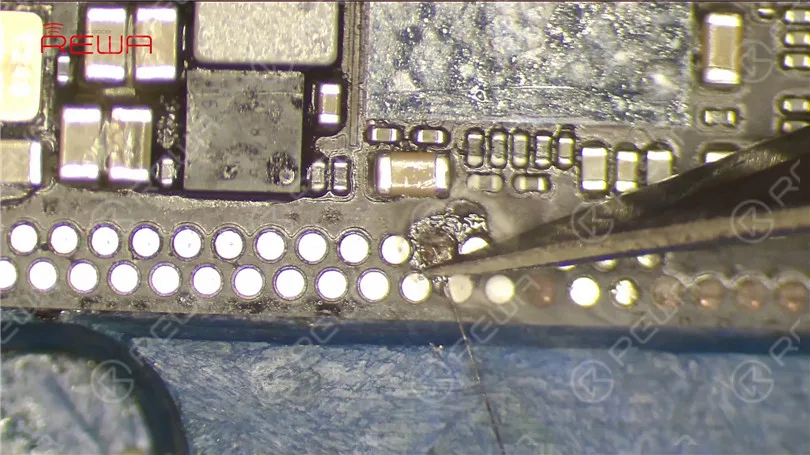
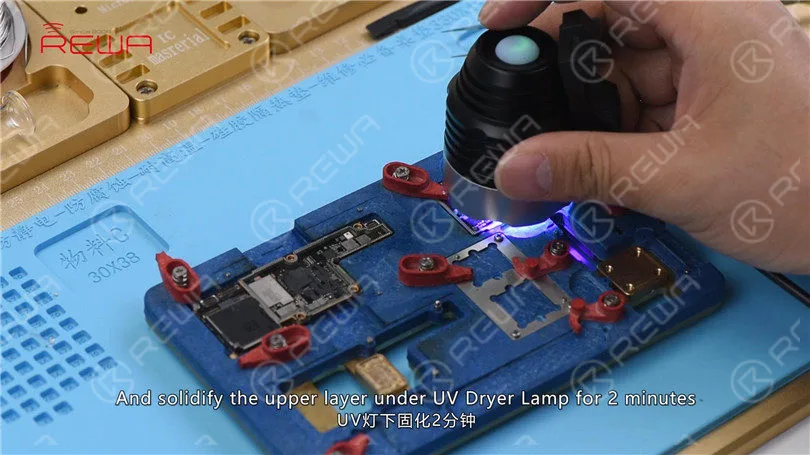
Clean with PCB Cleaner afterwards. Then apply some UV Curable Solder Mask to the soldered area. And solidify the upper layer under UV Dryer Lamp for 2 minutes.
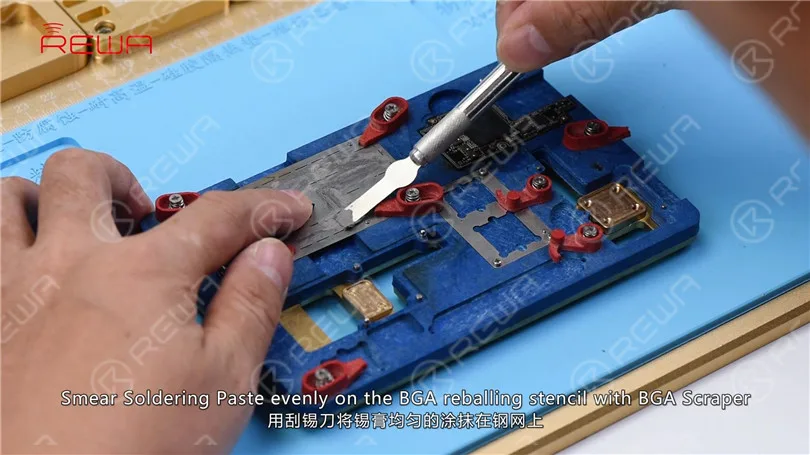
Then get the other end to the right position. Next, attach the lower layer to PCB Holder. Fix the BGA Reballing Stencil to the right position. Smear Soldering Paste evenly on the BGA reballing stencil with BGA Scraper. Wipe out excess Soldering Paste with lint-free wiping cloth.
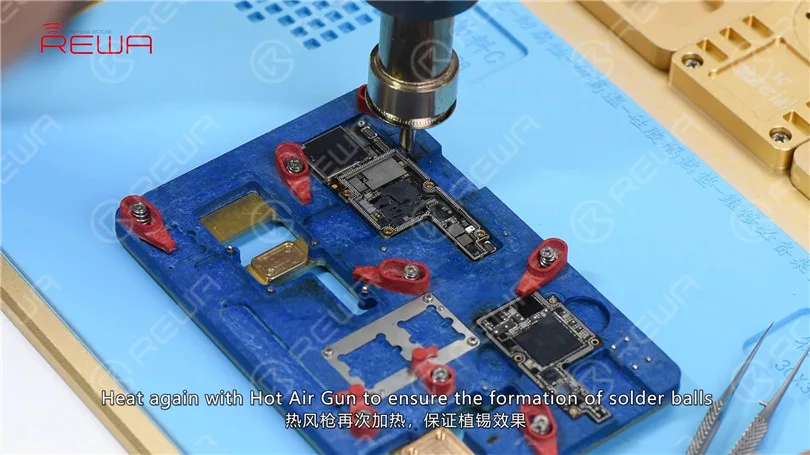
Then heat evenly with Hot Air Gun at 350℃, air flow 35. So that all solder balls can solidify completely. Remove the BGA reballing stencil after 2 minutes. Heat again with Hot Air Gun to ensure the formation of solder balls.
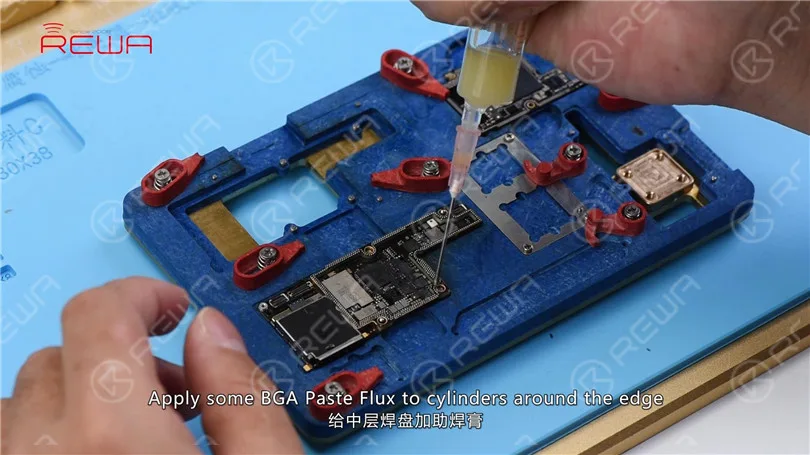
Apply some BGA Paste Flux to cylinders around the edge and get the upper layer in position.
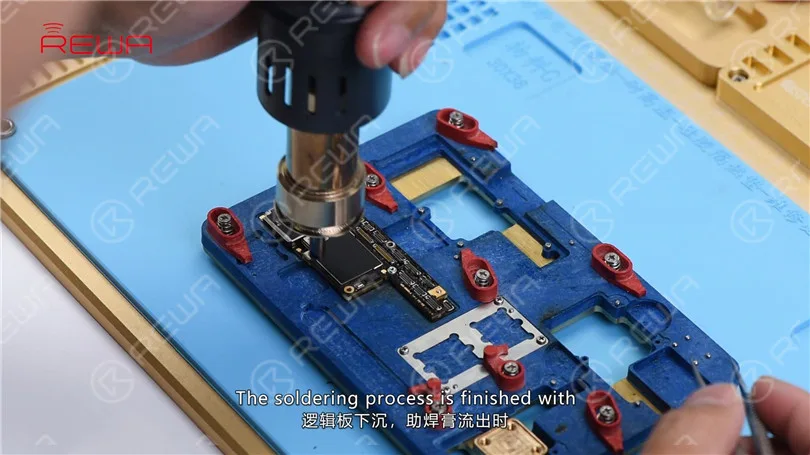
Heat evenly with Hot Air Gun at 350℃, air flow 65. The soldering process is finished with the upper layer sinking and Paste Flux overflowing.
Wait for the motherboard to cool for 5 minutes. Now, let’s assemble the phone and test. Go to Settings>Sounds&Haptics>Ringtone. Select a default ringtone, normal output sound this time.
-
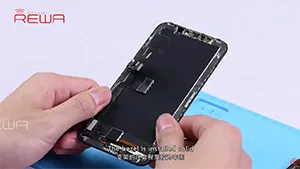
REWA Deep Test for iPhone X Aftermarket LCD Screen
Many people in the cell phone repair industry have expectations for iPhone X aftermarket screen to reduce the repair cost of iPhone X screen repair. Since iPhone X is different with previous models, the difficulty of iPhone X aftermarket screen production is quite high. After fully tested the first batch of iPhone X LCD aftermarket screens, REWA shares our test results with you for your information.
-
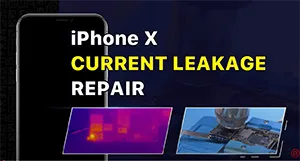
How to Fix iPhone X Battery Draining Fast – Fault Hides Under the Card Reader
The iPhone X battery is draining fast with an overheating issue. After measurement, the motherboard is found to have a current leakage. Since the current is too small, rosin detecting is unable to find the fault. Therefore, we use a thermal imager to find the faulty part. After multiple checks, the faulty part is found to be under the card reader.
-
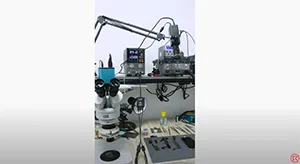
iPhone Motherboard Repair Live Course Preview
The iPhone Motherboard Repair Live Course is suitable for iPhone motherboard repair beginners. The course includes troubleshooting methods and demo repair for common motherboard problems. In the meantime, we offer continuous technical support for your learning. Join REWA Academy live course on 6 Sept to enrich your repair knowledge.
-
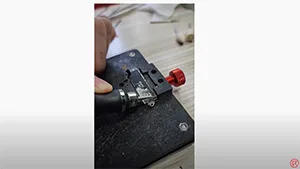
Get Inside of the iPhone’s Taptic Engine
A combination of “tap” and “haptic feedback,” Taptic Engine is a technology that Apple creates to provide tactile sensations in the form of vibrations to users. So what’s inside of the Taptic Engine? Check out this video to find out!
 English
 Español
 Français
 Deutsch
 Italiano