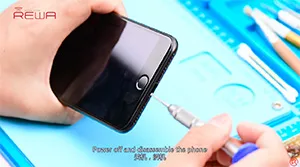
You might noticed that we have already released a memory upgrading video for iPhone 6s before, and many audiences and customers are interested in this trick. Recently, some of them asked about iOS 11.0.3 and China Made Screen based on the upgrading. Therefore, REWA LAB decided to launch this new video for iPhone 7 Plus storage upgrading, from 32GB to 256GB, with iOS 11.0.3 available. Something new with iPhone memory upgrade. Let’s find out!
Tag: iphone
-
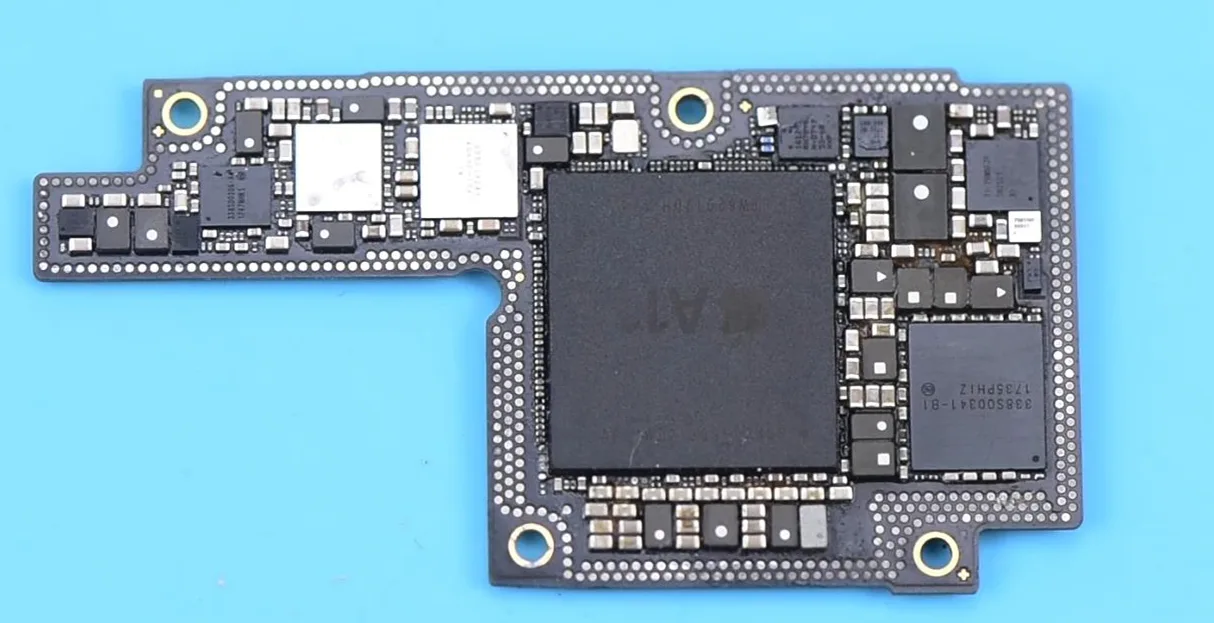
Mastering Desoldering & Soldering of iPhone X PMU
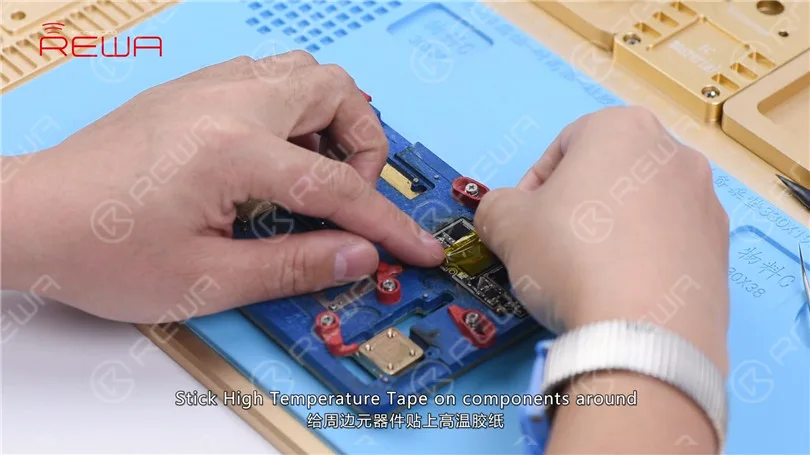
Today’s handwork course will focus on a tutorial for desoldering and soldering the iPhone X PMU. Begin by attaching the upper layer of the motherboard to the PCB Holder, then proceed to apply High-temperature Tape on the surrounding components.
Start by removing the black adhesive surrounding the PMU. Apply heat using a Hot Air Gun set at 280℃ with an air flow of 3. Then, use a specialized knife to get rid of the black adhesive around the chip.
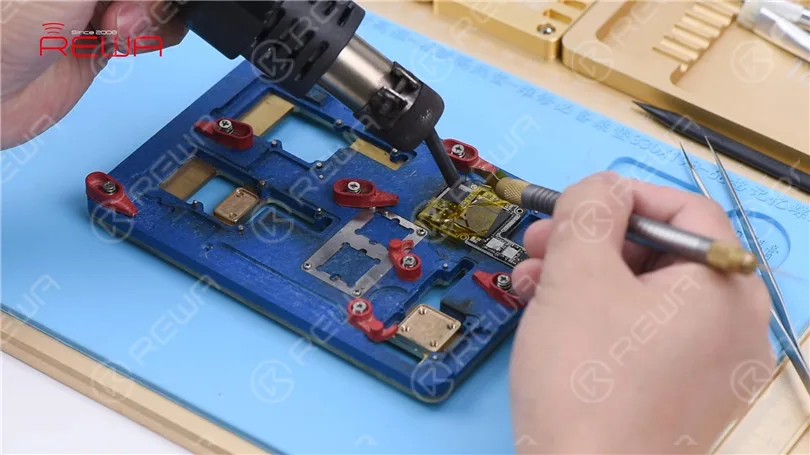
Caution: When removing the black adhesive near the PMU to prevent dislodging any nearby components.
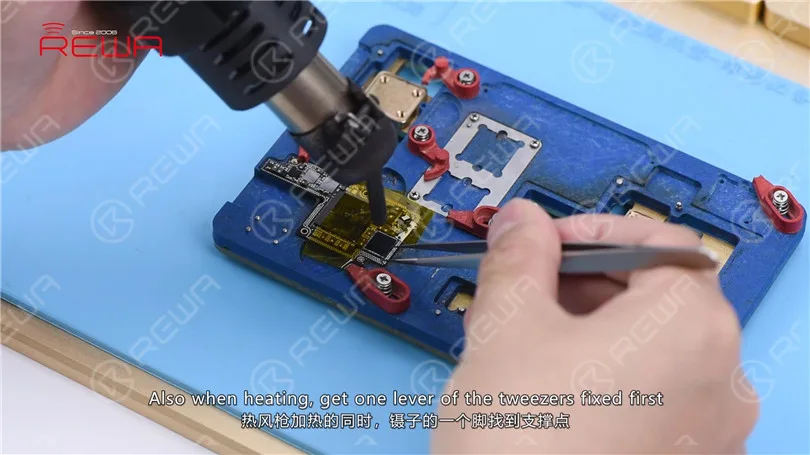
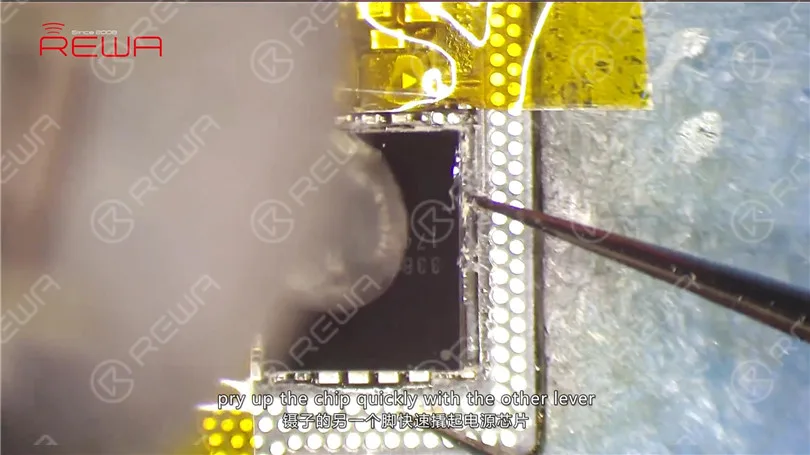
Apply heat to the PMU using a Hot Air Gun set at 330℃ with an air flow of 5. Prior to heating, secure one end of the tweezers. After 15 seconds, when the solder begins to melt, swiftly lift the chip using the other end of the tweezers. Ensure that you lift the chip at the appropriate moment to avoid causing damage to the bonding pad.
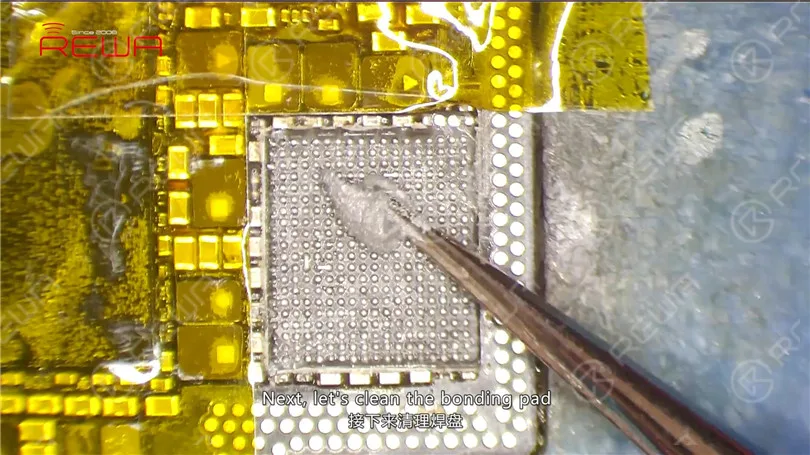
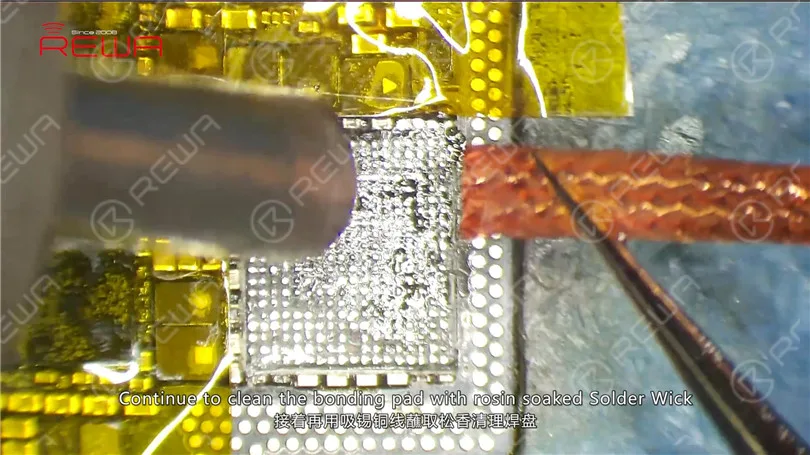
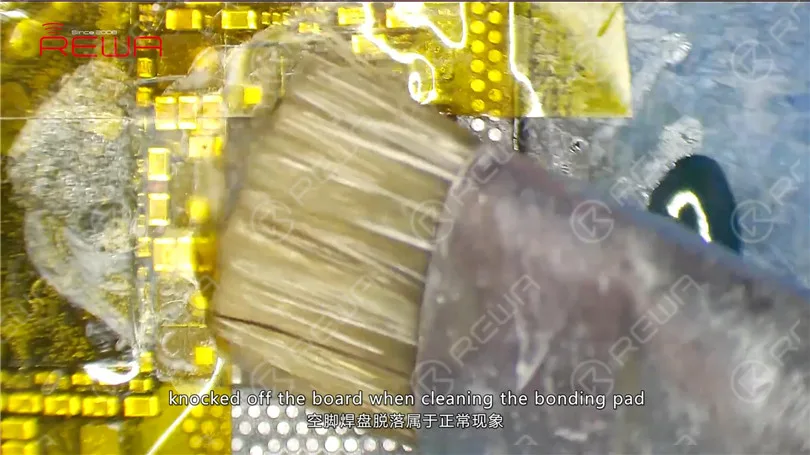
Next, let’s clean the bonding pad. Apply some mid-temperature Solder Paste to the bonding pad. Heat with Hot Air Gun at 280℃. Meantime, clean the bonding pad with Soldering Iron at 360℃. Continue to clean the bonding pad with rosin soaked Solder Wick. Clean with PCB Cleaner afterwards. Tips: bonding pads of those empty pins might get knocked off the board when cleaning the bonding pad, which is normal. We can just leave them alone.
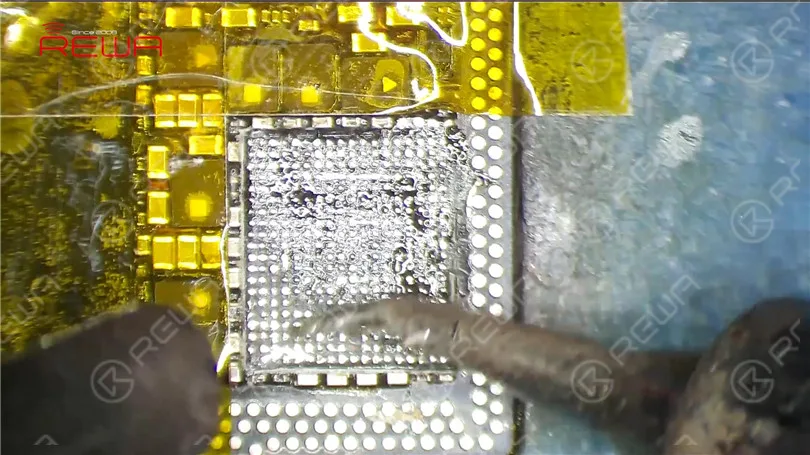
Continue to remove black adhesive on/around the bonding pad. Also when we pry up the chip, components around get knocked off the board. So our next move is to re-solder these components. First, apply some Paste Flux to their bonding pads. Then, apply solders with Soldering Iron. Get these components in position. And then solder with Hot Air Gun at 330℃, air flow 3.
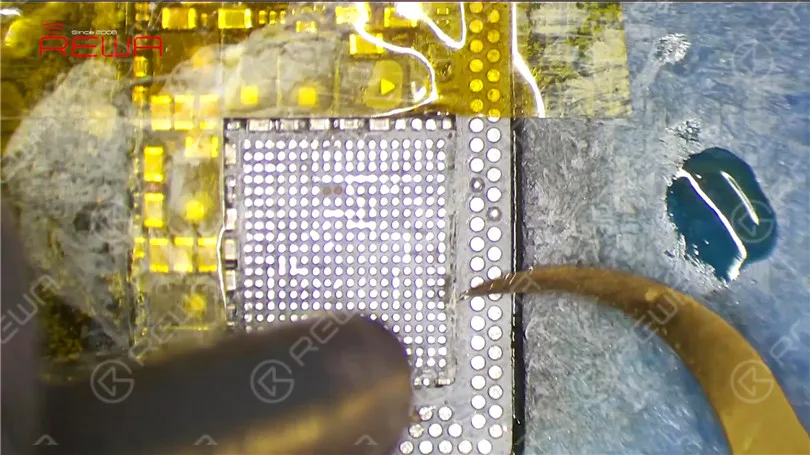
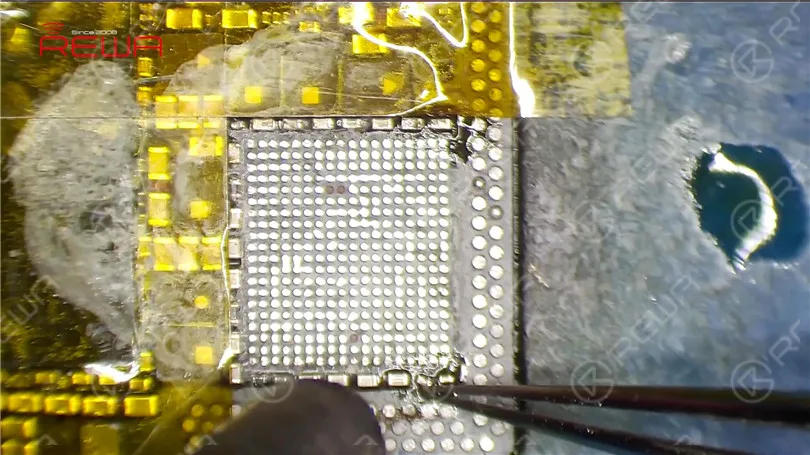
Before soldering the chip, clean the bonding pad again. Clean with PCB Cleaner afterwards.
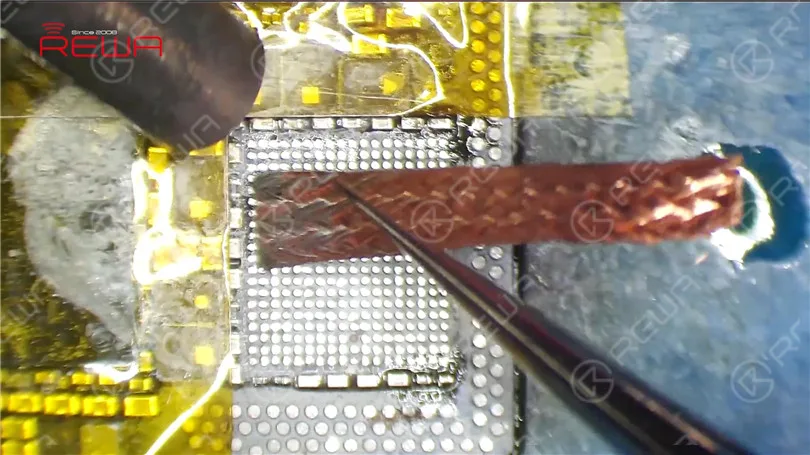
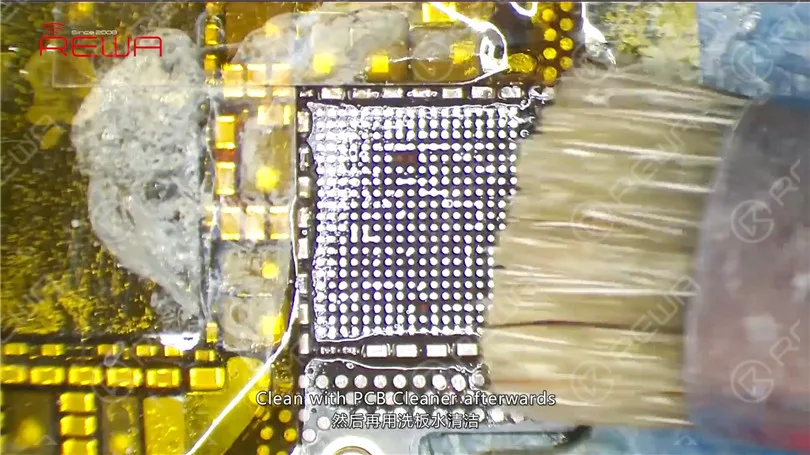
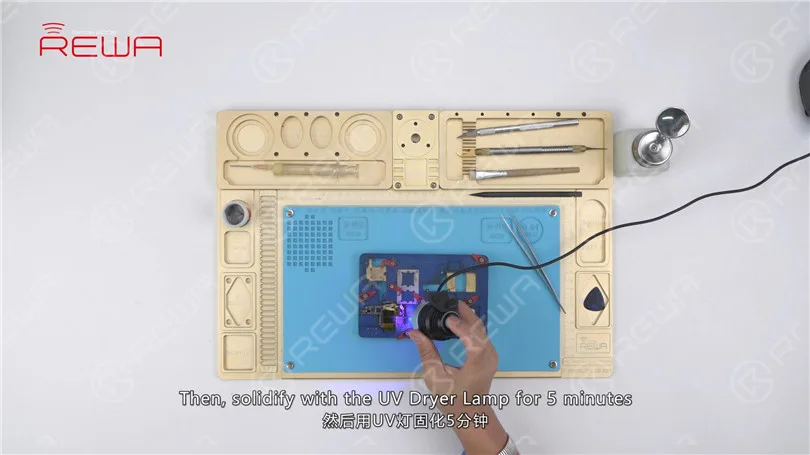
Also when we remove the black adhesive, some of the insulation varnish on PCB has fallen off the board. So we need to remedy with the UV Curable Solder Mask. Dip some UV Curable Solder Mask with tweezers. And apply the solder mask to the exposed area. Then, solidify with the UV Dryer Lamp for 5 minutes.
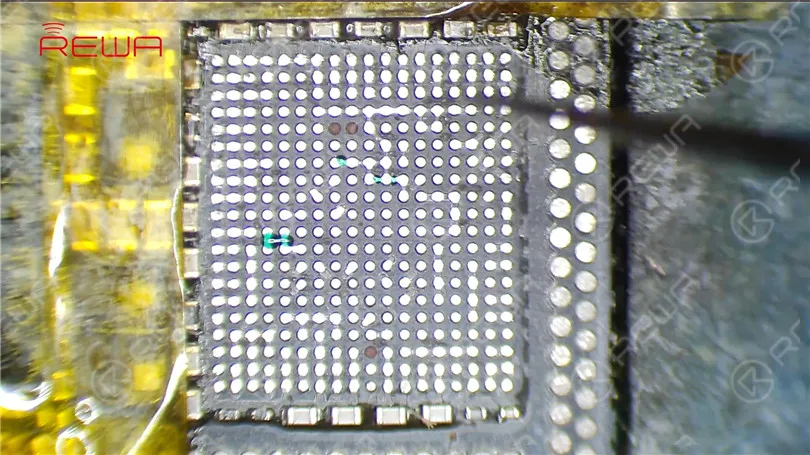
Now we can solder the PMU. Apply some Paste Flux to the bonding pad. Get a new PMU in position. Make sure you put it in the right direction. Solder with Hot Air Gun at 330℃, air flow 3 for 20s.
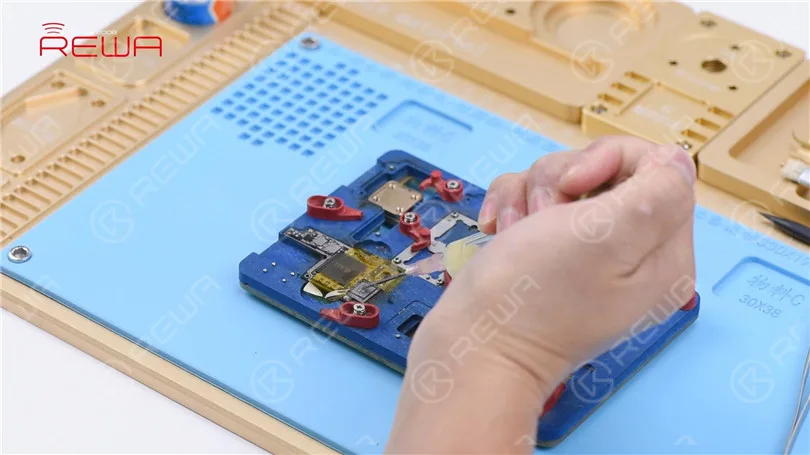
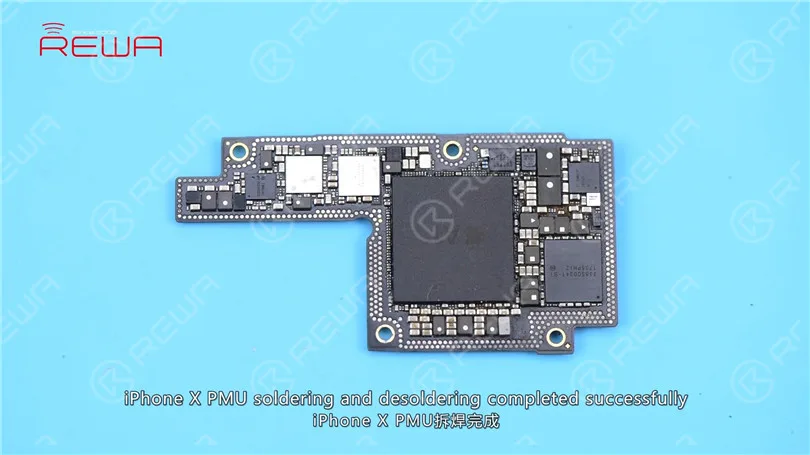
With the chip sinking and Paste Flux flowing, continue heating for 10s. Wait for the upper layer to cool for 5 minutes. Tear off the High Temperature Tape. Clean with PCB Cleaner afterwards. iPhone X PMU soldering and desoldering completed successfully.
-
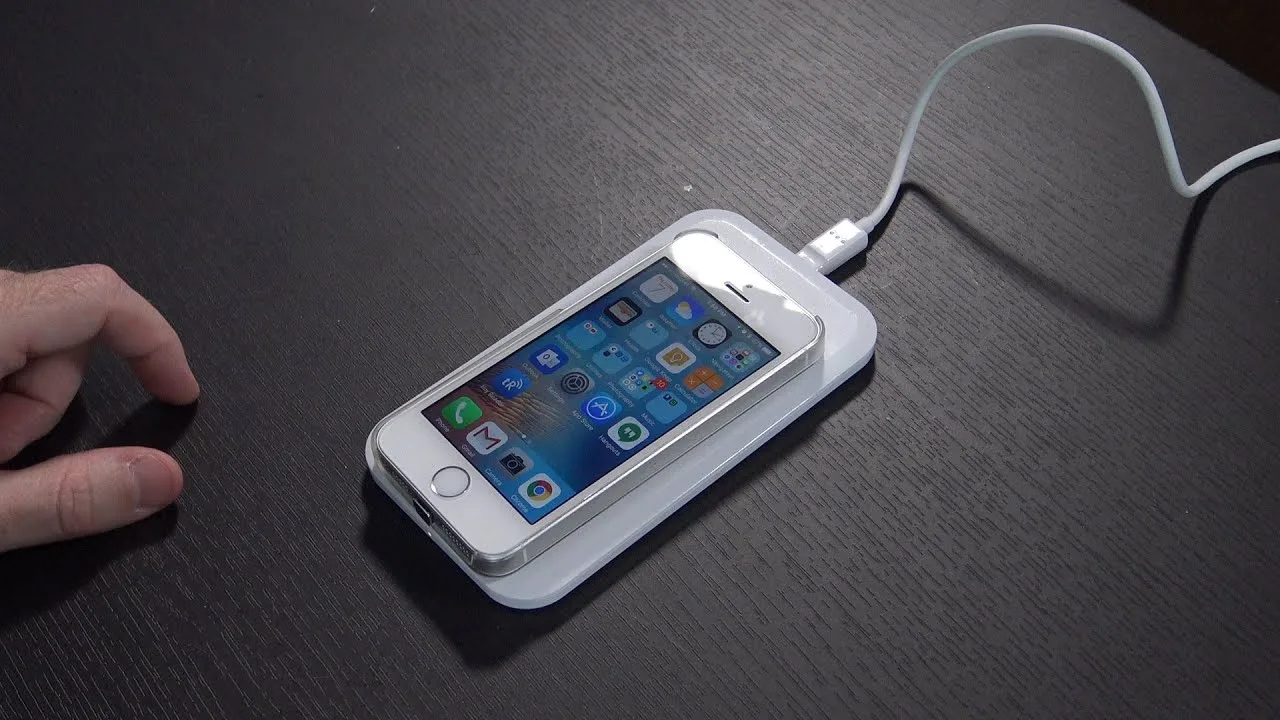
How to Fix iPhone SE Won’t Charge?
If you’re frustrated with your iPhone SE not charging, know that you’re not alone. Many users have faced this issue. But fret not! We have a comprehensive guide in this blog post that will help you resolve the problem. Keep reading to find quick solutions that will get your iPhone SE charging again in a jiffy.
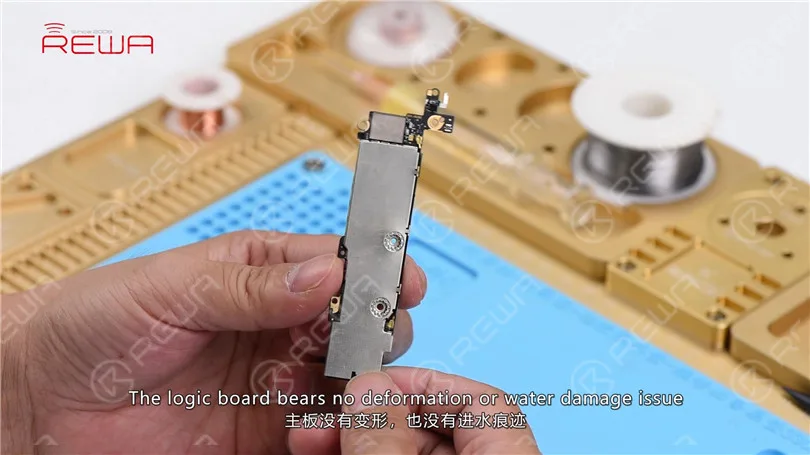
First, run cosmetic inspection of the logic board. The logic board bears no deformation or water damage issue.
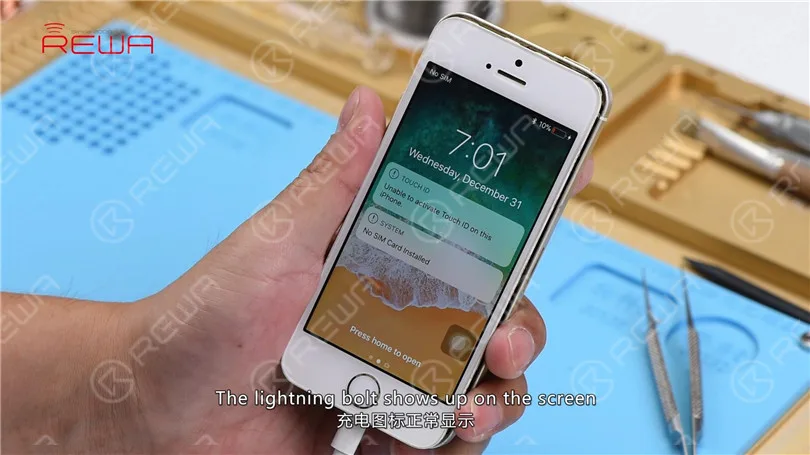
Next, let’s assemble the phone and test. Get the logic board and display assembly installed. Connect the battery and press the power button. Battery percentage in the upper-right corner displays as 10%. Plug in the charging cable. The lightning bolt shows up on the screen. After charging for 10 minutes, battery percentage in the upper-right corner still displays as 10%, which indicates that the charging circuit has malfunctioned.
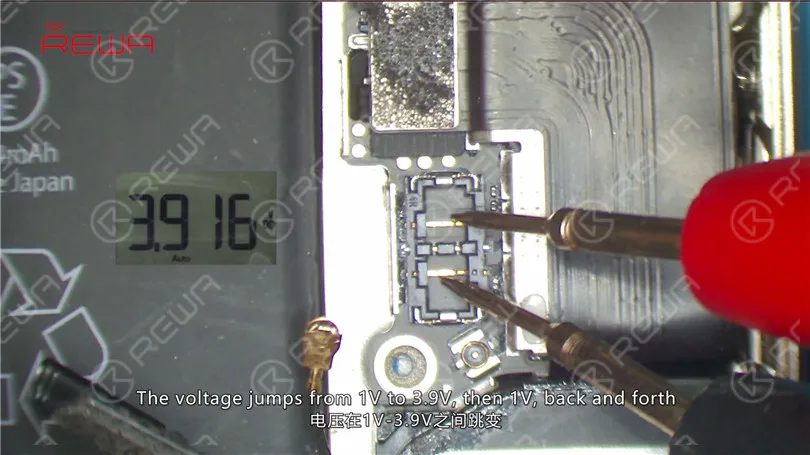
Switch the Multimeter to DC voltage mode. Disconnect the battery first. Then measure the battery connector J2400. The voltage jumps from 1V to 3.9V, then 1V, back and forth, which indicates that the charging voltage is normal.
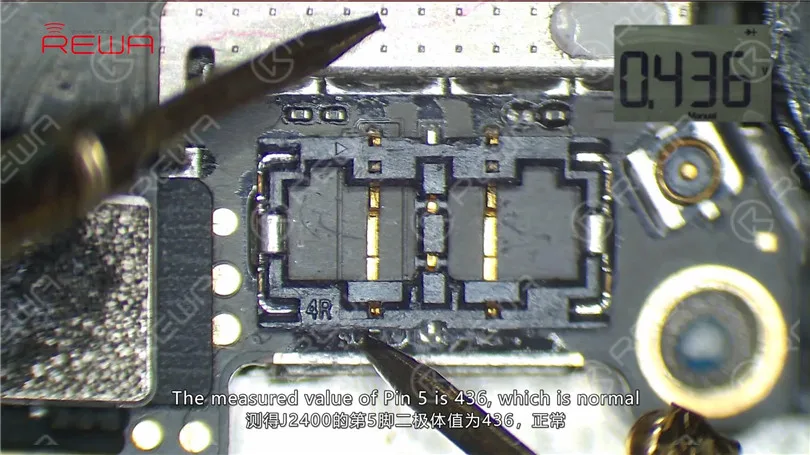
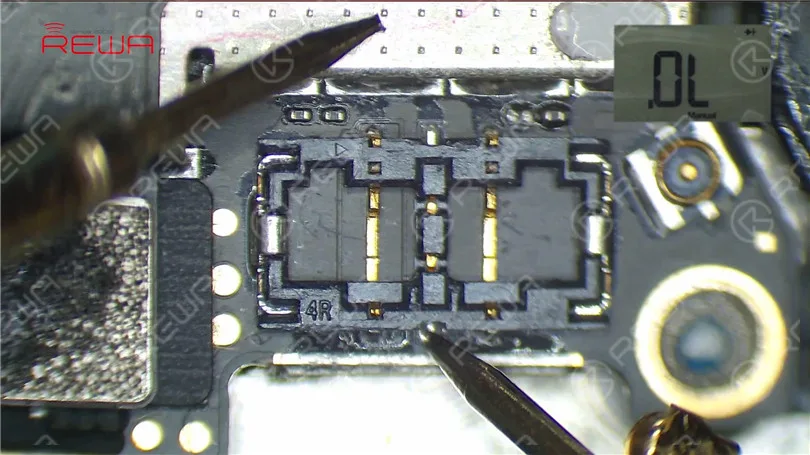
Disconnect the charging cable and remove the display assembly. Run diode mode measurement of J2400. The measured value of Pin 5 is 436, which is normal. The measured value of Pin 2 is OL, which is abnormal. Normal value should be around 600. Judging by this, Pin 2 relevant circuit has been open-circuited.
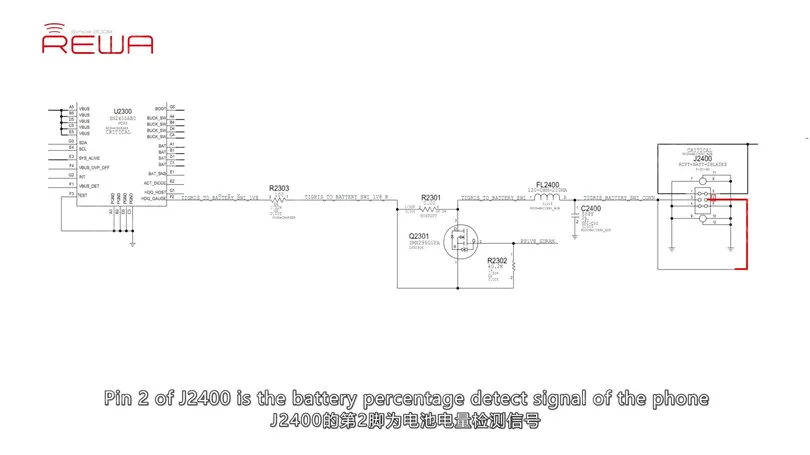
Pin 2 of J2400 is the battery percentage detect signal of the phone, which connects to Pin 3 of Q2301 by way of FL2400. The rail extends to Pin F2 of U2300 by way of Pin 1 of Q2301 and then R2303. Also when we are measuring, we find that FL2400 is missing.
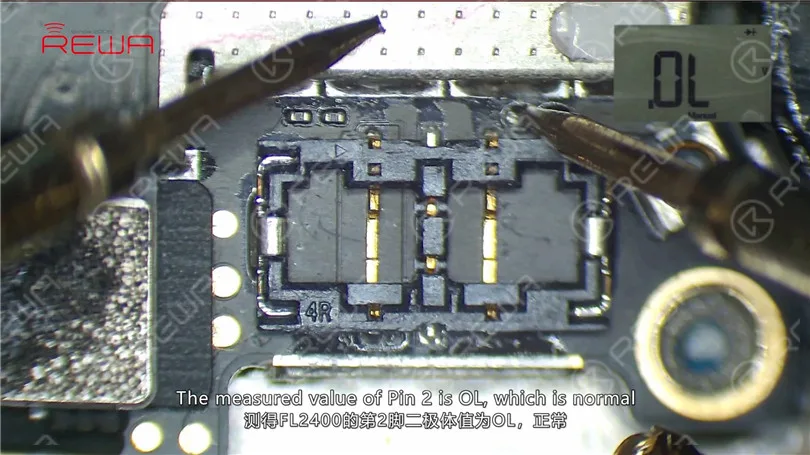
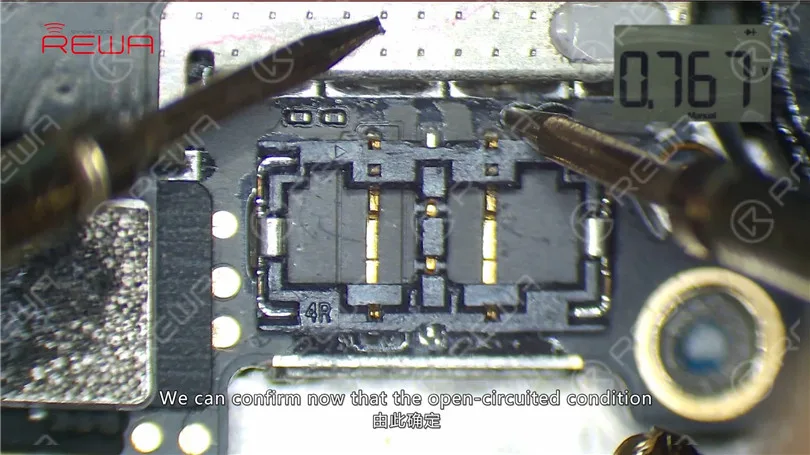
Continue to run diode mode measurement of its bonding pad. The measured value of Pin 2 is OL, which is normal. The measured value of Pin 1 is 767, which is normal. We can confirm now that the open-circuited condition is caused by missing FL2400.
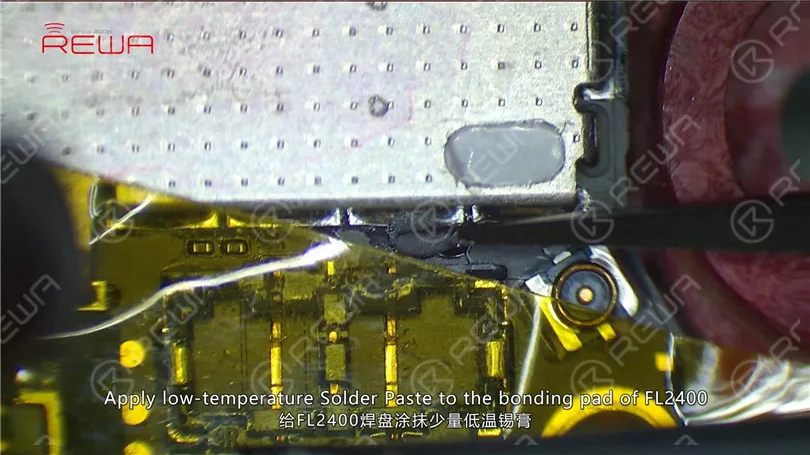
Since FL2400 is a coupled inductor, we can fix the problem by connecting the two pins with Solder Paste. Now, let’s take out the logic board. Stick High Temperature Protective Tape on J2400. Apply low-temperature Solder Paste to the bonding pad of FL2400. Heat with Hot Air Gun at 240℃, air flow 2. Then connect the two pins with melted Solder Paste. Wait for the logic board to cool for 5 minutes. Clean with PCB Cleaner afterwards.
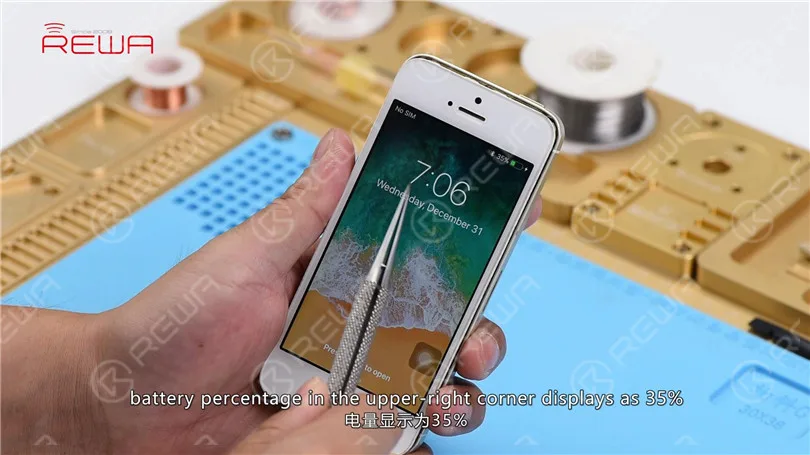
Now we can assemble the phone and test. Get the logic board and display assembly installed. Connect the battery and press the power button to power on. The phone turns on normally. Battery percentage in the upper-right corner displays as 26%. Plug in the charging cable. The lightning bolt shows up on the screen. After charging for 3 minutes, battery percentage in the upper-right corner displays as 35%. Fault cleared.
-
iPhone 8 Broken LCD Screen Refurbishing
Here, you can get the latest iPhone 8 broken LCD screen glass-only refurbishing technique supported by REWA LAB. This technique uses a new frame-separating machine and an integrated glass lens with a bezel applied. It is a cost-effective and efficient LCD refurbishing solution for all iPhone repair professionals and enthusiasts. Don’t miss our new glass-only repair video!
-
REWA Fix iPhone 6 No Speaker Sound Caused by Pseudo Soldering
Have you ever encountered with a problem of “iPhone 6 no speaker sound” while receiving dialing or playing music via louder speaker, and if you plug EarPods in, the sound come out again? This iPhone speaker no sound problem may be caused by some components pseudo soldering while the iPhone leaving factory. As time goes by, operating environment and personal habits of users may accelerate the oxidation or shedding of pseudo soldered components. Let’s check the video and find out how to fix iPhone speaker not working problem.
-
iPhone 6s Overheating And Getting Hot Issue Fix – Exclusive Logic Board Repair
iPhone 6s overheating and getting hot? Usually the problem is caused by excessive running apps, but in this tutorial video, we demonstrated a logic board repair method. After current detecting and rosin detecting, we can confirm that the problem was caused by damaged capacitors inside the WiFi module. With our repairing experience, we adopt a exclusive repair solution to fix the iPhone 6s high temperature warning screen issue.
-
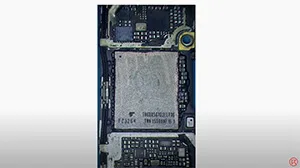
Get Inside of NAND through Laser Machine
NAND is a type of non-volatile memory chip that is used in all iDevices. Wanna see what’s inside of the iPhone NAND? In this video, we get inside the NAND with the help of the laser machine.
-
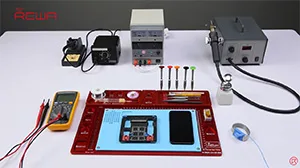
Fix iPhone 7/7 Plus Won’t Turn On – CPU Repair
iPhone 7/7 Plus won’t turn on after it is dropped? Due to the imperfect technology of CPU supplier, the SDRAM of iPhone 7/7 Plus series can be easily damaged. Once dropped, the SDRAM might be short circuited and the phone won’t turn on afterwards. The traditional SDRAM replacing method is complex and easy to get it pseudo soldered. This time we introduced a new solution with CNC Chip Grinding Machine. Let’s check the video to see how we fix iPhone 7 plus won’t power on issue in a more efficient way.
-
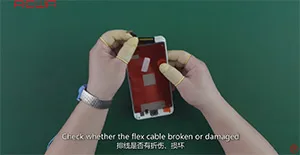
iPhone China Made In-cell LCD Screen-Qualified Alternative
As a product with new structure, China Made In-cell LCD Screen has went through strict tests of REWA LAB. So far, there are two kinds of iPhone models for China Made In-cell LCD Screen – iPhone 6s Plus and iPhone 7 Plus. According to our test results, iPhone 7 Plus version has some polarizing problems and therefore is not recommended for the moment. As for iPhone 6s Plus version, it performs perfectly in the function tests, like touch function, 3D Touch, installation matching, brightness and other stability tests. With all test results closer to those of OEM, it stands out with a thinner screen and a more advantageous price that can be a good alternative for OEM screen.
-
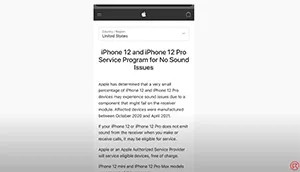
Fix iPhone 12 Pro No Sound Issue by Replacing the Receiver
Recently, some of the iPhone 12/12 Pro have no sound unless put in hand-free mode. This was caused by damage to the receiver module. To fix it, simply replace a brand new receiver.
-
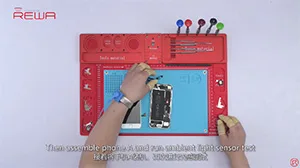
iPhone 8/X Light Sensor Failed Even With Genuine Parts Repaired By Third Party
Recently, REWA has got feedback from a number of third-party repair shops that some iPhone 8 series and iPhone X have got “ambient light sensor not working issue” after repairing even with genuine parts. After testing and analysis, REWA LAB has found that Apple might have set up some technical barriers for repairing to prevent customers from resorting to third-party repair.Let’s check the video and find out the testing procedures and results.
-
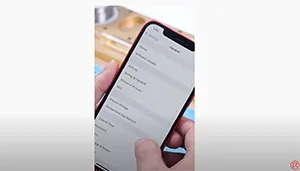
Upgrade iPhone 12 64GB Storage to 256GB
From the first iPhone to iPhone 11, Apple has stored serial number, WiFi address, and Bluetooth address on NAND. However, the NAND on iPhone 12 does not store serial number, WiFi address, and Bluetooth address, which means that the NAND of iPhone 12 can directly be replaced by an iPhone 12 NAND and activated.
 English
 Español
 Français
 Deutsch
 Italiano