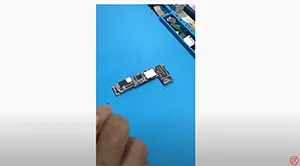
The iPhone 12 has a large boot current. With the help of the infrared camera, the fault is detected. Check out this video to see how we fix the problem.
Tag: iphone
-
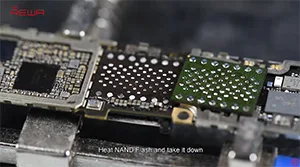
iPhone 6s Hardware Unlock / Bypass iCloud
How to Bypass iPhone 6s Activation Lock in Hardware?
Process:
1. Take down the chips on the motherboard without iCloud
2. Take off chips on the motherboard with iCloud
3. Bond the chips onto the iCloud motherboard
-
iPhone 12 Battery Draining Fast? Fix It Now with These Tips
Here are some tips to help fix iPhone 12 battery issues and extend its battery life. Do you often find that your iPhone 12 battery is running out before the end of the day? This article can help you solve the problem of iPhone 12 battery life. Let’s dive in.
Repair iPhone 12 Battery Life Problems
Is your iPhone 12 battery draining quickly? These iPhone 12 battery-saving tips will help you make your battery last the whole day.
Before we delve into short-term solutions to increase iPhone 12 battery life, it’s essential to know what you can do to extend your battery’s lifespan.
- Avoid Extreme Temperatures: Keep your iPhone 12 out of high-temperature and low-temperature environments as they can affect the battery.
- Avoid 100% or 0% Charging: Charging your battery to the extremes (100% or 0%) puts extra strain on the battery. Try to keep it within the 20-80% range.
- Avoid Fast Charging: While fast charging is convenient, it can reduce the long-term performance of the iPhone 12 battery.
If you want your iPhone 12 battery to last longer, you can adjust some settings and turn off certain features to save power.
Remove Unwanted Apps from the Home Screen
Some apps (e.g., weather or news) continuously refresh data, draining your battery. To remove an app, long-press it, then select “Delete App” > “Delete.”
Use Dark Mode
Dark mode can extend the battery life of your iPhone 12 by up to 30%. Go to “Settings” > “Display and Brightness” to enable it. You can also activate dark mode from the Control Center or use Siri.
Adjust Screen Brightness
Reducing screen brightness can help conserve battery life.
Disable Location Services
Location Services are useful for apps like Maps and Find My, but constant GPS usage can drain your iPhone 12 battery. Go to “Settings” > “Privacy” > “Location Services” to turn them off. You can customize location settings for individual apps.
Limit Notifications
Reducing the number of notifications that light up your screen can extend battery life. Go to your notification settings to manage this.
Turn Off Bluetooth and AirDrop
Bluetooth and AirDrop continually search for connections, which can drain your battery. Turn them off when not in use.
Disable Automatic App Updates
While keeping your apps and OS up to date is important, automatic app updates can consume battery power. You can disable this feature by going to “Settings” > “App Store” > “App Updates.”
Implementing these suggestions can help improve your iPhone 12’s battery life.
-
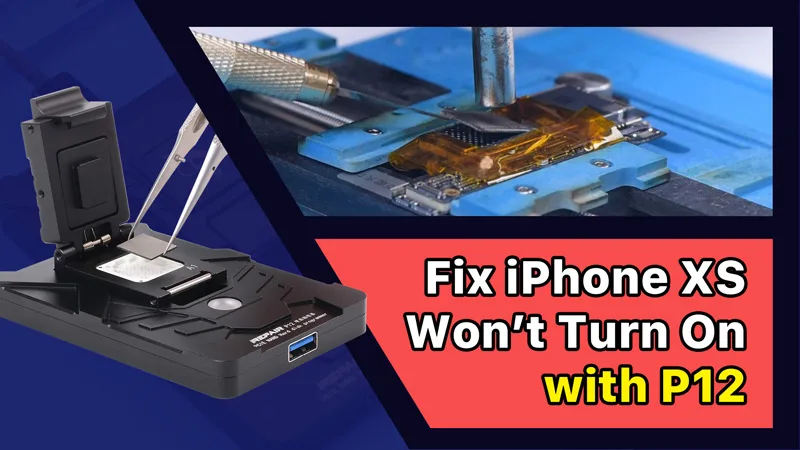
Fix iPhone XS Won’t Turn On with P12 (NAND Programmer for iPhone 6 – iPhone 11 Pro Max)
NAND replacement is a common repair procedure in iPhone repair, whether for storage upgrade or fixing issues like not turning on caused by a damaged NAND. For NAND replacement, a NAND programmer is needed to read and write the NAND data.
Today we will repair an iPhone with the latest NAND programmer P12, Compared to other NAND programmers on the market, P12 supports a wide array of models, which includes NAND read & write and WiFi unbinding for iPhone 6-iPhone 11 Pro Max and some iPad models. What’s more, P12 can work without an internet connection and is free for use permanently.
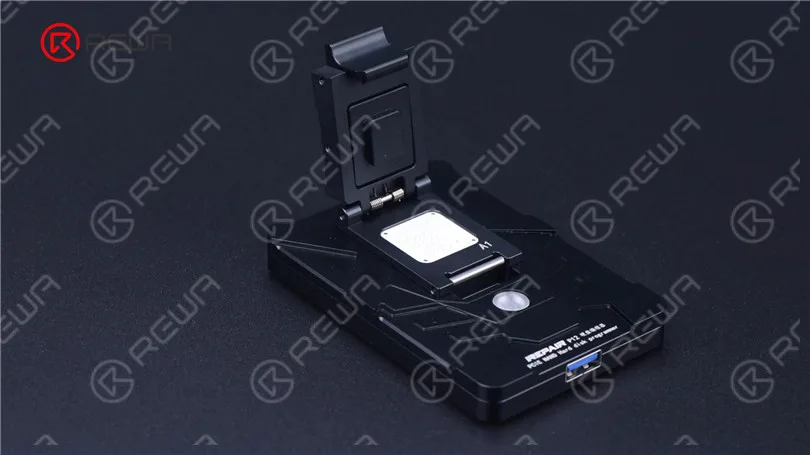
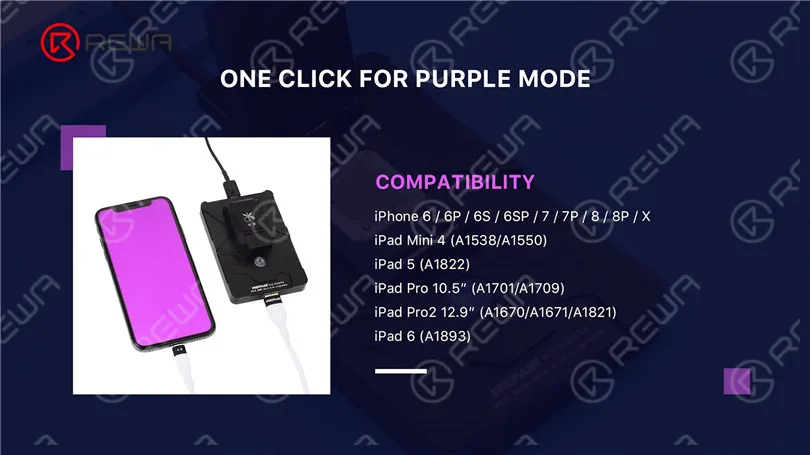
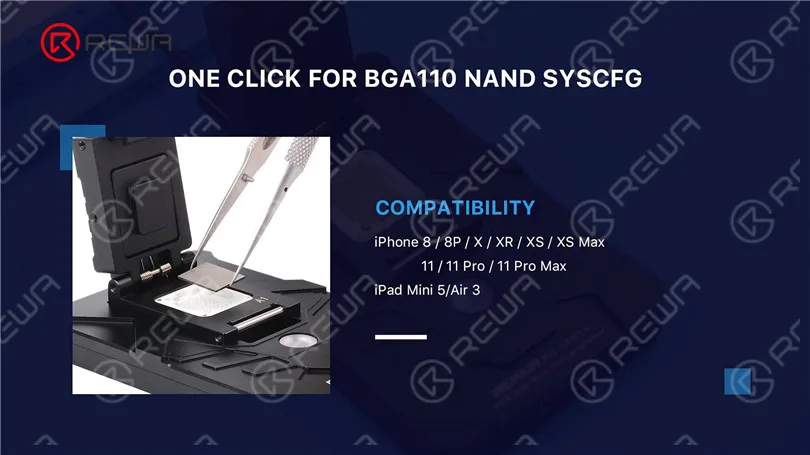
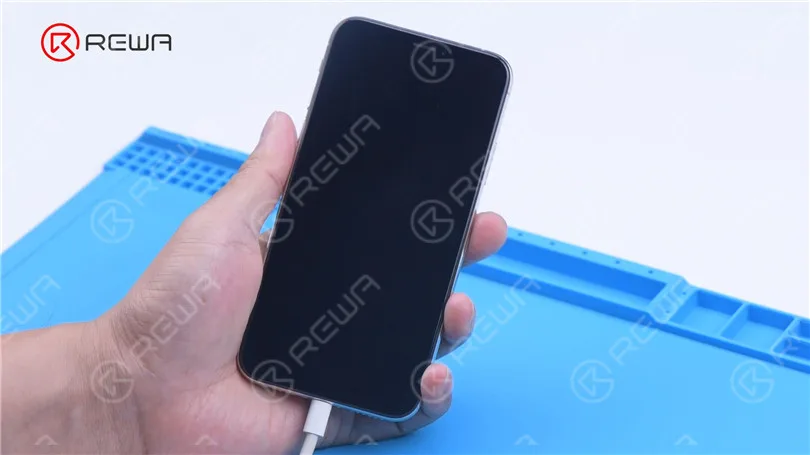
Then we use P12 to fix an iPhone XS that won’t turn on. The iPhone XS is unable to boot up.
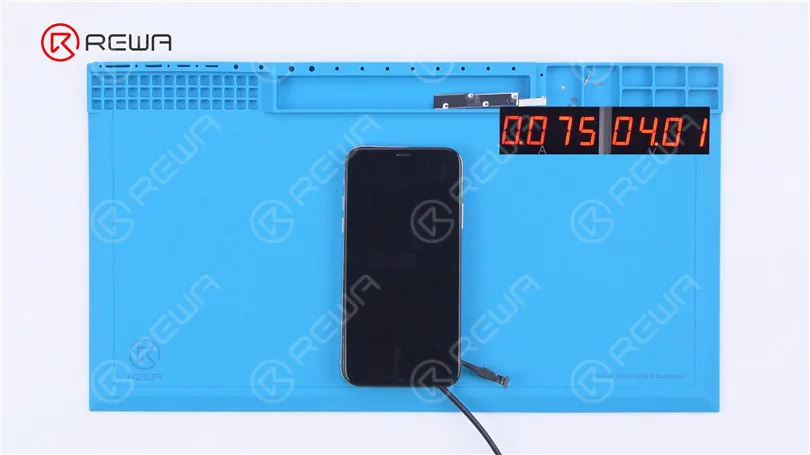
Then we disassemble the phone for further testing. Connect the motherboard with Power Cable. The boot current only has 75 mA. It can be preliminarily judged that the system is faulty.
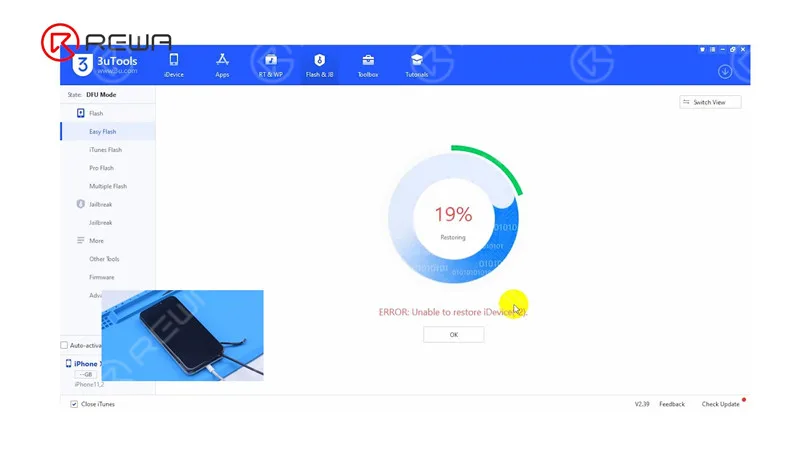
Next, connect the phone with the computer. The phone is in DFU mode automatically. The flashing gets stuck at 19%. We can confirm now that the not turning issue is induced by faulty circuits related to the NAND.
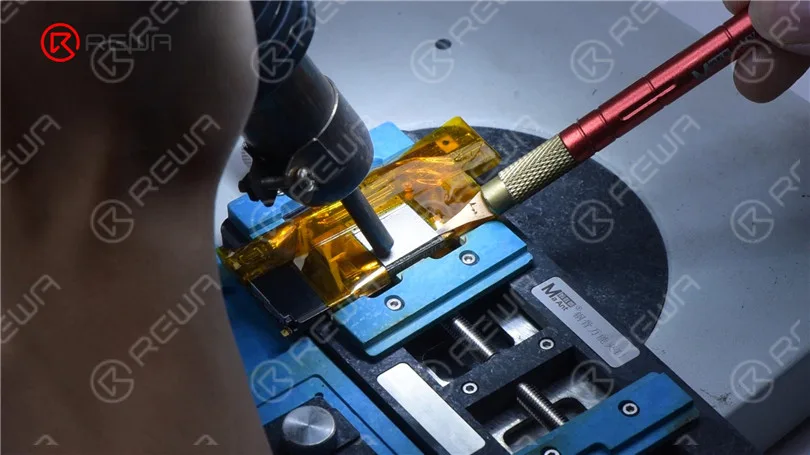
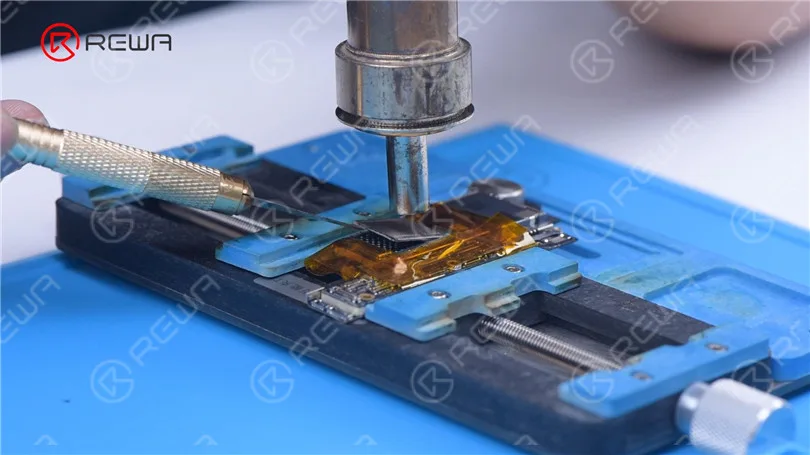
The next step is to replace the NAND with a new one. Remove the display and detach the motherboard. Apply high-temperature tape around the motherboard. First of all, remove black adhesive around the NAND with Hot Air Gun at 280 °C.
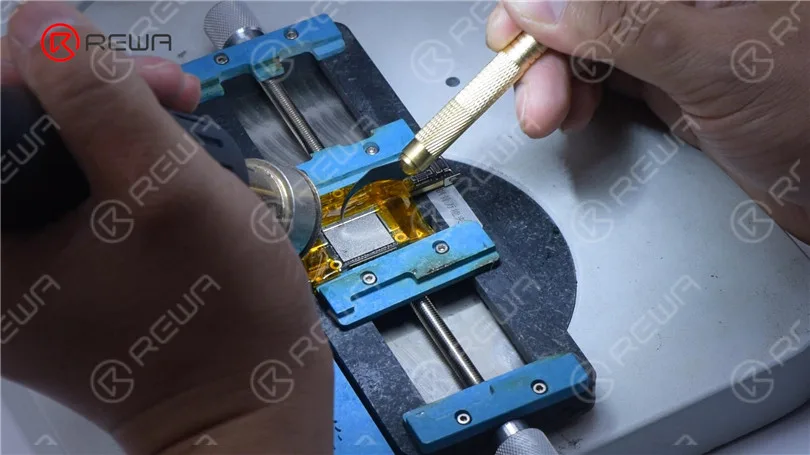
Pry up the NAND with Hot Air Gun at 400 °C.
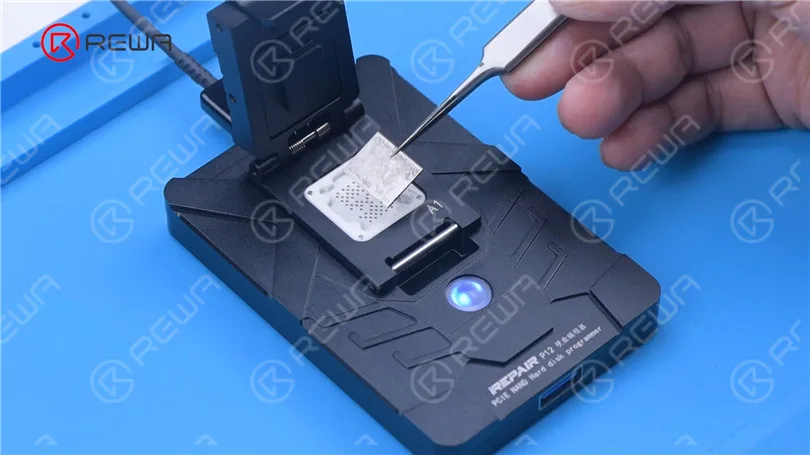
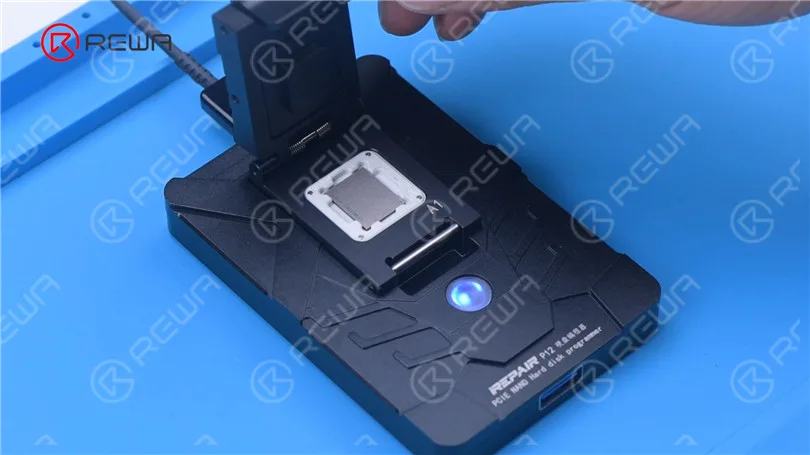
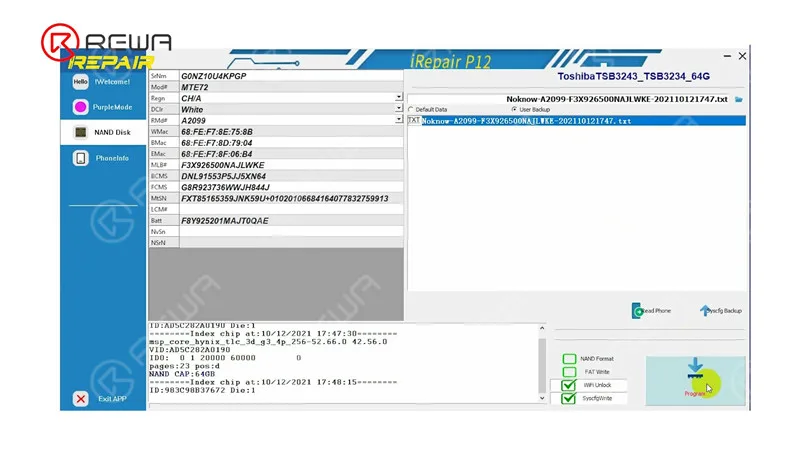
Attach the NAND to P12. Please pay attention to aligning the NAND with the A1 pin. Click “Syscfg Backup”. Then save the data.
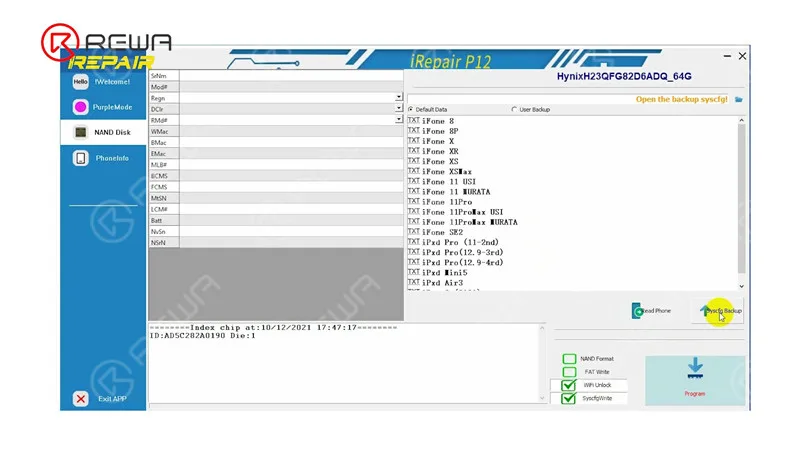
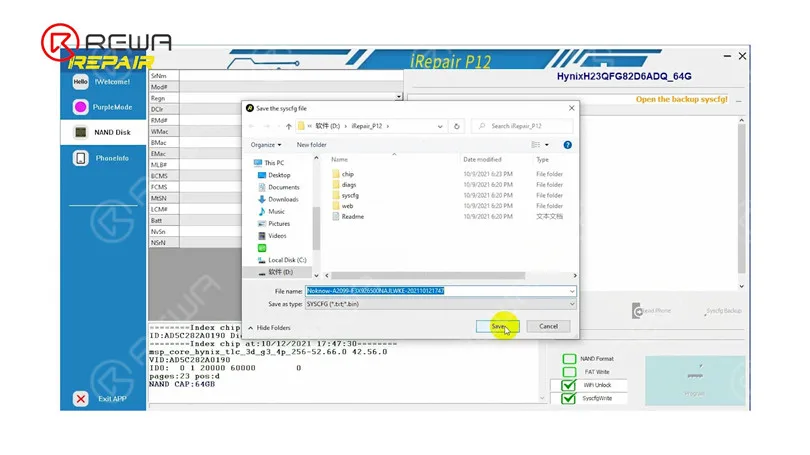
Remove the NAND. Attach the new NAND to P12. Select “User Backup”. Tap “Program”.
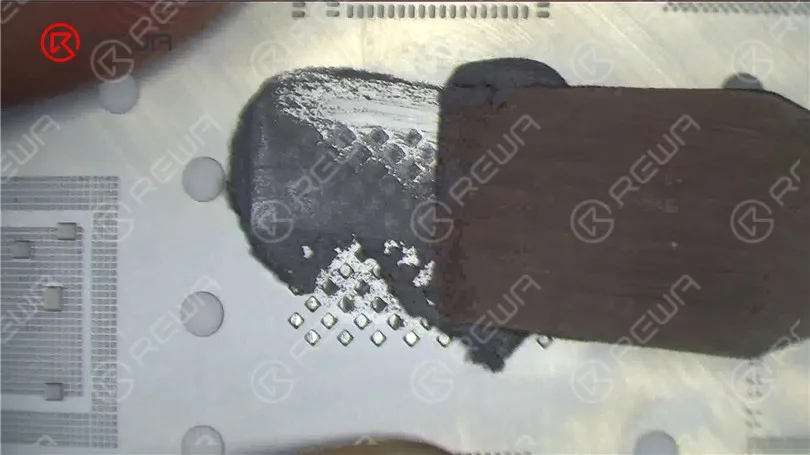
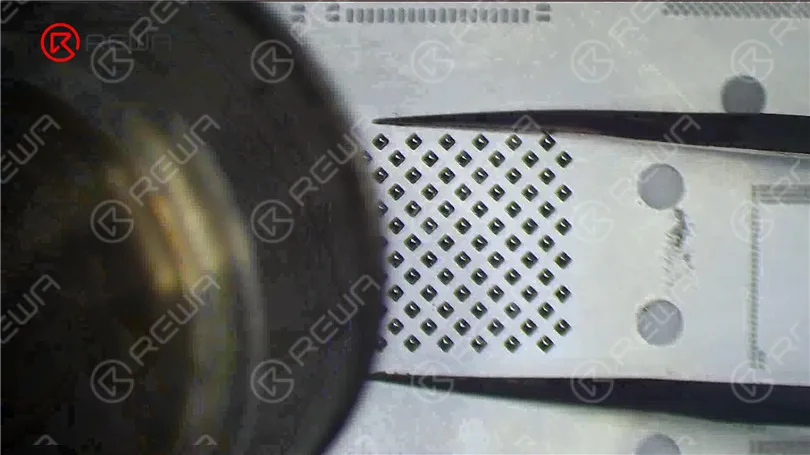
Next, we reball the NAND with the written data. Place the reballing stencil in position. Apply a layer of middle-temperature Solder Paste evenly. Heat with Hot Air Gun at 340 °C.
Before NAND soldering, we need to remove tin on the bonding pads. Apply some middle-temperature Solder Paste with Soldering Iron. Clean the bonding pads with Soldering Iron and Solder Wick.
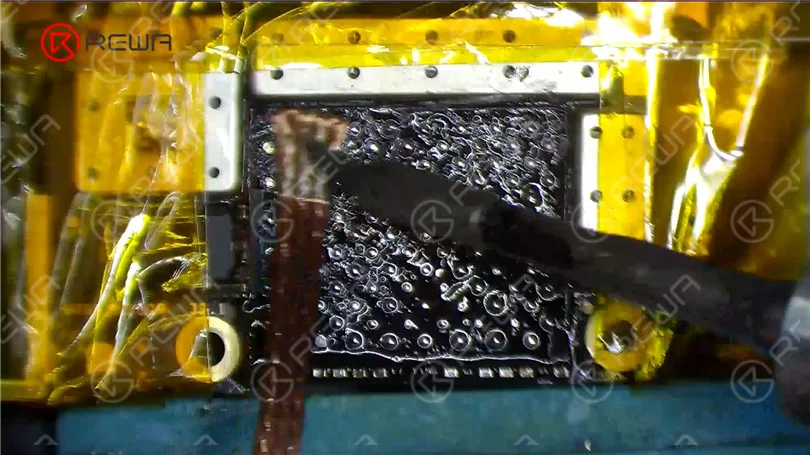
Remove black adhesive on the bonding pads with Sculpture Knife. Then clean the bonding pads with PCB Cleaner. After cleaning, apply some Paste Flux
Align the new NAND. Heat with Hot Air Gun at 380 °C to solder.
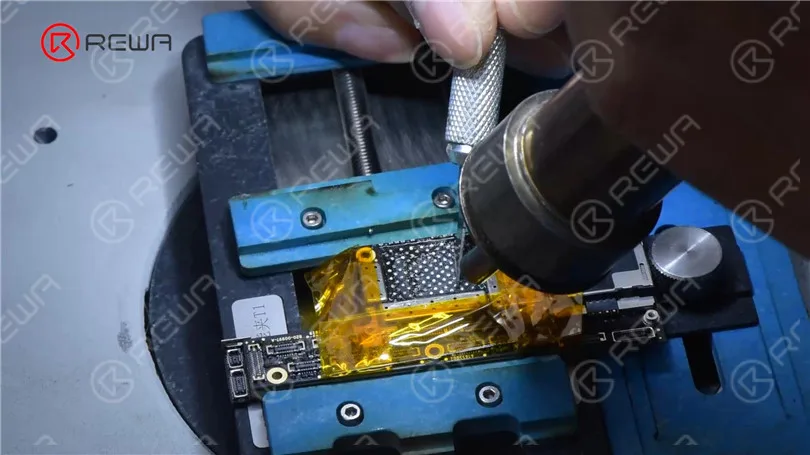
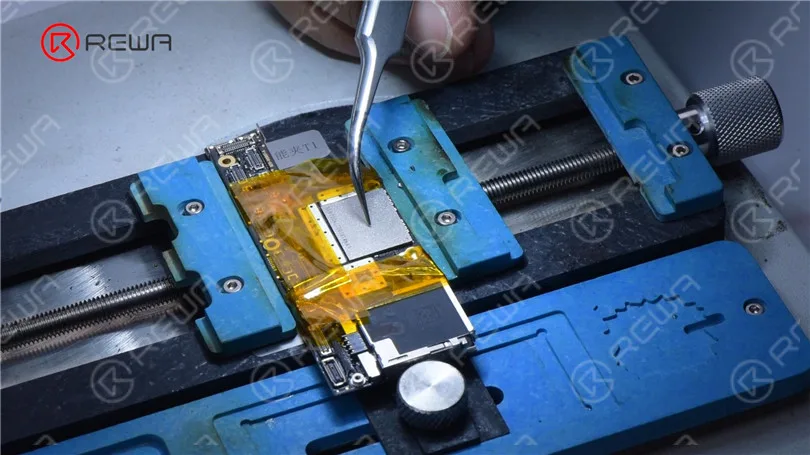
Then we install the motherboard. Connect the phone with the computer to flash. The flashing has been successful.
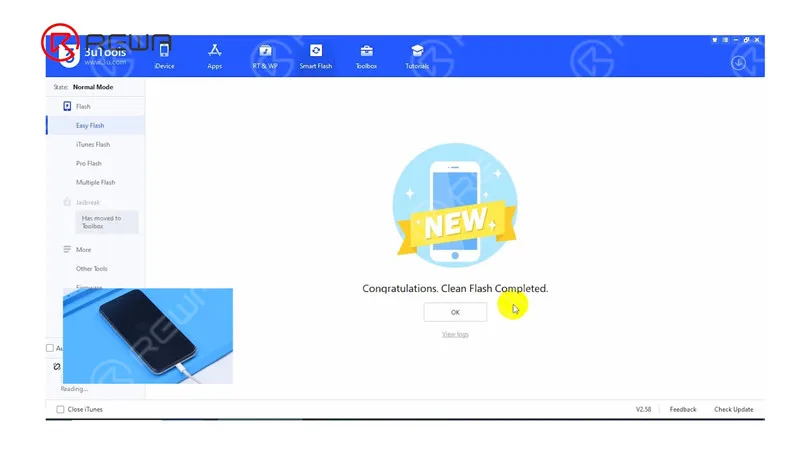
The phone turns on normally. After activation, the phone also functions well.
-
Fix iPhone XS Won’t Turn On with P12 (NAND Programmer for iPhone 6 – iPhone 11 Pro Max)
NAND replacement is a common repair procedure in iPhone repair. For NAND replacement, a NAND programmer is needed to read and write the NAND data. Today we will repair an iPhone that won’ turn on with the latest NAND programmer P12. With one click, P12 can not only enter purple mode but also read all BGA110 NAND SYSCFG.
-
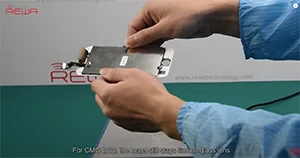
CMG Glass Lens – Solution to iPhone Bezel Frame Coming Off
Lots of people complain that the glass + HMG(hot melt glue) frame will not properly adhere to the screen, and will easily detach from the screen later. How to solve the problem that the iPhone bezel is easy to come off? More and more third-party manufacturers apply cold press technology to glass lenses with front bezel and claim it will help get rid of bezel frame separating from glass issue after refurbishing.
So is this really the case? REWA did a series of tests on these two types of glass with front bezels. Let’s wait and see which one is better.
HMG and CMG Glass Lens With Bezel Test Procedures:
- High-Temperature Test
- Low-Temperature Test
- Home Button Hole Fitness Test
- Hydrophobic Effect Test
- Light Transmittance Test
- Proximity Sensor Test
- Impact Resistance Test
- Bending Test
-
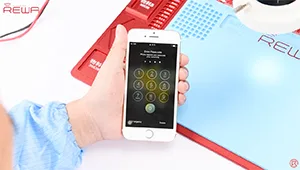
iPhone 7 Touch ID / Home Button Hardware Repair
It is well known that Touch ID chip is exclusively matched with the motherboard. If change a new home button only, the Touch ID function disappears as the unique chip is also changed. So if the home button is unfortunately broken, how can we repair it without losing Touch ID? Here is the solution for iPhone 7 home button replacement/repair.
-
Fix Weird Vibration on iPhone XS by Jumper Wires
The iPhone XS rattles with a weird sound when it vibrates. Check out this video to see how we fix the problem by jumper wires.
-
How To Fix No Service On iPhone 6?
Have you came through ‘no service’ on your iPhone 6? There are external and internal causes for ‘no service’ problem, which means no one-size-fits-all solution. REWA here presents you a professional iPhone 6 no service solution that deals with hardware failure with the help of our newly developed maintenance drawing.
-
iPhone 13 Face ID Not Working After Screen Replacement
After a screen replacement, iPhone 13 Face ID is not available. It can be confirmed that changing the screen on iPhone 13 through third-party repair will result in the loss of Face ID.
-
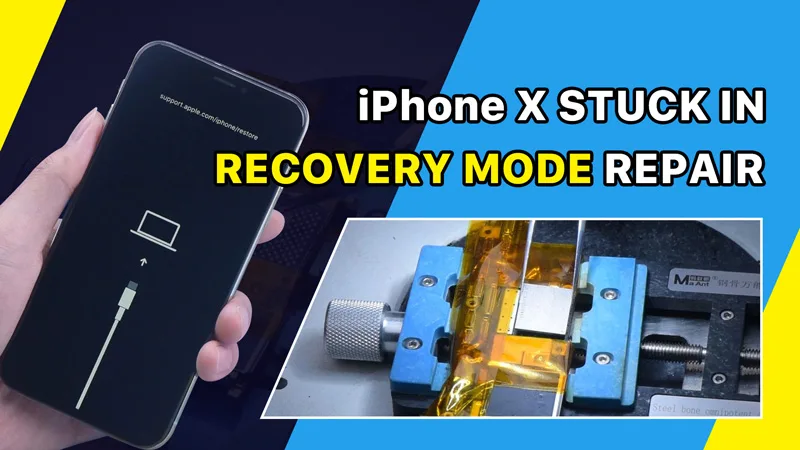
Unlock NAND Data for NAND Repair – Fix iPhone X Stuck in Recovery Mode
Today we will share how to fix an iPhone X that is stuck on recovery mode.
Press the power button and the phone is stuck on recovery mode. Then we try to flash the phone. Open 3uTools to flash. The progress bar of flashing appears on the phone and the flashing gets stuck at 20%. An error also appears.
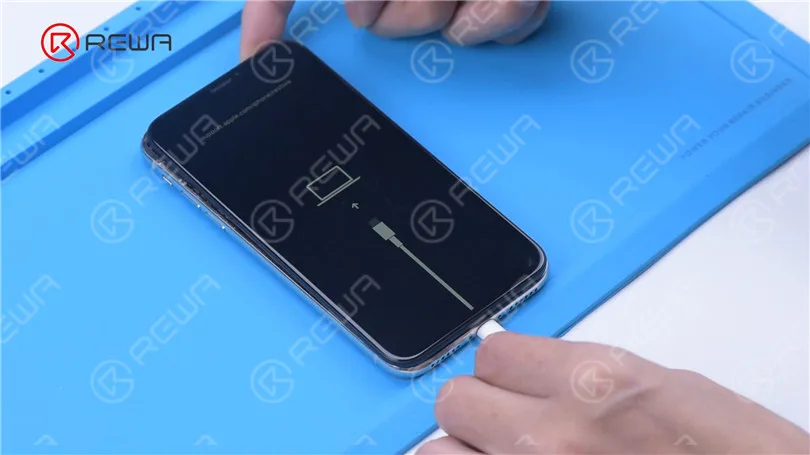
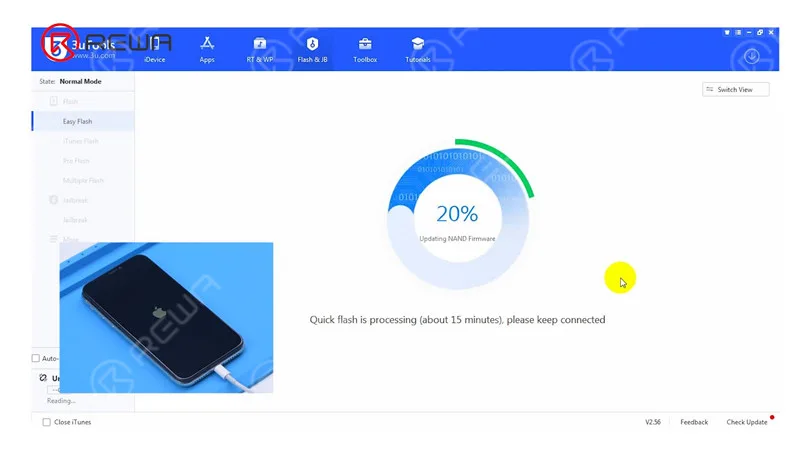
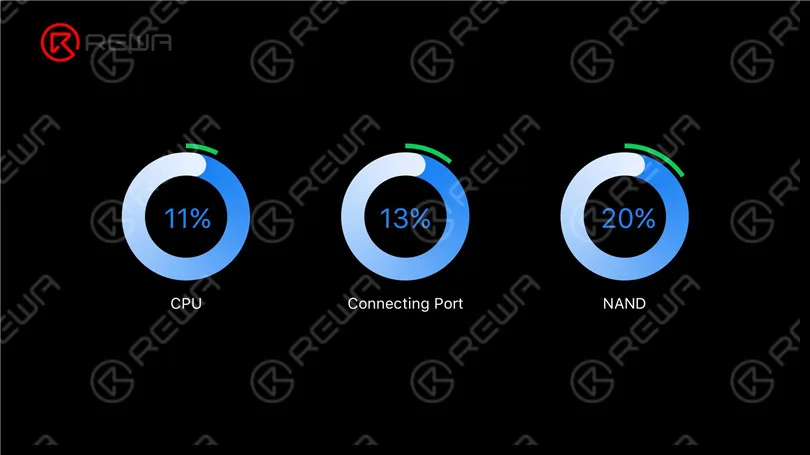
Getting stuck at different progress bar can initially tell us the corresponding repair solution. 11 % with an error and failure to enter recovery mode from DFU indicate that the CPU malfunctions. 13 % with an error means that the connecting port is faulty while 20% with an error always come with a NAND fault. So it can be preliminarily judged that the NAND fault has caused the problem.
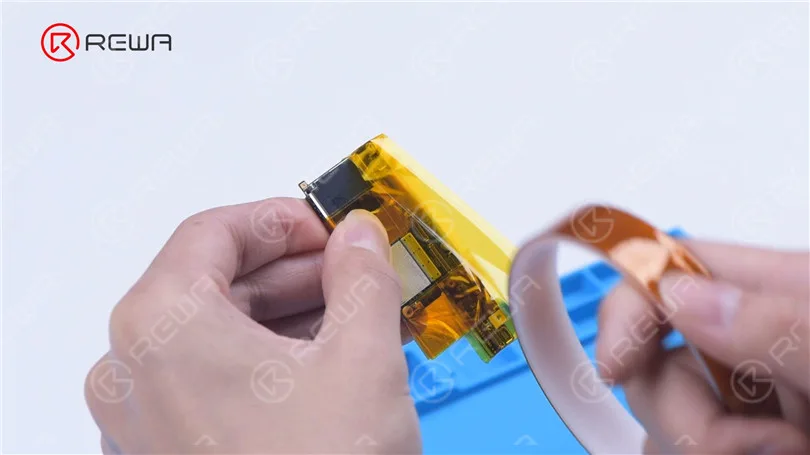
Then we disassemble the phone. Remove foam on the motherboard. Wrap high-temperature tape around the motherboard.
Attach the motherboard to the holder. Heat with Hot Air Gun at 260 °C to remove adhesive around the NAND. Then heat the NAND evenly at 380 °C. Remove the NAND with a Pry Blade.
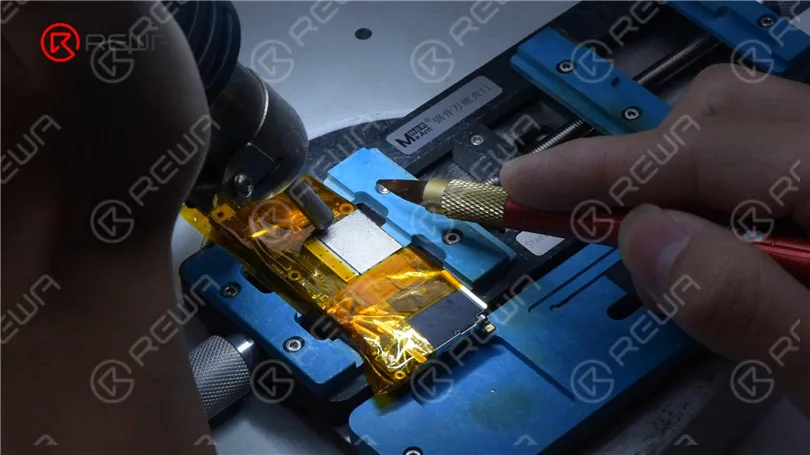
Apply some Paste Flux to the bonding pads. Apply some middle-temperature Solder Paste to the bonding pads with Soldering Iron at 360 °C. This is to neutralize the temperature of the bonding pads.
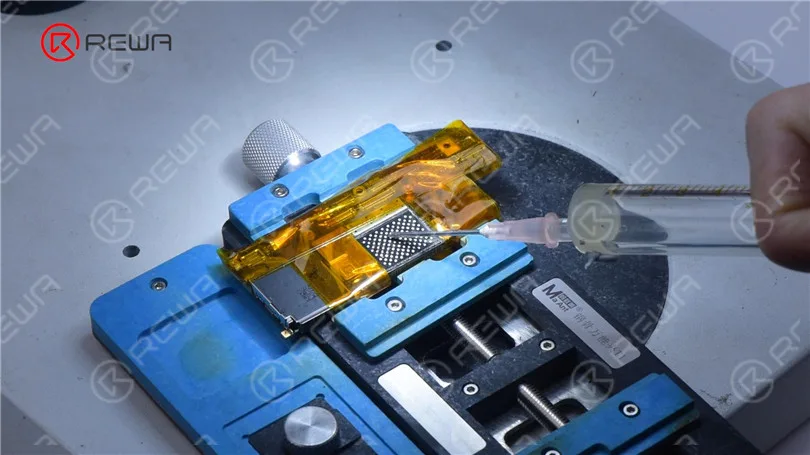
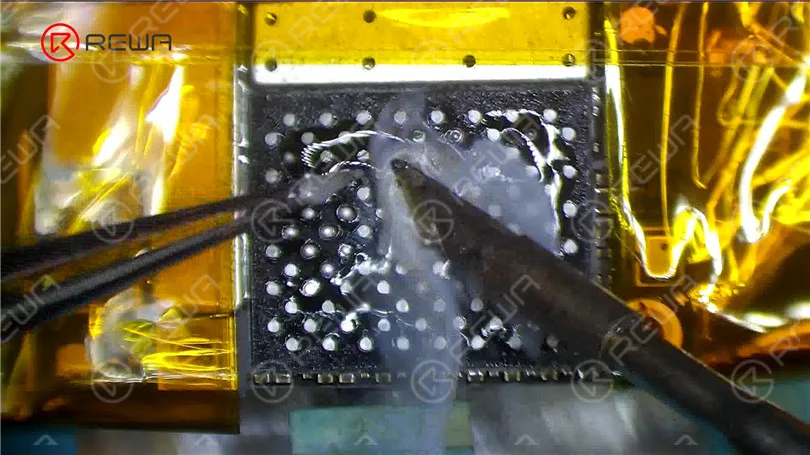
Clean the bonding pads with Solder Wick. Remove residual black adhesive with Hot Air Gun at 280 °C.
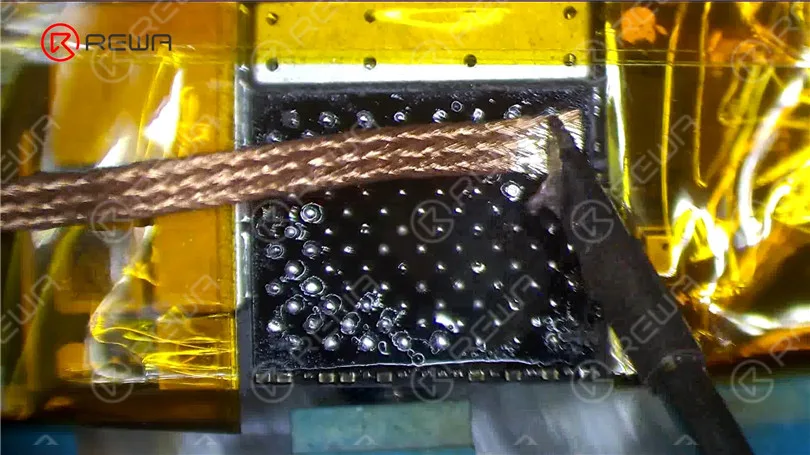
Clean the bonding pads with PCB Cleaner. Apply some Paste Flux. Put a known-good NAND in position.
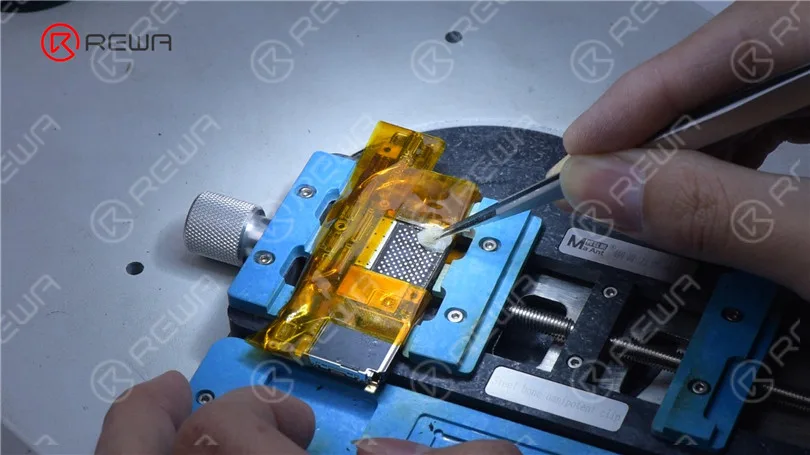
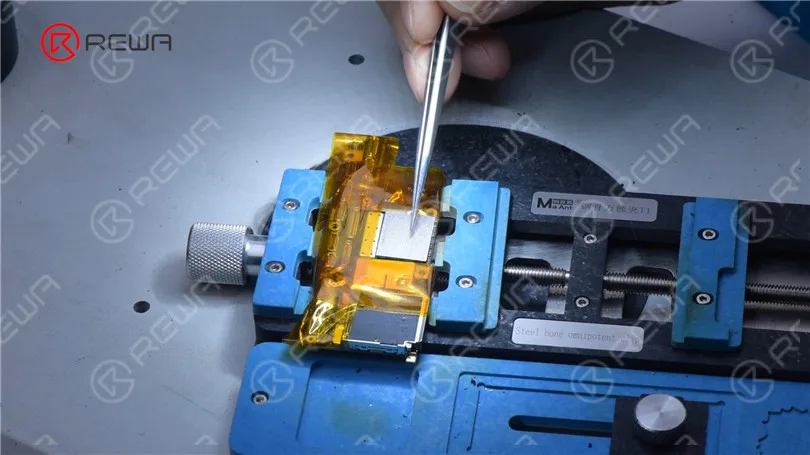
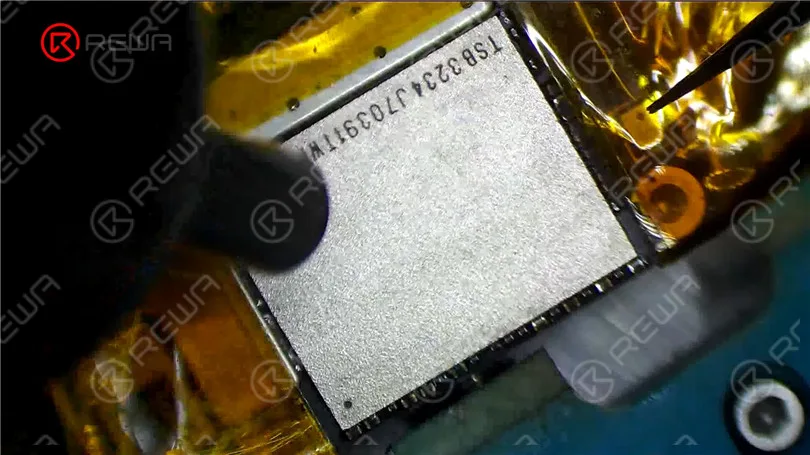
Heat with Hot Air Gun at 340 °C. Push the NAND gently with Tweezers. When the NAND automatically resets, soldering is complete.
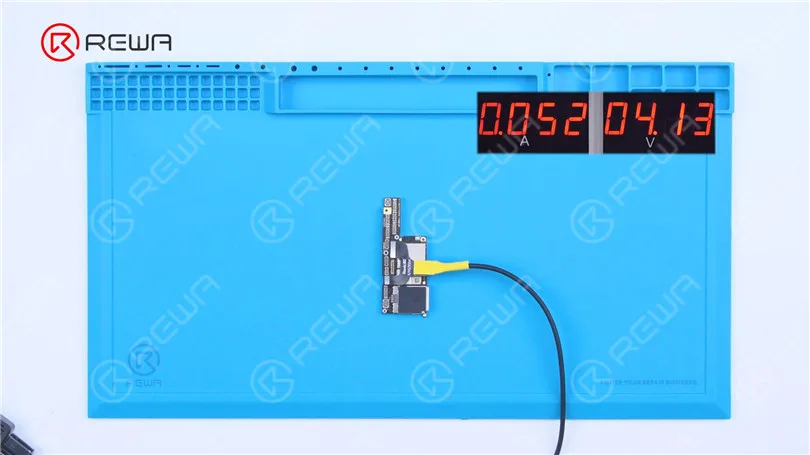
Tear off high-temperature tape. Connect the motherboard with a Power Cable. Measure the current of the motherboard. The current is 52 mA, which is normal.
Connect the phone with computer to keep flashing. The phone is successfully flashed. The not turning on issue is now confirmed to be caused by the NAND fault.

Turn on the phone for testing. Since WiFi and Bluetooth addresses are stored on the NAND, and the new NAND doesn’t match the WiFi and Bluetooth addresses on the motherboard, we need to read the data of the original NAND. In the first place, jailbreak the phone.
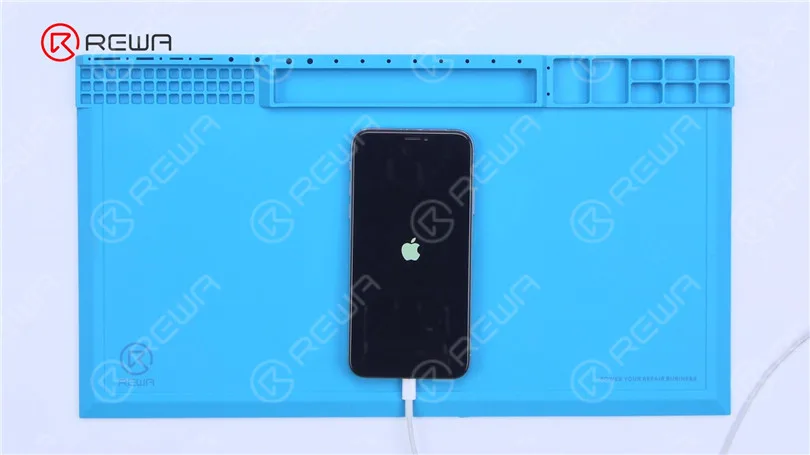
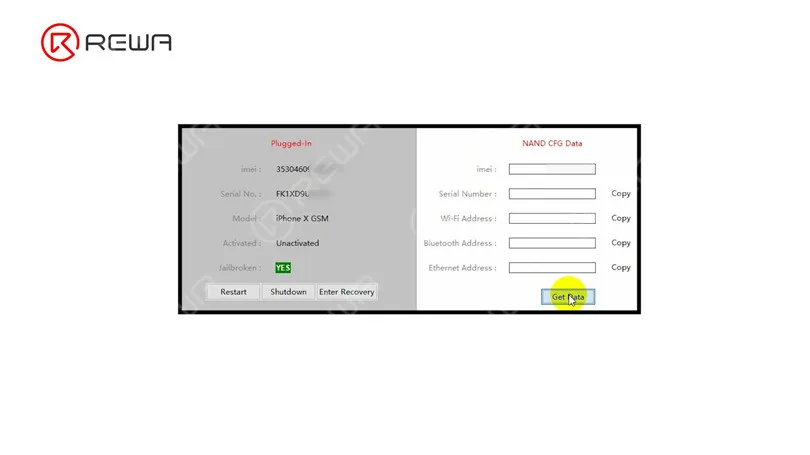
After jailbreaking, connect the phone with computer and open 3uTools. Open the software to read the original data.
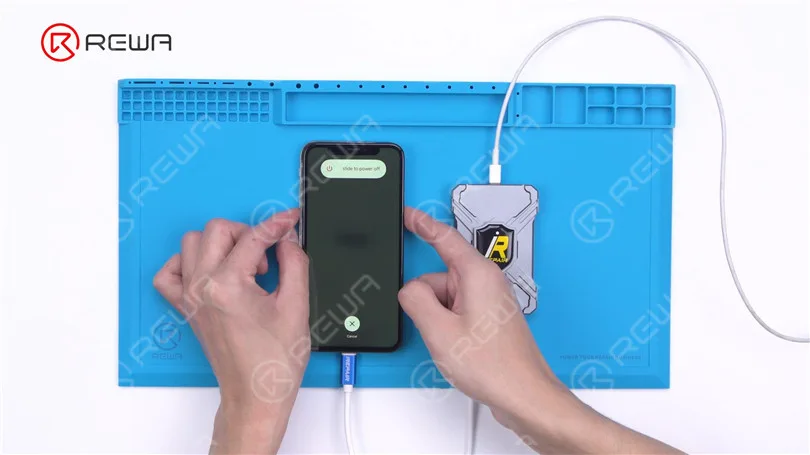
Then we use P10 to write the data. Connect the phone to P10. Get the phone into DFU mode.
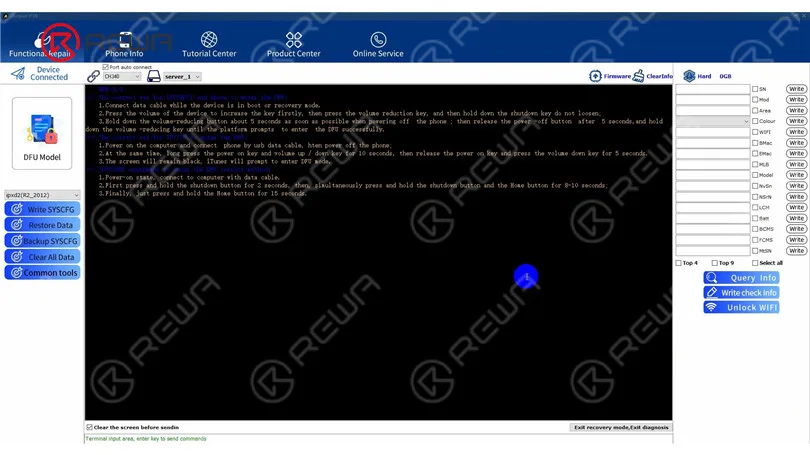
Open the P10 software. Click “DFU Mode”. After entering purple mode, the data have been successfully read and written.
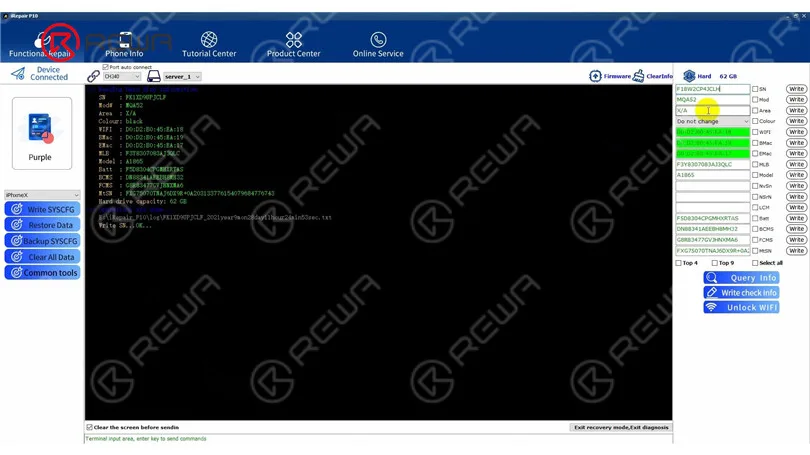
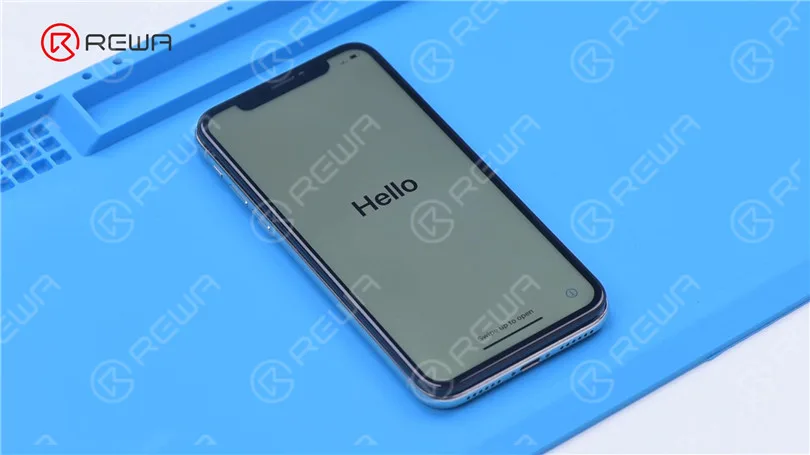
The phone turns on normally. WiFi also functions well. The fault has been cleared.
-
Replace the Antenna Connector of iPhone XS
The antenna connector of iPhone XS is damaged. Check out this video to see how we replace the antenna of iPhone XS.
 English
 Español
 Français
 Deutsch
 Italiano