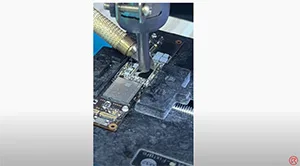
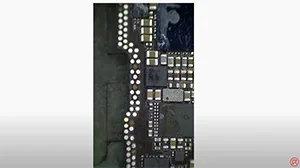
Did you get your iPhone 6 / 6 plus touch screen unresponsive? Many people feel so annoyed when their iPhone touch screen cannot work, especially in the moment of fierce urgency. In this video, we give you the solution to fix the iPhone touch unresponsive problem that only by replacing the touch IC. Let’s check the video to see iPhone 6 plus touch screen not working repair.
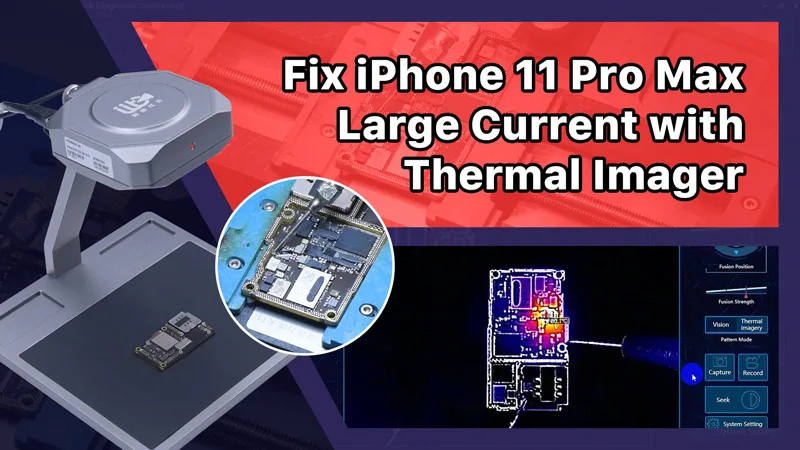
When repairing phones, technicians frequently encounter difficulties when attempting to identify and resolve significant issues. The intricate nature of smartphone components makes it challenging to pinpoint the underlying problem. Fortunately, modern technology has brought useful aids, such as the LINCSEEK Infrared Thermal Camera. This device has made the process of identifying and resolving significant current issues much simpler.
Detecting Faults with LINCSEEK Infrared Thermal Camera
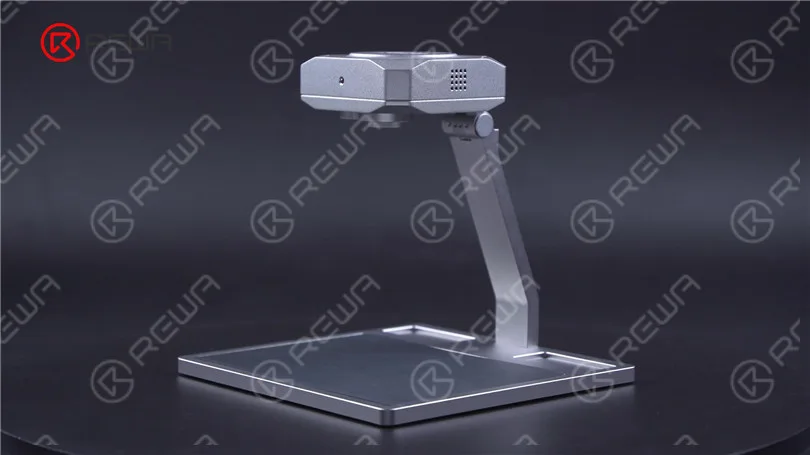
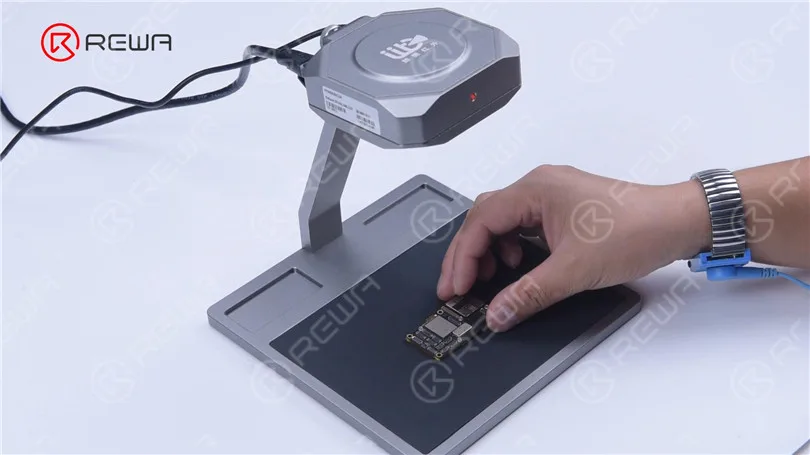
The LINCSEEK Infrared Thermal Camera is an essential asset for phone repair. It allows you to assess the temperature of phone components and identify any potential short circuits on the PCB. Moreover, it can quickly pinpoint problematic parts, such as capacitors with short circuits or small current leaks of 5 milliamperes. With its vision and thermal modes, it obviates the necessity for a microscope, providing unprecedented accessibility for diagnostics.
Repairing an iPhone 11 Pro Max with Large Current
Step 1: Initial Assessment
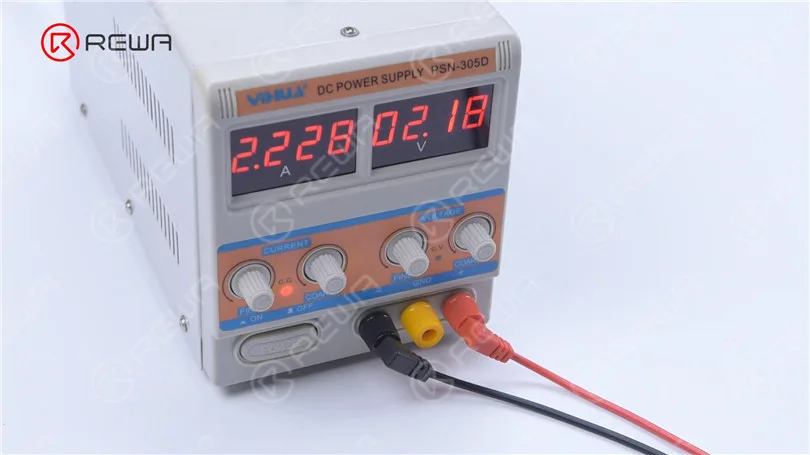
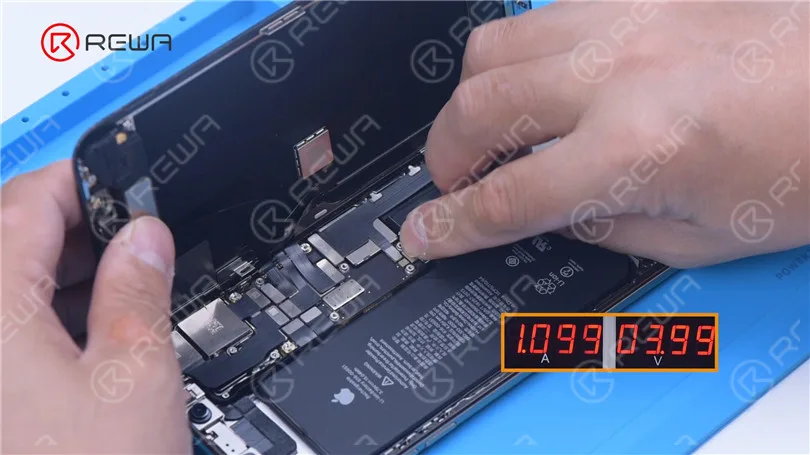
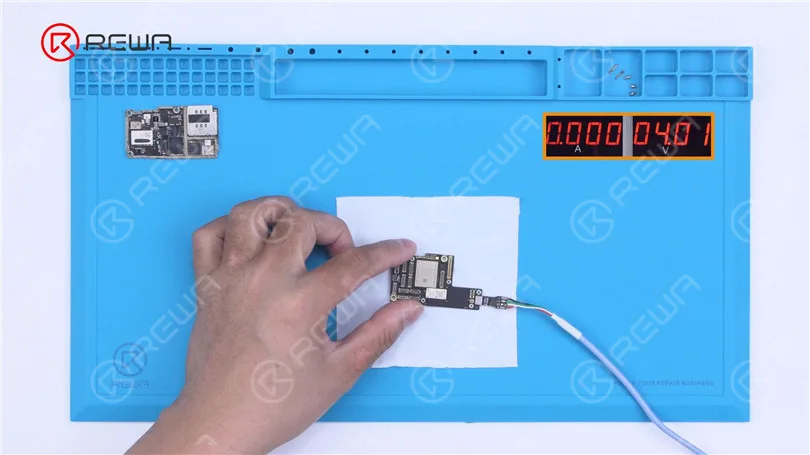
1. Phone Won’t Boot: Our journey begins with an iPhone 11 Pro Max that refuses to power up. To start, lift the screen, disconnect the battery, and connect the motherboard with a power cable. A glaring sign is the ammeter displaying a current of 1 ampere without the boot-up sequence initiating. This suggests the issue lies within the main power supply circuit and related components.
Step 2: Diode Value Measurement
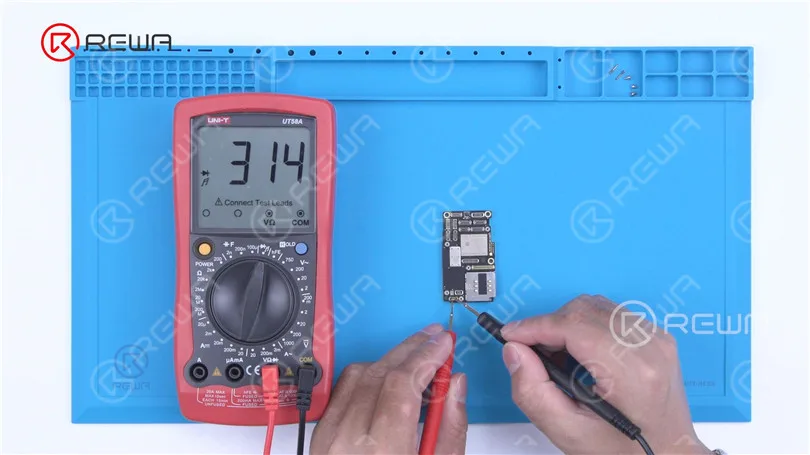
2. Battery Connector Test: We measure the diode value of the battery connector with a multimeter, yielding a normal reading of 314.
Step 3: Thermal Imaging
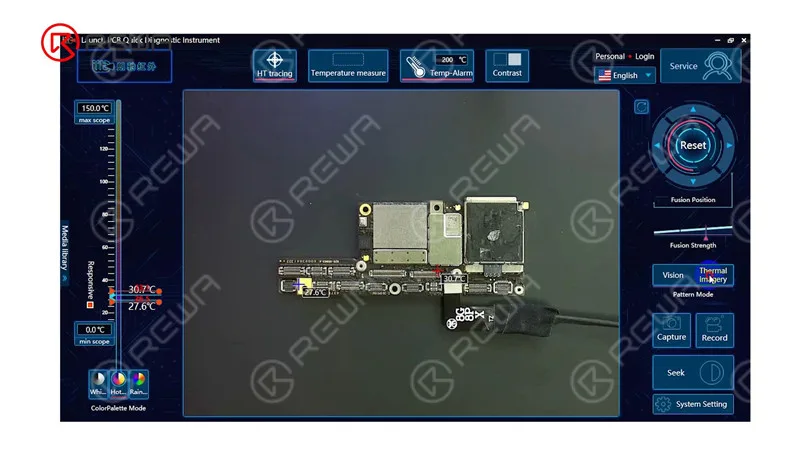
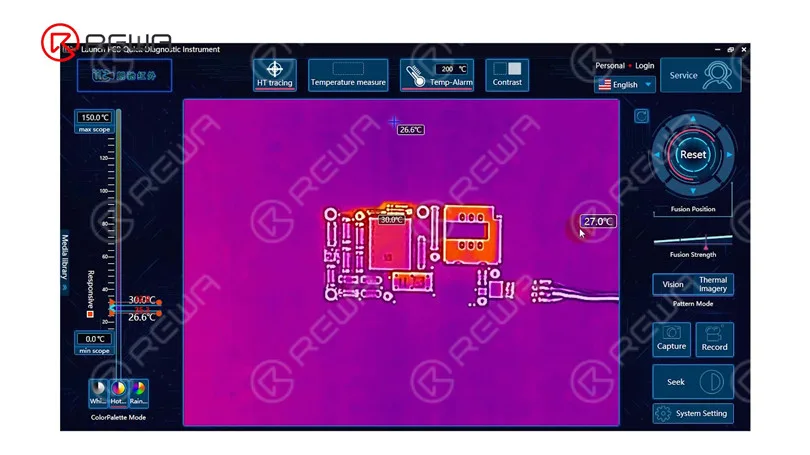
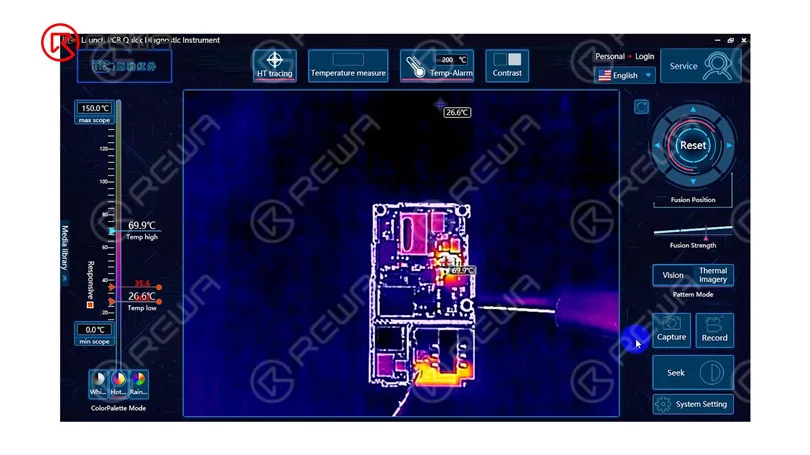
3. Thermal Imaging: Placing the motherboard on the thermal imager, we connect it to power. Oddly, we notice significant heat buildup around the NAND, even though the NAND is not part of the main power supply circuit. This prompts us to remove the motherboard for further examination.
Step 4: Logic Board Inspection
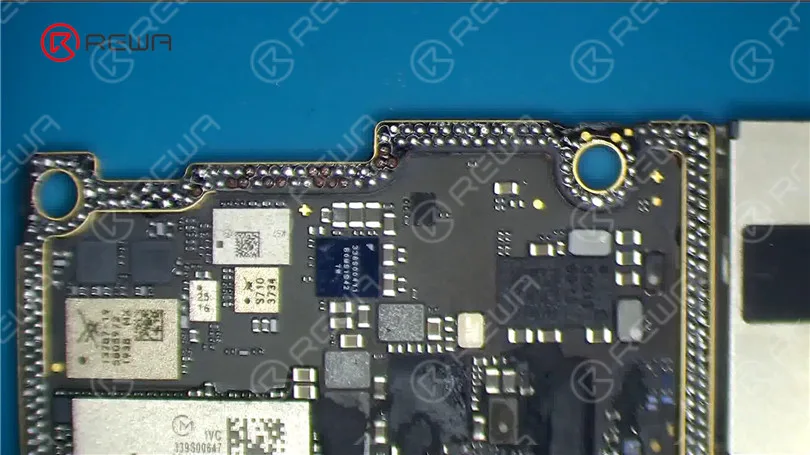
4. Missing Pads: Take out the logic board using the Heating Platform set to a temperature of 170 °C. Due to previous severe impacts, it is evident that numerous bonding pads are now absent.
Step 5: Isolating the Issue
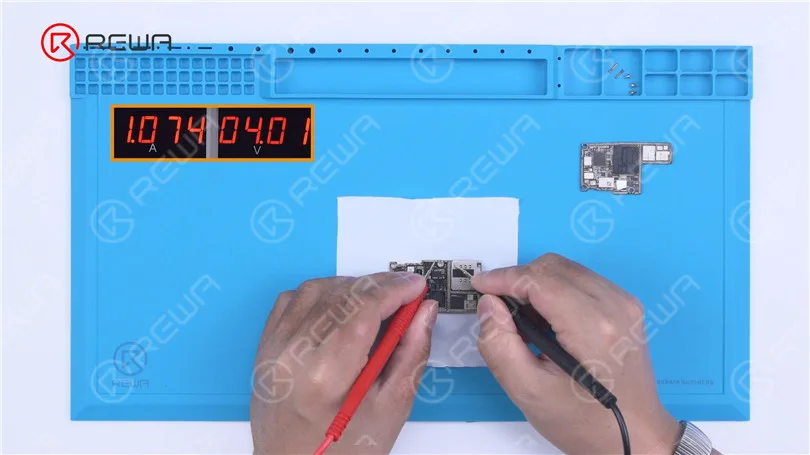
Signal Board Check: We connect the logic board to power separately and find no significant current. This leads us to conclude that the problem likely lies within the signal board. Powering it up with multimeter probes confirms our suspicion, as large current is evident.
Step 6: Identifying the Culprit
Thermal Imaging Revisited: Placing the signal board on the thermal imager and supplying power, we observe rapid temperature of the regions surrounding U5000 rapidly rises to 80 °C.
Step 7: Repairing the Fault
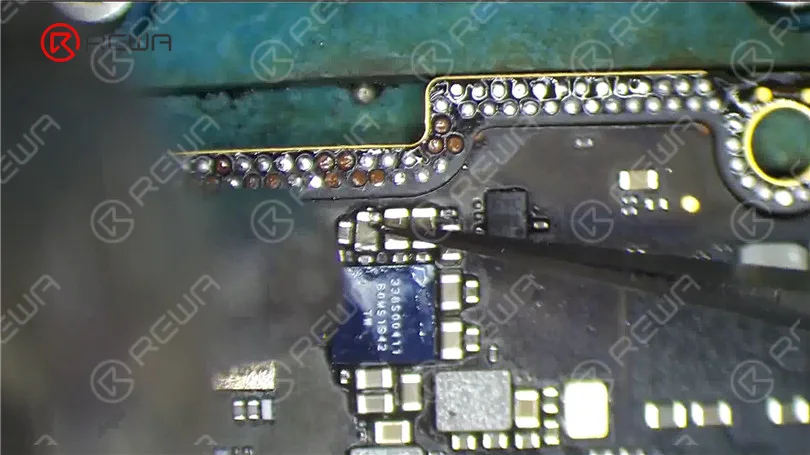
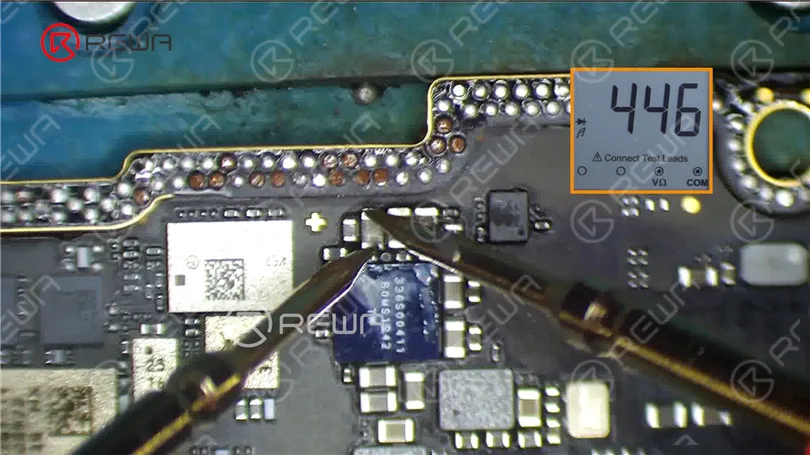
Capacitor Replacement: The capacitors surrounding U5000 were tested using a multimeter and a short circuit was detected. Furthermore, one of the capacitors was discovered to be damaged during the measurement process. Subsequently, the damaged capacitor was removed and a new one was installed after applying Paste Flux. The Hot Air Gun was set to 380 °C to facilitate the removal of the capacitor. Following the replacement, the multimeter was used to measure again and the diode value returned to the normal reading of 446.
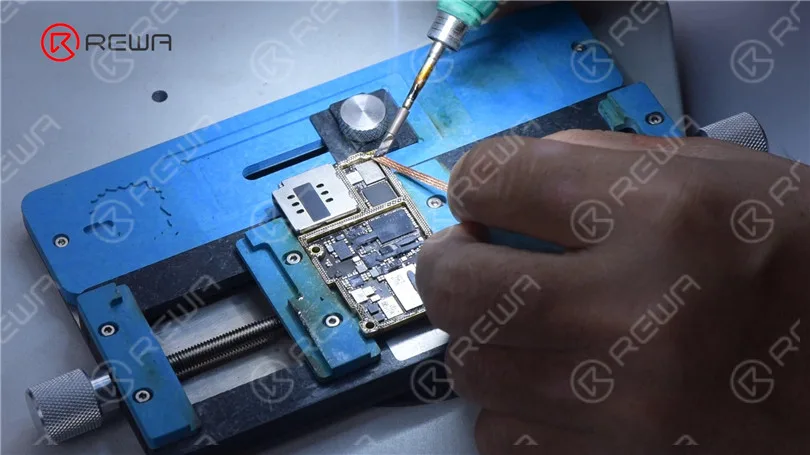
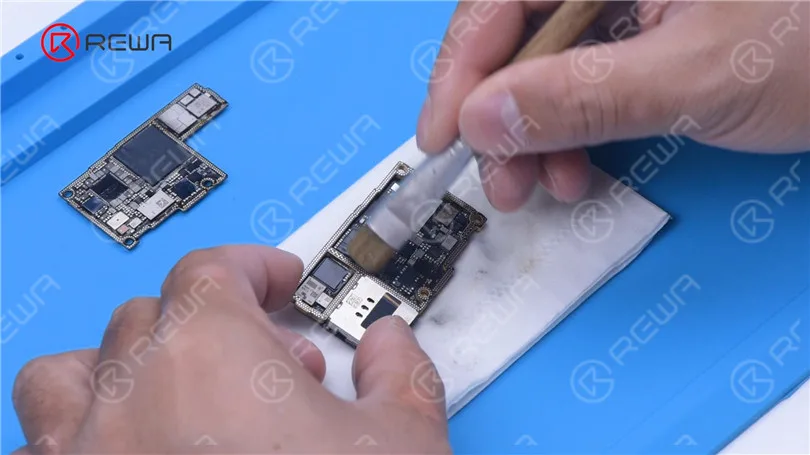
Pad Repair: Repair the missing pads and clean the tin on the bonding pads of the signal board and logic board using a Soldering Iron and Solder Wick. Remove the thermal paste and continue cleaning the bonding pads with PCB Cleaner.
Step 9: Reballing
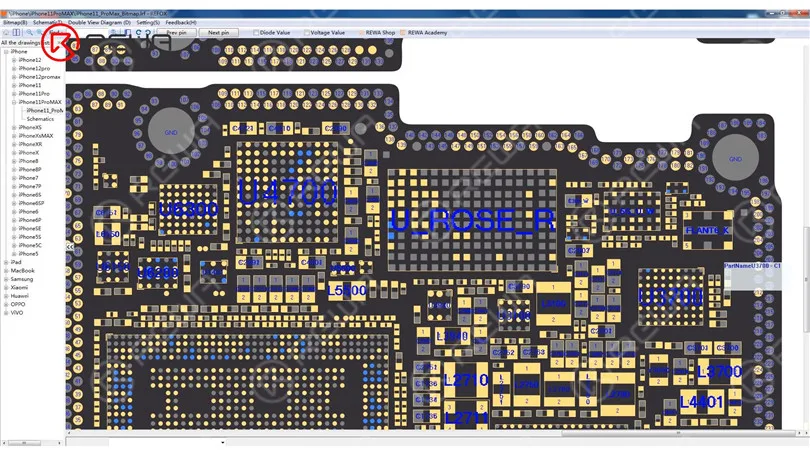
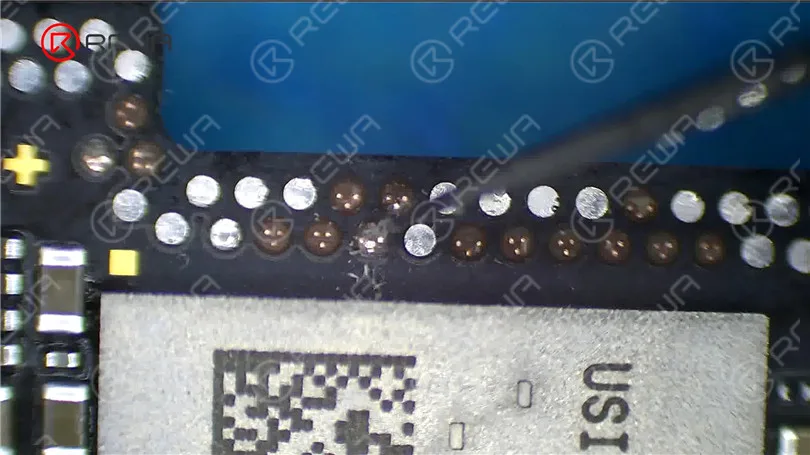
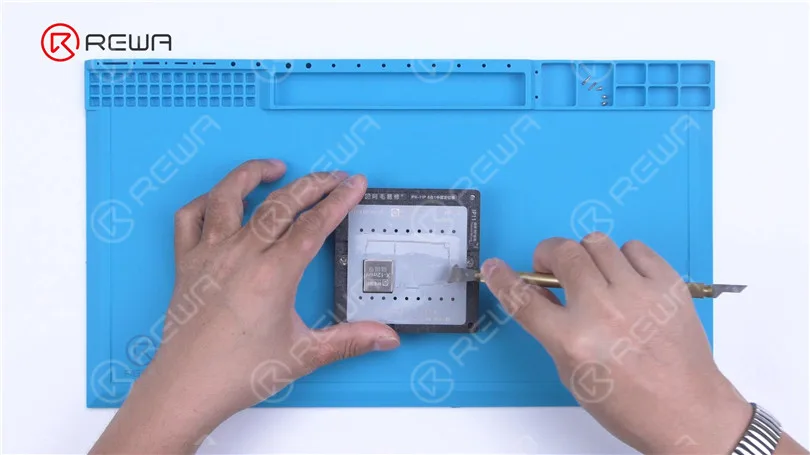
Reballing: Determine the missing pads for repair by opening REFOX Bitmap. If some missing pads are grounded, there is no need for repair. Use a Sculpture Knife to scrape and reveal circuits of the remaining missing pads. Apply tin to the bonding pads using a Soldering Iron.
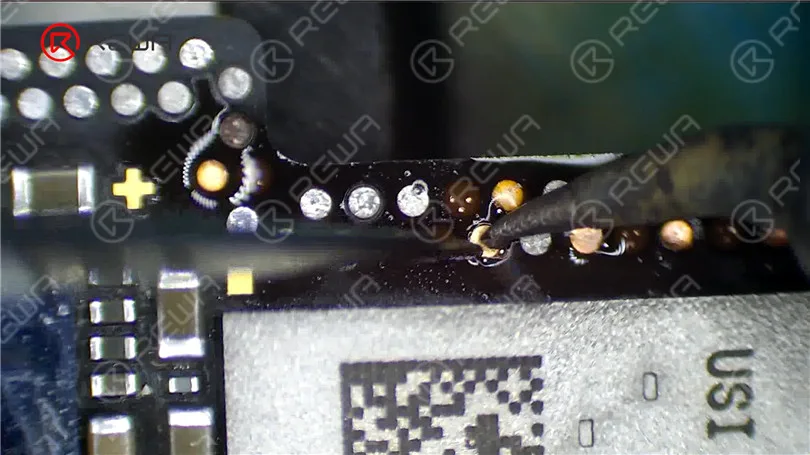
Position the Soldering Lugs and proceed with soldering using a Soldering Iron set at 380 °C.
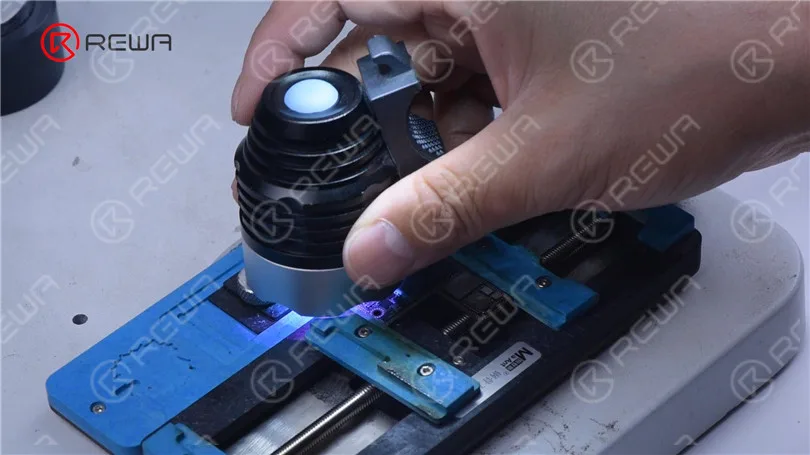
Apply some Solder Mask to the bonding pads that have been repaired. Then solidify with a UV Lamp for 5 minutes.
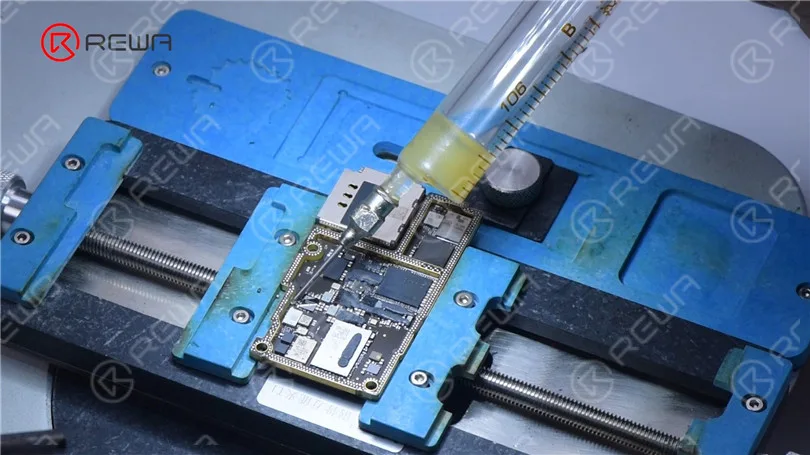
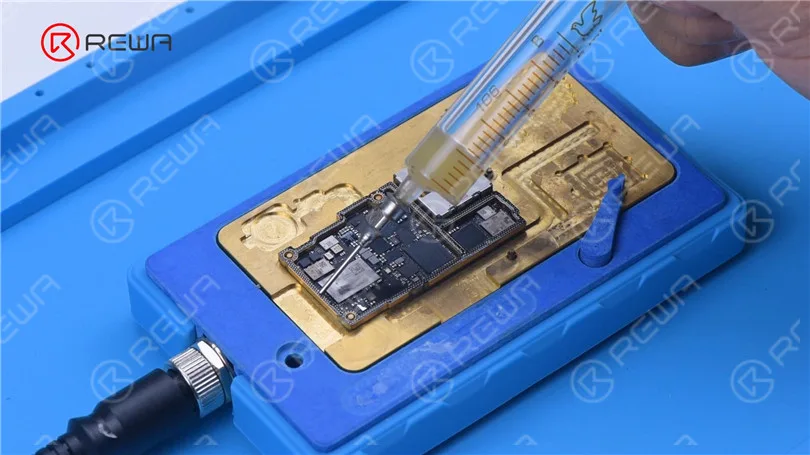
After solidifying, remove excess solder mask with a Sculpture Knife to show the pads.Next, we reball the signal board. Apply a layer of low-temperature Solder Paste evenly.
Put the signal board on the 170 °C Heating Platform to heat. After the solder balls are formed and the motherboard cools, apply some Paste Flux to the bonding pads.
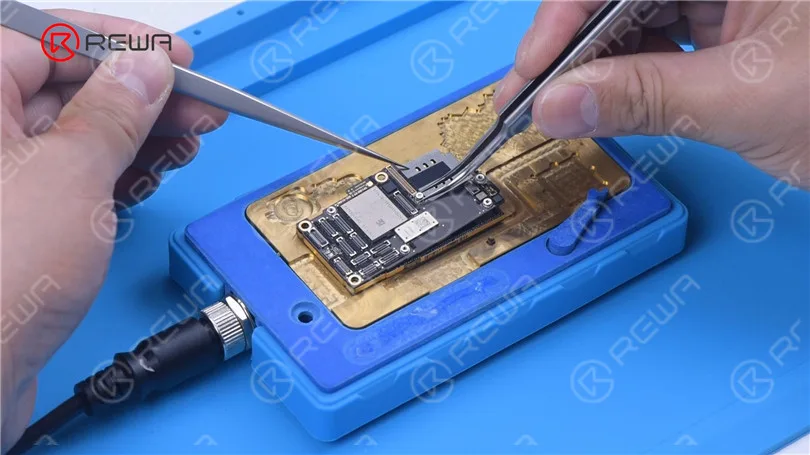
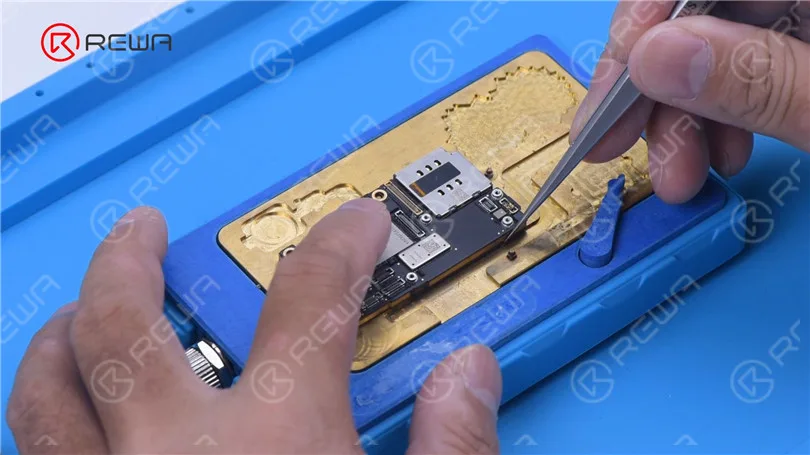
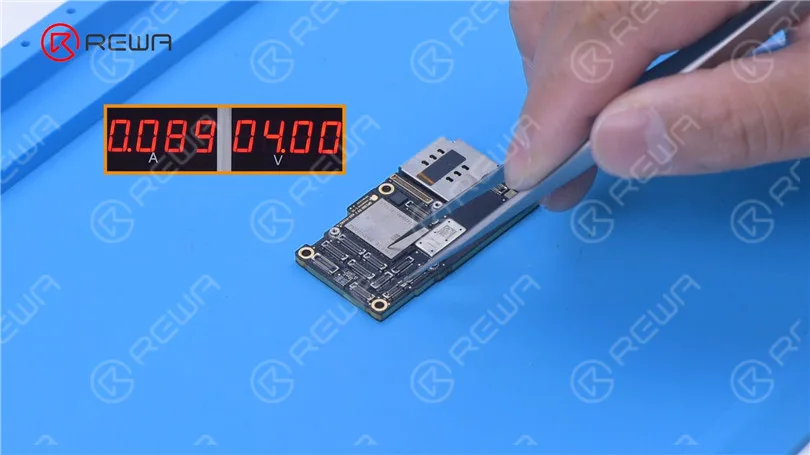
Align the logic board. Keep heating with the Heating Platform. After recombination and the motherboard cools, connect the motherboard with a Power Cable. The motherboard no longer has a large current. Then trigger the boot-up with Tweezers. The boot current has returned to normal.
Install the motherboard. The phone turns on normally. The baseband is also normal.
Conclusion
When dealing with phone repairs, it can be quite daunting to tackle major issues. Nevertheless, armed with the appropriate tools such as the LINCSEEK Infrared Thermal Camera and a methodical process, even the most difficult problems can be resolved. The following case illustrates how a combination of thermal imaging, diagnostics, and expert repair techniques can revive an apparently unresponsive iPhone. Hence, when confronted with a significant problem, it is crucial to bear in mind that a systematic approach coupled with the appropriate equipment can be the cornerstone of a successful repair.
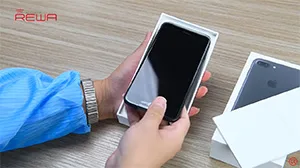
iPhone 7 and 7 Plus has been attaching a lot of attention in the run up to their launch, some of which keep doubting, others of which are crazy for the new features.
What is the difference between iPhone 7 Plus and iPhone 6s Plus? Are their spare parts compatible?
REWA tore down this two phones for you to compare the details.
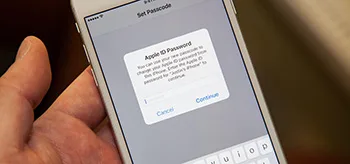
Apple’s ecosystem is known for its security features, but sometimes, iPhone users encounter a frustrating issue where they are repeatedly prompted to enter their Apple ID and password. These incessant pop-ups can disrupt your daily phone use. In this guide, we’ll explore step-by-step solutions to resolve this issue and ensure a smoother iPhone experience.
1. Check Your iPhone’s Time and Date Settings
Start by ensuring that your iPhone’s time and date settings are accurate. Follow these steps:
Open iPhone Settings.
Go to General.
Select Date and Time.
Make sure your date, time, and time zone settings are correct.
Correcting any discrepancies here may alleviate the recurring Apple ID login prompts.
2. Enable Two-Factor Authentication
If you haven’t already, enabling two-factor authentication (2FA) for your Apple ID can add an extra layer of security and potentially resolve the issue. Here’s how to do it:
Open iPhone Settings.
Scroll down and tap on your Apple ID.
Go to Password & Security.
Enable Two-Factor Authentication.
2FA allows you to access your account only from trusted devices or websites, enhancing the security of your Apple ID.
3. Sign Out and Sign Back In to Your Apple ID
If the issue persists, try signing out of your Apple ID and then signing back in:
Tap on your Apple ID in Settings.
Scroll to the bottom and select Sign Out.
Follow the prompts to sign out.
After signing out, log back in with your Apple ID credentials.
Note: When signing out, your iPhone will retain data related to your options. Follow the prompts to ensure you preserve the data you want to keep.
4. Update Your iOS System
Sometimes, outdated software can lead to glitches. Ensure your iPhone is running the latest iOS version:
Open iPhone Settings.
Go to General.
Select Software Update.
If an update is available, follow the prompts to install it.
It’s important to note that using beta versions of iOS may lead to instability and similar problems. If these issues interfere with your usage, consider returning to the official version.
Conclusion
The persistent Apple ID login prompts on your iPhone can be frustrating, but by following these steps, you can resolve the issue and enjoy uninterrupted use of your device. Checking your time and date settings, enabling two-factor authentication, signing out and back in, and keeping your iOS system up-to-date can help ensure a smoother iPhone experience.
By implementing these solutions, you can put an end to those annoying pop-ups and continue using your iPhone with confidence.
If you are outsourcing a chip level repairing business service for iPhone motherboard malfunctions, you are in the right place. REWA here provides business customers who want to outsource these repair jobs with the professional iPhone and iPad motherboard repair service. Get Your Component Level Motherboard/Logic Board repairing Started.
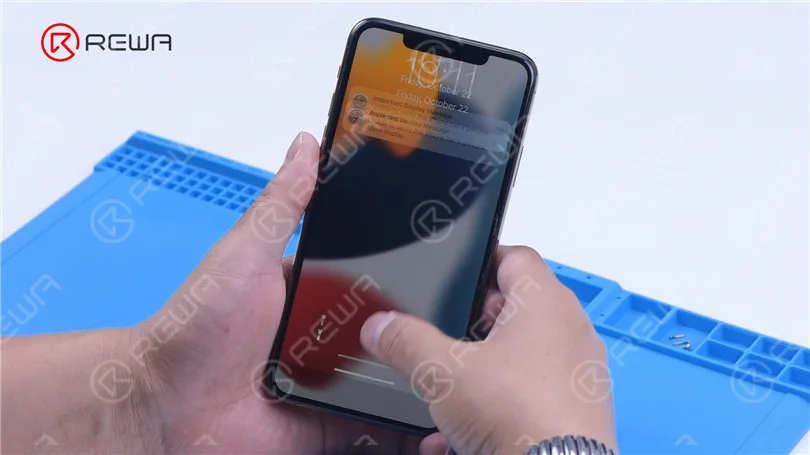
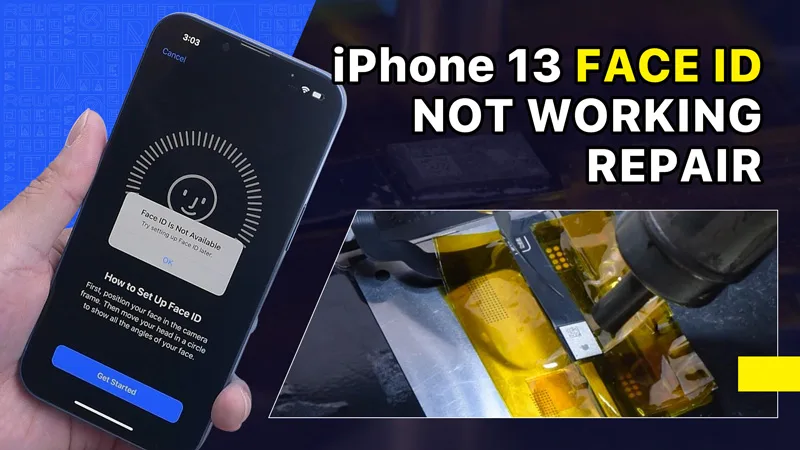
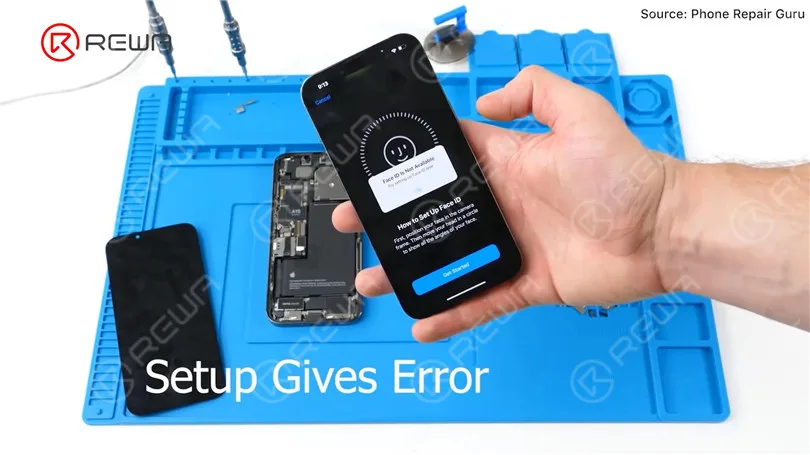
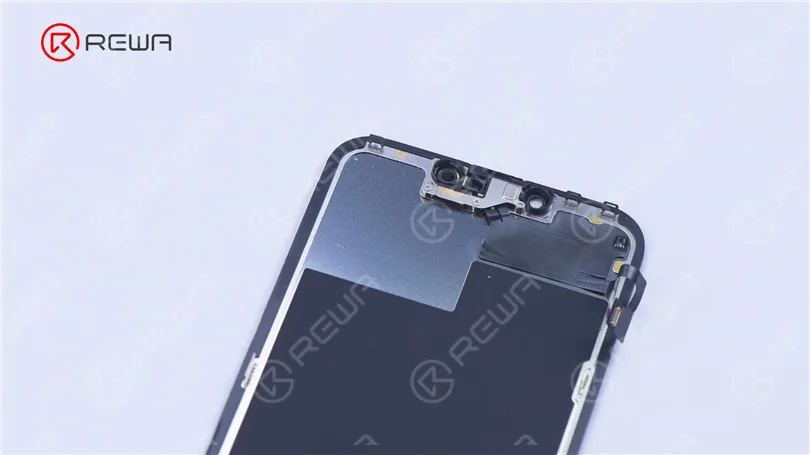
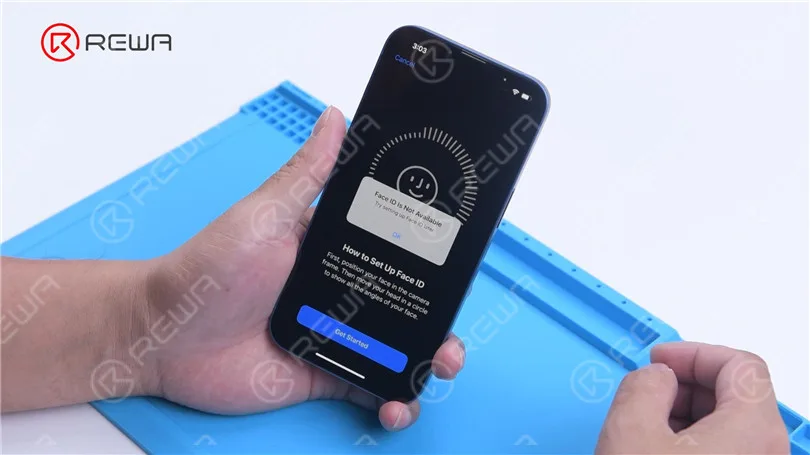
Phone Repair Guru recently uploaded a video demonstrating the replacement of an iPhone 13 screen. A message appears after replacement stating that Face ID is not available. This is referred to as an Important Display Message. In this blog article, we will demonstrate how to troubleshoot this problem.
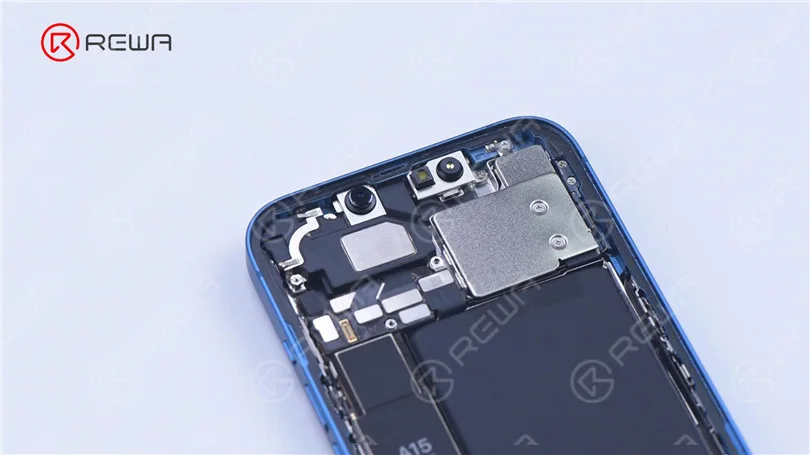
The iPhone 13 screen lacks a flood illuminator module, as all the components for the TrueDepth system are contained within the iPhone itself.
REWA LAB speculates that the chip on the original screen has saved Face ID data. Transferring the chip to the new screen might solve the problem. Today, let’s verify this speculation.
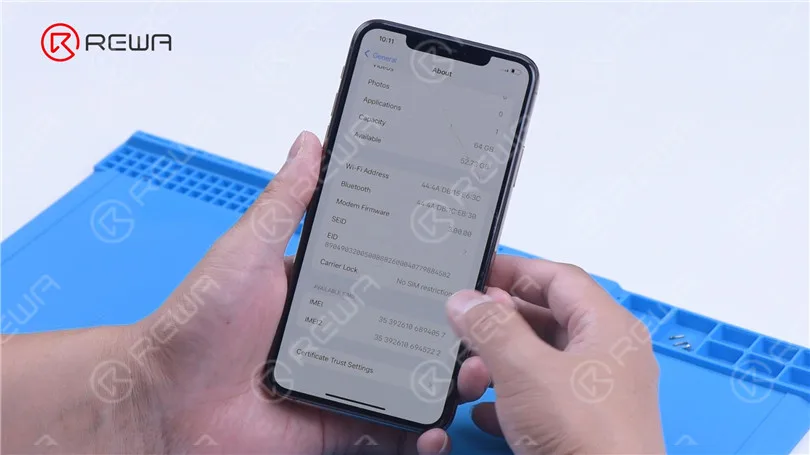
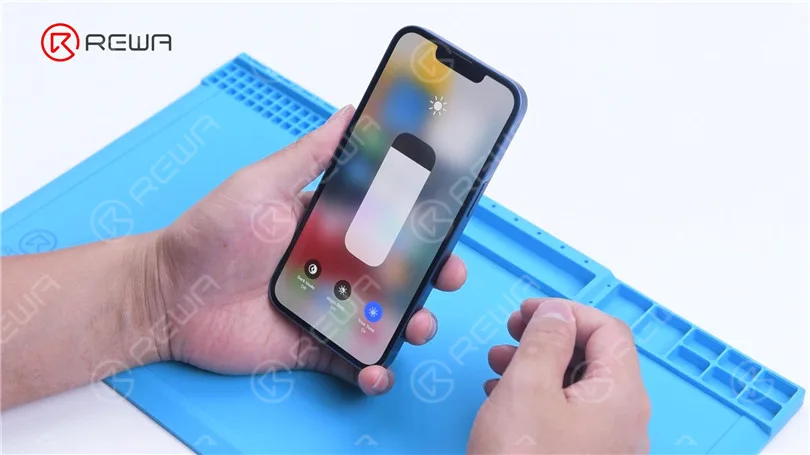
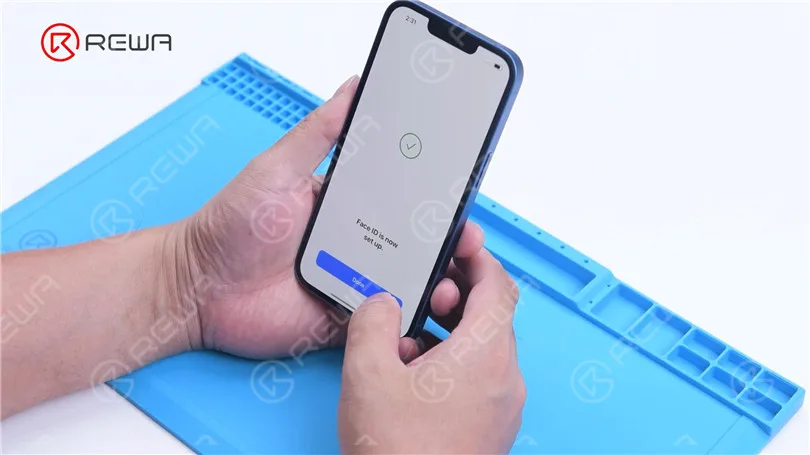
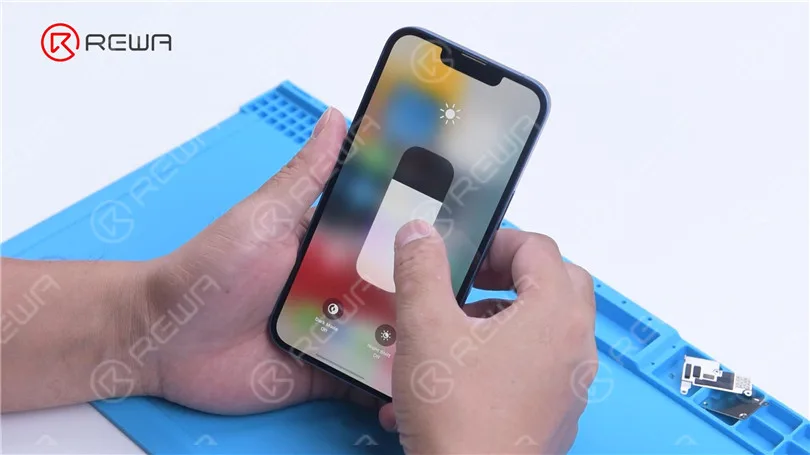
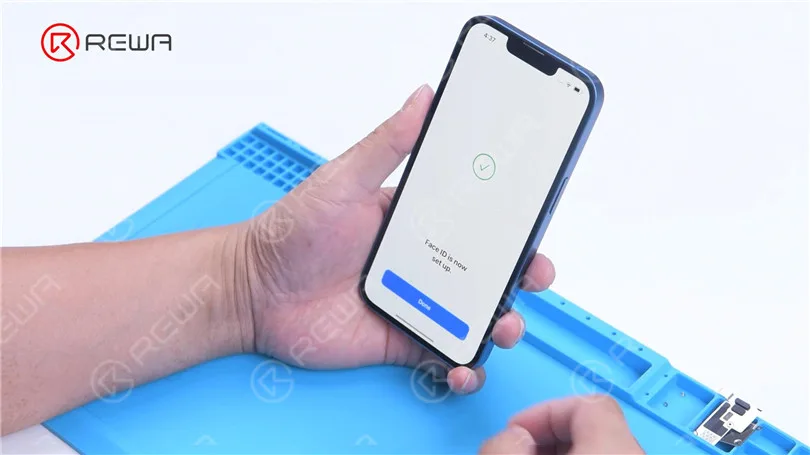
In the first place, we tested the Face ID function on the iPhone 13 and found that the True Tone function is working normally. Additionally, we were able to successfully set up Face ID and it is working properly.
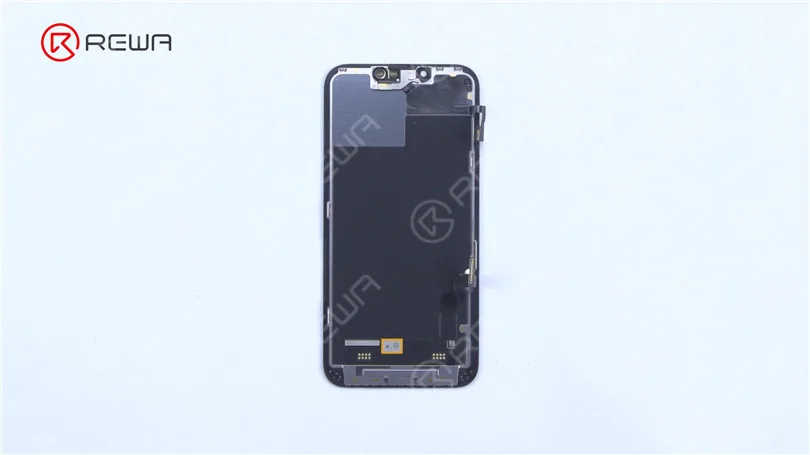
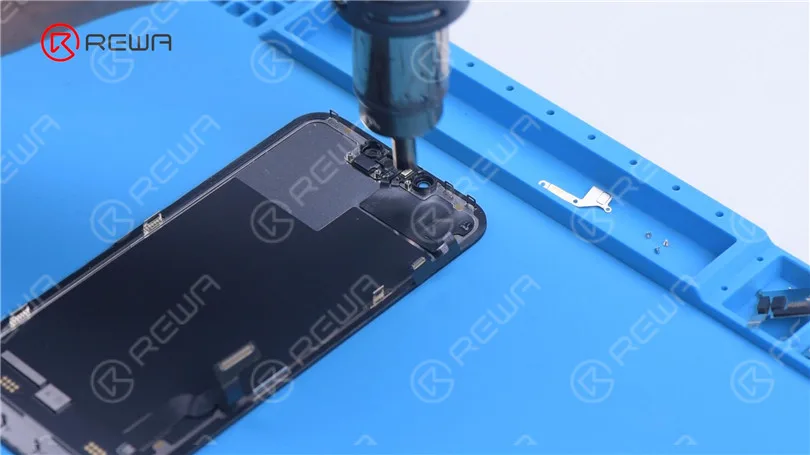
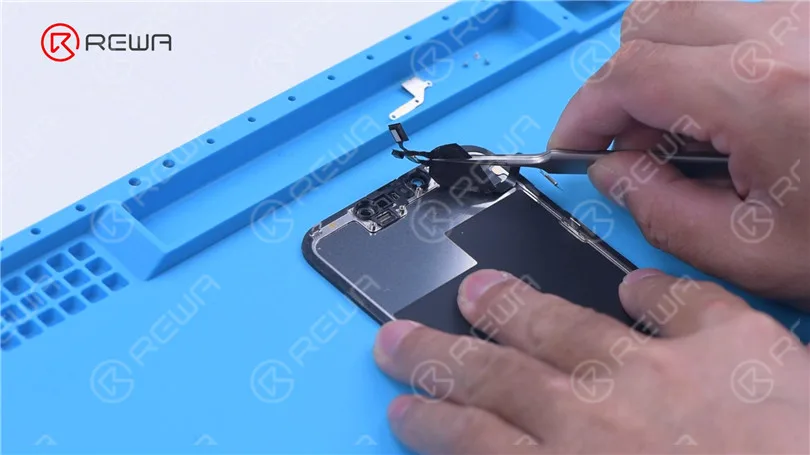
Then we disassemble the phone and try to replace the screen with an original and genuine one. Remove the original screen. Detach the sensor flex cable with Hot Air Gun at 100 °C. Please be careful not to damage the flex cable when you remove it.
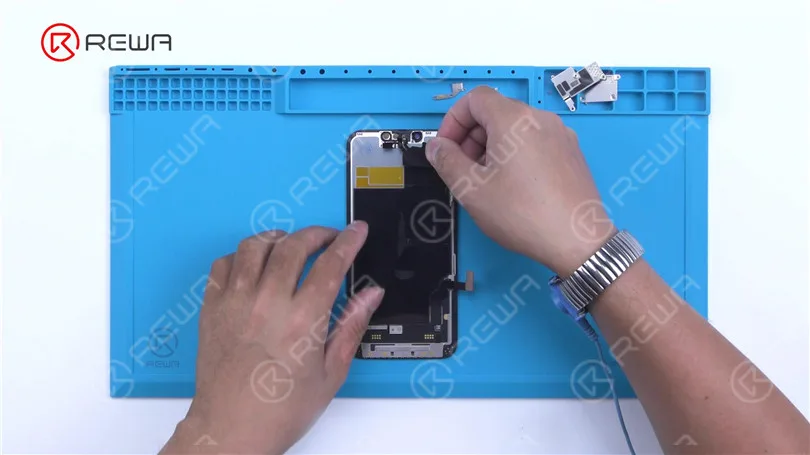
Attach the removed sensor flex cable to the new screen. Install the screws. Connect the new screen. Turn on the phone.“Important Display Message” appears. Face ID can’t be set up. True Tone disappears.
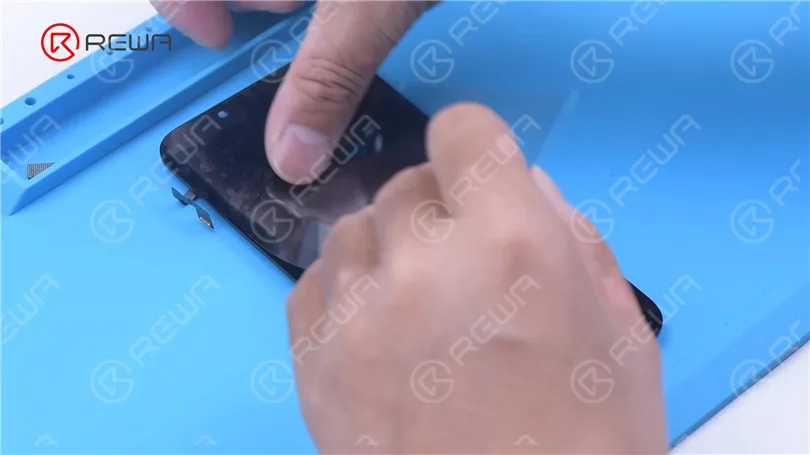
Next, we try to transfer the IC on the original screen to the new screen. Remove the new screen. To prevent scratches on the screen during operations, apply a protective film to the screen.
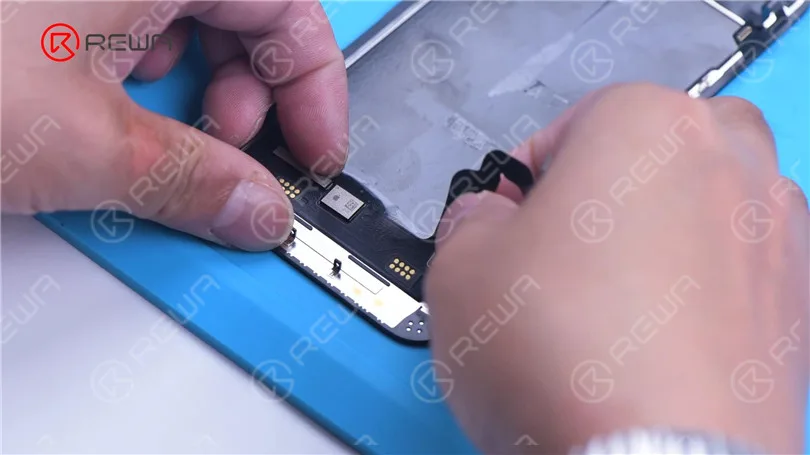
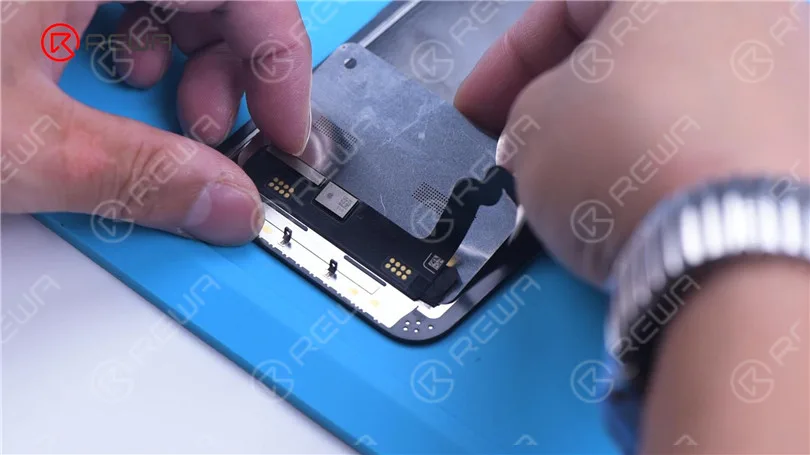
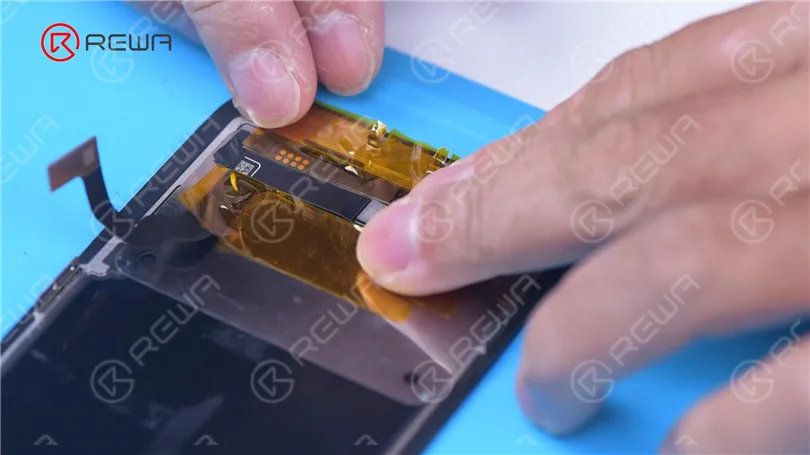
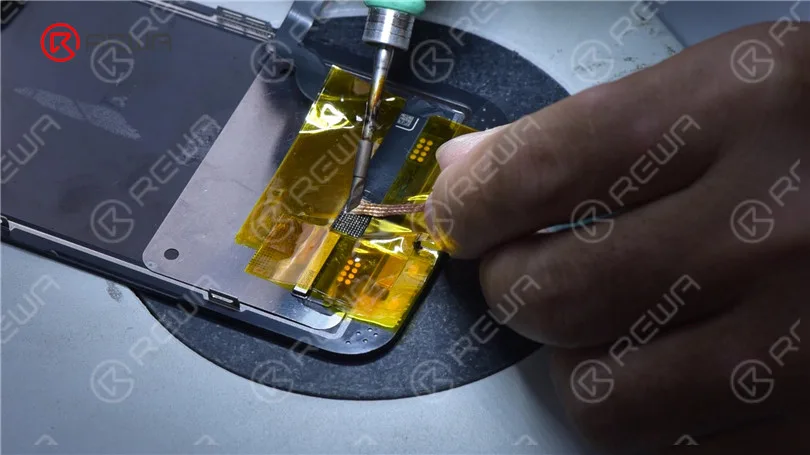
Heat the screen flex cable with Hot Air Gun at 100 °C. Gently pull up the flex cable. To protect the screen, insert the reballing stencil under the flex cable for insulation. Apply high-temperature tape.
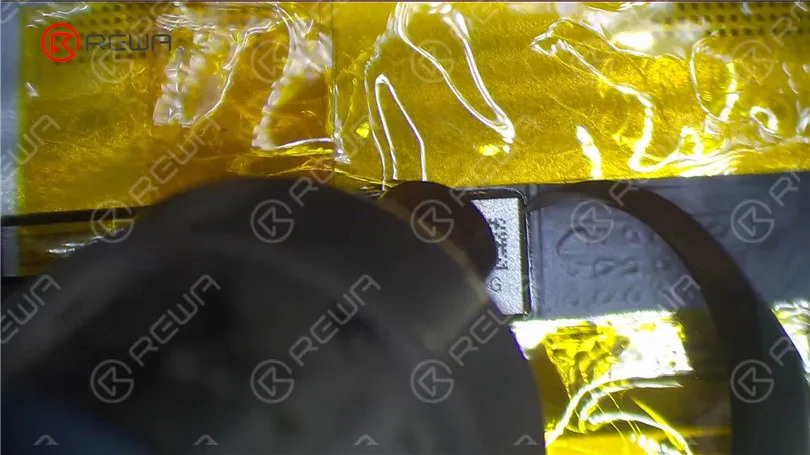
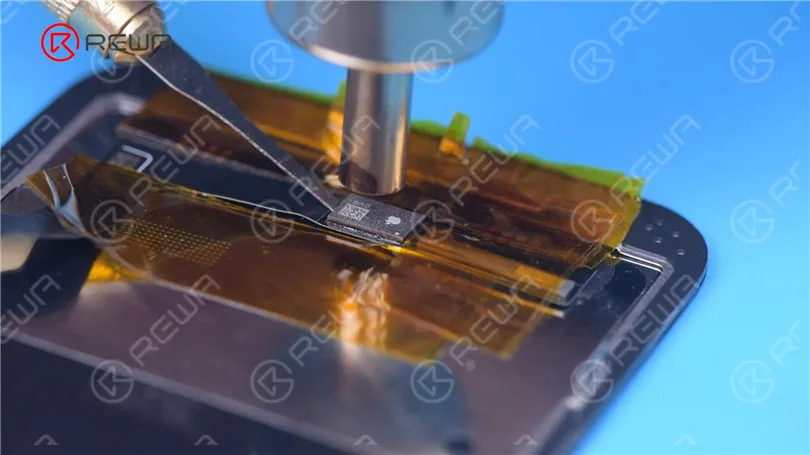
Remove black adhesive around the chip with Hot Air Gun at 240 °C. To remove the chip, set the temperature to 300 °C and airflow to 6.
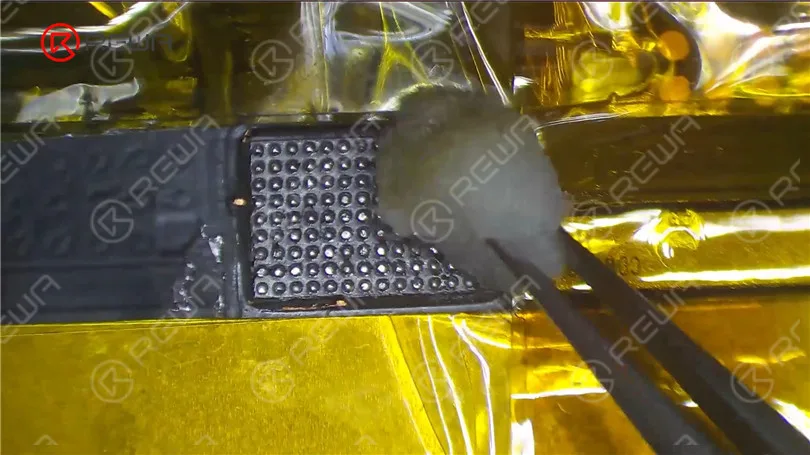
Apply some middle-temperature Solder Paste. Clean the bonding pads with Soldering Iron at 360 °C and solder wick. Keep cleaning the bonding pads with PCB Cleaner.
Next, remove the chip on the original screen with the same method.
Clean tin on the chip of the original screen. Apply some middle-temperature Solder Paste to the bonding pads. Clean tin and black adhesive on the bonding pads of the chip with Solder Wick. Keep cleaning the bonding pads with PCB Cleaner.
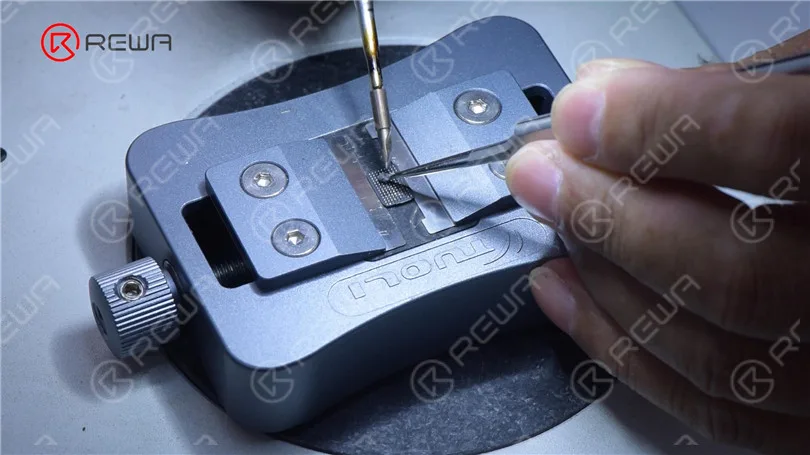
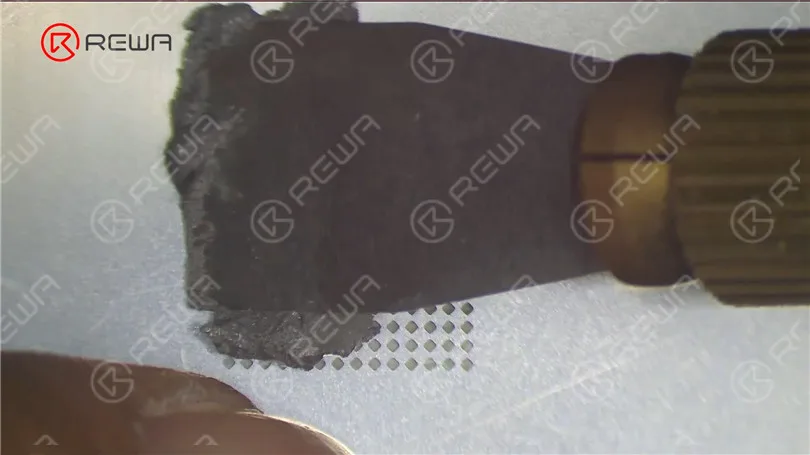
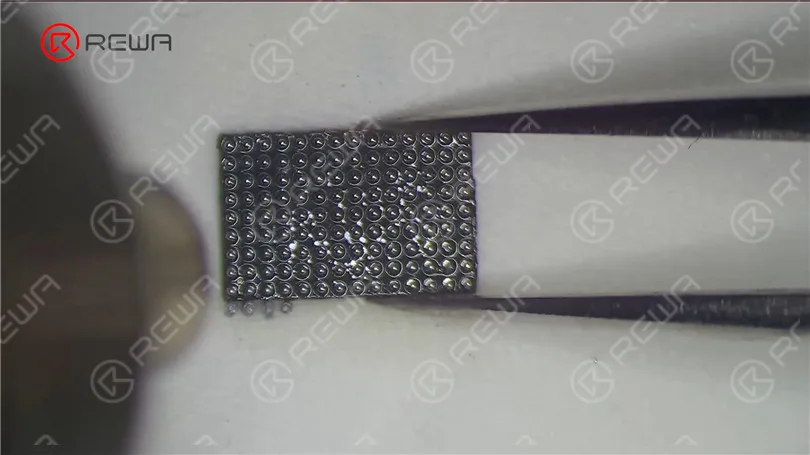
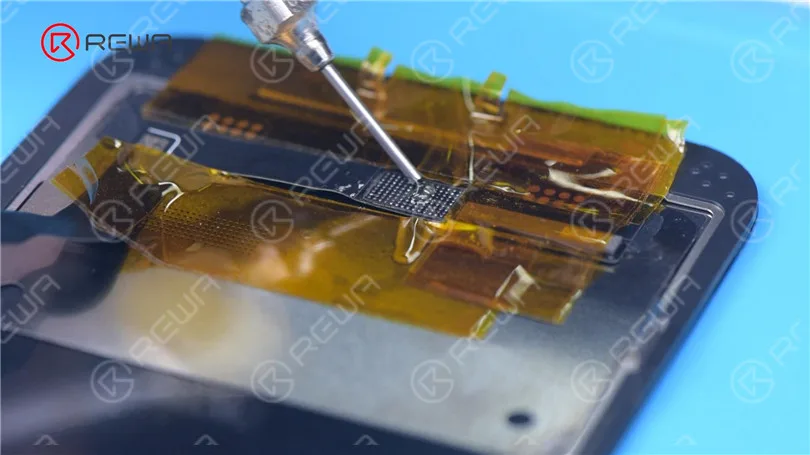
Next, reball the chip. Put the reballing stencil in position. Apply a layer of middle-temperature Solder Paste evenly. Heat with Hot Air Gun at 300 °C to form the solder balls. After the solder balls are formed, clean with PCB cleaner.
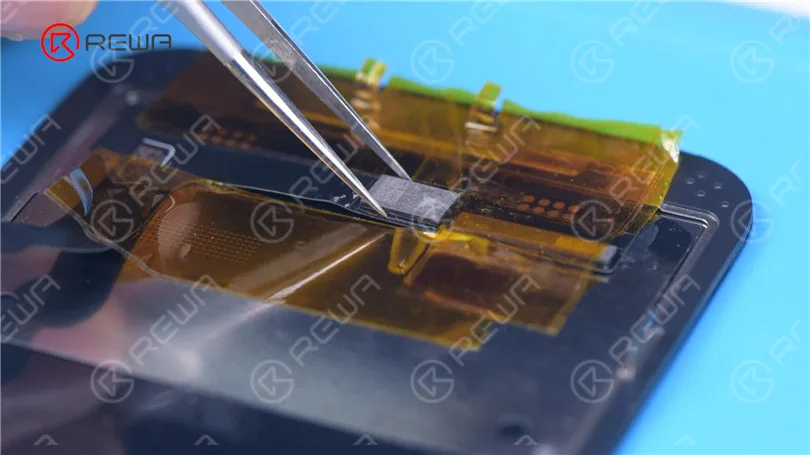
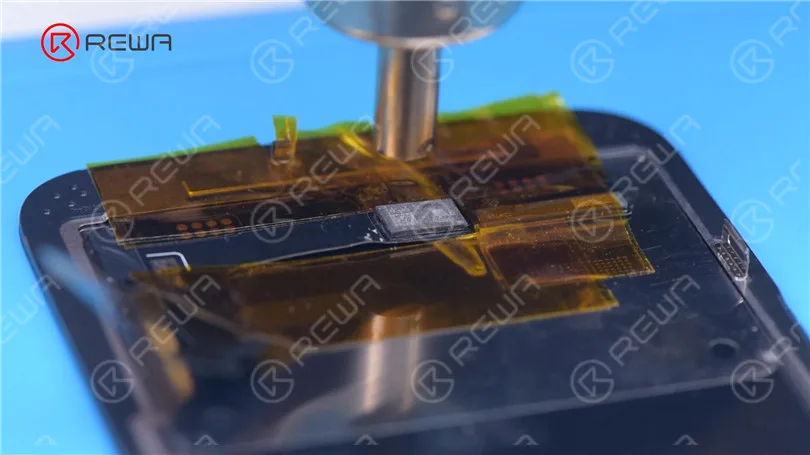
Apply Paste Flux to the bonding pads of the new screen. Align the chip of the original screen. Solder the chip with Hot Air Gun at 300 °C.
Remove high-temperature tape after the flex cable has cooled. Connect the screen. Turn on the phone. There is no “Important Display Message”. Face ID can be set up and is working fine. But True Tone hasn’t been restored.
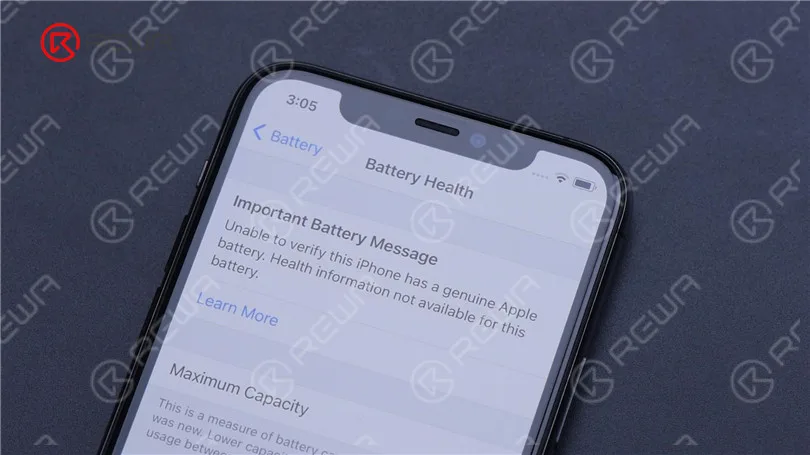
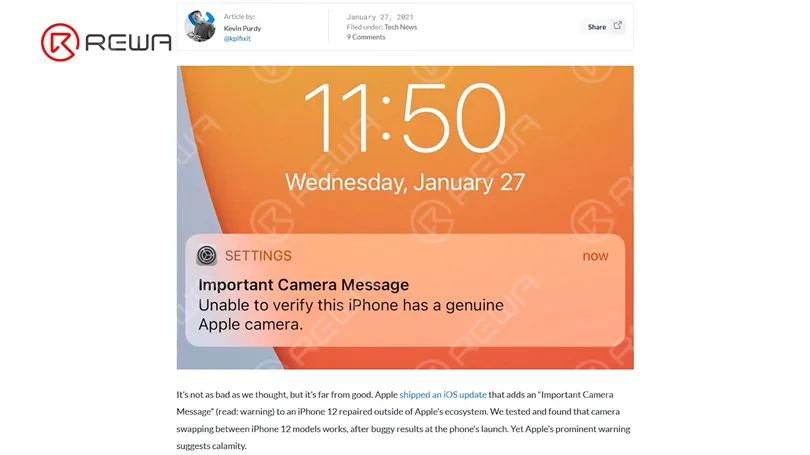
Third-party repair stores find it challenging to fix Apple products due to the presence of prompts such as “Important Battery Message” and “Important Camera Message,” resulting in ongoing criticism for Apple.
Apple has made it even harder for customers to seek repairs from third-party stores with the release of the iPhone 13. Attempting to address the Face ID issue after replacing the iPhone 13 screen by replacing the chip is risky and not advisable for non-professionals, according to REWA LAB. It is possible that Apple will address this problem through an iOS update in the future. We will have to wait and see. Please feel free to share your thoughts on this matter.
Have you ever met the problem of losing your data on your phone suddenly? All the pictures, messages, contacts, and files were gone. What a disaster! How to save your lost data? If your phone or motherboard is damaged, the situation would be worse. How to recover the data from a damaged phone?
The data recovery approach demonstrated in the video is mainly for those phones which are seriously damaged, without iCloud backup, can not turn on, or even with deformed logic board/motherboard.
Attention:
There is a possible risk for the motherboard data recovery process.
Skilled repair techs are required for the operation.
If you have any demands and questions on data recovery, please feel free to contact us.


 English
 Español
 Français
 Deutsch
 Italiano