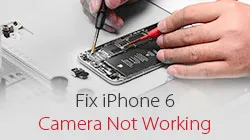
iPhone 6 camera not working? Usually we will get the faulty camera replaced. If the camera still cannot be activated after replacing a new camera, what should we do? With this video, REWA LAB demonstrated a high-level logic board repair technique that can help you fix the iPhone camera won’t work problem in an efficient way. Don’t miss the chance to polish your repair skills.
Tag: iphone
-

How to Restore Touch ID of iPhone Due to Home Button Flex Broken
iPhone users might be in despair when their iPhone home button touch ID gets into trouble or even doesn’t work after replaced home button. Why? For iPhone 6 and later versions, touch ID is bonded with CPU, and the user who has replaced his home button will then lose its touch ID fingerprint function. For a long time, it is a sticky business for repair technicians to repair the iPhone touch ID issue, but actually, about 80% of the touch ID failures are resulted by damaged home button touch ID flex. REWA therefore released a video about how to restore iPhone 6/6 plus/6s/6s plus home button touch id issue by making a jumper on flex.
Restore iPhone Touch ID With Home Button Flex Reparing
Power on and test. “Unable to activate Touch ID on this iPhone”. Press Home Button, the returning function is normal.
Disassemble the phone and remove the display assembly. First of all, check the logic board connector J2118 for mouldy condition and dry Joint. Everything is fine.
Then, measure the resistance between J2118 and grounding. The value is also normal.
Take down the Home Touch Sensor Assembly and check the home button flex cable. There are obvious broken traces on the flex cable.
Preliminary judgment – Touch ID malfunction is caused by fractured flex cable circuit. We can fix the problem by replacing the fractured section with a new length of flex cable.
Pry up the back plate with Tweezer and Soldering Iron. Cut the fractured part from the flex cable with Sculpture Knife.
Scrape out the flex cable circuit. Be careful not to cut the circuit off.
Apply some BGA paste flux to the flex cable and then solder tins with Soldering Iron. Clean with PCB Cleaner after cooling.
Prepare a new Home Touch Sensor Assembly.
Pry up the back plate of the new Home Touch Sensor Assembly. Cut a length of flex cable from the new Home Touch Sensor Assembly (allow for some adjustment in length of the cut cable).
Fix the newly cut cable with double-sided adhesive. Then, scrape out the newly cut flex cable circuit. Be careful not to cut the circuit off.
Apply some BGA paste flux to the newly cut flex cable. Then solder tins with Soldering Iron. Clean with PCB Cleaner after cooling.
Cut out the excess parts of the newly cut flex cable. After that, apply 460 Glue to the bonding part and adhere the two cables carefully. Pay attention to the aligning position.
Once cables are fixed, apply some BGA paste flux and solder flex cables with Soldering Iron. Be careful with bridging and disturbed solder condition.
Clean with PCB Cleaner after cooling. Remember to check the circuit for bridging and disturbed solder.
Get the Home Touch Sensor Assembly mounted on the screen. Then buckle the display assembly to the logic board.
Power on and run Touch ID function test. Touch ID back to normal.
Take down the display assembly after test and take out the Home Touch Sensor Assembly. Prepare another length of cable. And then adhere the cable to the previous bonding part.
To further secure flex cables, solder with Soldering Iron. And then secure the back plate with Glue carefully.
Get the Home Touch Sensor Assembly mounted on the screen. Buckle the display assembly to the logic board. After that, power on and test. The phone works with normal Touch ID function.
-
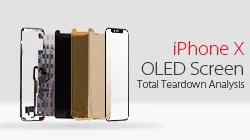
iPhone X OLED Screen Total Teardown Analysis
REWA LAB has conducted a deeper teardown of iPhone X OLED screen Recently. After separation, you will find the differences between iPhone X display and the screens of previous iPhone models.
1. iPhone X display comes with different driver IC bonding technique. iPhone X applies COF, while previous iPhone applies COG.
2. iPhone X screen digitizer has its 3D touch module adhered to OLED backplate.
3. The 3D touch module of iPhone X is bonded to the OLED panel.
As a new product of OLED combined with 3D Touch function, iPhone X screen has surprised all of us with its features. REWA LAB works with iPhone X screen teardown and presents its novelty, disassembly difficulties and structure analysis. Laminating process of iPhone X OLED screen is much complicated than LCD screen. Laminate OLED with TP first, then OLED with 3D Touch. The whole process counts more than 15 procedures.
iPhone X OLED Screen Total Teardown
Screen Testing
Test the iPhone X screen before tearing down. Run function test – Display; Touch; 3D Touch and Swipe-up. All going well.
Bezel Removing
Place the OLED Screen Assembly on the Heat Platform. Remove bezel slowly with Pry Piece and Glue Cleaner. Cut a plastic horn of the bezel with the blade if necessary and then remove bezel with Pry Piece and Glue Cleaner carefully. Be careful with flex cables when removing bezel in the flex cable area.
The Pry Piece accidentally damages flex cables when removing the bezel. Which may result in the abnormal display. Test the screen again. Run function test – Display; Touch; 3D Touch and Swipe-up. Touch, 3D Touch, and Swipe-up work normally while there are two vertical lines on the display.
Glass Separating
Place the OLED Screen Assembly on the Heat Platform. Separate the glass lens from OLED with cutting wire. We are working with one OLED flexible screen, so be careful with your handwork.
Test again after separating. Run function test- Display; Touch; 3D Touch and Swipe-up. Touch, 3D Touch, and Swipe-up work normally while there are two vertical lines on the display.
Glue Removing
Glue removing for iPhone X screen can be applied with hand tearing.
3D Touch Layer Removing
Different from Samsung smartphones, iPhone X has its 3D Touch module adhered to OLED backplane. Different from all iPhone previous versions, the 3D Touch module of iPhone X is bonded to the OLED panel. To fully analyze its structure, we take a disruptive disassembly of the 3D Touch module. The 3D Touch and TP flex bonding is separated completely after the disassembly.
-
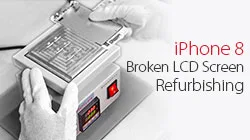
iPhone 8 Broken LCD Screen Refurbishing Glass Only Repair
Here you can get the latest iPhone 8 broken LCD screen glass-only refurbishing technique, supported by REWA LAB, with new frame separating machine and integrated glass lens with bezel applied. This is a cost effective and efficient LCD Refurbishing solution for all iPhone repair professionals and enthusiasts. Don’t miss our new glass-only repair video!
-

iPhone 7 Plus Upgrade Storage To 256 GB On iOS 11
You may have noticed that we have already released a video about upgrading the memory of the iPhone 6s. Many of our viewers and customers were interested in this technique. Recently, some of them asked about upgrading the storage of the iPhone 7 Plus to 256GB and using iOS 11 with a China-made screen. As a result, REWA LAB has decided to release a new video demonstrating the process of upgrading the storage of the iPhone 7 Plus from 32GB to 256GB, with iOS 11. This is something new in memory upgrading for iPhones. Let’s find out together!
-

iPhone Aftermarket Glass Lens Factory Production
How is the aftermarket iPhone glass lens made? Let’s take a tour to glass lens factory and find out the production process of it.
-
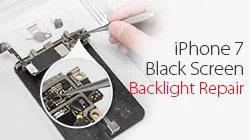
iPhone Black Screen Repair
iPhone 7 starts up with black screen or no display but still working, and the boot current is normal. It still exists after replacing the screen. REWA LAB tested and found that this malfunction is caused by broken backlight circuit on logic board. Please check the video for details.
-
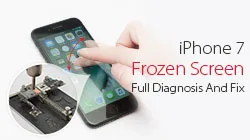
iPhone 7 Frozen Screen – Full Diagnosis And Fix
Some users complained about the stuck screen of their iPhone 7 after dropped. Even re-installation couldn’t help with the iPhone 7 frozen screen problem once and for all. REWA LAB worked on the issue and found out that the malfunction was caused by the iPhone 7 producing process and could be solved by the maintenance of audio circuits.
-

iPhone Series LCD Screen Sampling Test – REWA LAB
To ensure the high quality and stable supplying of the iPhone LCD Digitizers, REWA has launched an integrated quality control system to carry out the sampling tests of iPhone screens.
-
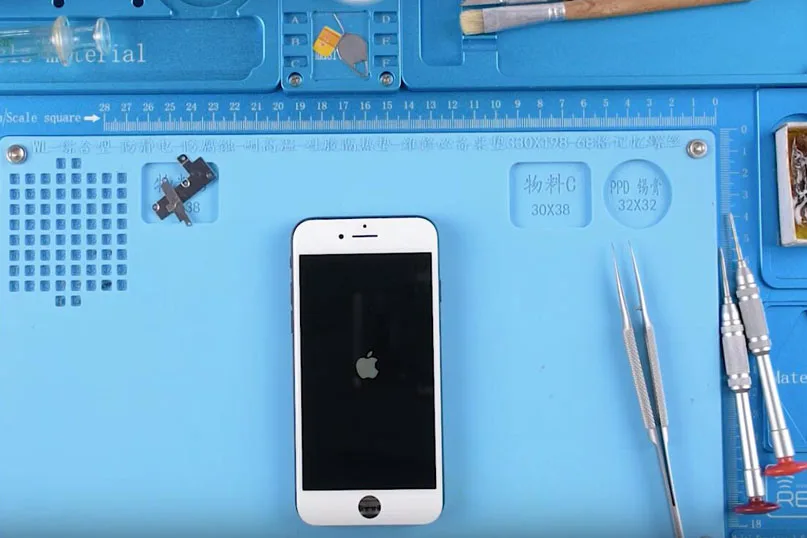
iPhone Frozen Screen Issue – Logic Board Repair Solution
Some users complained about the iPhone frozen issue of their iPhone 7 after dropped.
Even reinstallation couldn’t help with the iPhone frozen problem once and for all.
The malfunction was caused by the iPhone 7 production process, which could be fixed by maintaining audio circuits.
REWA offers a new iPhone frozen solution regarding logic board repair!
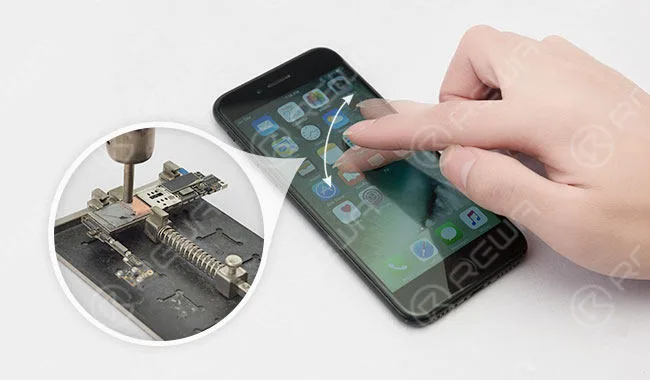
Fix The iPhone Frozen Screen Issue With Logic board Repair Solution
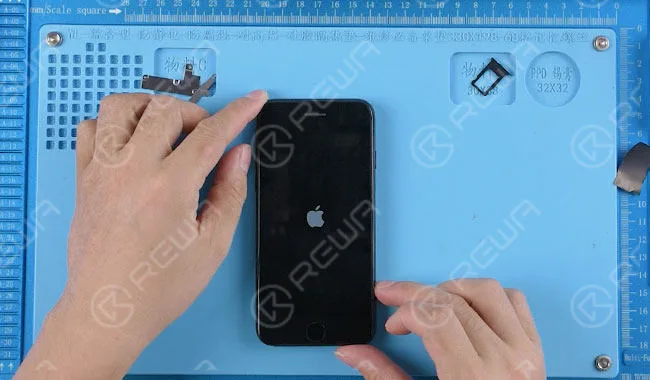
Power on, the screen is stuck off and power button responses slowly.
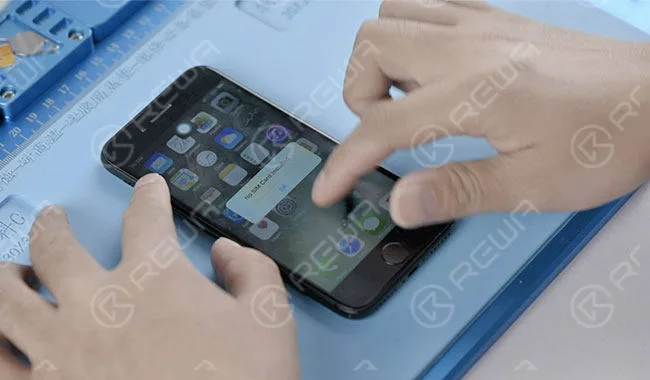
Disassemble the phone, detach the display assembly. Replace with a new display assembly.
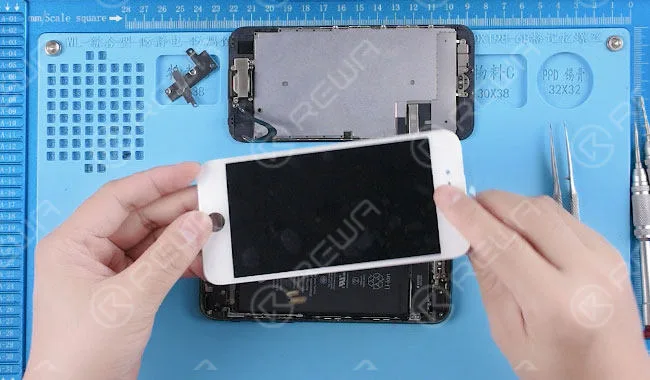
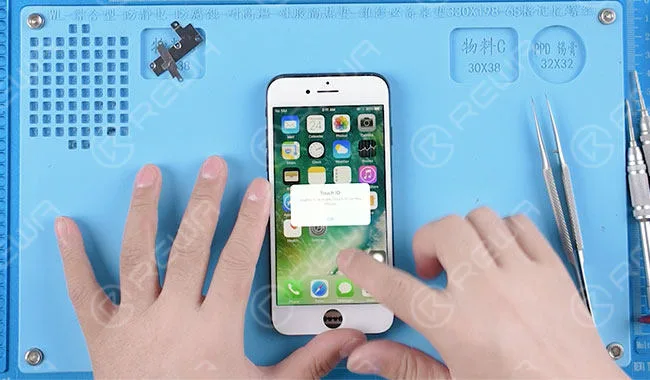
Turn on the phone and test. The screen is still stuck off.
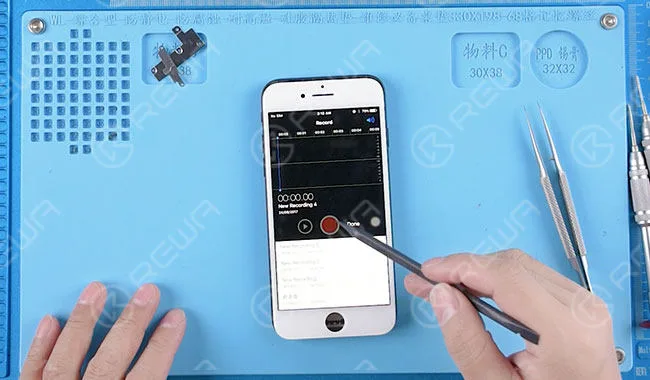
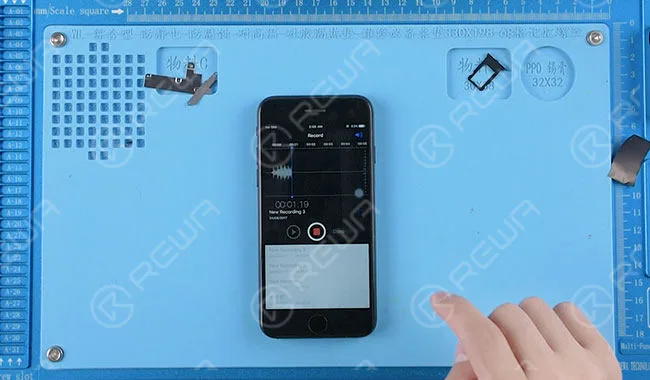
Enter into record mode, the record icon is in nonfunction state.
Screen replacing doesn’t help on the stuck issue, we can tell that there is a problem with the audio circuit. Move on to logic board repairing.
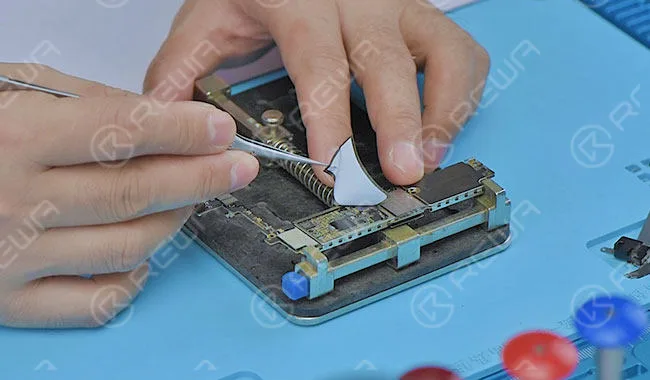
Take out the logic board and tear off the shield sticker.
Apply some BGA paste flux around the audio IC and blow it with hot air gun at 300 degrees.
Then take down the audio IC.
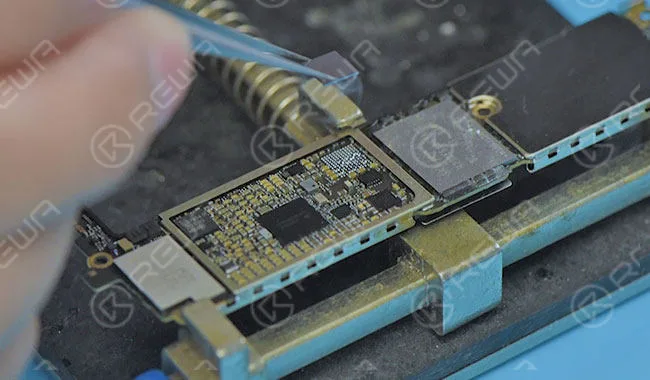
Dip some rosin with soldering iron to clean the tins.
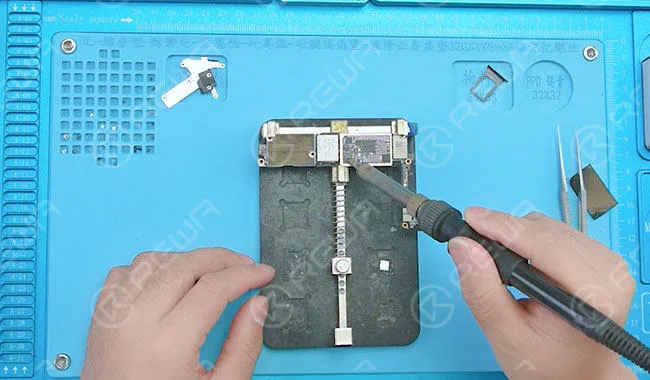
Then dip some rosin with Goot wick for secondary cleaning. After that, clean again with PCB cleaner.
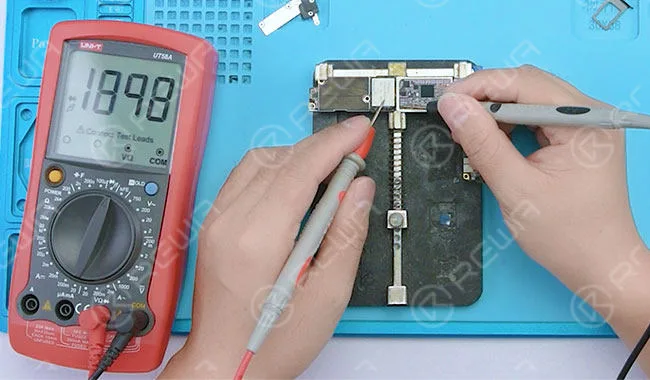
Test resistance value of pin C12 (U3101 audio IC). The resistance value is swinging.
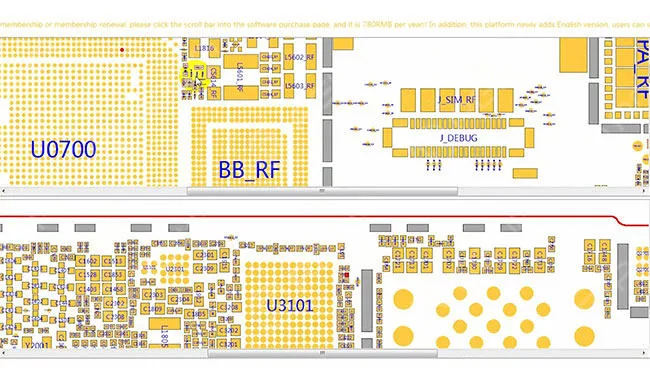
Roll out the maintenance drawing for reference.
Locate the signal of pin C12: 12S-AP-TO-CODEC-MCLK. The signal was connected with CPU via resistor R1103.
Scrape the insulation varnish off the copper wire connecting pin C12 and resistor R1103. Solder tins and then solder the 0.02mm copper wire.
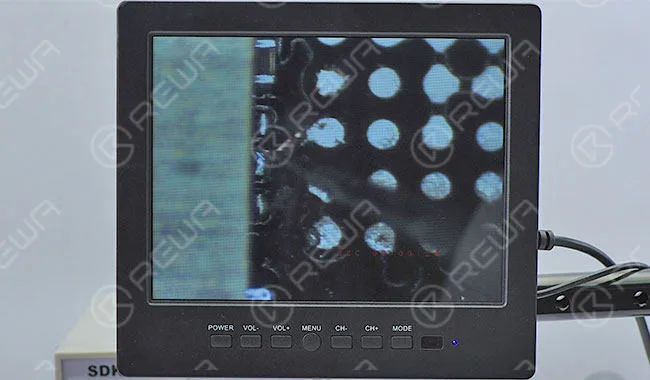
Apply some UV curable solder mast to the soldered copper wire and put the logic board under the UV dryer lamp for 15 minutes.
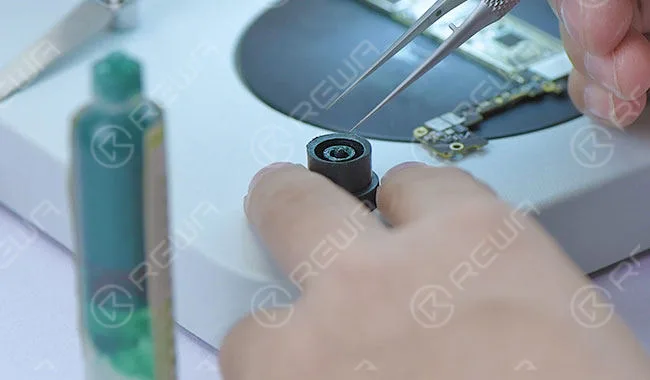
Reball the audio IC with BGA reballing stencil.
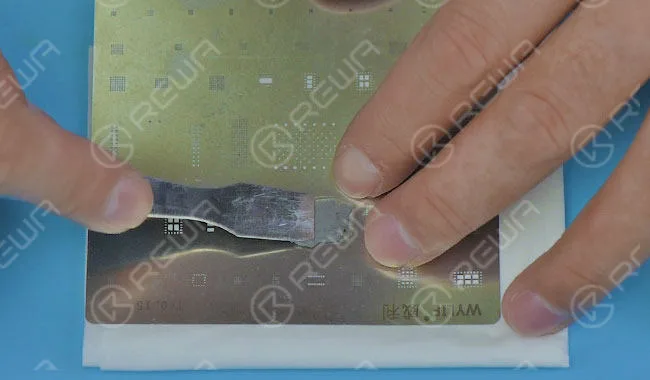
Apply some BGA paste flux to the bonding pad.
Then align the audio IC to the right place and blow it with a hot air gun at 280 degrees.
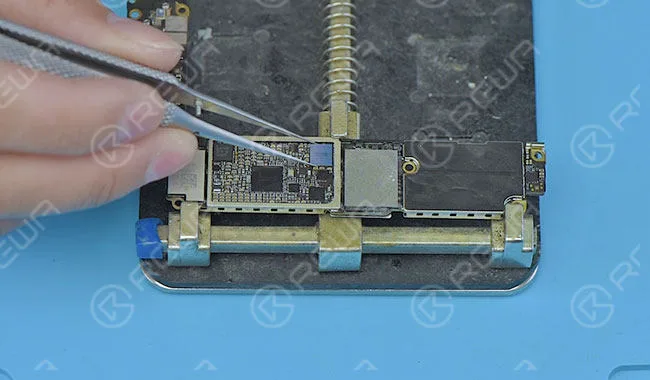
Once the logic board is cooling enough, clean it with PCB cleaner.
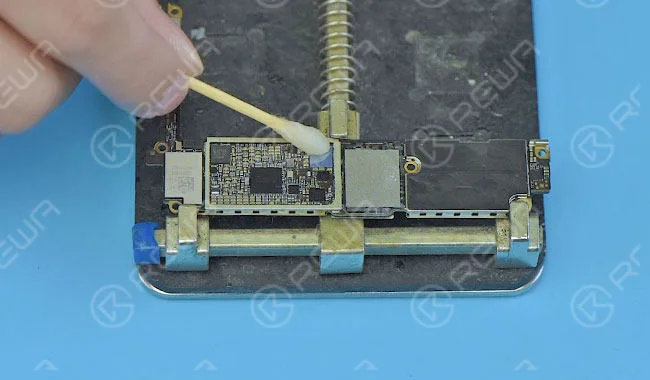
Assemble the phone and test.
Touch function and record function back to normal.
For more details on iPhone Frozen Screen Repair guide.
-

iPhone Water Damage Repair With Ultrasonic
Nearly 80% of the repair shops still use the brush to clean the water damaged iPhone motherboard. It processes very slow and sometimes ineffective. This time REWA LAB presents a new water damaged iPhone repair with ultrasonic cleaner.
-
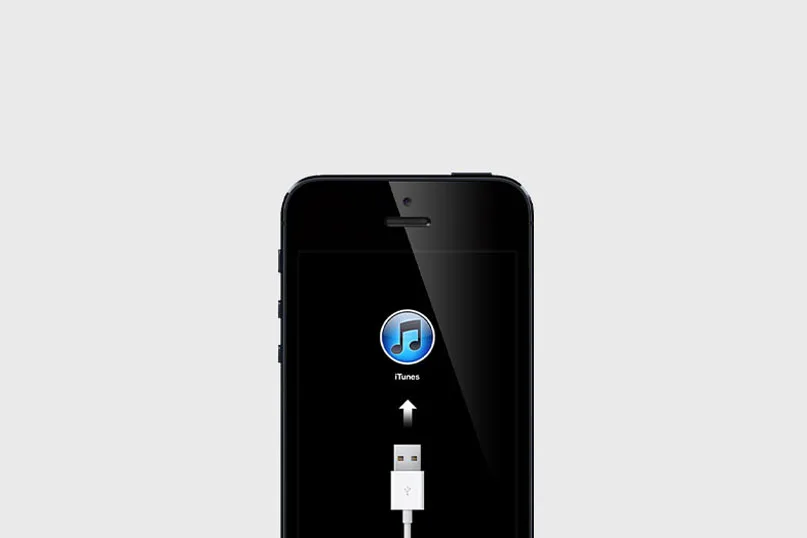
Decoding iPhone Error Codes: Understanding Their Meaning
Encountering error codes on your iPhone or iTunes during updates, restores, or downgrades can be frustrating. These codes pop up unexpectedly, indicating that something has gone awry. With numerous error codes, it’s often challenging to discern the real issue quickly.
Common iPhone and iTunes Error Codes:
- 1, 3, 10, 11, 12, 13, 14, 16, 20, 21, 23, 26, 27, 28, 29, 34, 35, 36, 37, 40, 1000, 1002, 1004, 1011, 1012, 1014, 1667, or 1669
Hardware Glitches: Unknown hardware errors on either the iPhone or the computer can disrupt their connection, leading to errors like 2, 4, 6, 9, 1000, 1611, 9006, 9807, or 9844.
Security Software Snags: Third-party security software, not from Apple, may interfere with iTunes, causing errors 13, 14, 1600, 1601, 1602, 1603, 1604, 1611, 1643–1650, 2000, 2001, 2002, 2005, 2006, 2009, 4005, 4013, 4014, 4016.
USB Connection Woes: Errors like 17, 1004, 1013, 1638, 3014, 3194, 3000, 3002, 3004, 3013, 3014, 3015, 3194, or 3200 often signal a USB connection problem, often due to a loose cable or faulty USB hub.
Networking and Communication Hiccups: Communication problems between iTunes and Apple’s update server can result in errors like 9, 4005, 4013, 4014. They may occur during firmware downloads or server connections for restores.
Other Noteworthy Error Codes:
- Error 11/16: Incompatible library files.
- Error 53: Security test failure; non-official components detected.
- Error 54: Locked file on computer or iOS device.
- Error 1015: Outdated or beta software issues (e.g., jailbroken software).
Additional Jailbreak-Related Errors:
- 1600, 1601, 1602, 1603, 1604, 1611: Jailbroken device issues.
- Error 1671: iTunes is downloading necessary software.
- 4014, 4016, 3194, 3004, 3194: No server response.
For solutions to these errors and more, visit our ASK FORUMS. Simplify the troubleshooting process and make your iPhone experience smoother!
 English
 Español
 Français
 Deutsch
 Italiano