iPhone X back glass is fragile and difficult to repair because it is connected to the housing with welds and glue. We have already released a video about how to repair iPhone X broken back glass with a special dispergator. Whereas, it is inefficient and the dispergator has not been put in mass production yet. Today we are going to introduce a new separator to fix iPhone X back glass in an easier and more efficient way.Let’s check the video to see how to fix iPhone X glass back with the new arrived iPhone 8/8P/X Back Glass Seperator.
Generally, replacing screen will not affect the normal use of face ID. However, we have got some feedback from our customers and fans that iPhone X face ID failed after screen replacement. Therefore we guess the problem is caused by improper operations during the repair, which results in the damage of flex cables or other components. Our video today is going to troubleshoot the iPhone X face ID failure caused by the damage of flex cable. iPhone X face ID not working after changing screen? Let’s check the video for the solution.
iTunes error code is commonly encountered during daily repairing. Good repair engineers usually know what each restore error code stands for, so they can trouble shoot the malfunction of customers’ iPhone error code accurately and efficiently. REWA LAB has summarized daily repair experiences to share with you the common error codes of iPhone 6 / 6 Plus and how to trouble shoot and solve related problems in today’s video. Let’s check the video to see how to fix iPhone iTunes error codes.
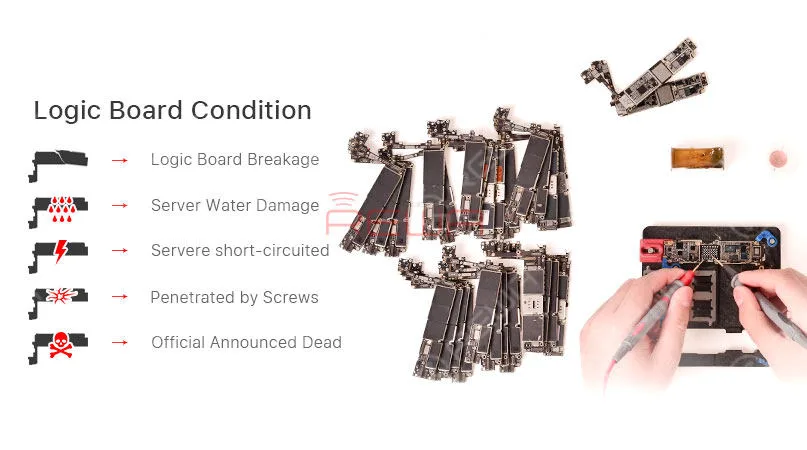
A faulty or dead iPhone is a disaster for many people, however losing all the photos and data of your phone with out any backup seems to be a even greater disaster. iPhone data recovery thus becomes very important in cell phone repair industry. In this video, we are going to show you how to recover the losing data from a dead phone. The iPhone 6s we are dealing with today is one that turns on with black screen due to damage of logic board. Official conclusion is that the damaged CPU cannot be repaired, nor can data in the phone be backed up. After full analysis of the phone, REWA LAB has found out that the fault is related to AP_TO_LCM_RESET signal of CPU. We can light up the screen with jumper wiring and get the phone temporarily prepared to complete data recovery for iPhone process.Let’s check out the video to see how to save phone data even with a dead logic board.
It was widely discussed that iPhone 8/X series ambient light sensor stops working after screen replacement. After the iPhone 8 ALS issue was properly exposed, solution for it has been a hot topic for the industry. With our researches and tests, REWA LAB has developed a Programmer Box, which perfectly solves the auto-brightness issue for iPhone 8/8 plus/X on iOS 11.4. Check the video to see how to fix iPhone X ambient light sensor issue.
Products Related:
3 in 1 ALS(Ambient Light Sensor) Programmer for iPhone 8/8 Plus/X
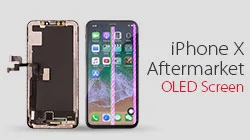
Here comes iPhone X Aftermarket OLED Screen! With iPhone X Aftermarket LCD Screen springing up in the market, much attention had been paid to iPhone X Aftermarket OLED Screen.
We got samples of iPhone X Aftermarket OLED Screen from the factory at the first sign of production and carried out a series of tests afterwards.
The Aftermarket OLED Screen performed well with no function problem, which has met the product standards of usage.
Now, let’s take a close look at iPhone X Aftermarket OLED Screen with test results.
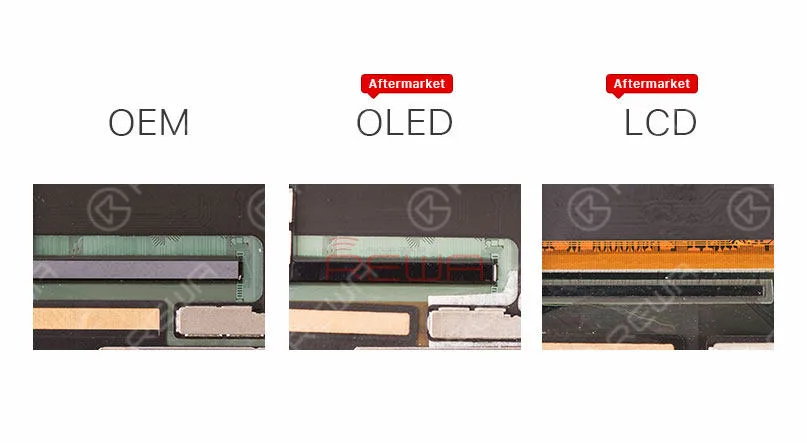
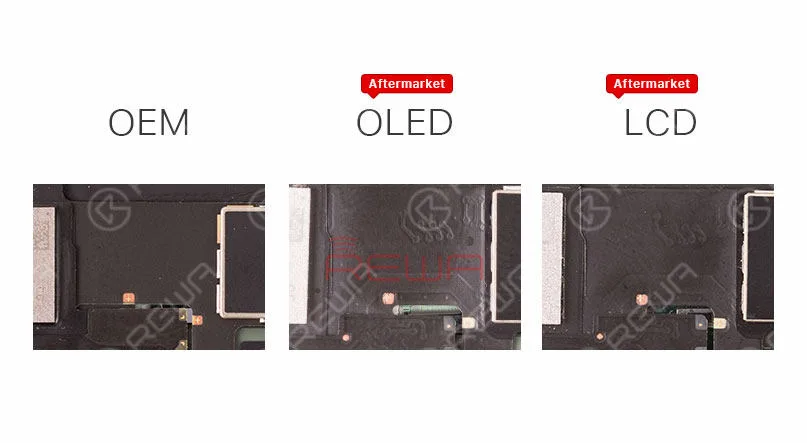
The IC on iPhone X Aftermarket OLED Screen and OEM Screen get high similarity.
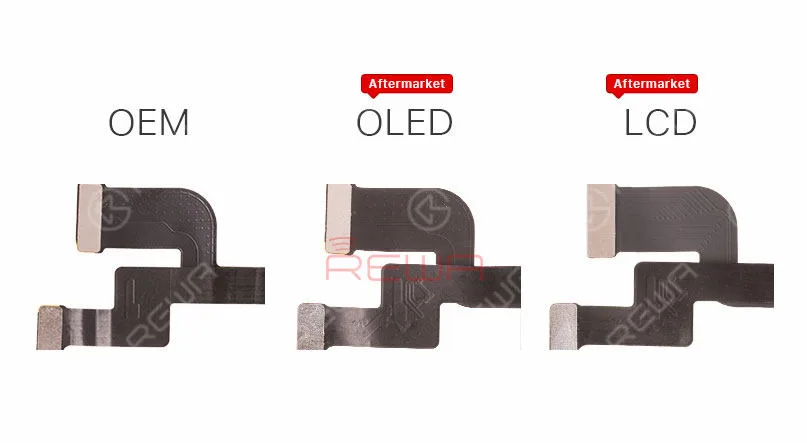
iPhone X Aftermarket OLED Screen and OEM Screen also share the same textures on LCD flex cable.
Aftermarket OLED Screen and Aftermarket LCD screen feature with the same textures on Touch flex cable.
Aftermarket OLED Screen and Aftermarket LCD screen also share the same 3D Touch flex cable.
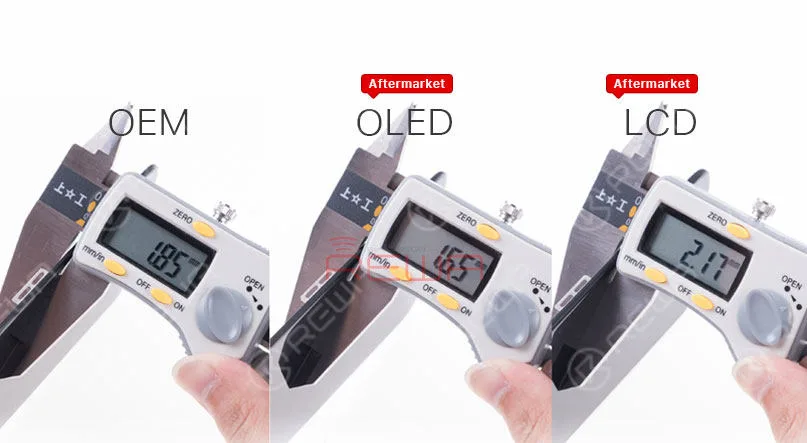
Check the thickness of iPhone X OEM Screen, iPhone X Aftermarket OLED Screen and iPhone X LCD Screen.
Since the 3D touch module of iPhone X Aftermarket OLED Screen is thinner, it will be slightly thinner when measuring, Yet the bezel much thicker than iPhone X OEM Screen, so it will little higher after installation.
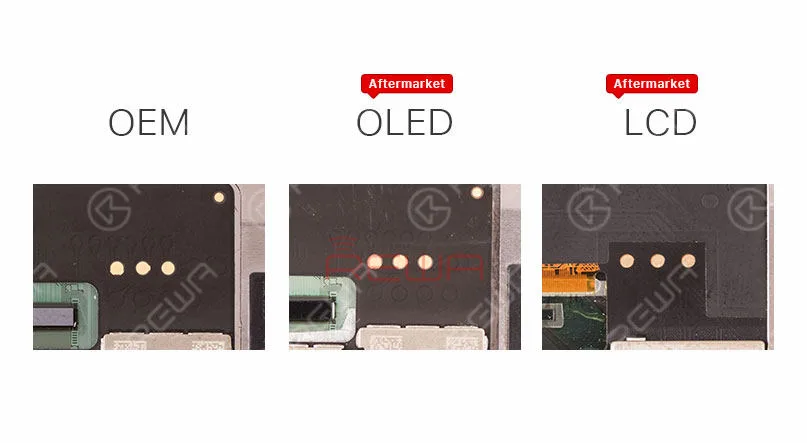
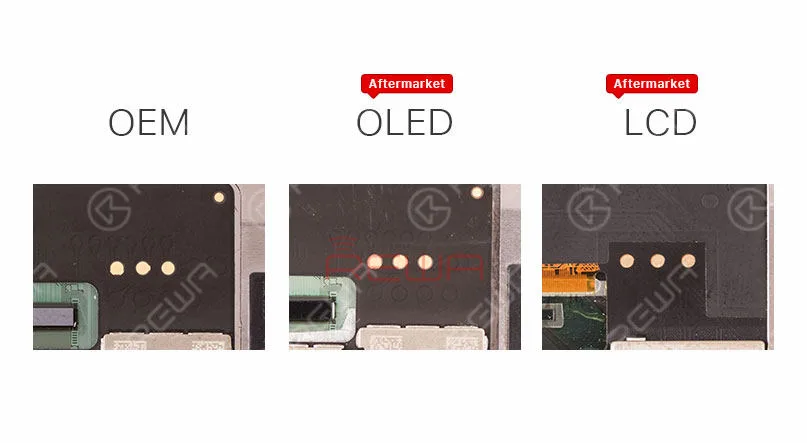
Besides, iPhone X Aftermarket OLED Screen features with four golden contacts which is highly similar to those on iPhone X OEM Screen.
Function Test
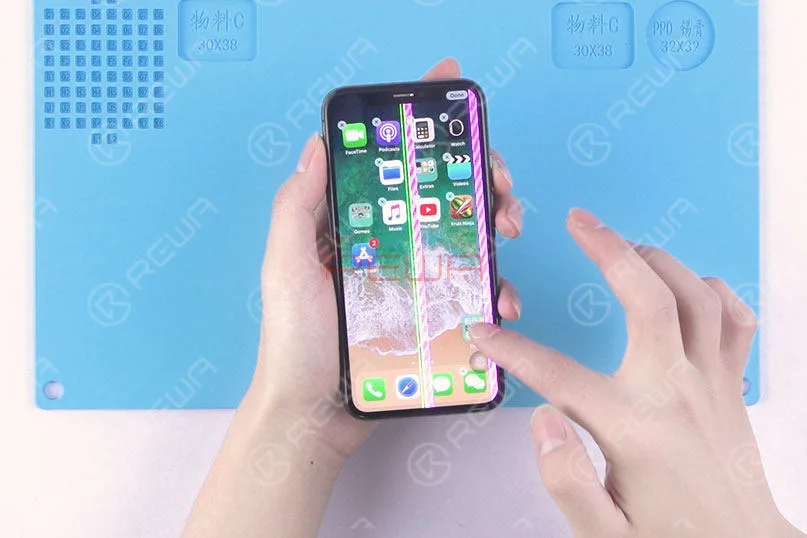
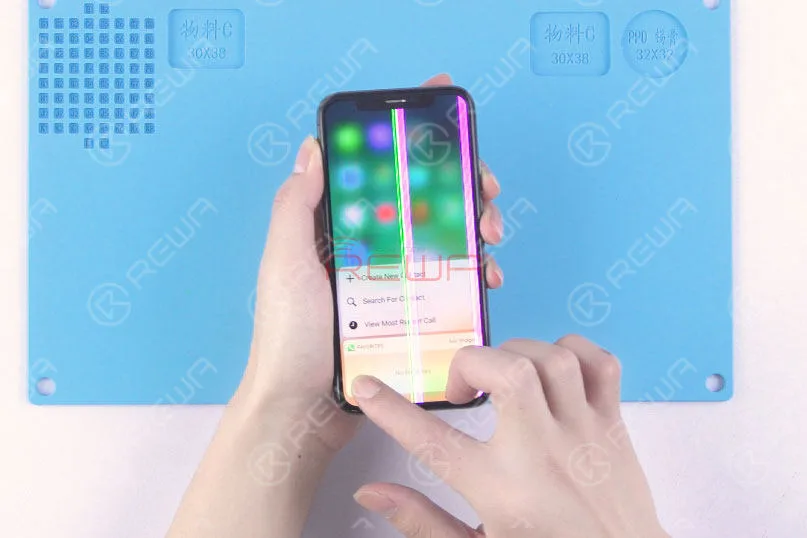
Since the LCD panel of iPhone X Aftermarket OLED Screen and OEM Screen share the same production process, the vertical line issue due to bonding procedure can also be frequently seen with our test samples.
Still, these imperfect screens can be screened out in subsequent quality inspection.
Also, because of the vertical line issue, there is no brightness test in our video today.
First, run touch function test, the phone performs with normal touch function.
Yet the screen is not running smoothly because of glass lens material.
We believe that this will be improved when it comes to full production.
Continue to run 3D Touch function test, the phone performs with normal 3D Touch function.
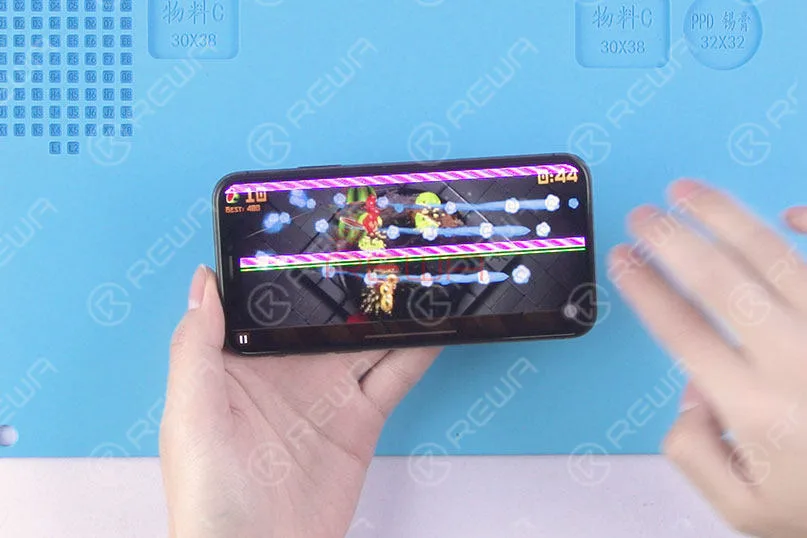
Run the multi-touch test in game mode, the phone performs normally.
Conclusion
Within a few days of trying out the iPhone X with Aftermarket OLED Screen, our technicians carried out a series of tests under the condition of excluding the impact of the vertical issue.
The Aftermarket OLED Screen of iPhone X performed well with no function problem, which has met the product standards of usage.
Please stay tuned and we will pay close attention to the product in the future.
For more iPhone X Aftermarket OLED Screen test details please view our Youtube video here:
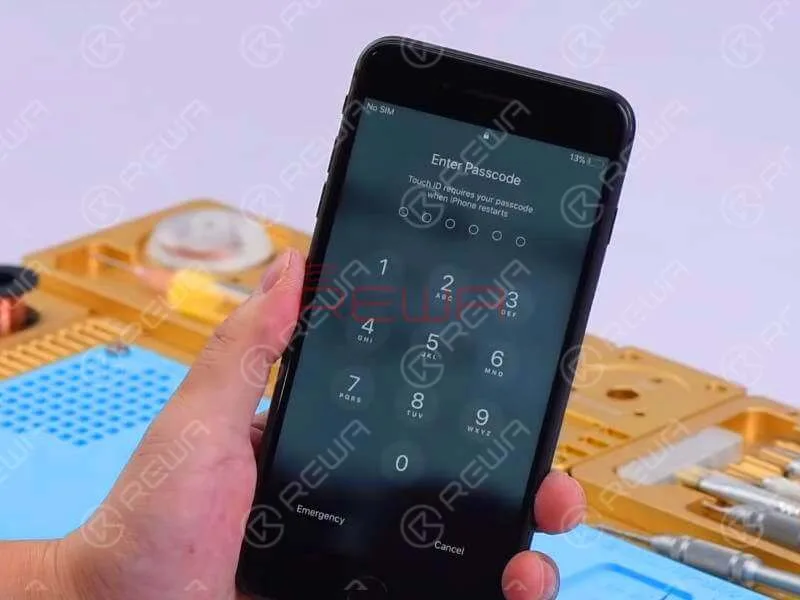
iPhone 8 Plus turns on with black screen. What will you start with?
For screen issues, the most common solution is to replace with a new display assembly to see whether it’s a screen problem or a board issue.
As for black screen issues, we can also start with the boot current.
Run boot current measurement first.
If the boot current is normal, then we can confirm that the phone is turning on with no display.
As for display issues, find the display connector at the very beginning.
Related post: Samsung Galaxy S6 edge+ Turns On With Black Screen
Sounds quite simple? Well, follow our repair guide and you can figure it out by yourself.
Problem
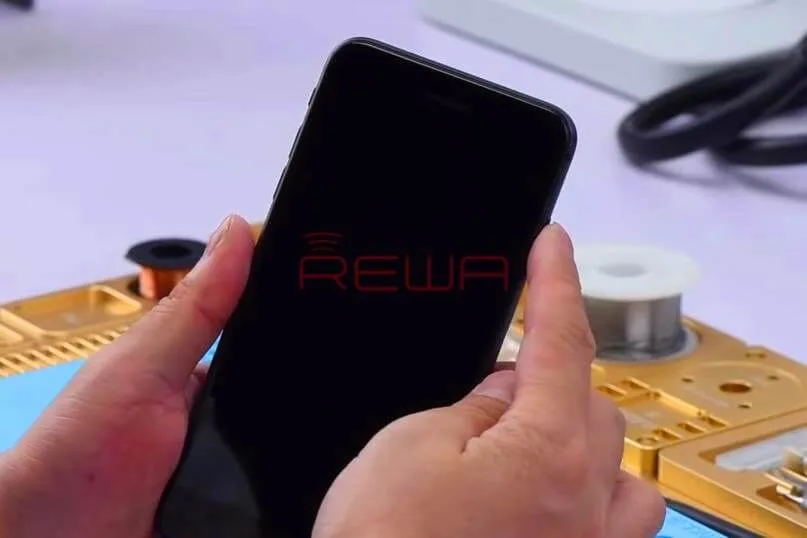
Press power button to power on. There is no response from the phone.
Disassemble the phone and disconnect the battery.
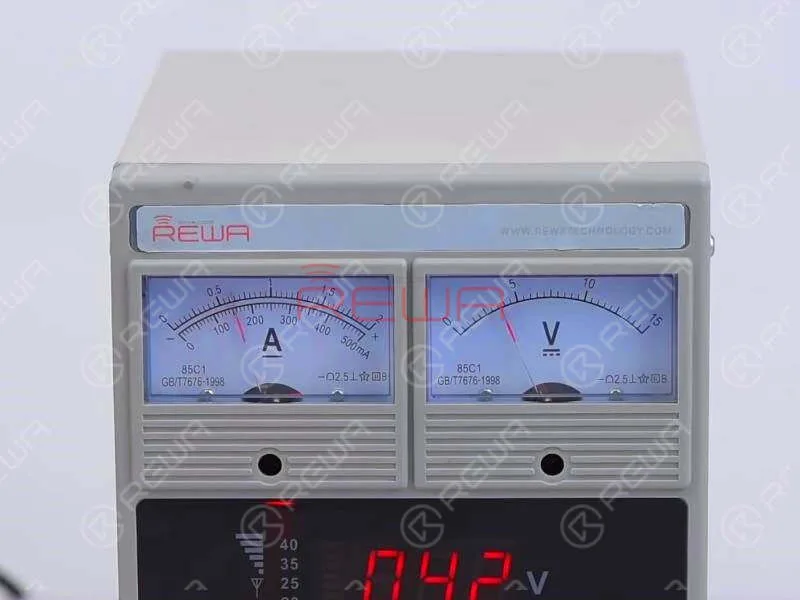
Connect the battery connector with DC Power Supply and press power button to power on.
Current reading on the ammeter is normal.
Which indicates that the phone is turning on, yet with black screen.
Diagnosis
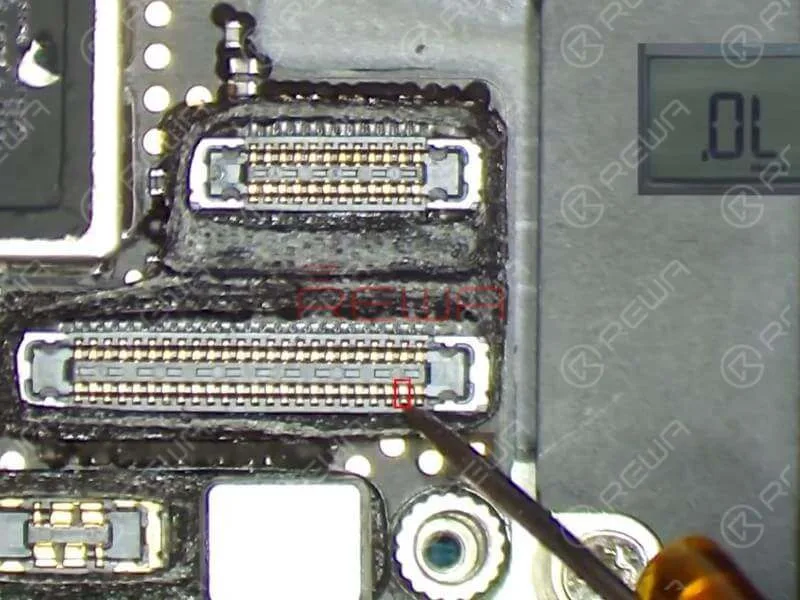
Since J5700 is the LCD/touchscreen connector of the logic board, we need to run diode mode measurement of J5700 first.
The measured value of Pin 39 and Pin 45 on J5700 is 0. Judging by this, the fault is related to relevant circuit of the two pins.
Refer to Refox – the maintenance drawing and we can see that the two circuits are parts of the screen backlight circuit.
Now we need to run further measurement of the two circuits. We can start with R5730 and R5733.
The two are Zero Ohm “resistors” that usually act as protective roles on the circuit.
R5730 and R5733 are located under the shielding cover.
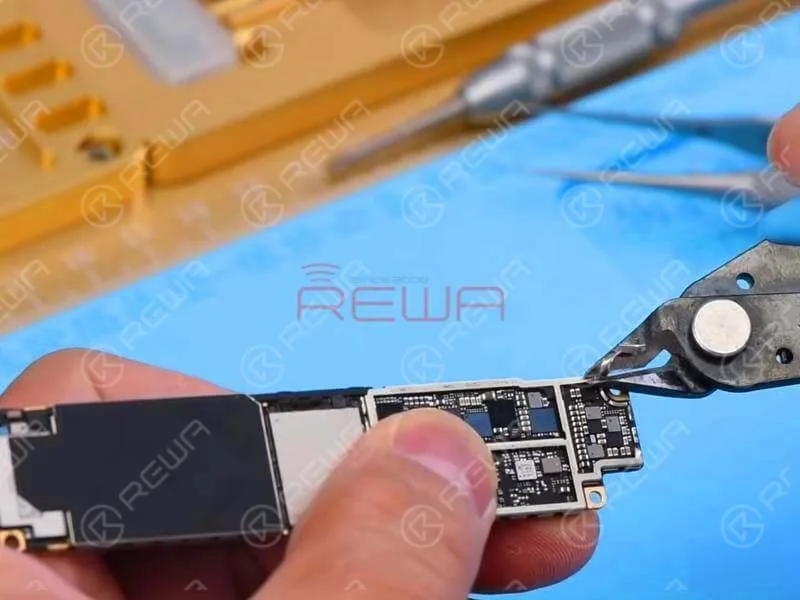
For better operating, we have to tear off the shielding paste and remove shielding bracket with Cutting Nipper first.
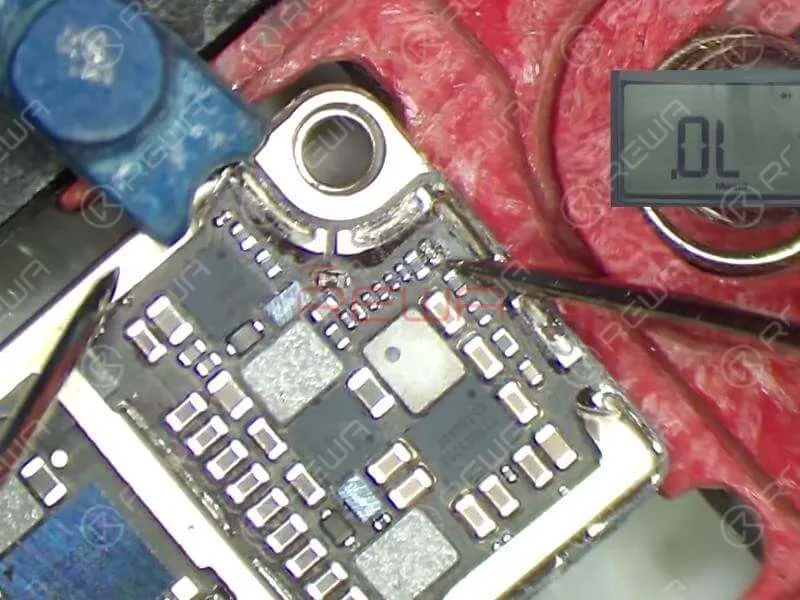
Attach the logic board to PCB Holder and run diode mode measurement of R5733 and R5730.
The measured value of Pin 1 on R5733 is normal and there is no measured value of Pin 2 on R5733, which is abnormal.
The measured value of Pin 1 on R5730 is normal and there is no measured value of Pin 2 on R5730, which is also abnormal.
Judging by this, R5733 and R5730 have been damaged and we need to replace with new resistors.
Tips
As R5733 and R5730 are Zero Ohm “resistors”, we can simply replace with new resistors or replace with ferrite bead inductors.
Troubleshooting
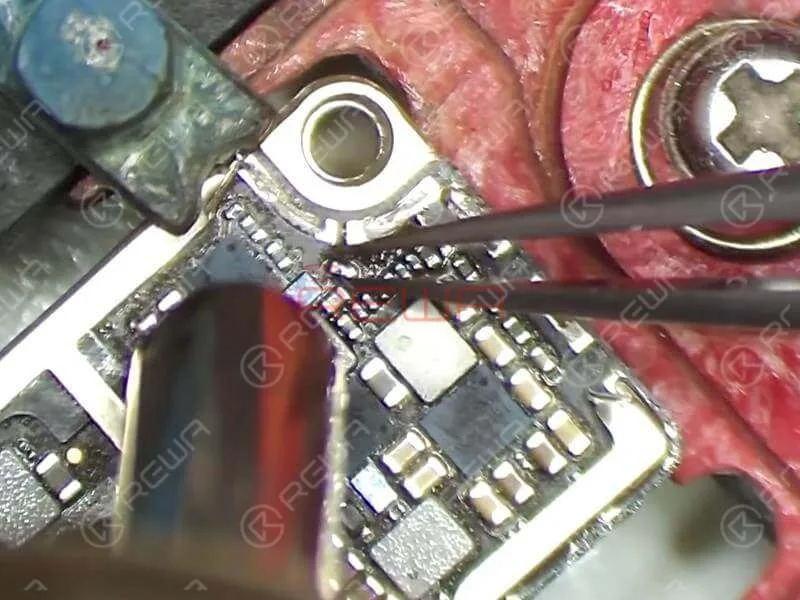
Detach R5733 and R5730 from the board with Hot Air Gun.
Apply some BGA Paste Flux to the bonding pad. Then apply mid-temperature solder to the bonding pad with Soldering Iron. Once done, clean the bonding pad with PCB Cleaner.
Then apply some BGA Paste Flux to the bonding pad and align the two inductors to the right place. Solder with Hot Air Gun.
Once finished, wait for the logic board to cool for 5 minutes. And then clean thoroughly with PCB Cleaner.
Reassemble And Test
Get the logic board mounted first. Then run diode mode measurement of Pin 39 and Pin 45 on J5700.
The measured value is normal this time. Continue to buckle the display assembly and connect the battery. Press power button to power on.
The phone turns on with normal display. Run function test. All going well.
With iPhone X aftermarket LCD screen springing up in the market, much attention had been paid to iPhone X aftermarket OLED screen. We got samples of iPhone X China Made OLED screen from the factory at the first sign of production and carried out a series of tests afterwards. The aftermarket OLED screen performed well with no function problem, which has met the product standards of usage. Now, let’s take a close look at iPhone X aftermarket OLED screen with test results.
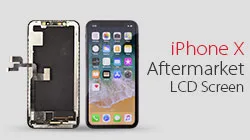
Many people in the cell phone repair industry have expectations for iPhone X aftermarket screen to reduce the repair cost of iPhone X screen repair. Since iPhone X is different with previous models, the difficulty of iPhone X aftermarket screen production is quite high. After fully tested the first batch of iPhone X LCD aftermarket screens, REWA shares our test results with you for your information.
If you are interested in REWA iPhone logic board repair training but still feel it’s hard to make a decision, check our revealing reviews on repair training course II. Does REWA repair training course live up to its promises and expectations? Here you can get the answer!
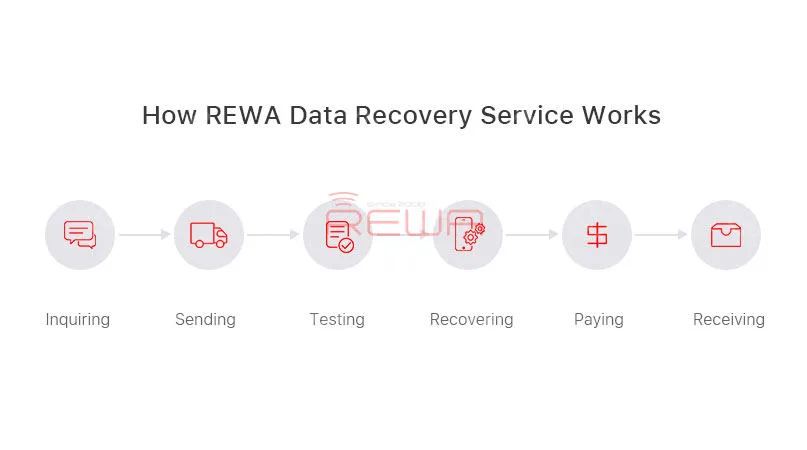
Have no ideas with your faulty logic boards? Don’ t how to handle the tough repairs? Why not resort to REWA? We have been offering chip level logic board repair services for iPhone, iPad and MacBook. Professional experts and techniques can set you free from heavy and difficult repairs. Just 5 steps, we can solve almost all your iPhone, iPad and MacBook motherboard repair problems.
1. Inquiry
Contact our sales and get a probable price. We will then assist you on package and logistic.
2. Sending
Each logic board shall be labeled with basic information, such as model, problem description and serial no. Like this, DIAGNOSTIC No power on, 6s no proximity sensor(proximity sensor chip). After well packed and please send to REWA HongKong office and don’t forget to provide your e-packing list, picture of package and tracking number to us.
3. Confirming
When we received your logic boards, we will check and provide you a confirm report with models, problems and prices for your confirmation. If you are not agreed with our report, then your logic board would be sent back. If you agree our report, we would start repairing process
4. Paying & repairing
Our engineers will diagnose and fix your logic board, all the logic boards would be fixed within one week.
5. Receiving
Once the repairing completed, we would provide a PI for you and the repaired boards would be sent after payment has been confirmed. You can just wait for receiving your logic boards and return them to your clients.
We've detected you might be speaking a different language. Do you want to change to:


 English
 Español
 Français
 Deutsch
 Italiano