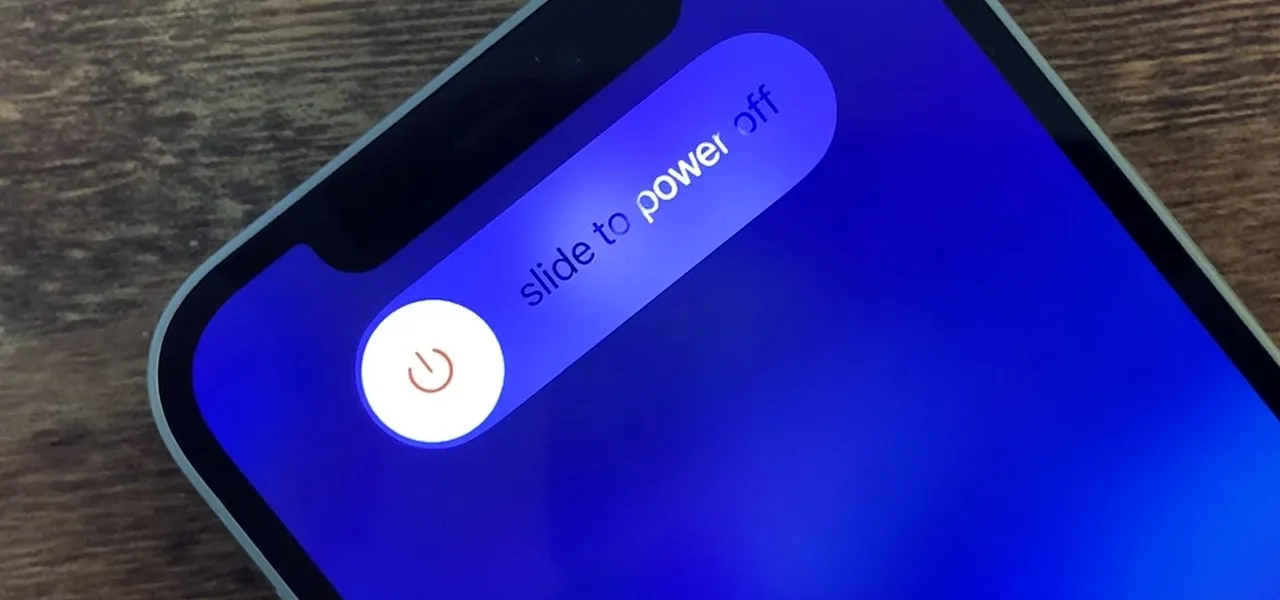
The battery capacity reduction of iPhone 12 directly affects the battery life of the phone, so the battery capacity is a primary concern in our daily use, wanting to know how much the current power is left. By default, iPhone will display power in a graphical way. So how to show battery percentage on iPhone 12? REWA will show you how to do it.
1.Set the percentage of battery
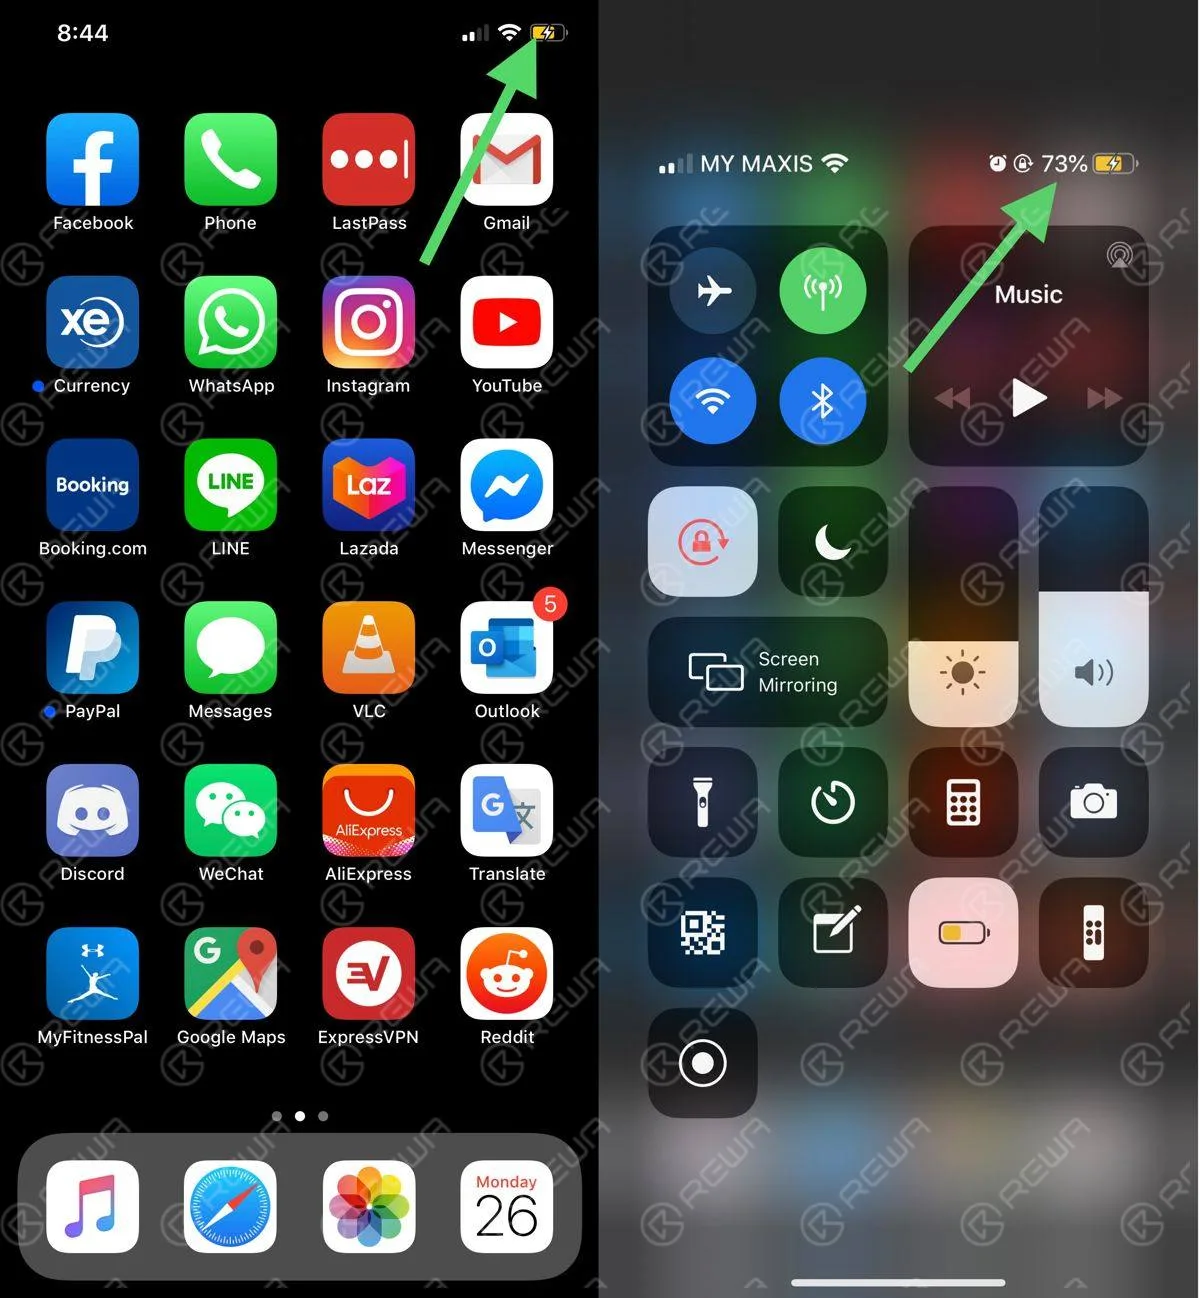
In the first place, turn on the phone. Go to Settings > Battery, and you can see the battery percentage button switch down in the settings. The function is turned off by default. Tap the button and the function is on. You can see the battery percentage by turning on the switch, which is very easy.
2.View battery percentage in a quick way
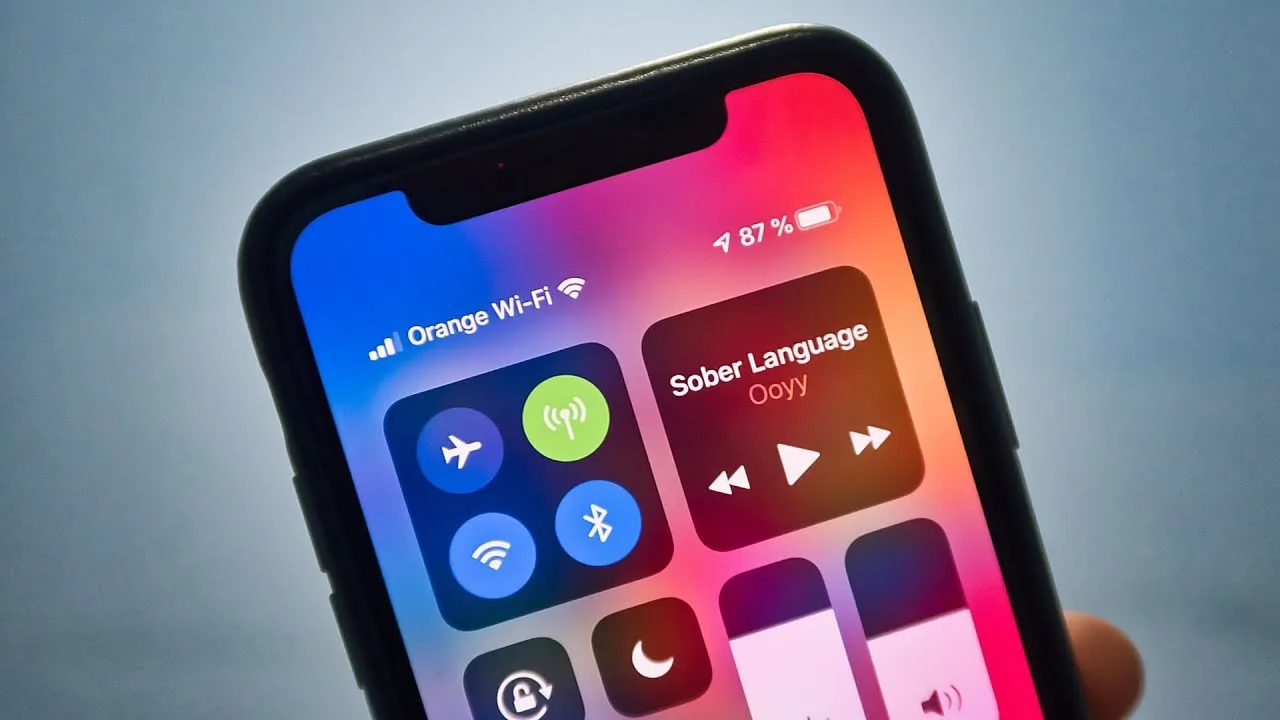
Turn on iPhone 12. The battery is not displayed in the upper right corner. We need to scroll down the screen. Scroll down and you will see the battery percentage in the lower right corner, which doesn’t require the settings.
3.Connect to the charger to view the battery percentage
When the phone is connected to the charger, it is also possible to see the percentage of the battery. Of course, you need to scroll down the screen. The method is easy and convenient as the second one. The charging sign will turn green during charging.
That’s all for how to show the battery percentage on iPhone 12. Hope the above content is helpful.
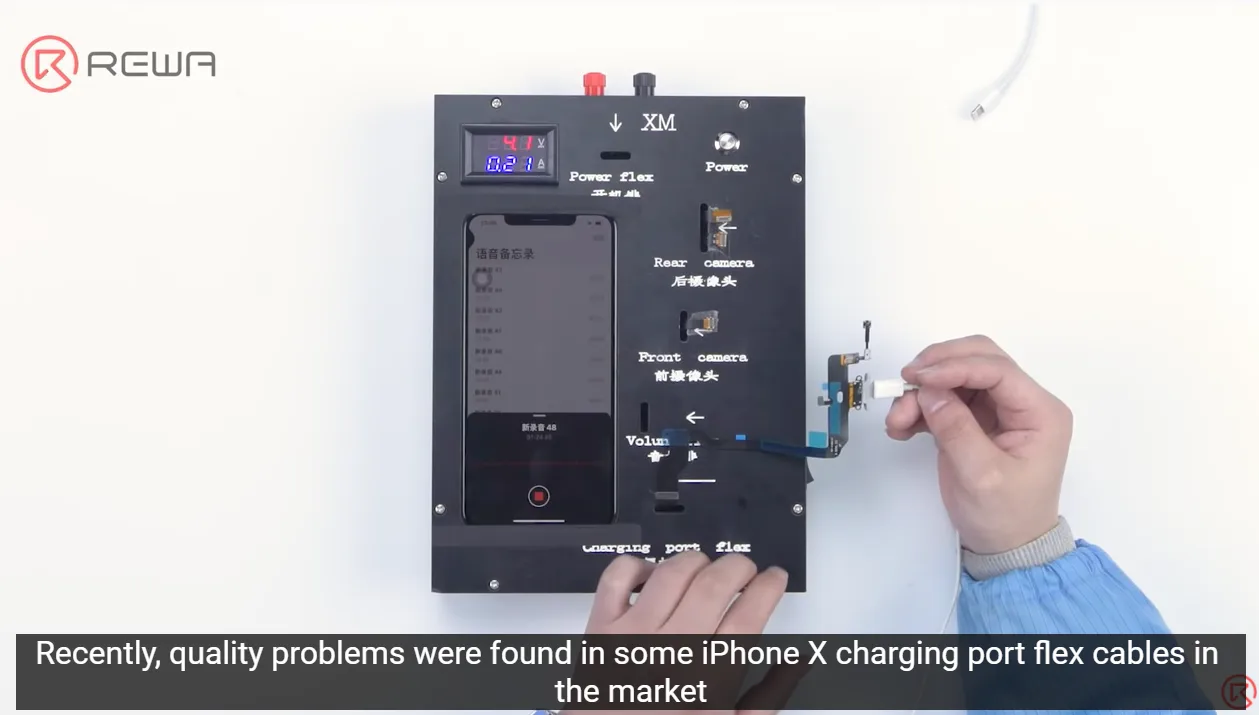
Customers are concerned about the quality of parts as always since the quality of parts on the market is mixed all the time. Recently, quality problems were found in some iPhone X charging port flex cables on the market. The phones that installed the flex cables kept restarting or turning off while recording. To ensure the quality of parts received by customers, REWA spares no effort to strictly carry out a complete quality control inspection system. Let’s take a look!
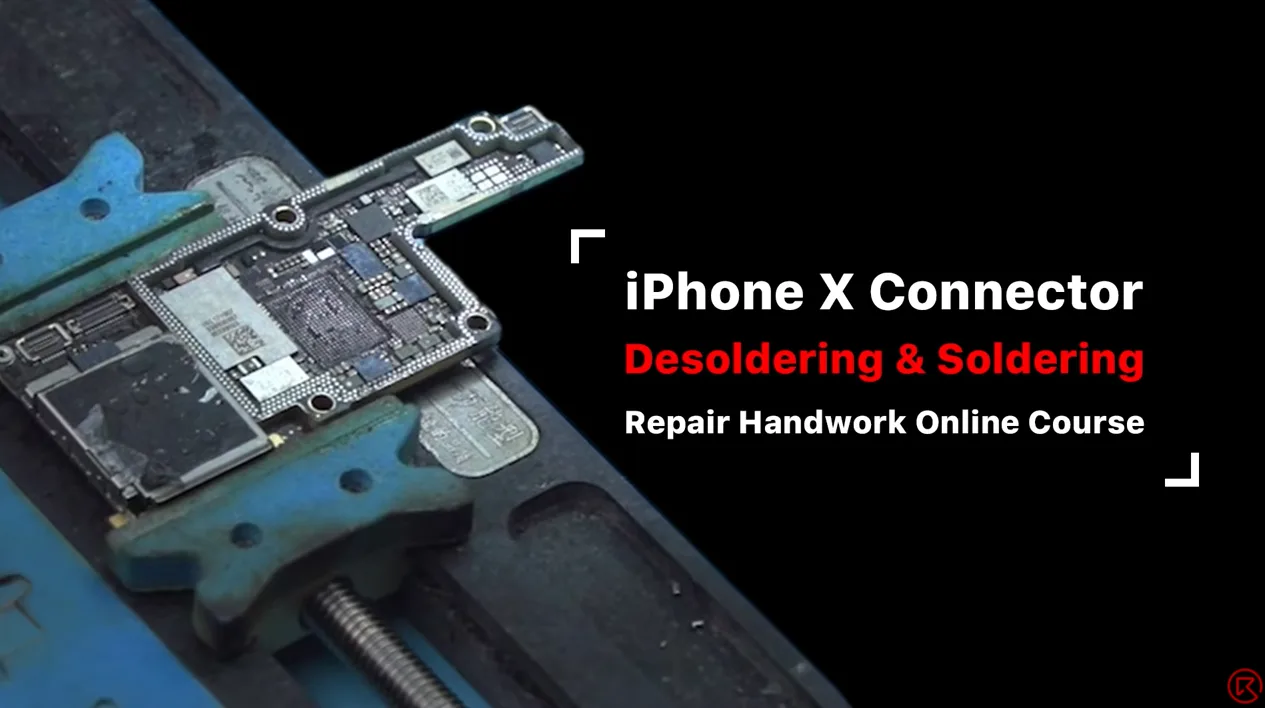
Today, REWA Academy open course will share some handwork techniques about iPhone motherboard repair. By taking the desoldering and soldering of iPhone X series Wi-Fi FPC connector and touch connector for example and combining some mistakes that junior repair technicians may make, we will also share some more direct and efficient tips.
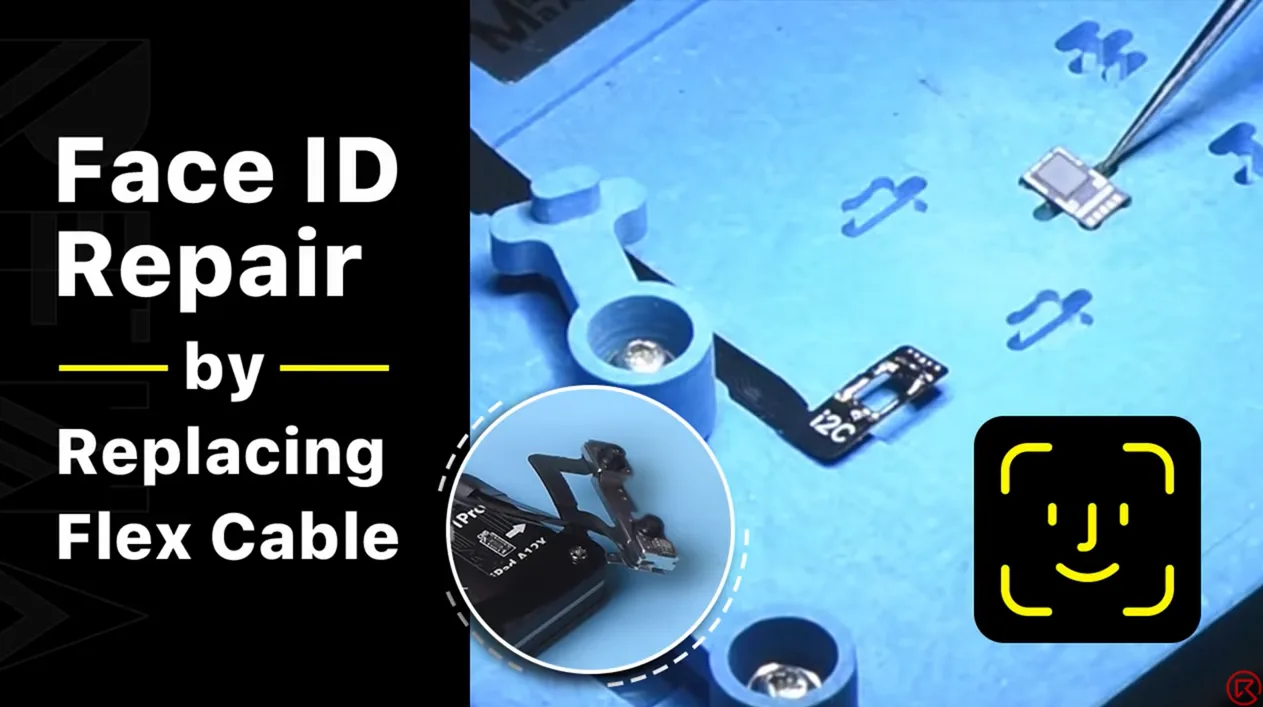
Dot projector parts are extremely fragile. A fall or water damage may harm dot projector parts, inducing Face ID malfunction. Since the dot projector IC is encrypted and replacement requires data encryption bonding for the new IC, repair technicians find it a challenge to repair the Face ID. The good news is that REWA LAB has developed a simple and efficient method to repair the Face ID. Let’s check it out!
Today, our case is about fixing an iPhone XR that has no signal and motherboard electricity leakage. When we inserted the SIM card and tested, the ICCID and IMEI number could be checked. Our initial judgment was that the problem was probably related to the signal power amplifier circuit. We continued to check the circuit and we found that the power amplifier IC had burnt out. Next, we connected the burnt bonding pads by jumping wires and replaced with a new power amplifier IC.
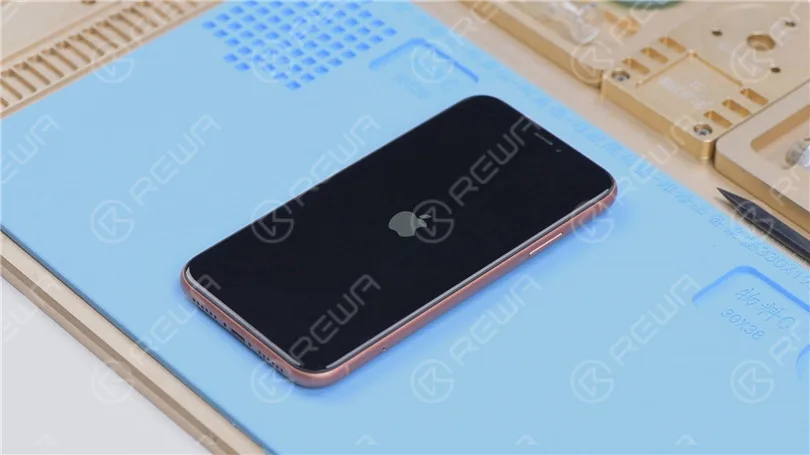
In this guide, we’ll walk you through how to repair an iPhone XR stuck on Apple logo and keeps restarting—a common issue that occurs after the phone has been dropped or charged. If flashing the phone hasn’t worked, and it still keeps rebooting, the issue likely lies with the motherboard or the USB IC. Follow these step-by-step instructions to resolve the problem and get the phone working again.
How to Repair an iPhone XR Stuck on the Apple Logo and Restarting
If your iPhone XR stuck on Apple logo and keeps restarting after being dropped or charged, there’s likely an issue with the phone’s motherboard. Here’s how to troubleshoot and repair it:
Step 1: Initial Diagnosis
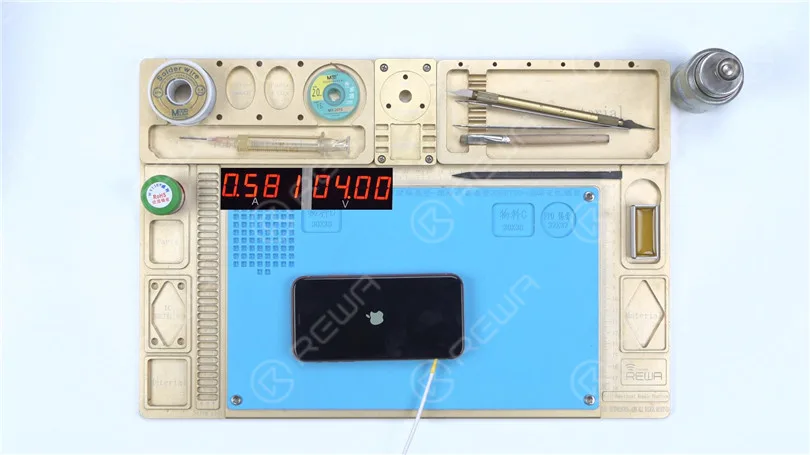
Connect the Power Cable: First, connect the power cable to the motherboard. Check for any signs of electricity leakage or large current. In this case, everything appears normal
Flash the Phone: Connect the iPhone XR to a computer and try flashing the device to see if there’s system damage. Use a Restore-Easy Cable to enter recovery mode and begin the flashing process.
The phone can be flashed successfully, but it still won’t turn on and continues restarting. This indicates that the issue is hardware-related, specifically the motherboard.
Step 2: Motherboard Inspection
Remove the Motherboard: Disconnect the flex cable, remove the foam and rubber, and attach the motherboard to a holder.
Protect the Connectors: Use high-temperature tape to protect the connector before continuing.
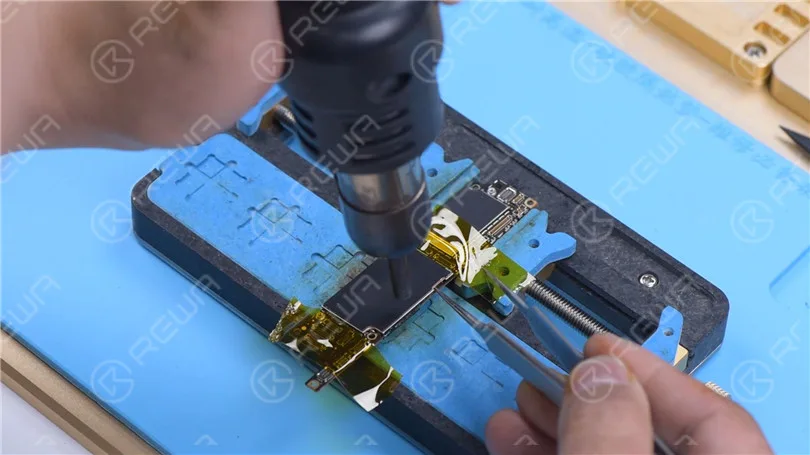
Remove Shield Cover: Remove the shielding cover with vertical Hot Air Gun at 380℃.
Check Inductances Around Power IC: Use a Hot Air Gun at 280°C to inspect the inductances around the power IC for loose connections. If the inductances are loose, it indicates pseudo-soldering. However, in this case, the inductances are solid.
Step 3: USB IC Replacement
Since the phone restarts after charging, the USB IC (which is part of the charging circuit) is the most likely culprit. Here’s how to replace it:
Remove Thermal Grease: Use a sculpture knife to carefully remove any thermal grease.
Prepare the USB IC Area: Protect the CPU with a shielding cover and secure it with high-temperature tape. Heat the black adhesive around the USB IC using a Hot Air Gun at 280°C.
Remove the USB IC:
Pry up the USB IC using a Hot Air Gun at 380°C.
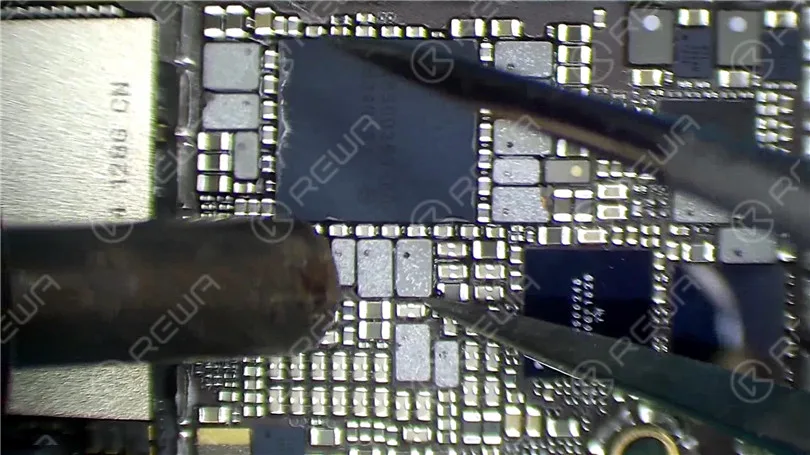
Apply paste flux, then remove the tin on the bonding pad with a soldering iron set to 365°C.
Clean the Area: Use solder wick soaked in rosin and heat it with the Hot Air Gun at 380°C to remove any excess tin. Clean the area with PCB Cleaner once cooled.
Install the New USB IC:
Apply paste flux and place the new USB IC in position.
Solder it in place using the Hot Air Gun at 380°C.
Clean the area with PCB Cleaner once the motherboard cools down.
Step 4: Testing and Reassembly
Test the Motherboard: Reconnect the motherboard to the power cable and short the ground of pin 10 on J4300 to trigger the boot-up. Check for normal boot current.
Reassemble the Phone: Reinstall the motherboard, connect the display and battery, and power on the phone. If everything works as expected, the phone should turn on normally.
Conclusion
The issue with this iPhone XR was traced back to a faulty USB IC, which is a common failure point after the phone has been dropped or charged. While the phone could be flashed, it still kept restarting due to hardware failure. Replacing the USB IC resolved the issue, allowing the phone to turn on normally and function as expected. This guide highlights the importance of diagnosing hardware issues in cases where flashing the system doesn’t fix the problem.
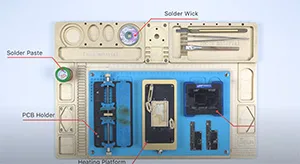
To separate and recombine the double-stacked motherboard is a very important step for motherboard repair of iPhone X and models above. Slight errors may result in pseudo soldering or other problems. Therefore, this video will help you master motherboard repair tips and improve repairability by sharing detailed separation & recombination methods and notes. The tips in this video apply to iPhone X and models above.
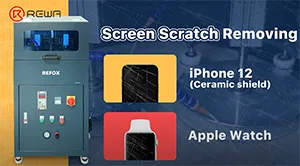
REFOX grinding and polishing machine, a new product selected by REWA, has recently gained attention from numerous customers and been sought after by clients of refurbishment, recycle, and repair all over the world because of its outstanding grinding effect and excellent work efficiency. Apple has covered its new iPhone 12 with a ceramic shield screen, which it says is the toughest glass ever on a smartphone. Today we’re going to show you how the machine refurbishes iPhone 12 and Apple Watch.
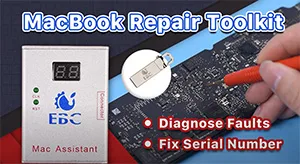
In daily MacBook repair, motherboard component failure is the most common problem. For repair technicians, the most complicated process is not repairing, but finding the fault. In response to this situation, we introduce a MacBook repair assistant EBC-820 that can help repair technicians pinpoint the fault before repair. Check out this video and see how EBC-820 works!
From first iPhone to iPhone 11, Apple has stored serial number, WiFi address, and Bluetooth address on NAND. However, REWA technicians recently discovered that the NAND on iPhone 12 does not store serial number, WiFi address, and Bluetooth address, which means that the NAND of iPhone 12 can directly be replaced by an iPhone 12 NAND and activated. Therefore, REWA technicians speculate that the storage upgrade of the iPhone 12 will be easier than previous models. Check out this video to verify our speculation!
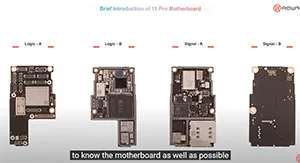
Some repair technicians repair motherboards according to experience and thus the repair result cannot be guaranteed. Only when you comprehend the phone working principles can the motherboard problems be fully resolved. REWA Academy is about to launch the iPhone 11 Pro motherboard repair online course, providing technicians with systematic motherboard repair knowledge.
We've detected you might be speaking a different language. Do you want to change to:


 English
 Español
 Français
 Deutsch
 Italiano