This week REWA Academy Open Course will not only provide you with the iPhone X Boot Circuit Diagnosis & Maintenance, but also provide a pratical examples. Let’s get started.
Bitmap Software Used in video- REFOX, Download Here: https://www.refoxteam.com/
This week REWA will walk you through the work-flow of iPhone X Boot Circuit. The boot circuit can be regarded as logic board trigger circuit. To have the phone turned on, working conditions like power supply, clock signal and reset signal are indispensable. What’s more, CPU has to get key components into power-on self-test process and get the bootstrap imported. Since there are so many components involved in the process, reasons for won’t turn on of the phone can also be various.
What you usually do with these logic boards? Throw it away? Wait a minute! You can also turn waste to wealth. Check out our video today and learn how to turn an iPhone NAND flash chip into a USB flash drive. Say no to e-waste and do something for the environment.
Recently, a fan asked our customer service team if the Face ID function could be kept after a damaged front camera replacement. Since the front camera is fixed together with the infrared camera and dot projector, the front camera replacement will be very difficult. Therefore, REWA technicians will share how to replace the damaged front camera while keeping the Face ID function. Let’s check it out!
REWA LAB received an iPhone X that had been severely damaged in a car accident. Today we will show you how to restore it step by step. Let’s bring it back to life!
00:00 Intro
00:12 How to restore iPhone X by logic board repair?
iPhones are one of the most expensive smartphone devices in the market and so are their repairs. The iPhone back glass repair or replacement especially can cost you a lot.
A damaged iPhone back glass is one of the most annoying issues we come across during our daily lives.
The back glass of the iPhones like the iPhone 8 & later is held to the frame with a strong epoxy that is strongly fused with the internal parts of the phone.
To remove the back glass, you have to remove the epoxy with extreme heat or cold.
This is when the laser machine comes in handy. The laser can pulverize all the adhesive underneath the glass and separate the glass from the metal frame.
The good news is that REFOX LM-40 MINI is coming soon with stronger power and lower price.
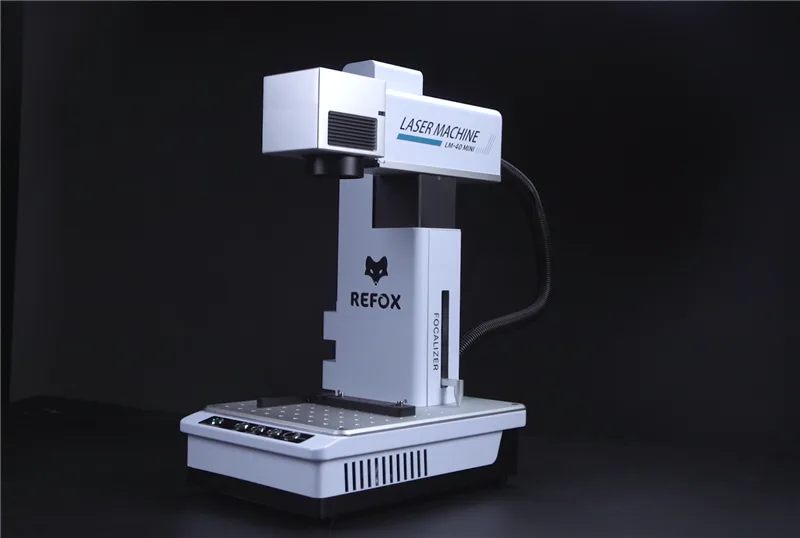
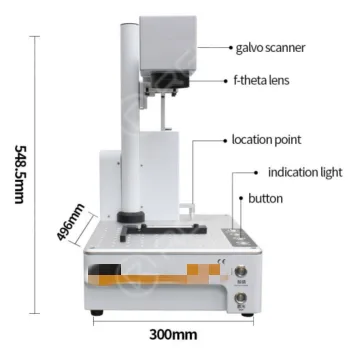
LM-40 Mini is a small laser machine, dedicating to the back glass refurbishment of the mobile phone repair industry.
This laser machine is miniaturized, light-weighted, and suitable for a variety of use scenarios.
Other than back glass separation, LM-40 Mini supports personalization such as customized gift, package engraving, logo engraving, glass engraving, etc.
The machine can engrave more than 30 kinds of material with the laser, enabling each consumer to personalize the image they like and adding extra profits for shop owners while repairing back glass.
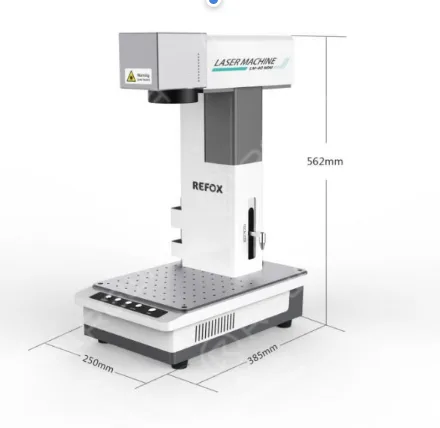
Compared to another hot-selling laser machine, LM-40 Mini is lighter and smaller.
The smaller size not only grants more application scenes but also lowers the shipping cost.
Name
REFOX LM 40 mini
Other
Dimension
250*385*562mm
300*496*548.5mm
Weight
Net weight:15.5 kg Gross weight:23 kg
Net weight:18.9 kg Gross weight:28.9 kg
Price
$1399(Free shipping for pre order) $1499(Package cost for pre order)
$1439-1516
During the pre-order period, you can enjoy the best offer of 1399 USD which is cheaper than the majority of laser machines on the market and includes free shipping. For the laser machine package (fume extractor, tools, supplies, etc), the cost is only 1499 USD.
Though the size is smaller, LM-40 Mini’s function is not compromised. It is easy to operate with strong power and stable performance.
The laser machine not only can reduce manpower cost but also enable fast & safe back glass replacement, saving customers’ time for waiting and enhancing user experience.
Furthermore, the diagram of the machine is automatically updated on the cloud, supporting mainstream models.
For ROI, 100 dollars of profit can be gained at least after one back glass replacement. You can get your money back after replacing 12 back glasses.
Get ready to power your refurbishing business with the REFOX LM-40 Laser Machine!
Please visit REWA Shop for a pre-order. Feel free to contact our account managers if you need to buy wholesale or have any questions.
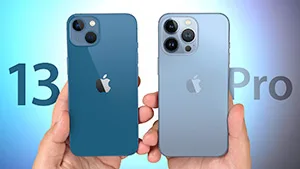
In a world where technology evolves at a breakneck pace, it’s essential to stay updated on the latest innovations. Today, we’re diving into the Apple iPhone 13 series, specifically comparing the iPhone 13 and iPhone 13 Pro. These two models share the same 6.1-inch screen size, but there are several noteworthy differences that set them apart.
1. Build Materials:
The iPhone 13 features a glass back and an aluminum frame, while the iPhone 13 Pro boasts a more premium build with a glass back and a stainless steel frame, giving it a more robust and elegant feel.
2. Storage Options:
When it comes to storage, the iPhone 13 offers three options: 128GB, 256GB, and 512GB. In contrast, the iPhone 13 Pro provides more extensive storage choices, including 128GB, 256GB, 512GB, and a whopping 1TB, ideal for users with substantial storage needs.
3. Display Technology:
Both phones sport a 6.1-inch OLED full screen with a 2532×1170 pixel resolution and 460ppi. However, the iPhone 13 Pro takes the lead with its Super Retina XDR display that supports Promotion adaptive refresh rate technology, offering a smoother experience and a maximum brightness of up to 1200 nits for HDR content.
4. Processor Power:
Under the hood, both phones are equipped with Apple’s A15 Bionic chip. However, the iPhone 13 Pro takes a slight edge with its 5-core graphics processor compared to the iPhone 13’s 4-core GPU, potentially leading to better graphics performance.
5. Camera Systems:
The camera systems are where the Pro model truly shines. The iPhone 13 boasts a dual-camera setup, with a 12-megapixel wide-angle and ultra-wide-angle lens. In contrast, the iPhone 13 Pro features a triple-camera setup, which includes a telephoto lens in addition to the wide and ultra-wide lenses. The Pro model also boasts larger apertures, making it more versatile in various lighting conditions.
6. Battery Life:
When it comes to battery life, the iPhone 13 offers impressive performance with up to 19 hours of video playback, 15 hours of streaming video, and 75 hours of audio playback. The iPhone 13 Pro slightly outperforms it, with up to 22 hours of video playback, 20 hours of streaming video, and the same 75 hours of audio playback.
Conclusion:
The iPhone 13 and iPhone 13 Pro, though similar in size, offer distinct features that cater to different user needs. The Pro model’s stainless steel frame, extended storage options, superior display, enhanced graphics capabilities, and advanced camera system make it a compelling choice for photography and tech enthusiasts.
Whether you’re looking for a powerful device with extended storage or a premium feel with advanced camera capabilities, understanding the key differences between these two models can help you make an informed decision. Stay up to date with the latest in mobile technology, and make the right choice for your needs.
The iPhone has a very precise motherboard. Once the phone falls, it is easy to affect the shooting function. Today, REWA LAB will show you how to solve the camera not working problems on iPhone X.
00:00 Intro
00:12 How To Fix iPhone X Camera Not Working Issues?
As iPhone X’s biggest draw, Face ID can securely unlock your iPhone X with a simple glance. Meantime, ‘Face ID not working’ is also the most common issue in daily repair, especially for phones that have been dropped or water damaged. iPhone X Face ID not working? Why and How to fix it? Check out our Face ID circuit course today and you will find the answer you want.
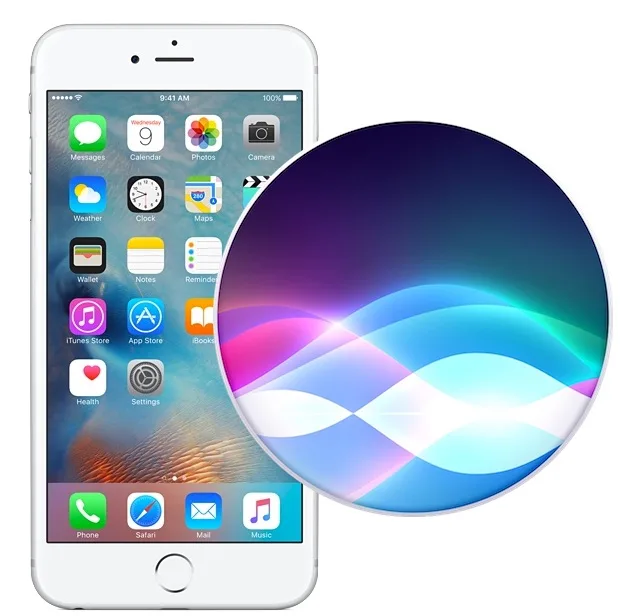
Siri, Apple’s voice assistant, has become an essential component for numerous iPhone users. Nonetheless, a number of iPhone 12 users have encountered problems with Siri’s unresponsiveness. This article will explore the causes of this issue and offer detailed instructions to guarantee flawless functionality of Siri on your iPhone 12.
Why is Siri on iPhone 12 not working as expected?
Users who heavily rely on Siri may have noticed that the voice assistant fails to respond when the iPhone screen is facing downward or if the camera is obstructed. It’s important to note that this behavior is entirely normal and not indicative of any hardware or software issues with your phone. In the past, Siri could only be used when the iPhone screen was facing up. However, Apple has enhanced this feature in newer system versions for added convenience.
To ensure Siri responds at all times, you should enable the “Hey Siri” feature in your iPhone settings.
How to Fix Siri Not Responding on iPhone 12
If you cannot find the “Hey Siri” option in your settings, consider updating your device to the latest system version. If the issue persists, follow the instructions below to rectify the problem:
1. Check if “Hey Siri” is Enabled:
Navigate to your device’s settings and tap on “Siri & Search.”
Ensure the following settings are turned on:
Listen for “Hey Siri”
Suggestions on Lock Screen
To improve Siri’s voice recognition:
Go to settings and tap on “Siri and Search.”
Turn off “Listen for Hey Siri” and then turn it on again.
Follow the on-screen instructions to train Siri to recognize your voice by saying the provided commands and tapping “Finish.”
2. Verify Siri is Not Disabled:
Head to “Settings” > “Screen Time” > “Content & Privacy Restrictions.”
Ensure that “Siri & Dictation” is not turned off under “Allowed Apps.”
3. Check Your Microphone:
To ensure that Siri can hear you, connect a headset with a microphone and ask Siri a question.
If you don’t hear Siri’s response, check whether your device is muted or if voice feedback is disabled.
You can adjust voice feedback settings by going to Siri & Search.
Conclusion
Don’t let Siri issues hinder your iPhone 12 experience. By ensuring that your “Hey Siri” settings are correctly configured, that Siri is enabled, and that your microphone is functioning properly, you can enjoy the full benefits of this convenient voice assistant. Stay connected and informed with your iPhone 12, and explore more of our blog for valuable insights and tips.
For more in-depth articles on iOS-related topics and device troubleshooting, keep exploring our blog. We are committed to providing you with the most up-to-date information and solutions to enhance your Apple device experience.
REWA LAB has been constantly working on mobile phone repair solutions. Whether it is as simple as broken screen replacement or as complicated as chip-level motherboard repair. With the development of science and technology, mobile phone repair solutions are also constantly improving. Today we will show you how to upgrade the storage of iPhone X from 64GB to 256GB with the help of iREPAIR DFU Box instead of traditional NAND chip programmers.
00:00 Intro
00:14 Upgrade iPhone X 64GB Storage to 256GB in 5 Steps
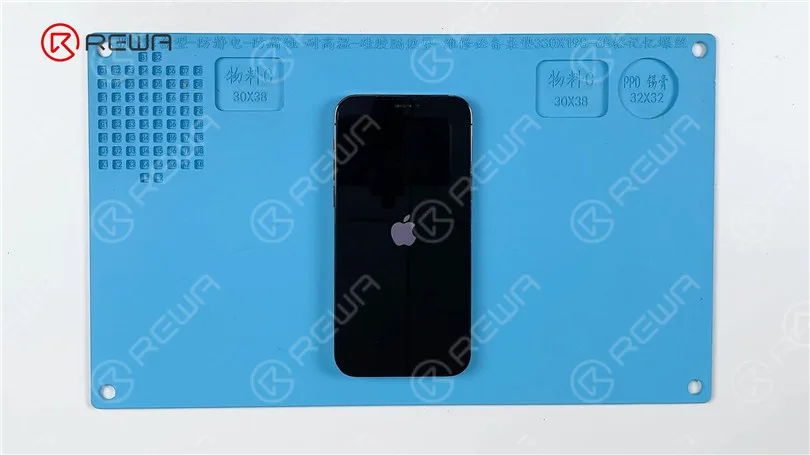
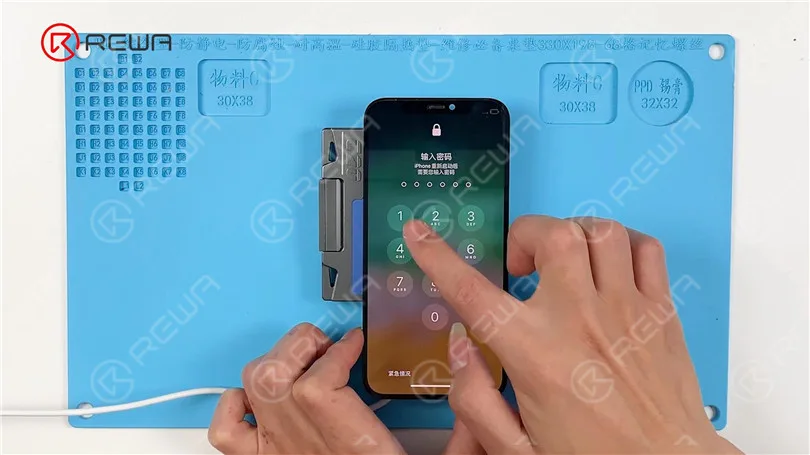
Today we will share a repair case of an iPhone 12 Pro that gets stuck on the Apple logo. The phone could be turned on before, but it got stuck on the Apple logo during startup after charging.
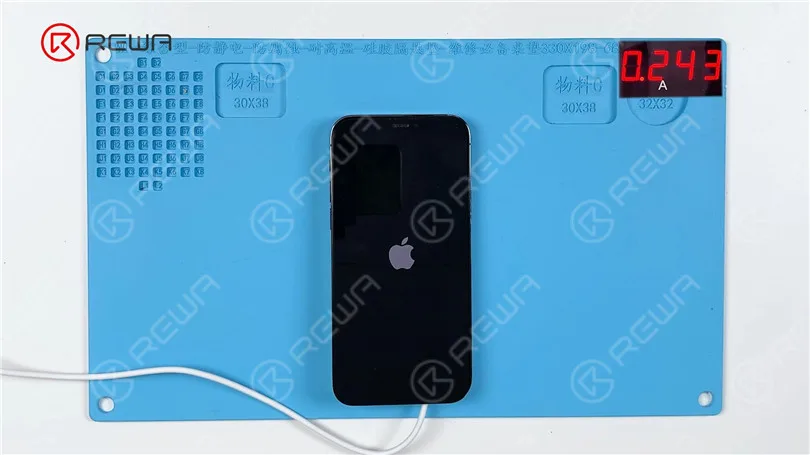
Disconnect other flex cables except for the power flex cable. Connect the display and power cable. The phone still gets stuck on the Apple logo. So we can rule out the possibility of other flex cable faults. It can be confirmed that the phone gets stuck on the Apple logo because of the motherboard fault.
The boot current stops at about 240 mA.
Since the current stops at about 240 mA and the phone is frozen on the Apple logo after charging, we can narrow down the fault range to the USB charging circuit. Because the USB IC is at the very front end of the USB charging circuit. Next, we try to replace the USB IC.
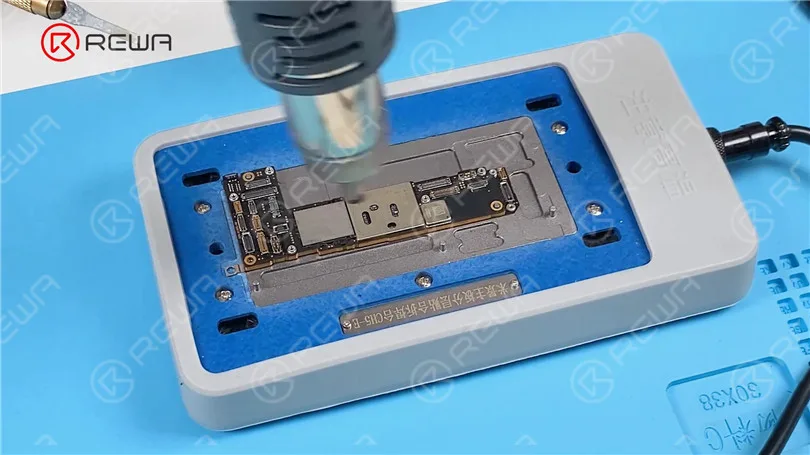
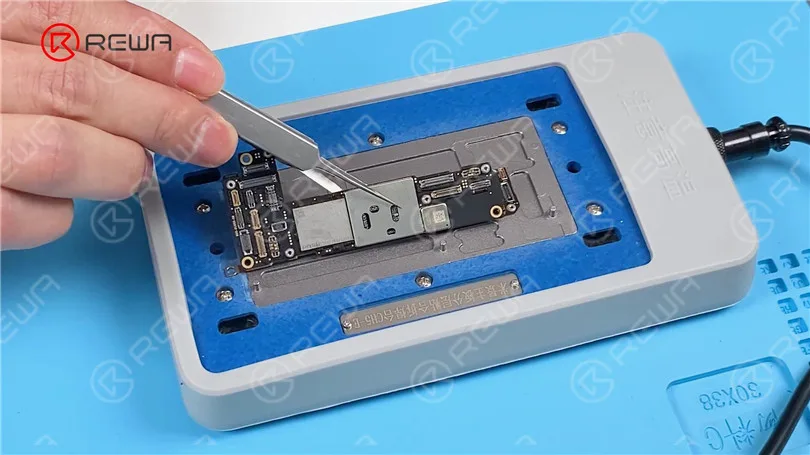
Put the motherboard on the 200 °C Heating Platform to heat. Heat the motherboard with 330 °C vertical Hot Air Gun. Pry the logic board with a Pry Bar while heating. When the logic board becomes loose, remove it with tweezers.
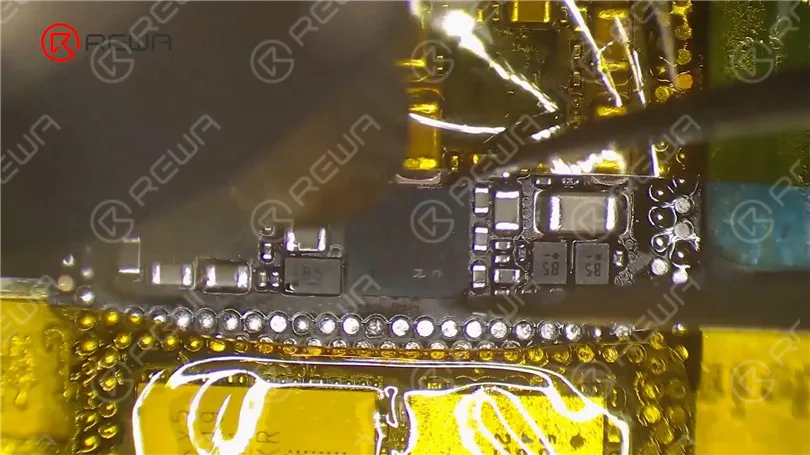
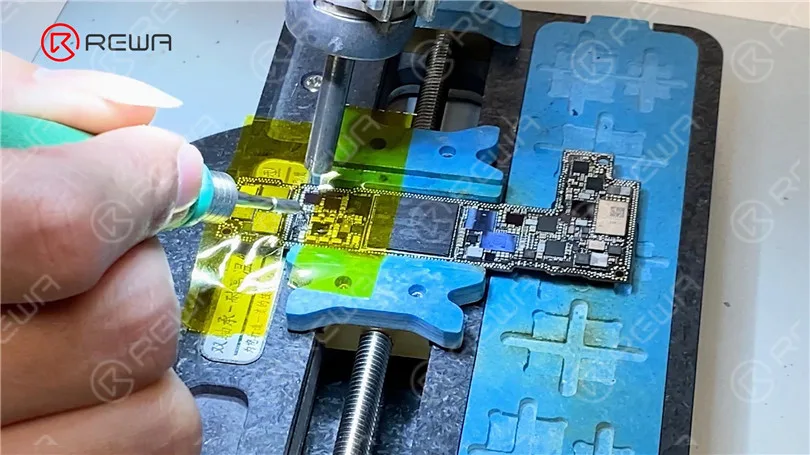
Attach the logic board to the holder. Apply some Paste Flux on the USB IC. Heat the USB IC with Hot Air Gun at 340 °C and airflow 3. Nudge the USB IC with tweezers while heating. Take out the USB IC if it becomes loose.
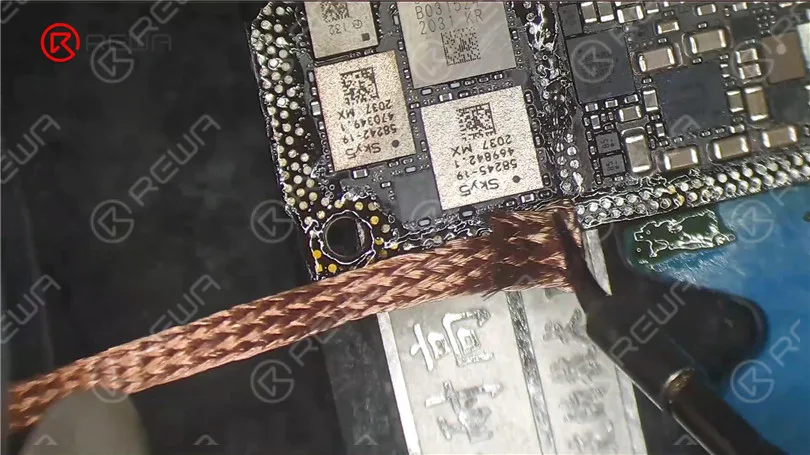
Remove tin on the bonding pad with Soldering Iron at 365 °C and Hot Air Gun at 340 °C. Clean tin on the bonding pad again with solder wick.
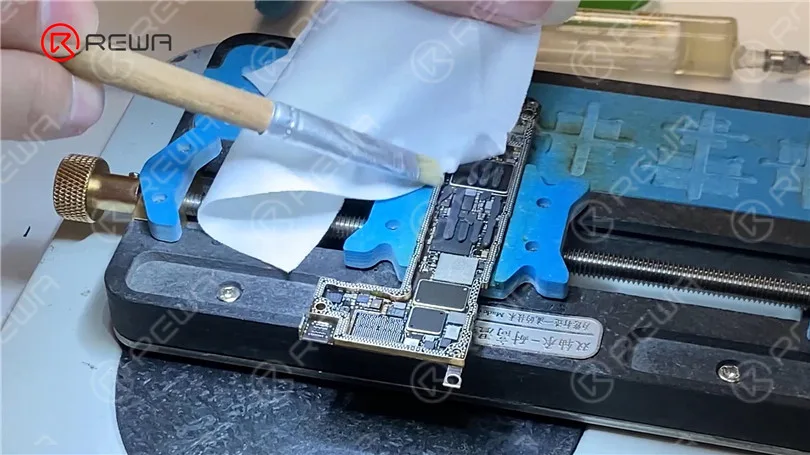
Apply some Paste Flux to the bonding pad. Align the new USB IC. Heat to solder the USB IC with Hot Air Gun at 340 °C. Remove tin on the bonding pad with Soldering Iron at 365 °C and solder wick. Clean tin on the bonding pad of the signal board with the same method. Clean the bonding pad with PCB Cleaner.
Then we install the motherboard to the Testing Fixture. Connect the power cable and screen. Trigger the boot-up with tweezers. The phone can be turned on.
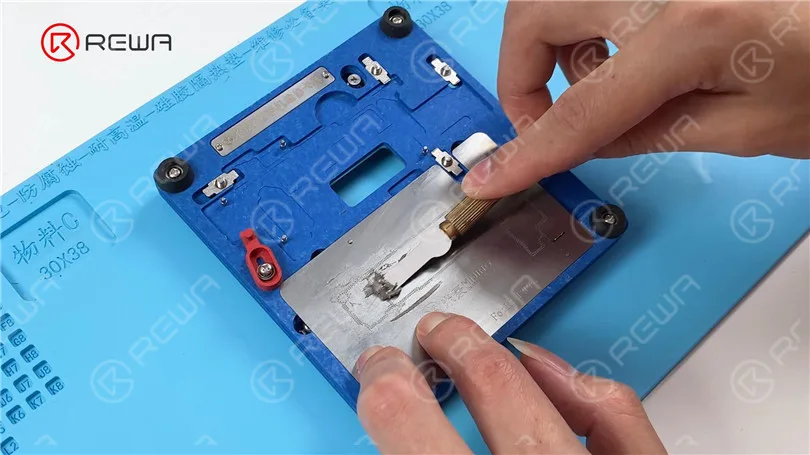
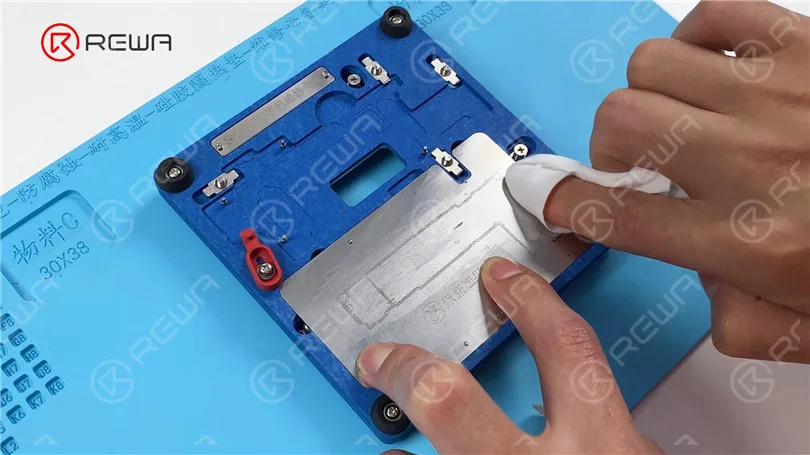
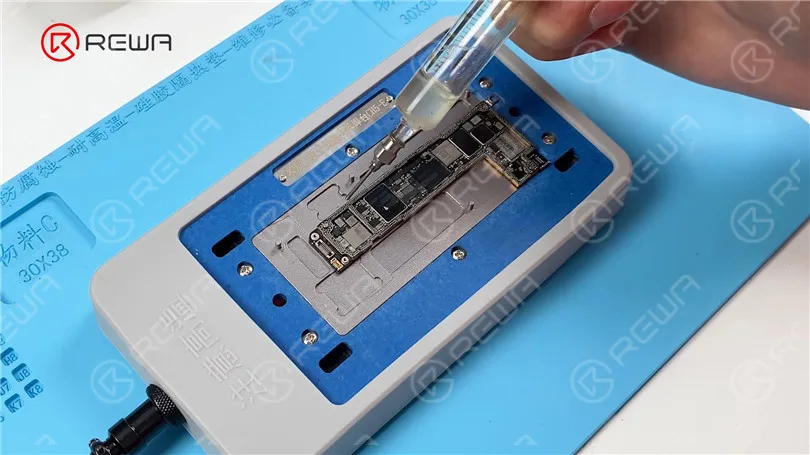
Then we need to reball the signal board. Attach the signal board to the Reballing Platform. Put the reballing stencil in position. Apply a layer of Solder Paste evenly.
Wipe clean excess solder paste and remove the reballing stencil.
Put the signal board on the 160 °C Heating Platform to heat. After the solder balls are formed, cool the signal board. Apply some Paste Flux on the bonding pad. Align the logic board with the signal board.
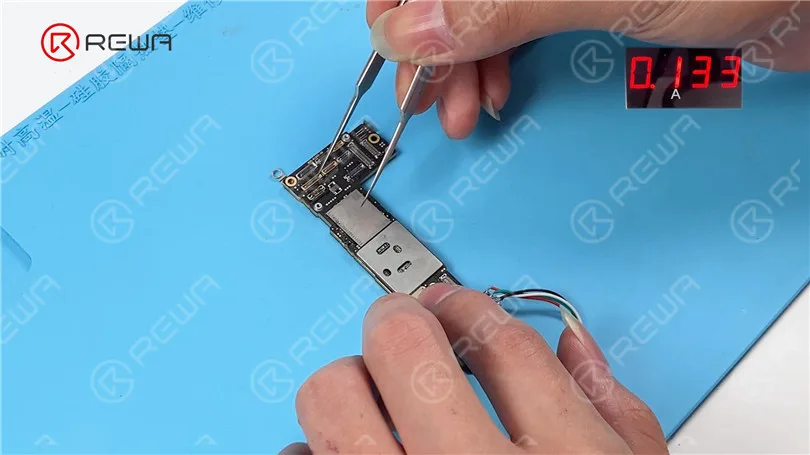
Keep heating to recombine the motherboard. Remove the motherboard after heating for about 2 minutes. Connect the motherboard with a power cable after it has cooled. Trigger the boot-up with tweezers. The boot current jump is normal.
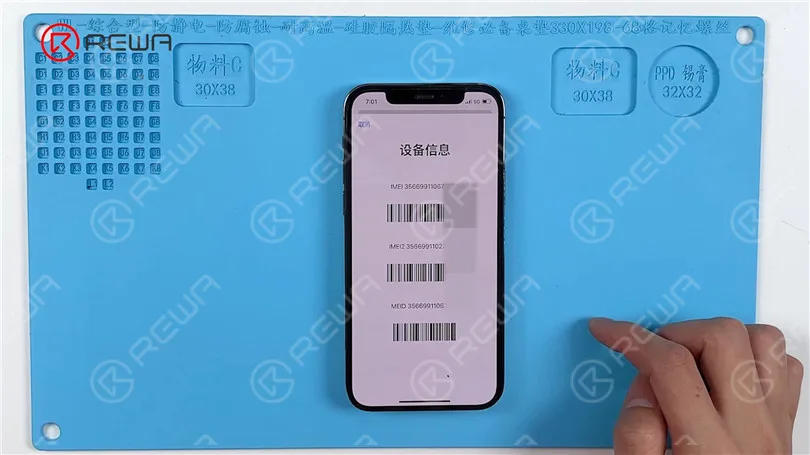
Then we install the motherboard. The phone can be turned on. IMEI number can also be seen. The fault has been cleared.
Watch the video below to see how we fix iPhone 12 Pro stuck on the Apple logo.
We've detected you might be speaking a different language. Do you want to change to:




 English
 Español
 Français
 Deutsch
 Italiano