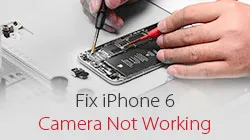
iPhone 6 camera not working? Usually we will get the faulty camera replaced. If the camera still cannot be activated after replacing a new camera, what should we do? With this video, REWA LAB demonstrated a high-level logic board repair technique that can help you fix the iPhone camera won’t work problem in an efficient way. Don’t miss the chance to polish your repair skills.
Schlagwort: iphone
-
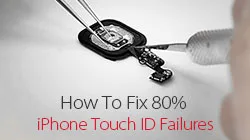
How to Restore Touch ID of iPhone Due to Home Button Flex Broken
iPhone users might be in despair when their iPhone home button touch ID gets into trouble or even doesn’t work after replaced home button. Why? For iPhone 6 and later versions, touch ID is bonded with CPU, and the user who has replaced his home button will then lose its touch ID fingerprint function. For a long time, it is a sticky business for repair technicians to repair the iPhone touch ID issue, but actually, about 80% of the touch ID failures are resulted by damaged home button touch ID flex. REWA therefore released a video about how to restore iPhone 6/6 plus/6s/6s plus home button touch id issue by making a jumper on flex.
Restore iPhone Touch ID With Home Button Flex Reparing
Power on and test. “Unable to activate Touch ID on this iPhone”. Press Home Button, the returning function is normal.
Disassemble the phone and remove the display assembly. First of all, check the logic board connector J2118 for mouldy condition and dry Joint. Everything is fine.
Messen Sie dann den Widerstand zwischen J2118 und der Erdung. Der Wert ist ebenfalls normal.
Take down the Home Touch Sensor Assembly and check the home button flex cable. There are obvious broken traces on the flex cable.
Preliminary judgment – Touch ID malfunction is caused by fractured flex cable circuit. We can fix the problem by replacing the fractured section with a new length of flex cable.
Pry up the back plate with Tweezer and Soldering Iron. Cut the fractured part from the flex cable with Sculpture Knife.
Kratzen Sie den Schaltkreis des Flexkabels heraus. Achten Sie darauf, den Stromkreis nicht abzuschneiden.
Tragen Sie etwas BGA-Pastenflussmittel auf das Flexkabel auf und löten Sie dann die Dosen mit dem Lötkolben. Nach dem Abkühlen mit PCB Cleaner reinigen.
Bereiten Sie eine neue Home Touch Sensor-Baugruppe vor.
Heben Sie die Rückwand des neuen Home Touch Sensors auf. Schneiden Sie eine Länge des Flexkabels von der neuen Home Touch Sensor-Baugruppe ab (die Länge des abgeschnittenen Kabels muss etwas angepasst werden).
Fixieren Sie das neu geschnittene Kabel mit doppelseitigem Kleber. Kratzen Sie dann den neu geschnittenen Schaltkreis des Flexkabels heraus. Achten Sie darauf, dass Sie den Stromkreis nicht abschneiden.
Tragen Sie etwas BGA-Pastenflussmittel auf das neu geschnittene Flexkabel auf. Löten Sie dann die Dosen mit dem Lötkolben. Nach dem Abkühlen mit PCB Cleaner reinigen.
Schneiden Sie die überschüssigen Teile des neu zugeschnittenen Flexkabels ab. Tragen Sie anschließend 460 Kleber auf die Klebestelle auf und kleben Sie die beiden Kabel vorsichtig zusammen. Achten Sie dabei auf die Ausrichtungsposition.
Sobald die Kabel befestigt sind, tragen Sie etwas BGA-Pastenflussmittel auf und löten Sie die Flexkabel mit dem Lötkolben. Seien Sie vorsichtig mit Überbrückungen und gestörten Lötbedingungen.
Nach dem Abkühlen mit PCB Cleaner reinigen. Denken Sie daran, den Schaltkreis auf Überbrückungen und gestörtes Lot zu überprüfen.
Befestigen Sie die Home Touch Sensor-Baugruppe auf dem Bildschirm. Befestigen Sie dann die Display-Baugruppe an der Logikplatine.
Einschalten und Touch ID Funktionstest durchführen. Touch ID ist wieder normal.
Take down the display assembly after test and take out the Home Touch Sensor Assembly. Prepare another length of cable. And then adhere the cable to the previous bonding part.
Um die Flexkabel weiter zu sichern, löten Sie sie mit einem Lötkolben. Befestigen Sie dann die Rückwand sorgfältig mit Kleber.
Montieren Sie die Home Touch Sensor-Baugruppe auf dem Bildschirm. Befestigen Sie die Display-Baugruppe an der Logikplatine. Danach einschalten und testen. Das Telefon funktioniert mit normaler Touch ID-Funktion.
-
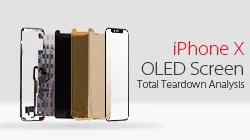
iPhone X OLED Screen Total Teardown Analysis
REWA LAB has conducted a deeper teardown of iPhone X OLED screen Recently. After separation, you will find the differences between iPhone X display and the screens of previous iPhone models.
1. iPhone X display comes with different driver IC bonding technique. iPhone X applies COF, while previous iPhone applies COG.
2. iPhone X screen digitizer has its 3D touch module adhered to OLED backplate.
3. The 3D touch module of iPhone X is bonded to the OLED panel.
As a new product of OLED combined with 3D Touch function, iPhone X screen has surprised all of us with its features. REWA LAB works with iPhone X screen teardown and presents its novelty, disassembly difficulties and structure analysis. Laminating process of iPhone X OLED screen is much complicated than LCD screen. Laminate OLED with TP first, then OLED with 3D Touch. The whole process counts more than 15 procedures.
iPhone X OLED Screen Total Teardown
Bildschirmtest
Test the iPhone X screen before tearing down. Run function test – Display; Touch; 3D Touch and Swipe-up. All going well.
Abnehmen der Blende
Place the OLED Screen Assembly on the Heat Platform. Remove bezel slowly with Pry Piece and Glue Cleaner. Cut a plastic horn of the bezel with the blade if necessary and then remove bezel with Pry Piece and Glue Cleaner carefully. Be careful with flex cables when removing bezel in the flex cable area.
The Pry Piece accidentally damages flex cables when removing the bezel. Which may result in the abnormal display. Test the screen again. Run function test – Display; Touch; 3D Touch and Swipe-up. Touch, 3D Touch, and Swipe-up work normally while there are two vertical lines on the display.
Glas Trennen
Place the OLED Screen Assembly on the Heat Platform. Separate the glass lens from OLED with cutting wire. We are working with one OLED flexible screen, so be careful with your handwork.
Test again after separating. Run function test- Display; Touch; 3D Touch and Swipe-up. Touch, 3D Touch, and Swipe-up work normally while there are two vertical lines on the display.
Entfernen von Klebstoff
Glue removing for iPhone X screen can be applied with hand tearing.
3D Touch Layer Removing
Different from Samsung smartphones, iPhone X has its 3D Touch module adhered to OLED backplane. Different from all iPhone previous versions, the 3D Touch module of iPhone X is bonded to the OLED panel. To fully analyze its structure, we take a disruptive disassembly of the 3D Touch module. The 3D Touch and TP flex bonding is separated completely after the disassembly.
-
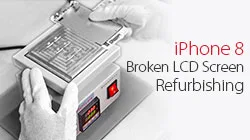
iPhone 8 Broken LCD Screen Refurbishing Glass Only Repair
Here you can get the latest iPhone 8 broken LCD screen glass-only refurbishing technique, supported by REWA LAB, with new frame separating machine and integrated glass lens with bezel applied. This is a cost effective and efficient LCD Refurbishing solution for all iPhone repair professionals and enthusiasts. Don’t miss our new glass-only repair video!
-

iPhone 7 Plus Upgrade Storage To 256 GB On iOS 11
You may have noticed that we have already released a video about upgrading the memory of the iPhone 6s. Many of our viewers and customers were interested in this technique. Recently, some of them asked about upgrading the storage of the iPhone 7 Plus to 256GB and using iOS 11 with a China-made screen. As a result, REWA LAB has decided to release a new video demonstrating the process of upgrading the storage of the iPhone 7 Plus from 32GB to 256GB, with iOS 11. This is something new in memory upgrading for iPhones. Let’s find out together!
-

iPhone Aftermarket Glass Lens Factory Production
How is the aftermarket iPhone glass lens made? Let’s take a tour to glass lens factory and find out the production process of it.
-
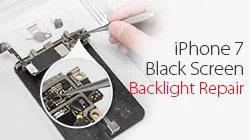
iPhone Black Screen Repair
iPhone 7 starts up with black screen or no display but still working, and the boot current is normal. It still exists after replacing the screen. REWA LAB tested and found that this malfunction is caused by broken backlight circuit on logic board. Please check the video for details.
-
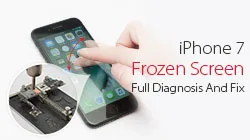
iPhone 7 Frozen Screen – Full Diagnosis And Fix
Some users complained about the stuck screen of their iPhone 7 after dropped. Even re-installation couldn’t help with the iPhone 7 frozen screen problem once and for all. REWA LAB worked on the issue and found out that the malfunction was caused by the iPhone 7 producing process and could be solved by the maintenance of audio circuits.
-
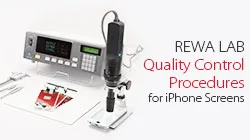
LCD-Bildschirmtest der iPhone-Serie - REWA LAB
Um die hohe Qualität und die stabile Lieferung der iPhone LCD-Digitalisierer zu gewährleisten, hat REWA ein integriertes Qualitätskontrollsystem eingeführt, um die Stichprobentests der iPhone-Bildschirme durchzuführen.
-
Problem mit eingefriertem iPhone-Bildschirm – Lösung durch Logic-Board-Reparatur
Einige Benutzer beschwerten sich über das Problem, dass ihr iPhone 7 nach dem Herunterfallen eingefroren ist.
Selbst eine Neuinstallation hat beim Problem des eingefrorenen iPhones nicht ein für alle Mal helfen können.
Die Funktionsstörung wurde durch den Produktionsprozess des iPhone 7 verursacht, der durch die Wartung von Audiokreisen behoben werden konnte.
REWA bietet eine neue iPhone-Gefrierlösung für die Reparatur von Hauptplatinen!
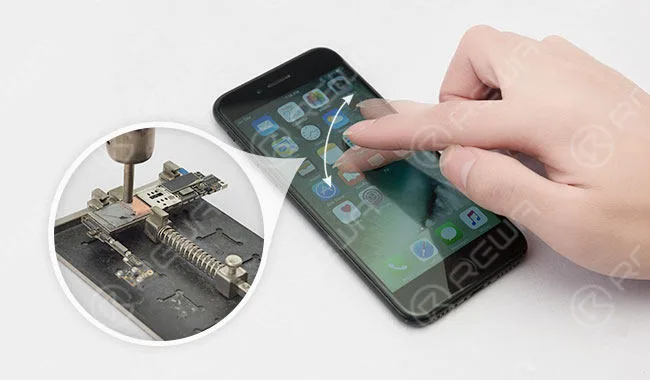
Behebung des Problems mit dem eingefrorenen iPhone-Bildschirm durch eine Logikplatinen-Reparaturlösung
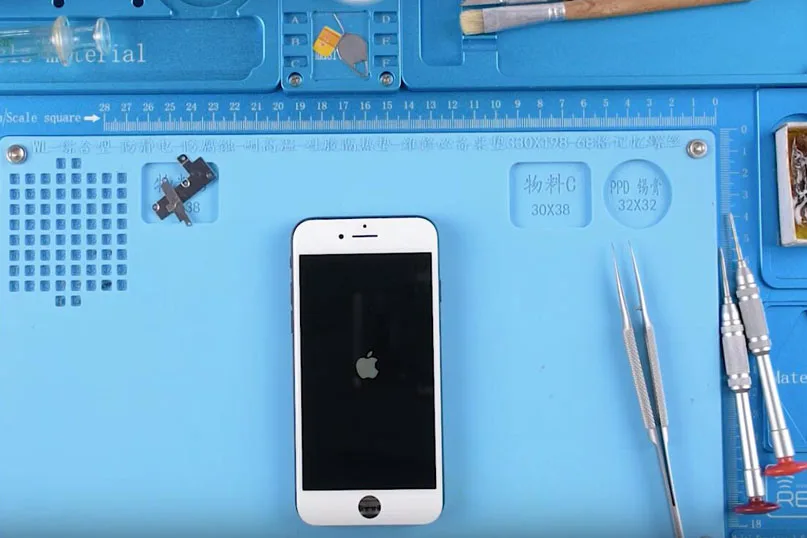
Gerät eingeschaltet, der Bildschirm bleibt schwarz und der Ein-/Ausschalter reagiert langsam.
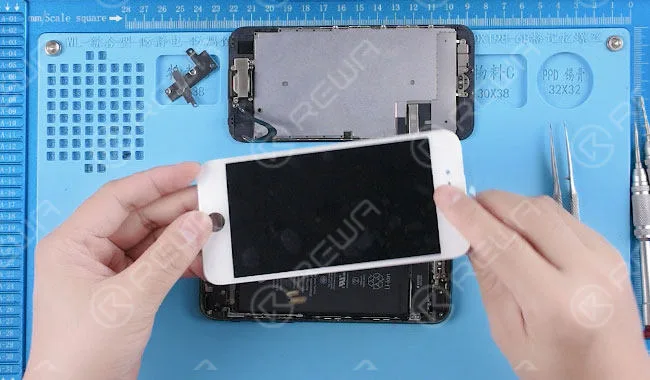
Demontieren Sie das Telefon, trennen Sie die Displaybaugruppe ab. Ersetzen Sie diese durch eine neue Displaybaugruppe.
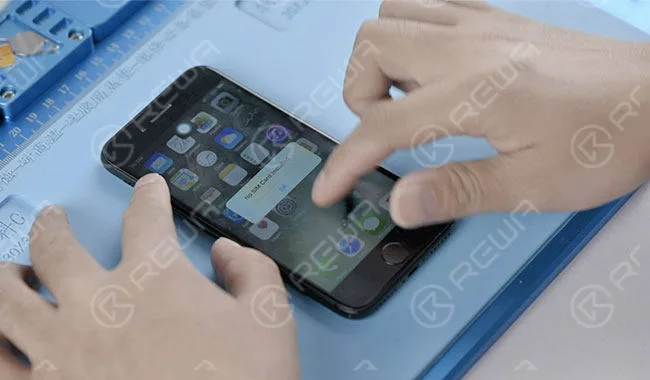
Schalte das Telefon ein und teste es. Der Bildschirm bleibt weiterhin ausgeschaltet.
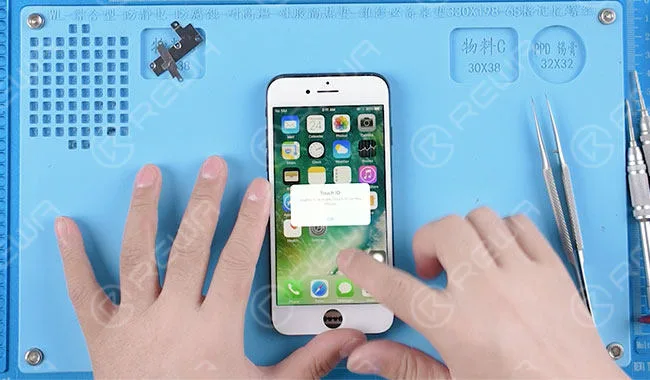
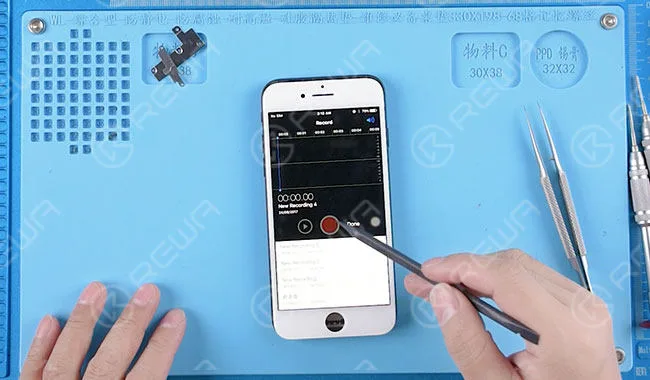
In den Aufnahmemodus wechseln, das Aufnahmesymbol ist nicht funktionsfähig.
Ein Austausch des Bildschirms hilft bei dem Hänger-Problem nicht, wir können erkennen, dass ein Problem mit dem Audiokreis vorliegt. Weiter zur Reparatur der Hauptplatine.
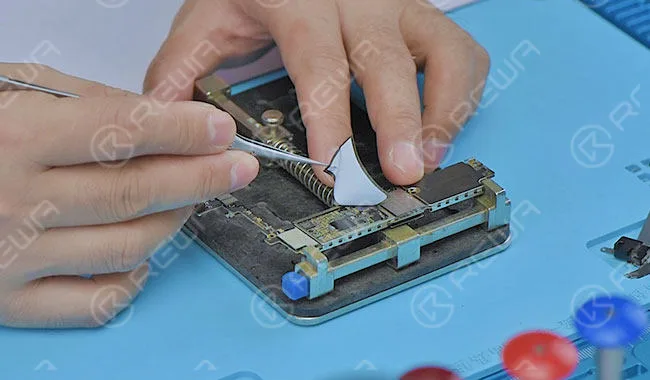
Nehmen Sie die Platine heraus und ziehen Sie den Abschirmungsaufkleber ab.
Tragen Sie etwas BGA-Flussmittelpaste um den Audio-IC auf und erhitzen Sie ihn mit einer Heißluftpistole bei 300 Grad.
Nimm dann das Audio-IC herab.
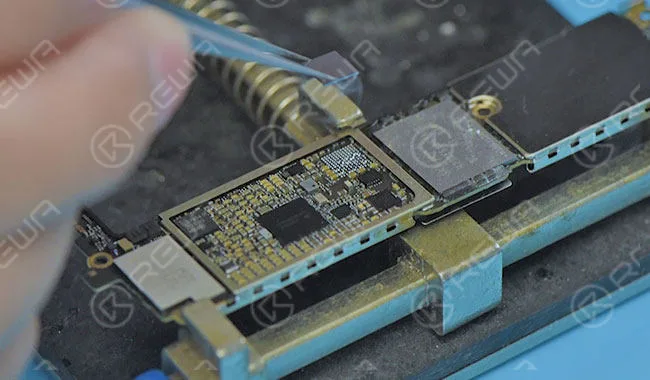
Tauchen Sie das Lötkolben in Kolophonium, um die Zinnreste zu entfernen.
Danach etwas Kolophonium mit Goot-Entlötlitze für die Nachreinigung eintauchen. Danach erneut mit PCB-Reiniger reinigen.
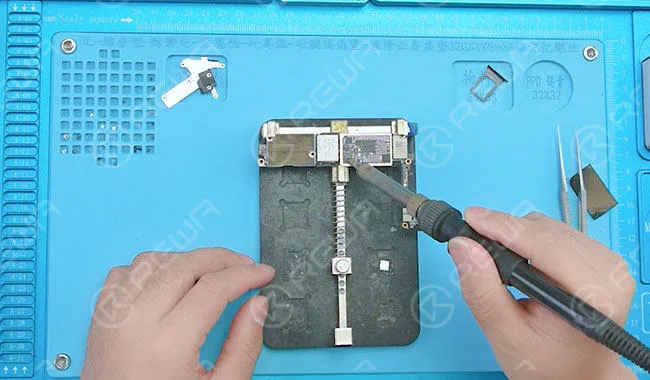
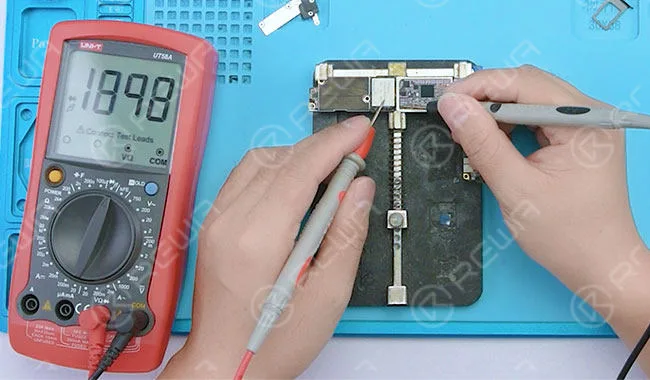
Prüfwiderstandswert von Pin C12 (U3101 Audio-IC). Der Widerstandswert schwankt.
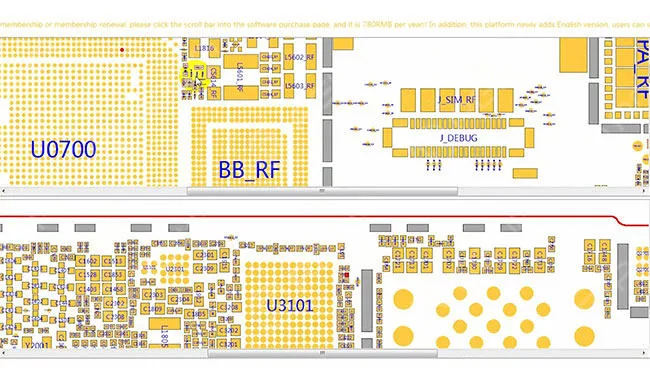
Rollen Sie die Wartungszeichnung als Referenz aus.
Lokalisieren Sie das Signal von Pin C12: 12S-AP-TO-CODEC-MCLK. Das Signal war über den Widerstand R1103 mit der CPU verbunden.
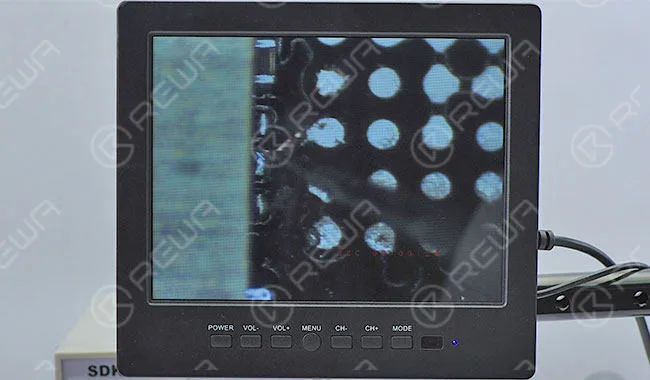
Kratzen Sie den Isolierlack vom Kupferdraht ab, der den Anschlusspin C12 und den Widerstand R1103 verbindet. Verzinnen Sie die Stelle und löten Sie dann den 0,02 mm dicken Kupferdraht an.
Tragen Sie etwas UV-härtbaren Lötstopplack auf den gelöteten Kupferdraht auf und legen Sie die Platine für 15 Minuten unter die UV-Trocknungslampe.
Reballen Sie den Audio-IC mit einer BGA-Reballing-Schablone.
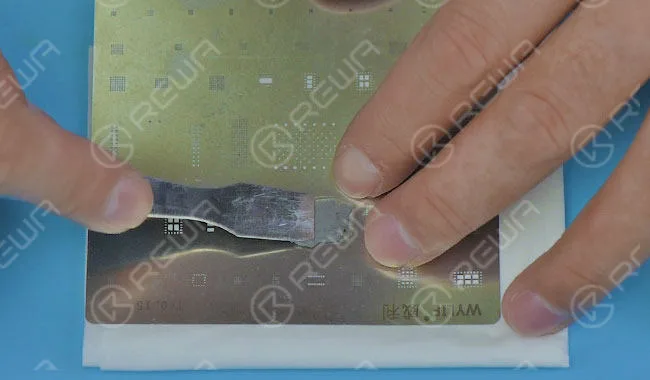
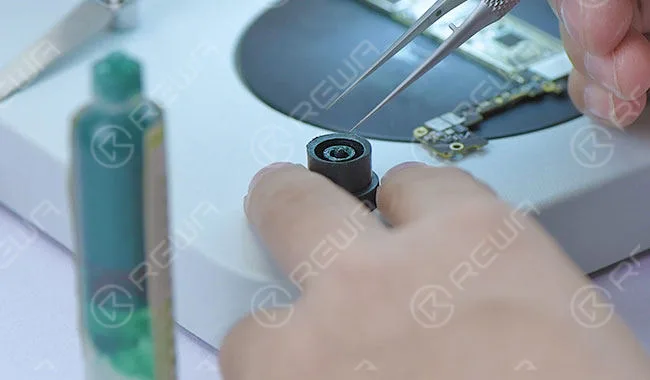
Tragen Sie etwas BGA-Lötpaste auf das Anschlusspad auf.
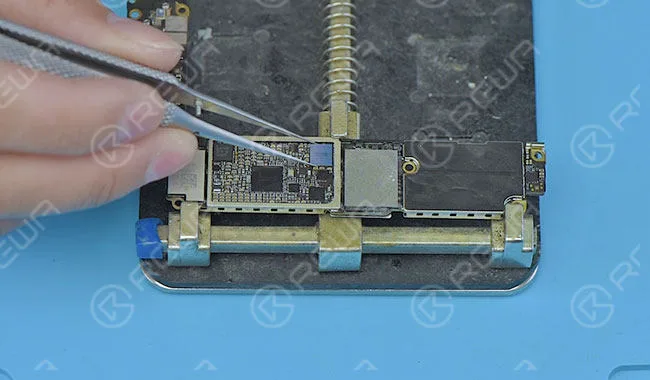
Richten Sie dann den Audio-IC an der richtigen Stelle aus und erhitzen Sie ihn mit einer Heißluftpistole bei 280 Grad.
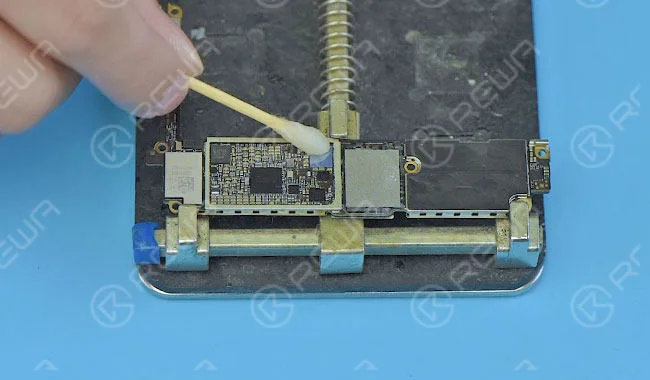
Sobald die Hauptplatine ausreichend abgekühlt ist, reinigen Sie sie mit Platinenreiniger.
Montieren Sie das Telefon und testen Sie es.
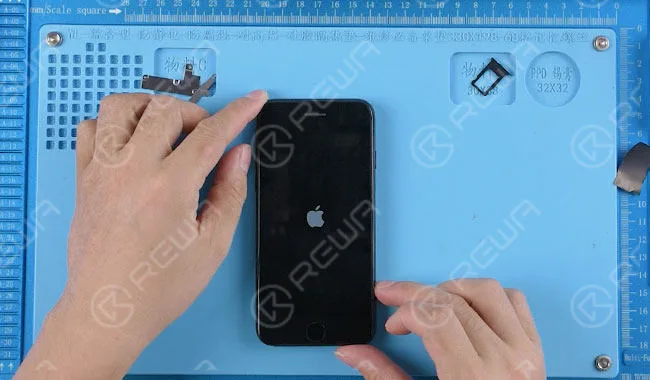
Die Touch-Funktion und die Aufnahmefunktion funktionieren wieder normal.
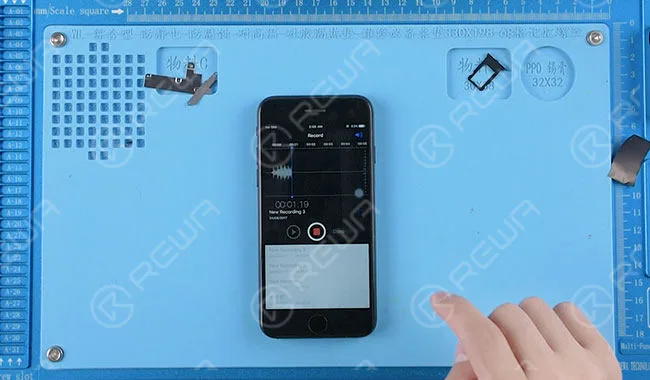
Weitere Details zur Anleitung für die Reparatur eines eingefrorenen iPhone-Bildschirms.
-
iPhone Water Damage Repair With Ultrasonic
Nearly 80% of the repair shops still use the brush to clean the water damaged iPhone motherboard. It processes very slow and sometimes ineffective. This time REWA LAB presents a new water damaged iPhone repair with ultrasonic cleaner.
-
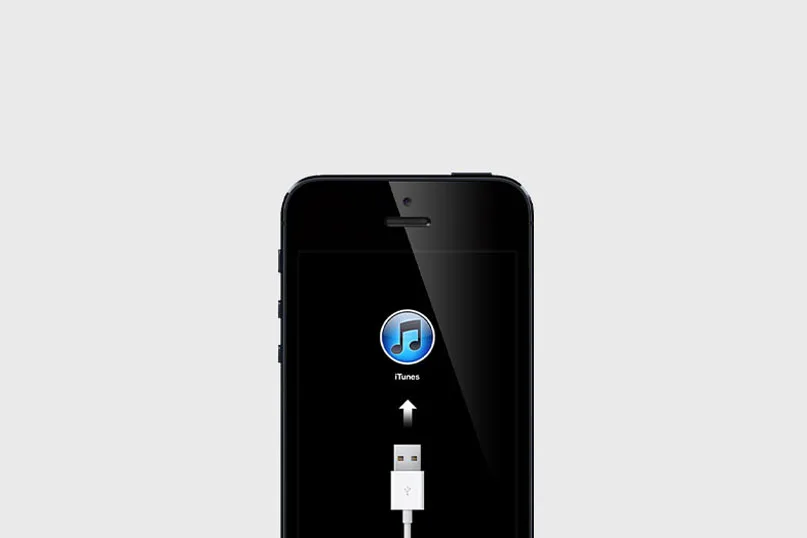
iPhone-Fehlercodes entschlüsseln: Ihre Bedeutung verstehen
Wenn Sie bei Aktualisierungen, Wiederherstellungen oder Downgrades Fehlercodes auf Ihrem iPhone oder in iTunes entdecken, kann das frustrierend sein. Diese Codes tauchen unerwartet auf und zeigen an, dass etwas schief gelaufen ist. Bei zahlreichen Fehlercodes ist es oft schwierig, das eigentliche Problem schnell zu erkennen.
Häufige iPhone- und iTunes-Fehlercodes:
- 1, 3, 10, 11, 12, 13, 14, 16, 20, 21, 23, 26, 27, 28, 29, 34, 35, 36, 37, 40, 1000, 1002, 1004, 1011, 1012, 1014, 1667 oder 1669
Hardware-Störungen: Unbekannte Hardwarefehler auf dem iPhone oder dem Computer können die Verbindung unterbrechen und zu Fehlern wie 2, 4, 6, 9, 1000, 1611, 9006, 9807 oder 9844 führen.
Sicherheitssoftware hat ihre Tücken: Sicherheitssoftware von Drittanbietern, die nicht von Apple stammt, kann iTunes beeinträchtigen und Fehler 13, 14, 1600, 1601, 1602, 1603, 1604, 1611, 1643-1650, 2000, 2001, 2002, 2005, 2006, 2009, 4005, 4013, 4014, 4016 verursachen.
USB-Verbindungsschwierigkeiten: Fehler wie 17, 1004, 1013, 1638, 3014, 3194, 3000, 3002, 3004, 3013, 3014, 3015, 3194 oder 3200 deuten häufig auf ein USB-Verbindungsproblem hin, das oft auf ein loses Kabel oder einen defekten USB-Hub zurückzuführen ist.
Schluckauf bei Netzwerken und Kommunikation: Kommunikationsprobleme zwischen iTunes und dem Aktualisierungsserver von Apple können zu Fehlern wie 9, 4005, 4013, 4014 führen. Sie können während Firmware-Downloads oder Serververbindungen für Wiederherstellungen auftreten.
Andere bemerkenswerte Fehler-Codes:
- Fehler 11/16: Inkompatible Bibliotheksdateien.
- Fehler 53: Sicherheitstest fehlgeschlagen; nicht-offizielle Komponenten entdeckt.
- Fehler 54: Gesperrte Datei auf Computer oder iOS-Gerät.
- Fehler 1015: Probleme mit veralteter oder Beta-Software (z. B. jailbroken Software).
Zusätzliche Jailbreak-bezogene Fehler:
- 1600, 1601, 1602, 1603, 1604, 1611: Probleme mit Jailbroken-Geräten.
- Fehler 1671: iTunes lädt die erforderliche Software.
- 4014, 4016, 3194, 3004, 3194: Keine Serverantwort.
Lösungen für diese und weitere Fehler finden Sie in unseren ASK FORUMS. Vereinfachen Sie die Fehlerbehebung und machen Sie Ihr iPhone-Erlebnis noch reibungsloser!
 English
 Español
 Français
 Deutsch
 Italiano