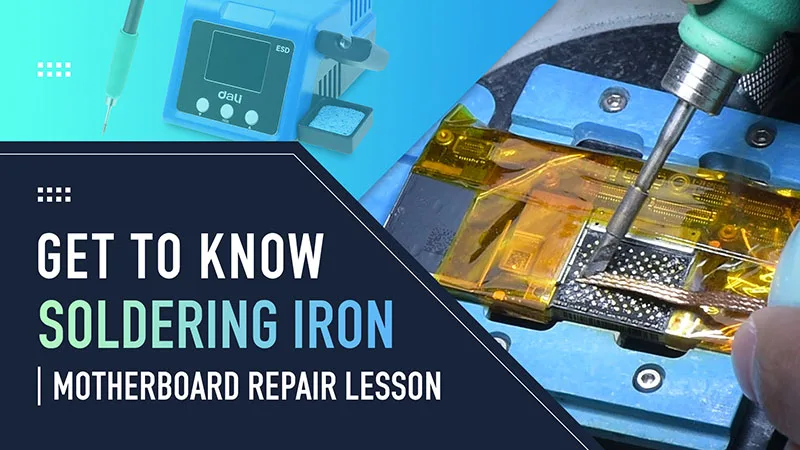
A soldering iron is one of the indispensable tools for phone repairs. Both wires soldering and tin cleaning necessitate a soldering iron. The correct use of the soldering iron holds the key to phone repairs. Today we will walk you through how to use a soldering iron properly for phone repairs.
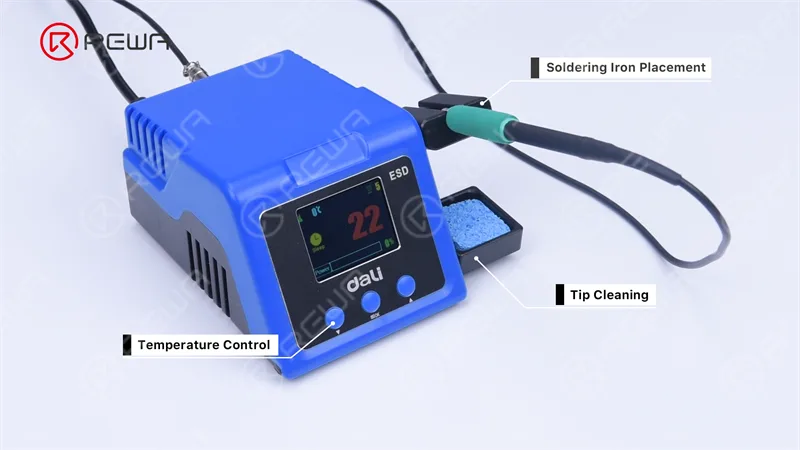
In the first place, let’s look into the structure of the soldering iron. Take dali Soldering Iron Station for example.
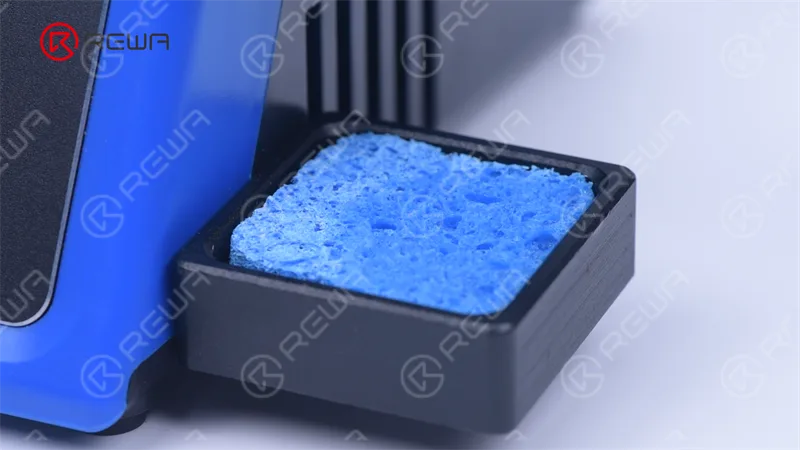
The stand is for placing the soldering iron handle, preventing the hot iron tip from coming in contact with flammable materials or causing accidental injury to your hand.
The sponge is used to clean the soldering tips, while the two buttons are for the temperature control.
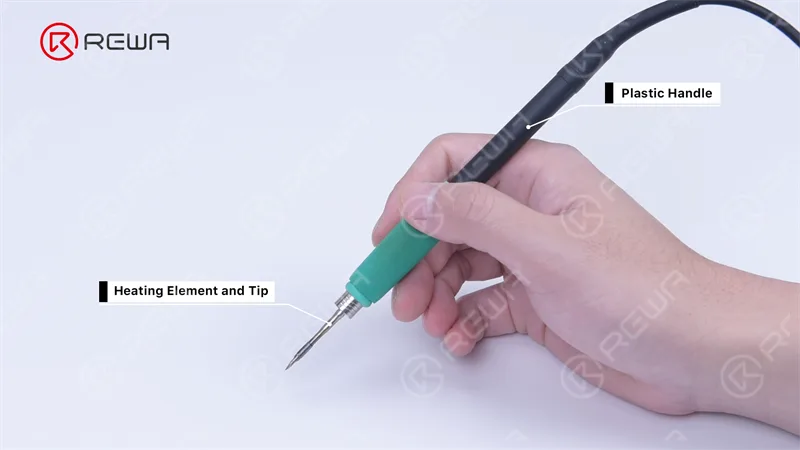
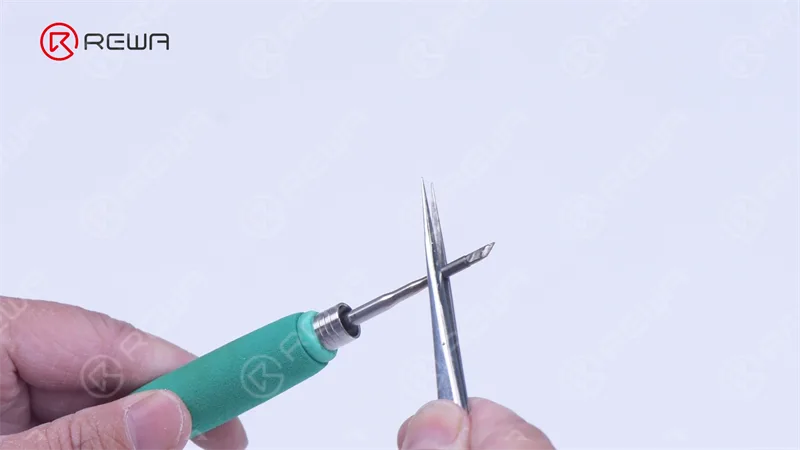
The handle consists of a plastic handle, a heating core and a soldering iron tip.
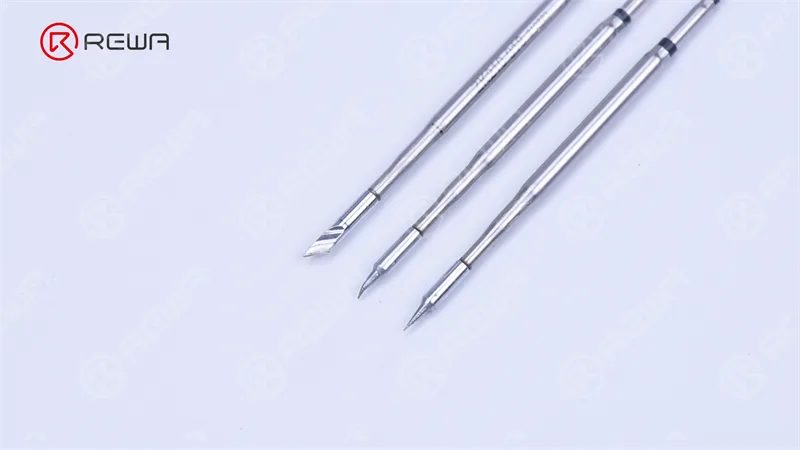
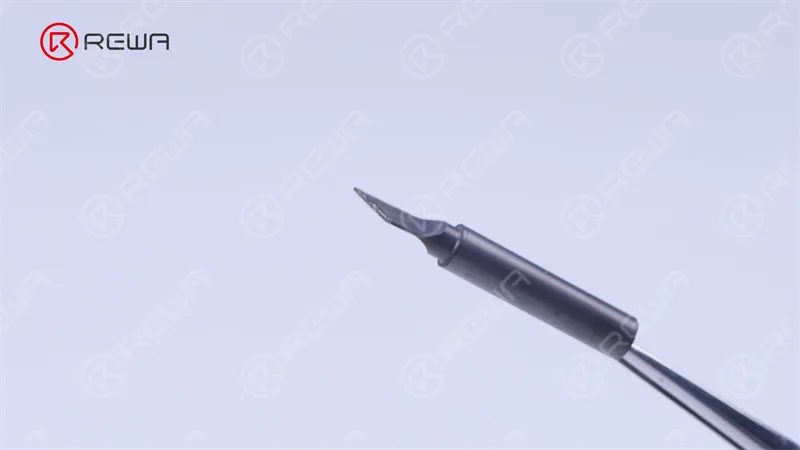
There are various kinds of soldering iron tips which include knife, conical, bent, etc..
Each tip is used for a specific purpose and offers a distinct advantage over another. Knife and bent soldering tips are most commonly used in phone repairs.
After getting to know the structure of a soldering iron, you must get acquainted with two things before soldering – solder and sponge.
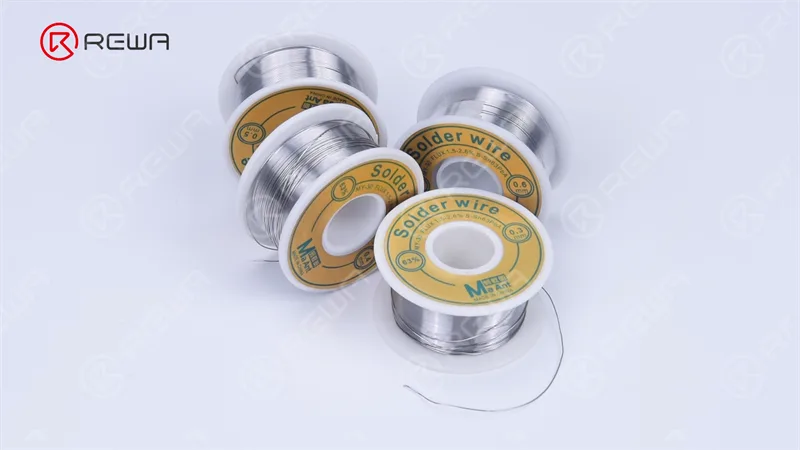
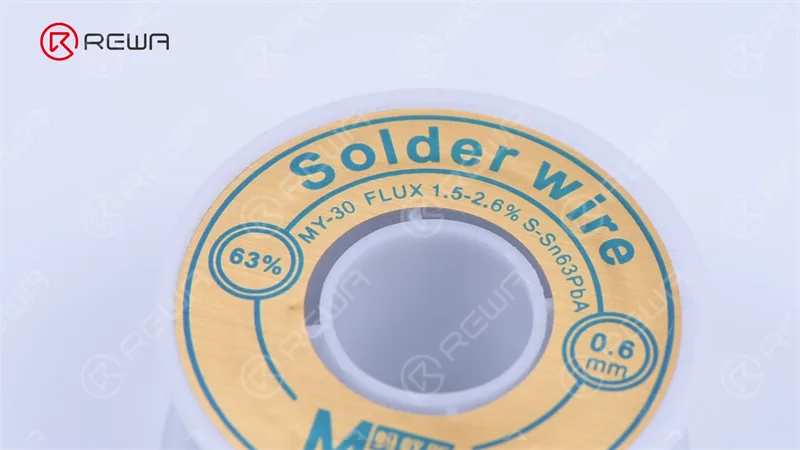
Solder is a metal alloy material that is melted to create a bond between electrical parts.
There are different diameter specifications ranging from 0.3 millimeter to 0.6 millimeter.
Inside the solder core is a material known as flux which facilitates soldering.
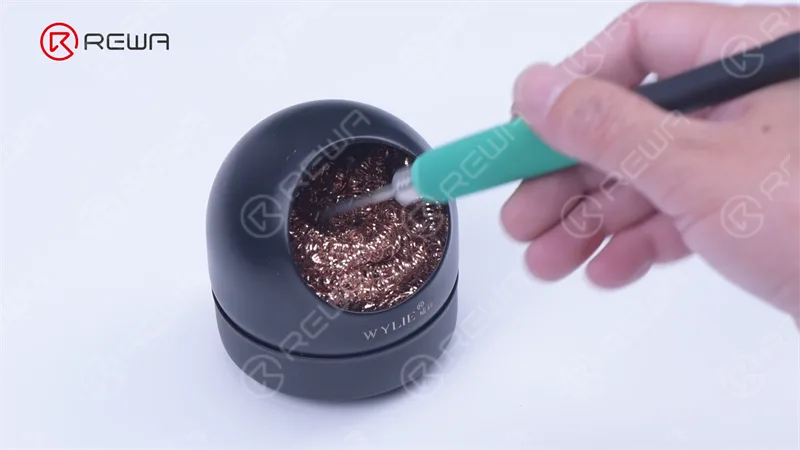
The sponge is used to remove oxidation to keep the soldering iron tip clean.
A conventional wet sponge is good, but it will drop the temperature of the tip temporarily when wiped.
A better alternative is to use a brass sponge.
Then we will show you how to use the soldering iron for soldering a wire.
Set the temperature at 350-420 °C in the first place.
Then clean the soldering tip with the wet sponge.
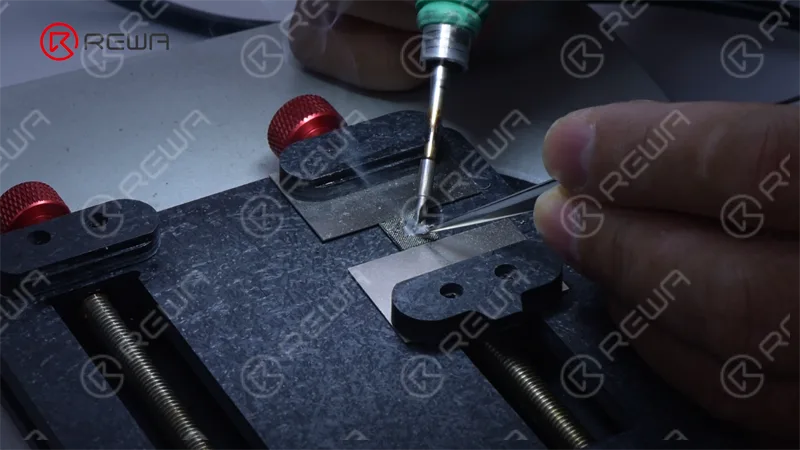
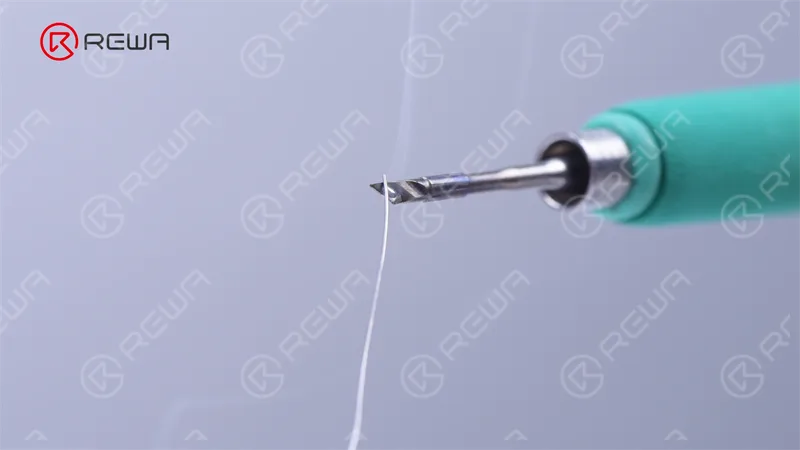
After cleaning, tin the soldering tip.
This process will help improve the heat transfer from the iron to the item you’re soldering.
Tinning will also help to protect the tip and reduce wear.
You should tin the tip of your iron before and after each soldering session to extend its life.
Please avoid leaving the soldering iron on for a long time during operation.
Tips with oxidation will tend to turn black and not accept solder as it did when it was new.
When solder is heated, there are fumes released that are harmful to your eyes and lungs.
It’s recommended to use a fume extractor that absorbs the harmful solder smoke.
Then we begin soldering. Apply tin to the bonding pads and then some paste flux.
Solder the wire with the soldering iron.
After soldering, please remember to clean and tin the tip again.
Besides soldering a wire, a soldering iron can also be used for tin cleaning, black adhesive removal, etc.. That’s all for how to use a soldering iron for phone repairs.
Please feel free to drop a comment on how to use a soldering iron for phone repairs.
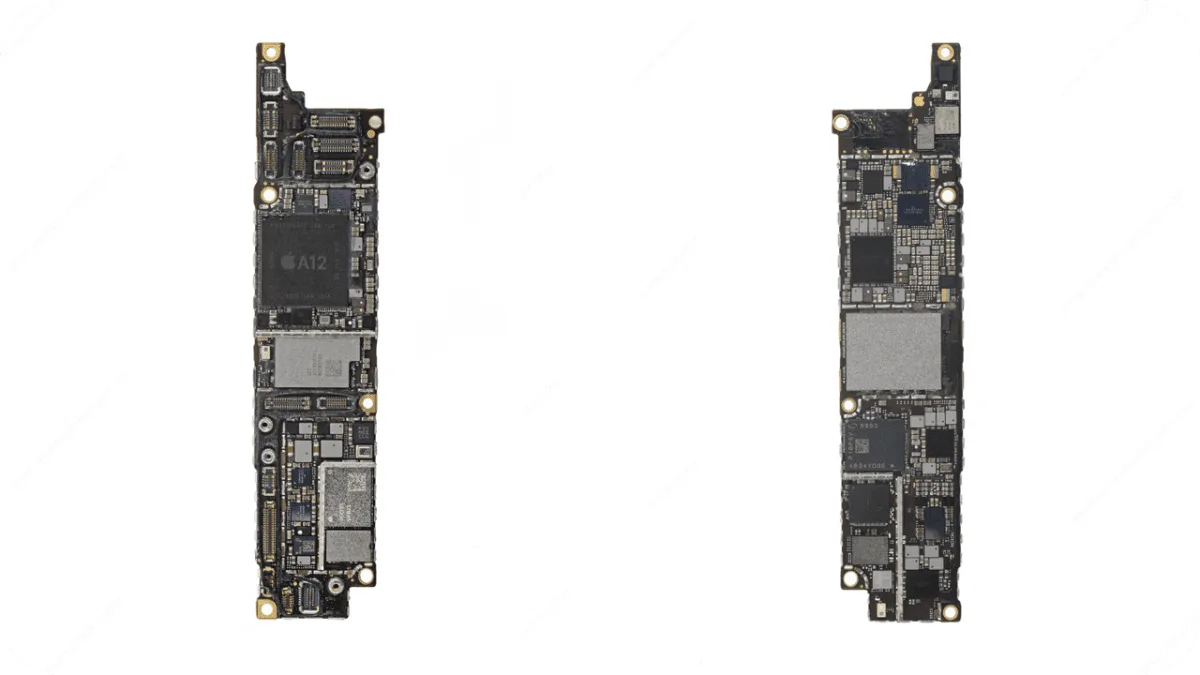
When your iPhone XR won’t turn on, it can be frustrating — especially when there’s no visible damage. In this repair case, we’ll show you how a short circuit near the audio amplifier IC caused the iPhone XR to draw excessive current and fail to boot. Using professional tools like a DC power supply, rosin, and REFOX Bitmap, we accurately diagnosed and fixed the issue by replacing a faulty capacitor.
Whether you’re a repair technician, a DIYer, or a repair shop owner, this detailed guide will help you approach similar “no boot” cases with confidence.
Repair Case: iPhone XR Not Powering On
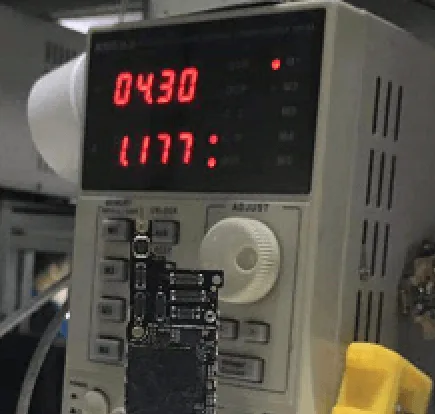
Upon receiving the iPhone XR, we connected it to a DC power supply for diagnosis. The current draw was around 1A, indicating a possible short circuit on the board.
Since the current leakage starts immediately after connecting to DC power, we suspected a short on one of the following power rails:
PP_BATT_VCC
PP_VDD_MAIN
PP_VDD_BOOST
The iPhone XR’s board structure is similar to that of older models like the iPhone 8 Plus. Based on experience, we can use either the rosin inspection method or a thermal imager to detect overheating components.
Before using any tools, we first applied a simple method: finger test while applying DC power. We felt unusual heat around the audio amplifier IC area.
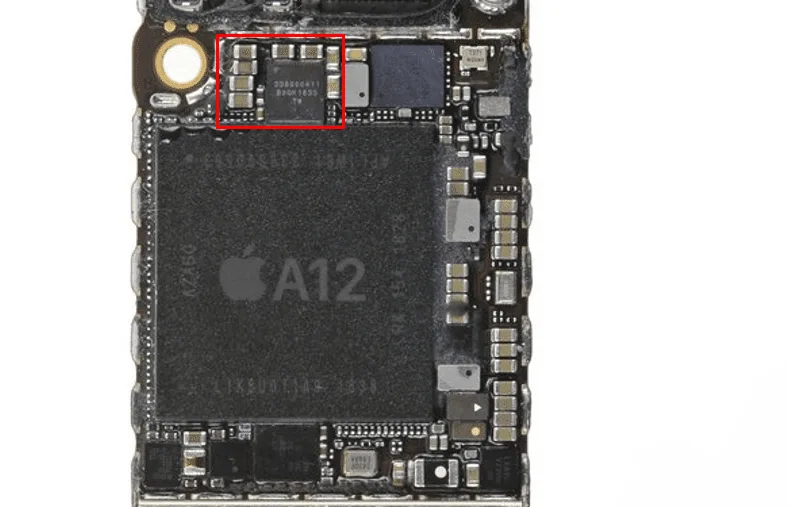
To confirm, we applied rosin to the board and powered it again. The rosin melted directly on top of the audio amplifier IC, confirming heat in that area.
At this point, most would replace the audio amplifier IC. However, due to its proximity to the CPU, replacing it could risk CPU pseudo soldering (a condition where CPU connections become unstable from heat exposure). Additionally, the audio amplifier circuit has multiple power lines, meaning a shorted capacitor could also be the cause.
Narrowing Down the Issue
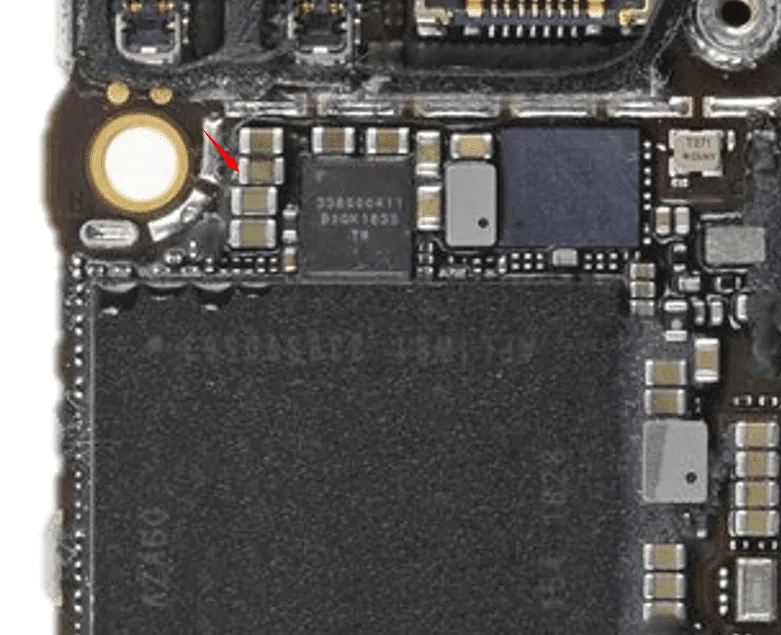
Using this insight, we inspected the small capacitors around the audio amplifier IC. Sure enough, we located a shorted capacitor, as shown in the image (marked with an arrow in the original content).
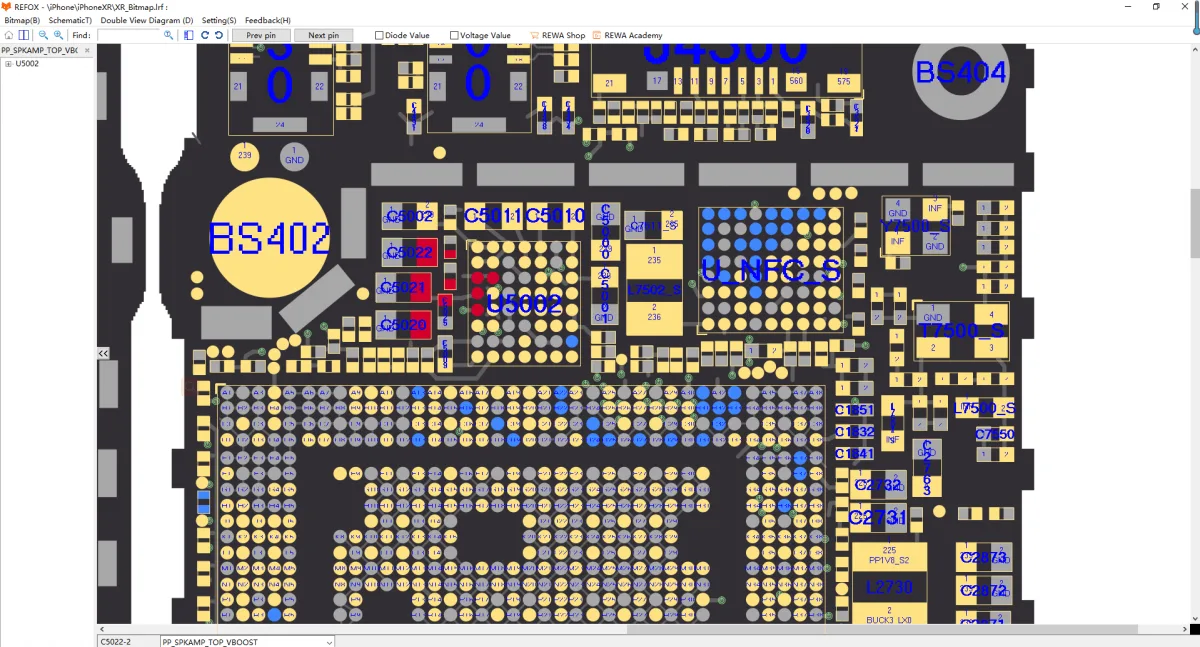
By checking with the REFOX Bitmap, we identified this capacitor belonged to the PP_SPKAMP_TOP_VBOOST power rail.
Repair Process
We removed the faulty capacitor and tested the current draw again. The startup current returned to normal levels.
Next, we replaced the capacitor with one of identical specification. After reinstalling, the iPhone XR booted up normally.
We reassembled the phone and conducted a full function test — all features worked perfectly.
Pro Tips
In this case, replacing a single shorted capacitor was enough to fix a severe no-boot issue.
When multiple components feel hot, check small passive components (like capacitors) first.
Conclusion
A no-boot iPhone XR might seem like a major failure, but with the right diagnostic approach, even complex issues like short circuits can be fixed efficiently. In this case, a careful inspection revealed a shorted capacitor near the audio amplifier IC, and replacing it brought the phone back to life. This repair highlights the importance of understanding circuit behavior, using boardview tools like REFOX Bitmap, and not rushing to replace major chips. If you’re in the repair business or enjoy DIY phone repairs, mastering these diagnostic techniques can save you time, reduce risk, and improve success rates.
The camera is one of the biggest highlights in smartphones. The R&D of camera and performance improvement are important projects for major phone manufacturers.
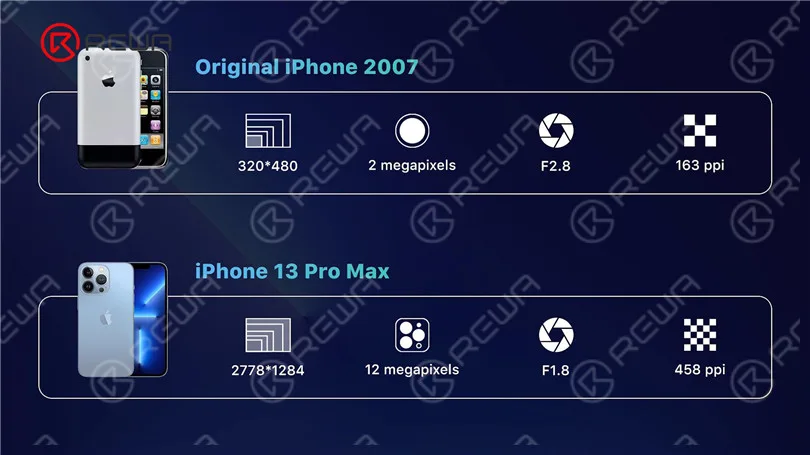
Apple’s iPhone is known for its prowess in camera development. iPhone has grown from featuring an original 2-megapixel rear camera to a current 12-megapixel rear triple-camera.
The camera is one of the most sophisticated components inside the iPhone and can be easily damaged if dropped during daily use.
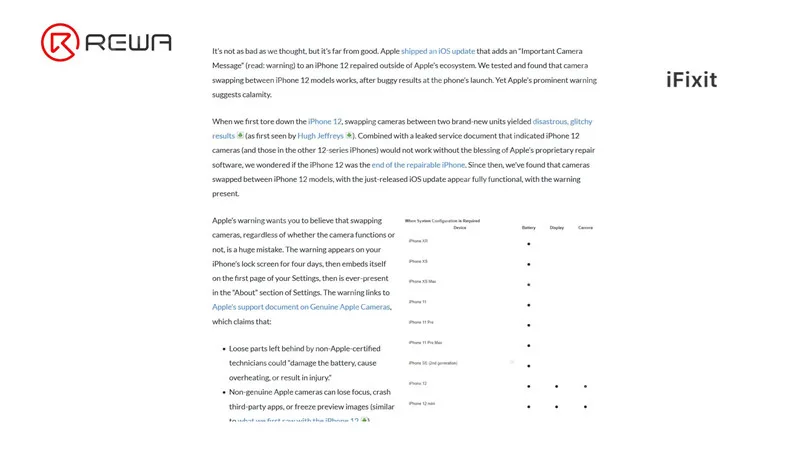
For a damaged camera, the repair solution is generally a replacement. The cost of replacement is high. In addition, Apple has encrypted the camera of the iPhone 12 series and later models.
So if the camera is changed, the “Important Camera Message” will pop up. Therefore, camera replacement will undoubtedly become a trend.
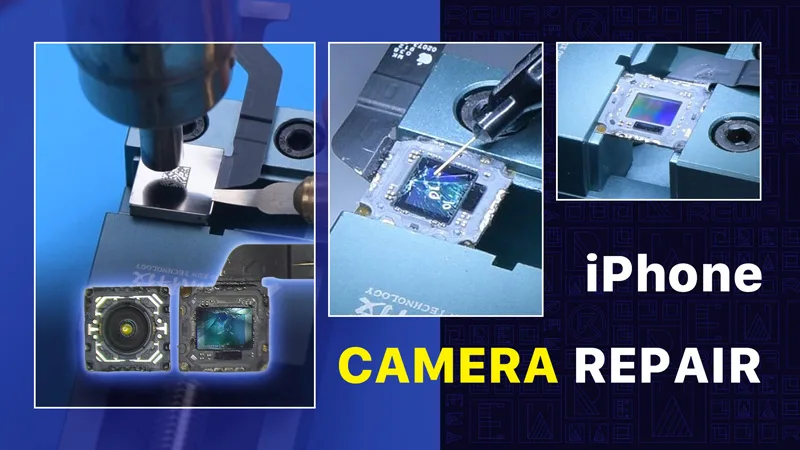
Today, REWA LAB will share with you a repair case of an iPhone camera and walk you through some knowledge of iPhone camera repair.
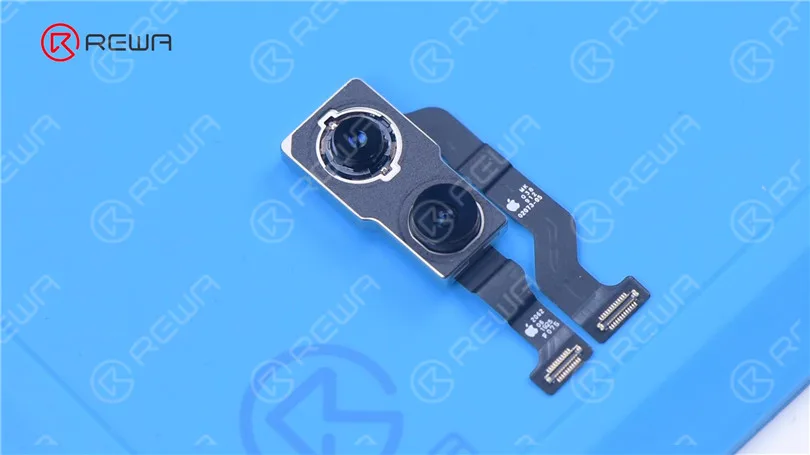
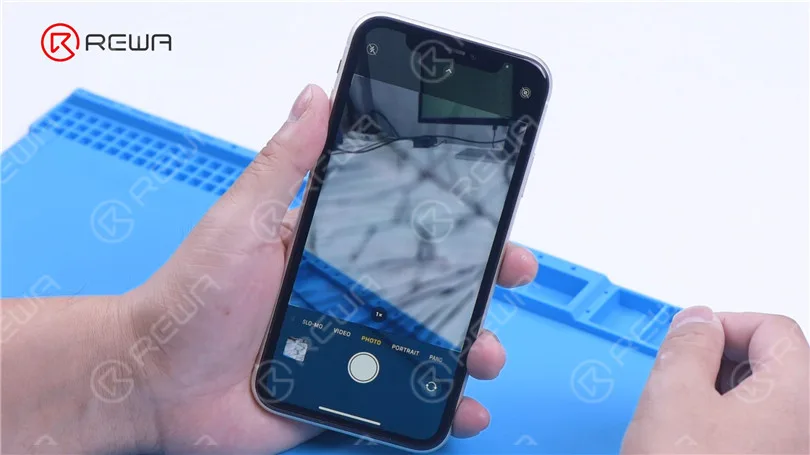
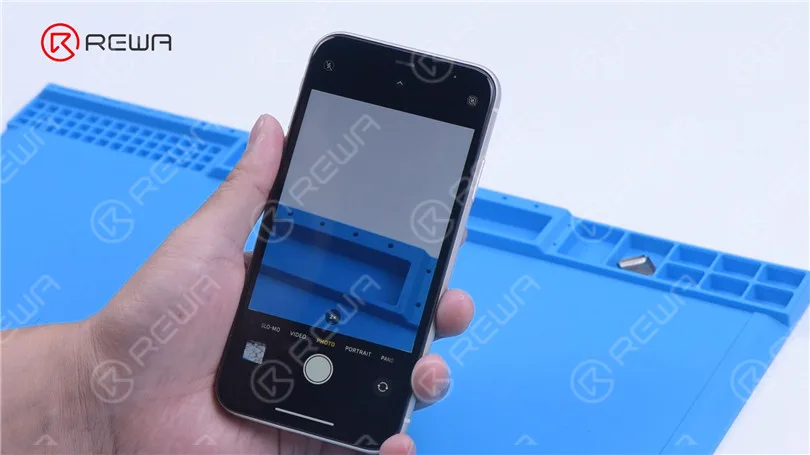
Open the phone camera. When taking photos with the wide-angle camera, cracks appear.
The ultra-wide camera works fine. We can judge that the optical filter of the wide-angle camera is damaged.
Then we disassemble the phone and try to repair the camera.
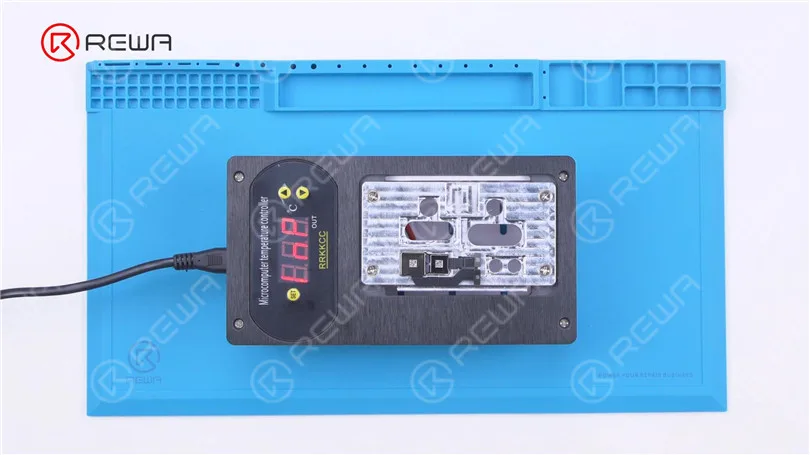
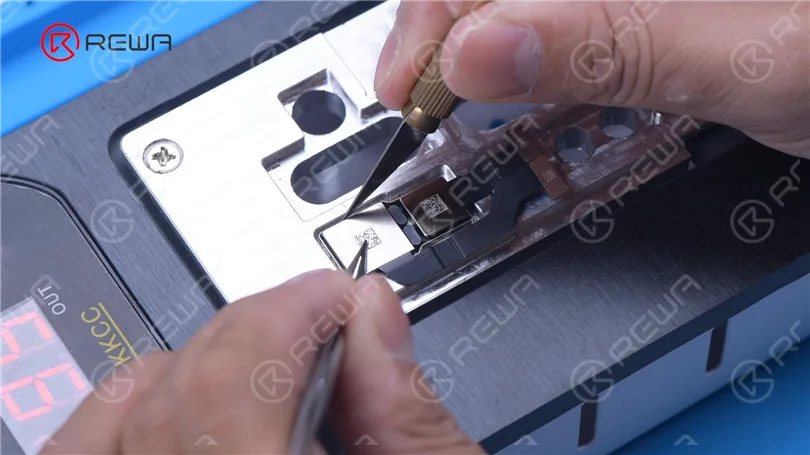
First of all, put the camera on the specialized Heating Platform at 100 °C.
When the temperature reaches 100 °C, remove black adhesive around the camera with a Sculpture Knife. Then pry up the wide-angle camera.
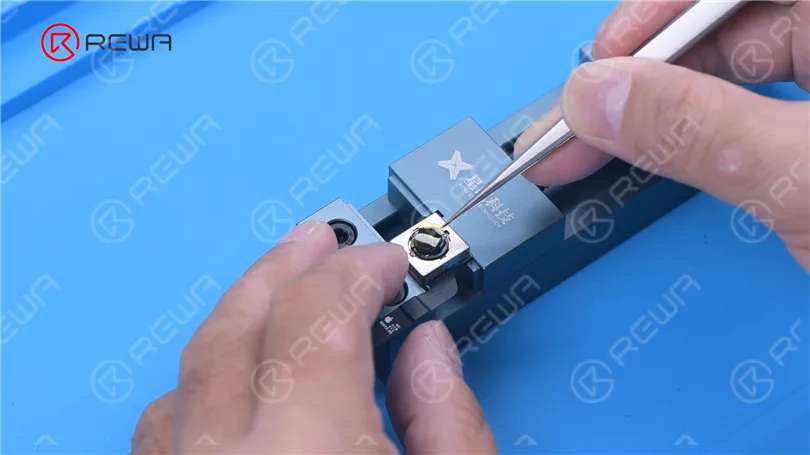
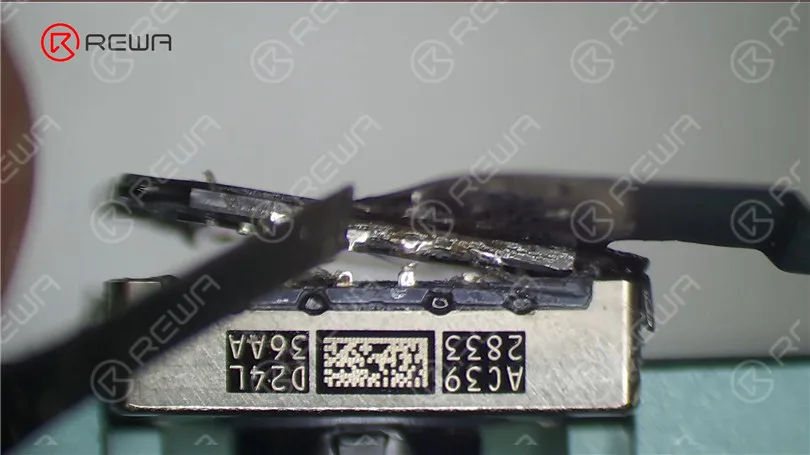
Attach the camera to the specialized holder. Before repair, apply protection tape to the camera. Separate the camera edges with a Sculpture Knife. Next, remove the metal cover with Hot Air Gun at 120 °C.
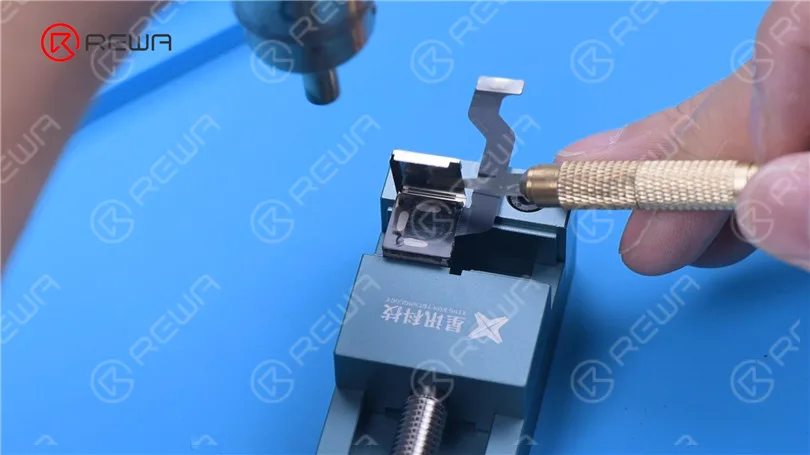
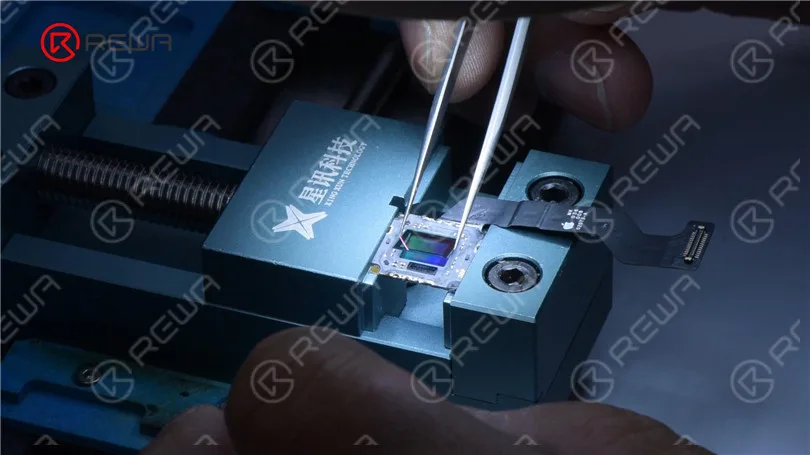
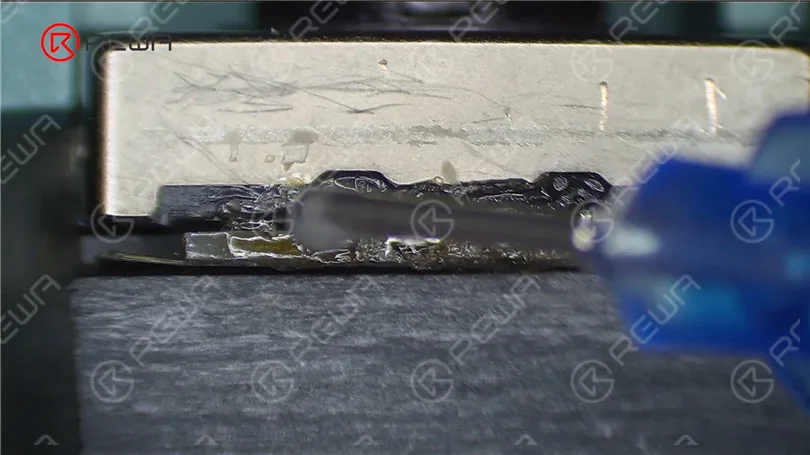
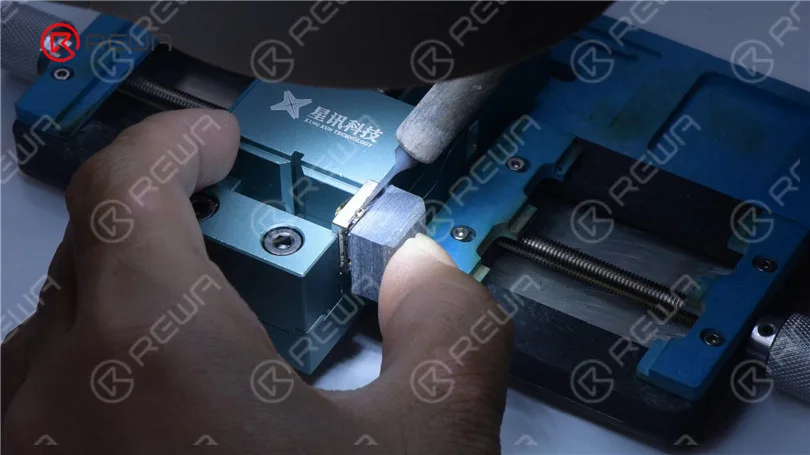
Keep heating with Hot Air Gun at 120 °C. Remove black adhesive with Tweezers. Apply some Paste Flux. Separate the motor from the CMOS with ultrathin Soldering Iron at 380 °C.
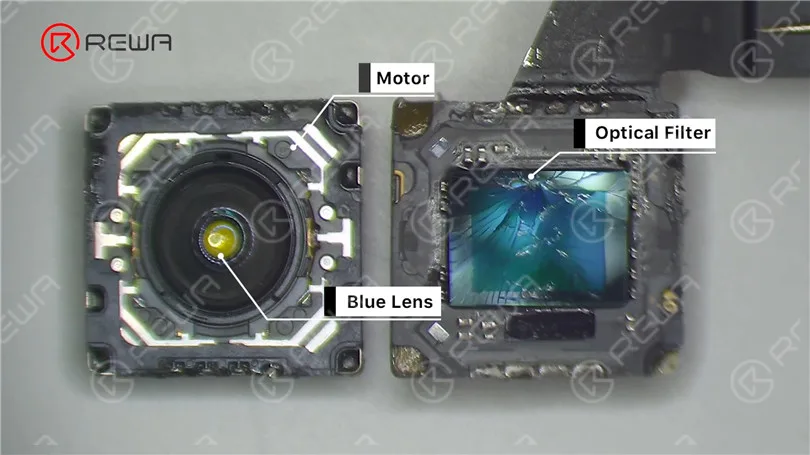
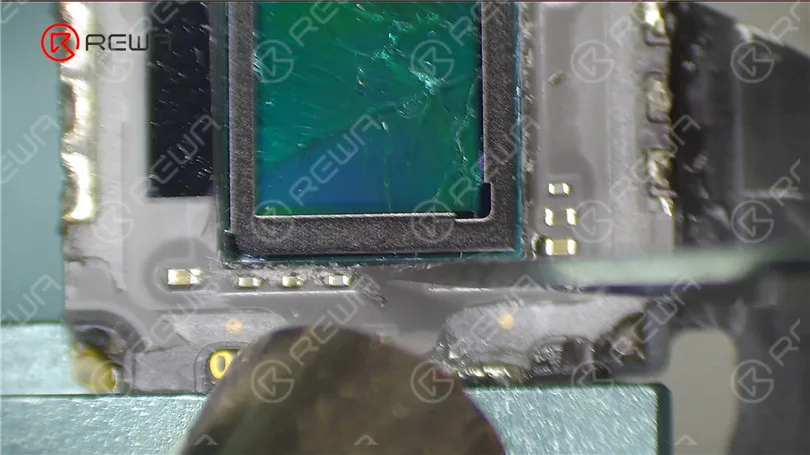
It can be seen that the optical filter is broken while the motor and blue lens are good.
If the motor is damaged, the camera will fail to focus or shake.
A motor replacement can help you solve the problem. The middle part of the motor is the blue lens. If the blue lens is damaged, the camera will become blurry. The solution is to replace the blue lens.
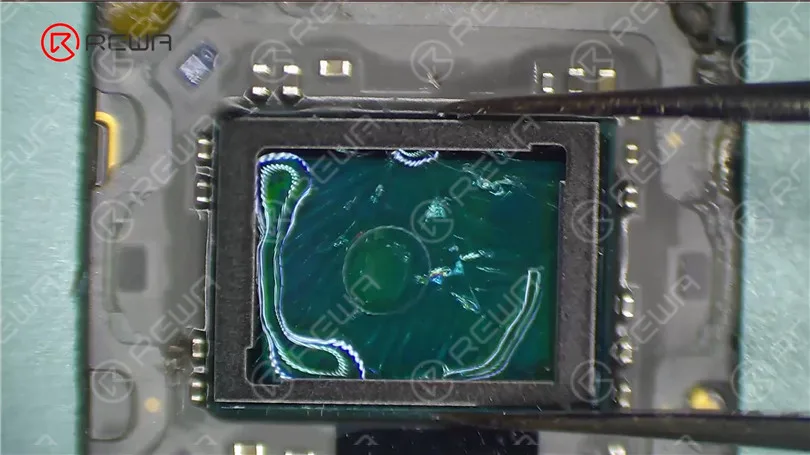
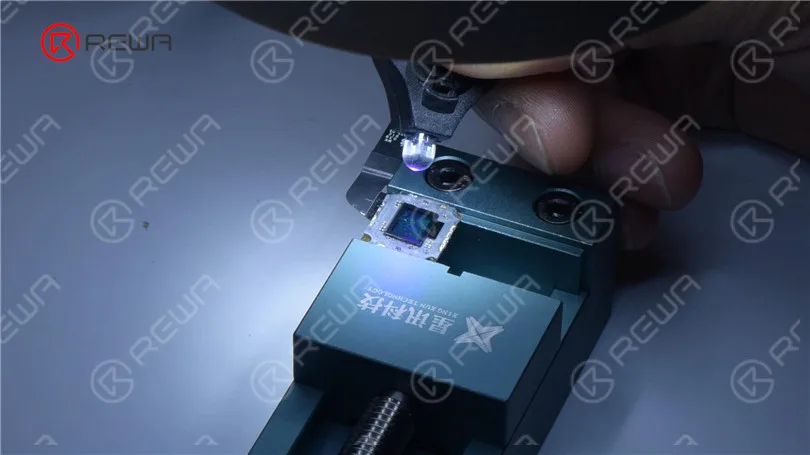
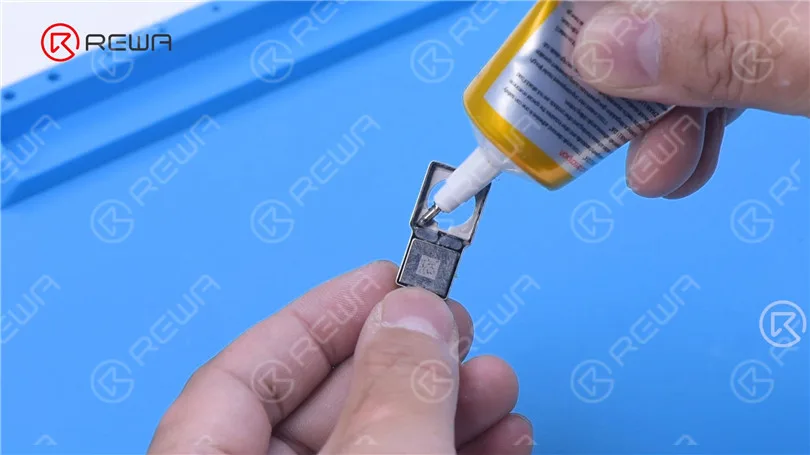
Then we replace the cracked optical filter with a new one. Apply some UV adhesive to the broken optical filter. Put the new optical filter in position. Solidify with a UV Lamp.
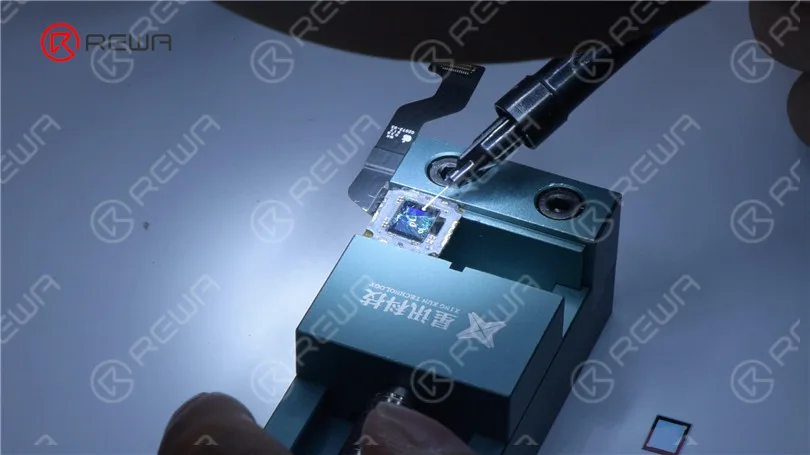
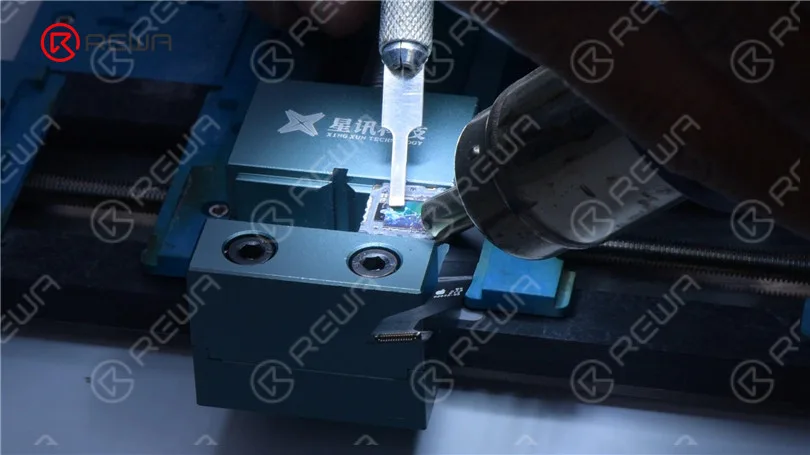
Remove side adhesive with Hot Air Gun. Then push the cracked optical filter out with the specialized holder. Remove residual shards and black adhesive with Hot Air Gun.
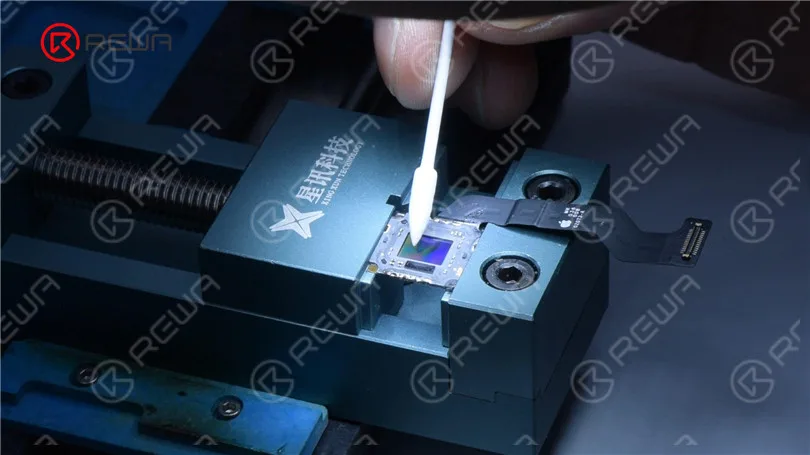
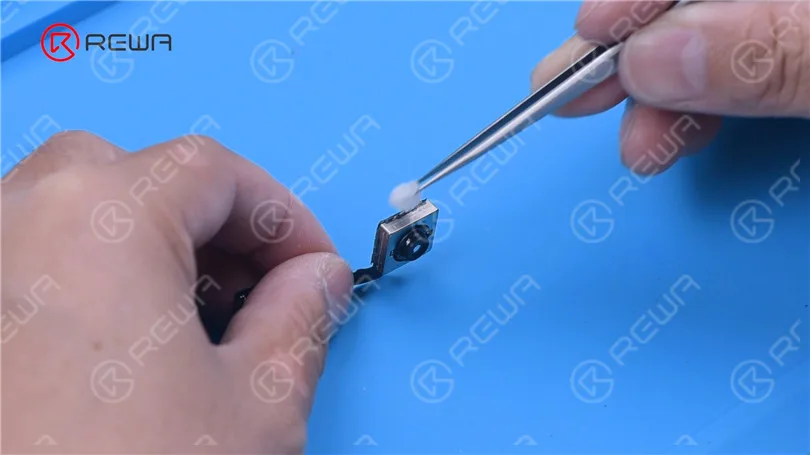
Then remove dust spots with a specialized swab. Please be extremely careful not to damage the CMOS during operation.
If the CMOS is damaged, the camera will be unrepairable. Then apply some UV adhesive and a new optical filter. Solidify with UV Lamp.
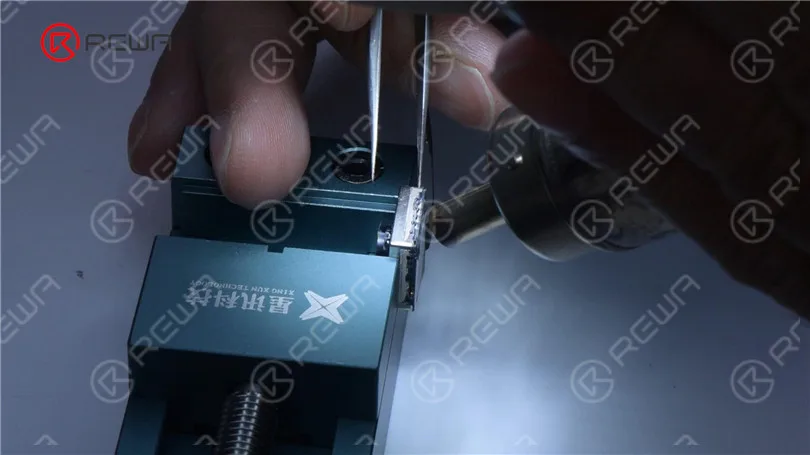
Then we assemble the camera. Apply some Paste Flux around the motor. Solder the motor with the CMOS with Soldering Iron. Clean the camera with alcohol.
Next, we install the wide-angle camera for testing. The camera works fine.
Apply B7000 to fix the wide angle camera.
That’s all for the optical filter replacement of iPhone camera.
iPhone camera repair not only includes optical filter replacement but also blue lens replacement, etc.. Please stay tuned for more iPhone camera repair content.
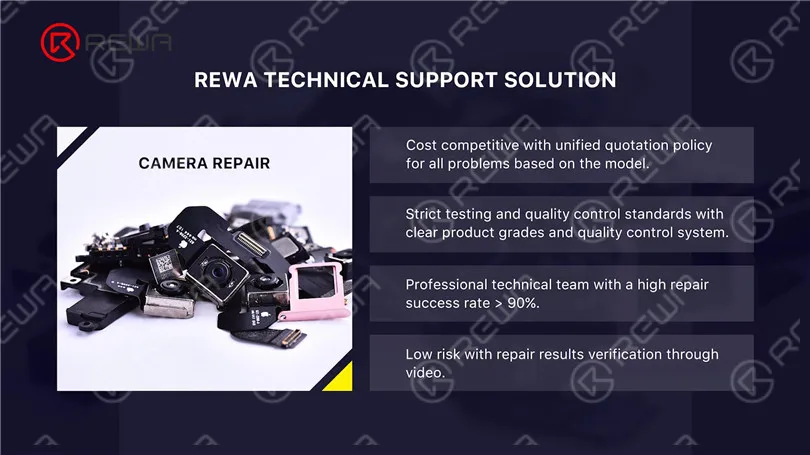
For camera repair, REWA offers third-party repair service. If you have such repair needs, please don’t hesitate to contact us. You can buy the tools used in this blog from our online shop.
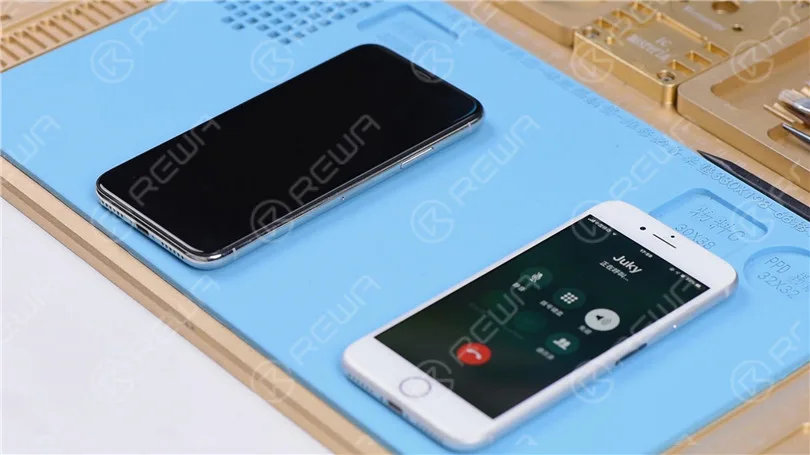
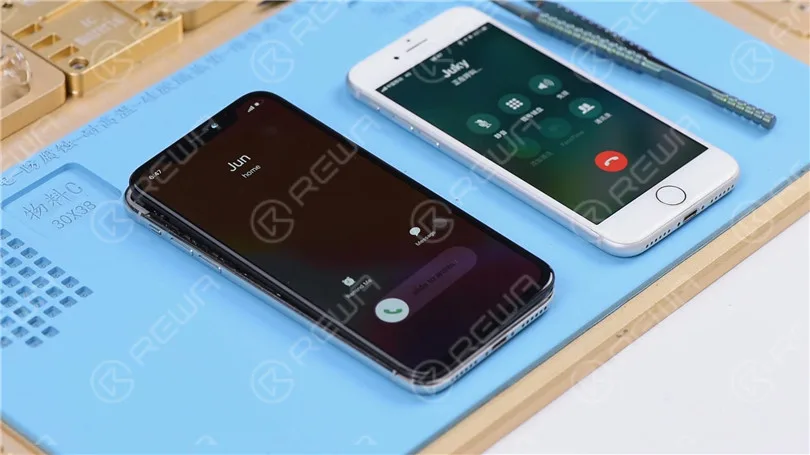
Hello guys, today we will walk you through the troubleshooting of a rare case of iPhone X not responding in sleep mode when getting incoming calls.
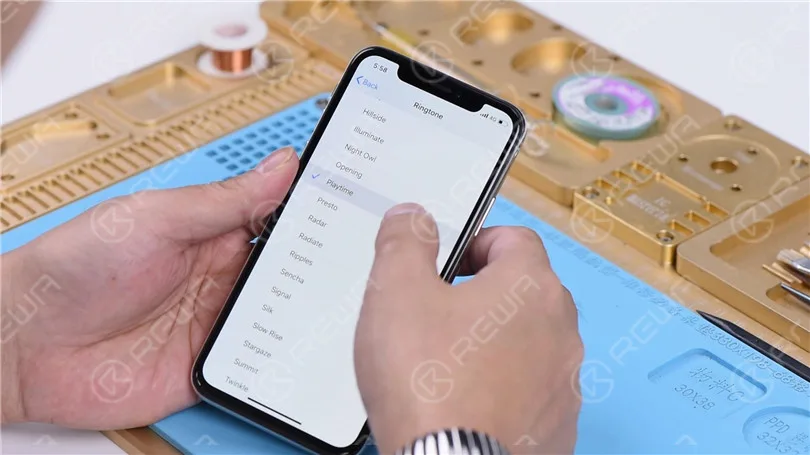
Go to Settings>Sounds & Haptics. All going well.
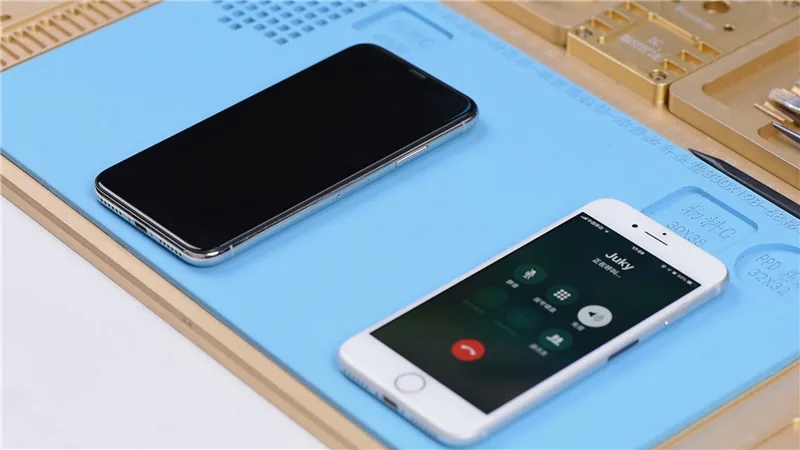
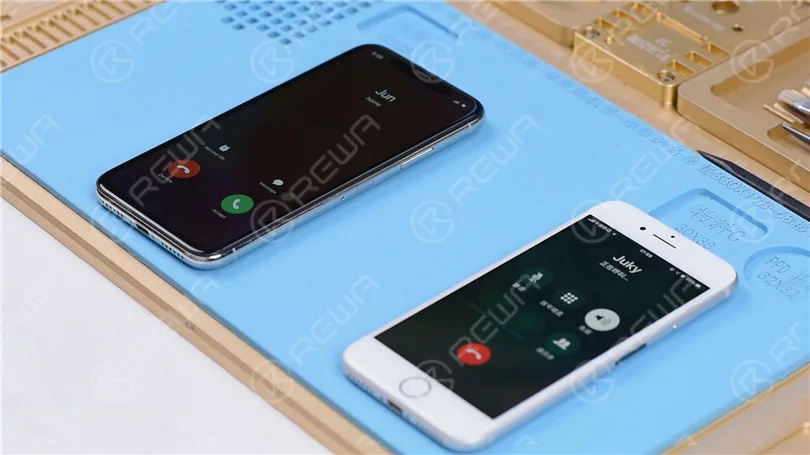
With the screen on, place a call to the phone using a known-good phone. The decline and answer buttons appear on the screen.
Turn the screen off. Place a call to the phone using a known-good phone. The phone is not responding at all. Press the power button to turn the screen on. We can see the decline and answer buttons on the screen.
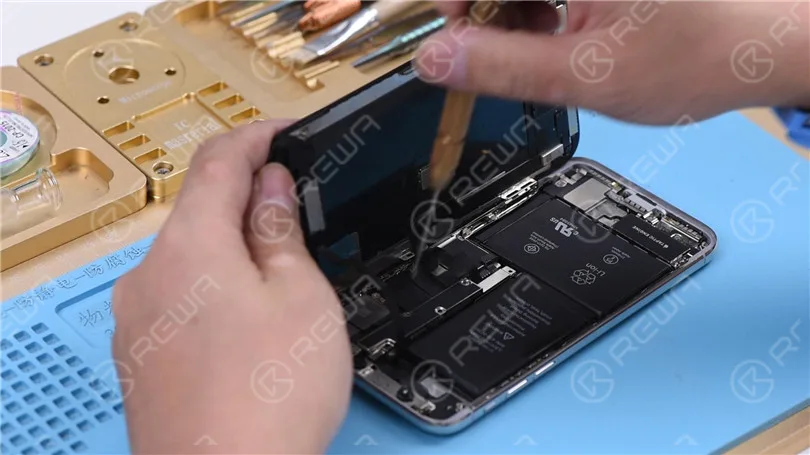
Judging by this, relevant circuits of the baseband wake signal might have malfunctioned. Take apart the phone and disconnect the battery. Remove the display assembly and take out the motherboard.
Attach the motherboard to the PCB Holder. Heat with Hot Air Gun at 200℃, air flow 3. Tear off the heat dissipation sticker on the backside of the motherboard.
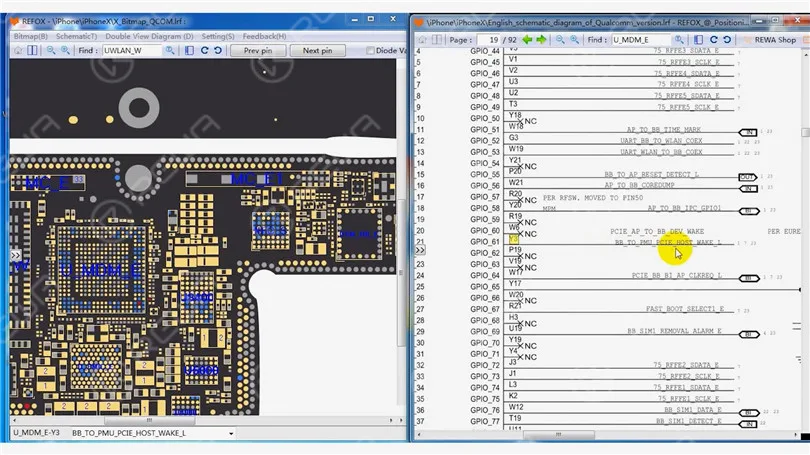
Open the bitmap software. Locate BB_TO_PMU_PCIE_HOST_WAKE_L. Since relevant circuits of the wake signal might have malfunctioned, we can try to borrow the wake signal from WiFi relevant circuits.
Locate WLAN_TO_PMU_HOST_WAKE. We can connect PP101_E-1 (the test point of the baseband wake signal) with PP7611_W-1 (the test point of the WiFi wake signal) by jumping a wire.
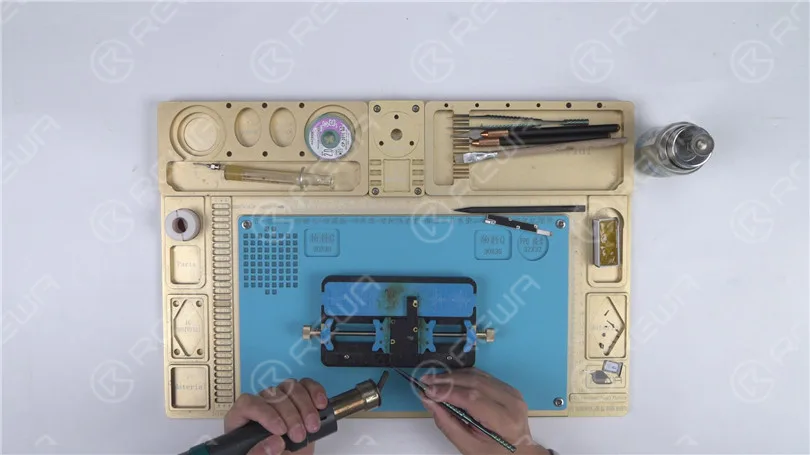
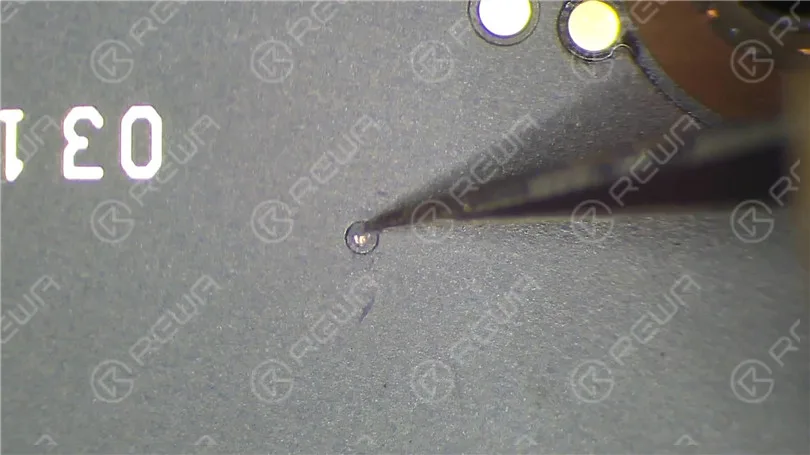
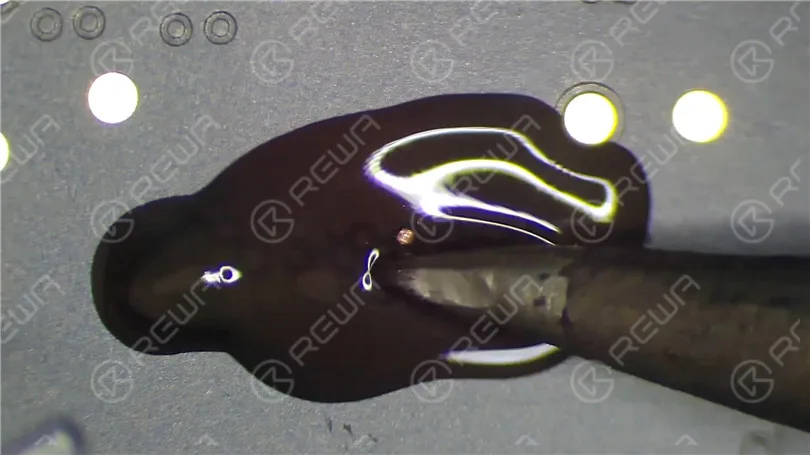
Scrape off the insulating coating on the two test points first. Then apply some solder paste to the two bonding pads. Heat with Soldering Iron at 365℃. Tin the two bonding pads with solder paste.
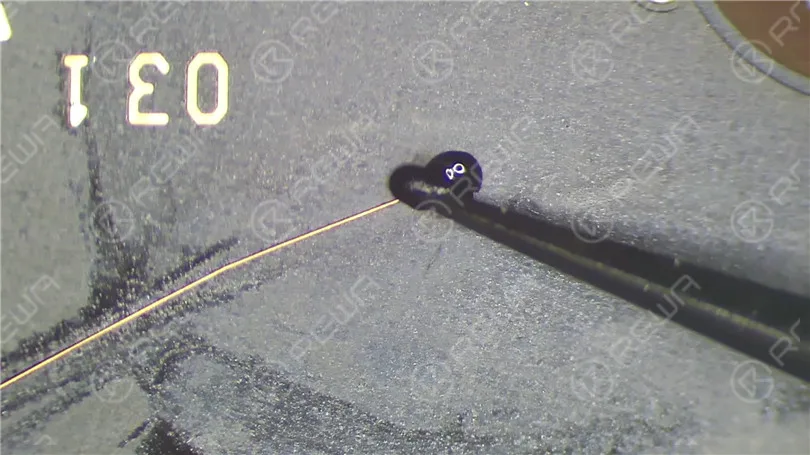
Connect PP101_E-1 to PP7611_W-1 with 0.02mm Enameled Copper Wire.
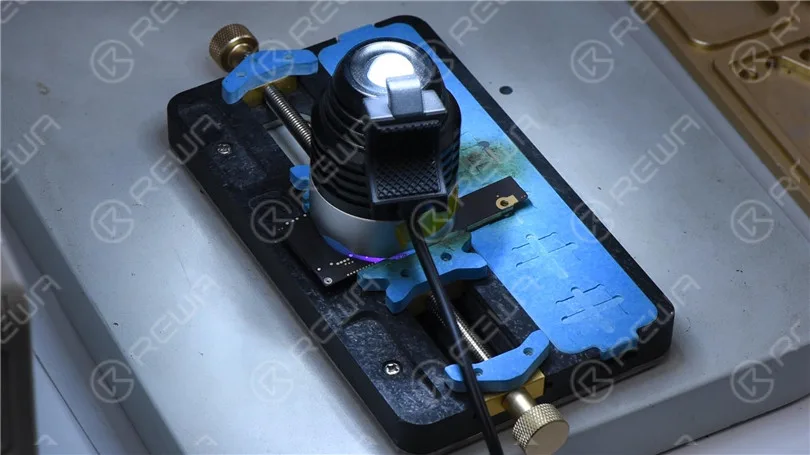
Then coat the wire with the UV Curable Solder Mask.
Now we can assemble the phone and test. With the screen off, test again. All going well. Fault cleared.
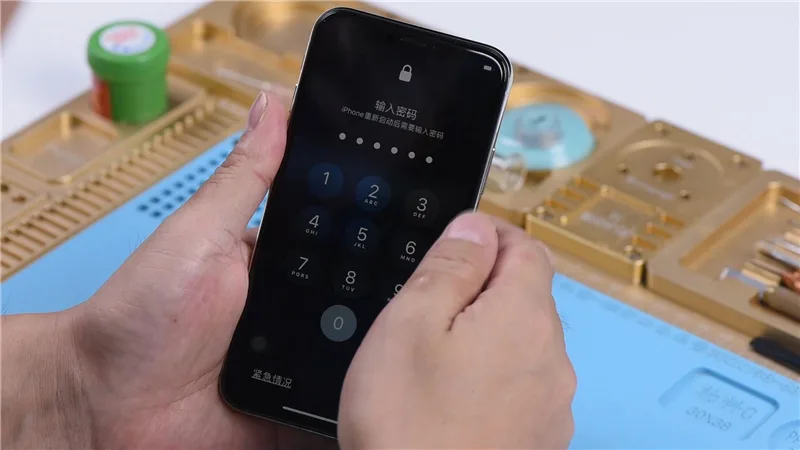
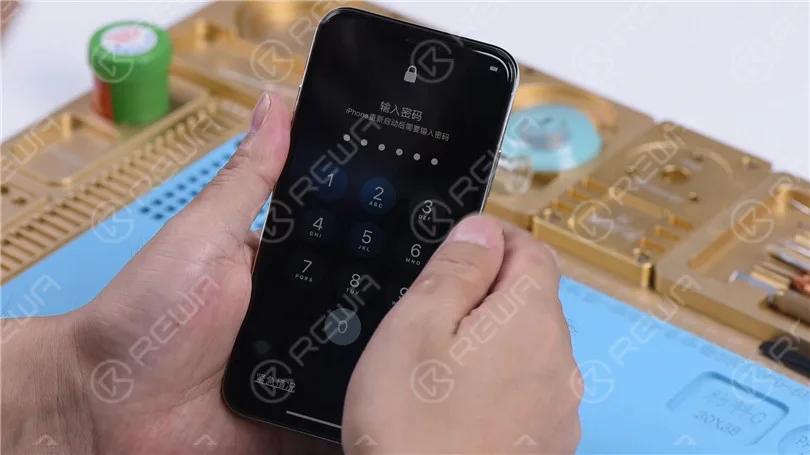
Today our repair course is about fixing an iPhone X that freezes after entering passcode. The iPhone X freezes after entering passcode.
Based on our experience, the issue is probably related to the NFC circuit.
Take apart the phone and disconnect the battery.
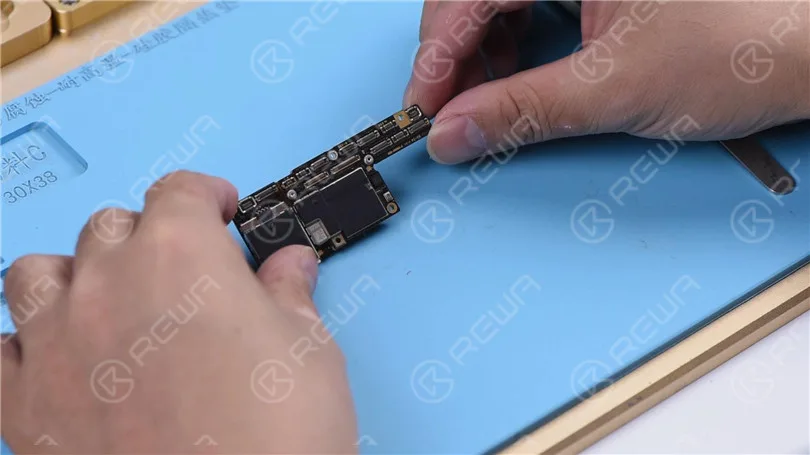
Remove the display assembly. Take out the motherboard.
Run cosmetic inspection of the motherboard. The motherboard is not water damaged.
The first thing we do is to separate the upper layer from the lower layer.
Remove dust-proof sponge on the board. Set temperature of the heating platform at 160℃.
Place the motherboard on the heating platform.
With the temperature of the platform reaching 160℃, take down the upper layer with tweezers and then the lower layer. The upper layer and the lower layer look just fine.
For further confirmation, let’s test the two layers with the test fixture. Before test, we need to clean the third space PCB. Attach the lower layer to the PCB Holder.
Heat with the Soldering Iron at 365℃. Clean pads around the edge of the lower layer with rosin soaked Solder Wick. Once done, continue to attach the upper layer to the PCB Holder.
Heat with the Soldering Iron at 365℃. Clean pads around the edge of the upper layer with rosin soaked Solder Wick. Clean with PCB Cleaner afterwards.
We find that S159 pad on the upper layer has come off the board.
S159 pad is the audio signal of the audio/speaker amplifier IC U5000.
Coming-off of the pad means that NFC connecting pads nearby might have been pseudo soldered and therefore resulted in the frozen screen issue.
Scrape with sculpture knife to get the circuit under S159 pad exposed. Then stick high temperature tape on components around.
Apply some mid-temperature solder paste to the missing pad.
Heat with Hot Air Gun at 300℃, air flow 2.
Once done, push the solder joint with tweezers carefully.
Make sure the solder joint has shaped-up perfectly.
Then remove a complete pad from a spare iPhone X motherboard.
Cover the pad face-down on the solder joint. Solder with Hot Air Gun at 300℃, air flow 2.
Tips: when soldering, press the pad gently with tweezers to ensure that the height of the pad is consistent with that of nearby pads.
Once done, apply some UV curable solder mask to the pad.
And then solidify under the UV Lamp for 10 minutes.
Continue to scrape with sculpture knife to get the pad exposed.
Clean with PCB Cleaner afterwards. Now we can test the upper layer and the lower layer with the test fixture. Attach the two layers to the test fixture.
Get the screen connected. Connect the battery connector with the DC Power Supply.
Get the motherboard powered on with tweezers. The phone turns on normally. Enter the passcode. The phone enters the home screen normally.
Touch function is also normal. We can confirm now that the fault is caused by pseudo soldering of the third space PCB. We can fix the problem by soldering the two layers back together.
Put the lower layer into the reballing mold. Get the BGA Reballing Stencil in position.
Place the mold onto the base. The stencil is tightly attached to the lower layer because of the magnetic structure of the base. Smear some low-temp Solder Paste on the stencil.
Wipe off excess solder paste with lint-free wiper. Then take the mold down from the base. Remove the reballing stencil.
Heat the lower layer on the heating platform at 160℃.
Once solder balls have shaped up completely. Cool for 5 minutes. Apply some BGA Paste Flux to the third space PCB.
And get the upper layer in position.
Power on the heating platform. With the temperature reaching 160℃.
Turn the power switch off. Cool for 5 minutes.
Then take down the motherboard from the heating platform.
Again, let’s assemble the phone and test. Fault cleared.
Hello guys, today we will walk you through repair tricks for desoldering&soldering of iPhone X charging IC.
First, stick high-temperature tape on components around the charging IC to protect them from pseudo soldering/bridging during the operation.
Then apply some paste flux around the charging IC.
Set temperature of the QUICK 990 AD Vertical Wind Hot Air Gun at 330℃, air flow 3. Keep the hot air gun at 5mm-10mm height from the charging IC.
Heat for around 15s-20s, then pry up the charging IC. Tips: control the force applied when prying up the IC. Rough operations might damage the chip or the bonding pad.
Continue to apply some medium-temp solder paste to the bonding pad. Heat with the QUICK 990 AD Vertical Wind Hot Air Gun at 280℃, air flow 3.
Meantime, clean solder joints on the bonding pad with Soldering Iron at 360℃. Once done, clean the pad thoroughly with rosin soaked solder wick.
Also, be careful with your operation here. Rough operations might result in pseudo soldering/bridging of components around
Clean with PCB Cleaner afterward.
Now we need to clean solder joints on the backside of the charging IC.
Apply some medium-temp solder paste to the bonding pad on the backside. Clean the pad with Soldering Iron at 360℃.
Also, you can apply some paste flux for better cleaning.
Once done, clean with PCB Cleaner. Tips: don’t be too strict with solder joints on the pad. You can keep several solder joints for the sake of perfect reballing afterwards.
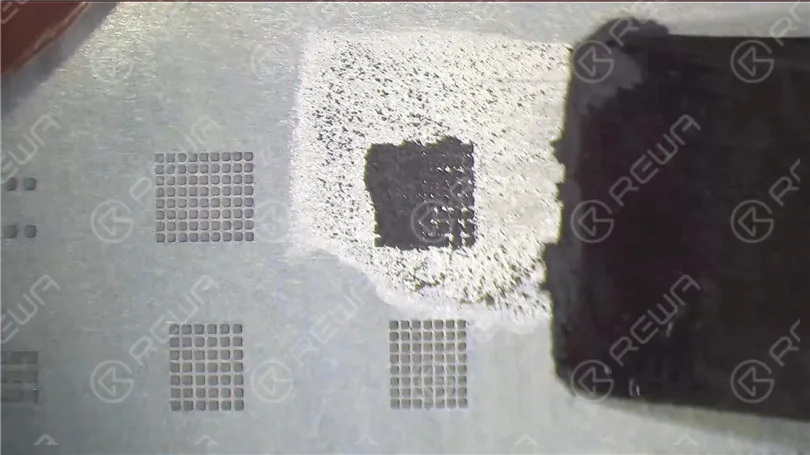
Let’s move on to the reballing process. Get the BGA Reballing Stencil in position. Apply some medium-temp solder paste with BGA Scraper.
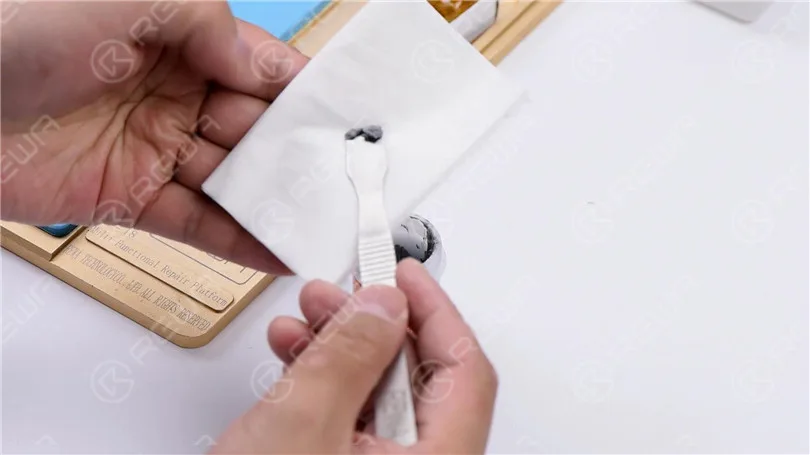
Then apply the solder paste to a facial tissue. This is to dry the solder paste by wrapping in the facial tissue.
So that the solder paste can be well prepared for reballing. Wettish solder paste might result in bridging during reballing. Continue to smear medium-temp solder paste evenly on the stencil. Wipe out needless solder paste with lint-free wiping cloth.
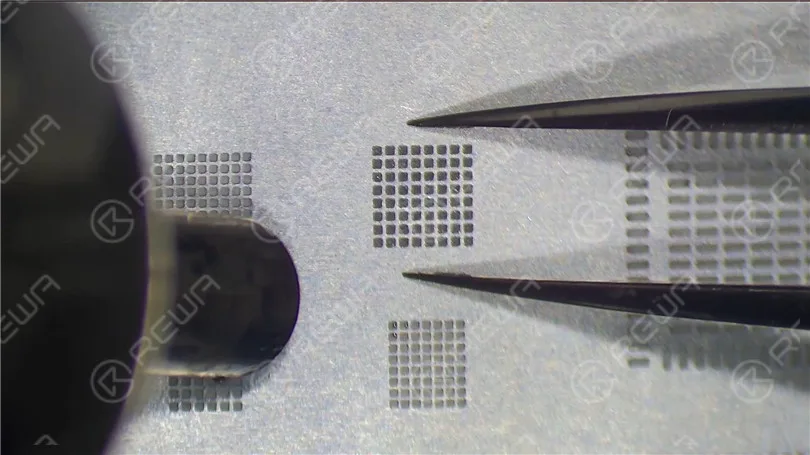
Apply pressure to the BGA Reballing Stencil with tweezers. Heat with the QUICK 990 AD Vertical Wind Hot Air Gun at 300℃, air flow 3. So that all solder balls can solidify completely.
Tips: when heating, the hot air gun should approach from far to near from edges to the center.
Concentrated heating might get the stencil deformed. The shaping-up process of solder balls might also be affected.
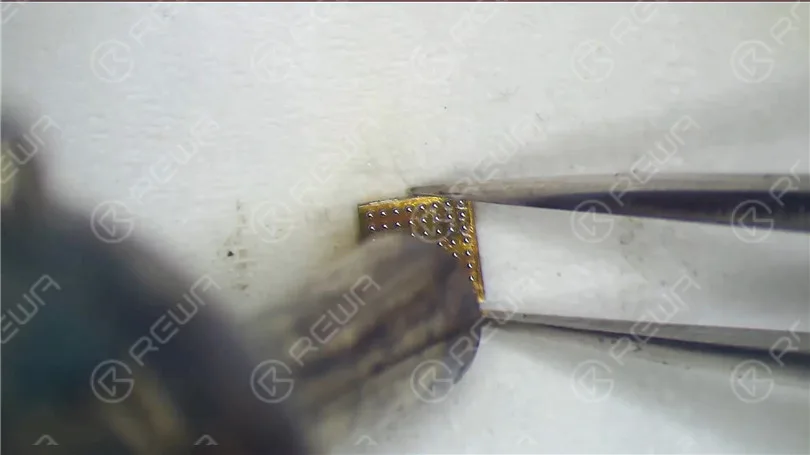
Once done, cool for 1 minute. Clean with PCB Cleaner afterwards. Separate the chip from the stencil with tweezers gently. Then clamp the chip with tweezers.
Heat again with the QUICK 990 AD Vertical Wind Hot Air Gun at 300℃, air flow 3. This is to ensure the perfect formation of solder balls.
Now we can solder the charging IC. Apply some paste flux to the bonding pad.
Get the charging IC in the right position.
Do not place it in the wrong direction. Solder with the QUICK 990 AD Vertical Wind Hot Air Gun at 330℃, air flow 2. 15s-20s later, with the IC sinking and paste flux overflowing.
Continue heating for like 5 seconds. Once done, clean with PCB Cleaner.
Feel free to visit REWA Academy to study more phone repair techniques and skills.
Having trouble signing in to your Apple ID on your new iPhone 12? Don’t worry, you’re not alone. This guide will provide you with practical solutions to resolve Apple ID sign-in issues on your iPhone 12. Whether it’s a network problem, forgotten password, or system error, we’ve got you covered. Follow these troubleshooting steps to regain access to your Apple ID and enjoy all the features and services it offers.
Network Issues
Restart your device: A simple restart can often fix temporary network glitches that might prevent you from signing in.
Check Apple System Status: Visit the Apple System Status page to ensure that the Apple ID service in your country or region is not experiencing any interruptions.
Change network environment: If possible, switch from Wi-Fi to cellular data or vice versa, and attempt to sign in again. Sometimes, network inconsistencies can hinder the sign-in process.
Reset network settings: If changing the network doesn’t help, you can reset your network settings by navigating to “Settings” > “General” > “Reset” > “Reset Network Settings.” Note that this action will erase stored network settings but won’t affect your data.
Apple ID Deactivation or Forgotten Password
Reset your password: If you or someone else entered your password incorrectly multiple times, your Apple ID might be disabled for security reasons. Visit the Apple ID Account Management page to reset your password and regain access to your account.
Apple ID locked for security reasons: If you see messages like “For safety reasons, this Apple ID has been disabled” or “You can’t sign in because your account has been disabled for security reasons,” follow the steps provided on the Apple ID Account Management page to unlock your account.
System Error
Back up important data: Before attempting any system-related fixes, it’s crucial to back up your important data to ensure its safety.
Update your device: Check for the latest iOS updates by going to “Settings” > “General” > “Software Update.” Install any available updates as they often include bug fixes and improvements that can resolve system-related issues.
Sign in after updating: Once your device is up to date, try signing in to your Apple ID again. The updated software might fix any glitches or errors encountered during the sign-in process.
Conclusion:
Don’t let Apple ID sign-in issues hinder your experience with your new iPhone 12. By following the troubleshooting steps outlined in this guide, you should be able to resolve network-related problems, recover your account if it’s been disabled or locked, and address system errors. Remember to keep your device updated to ensure optimal performance and security. Enjoy seamless access to your Apple ID and all the services it offers.
Dot projector parts are extremely fragile. A fall or water damage may harm dot projector parts, inducing Face ID not working.
This article explores a breakthrough method developed by REWA LAB for repairing Face ID, making it accessible and effective.
The Problem
The heart of Face ID lies in the dot projector integrated circuit (IC), a critical and encrypted component. Replacing this IC necessitates a complex process involving data encryption bonding, which repair technicians typically find daunting.
The Solution
Fortunately, REWA LAB has devised a streamlined and efficient approach to resolve Face ID issues.
The step-by-step guide presented here will help you understand and perform the repair procedure.
Step 1: Initial Diagnosis
Begin by navigating to your device’s Settings, then select “Face ID & Passcode” and “Set Up Face ID.”
During the setup process, you may encounter the message “Move iPhone a little lower/higher.” This indicates a malfunction in the dot projector.
Step 2: Disassembly
To access the dot projector, remove the device’s display.
If you observe a red mark, it suggests that the phone has experienced water damage.
Connect the dot projector flex cable to the I2C Repair Programmer and perform a diagnostic test, confirming a malfunction.
Step 3: Data Transfer and Crystal Fix
Use the programmer to read data from the malfunctioning flex cable.
Replace the flex cable with a new one and transfer the previously read data.
Apply a small amount of UV adhesive to secure the crystal of the dot projector flex cable using a UV lamp.
Step 4: Removing the Dot Projector
Remove the foam covering the back of the dot projector.
For precise alignment during reassembly, mark the module with a Sculpture Knife.
Lift the metal plate to access the dot projector flex cable beneath.
Step 5: Precision Work
Utilize a Holding Fixture for precise handling of the Face ID module.
Grind the welding position of the metal plate to access the dot projector.
Carefully detach the dot projector module using a Hot Air Gun.
Remove the MOSFET by heating at 320°C.
Step 6: Soldering and Reassembly
Apply Solder Paste to the bonding pad with a Soldering Iron and jump wire between pins 2 and 3 of the MOSFET using 0.02mm copper wire.
Clean the dot projector module with rosin and solder-wick, followed by PCB Cleaner.
Reball the new flex cable, apply Paste Flux, and solder it to the dot projector module.
Step 7: Testing and Final Assembly
Connect the soldered flex cable to the I2C programmer and run a test.
If the test passes, attach the flex cable to the Holding Fixture and align it with the dot projector module.
Apply 460 Adhesive to secure the components.
Install the flex cable in the phone.
Power up the device and configure Face ID settings.
Conclusion
By following these meticulous steps, you can successfully restore your device’s Face ID functionality. The fault will be cleared, and your phone will regain its secure and convenient authentication feature.
Please feel free to visit our online shop for repair parts and tools.
Watch the video below to get a more detailed iPhone 11 Pro Max Face ID repair.
Many iPhone 8 and iPhone 8 Plus users have reported experiencing low call volume, making it difficult to hear during phone calls. Since making and receiving calls is one of the most basic functions of a mobile phone, solving this issue is crucial. Below, we’ll cover several troubleshooting steps to help resolve low call volume on iPhone 8/8 Plus.
Identify the Cause of Low Call Volume
Before diving into solutions, it’s important to identify the root cause of the low call volume. Here are a few checks you can perform:
Step 1: Check Volume Levels
Make sure the call volume on your device isn’t set to a low level by using the volume buttons.
Ensure it’s not the caller’s microphone or volume settings causing the issue.
Step 2: Check for Low Volume During Calls
If the volume is still low during calls, consider the following:
The issue could be with the caller’s microphone.
Verify that your phone’s receiver isn’t obstructed by a case or screen protector.
Check your network signal strength to ensure it’s not a connection issue.
Inspect your phone’s settings for any misconfigurations affecting the call volume.
Troubleshooting Methods to Resolve Low Call Volume
Once you’ve identified the potential cause, try the following troubleshooting methods to fix the problem:
Method 1: Increase Volume
Press the volume up button on the side of your iPhone during a call to increase the call volume.
Method 2: Enable Hearing Aid Compatibility
Navigate to Settings > General > Accessibility.
Under Hearing Devices, enable Hearing Aid Compatibility to enhance the audio.
Method 3: Adjust Phone Noise Cancellation
Go to Settings > General > Accessibility.
Under Audio/Visual, toggle off Phone Noise Cancellation. This can sometimes improve the call volume, especially in noisy environments.
Method 4: Use Original Headphones
Insert Apple’s original headphones during a call, and then unplug them. This method has resolved low call volume issues for some users by resetting the audio pathways.
Method 5: Restart Your Phone
If none of the above steps work, try restarting your iPhone. Sometimes, a simple restart can fix minor glitches affecting the call volume.
Method 6: Update or Delete Apps
If you experience low call volume while using certain apps, it may be due to an app issue. Check for updates or uninstall the app if it continues to cause problems.
What If None of the Methods Work?
If the low call volume problem persists after trying all the methods above, there may be a deeper hardware issue or software glitch. In this case, it’s recommended to:
Seek further technical assistance.
Contact Apple Support for more advanced troubleshooting or repairs.
Conclusion
While a low call volume on your iPhone 8/8 Plus can be frustrating, the issue is often resolved through a few simple troubleshooting steps. From adjusting your phone’s volume settings to enabling Hearing Aid Compatibility, these methods can help you improve your call experience. If these solutions don’t work, seeking professional help from Apple Support may be necessary.
Compared with the iPhone 11 series, the motherboard separation of the iPhone 12 has become more difficult with different components structure.
Today, REWA LAB will separate the iPhone 12 motherboard, demonstrating the separation and recombination operation process.
This article will give you a comprehensive analysis of the structure and repair difficulties.
Part 1 Motherboard Separation
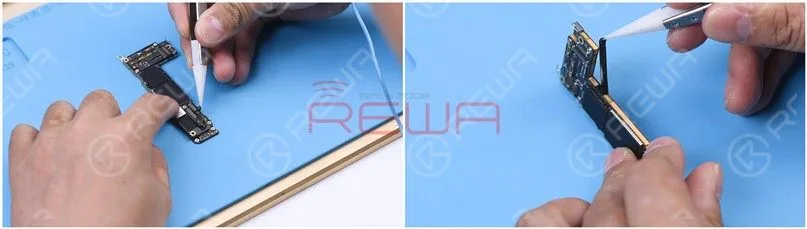
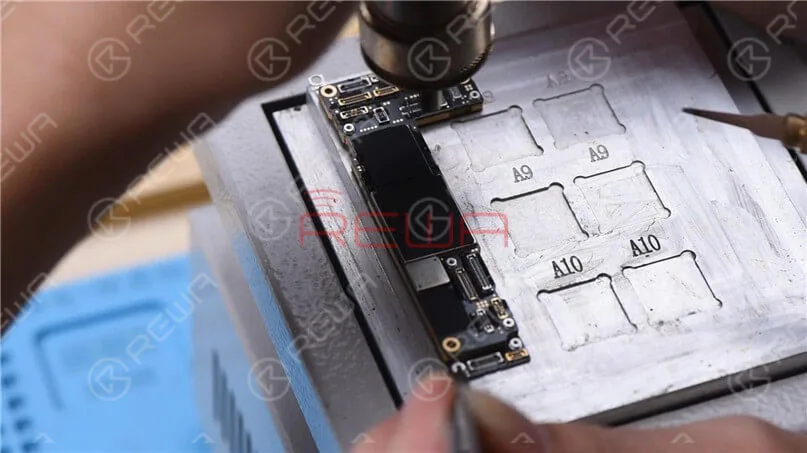
Remove the foam on the motherboard with tweezers and then take the sticker around the motherboard off.
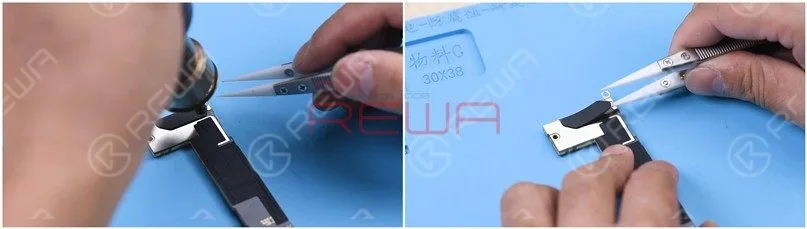
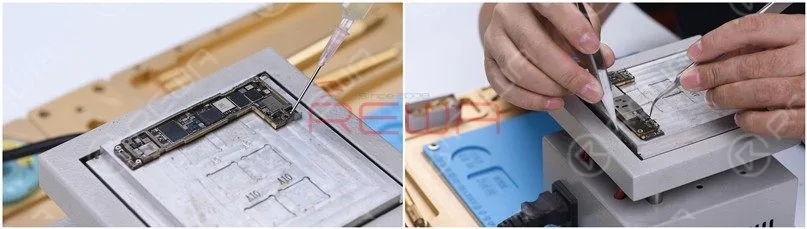
Heat the motherboard with Hot Air Gun at 180℃ and remove the plastic part.
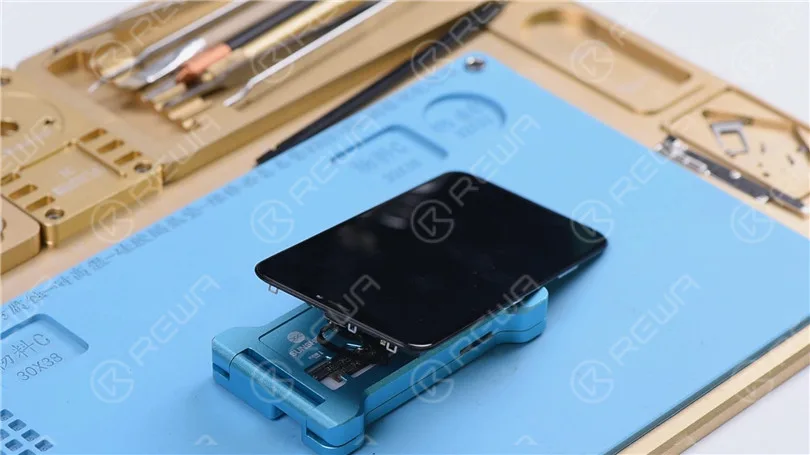
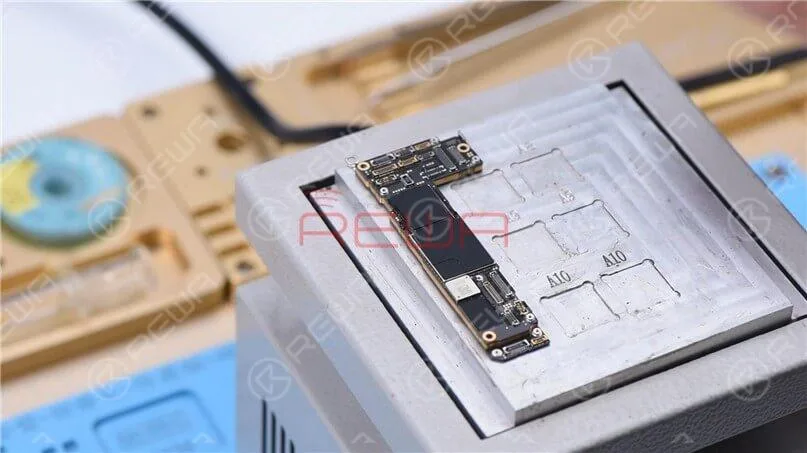
Put the motherboard on the Heating Platform.
Since the Heating Platform for iPhone 12 has not come out yet, we adopt the universal Heating Platform.
Please notice that it requires two people to separate the motherboard here.
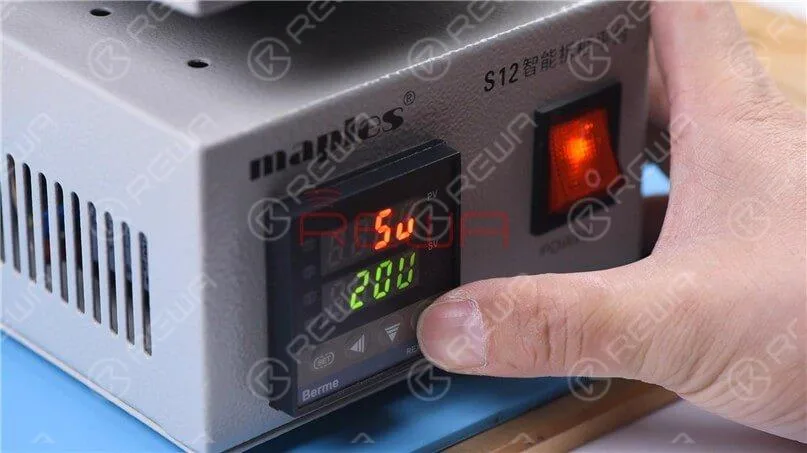
Besides, since the middle layer of the iPhone 12 motherboard uses middle-temperature tin soldering which is different from the low-temperature tin adopted in iPhone 11 Pro, the temperature of the heating platform needs to be adjusted to 200℃.
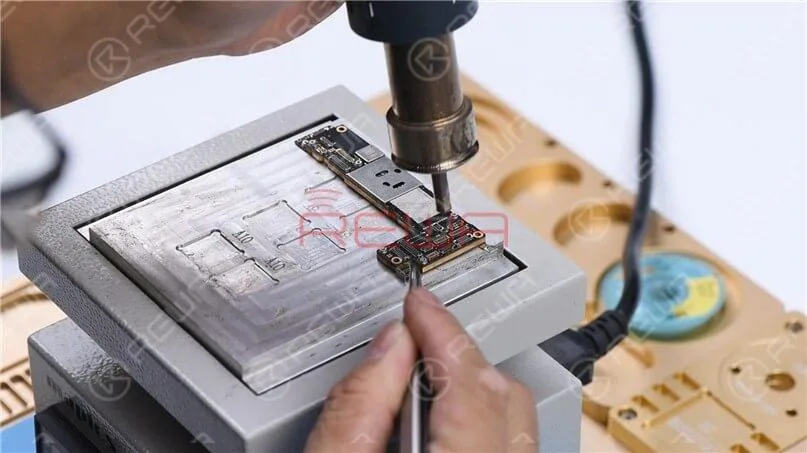
When the temperature reaches 200℃, heat the edge of the motherboard with rotational air (QUICK 861D Hot Air Gun at 320℃).
Please be noted that excessive heating may lead to pseudo soldering or falling off of parts.
Two rounds of vertical heating are advisable.
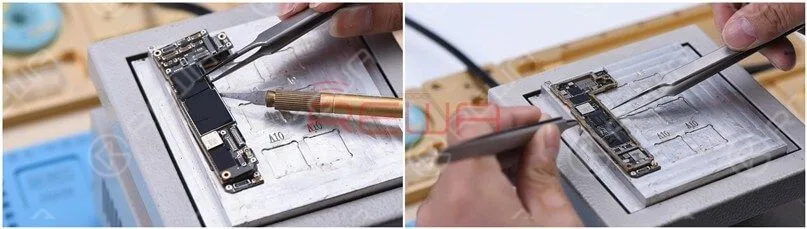
Remove the upper layer and lower layer.
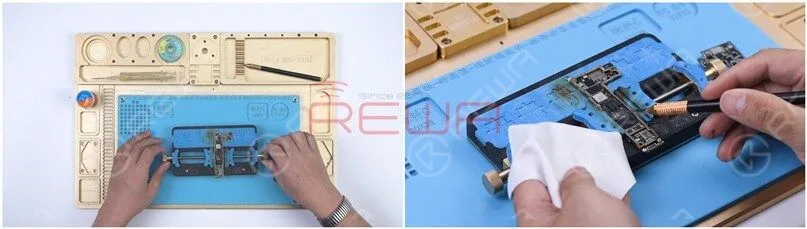
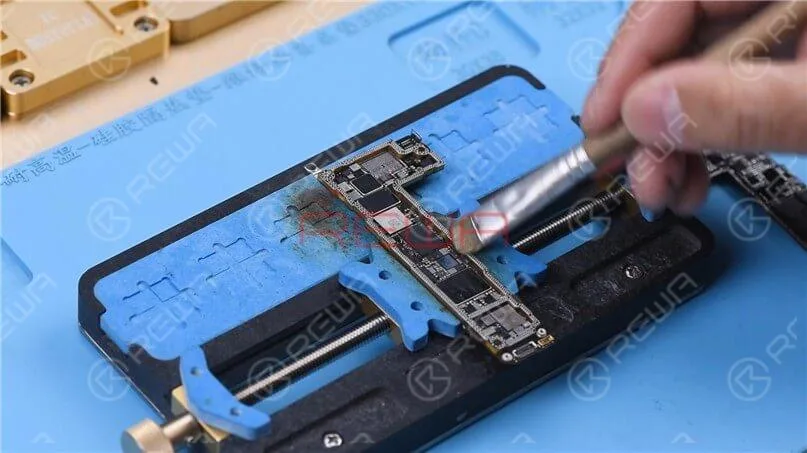
Attach the lower layer to the PCB Holder and remove the thermal grease.
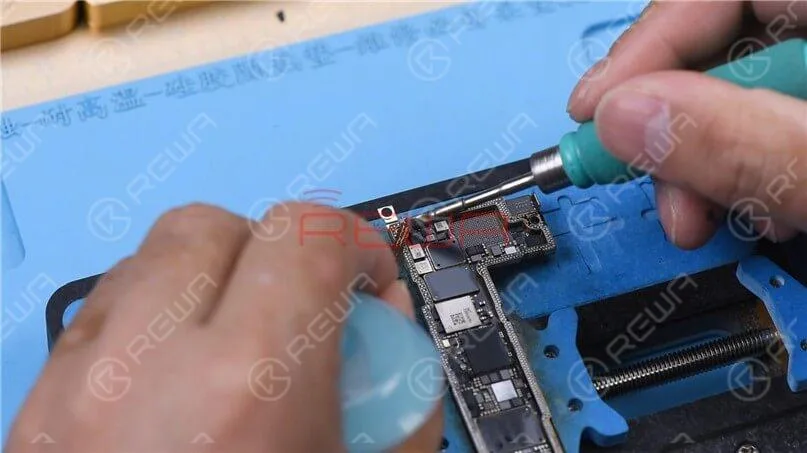
To clean the tin on the bonding pad, smear rosin with Soldering Iron at 400℃ and solder-wick.
The middle layer of the motherboard uses middle-temperature tin soldering, which makes it harder to clean than the low-temperature tin.
Clean the bonding pad with PCB Cleaner and then handle the upper layer in the same way.
Part 2 Motherboard Recombination
Then we recombine the upper layer and lower layer.
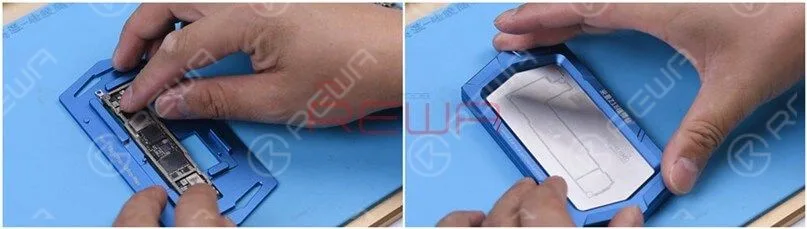
Attach the lower layer to the Reballing Platform and put the Reballing Stencil in position.
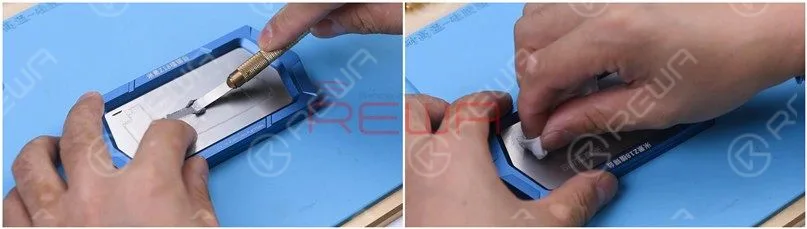
Apply some middle-temperature Solder Paste and wipe residual Solder Paste with lint-free wipe.
Heat the lower layer with the Heating Platform at 200℃.
After the solder ball is formed, turn the power off and cool the motherboard for 5 minutes.
Apply some Paste Flux to the bonding pad evenly.
Align the upper layer with the lower layer.
After the alignment, keep heating the motherboard at 200℃.
To add extra heat, heat along the edge of the motherboard with Hot Air Gun at 320℃.
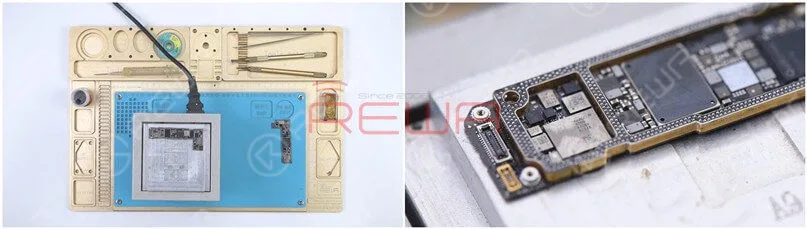
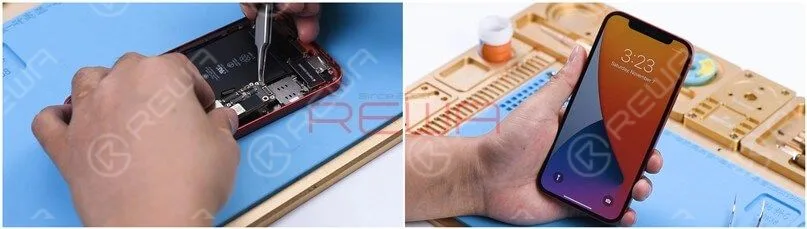
After cooling the motherboard for 5 minutes, put it back on the phone.
Boot up and test. The phone turns on normally.
Part 3 Motherboard Appearance Comparison
The iPhone 12 in our hand is not a U.S. version.
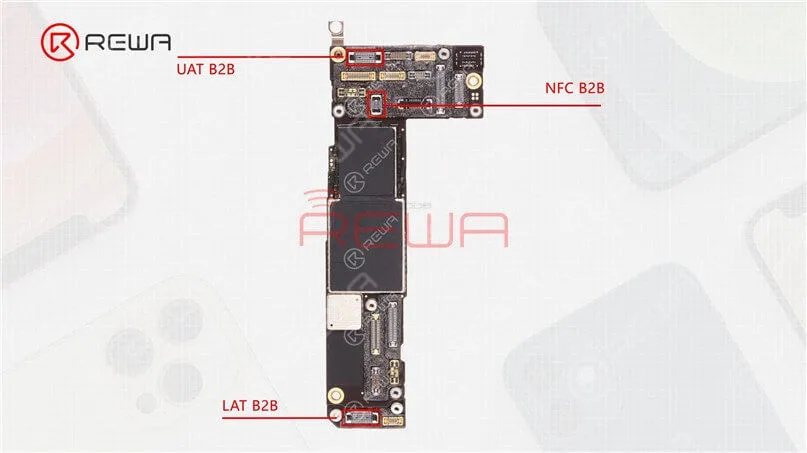
As its 5G network frequency band adopts the Sub-6G, there are primarily three antenna connection seats (upper antenna, NFC antenna, and lower antenna).
By contrast, the U.S. version iPhone will feature an extra mmWave antenna while the motherboard will have an additional mmWave antenna connector seat.
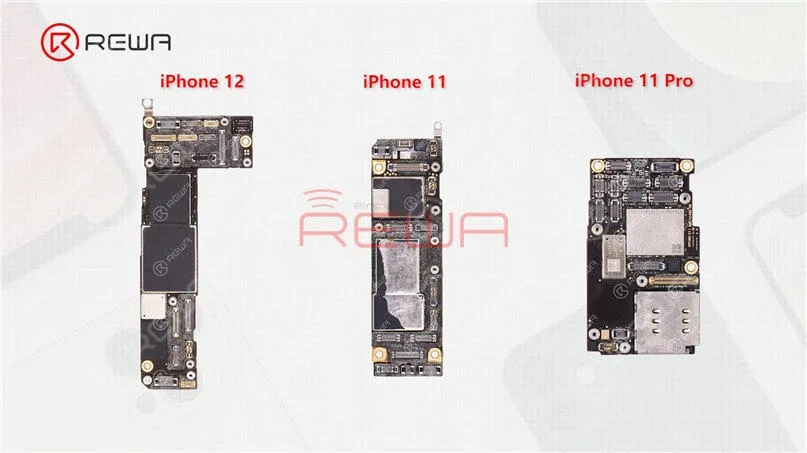
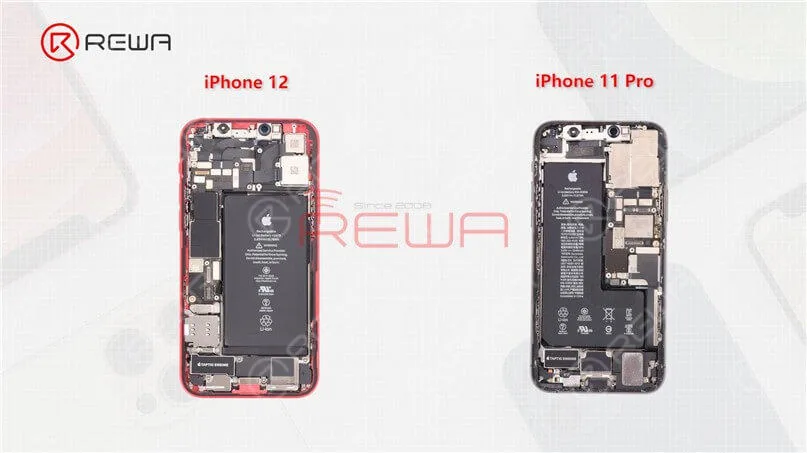
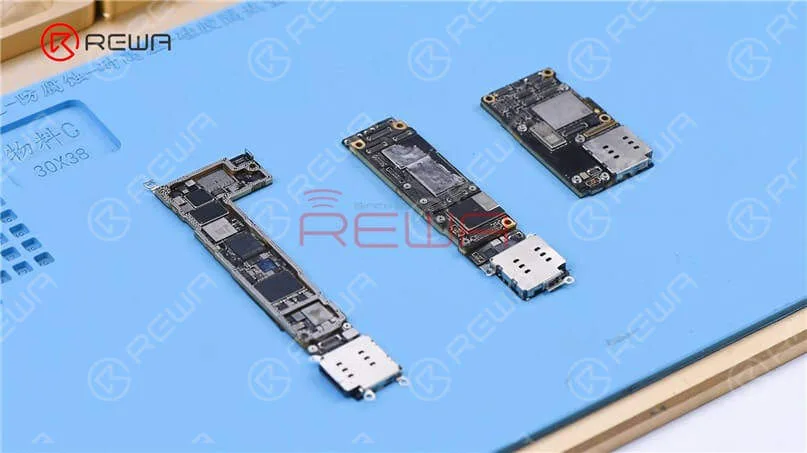
In addition to differences in the outer look, the layout of the three motherboards is also different.
The motherboard of the iPhone 12 is placed on the left while the motherboard of the iPhone 11 and iPhone 11 Pro is placed on the right.
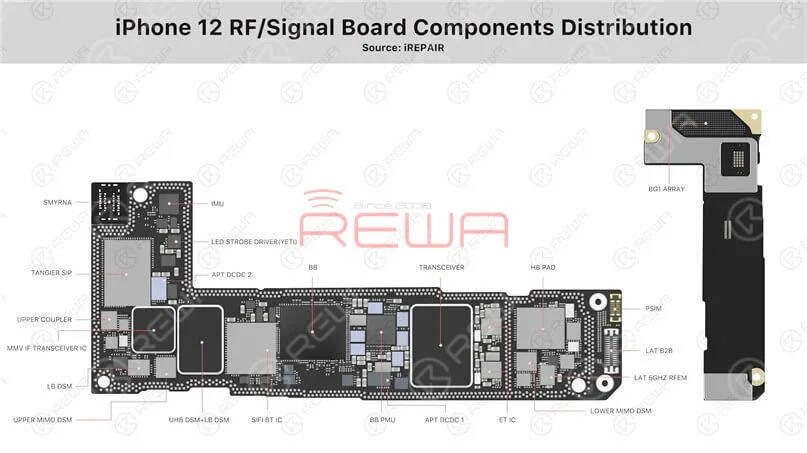
As the new iPhone 12 lineup requires the baseband and chip of 5G to be added to the motherboard,
Apple may need to redesign the motherboard and its layout.
Next, let’s take a look at the separation of the iPhone 12 sandwich board.
Part 4 Analysis of the motherboard
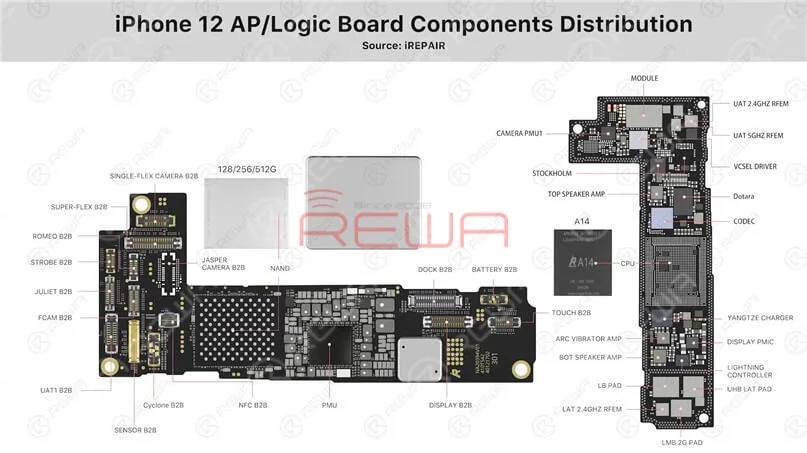
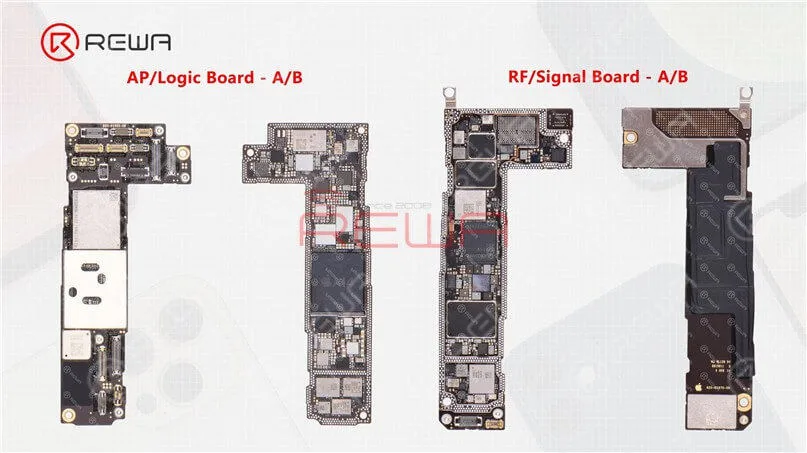
(1) The upper layer and lower layer of the iPhone 12
As we mentioned in our previous video, the motherboard of the iPhone 12 and iPhone 12 Pro is almost identical in appearance with the double-stacked soldering.
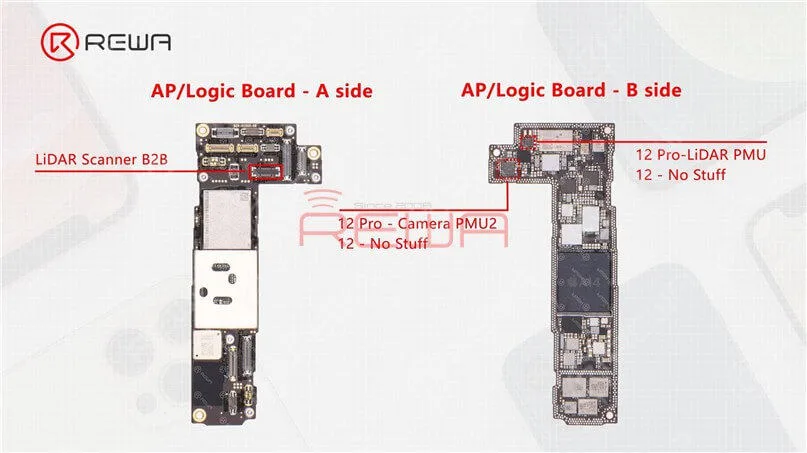
The sole difference is that the connecting part of the LiDAR Scanner on the iPhone 12 motherboard has no stuff.
Beyond that, we can see two empty parts on the upper layer after separation.
The two parts are additionally reserved for the Camera PMU2 and LiDAR PMU on the iPhone 12 Pro motherboard.
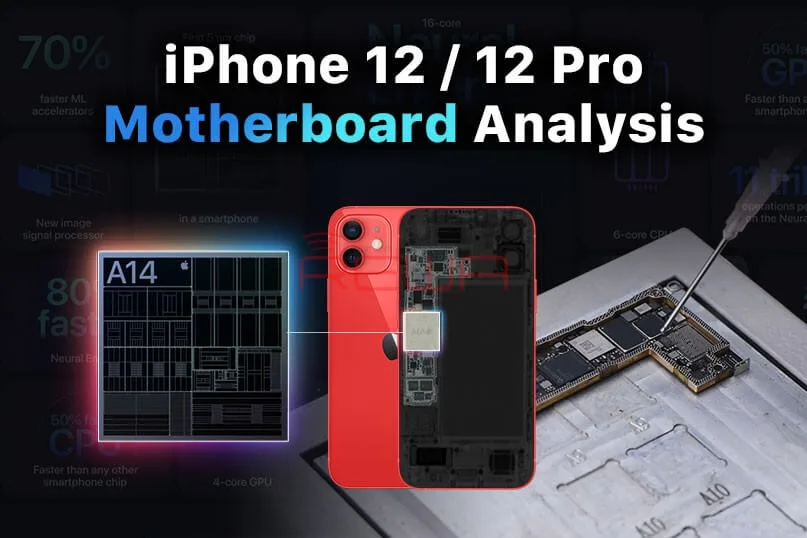
(2) A14 Chip
The A14 chip nanometer process, which develops from the A13 chip, goes from 7nm to 5nm.
As the first 5-nanometer chip in the industry, A14 Bionic is faster than every other smartphone chip.
With A14 Bionic, the CPU, GPU, and machine learning abilities of the iPhone 12 lineup have been improved substantially.
(3) Power Management Chip
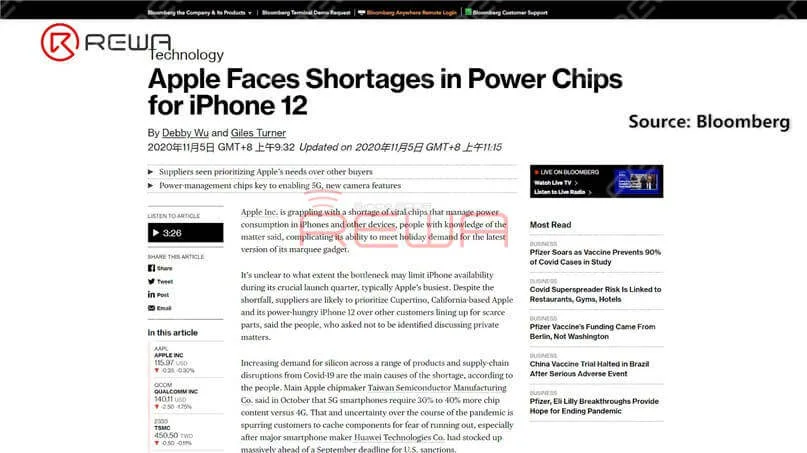
According to Bloomberg, Apple is said to face shortages in power chips for iPhone 12.
Power management is more important in the iPhone 12 than for its predecessors given additional camera features and 5G capabilities, increasing Apple’s need for these parts.
(4) Card Slot
The SIM card slot of the iPhone 12 series adopts a stand-alone design that is connected via flex cable.
In case of any fault related to the card slot during repair, you only need to replace the stand-alone card slot.
For comparison, the iPhone 11 card slot is also connected to the motherboard via flex cable, but it is embedded on the motherboard for iPhone 11 Pro series.
(5) Lightning Connector Flex Cable
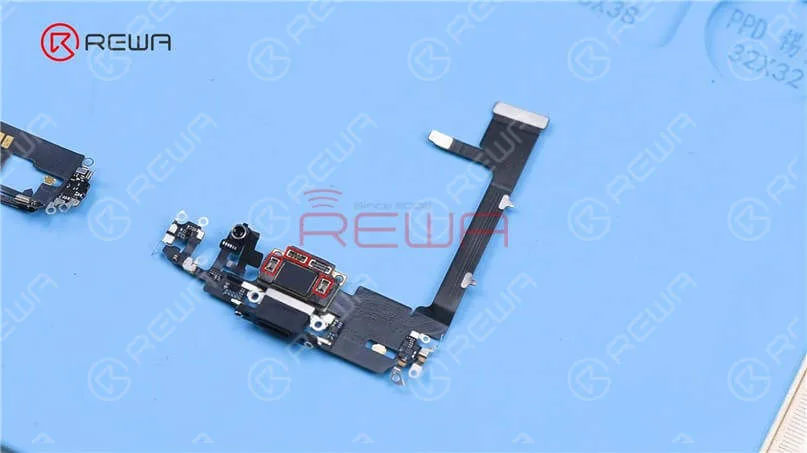
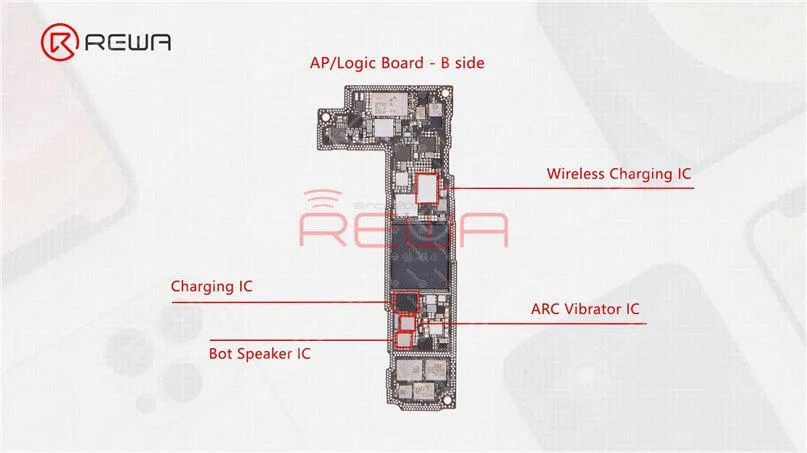
The lightning connector flex cable of the iPhone 11 Pro integrates Bot Speaker IC, ARC Vibrator IC, Charging IC, and Wireless Charging IC, which increases the possibility of functional failure in the case of water damage or heavy fall.
But these ICs are back on the iPhone 12 motherboard, which not only reduces the possibility of lightning connector functional failure but also makes it easier to repair in the case of water damage or heavy fall.
(6) Face ID Parts Comparison
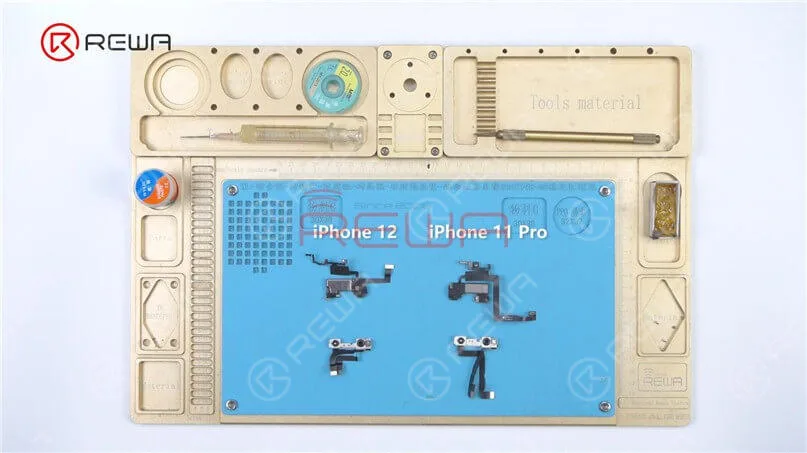
Take the Face ID parts of the iPhone 12 and iPhone 11 Pro to compare.
In appearance, the iPhone 12 Face ID front camera module looks much the same as the previous iPhone 11, with some changes to the metal frame and flex cable.
The layout of the infrared camera, front camera, and dot projector remains unchanged.
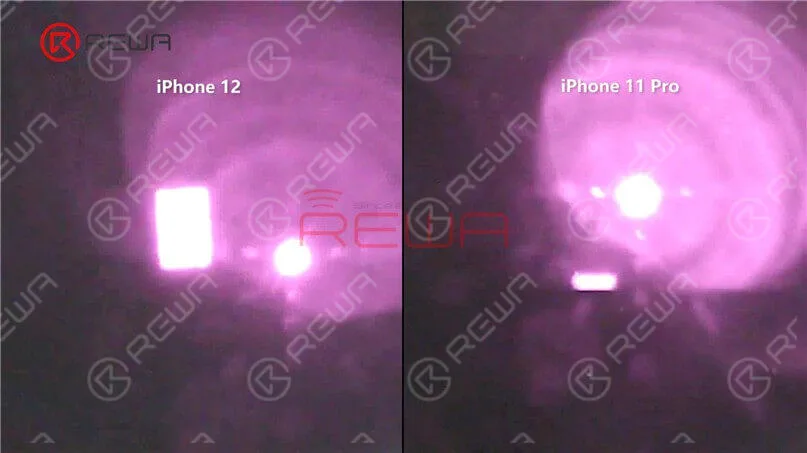
It can be seen from the microscope and camera lens that the flood illuminator module at the ear speaker flex cable is different.
The lighting area of the iPhone 12 flood illuminator is larger.

 English
 Español
 Français
 Deutsch
 Italiano