Tag: iPhone x

  • Riparazione del Face ID di iPhone X non funzionante

    Riparazione del Face ID di iPhone X non funzionante

    With the diffused application of Face ID on iPhone X – 11 series, Face ID failure also appears at a high frequency.

    As our previous Face ID teardown video has introduced, Face ID can be easily damaged and hardly repaired. If the problem is related to the flex cable, then it’s simple.

    However, based on statistics of REWA chip-level motherboard repair service, Face ID failure is caused by damage of the Flood illuminator/Dot Projector in most cases, which can not be repaired.
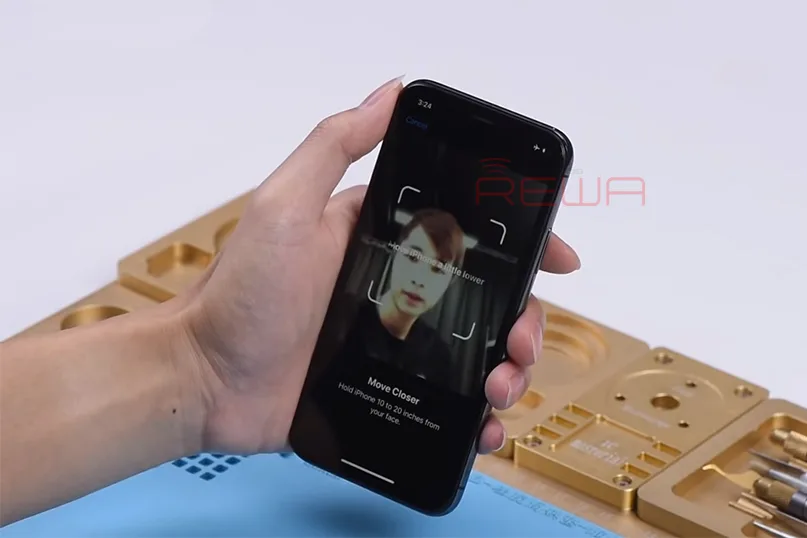
    face id setup not working

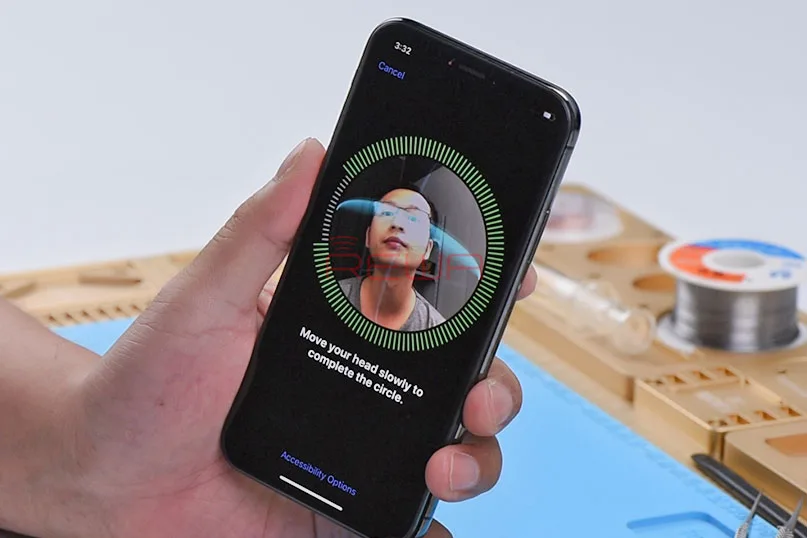
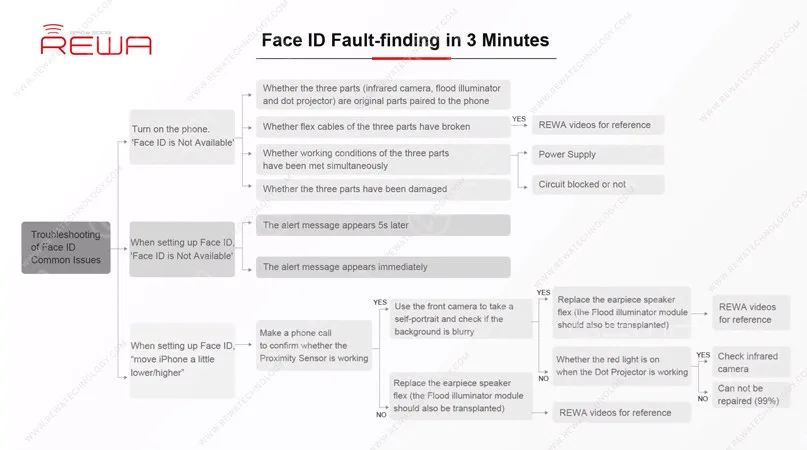
    Today, we want to share a case about ‘move iPhone a little lower/higher when setting up Face ID’ and show you how our technicians find out the fault in 3 minutes with the help of REWA exclusive repair tricks on Face ID troubleshooting. Let’s get started!

    Face ID Not Working Malfunction

    The phone keeps sending messages: ‘move iPhone a little lower/higher’ during the setting up process of Face ID. It means that Face ID cannot be set up successfully on the phone.
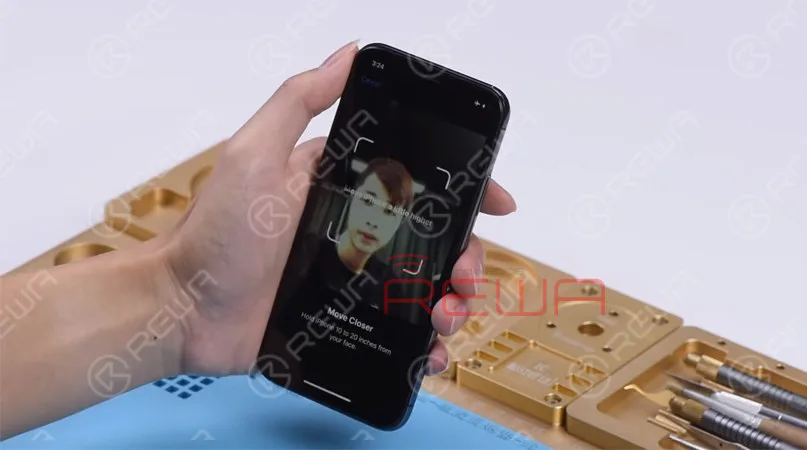
    face id is not available

    Face id not available troubleshooting

    Now, let’s find out the fault step by step.

    Step 1 Test The Flood Illuminator

    Based on REWA exclusive repair tricks, let’s start with the Flood Illuminator. There are two important Face ID parts whose behavior relies on the support of the Flood Illuminator. In our daily repair work, we can test the Proximity Sensor and the Ambient Light Sensor to confirm whether the Flood Illunmunator is working normally.
    why is my face id not working

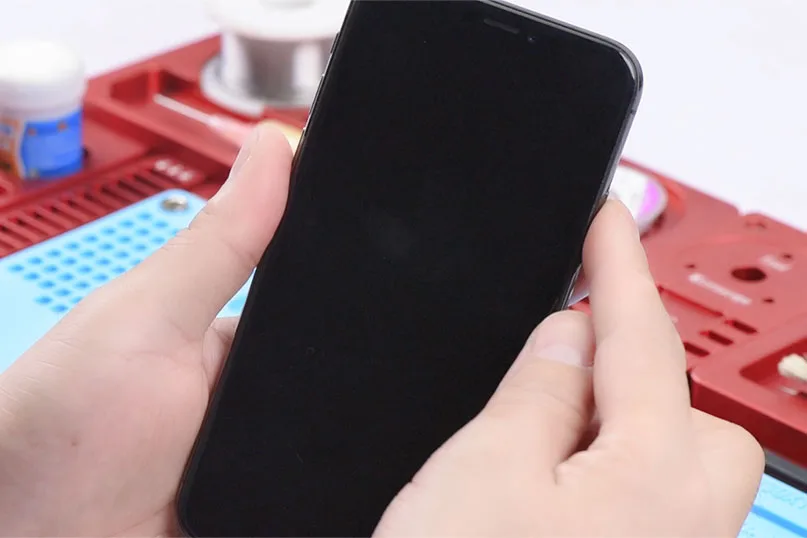
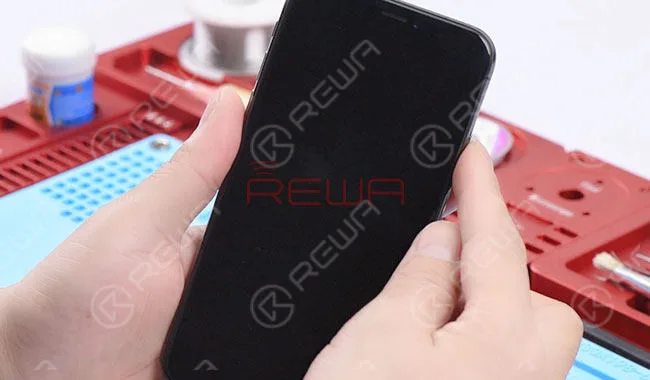
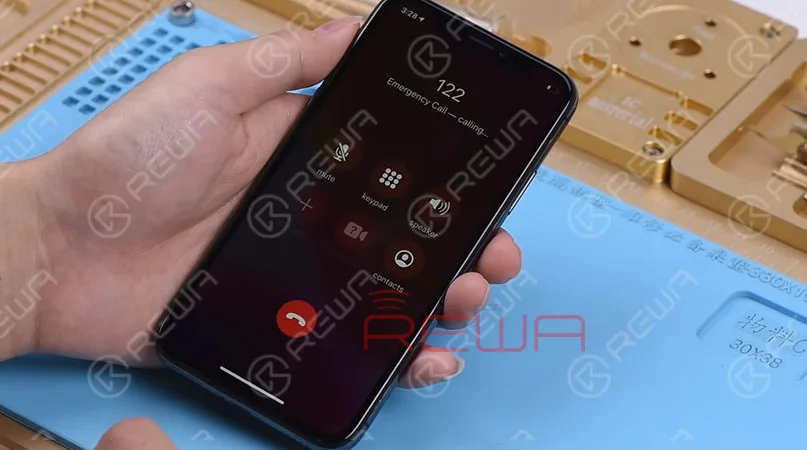
    Let’s make a phone call to confirm whether the Proximity Sensor is working.

    During the phone call, cover the top of the screen with one hand.

    We can see that the screen turns black immediately.

    Judging by this, the Proximity Sensor is working normally.
    how to fix face id

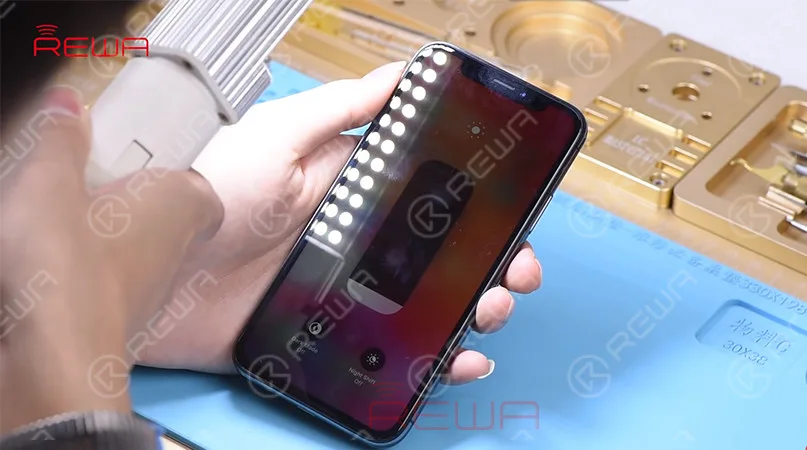
    Next, test the Ambient Light Sensor. Set the screen brightness to the lowest and then hold the phone under a bright light.

    With the screen getting brighter, we can confirm that the Ambient Light Sensor is also working normally. Judging by this, the Face ID failure is not caused by Flood Illuminator.
    my face id wont work

    Step 2 Test The Front Camera Parts

    Let’s move on to the next step of face id non funziona – test the front camera parts.

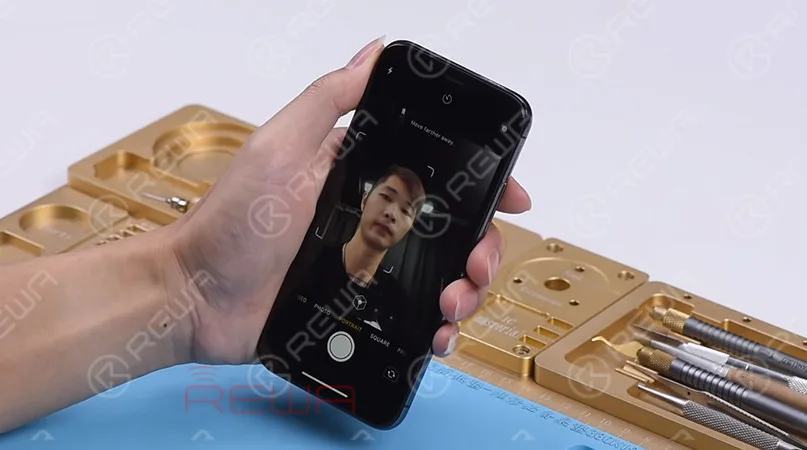
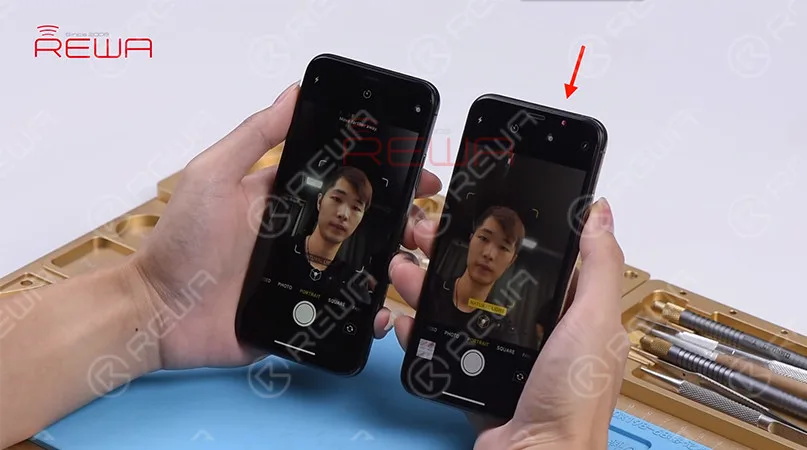
    Open the camera app and swipe to Portrait Mode. The background is not blurred, which is abnormal.
    why is face id not working

    Step 3 Observing The Dot Projector

    At the Portrait Mode, there is no flashing red light from the Dot Projector.

    But the Dot Projector should emit flashing red light in normal status.

    We can confirm now that the Dot Projector has malfunctioned.

    This is the fault that causes the Face ID to set up failure. And the problem cannot be fixed.
    why wont my face id work

    Suggerimenti:

    The three parts ( infrared camera, flood illuminator and dot projector) are paired to the phone. Damage of any one of them can cause Face ID failure and such an issue is irreparable.
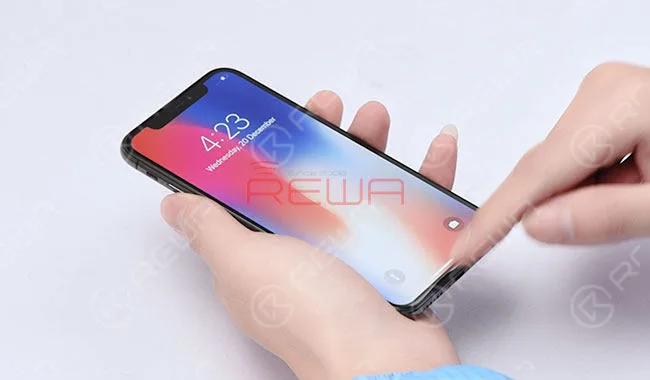
    Right now, Face ID failure has become a common problem in our daily repair work.

    Whether the problem you are dealing with can be repaired or not is really an important thing for repair technicians.

    Don’t worry! REWA exclusive repair tricks on face id non funziona can be a great reference for repair technicians to find out faulty positions and improve repair efficiency.
    For details of this case, please check out the YouTube Video below.

    Volete apprendere le conoscenze di base sulla scheda madre dell'iPhone, padroneggiare le tecniche di microsaldatura dell'iPhone, comprendere il flusso di lavoro dei diversi circuiti dell'iPhone, padroneggiare i processi di risoluzione dei problemi dell'iPhone e imparare i passaggi dettagliati per la ristrutturazione dello schermo e del vetro posteriore?

    Accademia REWA è una piattaforma che consente l'apprendimento delle tecniche di riparazione, la dimostrazione pratica e la condivisione di idee per gli operatori del settore della riparazione elettronica.

    You can also click the course link below to know more!

  • iPhone X continua a riavviarsi con linee verticali Risoluzione dei problemi

    iPhone X continua a riavviarsi con linee verticali Risoluzione dei problemi

    L'iPhone X presenta linee verticali sullo schermo e continua a riavviarsi? Come restringere le possibilità di errore escludendone una per una? Come confermare il guasto e risolvere il problema? Vediamo come si comporta l'ingegnere REWA. 

    Elenco degli strumenti:

  • iPhone X Data Recovery From Dead Motherboard

    iPhone X Data Recovery From Dead Motherboard

    iPhone X is “the future of the smartphone” according to Apple. There is no doubt that iPhone X brings many new experiences to users once again. However, users still can not avoid data loss in the process of using iPhone X. Of course, you can choose to restore from iTunes/iCloud backup to regain the lost data. Or you buy a data recovery software to regain. The premise of using these methods is your iPhone X can turn on normal. Many users usually ask that my iPhone fell in water and won’t turn on, can I get the data from a dead iPhone? So how to recover data when your iPhone won’t turn on?

    As we all know, it is very difficult for repair technicians to extract data from a logic board that cannot be powered up, which requires precise operation with circumspection. And that’s what our iPhone X data recovery case is about today. The iPhone X won’t turn on after water damage. And the problem remains the same after several times of logic board repair. Well, let’s see what REWA can do…

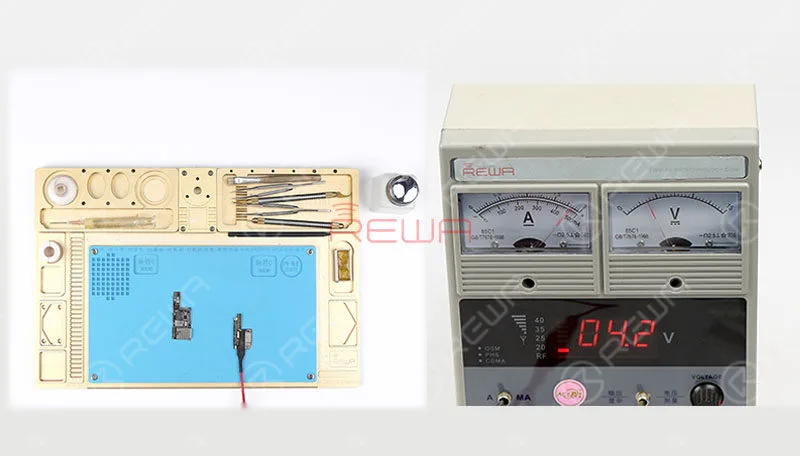
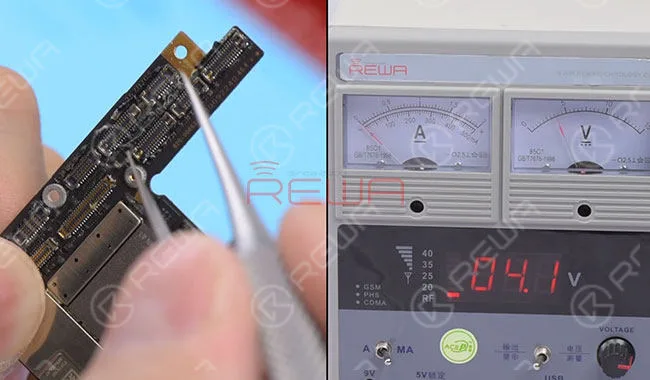
    Connect the battery connector on the upper layer with the Power Supplier and press power button to power on. Current reading on the ammeter is abnormal, so the PCB board might have been damaged.

    PCB board might have been damaged

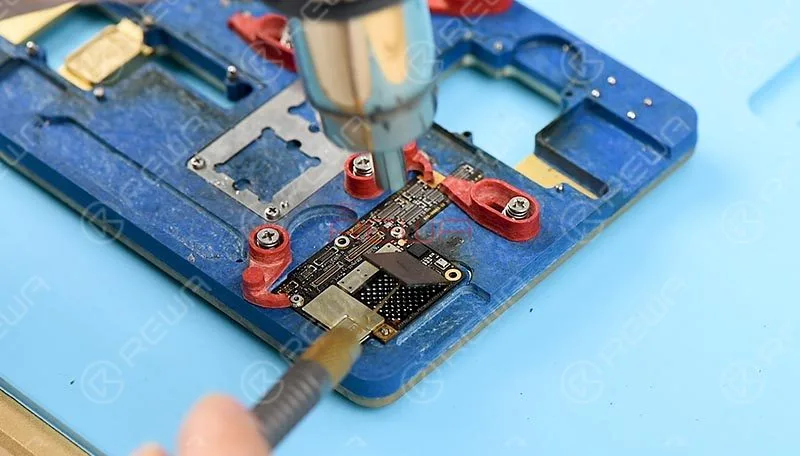
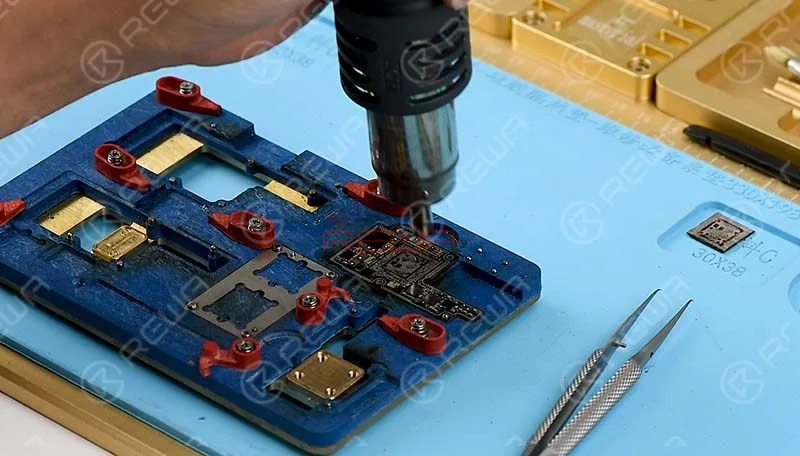
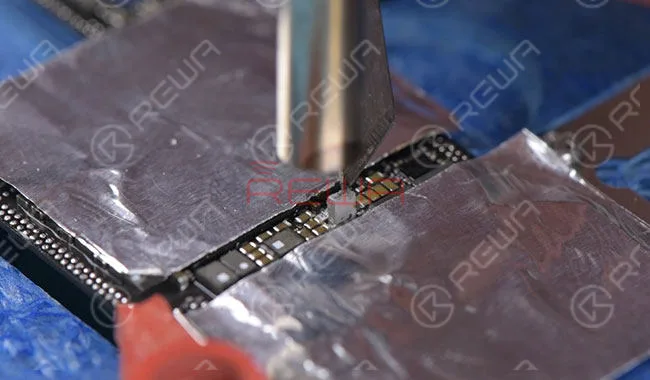
    To recover data, we need to transplant CPU, Baseband CPU, EEPROM, NAND and baseband EEPROM on the original motherboard onto a new motherboard that can turn on the phone normally. Attach the upper layer to the PCB Holder, Heat with the 858D Hot Air Gun to remove black adhesive around the NAND flash chip. Continue to heat and pry up the NAND flash chip with a specialized knife.

    NAND flash chip with a specialized knife

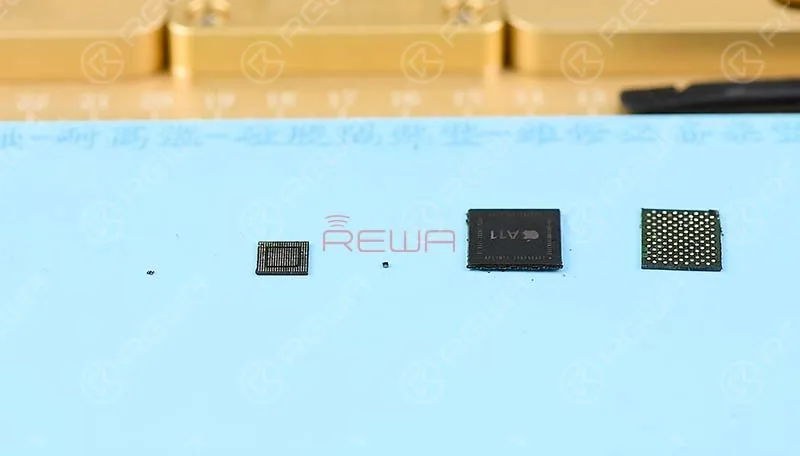
    Next, let’s detach CPU, EEPROM, Baseband CPU and Baseband EEPROM from the board with the same steps.

    EEPROM from the board with the same steps

    Now, we need to reball these detached components

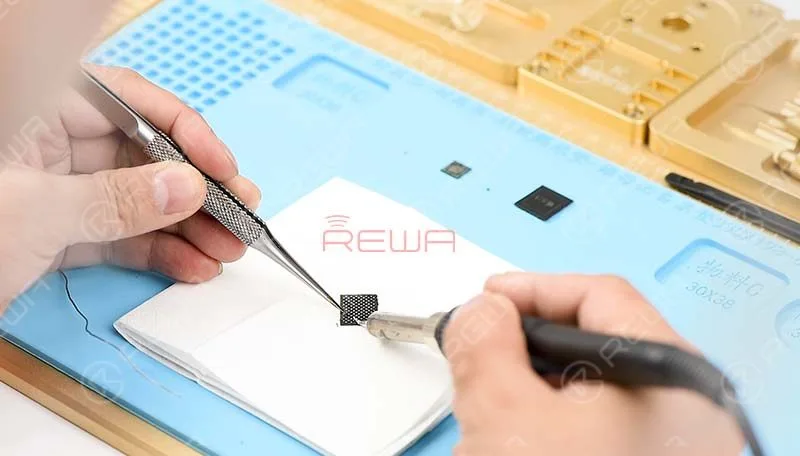
    Apply tins to the tip of the Soldering Iron, then clean tins and black adhesive on the NAND flash chip and clean with PCB Cleaner afterwards. Get the BGA Reballing Stencil in position, then Smear Solder Paste evenly on the stencil with BGA Scraper and heat evenly with the 858D Hot Air Gun. So that all solder balls can solidify completely. Once completed, wait for 1 minute. Then separate the NAND flash chip from the stencil.

    NAND flash chip from the stencil

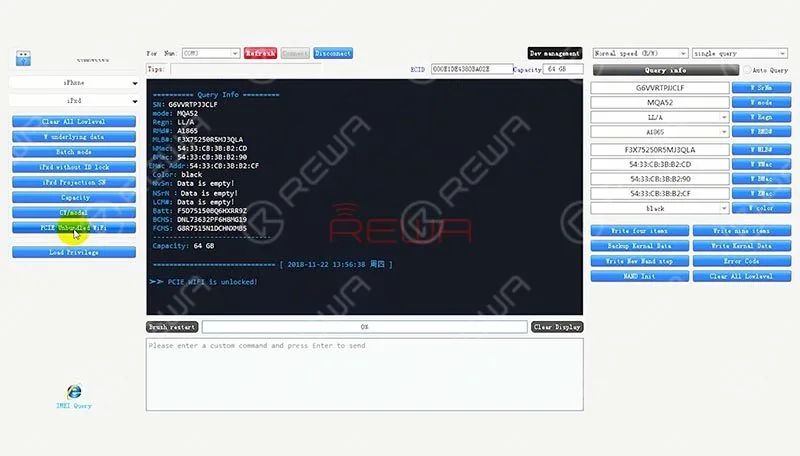
    Continue to reball the baseband CPU, CPU, EEPROM and baseband EEPROM with the same steps. Please be noted that the WiFi module is bound up with WiFi address stored in the NAND flash chip. So our next move is to unbind WiFi. Connect the PCIE NAND Flash Chip Programmer with computer and have the WiFi unbound. We have talked about iPhone keeps searching for signal and iPhone no service with hardware fix solution.

    iPhone no service with hardware fix solution
    motherboard to the new motherboard

    Now, we need to solder these detached components of the original motherboard to the new motherboard

    Apply some BGA Paste Flux to the bonding pad of the NAND flash chip, get the reball finished NAND flash chip in position, solder with the 858D Hot Air Gun.

    Continue to solder CPU, EEPROM, baseband CPU and the baseband EEPROM with the same steps. Once done, clean with PCB Cleaner.

    clean with PCB Cleaner.

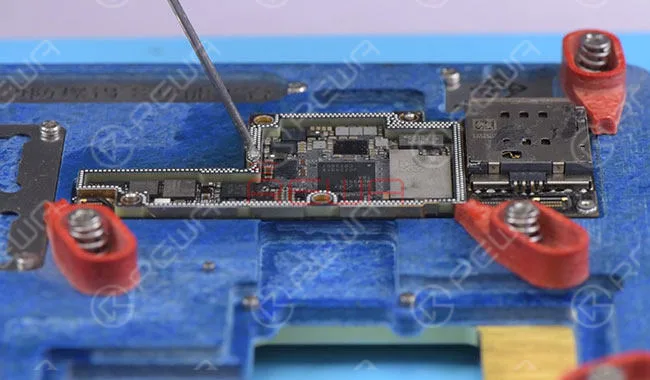
    Next thing we do is to solder the two layers together, we need to test the two layers before soldering. Attach the upper layer and the lower layer to the Holder. Connect the upper layer and the lower layer with the display assembly. Connect the battery connector with DC Power Supply to power on. Current reading on the ammeter is normal this time, the phone can get access to the home screen normally.

    phone can get access to the home screen normally

    Then, we need to reball the lower layer, once completed, wait for 1 minute. Then apply some BGA Paste Flux to cylinders around the edge. Attach the reball finished lower layer to the heating platform and get the upper layer in position.

    upper layer in position

    Set operating temperature of the platform, with the upper layer sinking and Paste Flux flowing, continue heating for 1 minute. Then detach the motherboard from the platform after cool down.

    detach the motherboard from the platform after cool down

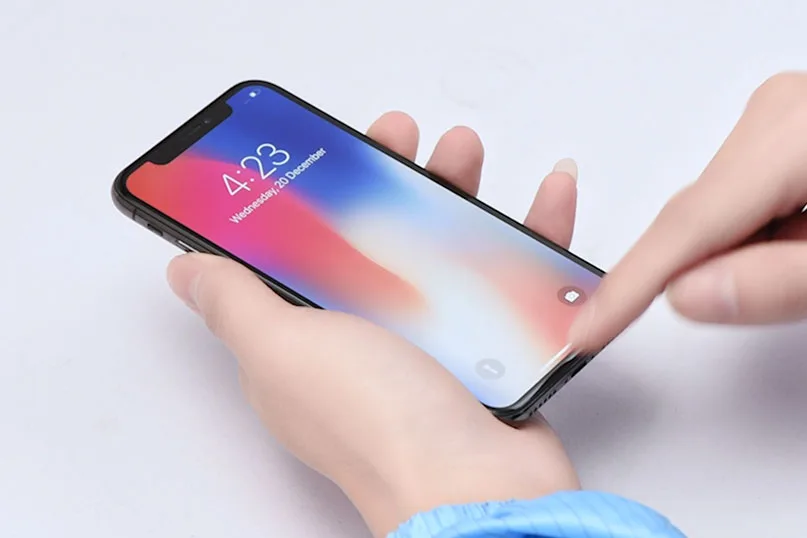
    Now we can assemble the phone and test. Get the logic board and display assembly installed, connect the battery and press power button, the phone turns on normally. iPhone X data recovery completed successfully.

    iPhone X data recovery completed

    Warm tips: get the phone full assembled after confirmation of fault clearance

    Our REWA offers the iPhone data recovery service, but the CPU, NAND flash and Baseband CPU mustn’t be damaged. Details please check REWA iPhone Data Recovery Service. Now, let’s watch the video for more details of iPhone X data recovery from motherboard.

  • Risoluzione dei problemi di Face ID di iPhone X dopo la sostituzione dello schermo

    Risoluzione dei problemi di Face ID di iPhone X dopo la sostituzione dello schermo

    Recently we got many messages about Face ID not available after screen replacement from our clients, which surprised our technicians greatly.

    Since the screen replacing would not affect face ID function at all according to our practical verification.

    Tuttavia, REWA has done some further researches and will share you the detailed analysis and solution for iPhone X face ID failure caused by damage of flex cable after repair here.

    How does face ID work?

    First, let’s understand how face ID works.

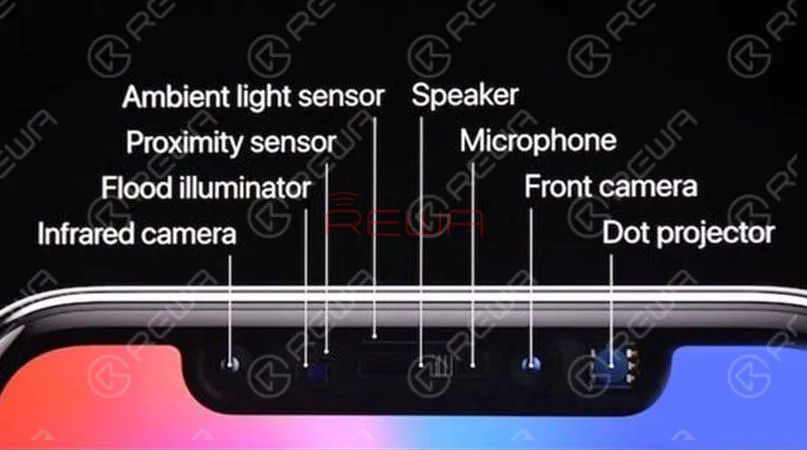
    The whole functional area is dubbed the “TrueDepth camera system”, which is made up of flood illuminator, infrared camera, front camera, dot projector, proximity sensor, ambient light sensor, speaker and microphone.

    Speaking of which, have you read iPhone 8/X Ambient Light Sensor Issues ?

    Every time you glance at your iPhone X, the flood illuminator detects your face with infrared light and forms an image.

    Then the dot projector will project out over 30,000 invisible infrared dots over your face to create a 3D map.

    Last, the infrared camera reads this map and sends the data to neural networks to create a mathematical model of your face.

    Your iPhone X will check that mathematical model against the one that you’ve set up and stored on your device to see if it’s a match, and if it is, it will unlock your phone.

    How To Fix iPhone X Face ID Not Working

    How do we repair?

    According to the description, this iPhone X was dropped once.

    However, the face ID is in normal status.

    It fails to work until a replacement of screen assembly. With all the knowledge, we begin our repair.

    Power on the phone and it shows “unable to activate Face ID on this iPhone” . So we resort to resetting face ID. Go to Settings > Face ID & Passcode > Reset Face ID.

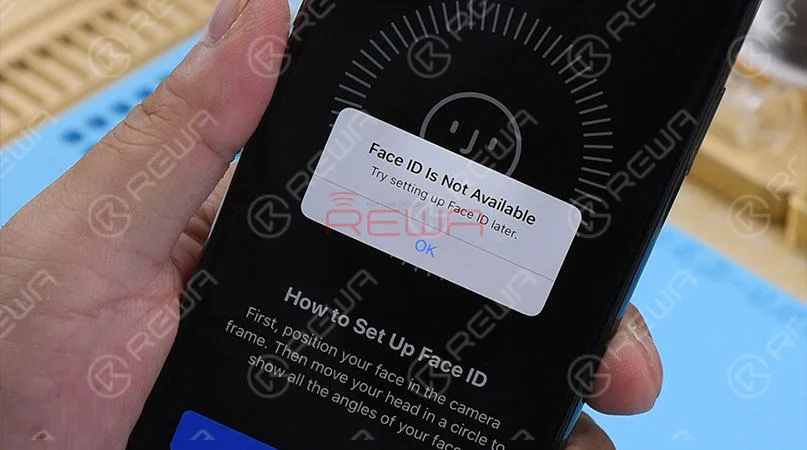
    We get the message “Face ID is Not Available, try setting up Face ID later” .

    Our initial judgment is that the unavailable Face ID might be caused by misoperation in the screen replacing process.

    Therefore, next thing we do is to check flex cables that are related to Face ID.

    How To Fix iPhone X Face ID Not Working

    Smontare il telefono.

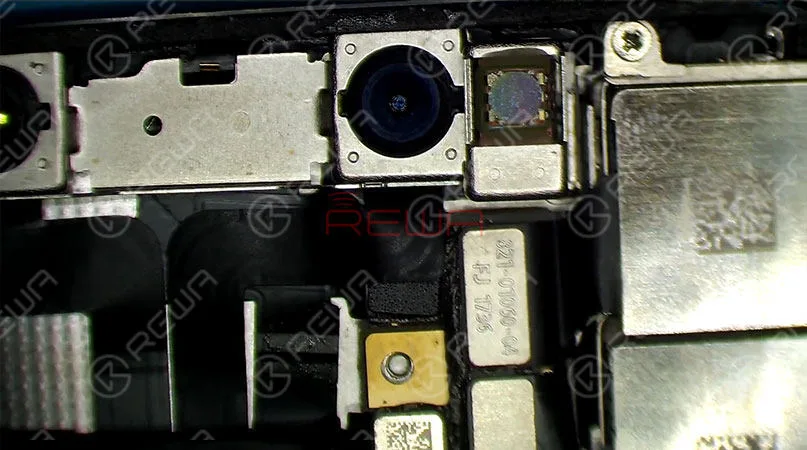
    And check the Infrared camera and dot projector module under Microscope first. Nothing goes wrong.

    Then move to the Flood illuminator module on the earpiece speaker assembly.

    Check the connector and flex cables carefully. Still, nothing goes wrong.

    How To Fix iPhone X Face ID Not Working

    Then remove screws. And detach the earpiece speaker and front sensor assembly from the phone.

    Be careful not to damage flex cables in the process since the Flood illuminator module is bonded to glass lens with double-sided tape.

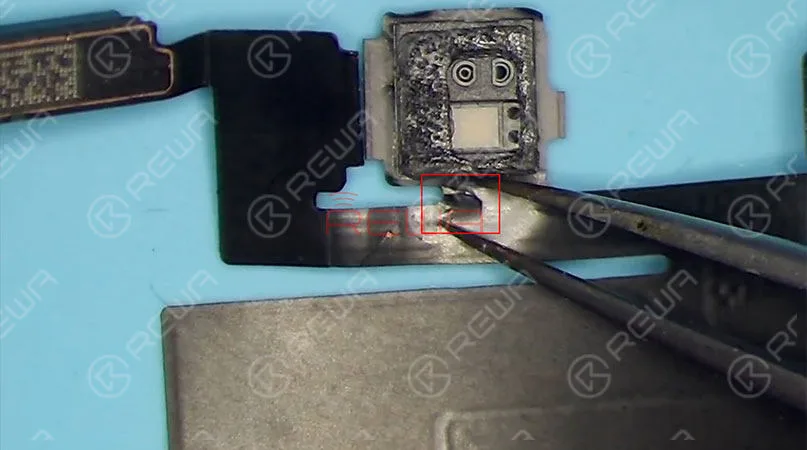
    We can see clearly that the flex cable where locates the Flood illuminator module is fractured at the edge.

    How To Fix iPhone X Face ID Not Working

    Since the Flood illuminator module is an essential part for Face ID circuit, damage of the flex cable can result in not working of it, which can absolutely affect normal working of Face ID.

    Also, as flex cable repair is difficult, we can solder the Flood illuminator module to a new flex cable.

    To replace with a new flex cable, we need to separate the earpiece speaker and the ambient light sensor module from the earpiece speaker and front sensor assembly first.

    Heating with Soldering Iron, the ear speaker was separated successfully.

    Then, secure the flex cable in the place with High-Temperature Protective Tape for further separating the ambient light sensor module flex cable.

    Soldering Iron and Pistola ad aria calda are required to remove this flex cable.

    Once done, remove excess tins on the flex cable with Soldering Iron and clean with PCB Cleaner.

    Now the fractured flex cable is separated completely.

    Next thing we do is to replace with a new flex cable.

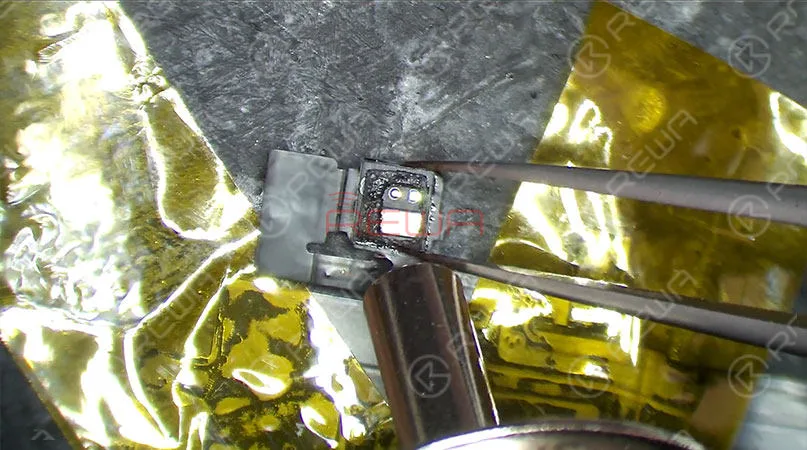
    Remove the Flood illuminator module on the flex cable first.

    Prepare a new flex cable. Apply some Paste Flux to the bonding pad.

    Align the Flood illuminator module in place with the new flex cable.

    Be careful with the direction.

    Then solder with Hot Air Gun. Remove residual glue on the module afterward.

    How To Fix iPhone X Face ID Not Working

    The repair part is almost over right the moment.

    Next thing we need to do is to re-solder the ambient light sensor module and earpiece speaker.

    However, the soldering of the ambient light sensor is the most difficult part of this repair. Whatever, let’s do it. Apply some Paste Flux to the bonding pad of ambient light sensor module.

    Then apply tins to the bonding pad with Saldatore .

    Pulire con il detergente per circuiti stampati.

    Apply some Paste Flux to the bonding pad again.

    Get the detached ambient light sensor module flex cable in position.

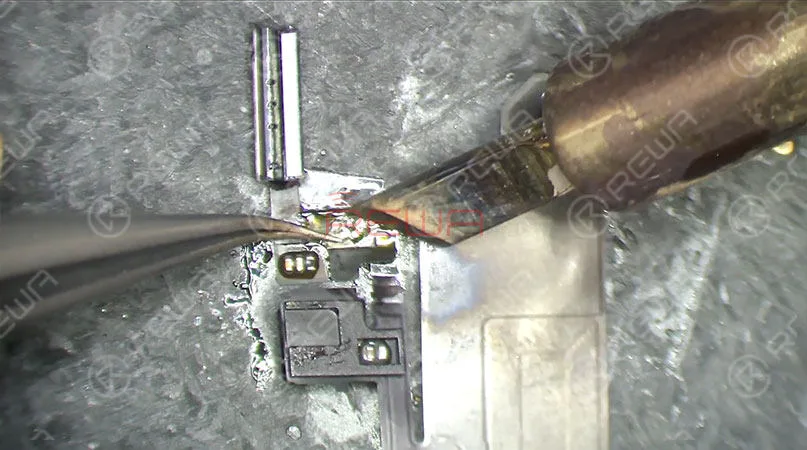
    Secure the flex cable with one specific position soldered by Soldering Iron with curved nozzle first.

    Then use Soldering Iron with cutter nozzle to complete the remaining soldering process.

    Pulire successivamente con un detergente per PCB.

    Now we need to solder the earpiece speaker back to flex cable.

    How To Fix iPhone X Face ID Not Working

    It’s time to get the earpiece speaker and front sensor assembly assembled to the display assembly.

    Re-assemble the phone and test.

    Press power button to power on. Go to Settings > Face ID & Passcode > Set up Face ID .

    Face ID can be set up successfully.

    Press the power button to lock the screen. Press the power button again. The screen lights up. Glance at the iPhone X.

    The screen can be unlocked automatically. Fault cleared.

    questions about iPhone X Face ID Not Working After Repairing Tutorial, welcome to comment below.

    Click below if you are interested in the Tools & Spare Parts used in the video. For more details and latest price please feel free to contact sales@rewatechnology.com

    * Integrated Mobile Phone Repair Platform

    * Tri-wing Screwdriver – Type 2

    * Pinzetta dritta - Tipo 3

    * 4x Optical Microscope – KS7045

    * PCB Cleaner – 250ml

    * Pasta saldante fluida per strisce BGA

    * Barra di plastica antistatica

    * Nastro adesivo resistente al calore - 5,0 mm

    * 100g Solder Wire – Type 1

    * iPhone X Replacement Parts

    Visita REWA  negozio online  per ulteriori parti e strumenti.

    I wanna learn basic knowledge about iPhone motherboard, master iPhone micro-soldering techniques, understand the work-flow of different iPhone circuits, master troubleshooting processes of different iPhone issues, and learn detailed screen/back glass refurbishing steps——You can visit REWA Academy.

  • Guida completa agli schermi OLED aftermarket di iPhone X

    Guida completa agli schermi OLED aftermarket di iPhone X

    Here comes iPhone X Aftermarket OLED Screen! With iPhone X Aftermarket LCD Screen springing up in the market, much attention had been paid to iPhone X Aftermarket OLED Screen.

    We got samples of iPhone X Aftermarket OLED Screen from the factory at the first sign of production and carried out a series of tests afterwards.

    The Aftermarket OLED Screen performed well with no function problem, which has met the product standards of usage.

    Now, let’s take a close look at iPhone X Aftermarket OLED Screen with test results.

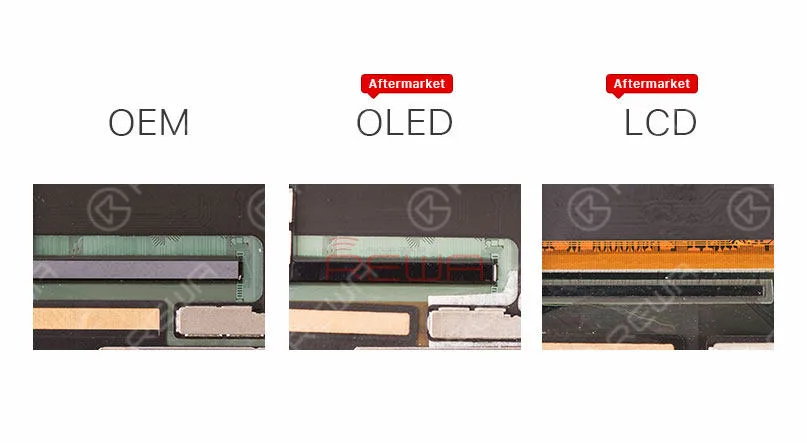
    The IC on iPhone X Aftermarket OLED Screen and OEM Screen get high similarity.

    Deep Analysis On iPhone X Aftermarket OLED Screen

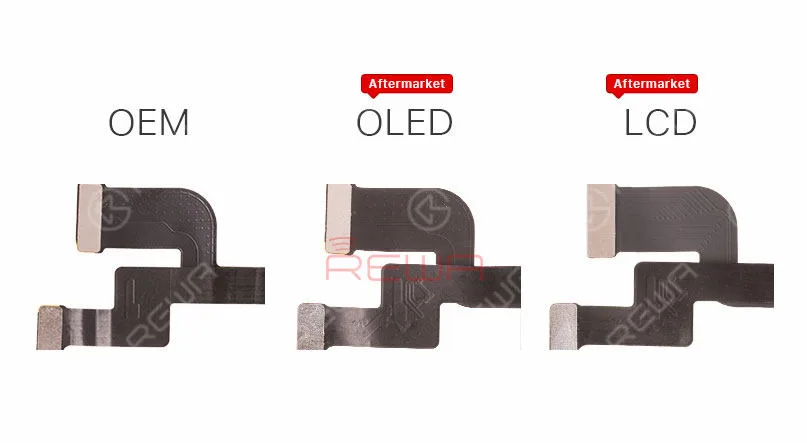
    iPhone X Aftermarket OLED Screen and OEM Screen also share the same textures on LCD flex cable.

    Deep Analysis On iPhone X Aftermarket OLED Screen

    Aftermarket OLED Screen and Aftermarket LCD screen feature with the same textures on Touch flex cable.

    Deep Analysis On iPhone X Aftermarket OLED Screen

    Aftermarket OLED Screen and Aftermarket LCD screen also share the same 3D Touch flex cable.

    Deep Analysis On iPhone X Aftermarket OLED Screen

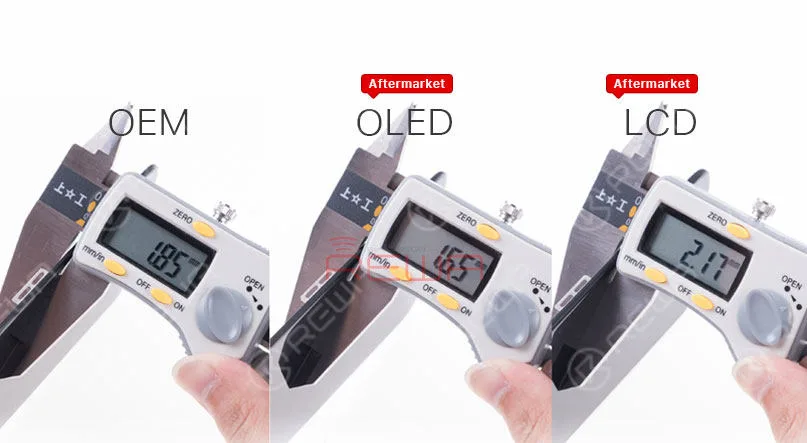
    Check the thickness of iPhone X OEM Screen, iPhone X Aftermarket OLED Screen and iPhone X LCD Screen.

    Deep Analysis On iPhone X Aftermarket OLED Screen

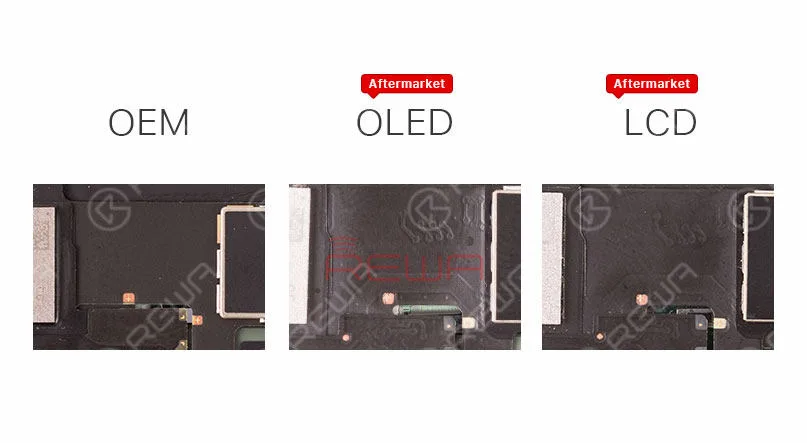
    Since the 3D touch module of iPhone X Aftermarket OLED Screen is thinner, it will be slightly thinner when measuring, Yet the bezel much thicker than iPhone X OEM Screen, so it will little higher after installation.

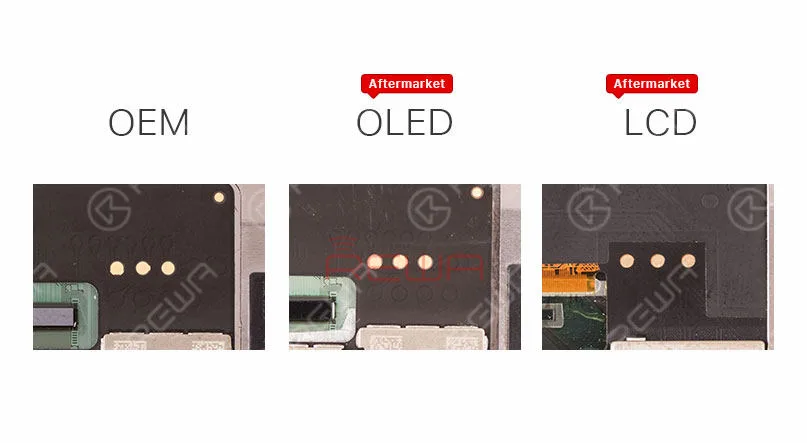
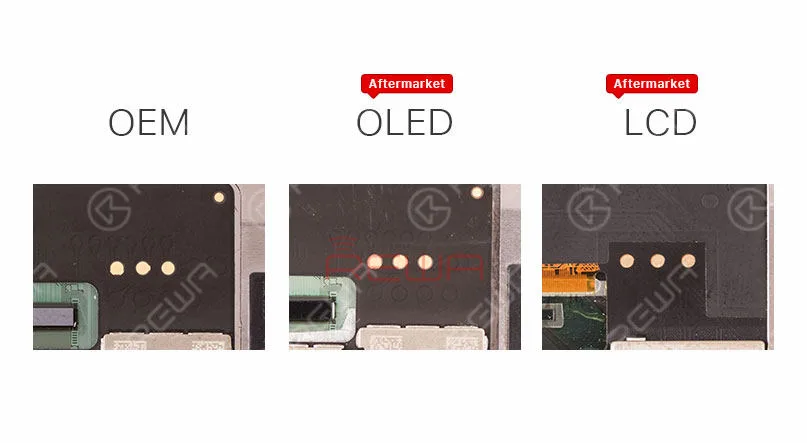
    Besides, iPhone X Aftermarket OLED Screen features with four golden contacts which is highly similar to those on iPhone X OEM Screen.

    Deep Analysis On iPhone X Aftermarket OLED Screen

    Test di funzionamento

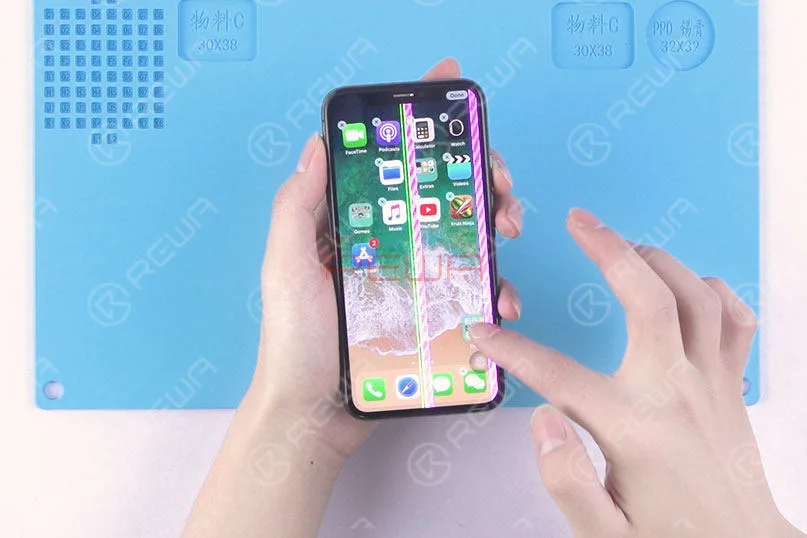
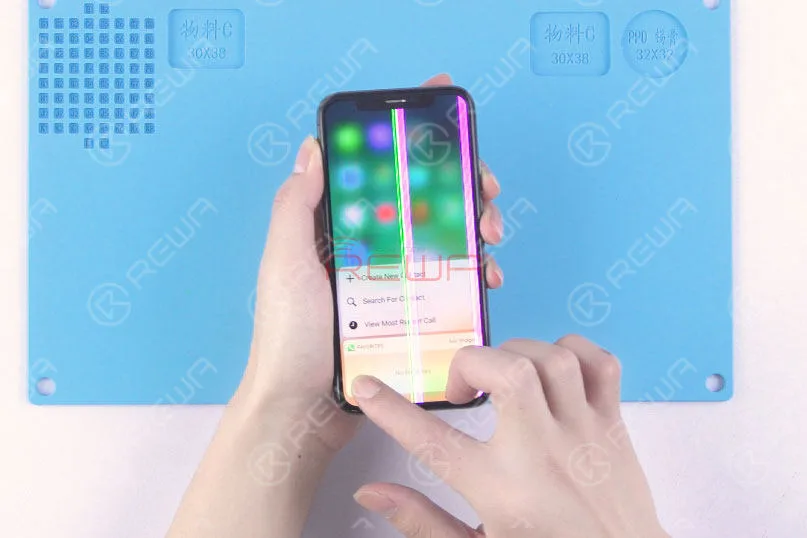
    Since the LCD panel of iPhone X Aftermarket OLED Screen and OEM Screen share the same production process, the vertical line issue due to bonding procedure can also be frequently seen with our test samples.

    Still, these imperfect screens can be screened out in subsequent quality inspection.

    Also, because of the vertical line issue, there is no brightness test in our video today.

    First, run touch function test, the phone performs with normal touch function.

    Yet the screen is not running smoothly because of glass lens material.

    We believe that this will be improved when it comes to full production.

    Deep Analysis On iPhone X Aftermarket OLED Screen

    Continue to run 3D Touch function test, the phone performs with normal 3D Touch function.

    Deep Analysis On iPhone X Aftermarket OLED Screen

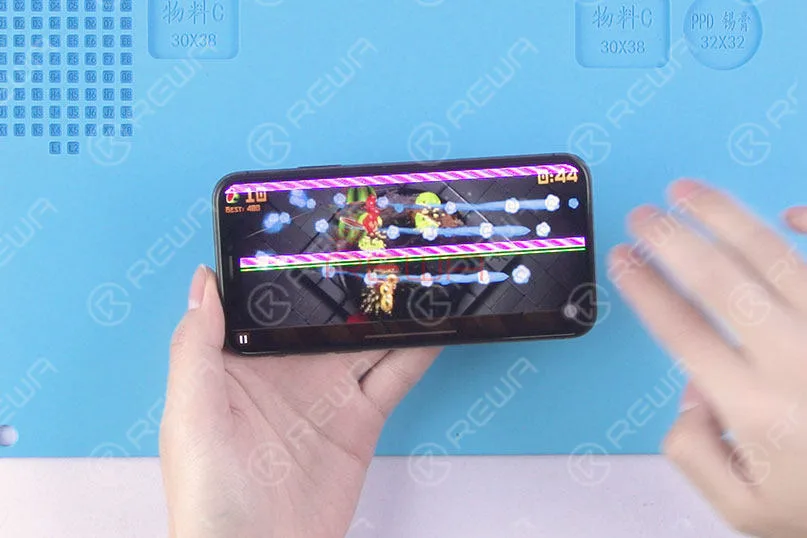
    Run the multi-touch test in game mode, the phone performs normally.

    Deep Analysis On iPhone X Aftermarket OLED Screen

    Conclusione:

    Within a few days of trying out the iPhone X with Aftermarket OLED Screen, our technicians carried out a series of tests under the condition of excluding the impact of the vertical issue.

    The Aftermarket OLED Screen of iPhone X performed well with no function problem, which has met the product standards of usage.

    Please stay tuned and we will pay close attention to the product in the future.

    For more iPhone X Aftermarket OLED Screen test details please view our Youtube video here:

    REWA cell phone repair replacement parts:

  • L'iPhone X non si accende? Riparalo con la riparazione della scheda logica

    L'iPhone X non si accende? Riparatelo con la riparazione della scheda logica

    Quando il vostro iPhone non si accende, cosa potete fare?

    Il primo passo è quello di trovare il motivo per cui l'iPhone non si accende: potrebbe esserci un problema hardware o software relativo al dispositivo.

    Ad esempio, se l'iPhone è stato danneggiato fisicamente o è caduto in acqua o per altri motivi, ci sono molte soluzioni su Internet, come la ricarica dell'iPhone, il riavvio, il riavvio duro, l'utilizzo di software per risolvere il problema... Per queste soluzioni, potete provare, ma qui vi forniremo una soluzione di alto livello e professionale per risolvere il problema dell'iPhone che non si accende.

    L'iPhone X, con il suo display di dimensioni super, la più recente tecnologia biometrica - Face ID, il vetro più resistente, la ricarica wireless e così via, ha colpito il cuore della maggioranza al momento della sua uscita nell'ottobre 2017.

    Per quanto sia perfetto, con il passare del tempo mostra dei malfunzionamenti.

    All'inizio si sono verificati malfunzionamenti dovuti alla mancata risposta al tocco, allo schermo bloccato e ad altri problemi di visualizzazione. Ultimamente, sono comparsi alcuni malfunzionamenti della scheda logica. Ad esempio, l'iPhone X non si accende, ecc.

    Se si conosce la struttura della scheda logica dell'iPhone X, si deve sapere che la scheda logica dell'iPhone X è stata piegata a metà e i due strati sono stati saldati insieme: lo strato superiore è la scheda principale e lo strato inferiore è la scheda dei segnali.

    Il che ha reso molto difficile la nostra riparazione. 

    Oggi condividiamo un caso di riparazione della scheda logica dell'iPhone X che non si accende. Vediamo qual è la parte più difficile.

    Come riparare l'iPhone X che non si accende con la riparazione della scheda logica

    Smontaggio

    Smontare l'iPhone X che non si accende. Estrarre la scheda madre a doppio strato.

    Ecco la prima difficoltà: separare la scheda madre piegata, che richiede un controllo rigoroso della temperatura.

    Una temperatura troppo elevata danneggerebbe i componenti circostanti, ma una temperatura troppo bassa non può separarli. Con pazienza e tempo, riusciamo a separare la scheda logica con successo.

    Come riparare l'iPhone X che non si accende con la riparazione della scheda logica

    Diagnosi

    Dopo aver separato la scheda logica, collegare lo strato superiore con l'alimentazione CC.

    La corrente di lettura è anormale. Pertanto, il guasto viene localizzato nello strato superiore.

    Per continuare la diagnosi, misuriamo la tensione di alimentazione dello strato superiore con un multimetro.

    E scoprire che non c'è alcun valore di tensione su C2771 e C2770.

    Misurando con il multimetro si può confermare che l'induttore L2770 è danneggiato.

    Come riparare l'iPhone X che non si accende con la riparazione della scheda logica

    Manutenzione e test

    È quindi necessario smontare l'induttore L2770 e sostituirlo con uno nuovo.

    In primo luogo, fissare lo strato superiore al supporto del PCB.

    Per proteggere i componenti intorno a L2770, applicare il nastro adesivo per alte temperature.

    Quindi risaldare con un nuovo induttore.

    Dopo il raffreddamento, misurare nuovamente il valore di corrente collegandolo all'alimentazione CC.

    Questa volta il valore di corrente misurato sull'amperometro è normale. Guasto eliminato.

    Come riparare l'iPhone X che non si accende con la riparazione della scheda logica

    Riassemblare

    Indovinate un po'? Arriva la parte più difficile della riparazione: rimuovere le lattine dai due strati separatamente.

    Trasferiamo la direzione per 5 volte e infine terminiamo il processo di rimozione dello stagno.

    Poi un'altra parte difficile: il reballaggio dello strato inferiore.

    In realtà ce l'abbiamo fatta solo al secondo tentativo.

    Alla fine, dopo aver risaldato le due schede e riassemblato il telefono, il problema dell'iPhone X che non si accende è stato risolto.

    Come riparare l'iPhone X che non si accende con la riparazione della scheda logica

    Per maggiori dettagli, consultare il video. 

    Elenco degli strumenti:

  • iPhone X Screen Refurbishing – Glass Only Repair

    iPhone X Screen Refurbishing – Glass Only Repair

    As our previous post iPhone X OLED Screen Total Teardown Analysis has explained, iPhone X screen is a new product of OLED combined with 3D Touch function. The laminating process of iPhone X OLED screen is also much more complicated than LCD screen of previous iPhone versions. So we can totally imagine the difficulty of iPhone X screen refurbishing. Still, after several attempts and failures, REWA LAB is honored to present you our hard-earned success with iPhone X screen refurbishing. Check the LATEST iPhone X screen refurbishing technique NOW!

    iPhone X Screen Refurbishing

    iPhone X Screen Refurbishing Guide

    Test dello schermo

    Run function test – Display; Touch; 3D Touch and Swipe-up. All going well.

    iPhone X Screen Refurbishing

    Rimozione della lunetta

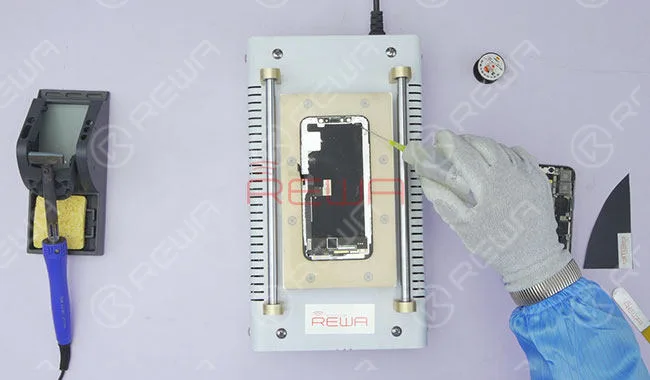
    Place the OLED Screen Assembly on the Heat Platform. Remove bezel slowly with Pry Piece and Glue Cleaner.

    iPhone X Screen Refurbishing

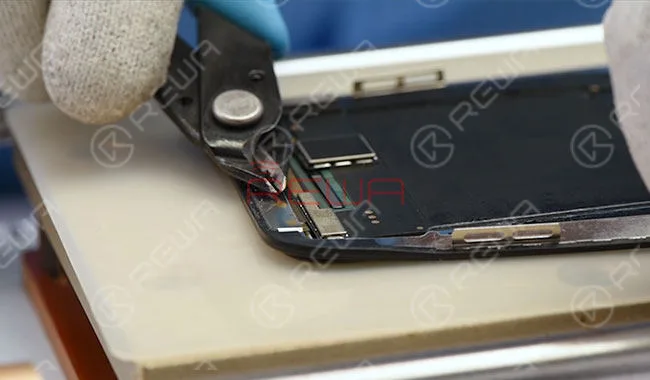
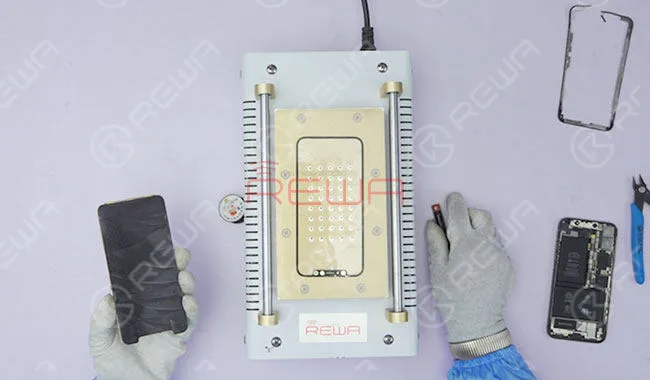
    Cut out the top bracket with Cutting Nipper. Then separate bezel from the screen with Cutting Nipper. Be careful with flex cables when removing bezel in the flex cable area.

    iPhone X Screen Refurbishing

    Once done, test the screen again. Run function test – Display; Touch; 3D Touch and Swipe-up. All going well. By now, the most difficult step during iPhone X screen refurbishing has been completed.

    Separazione del vetro

    Place the OLED Screen Assembly on the Heat Platform. Separate the glass lens from OLED with Cutting Wire. Test again after separating. All going well.

    iPhone X Screen Refurbishing

    Rimozione della colla

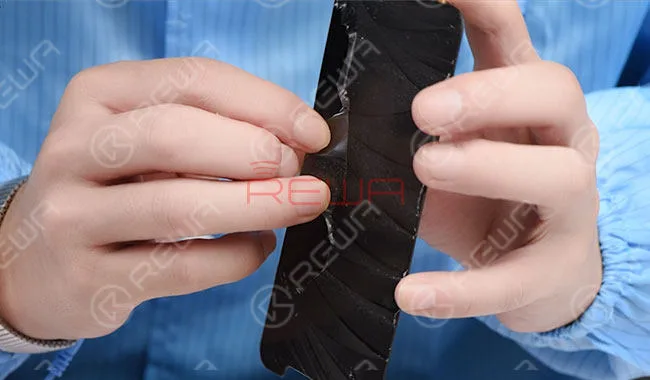
    La rimozione della colla per lo schermo di iPhone X può essere eseguita strappandola a mano.

    iPhone X Screen Refurbishing

    Laminazione OCA

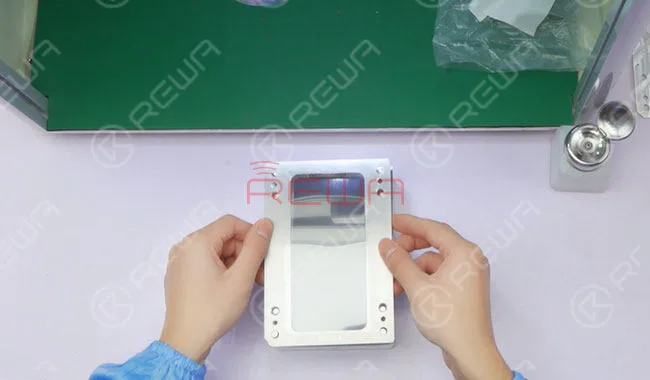
    Embed the OCA rubber block aligning mold into the base. Then place the OCA rubber block into the corresponding position of the mold. Tear off the first layer of the three-layer OCA protective film and place OCA into the corresponding position of the OCA aligning mold.

    After that, embed the OCA aligning mold into the base and apply pressure to fit the OCA against the rubber block.

    iPhone X Screen Refurbishing

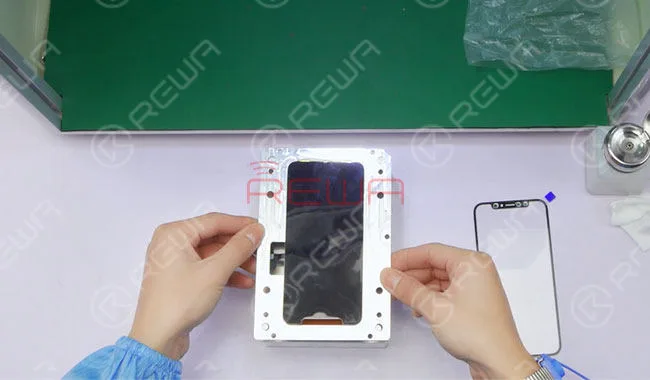
    Prepare a new glass lens and place the new glass lens into the glass lens mold. Clean the glass lens first. Then tear off the second layer protective film of the OCA and embed the glass lens mold into the base.

    Place the whole mold into the laminating machine and press “OCA laminating” button. The machine starts to work. Once laminating finished, detach the glass lens mold and take out the glass lens.

    OLED Laminating

    Remove the OCA rubber block and aligning mold. Place the OLED assembly into the OLED mold.

    Place the OLED rubber block and embed the OLED mold into the base. Apply pressure to fit the OLED with the rubber block.

    iPhone X Screen Refurbishing

    Clean with alcohol or N-hexane first. Then place the OCA laminated glass lens into the glass lens mold. Tear off the third layer of the OCA protective film and embed the glass lens mold into the base. After that, place the whole mold into the laminating machine. Press “LCD laminating” button. The machine starts to work.

    Once laminating finished, detach the glass lens mold and take out the OLED screen. With bubbles inside, we need to continue with bubble removing process.

    Bubble removing

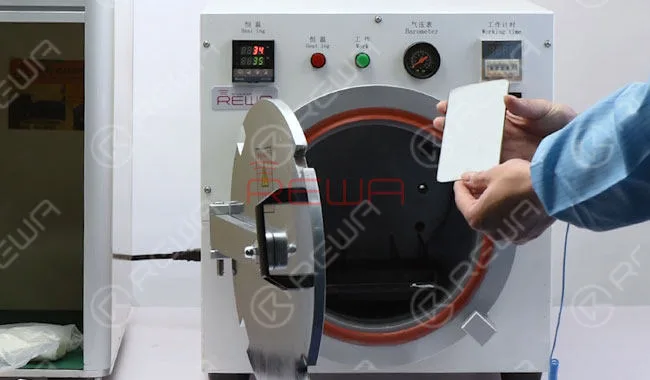
    Put the screen into Bubble Removing Machine for 15 minutes. Once finished, take out the screen.

    iPhone X Screen Refurbishing

    Fissaggio della lunetta

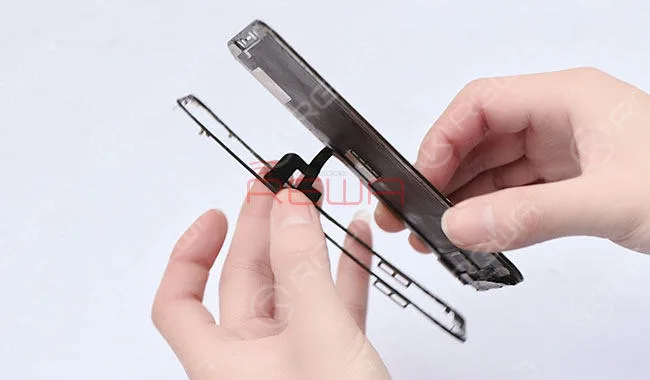
    Prepare a new iPhone X bezel. Apply B7000 glue evenly on bezel and back of the screen. Then press them against each other and leave to rest for 10 minutes.

    iPhone X Screen Refurbishing

    Refurbished Test dello schermo

    Buckle the screen and power on. Run function test – Display; Touch; 3D Touch and Swipe-up. All going well.

    iPhone X Screen Refurbishing

    iPhone X screen refurbishing completed perfectly.

    Avviso

    This iPhone X screen refurbishing guide is made for refurbishing technique exploring and sharing only. For those who have no professional refurbishing skills, no clear idea of refurbishing technique details, key points and difficulties, please look before you leap.

    For more details on iPhone X Screen Refurbishing, please go to Canale YouTube di REWA.

    Strumenti e parti di ricambio

    • Apple iPhone X OLED Display and Touch Screen Digitizer Assembly with Frame Replacement
    • Filo da taglio LCD
    • Pulitore LCM
    • Adesivo a strappo facile
    • Macchina per la rimozione della lunetta
    • Macchina separatrice manuale
    • Macchina per la rimozione della colla
    • OCA&POL Laminating Machine
    • Macchina per la laminazione del vetro
    • Macchina per la rimozione delle bolle