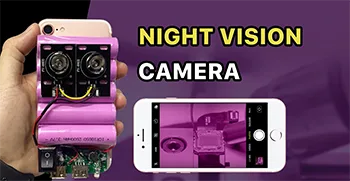
Un iPhone supplémentaire peut être utilisé à de nombreuses fins. Dans cette vidéo, nous vous expliquons comment transformer un iPhone 7 supplémentaire en caméra de vision nocturne, mais aussi comment installer une énorme batterie externe.
Étiquette : iphone
-
Comment réparer un iPhone XR qui ne s'allume pas : guide de diagnostic et de réparation des courts-circuits.
Lorsque votre iPhone XR ne s'allume pas, cela peut être frustrant, surtout en l'absence de dommages visibles. Dans ce cas de réparation, nous vous montrerons comment un court-circuit près de la puce de l'amplificateur audio a entraîné une surconsommation de courant de l'iPhone XR, l'empêchant de démarrer. À l'aide d'outils professionnels tels qu'une alimentation DC, de la colophane et du REFOX Bitmap, nous avons diagnostiqué et résolu avec précision le problème en remplaçant un condensateur défectueux.
Que vous soyez technicien de réparation, bricoleur ou propriétaire d'un atelier de réparation, ce guide détaillé vous aidera à aborder des cas similaires de “non-démarrage” avec confiance.
Réparation de cas : iPhone XR ne s'allume pas
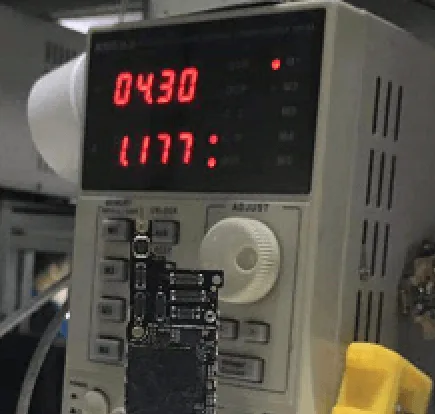
À la réception de l'iPhone XR, nous l'avons connecté à un Alimentation en courant continu pour le diagnostic. Le courant de consommation était d'environ 1A, indiquant un possible court-circuit sur le tableau.
Étant donné que le courant de fuite commence immédiatement après la connexion à l'alimentation CC, nous suspectons un court-circuit sur l'une des alimentations suivantes :
PP_BATT_VCCPP_VDD_MAINPP_VDD_BOOST
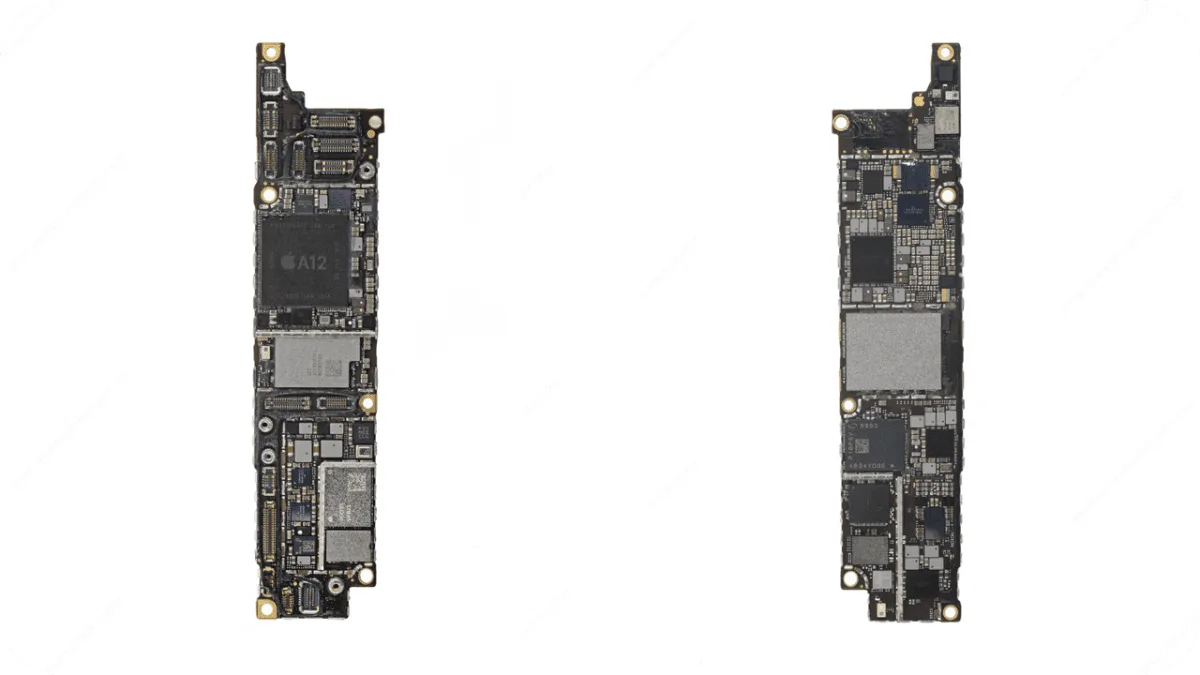
La structure de la carte de l'iPhone XR est similaire à celle de modèles plus anciens comme l'iPhone 8 Plus. D'après l'expérience, nous pouvons utiliser l'un ou l'autre méthode d'inspection de la colophane ou un imageur thermique pour détecter les composants en surchauffe.
Avant d'utiliser des outils, nous avons d'abord appliqué une méthode simple : test des doigts pendant l'application d'une alimentation CC. Nous avons ressenti une chaleur inhabituelle autour du circuit intégré amplificateur audio zone.
Pour confirmer, nous avons appliqué colophane au tableau et l'a remis sous tension. La colophane a fondu directement sur le circuit intégré amplificateur audio, confirmant la chaleur dans cette zone.
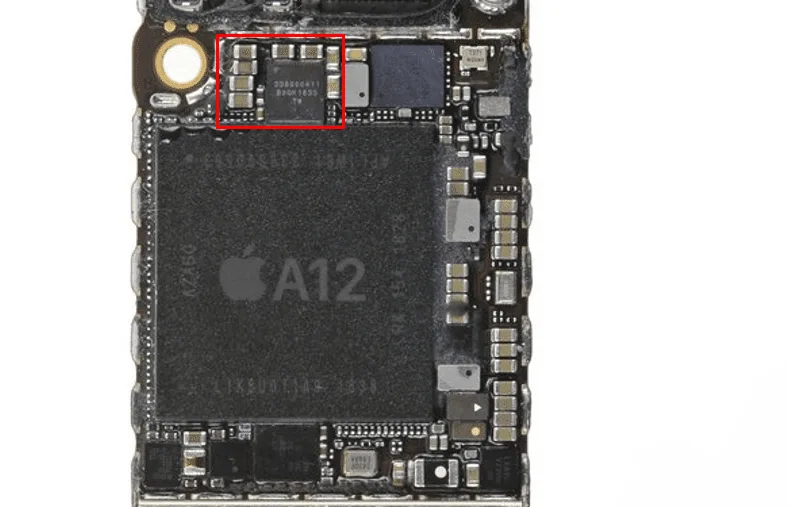
À ce stade, la plupart remplaceraient le circuit intégré de l'amplificateur audio. Cependant, en raison de sa proximité avec le processeur, son remplacement pourrait risquer Pseudo-brasage de l'unité centrale (une condition où les connexions du processeur deviennent instables en raison de l'exposition à la chaleur). De plus, le circuit de l'amplificateur audio possède plusieurs lignes d'alimentation, ce qui signifie qu'un court-circuit condensateur pourrait aussi en être la cause.
Affiner le problème
En nous basant sur cette idée, nous avons examiné le Petits condensateurs autour du circuit intégré de l'amplificateur audio. Effectivement, nous avons localisé un condensateur en court-circuit, comme indiqué sur l'image (marqué par une flèche dans le contenu original).
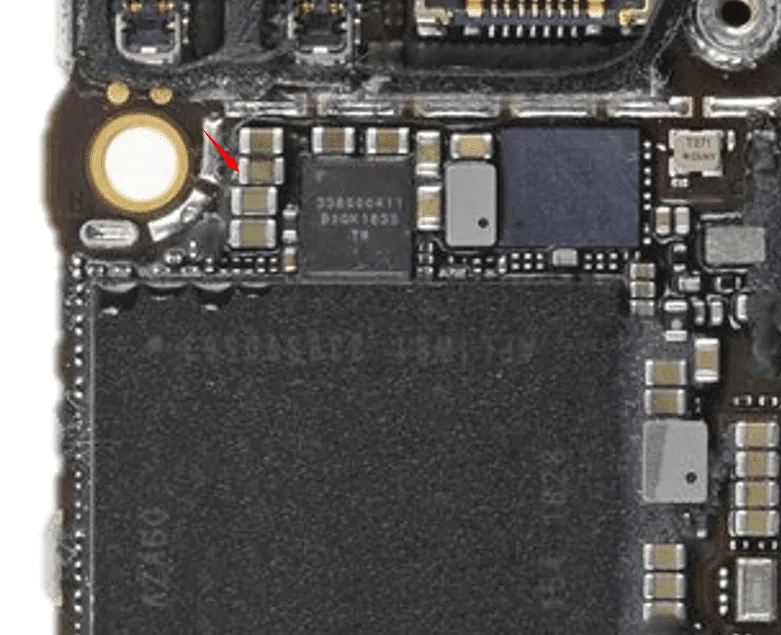
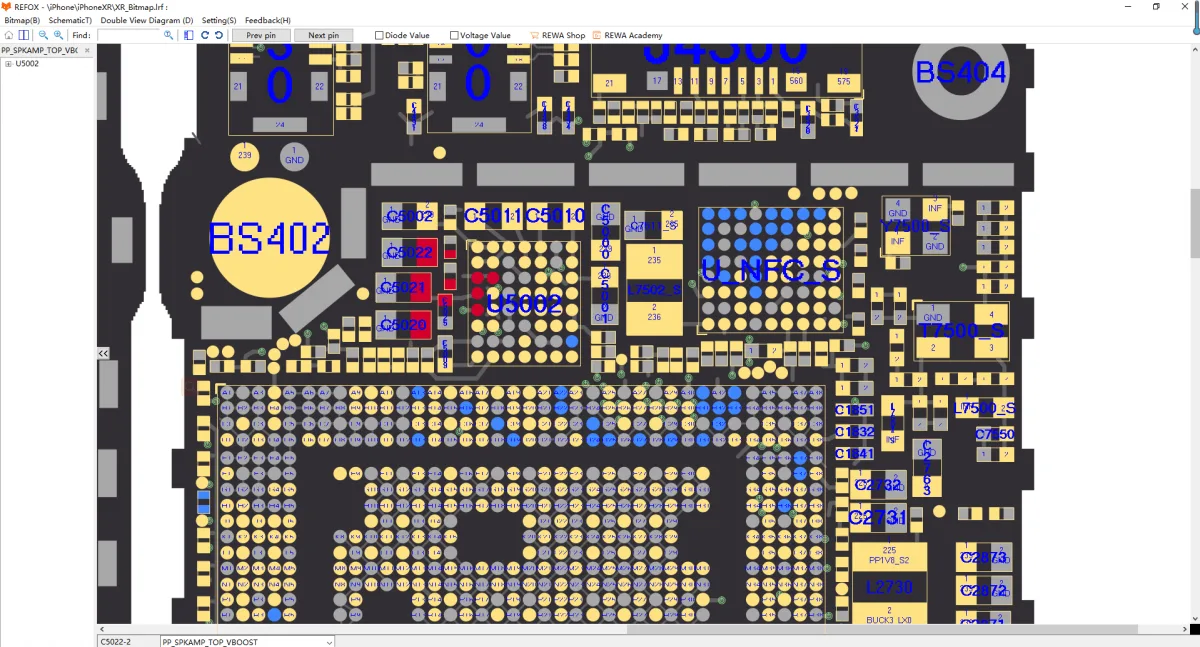
En vérifiant avec le REFOX Bitmap, nous avons identifié que ce condensateur appartenait au PP_SPKAMP_TOP_VBOOST rail d'alimentation.
Processus de réparation
Nous avons retiré le condensateur défectueux et testé à nouveau le courant absorbé. Le courant de démarrage est revenu à niveaux normaux.
Ensuite, nous avons remplacé le condensateur par un(e) spécification identique. Après la réinstallation, l'iPhone XR démarré normalement.
Nous avons remonté le téléphone et effectué un test de fonctionnement complet — toutes les fonctionnalités fonctionnaient parfaitement.
Conseils de pro
- Dans ce cas, le remplacement d'un seul condensateur en court-circuit a suffi à résoudre un grave problème de non-démarrage.
- Lorsque plusieurs composants chauffent, vérifier les petits composants passifs (comme les condensateurs) d'abord.
Conclusion :
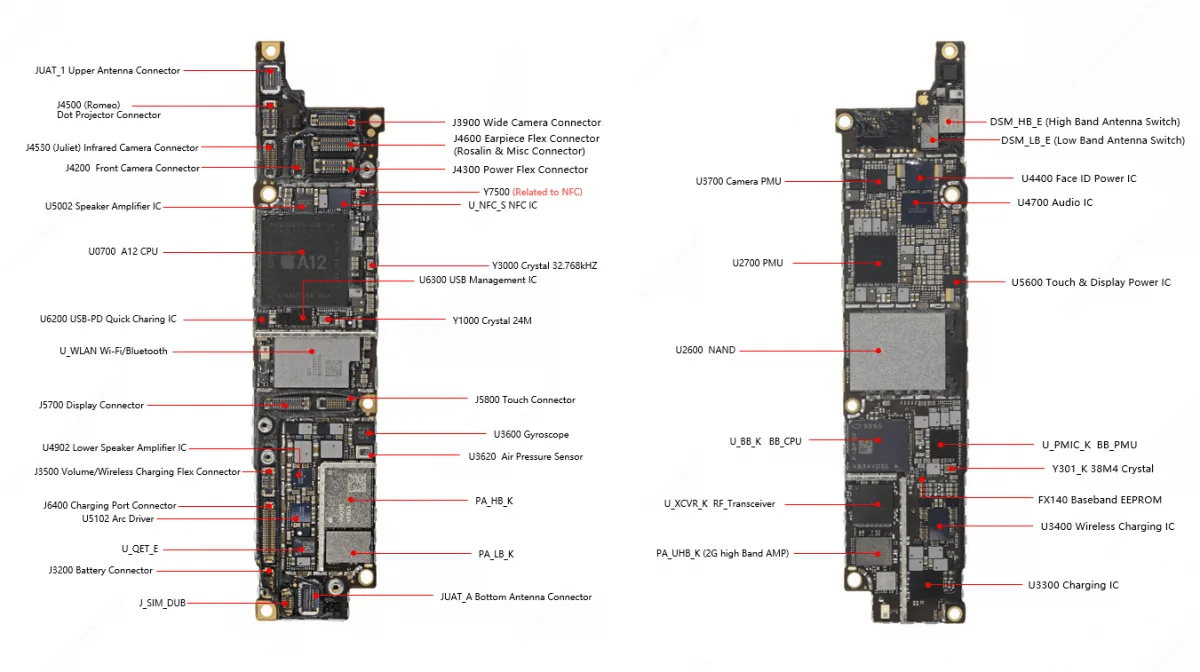
Un iPhone XR qui ne démarre pas peut sembler une défaillance majeure, mais avec la bonne approche diagnostique, même des problèmes complexes tels que les courts-circuits peuvent être réparés efficacement. Dans ce cas, une inspection minutieuse a révélé un condensateur en court-circuit près du circuit intégré de l'amplificateur audio, et son remplacement a redonné vie au téléphone. Cette réparation souligne l'importance de comprendre le comportement des circuits, d'utiliser des outils de visionneuse de cartes comme REFOX Bitmap, et de ne pas se précipiter pour remplacer des puces majeures. Si vous êtes dans le métier de la réparation ou si vous aimez les réparations de téléphones DIY, maîtriser ces techniques de diagnostic peut vous faire gagner du temps, réduire les risques et améliorer les taux de réussite.
-
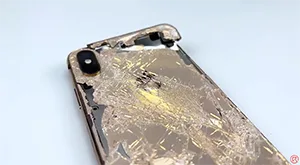
Comment transformer un iPhone XS Max détruit en un tout nouveau "iPhone 13 Pro Max" ?
Nous avons reçu un iPhone XS Max lourdement tombé de la part de l'un de nos fans. Le fan nous a demandé si nous pouvions restaurer le téléphone et le transformer en un iPhone 13 Pro Max. Le téléphone est gravement endommagé avec un écran et une coque arrière complètement fissurés. Pire encore, l'identification faciale ne fonctionne pas et l'écran tactile ne répond pas. Regardez cette vidéo pour voir comment nous restaurons l'iPhone et le transformons en iPhone 13 Pro Max.
-
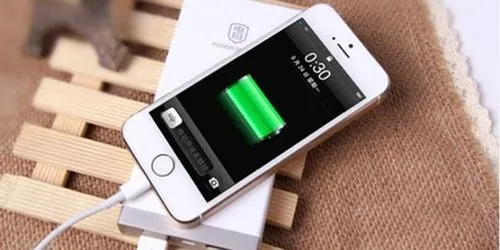
Résolution des problèmes de chargement lent de l'iPhone : causes et solutions
Your iPhone charges slowly and you don’t have a clue why. This issue could be brought about by your iPhone’s charging port, cable, charger, or programming — the four parts of the charging system. In this article, we will clarify why your iPhone is charging slowly and tell you the best way to fix the issue for good!
Why Is My iPhone Charging Slowly?
More often than not, an iPhone charges slowly for one of two reasons:
1. Slow charging of your iPhone is on the grounds that you’re utilizing a low amperage charging source. Envision a fire hose: If voltage is the speed water courses through the hose, then, at that point, amperage is the width of the hose, or how much water can move through on the double. iPhones can charge at 5 volts, yet the amperage shifts from one charger to another — typically from 500mA (milliamps) to 2.1 amps, which compares to 2100 milliamps. The more amperage the charger has, the quicker your iPhone will charge.
2. Your iPhone is charging slowly because there is a type of gunk or garbage stuck inside the charging port of your iPhone. The cable you use to charge your iPhone has 8 pins, and on the off chance that any of those pins gets blocked by trash, it might make your iPhone charge slowly or not charge by any means.
Clean Out Your iPhone’s Charging Port
In the first place, clean out your iPhone’s charging port to eliminate any gunk or garbage. We suggest utilizing an anti-static brush, a similar apparatus specialists and Geniuses use at the Apple Store. In the event that you don’t have an anti-static brush, a pristine toothbrush makes a decent substitution.
Stick your brush inside the port and delicately scoop out any build-up, gunk, or trash inside. You might be shocked by how grimy it is!
In the wake of cleaning out the port, have a go at charging your iPhone once more. Is it charging at a typical rate? If not, you might need to give cleaning out the port another attempt. It’s conceivable that the trash has become profoundly compacted in the port. Thereafter, assuming your iPhone is as yet charging slowly, continue to read!
Examine Your iPhone’s Charging Cable
The following significant piece of the charging system is your charging cable. In the event that the cable is harmed or frayed in any capacity, it very well may be the reason behind why your iPhone is charging slowly.
Take a closer look at your charging cable and examine it for any harm. In the picture beneath, you’ll see an illustration of a damaged cable.
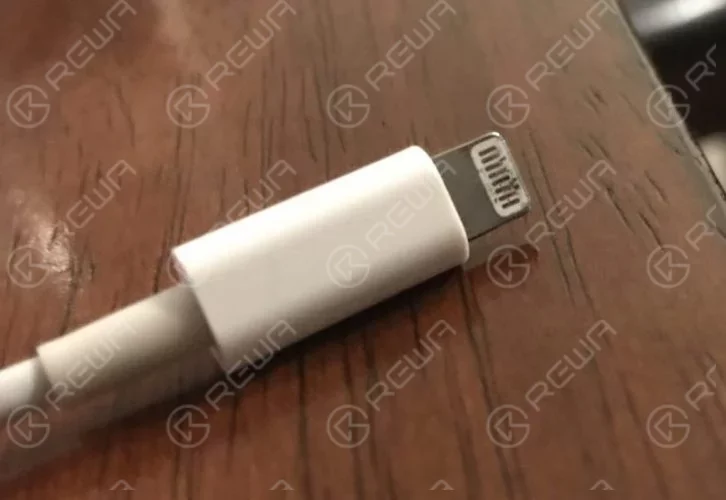
Assuming that you think your cable is damaged, try to charge your iPhone with a couple of different cables. If you want to change your Lightning cable, we strongly suggest one of our selected charging cables in our online shop.
Try A Few Different Chargers
Not all power sources are made equivalent! Charging your iPhone with a power source that has a low amperage could bring about your iPhone charging slowly.
Assuming you don’t have the foggiest idea the number of amps your power source has, take a stab at charging your iPhone while connected to numerous various sources. If you ordinarily charge your iPhone utilizing the USB port on your PC, have a go at connecting your iPhone to a wall charger (as well as the other way around).
Dépannage Software Problems
The regularly neglected part of the charging system is the product of your iPhone. Each time you plug a charging link into your iPhone, it’s the product that chooses if the battery will be charged. Along these lines, assuming there’s an issue with your iPhone’s product, your iPhone might charge gradually regardless of whether there’s nothing bad about your Lightning port, Lightning link, or power source.
Update Your iPhone
Apple routinely delivers software updates to patch bugs with and present new highlights. It’s really smart to refresh your iPhone when new updates become accessible so your iPhone runs as productively as could be expected.
Open Settings and tap General – > Software Update. Tap Download and Install or Install Now if another iOS update is accessible.
DFU Restore Your iPhone
The DFU (Device Firmware Update) restore is the most inside and out restore you can perform on an iPhone. Each line of code on your iPhone is deleted and reloaded.
Before you do, make sure you back up your iPhone. Without a backup, you’ll lose every one of the information on your iPhone, including your photos, videos, and contacts.
For phone repair information sharing, you can subscribe to our Chaîne YouTube. If you need any replacement parts or repair tools, please visit Boutique REWA.
-
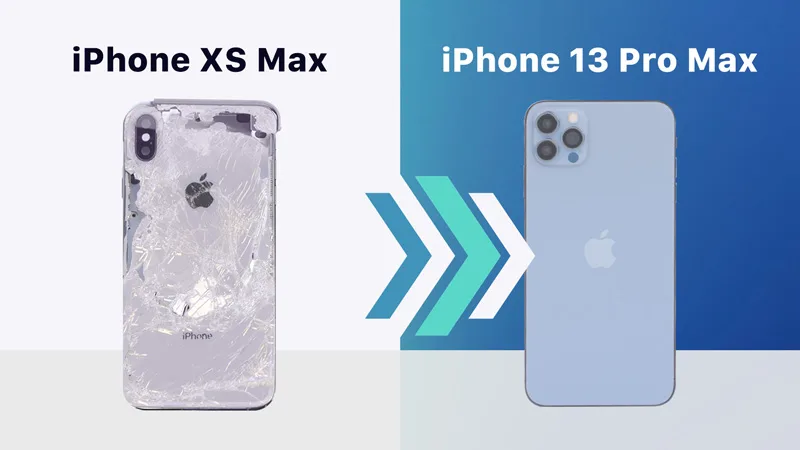
Comment transformer un iPhone XS Max détruit en un tout nouveau "iPhone 13 Pro Max" ?
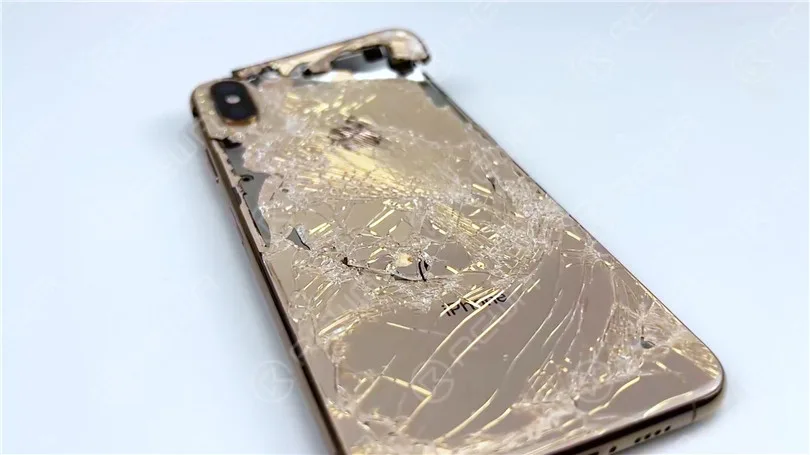
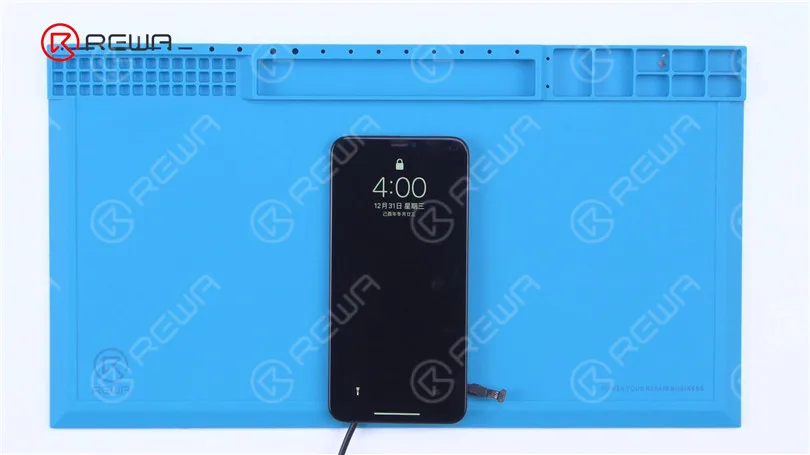
We have received a heavily damaged iPhone XS Max from one of our fans. The fan asked us if we could restore the phone and turn it into an iPhone 13 Pro Max. It is evident that the phone has suffered severe damage.
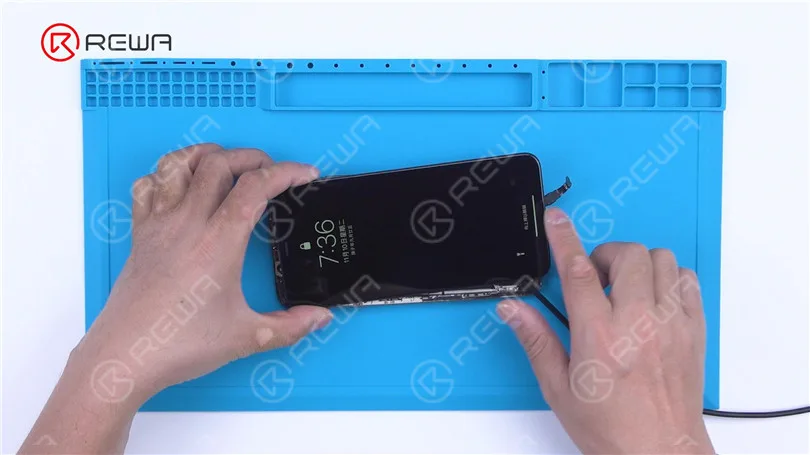
Firstly, we verify the motherboard’s condition. Remove the damaged screen and proceed to establish a connection between the motherboard and a replacement screen. As a result, the phone powers on, yet the touch screen fails to respond.
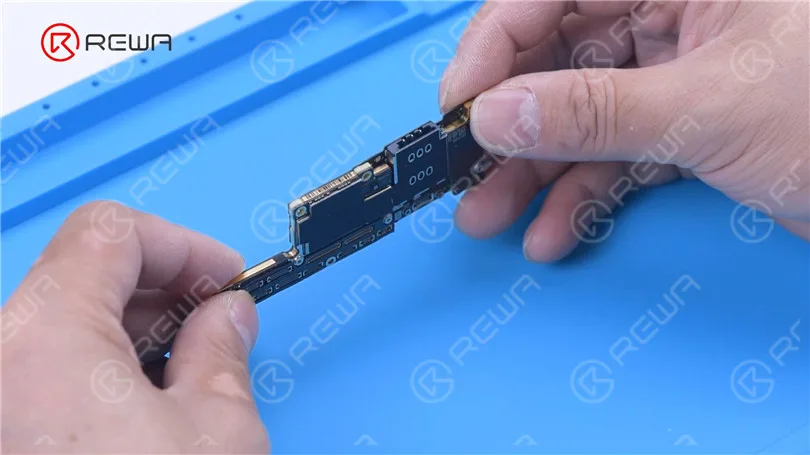
Remove the motherboard, and we can see that the signal board is deformed. To fix the problem, replacing the signal board is required.
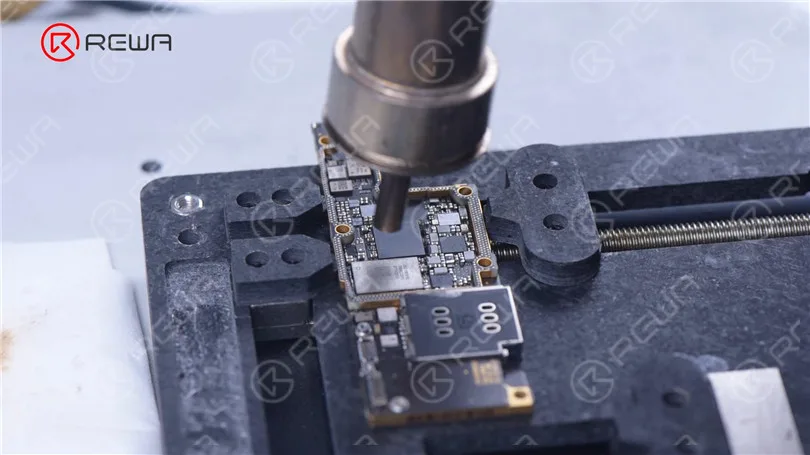
First of all, remove the baseband CPU, EPROM, and NFC chip on the signal board. After reballing these three chips, solder them to a good signal board.
Since the signal board is changed, we need to remove the NAND to unbind the WiFi. Attach the NAND to the programmeur for WiFi unbinding.
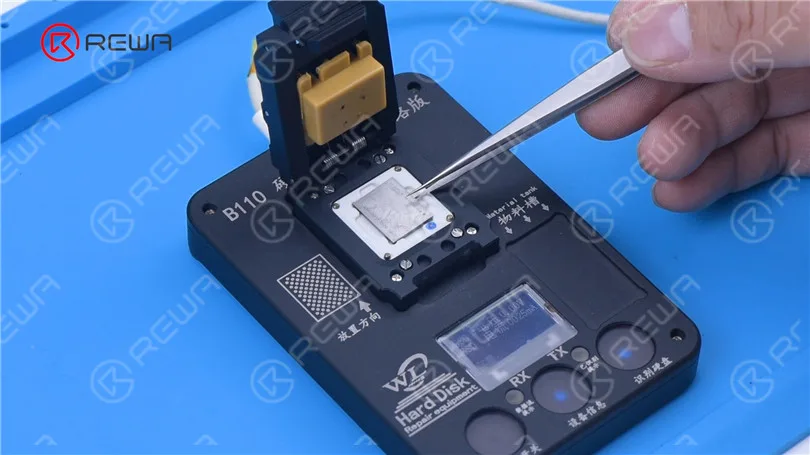
After unbinding, we solder the NAND back on.
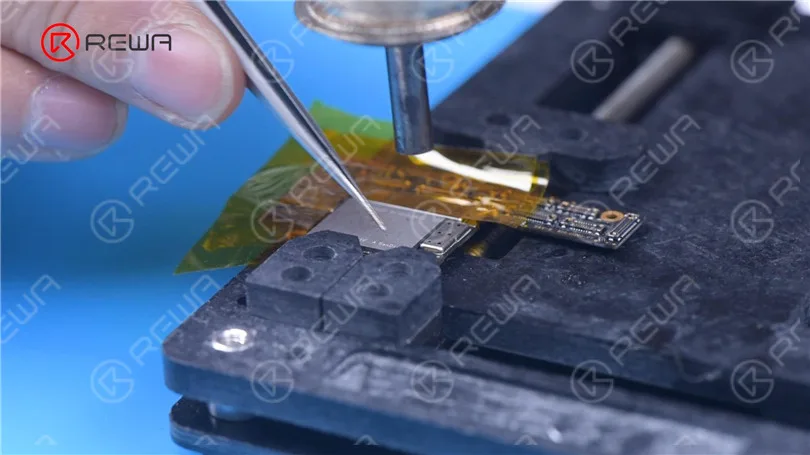
Apply some solder paste to the bonding pads of the new signal board. Next, we use a plate-forme de chauffage to recombine the signal board with the logic board.
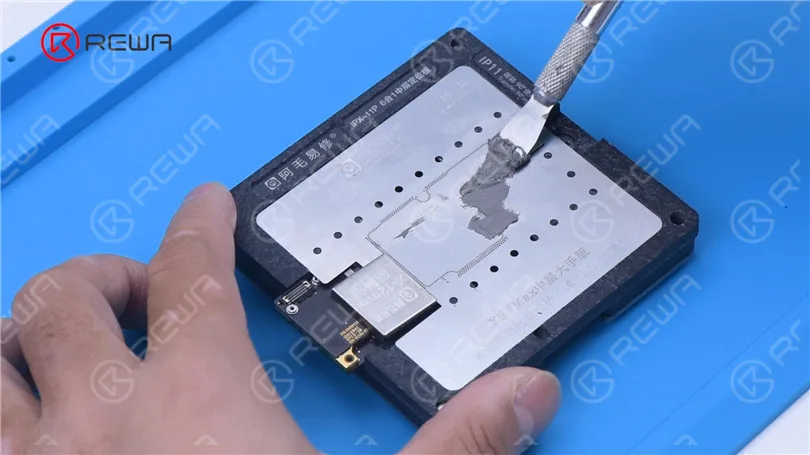
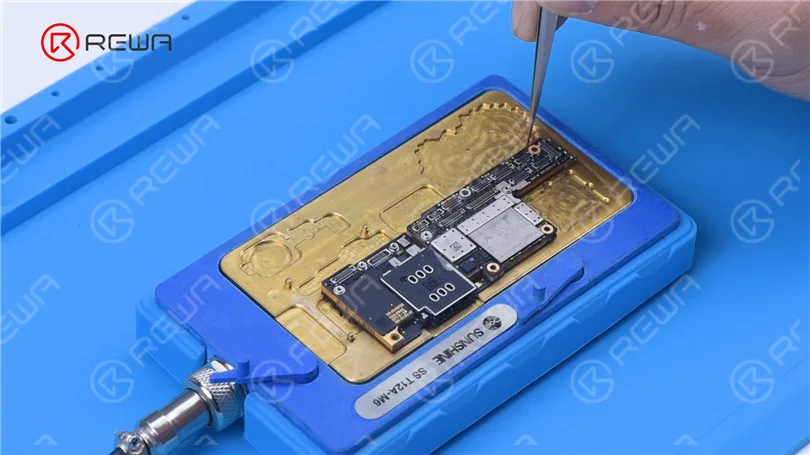
Connect the screen to test. The phone turns on and the touch screen is working fine. The motherboard is restored.
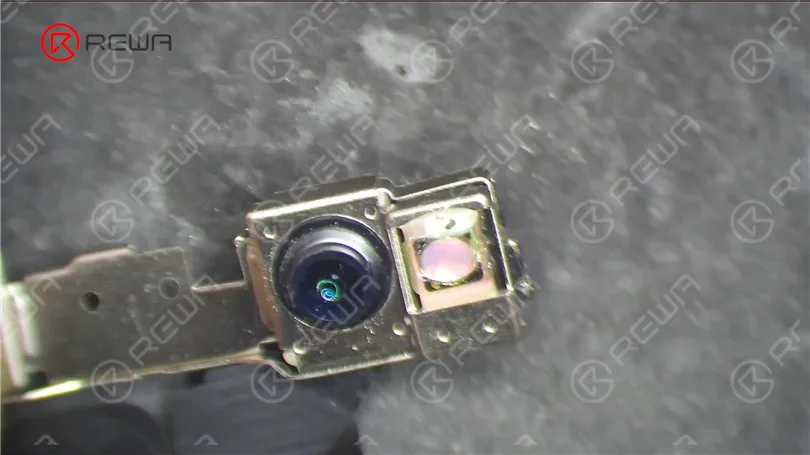
The dot projector of the front camera module is also damaged. Then we need to move the flex cables of the infrared camera and dot projector to a new front camera module. Grind to remove the infrared camera. Install the infrared camera to a new front camera module and secure it
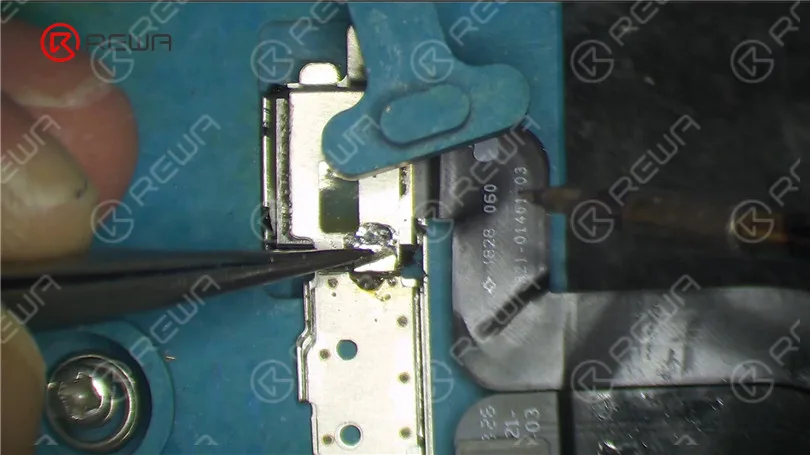
Remove the broken dot projector flex cable. Then remove the dot projector module and read its data. Write the data to a new flex cable.
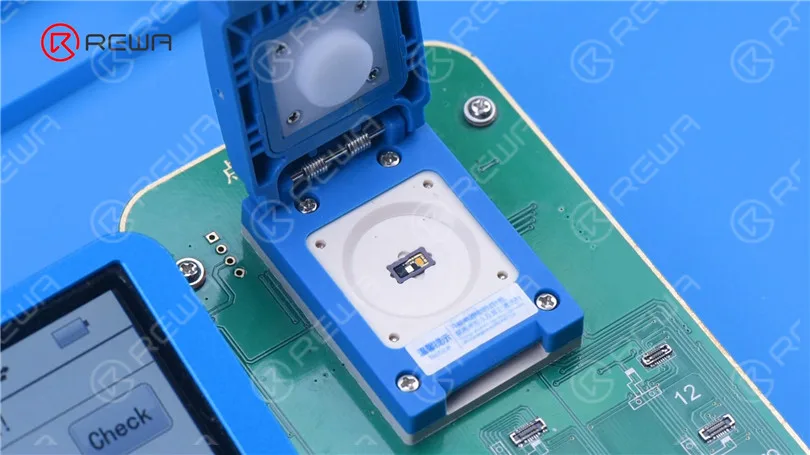
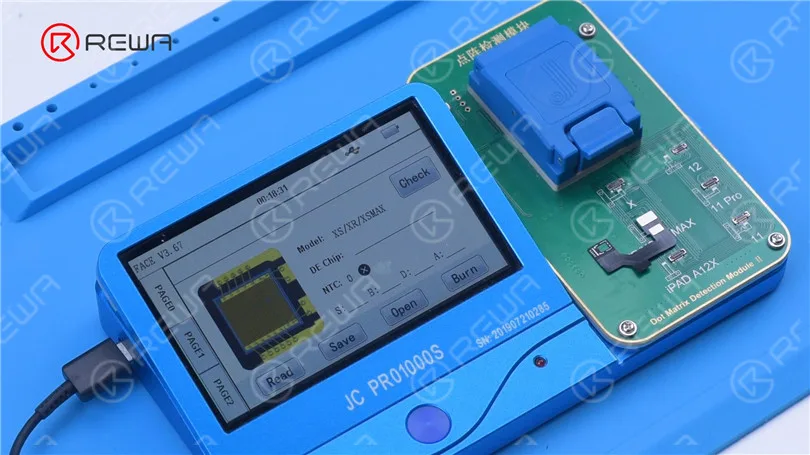
Before soldering the dot projector module, we need to remove the MOSFET and short pin 2 and 3.
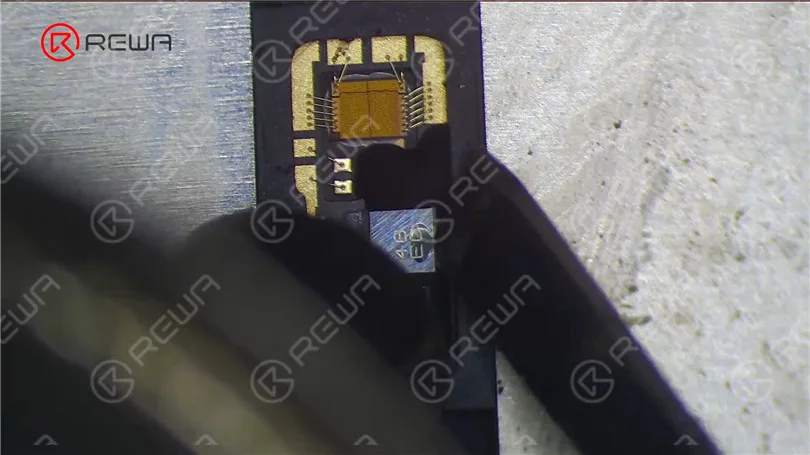
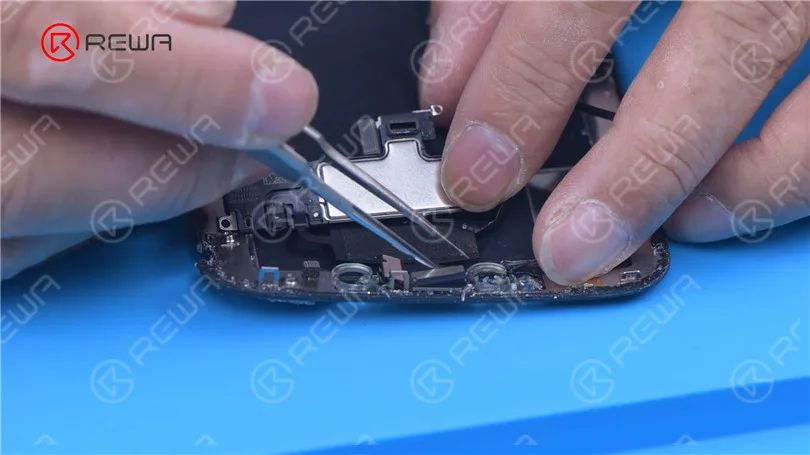
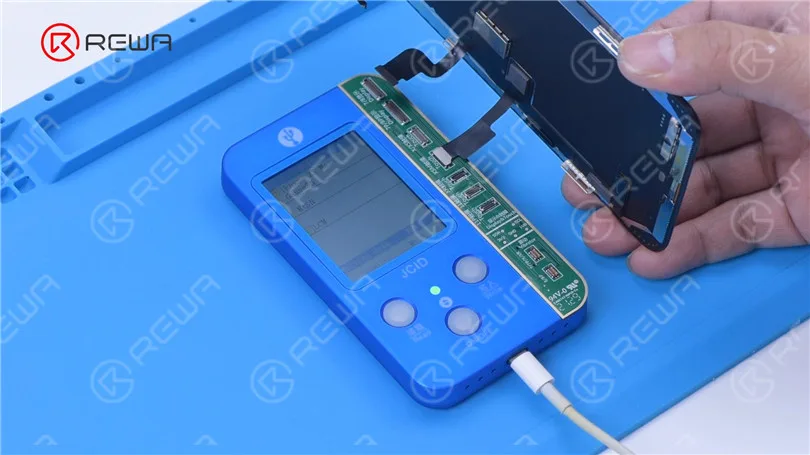
Next, we solder the dot projector module to a new flex cable. Put the new dot projector flex cable back to the front camera module. Align the flex able and fix it with adhesive. After we have repaired the front camera module, the next step is to restore the True Tone of the screen. Remove the earpiece flex cable from the broken screen and install it on a new screen. Read the screen data from the damaged screen and write the data to the new screen.
As the original back cover is severely damaged, we need to replace it with a specialized iPhone 13 Pro Max back cover. Move parts of the damaged back housing to the new back cover.
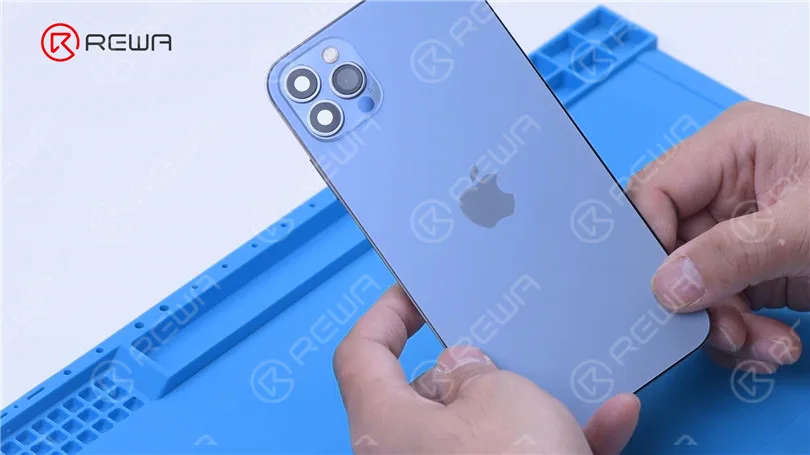
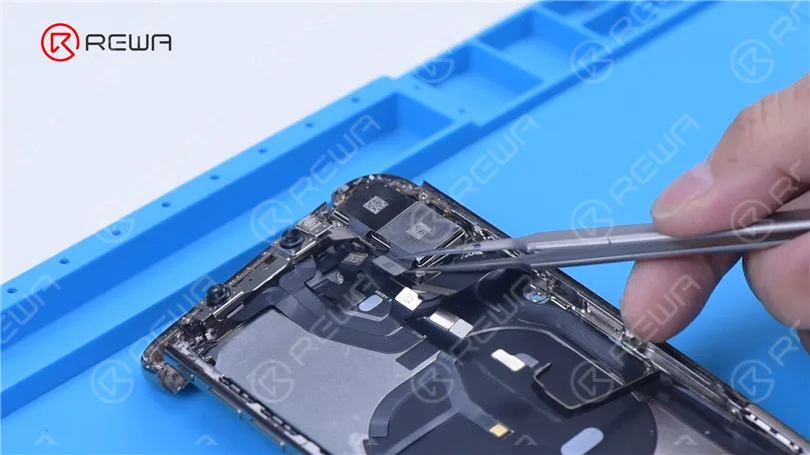
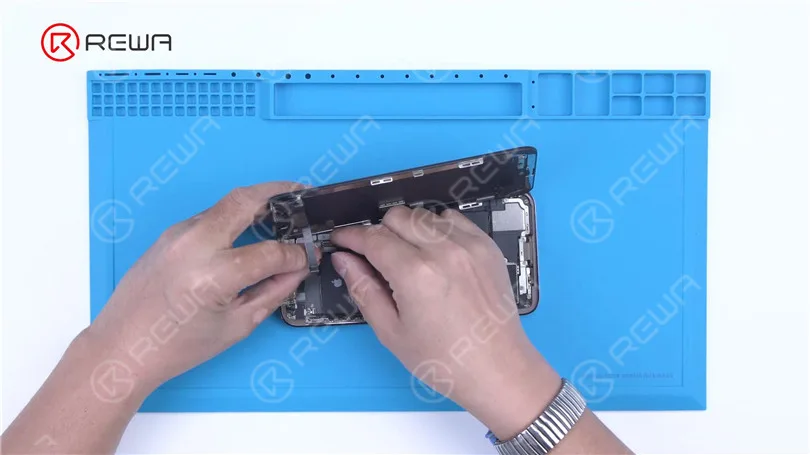
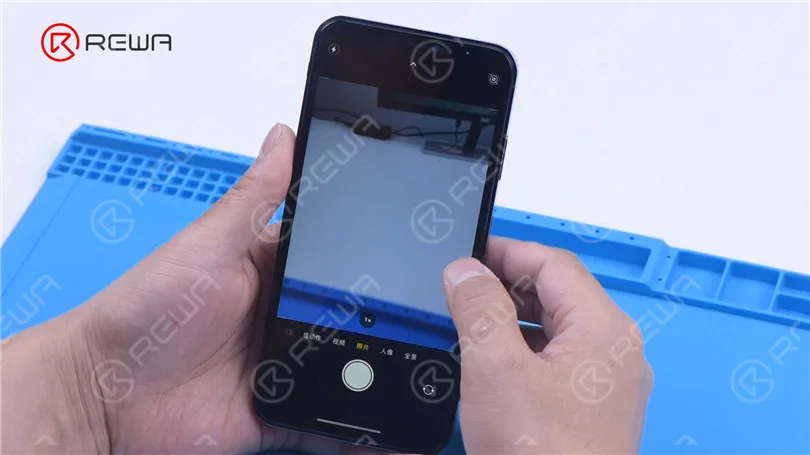
The iPhone XS Max has been successfully restored and all functions are normal.
-
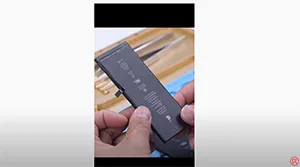
Réparer l'iPhone 13 Face ID ne fonctionne pas après le remplacement de l'écran
Récemment, Phone Repair Guru a publié une vidéo sur le remplacement de l'écran de l'iPhone 13. Après le remplacement, un "Message d'affichage important" s'affiche. Pire encore, Face ID n'est pas disponible. Regardez ce clip pour voir comment nous résolvons le problème.
-
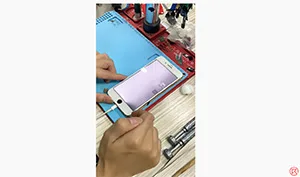
Réparer le rétroéclairage de l'iPhone 8 Plus qui ne fonctionne pas
Le rétroéclairage de l'iPhone 8 Plus ne fonctionne pas. Après un remplacement de l'inducteur, le problème a été résolu.
-
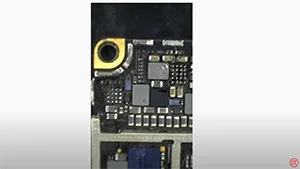
Réparer un iPhone 8 Plus endommagé par l'eau qui ne s'allume pas
La carte mère de cet iPhone a été sérieusement endommagée par l'eau, ce qui a provoqué un court-circuit entre les circuits de rétroéclairage et d'affichage. Nous avons réparé le problème en remplaçant deux circuits de rétroéclairage et un circuit d'affichage.
-

Trouver le composant défectueux avec la caméra thermique infrarouge LINCSEEK
L'iPhone 7 est bloqué sur le logo Apple et ne s'allume pas. Avec l'aide de la caméra thermique infrarouge LINCSEEK, le circuit intégré RF est court-circuité.
-
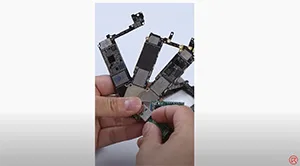
Transformer une carte NAND en clé USB
Les déchets électroniques se retrouvent le plus souvent dans les ateliers de réparation. Vous pouvez également transformer les déchets en trésors. Regardez notre vidéo aujourd'hui et apprenez comment transformer une carte NAND d'iPhone en clé USB.
-
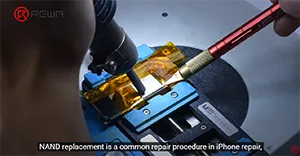
Réparer l'iPhone XS qui ne s'allume pas avec MJ P12 NAND Programmer
Le remplacement de la carte NAND est une procédure de réparation courante dans le cadre de la réparation d'un iPhone. Pour ce faire, un programmateur NAND est nécessaire pour lire et écrire les données NAND. Aujourd'hui, nous allons réparer un iPhone qui ne s'allume pas à l'aide du dernier programmateur NAND P12. En un seul clic, P12 peut non seulement entrer en mode violet mais aussi lire tous les SYSCFG de la NAND BGA110.
 English
 Español
 Français
 Deutsch
 Italiano