Étiquette : iphone

  • Fix iPhone 12 Won’t Turn On By Infrared Thermal Imaging Camera

    Fix iPhone 12 Won’t Turn On By Infrared Thermal Imaging Camera

    Today we will share a repair case of an iPhone 12 that is unable to turn on. There are generally three reasons why phones won’t turn on: display assembly failure, battery failure, and motherboard failure.

    Next, we will look for the faulty part step by step.

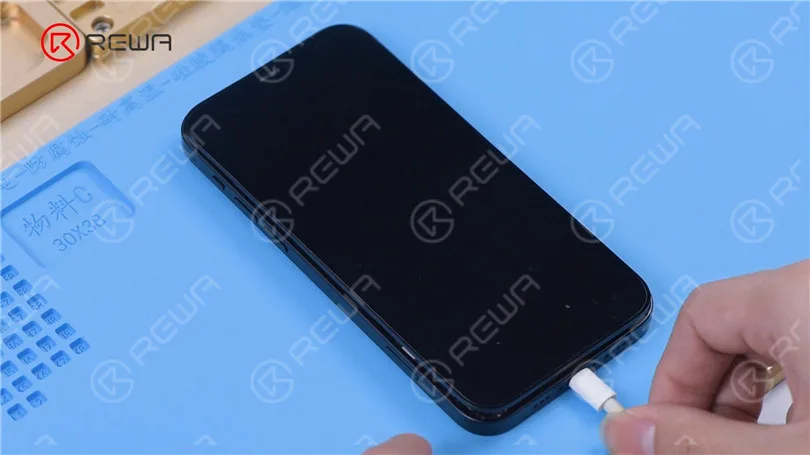
    Press the power button and the phone won’t turn on. Connect the phone to power and the phone still won’t turn on.
    Fix iPhone 12 Won't Turn On By Infrared Thermal Imaging Camera

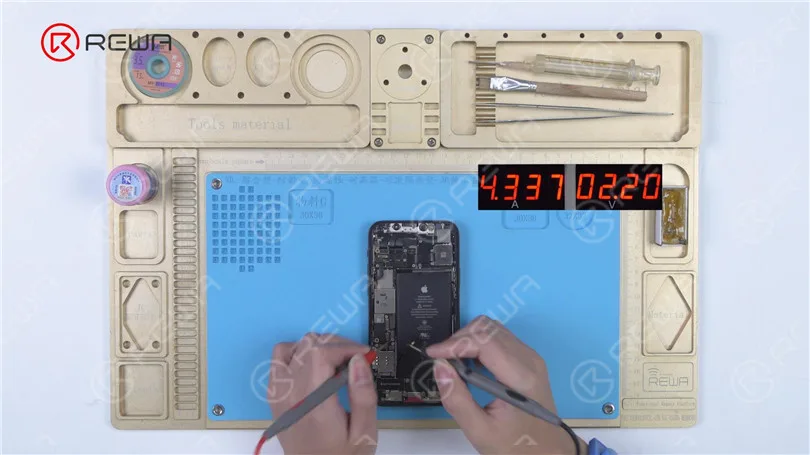
    Disconnect the display. Power up the motherboard. Please be noted that the time for powering up shouldn’t be too long. It can be seen that the current value is large. The motherboard has a large current which indicates the motherboard is short-circuited.
    Fix iPhone 12 Won't Turn On By Infrared Thermal Imaging Camera

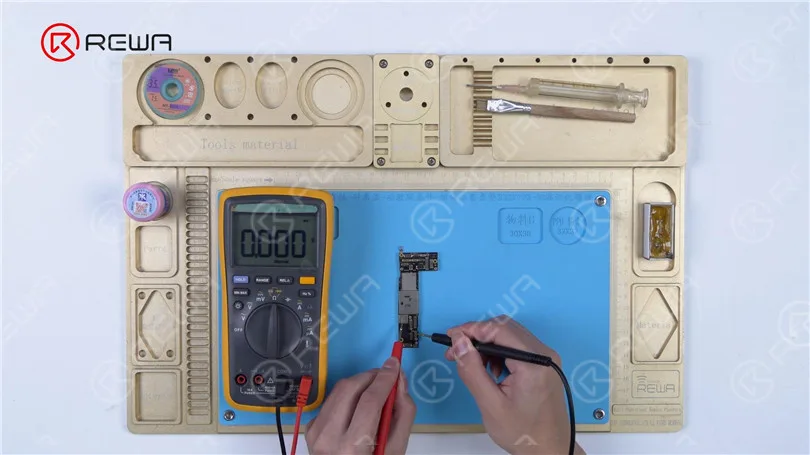
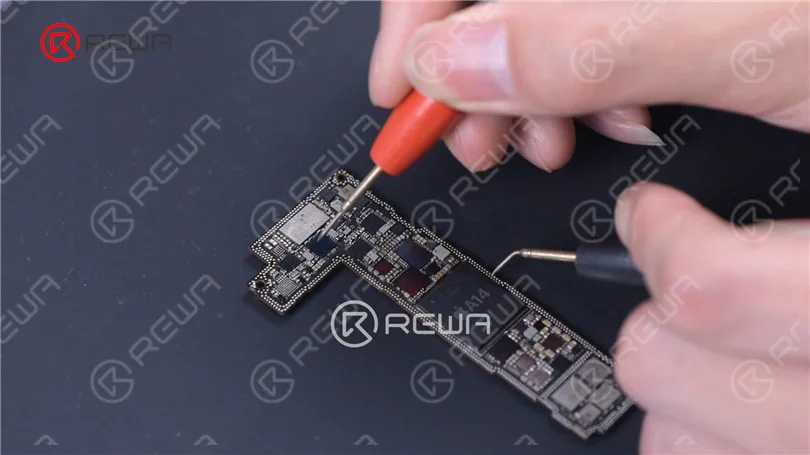
    Next, we need to remove the motherboard and locate the faulty part for repair. Measure the diode value of PP_BATT_VCC line with a multimeter.The diode value is 0. It can be confirmed that PP_BATT_VCC line is short-circuited. PP_BATT_VCC line and PP_VDD_MAIN line of iPhone 12 are connected in series by an inductor. So the short-circuited PP_BATT_VCC line may also cause the PP_VDD_MAIN line to short circuit.
    Fix iPhone 12 Won't Turn On By Infrared Thermal Imaging Camera
    Fix iPhone 12 Won't Turn On By Infrared Thermal Imaging Camera

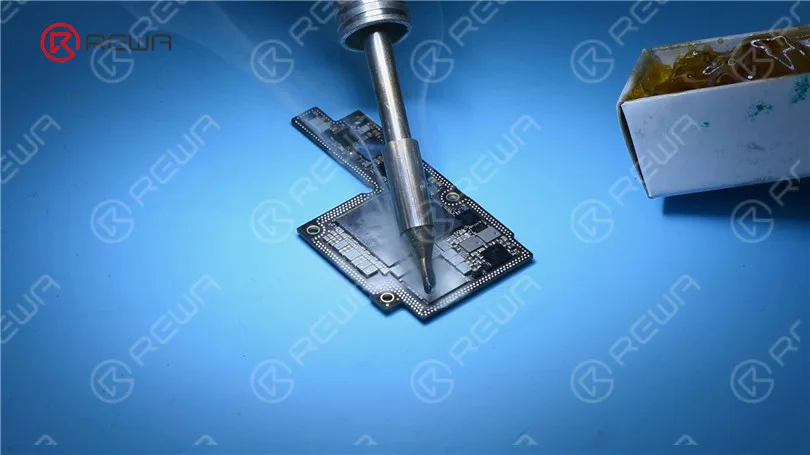
    The old solution to repair the large current problem is through rosin detecting. Through the melting of rosin, we can confirm the faulty part. Though the solution is cheap and effective, it has some shortcomings. The motherboard has to be covered with rosin while the rosin is hard to clean up afterward. In addition, we have to remove shielding covers on the motherboard for a thorough inspection. There is no doubt that operation difficulty will be greatly enhanced.
    Fix iPhone 12 Won't Turn On By Infrared Thermal Imaging Camera
    Fix iPhone 12 Won't Turn On By Infrared Thermal Imaging Camera

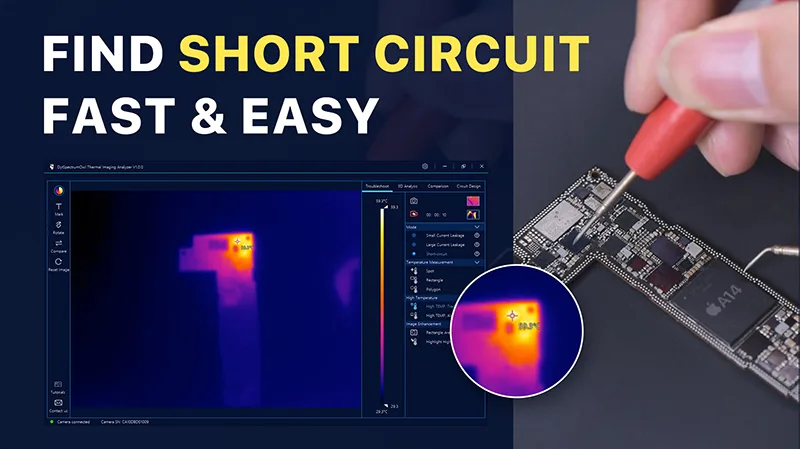
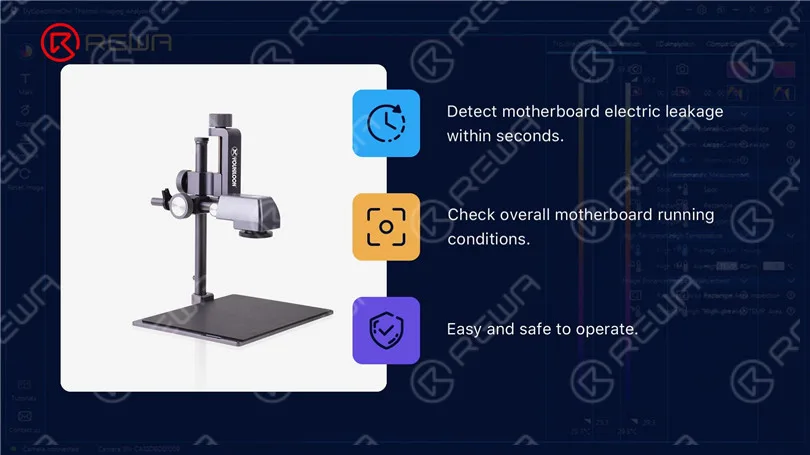
    Today we will introduce a more advanced and effective way to look for short circuit on the motherboard with the help of a Thermal Imager Camera . The thermal imager locates the part of which temperature is higher than normal value via infrared radiation. The thermal imager can detect motherboard electric leakage within seconds. The faulty parts will be detected in no time once you put the motherboard under the camera, tremendously improving repair efficiency. While checking overall motherboard working conditions, the thermal imager can pinpoint faulty parts with high accuracy. Furthermore, the thermal imager is an expert in detecting small electric leakage, short circuit and other problems with easy and safe operation, substantially lowering the error rate.
    Fix iPhone 12 Won't Turn On By Infrared Thermal Imaging Camera

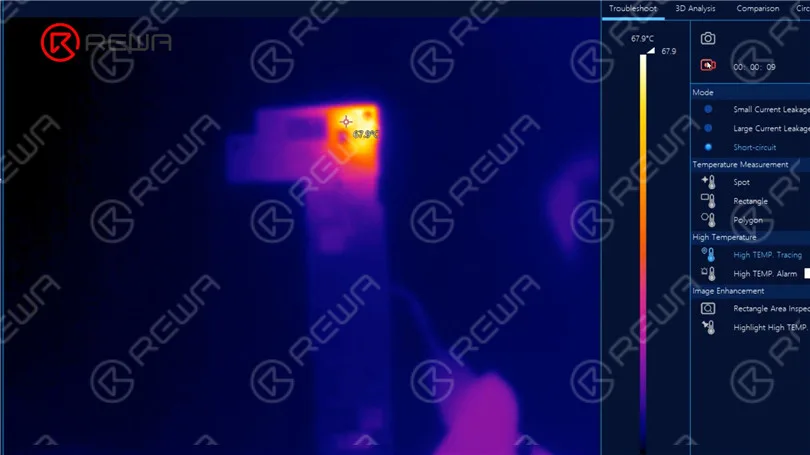
    First of all, we put the motherboard on the working platform. Connect the black probe of the direct power supply to the ground and connect the red probe to PP_BATT_VCC line. The temperature on the top left corner has risen up. The faulty part can be confirmed on the top left corner.
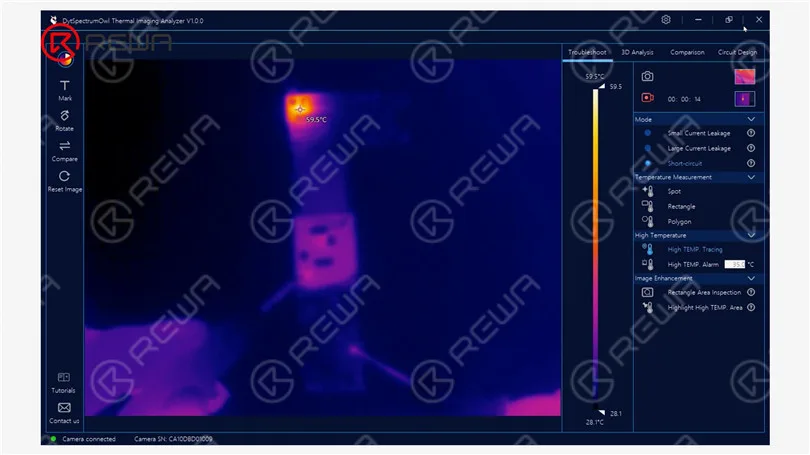
    Fix iPhone 12 Won't Turn On By Infrared Thermal Imaging Camera

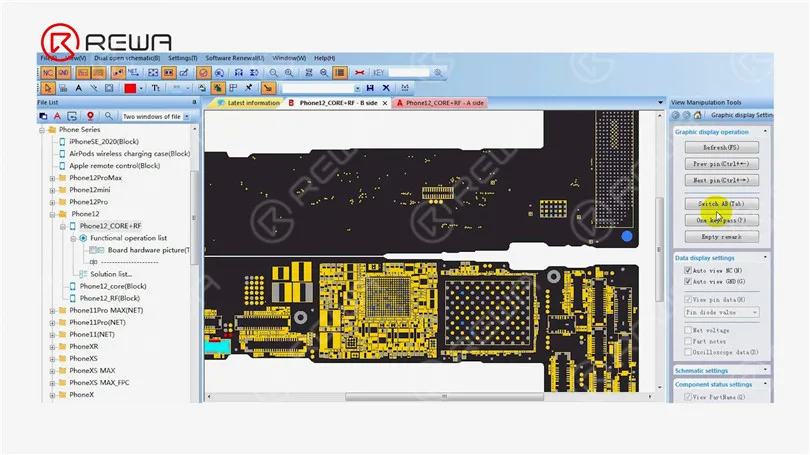
    Open the bitmap. We can see that PP_BATT_VCC line is not on the top left corner. Since PP_BATT_VCC line and PP_VDD_MAIN line are connected in series by an inductor, we can judge that PP_VDD_MAIN line is short-circuited. Through inductors of PP_BATT_VCC line, click another side of the inductors. The other side is connected to PP_VDD_MAIN line. We can again determine the range of faulty part.
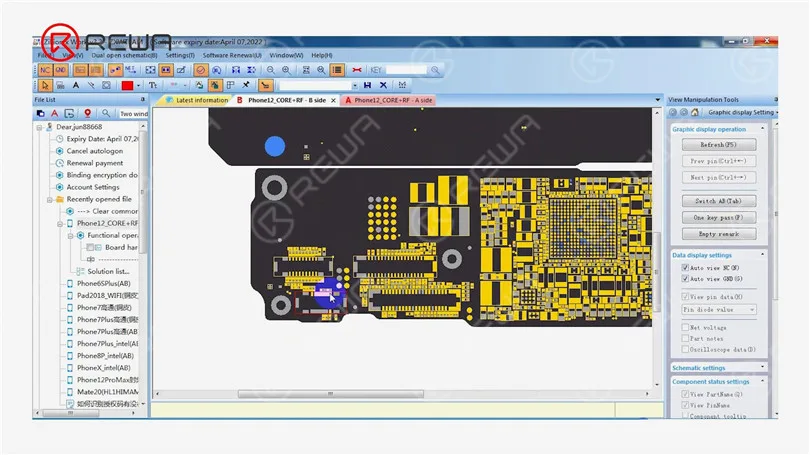
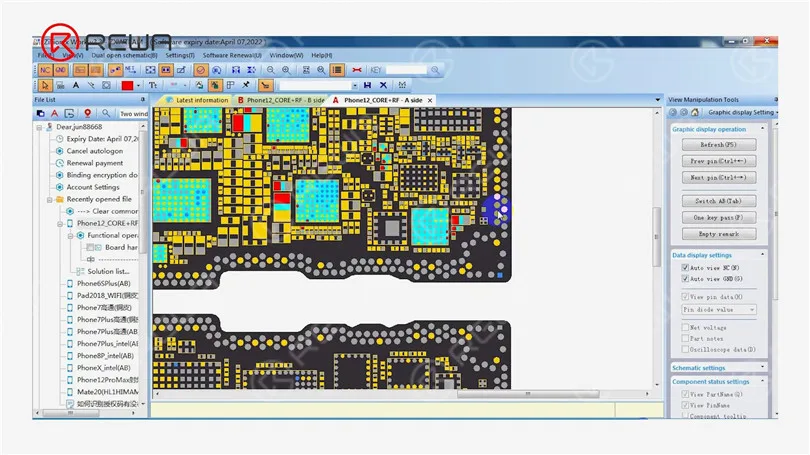
    Fix iPhone 12 Won't Turn On By Infrared Thermal Imaging Camera
    Fix iPhone 12 Won't Turn On By Infrared Thermal Imaging Camera

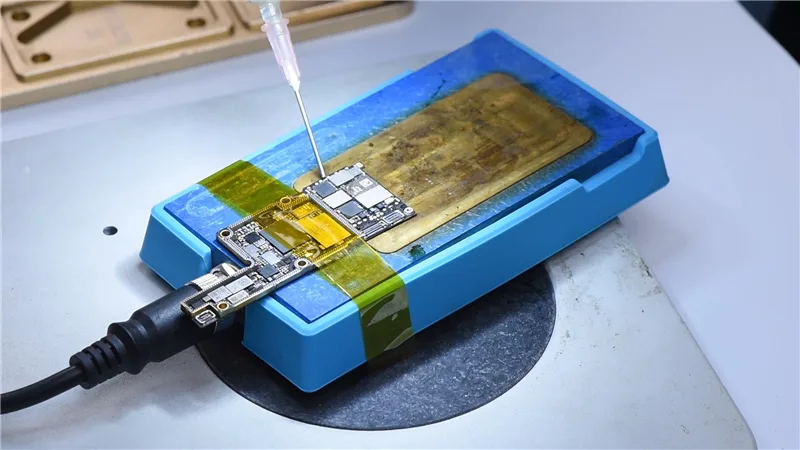
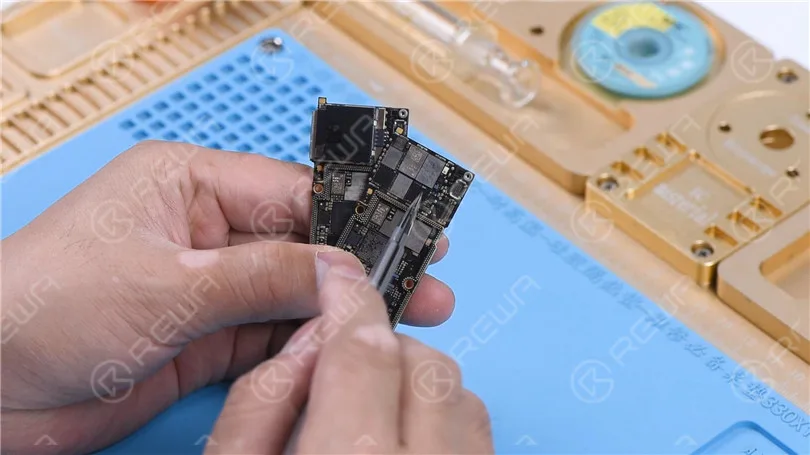
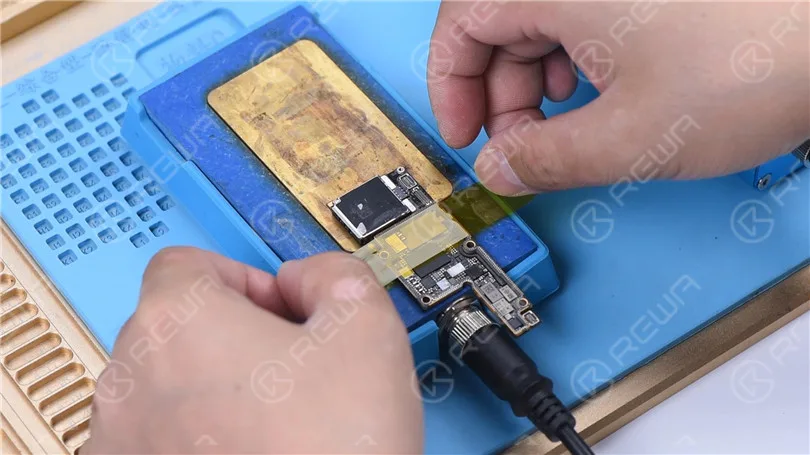
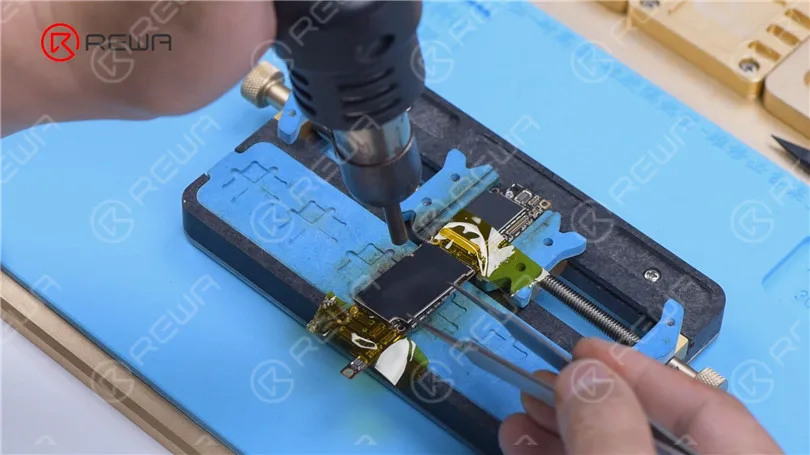
    It can be seen on the bitmap that the PP_VDD_MAIN line is on the logic board. Next, we separate the motherboard. Put the motherboard on the 170 °C Plate-forme de chauffage to heat.
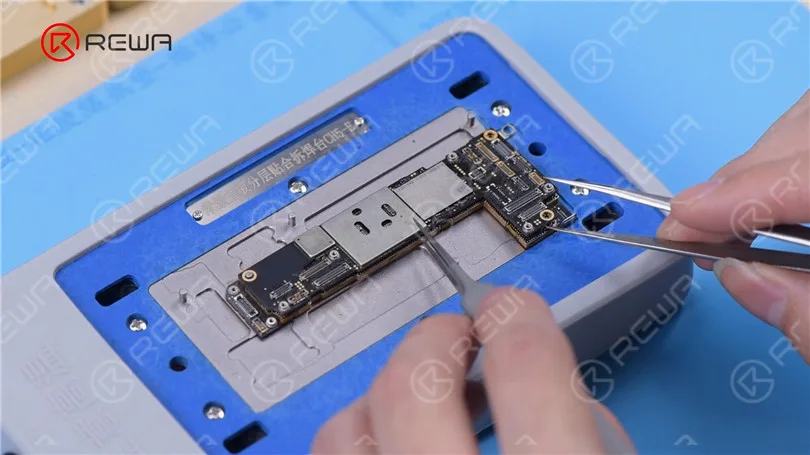
    Fix iPhone 12 Won't Turn On By Infrared Thermal Imaging Camera

    After the logic board has cooled, power up the logic board. Connect the black probe to the ground and connect the red probe to PP_VDD_MAIN line. Through the thermal image, we can now confirm the faulty part. The capacitor is flawed with charring.
    Fix iPhone 12 Won't Turn On By Infrared Thermal Imaging Camera
    Fix iPhone 12 Won't Turn On By Infrared Thermal Imaging Camera
    Fix iPhone 12 Won't Turn On By Infrared Thermal Imaging Camera

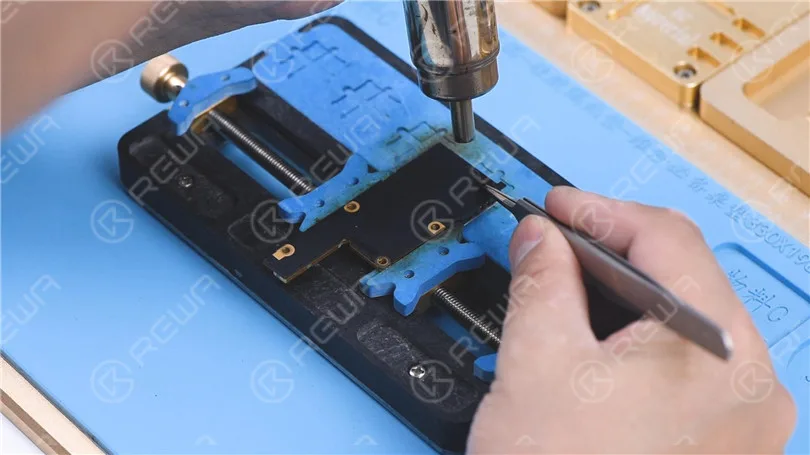
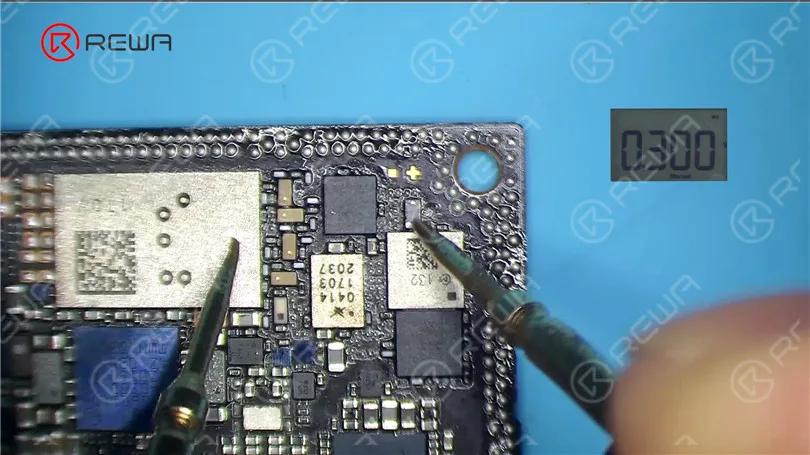
    Remove the capacitor and clean the bonding pad with PCB Cleaner. Measure the diode values of PP_VDD_MAIN line and PP_BATT_VCC line. The diode values return to normal. The short circuit fault has been eliminated. Then we recombine the motherboard.
    Fix iPhone 12 Won't Turn On By Infrared Thermal Imaging Camera

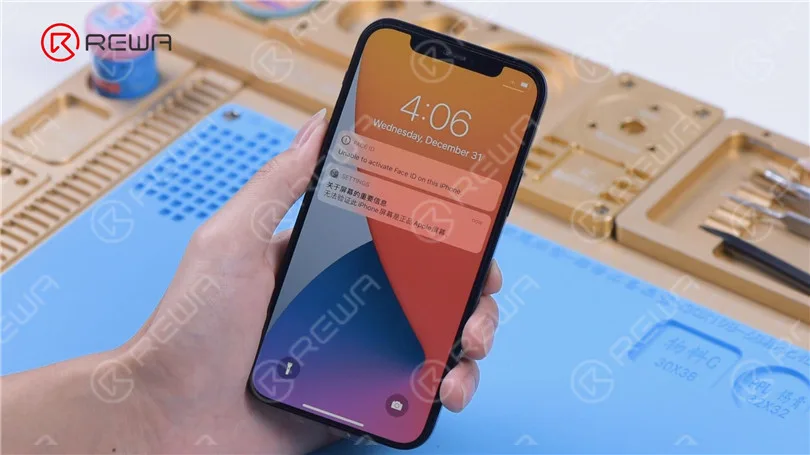
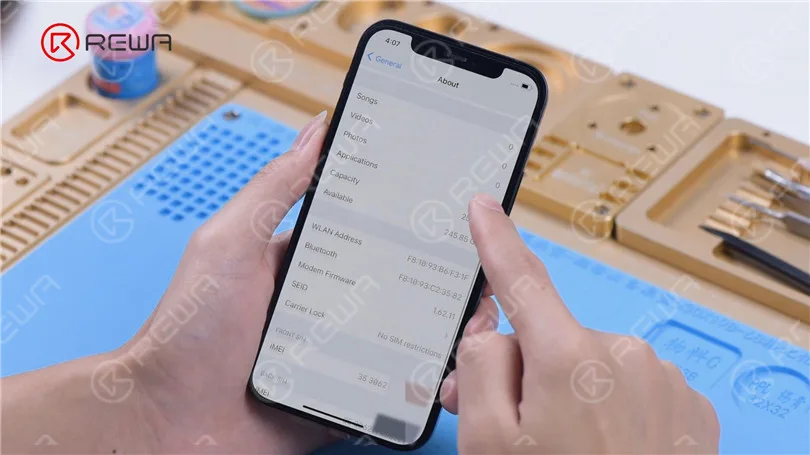
    Assemble the phone to test. The phone turns on normally. WiFi and baseband function well. IMEI number can be seen. The fault has been eliminated.
    Fix iPhone 12 Won't Turn On By Infrared Thermal Imaging Camera
    Fix iPhone 12 Won't Turn On By Infrared Thermal Imaging Camera

    You can purchase the Thermal Imager Camera on REWA shop. Please don’t hesitate to contact our account managers or customer service team for more details.

    Please watch the below video for more details
     

  • How to Fix iPhone 12 Screen Flickering Issue – What is the Solution?

    Comment résoudre le problème de scintillement de l'écran de l'iPhone 12 – Quelle est la solution ?

    Les écrans de l'iPhone 12 sont entièrement améliorés et l'écran LCD d'origine est remplacé par un écran OLED. Le problème de scintillement de l'écran OLED est bien connu. Alors, comment résoudre ce problème ? REWA vous apporte les dernières informations sur les téléphones mobiles. Vérifions !

    Écran de l'iPhone 12 qui scintille

    Comment réparer le problème de scintillement de l'écran de l'iPhone 12 ?

    Actuellement, après avoir utilisé l'iPhone 12 pendant longtemps, les yeux deviennent secs, car l'OLED scintille sous la gradation PWM. Imaginez que l'écran scintille constamment à faible luminosité (seul le scintillement est invisible à l'œil nu, mais le nerf visuel peut le percevoir), ce qui entraîne des problèmes oculaires.

    L'iPhone 12 ne prend pas en charge la gradation CC.

    Cependant, nous pouvons réduire le scintillement de l'écran en ajustant le point de luminosité, sans déclencher la gradation PWM. Puis conserver l'écran à une valeur de faible luminosité appropriée en “ abaissant la valeur du point blanc ”. La méthode spécifique n'est pas particulièrement difficile.

    Utiliser le tutoriel

    1. Aller dans “Paramètres”

    2. Ouvrez “ Accessibilité ”

    3. Choisissez “ Affichage et taille du texte ”

    4. Trouver “ Réduire le point blanc ”

    Nous pouvons utiliser cette voie pour réduire indirectement le Écran de l'iPhone 12 qui scintille, par lequel vous pouvez soulager la sécheresse de vos yeux et les protéger. C'est assez incroyable.

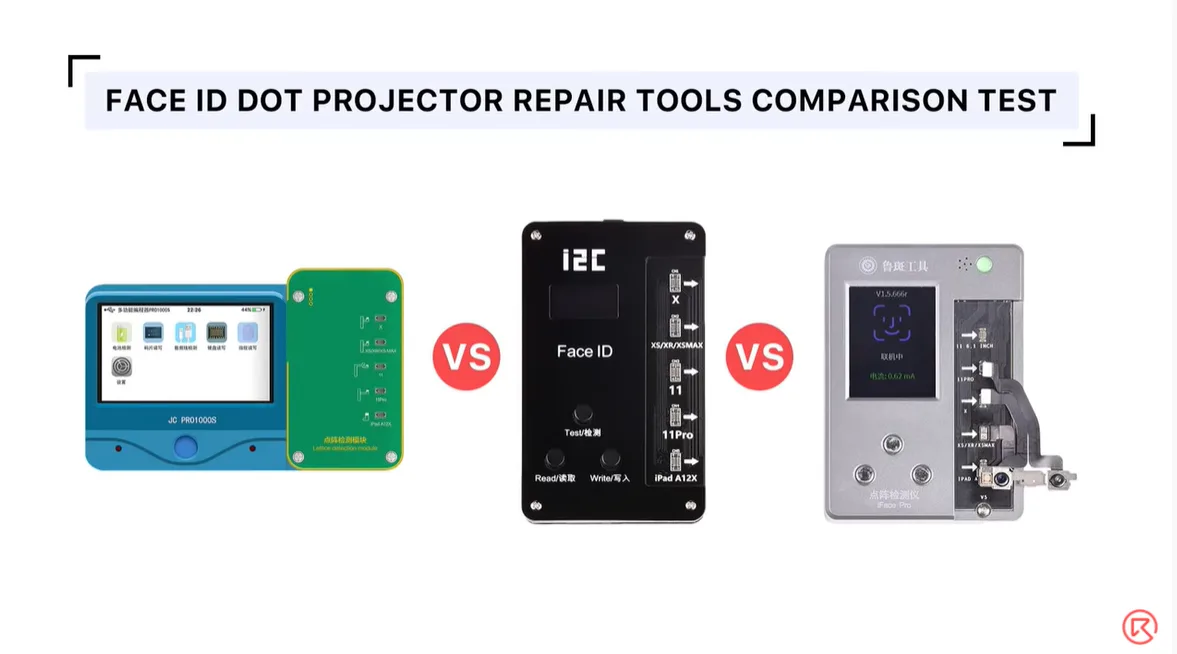
  • Face ID Dot Projector Repair Tools Review – I2C/JC/LUBAN

    Face ID Dot Projector Repair Tools Review – I2C/JC/LUBAN

    Today, REWA LAB will walk you through a detailed explanation of three dot projector repair solutions and show you the three most popular dot projector repair tools in the industry. Which one is the best choice for repair shops? Check out the video now and you will get the answer you want.

    • 00:00 Introduction
    • 00:12 Face ID Dot Projector Repair Tools Review – I2C/JC/LUBAN
    • 00:54 Comparison Of Repair Process
    • 01:36 Inspection
    • 01:54 Burn Data
    • 02:55 Dot Projector Flex Cable
    • 03:51 Dot Projector Repair
    • 04:49 Test

    Produits recommandés dans cette vidéo :

  • iPhone XS Max Face ID Not Working Fixed – Dot Projector Repair

    iPhone XS Max Face ID ne fonctionnant pas réparé - Dot Projector Repair

    Face ID ne fonctionne pas "Déplacez l'iPhone un peu plus bas/plus haut" est généralement causé par un endommagement du projecteur de points et le problème est confirmé comme étant presque irréparable. Cependant, il existe enfin une solution pour résoudre le problème. Regardez dès aujourd'hui notre vidéo de réparation du Face ID de l'iPhone XS MAX et apprenez la dernière technique de réparation du projecteur de points !

    • 00:00 Introduction
    • 00:14 iPhone XS Max Face ID ne fonctionnant pas réparé - Dot Projector Repair
    • 03:23 Séparer le cristal du câble
    • 04:31 Données de gravure
    • 05:36 Câblage du MOSFET
    • 06:51 Souder le module du projecteur de points
    • 10:44 Coller un cristal connu
    • 11:19 Test

    Produits recommandés dans cette vidéo :

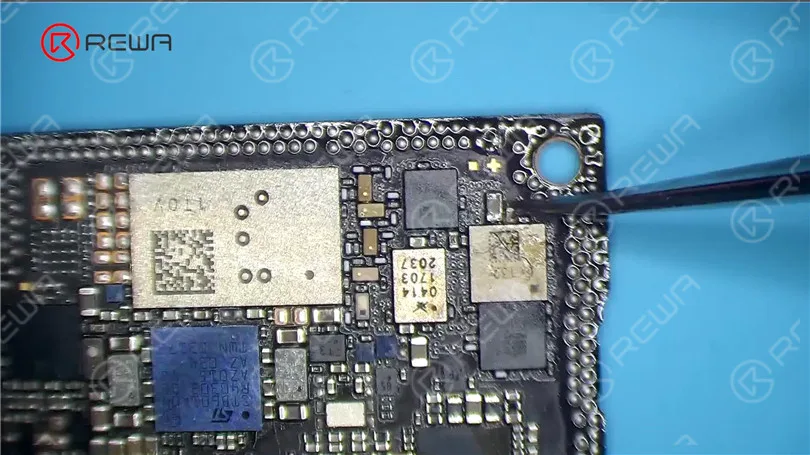
  • iPhone X Incoming Calls Not Showing – Fixed By Jumping Wires

    iPhone X Incoming Calls Not Showing – Fixed By Jumping Wires

    Right now, there are few solutions to fix iPhone not responding in sleep mode when getting incoming calls. The general repair process of a repair technician is to take out the motherboard, check PMU and baseband CPU, and then replace or re-solder the faulty component. The whole repair process is complicated and difficult. Check out our video today and REWA LAB will show you a brand new ‘signal borrowing’ solution to fix the problem quickly and efficiently.

    • 00:00 Introduction
    • 00:26 Tools & Materials
    • 00:56 Diagnosis
    • 02:37 Confirm the Signal Location
    • 03:27 Borrow Signal by Jumping a wire
    • 05:50 Assemble the Phone and Test
  • Que faire si votre iPhone chauffe ?

    Que faire si votre iPhone chauffe ?

    La surchauffe de l'iPhone se manifeste souvent par une consommation anormale de la batterie, une batterie qui se vide rapidement et une charge lente. Vous pouvez commencer par vérifier l'utilisation de la batterie. Allez dans Réglages > Batterie et vérifiez l'utilisation de la batterie par application. Si l'activité de l'application est anormale, vous pouvez alors résoudre le problème.

    1 : Les applications en arrière-plan entraînent une surchauffe

    Accédez à la page d'accueil de l'iPhone. Allez dans Réglages > Général > Actualisation des applications en arrière-plan. Désactivez les applications inutiles et laissez les applications de chat activées. Allez ensuite dans App Store dans les réglages pour désactiver les applications et les mises à jour d'applications. En outre, réduisez l'utilisation du Bluetooth et désactivez les services de localisation.

    Le GPS est l'un des responsables de l'échauffement de l'iPhone et l'une des principales causes de l'épuisement rapide de la batterie du téléphone portable. Lorsque vous avez fini d'utiliser l'application de navigation cartographique, vous devez l'éteindre et ne pas rester longtemps dans l'interface de navigation cartographique.

    2 : Causé par une mise à jour du logiciel

    Allez dans Réglages > Général > Réinitialiser pour effacer toutes les données et le contenu. Saisissez le code de vérification et effacez immédiatement. Veillez à effectuer les sauvegardes nécessaires avant de procéder à cette opération.

    Ceux-ci peuvent également faire chauffer votre iPhone :

    1. Exécuter des applications qui consomment beaucoup d'énergie : les jeux, les films, la transmission de grandes quantités de données, la charge du téléphone portable est trop élevée. Fermez les applications qui consomment beaucoup d'énergie pour résoudre le problème.

    2. Jouer ou téléphoner pendant la charge. La batterie étant chargée et déchargée, elle risque d'être endommagée et vous devez mettre fin à la partie ou à l'appel.

    3. Batterie au lithium de mauvaise qualité : les utilisateurs d'iPhone qui ont changé la batterie doivent être attentifs. Vous devez vous rendre dans un magasin agréé pour faire remplacer la batterie.

    4. Échec de l'application : Parfois, certaines applications défectueuses occupent une grande quantité de mémoire, de sorte que le téléphone portable est très chargé, et ces applications peuvent être supprimées.

    5. Coques de protection et autres couvertures : Certaines coques de protection de qualité inférieure ou excessive peuvent affecter la dissipation de la chaleur de l'iPhone, provoquant une surchauffe du téléphone. Le retrait de la coque ou de la couverture de protection peut résoudre le problème.

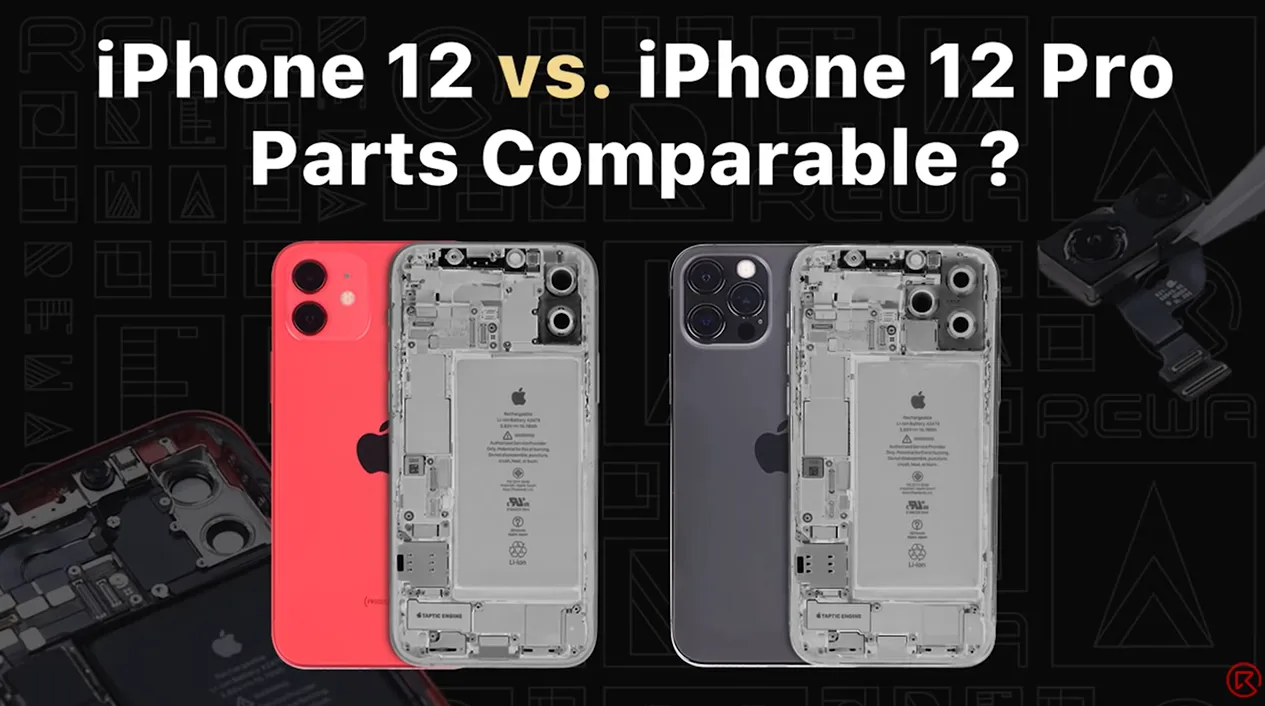
  • iPhone 12 vs. iPhone 12 Pro : Test d'échange de pièces par REWA LAB

    iPhone 12 vs. iPhone 12 Pro : Test d'échange de pièces par REWA LAB

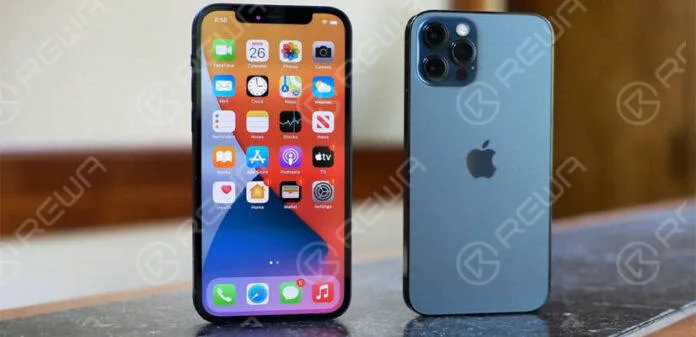
    Recently, REWA LAB found that interior structure and appearance of iPhone 12 and iPhone 12 Pro look very similar after teardown. Therefore, REWA technicians tried to swap some parts of the two models to test if they can be functionally interchangeable. Want to find out the test result? Watch this video and you will know!

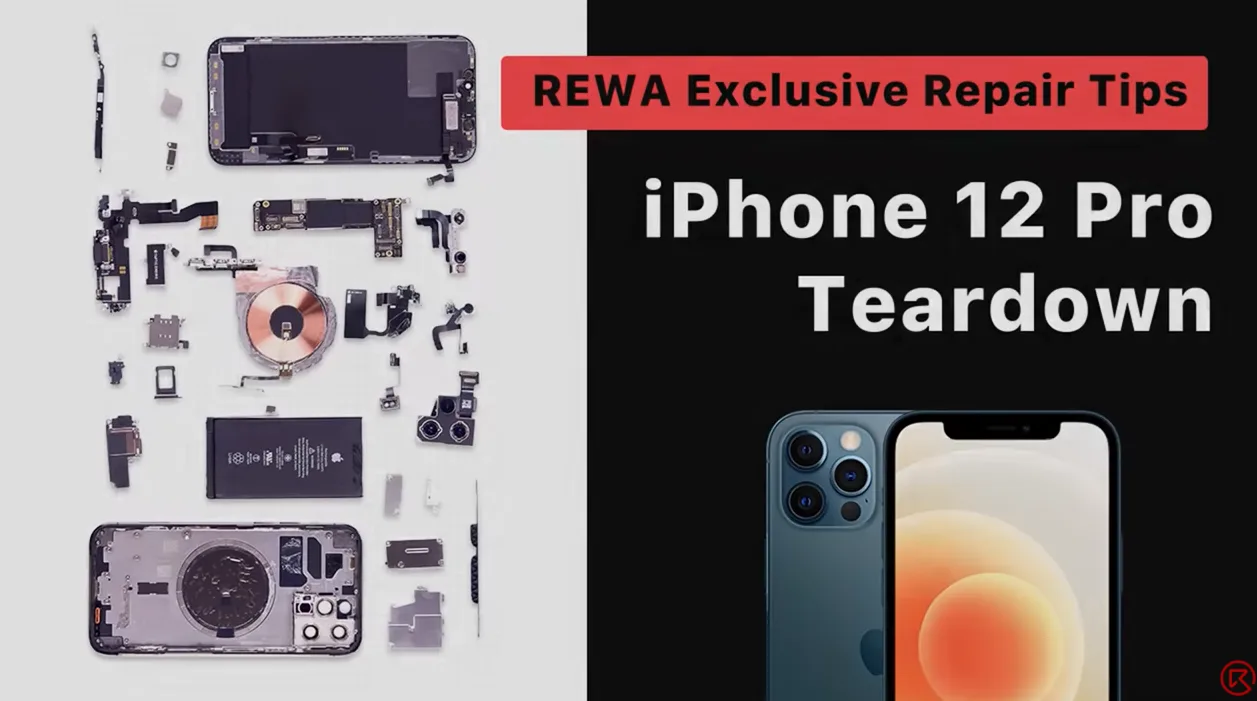
  • Conseils détaillés sur le démontage de l'iPhone 12 Pro pour les techniciens d'ateliers de réparation

    Conseils détaillés sur le démontage de l'iPhone 12 Pro pour les techniciens d'ateliers de réparation

    Apple’s new iPhone 12 models have been the talk of the town. For repair shop owners, the biggest concern is what to pay attention during disassembly. Today, REWA LAB is going to share a detailed teardown tutorial of the iPhone 12 Pro. Let’s take a look!

    Produits recommandés dans cette vidéo :

    • Mobile Phone Disassemble Set
    • REWA SELECTED iPhone 12 Series Accessories:
    • Phone Case
    • Charger Plug
    • Screen Protector
    • Earphone
  • How to Replace iPhone X SIM card Reader?

    How to Replace iPhone X SIM card Reader?

    Today we will talk about how to replace iPhone X SIM card reader.

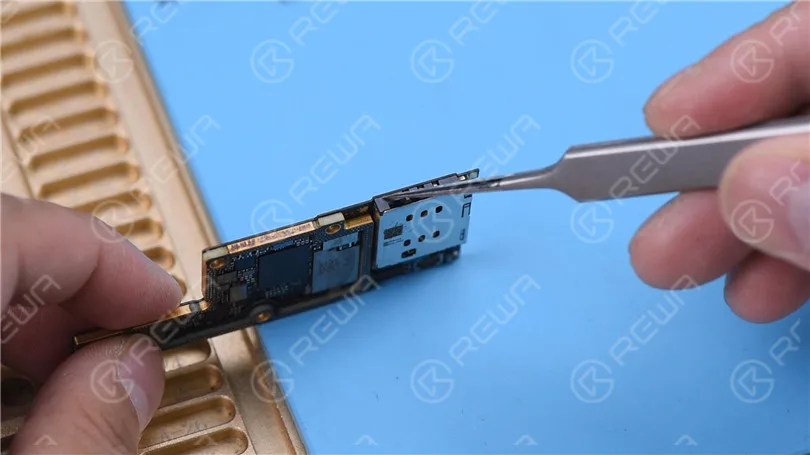
    The SIM card reader of iPhone X is soldered with medium-temperature tin, while the middle layer of the motherboard adopts low-temperature tin. Hence we advise you to separate the motherboard before removing the SIM card reader. There are other ICs on the SIM card reader. Besides, a plastic part is also in the middle of the SIM card reader.

    How to replace the SIM card reader of iPhone X?

    While disassembling and soldering, we need to heat it with rotational air and control the temperature. Attach the motherboard to the PCB Holder. Heat it with Hot Air Gun 240℃ and airflow 7. Tear off the sticker on the back of the motherboard.

    How to replace the SIM card reader of iPhone X?

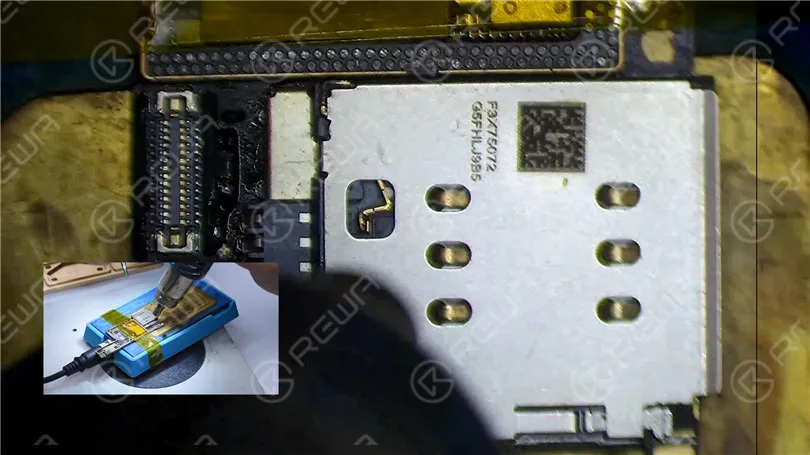
    Placez la carte mère sur le Plate-forme de chauffage. We only need to heat the SIM card reader part. Fix the motherboard with high-temperature adhesive. Set the temperature of the Heating Platform to 200℃. Heat the edge of the SIM card reader with Pistolet à air chaud 280℃ and airflow 7.

    How to replace the SIM card reader of iPhone X?

    Stir the SIM card reader with tweezers while heating. Remove the SIM card reader when it becomes loose. Please be noted that we need to pick up the SIM card reader in a vertical manner. To avoid damage or malposition of components under the SIM card reader, please do not pry with tweezers. Next, we replace the old SIM card reader with a new one. Apply some Paste Flux to the bonding pad of the SIM card reader. Put the new SIM card reader in position. Keep heating it on the 200℃ Heating Platform. Heat the edge of the SIM card reader evenly with Hot Air Gun 280℃ and airflow 7. Press the SIM card reader gently while heating. Make sure that the SIM card reader is pressing against the PCB.

    How to replace the SIM card reader of iPhone X?

    Turn off the power. Cool the motherboard. Check the SIM card reader soldering. The SIM card reader is pressing against the PCB. Every soldering spot has no pseudo soldering. Solder it again with Soldering Iron if pseudo soldering happens.

    How to replace the SIM card reader of iPhone X?

    Please set the temperature of the Hot Air Gun according to the environment and device brand. The temperature in this article is only for reference.

    Veuillez consulter le site Académie REWA to study more iPhone repair knowledge.

  • La première démonstration de réparation de la vitre arrière MagSafe de l'iPhone 12 (qui a presque échoué)

    La première démonstration de réparation de la vitre arrière MagSafe de l'iPhone 12 (qui a presque échoué)

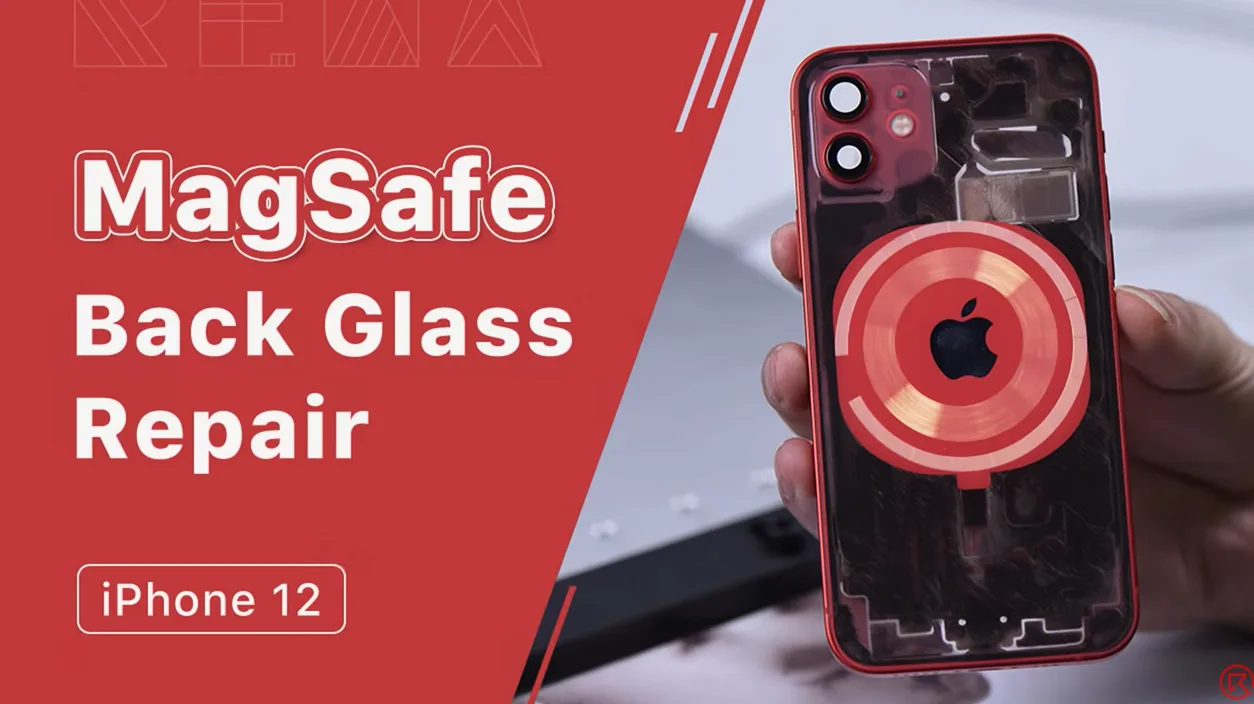
    It is well known that Apple has added MagSafe to the iPhone 12 series. While trying to separate the back glass, we found that the magnets were glued to the back glass. Undoubtedly, the difficulty to refurbish the iPhone 12 series back glass has accordingly increased. In this video, REWA repair technician will make the first attempt to refurbish the back glass. Want to know what challenges we have come across? Check out this video!

    Produits recommandés dans cette vidéo :

  • iPhone 12/12 Pro Motherboard Analysis (A14 Bionic, 5G Network, LiDAR Scanner, Face ID Parts, PMU)

    iPhone 12/12 Pro Motherboard Analysis (A14 Bionic, 5G Network, LiDAR Scanner, Face ID Parts, PMU)

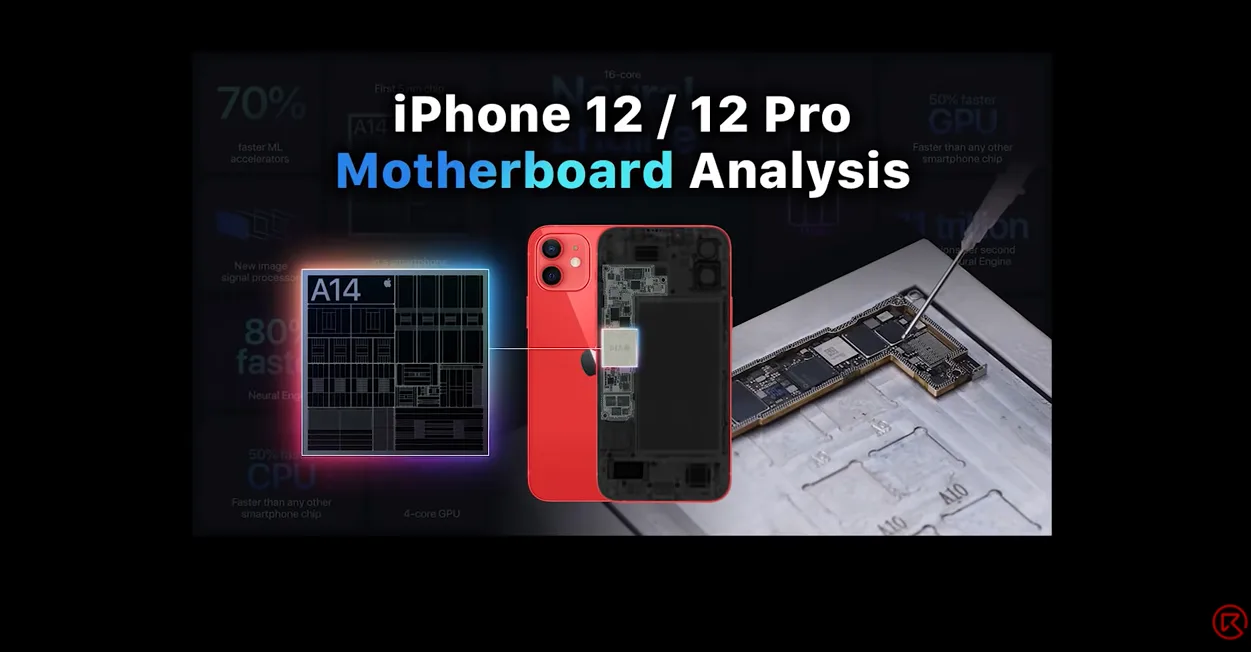
    Compared with the iPhone 11 series, the motherboard separation of the iPhone 12 has become more difficult with different components structure. Today, REWA LAB will separate the iPhone 12 motherboard, demonstrating separation and recombination operation process. This video will give you a comprehensive analysis of the structure and repair difficulties.

    *Source: iREPAIR, Bloomberg, Apple

    Recommended Items for iPhone 12 Series Repair:

  • iPhone 12 Lineup OLED Screen Refurbishing Solution

    iPhone 12 Lineup OLED Screen Refurbishing Solution

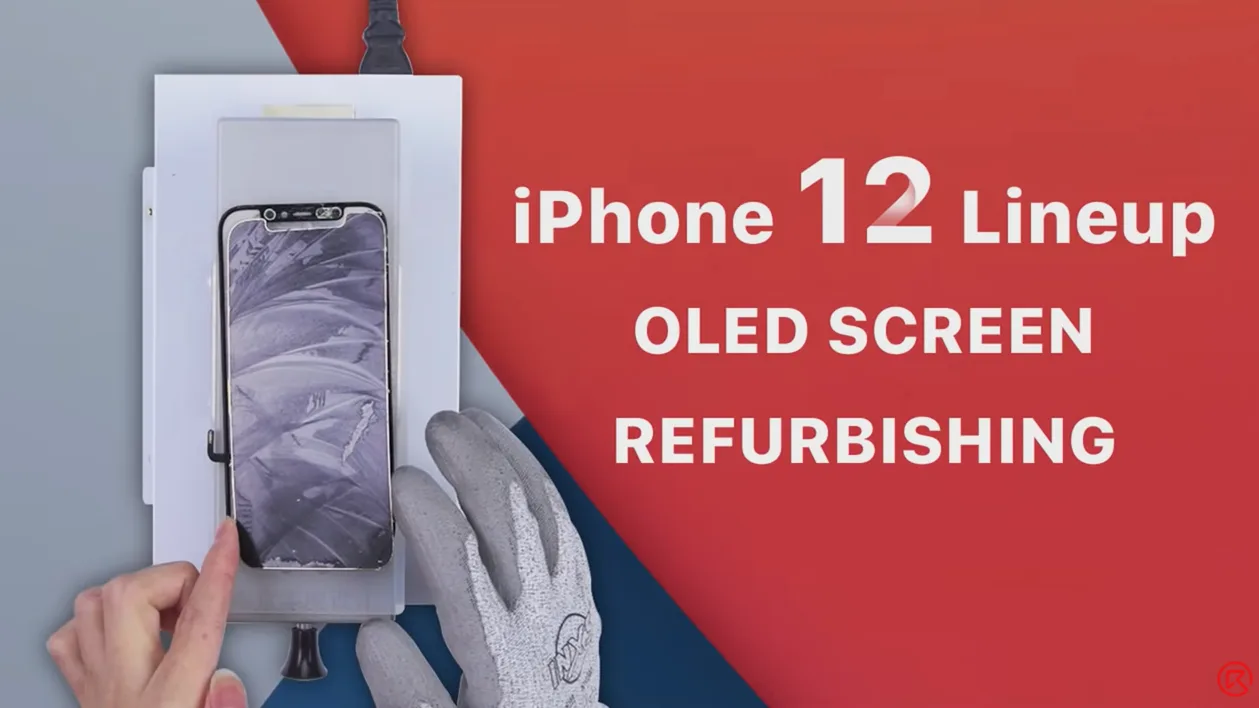
    The repair rate of the screen is one of the highest among many mobile phone parts. Professional screen refurbishment tools and techniques can not only reduce screen replacement failure rate but also improve repair efficiency. It is well known that the iPhone 12 lineup features an OLED screen. Today REWA LAB will take the iPhone 12 screen refurbishment as an example to introduce the up-to-date screen refurbishment techniques and machines in the industry. Let’s take a look!

    Produits recommandés dans cette vidéo :