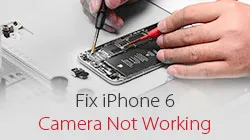
¿La cámara del iPhone 6 no funciona? Por lo general, reemplazamos la cámara defectuosa. Si la cámara aún no se puede activar después de reemplazarla por una nueva, ¿qué debemos hacer? Con este video, REWA LAB demostró una técnica de reparación de placa base de alto nivel que puede ayudarle a solucionar el problema de que la cámara del iPhone no funciona de manera eficiente. No pierda la oportunidad de pulir sus habilidades de reparación.
Etiqueta: iphone
-
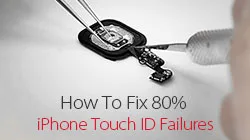
How to Restore Touch ID of iPhone Due to Home Button Flex Broken
iPhone users might be in despair when their iPhone home button touch ID gets into trouble or even doesn’t work after replaced home button. Why? For iPhone 6 and later versions, touch ID is bonded with CPU, and the user who has replaced his home button will then lose its touch ID fingerprint function. For a long time, it is a sticky business for repair technicians to repair the iPhone touch ID issue, but actually, about 80% of the touch ID failures are resulted by damaged home button touch ID flex. REWA therefore released a video about how to restore iPhone 6/6 plus/6s/6s plus home button touch id issue by making a jumper on flex.
Restore iPhone Touch ID With Home Button Flex Reparing
Power on and test. “Unable to activate Touch ID on this iPhone”. Press Home Button, the returning function is normal.
Disassemble the phone and remove the display assembly. First of all, check the logic board connector J2118 for mouldy condition and dry Joint. Everything is fine.
A continuación, mida la resistencia entre J2118 y la toma de tierra. El valor también es normal.
Take down the Home Touch Sensor Assembly and check the home button flex cable. There are obvious broken traces on the flex cable.
Preliminary judgment – Touch ID malfunction is caused by fractured flex cable circuit. We can fix the problem by replacing the fractured section with a new length of flex cable.
Pry up the back plate with Tweezer and Soldering Iron. Cut the fractured part from the flex cable with Sculpture Knife.
Raspe el circuito del cable flexible. Tenga cuidado de no cortar el circuito.
Aplique un poco de fundente en pasta BGA al cable flexible y luego suelde las latas con el soldador. Limpiar con PCB Cleaner después de enfriar.
Prepare un nuevo conjunto de sensor táctil doméstico.
Levante la placa posterior del nuevo sensor táctil doméstico. Corta un trozo de cable flexible del nuevo conjunto de sensor táctil doméstico (permite un cierto ajuste en la longitud del cable cortado).
Fije el cable recién cortado con adhesivo de doble cara. A continuación, raspe el circuito del cable flexible recién cortado. Tenga cuidado de no cortar el circuito.
Aplique un poco de fundente en pasta BGA al cable flexible recién cortado. Luego soldar las latas con el soldador. Limpiar con PCB Cleaner después de enfriar.
Recorte las partes sobrantes del cable flexible recién cortado. A continuación, aplique 460 Glue a la parte de unión y adhiera los dos cables con cuidado. Preste atención a la posición de alineación.
Una vez fijados los cables, aplique un poco de fundente en pasta BGA y suelde los cables flexibles con el soldador. Tenga cuidado con los puentes y las condiciones de soldadura alteradas.
Limpiar con PCB Cleaner después de enfriar. No olvide comprobar si el circuito presenta puentes o soldaduras alteradas.
Monte el conjunto del sensor táctil de inicio en la pantalla. A continuación, abroche el conjunto de la pantalla a la placa lógica.
Encienda y ejecute la prueba de funcionamiento de Touch ID. Touch ID vuelve a la normalidad.
Take down the display assembly after test and take out the Home Touch Sensor Assembly. Prepare another length of cable. And then adhere the cable to the previous bonding part.
Para asegurar aún más los cables flexibles, suelde con Soldador. A continuación, fije la placa posterior con pegamento con cuidado.
Monte el conjunto del sensor táctil de inicio en la pantalla. Fije el conjunto de la pantalla a la placa lógica. Después, encienda y pruebe. El teléfono funciona con la función Touch ID normal.
-
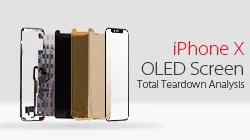
Análisis total de la pantalla OLED del iPhone X
REWA LAB ha realizado un teardown más profundo de la pantalla OLED del iPhone X Recientemente. Después de la separación, usted encontrará las diferencias entre la pantalla del iPhone X y las pantallas de los modelos anteriores de iPhone.
1. La pantalla del iPhone X viene con una técnica de unión de IC de controlador diferente. El iPhone X aplica COF, mientras que el iPhone anterior aplica COG.
2. El digitalizador de la pantalla del iPhone X tiene su módulo táctil 3D adherido a la placa posterior OLED.
3. El módulo 3D touch del iPhone X está adherido al panel OLED.
Como nuevo producto de OLED combinado con la función 3D Touch, la pantalla del iPhone X nos ha sorprendido a todos con sus características. REWA LAB trabaja con el desmontaje de la pantalla del iPhone X y presenta su novedad, dificultades de desmontaje y análisis de la estructura. El proceso de laminado de la pantalla OLED del iPhone X es mucho más complicado que el de la pantalla LCD. Primero se lamina OLED con TP, luego OLED con 3D Touch. Todo el proceso cuenta con más de 15 procedimientos.
Desmontaje total de la pantalla OLED del iPhone X
Pruebas de pantalla
Prueba la pantalla del iPhone X antes de desmontarlo. Ejecutar la prueba de función - Pantalla; Toque; 3D Touch y Swipe-up. Todo va bien.
Extracción del bisel
Coloque el conjunto de la pantalla OLED sobre la plataforma térmica. Retire el bisel lentamente con la palanca y el limpiador de pegamento. Corte un cuerno de plástico del bisel con la cuchilla si es necesario y, a continuación, retire el bisel con la palanca y el limpiador de pegamento con cuidado. Tenga cuidado con los cables flexibles cuando retire el bisel en la zona de los cables flexibles.
La palanca daña accidentalmente los cables flexibles al retirar el bisel. Lo que puede resultar en la pantalla anormal. Pruebe la pantalla de nuevo. Ejecute la prueba de funcionamiento - Pantalla; Touch; 3D Touch y Swipe-up. Touch, 3D Touch y Swipe-up funcionan normalmente mientras haya dos líneas verticales en la pantalla.
Separación de vidrio
Coloque el conjunto de la pantalla OLED sobre la plataforma térmica. Separe la lente de cristal del OLED con alambre de corte. Estamos trabajando con una pantalla flexible OLED, así que ten cuidado con el trabajo manual.
Prueba de nuevo después de separar. Ejecute la prueba de funcionamiento - Pantalla; Toque; 3D Touch y Swipe-up. Touch, 3D Touch y Swipe-up funcionan con normalidad mientras haya dos líneas verticales en la pantalla.
Quitar pegamento
La eliminación de pegamento para la pantalla del iPhone X se puede aplicar con el desgarro de la mano.
Eliminación de capas 3D Touch
A diferencia de los smartphones Samsung, el iPhone X tiene su módulo 3D Touch adherido al panel trasero OLED. A diferencia de todas las versiones anteriores del iPhone, el módulo 3D Touch del iPhone X está adherido al panel OLED. Para analizar a fondo su estructura, llevamos a cabo un desmontaje disruptivo del módulo 3D Touch. El 3D Touch y la unión flexible TP se separan completamente tras el desmontaje.
-
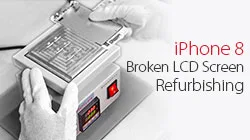
iPhone 8 Broken LCD Screen Refurbishing Glass Only Repair
Here you can get the latest iPhone 8 broken LCD screen glass-only refurbishing technique, supported by REWA LAB, with new frame separating machine and integrated glass lens with bezel applied. This is a cost effective and efficient LCD Refurbishing solution for all iPhone repair professionals and enthusiasts. Don’t miss our new glass-only repair video!
-
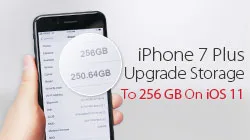
iPhone 7 Plus Upgrade Storage To 256 GB On iOS 11
You may have noticed that we have already released a video about upgrading the memory of the iPhone 6s. Many of our viewers and customers were interested in this technique. Recently, some of them asked about upgrading the storage of the iPhone 7 Plus to 256GB and using iOS 11 with a China-made screen. As a result, REWA LAB has decided to release a new video demonstrating the process of upgrading the storage of the iPhone 7 Plus from 32GB to 256GB, with iOS 11. This is something new in memory upgrading for iPhones. Let’s find out together!
-

iPhone Aftermarket Glass Lens Factory Production
How is the aftermarket iPhone glass lens made? Let’s take a tour to glass lens factory and find out the production process of it.
-
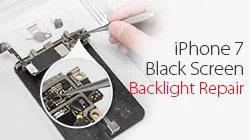
iPhone Black Screen Repair
iPhone 7 starts up with black screen or no display but still working, and the boot current is normal. It still exists after replacing the screen. REWA LAB tested and found that this malfunction is caused by broken backlight circuit on logic board. Please check the video for details.
-
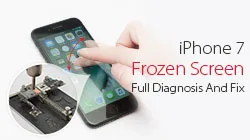
iPhone 7 Frozen Screen – Full Diagnosis And Fix
Some users complained about the stuck screen of their iPhone 7 after dropped. Even re-installation couldn’t help with the iPhone 7 frozen screen problem once and for all. REWA LAB worked on the issue and found out that the malfunction was caused by the iPhone 7 producing process and could be solved by the maintenance of audio circuits.
-
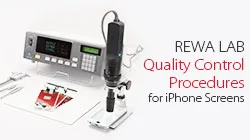
iPhone Series LCD Screen Sampling Test – REWA LAB
To ensure the high quality and stable supplying of the iPhone LCD Digitizers, REWA has launched an integrated quality control system to carry out the sampling tests of iPhone screens.
-
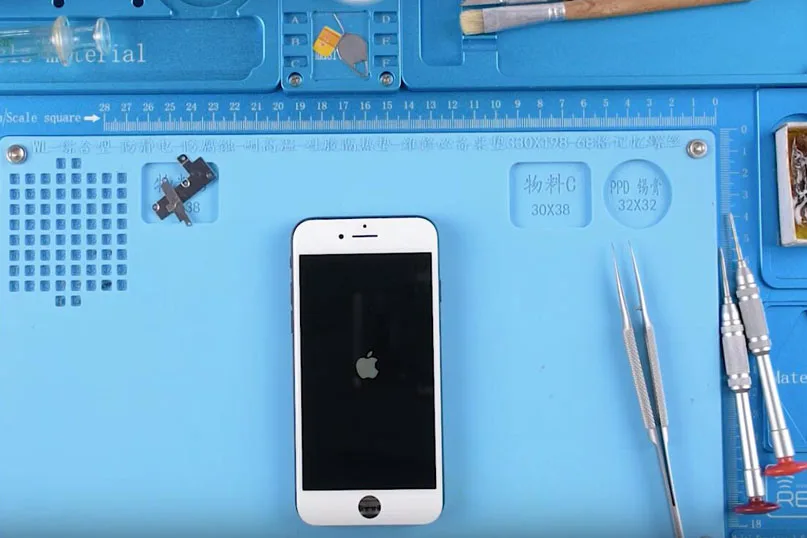
Problema de pantalla congelada del iPhone - Solución de reparación de la placa lógica
Some users complained about the iPhone frozen issue of their iPhone 7 after dropped.
Even reinstallation couldn’t help with the iPhone frozen problem once and for all.
The malfunction was caused by the iPhone 7 production process, which could be fixed by maintaining audio circuits.
REWA offers a new iPhone frozen solution regarding logic board repair!
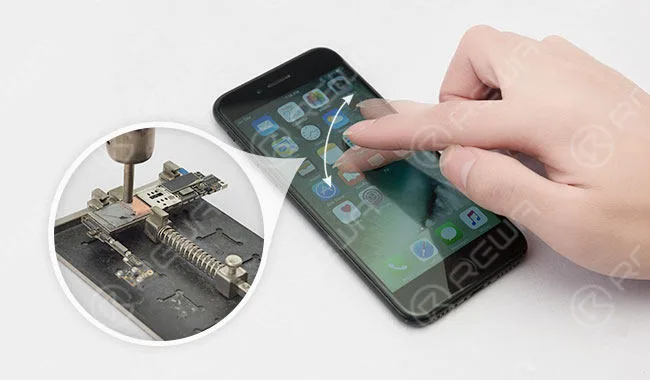
Fix The iPhone Frozen Screen Issue With Logic board Repair Solution
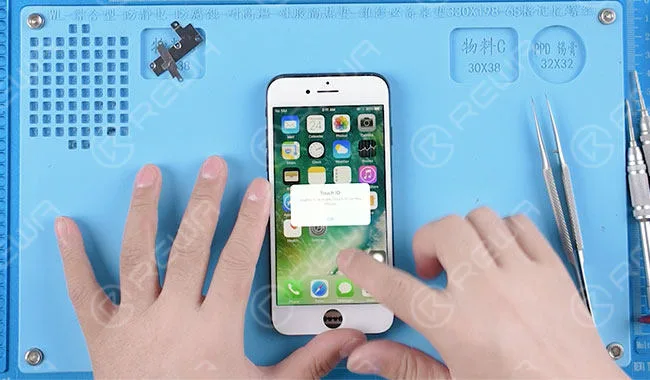
Power on, the screen is stuck off and power button responses slowly.
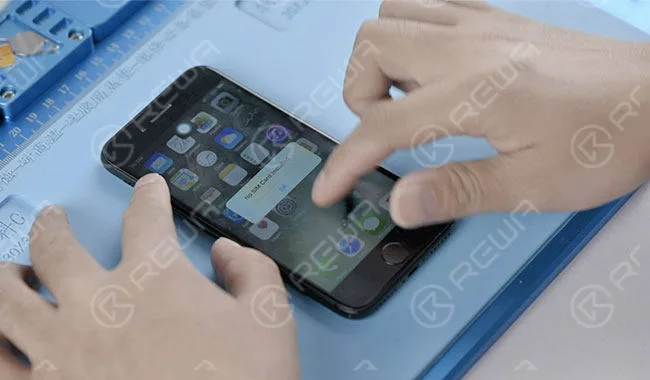
Disassemble the phone, detach the display assembly. Replace with a new display assembly.
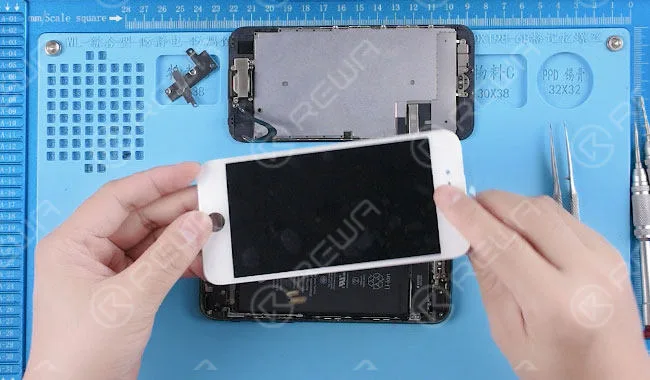
Turn on the phone and test. The screen is still stuck off.
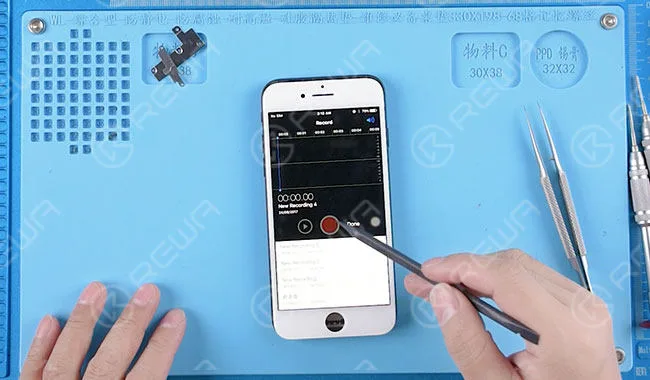
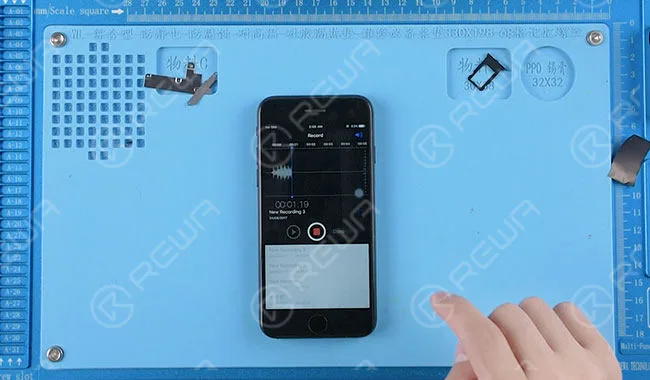
Enter into record mode, the record icon is in nonfunction state.
Screen replacing doesn’t help on the stuck issue, we can tell that there is a problem with the audio circuit. Move on to logic board repairing.
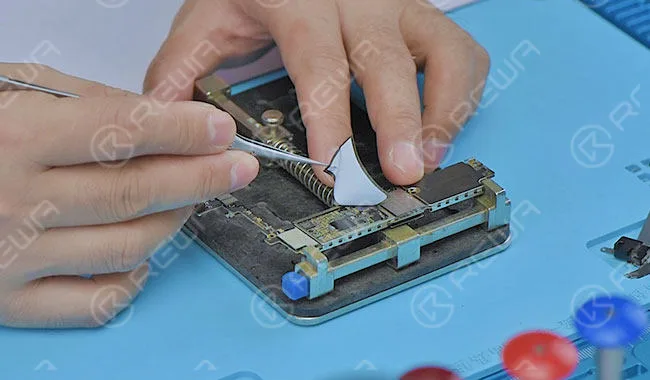
Take out the logic board and tear off the shield sticker.
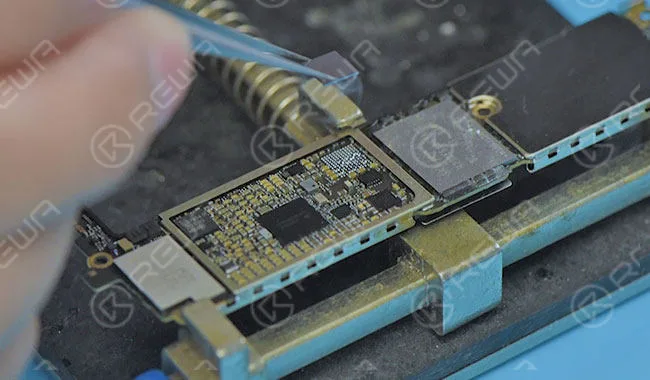
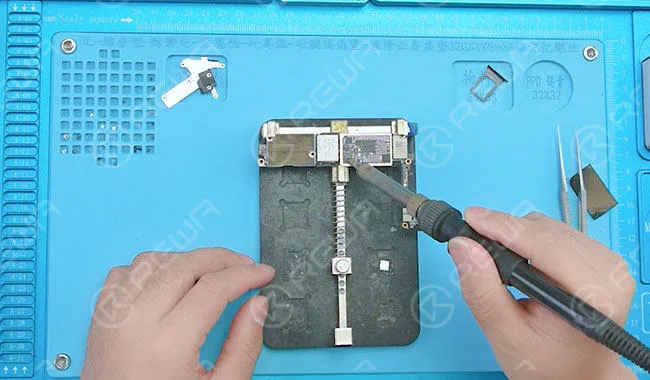
Apply some BGA paste flux around the audio IC and blow it with hot air gun at 300 degrees.
Then take down the audio IC.
Dip some rosin with soldering iron to clean the tins.
Then dip some rosin with Goot wick for secondary cleaning. After that, clean again with PCB cleaner.
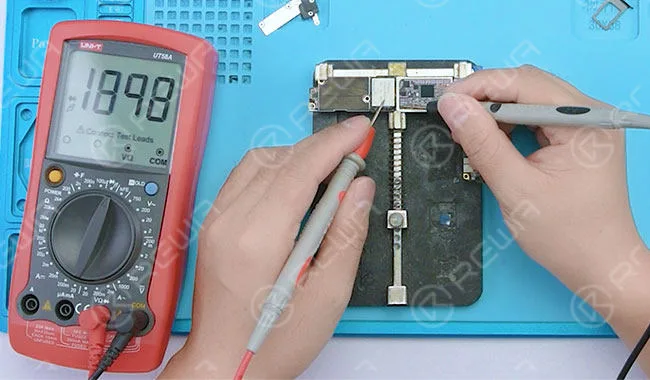
Test resistance value of pin C12 (U3101 audio IC). The resistance value is swinging.
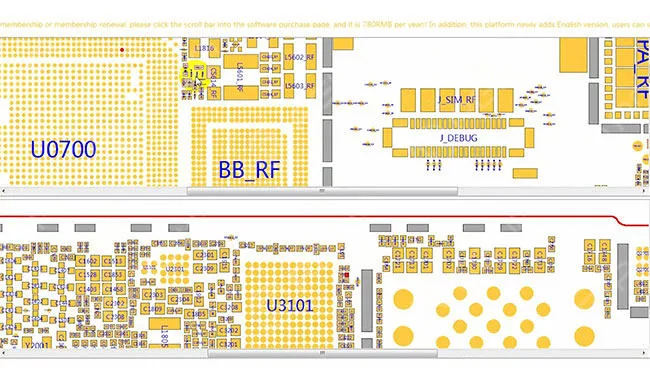
Desenrolle el plano de mantenimiento como referencia.
Locate the signal of pin C12: 12S-AP-TO-CODEC-MCLK. The signal was connected with CPU via resistor R1103.
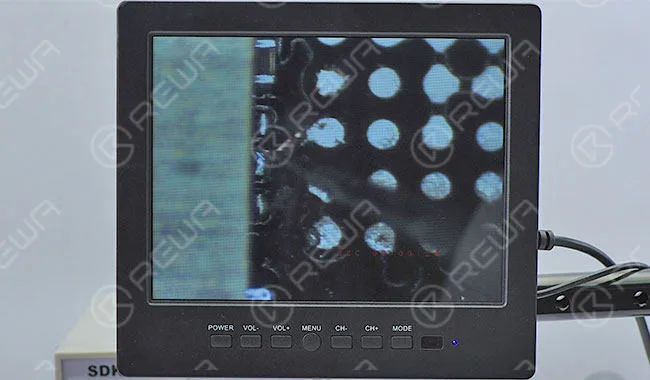
Scrape the insulation varnish off the copper wire connecting pin C12 and resistor R1103. Solder tins and then solder the 0.02mm copper wire.
Apply some UV curable solder mast to the soldered copper wire and put the logic board under the UV dryer lamp for 15 minutes.
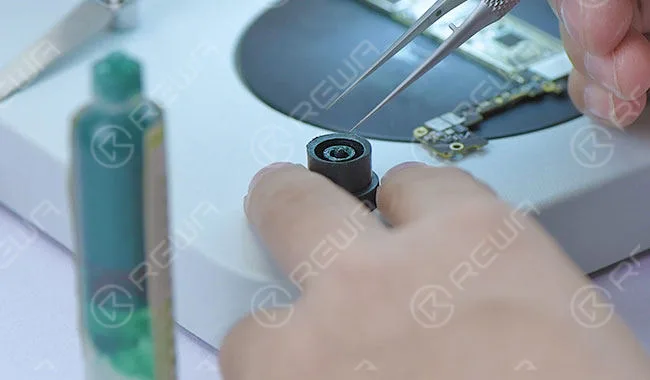
Reball the audio IC with BGA reballing stencil.
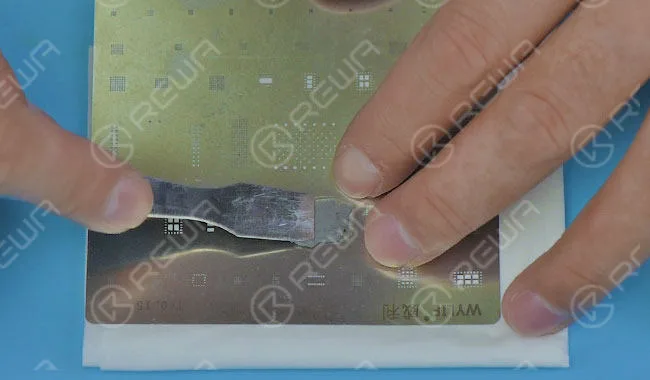
Apply some BGA paste flux to the bonding pad.
Then align the audio IC to the right place and blow it with a hot air gun at 280 degrees.
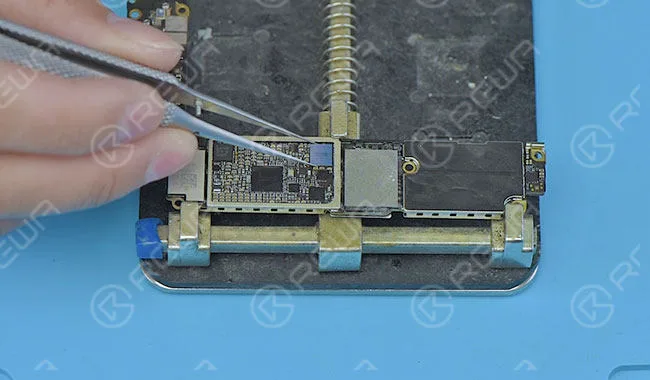
Once the logic board is cooling enough, clean it with PCB cleaner.
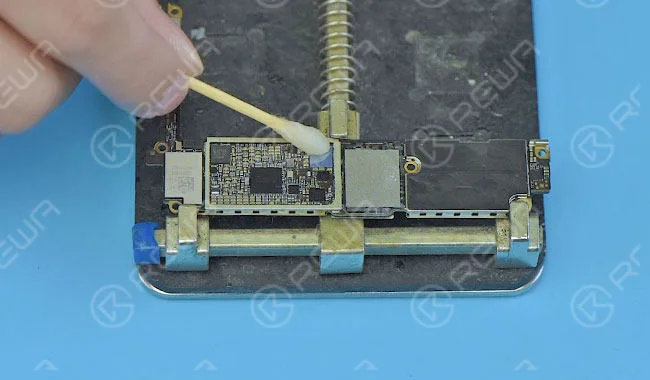
Monta el teléfono y pruébalo.
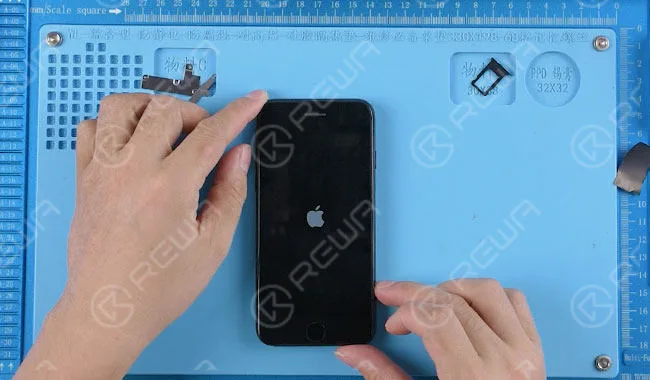
Touch function and record function back to normal.
For more details on iPhone Frozen Screen Repair guide.
-
iPhone Water Damage Repair With Ultrasonic
Nearly 80% of the repair shops still use the brush to clean the water damaged iPhone motherboard. It processes very slow and sometimes ineffective. This time REWA LAB presents a new water damaged iPhone repair with ultrasonic cleaner.
-
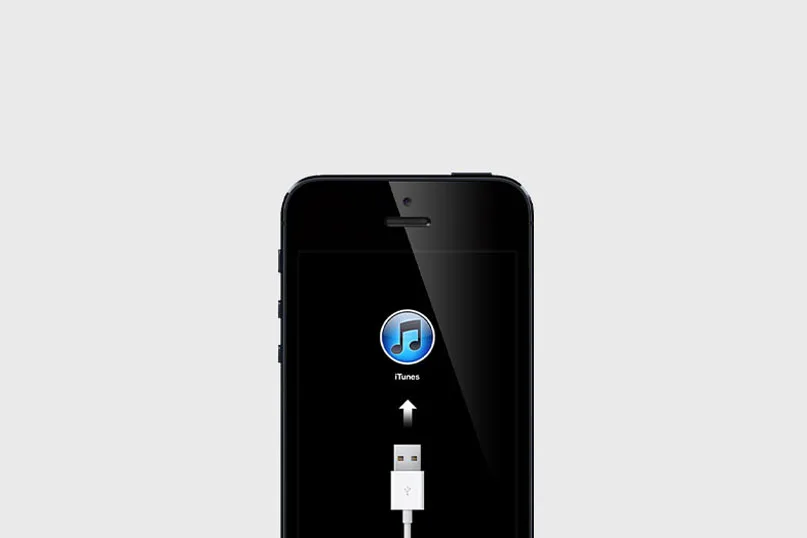
Decodificación de códigos de error de iPhone: Comprendiendo su significado
Encontrarse con códigos de error en tu iPhone o iTunes durante actualizaciones, restauraciones o degradaciones puede ser frustrante. Estos códigos aparecen inesperadamente, indicando que algo salió mal. Con numerosos códigos de error, a menudo es difícil discernir rápidamente el problema real.
Códigos de error comunes de iPhone e iTunes:
- 1, 3, 10, 11, 12, 13, 14, 16, 20, 21, 23, 26, 27, 28, 29, 34, 35, 36, 37, 40, 1000, 1002, 1004, 1011, 1012, 1014, 1667, o 1669
Fallos de hardware: Los errores de hardware desconocidos en el iPhone o en la computadora pueden interrumpir su conexión, lo que lleva a errores como 2, 4, 6, 9, 1000, 1611, 9006, 9807 o 9844.
Problemas de software de seguridad: El software de seguridad de terceros, no de Apple, puede interferir con iTunes, causando los errores 13, 14, 1600, 1601, 1602, 1603, 1604, 1611, 1643–1650, 2000, 2001, 2002, 2005, 2006, 2009, 4005, 4013, 4014, 4016.
Problemas de conexión USB: Errores como el 17, 1004, 1013, 1638, 3014, 3194, 3000, 3002, 3004, 3013, 3014, 3015, 3194 o 3200 a menudo señalan un problema de conexión USB, frecuentemente debido a un cable suelto o un concentrador USB defectuoso.
Problemas de red y comunicación: Los problemas de comunicación entre iTunes y el servidor de actualizaciones de Apple pueden resultar en errores como 9, 4005, 4013, 4014. Pueden ocurrir durante las descargas de firmware o las conexiones al servidor para restauraciones.
Otros códigos de error a tener en cuenta:
- Error 11/16: Archivos de biblioteca incompatibles.
- Error 53: Fallo en la prueba de seguridad; se detectaron componentes no oficiales.
- Error 54: Archivo bloqueado en el ordenador o dispositivo iOS.
- Error 1015: Problemas con software obsoleto o en versión beta (por ejemplo, software con jailbreak).
Errores adicionales relacionados con el jailbreak:
- 1600, 1601, 1602, 1603, 1604, 1611: Problemas con dispositivos jailbroken.
- Error 1671: iTunes está descargando el software necesario.
- 4014, 4016, 3194, 3004, 3194: Sin respuesta del servidor.
Para soluciones a estos errores y más, visita nuestros FOROS DE PREGUNTAS. ¡Simplifica el proceso de solución de problemas y haz que tu experiencia con el iPhone sea más fluida!
 English
 Español
 Français
 Deutsch
 Italiano