iPhone X back glass is fragile and difficult to repair because it is connected to the housing with welds and glue. We have already released a video about how to repair iPhone X broken back glass with a special dispergator. Whereas, it is inefficient and the dispergator has not been put in mass production yet. Today we are going to introduce a new separator to fix iPhone X back glass in an easier and more efficient way.Let’s check the video to see how to fix iPhone X glass back with the new arrived iPhone 8/8P/X Back Glass Seperator.
Generally, replacing screen will not affect the normal use of face ID. However, we have got some feedback from our customers and fans that iPhone X face ID failed after screen replacement. Therefore we guess the problem is caused by improper operations during the repair, which results in the damage of flex cables or other components. Our video today is going to troubleshoot the iPhone X face ID failure caused by the damage of flex cable. iPhone X face ID not working after changing screen? Let’s check the video for the solution.
iTunes error code is commonly encountered during daily repairing. Good repair engineers usually know what each restore error code stands for, so they can trouble shoot the malfunction of customers’ iPhone error code accurately and efficiently. REWA LAB has summarized daily repair experiences to share with you the common error codes of iPhone 6 / 6 Plus and how to trouble shoot and solve related problems in today’s video. Let’s check the video to see how to fix iPhone iTunes error codes.
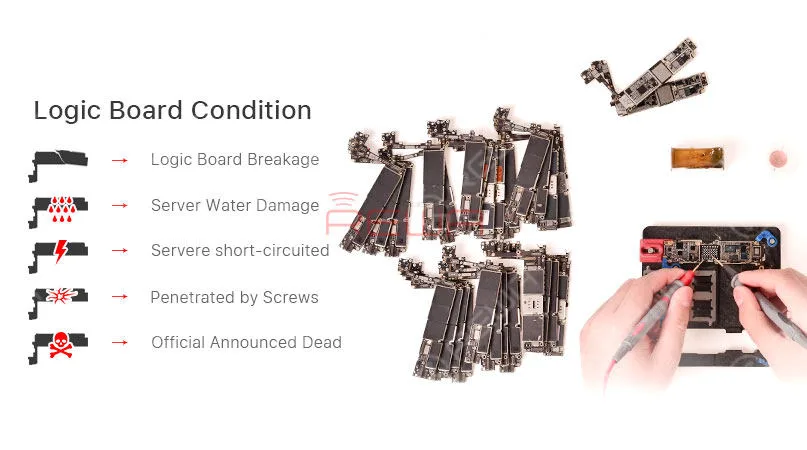
A faulty or dead iPhone is a disaster for many people, however losing all the photos and data of your phone with out any backup seems to be a even greater disaster. iPhone data recovery thus becomes very important in cell phone repair industry. In this video, we are going to show you how to recover the losing data from a dead phone. The iPhone 6s we are dealing with today is one that turns on with black screen due to damage of logic board. Official conclusion is that the damaged CPU cannot be repaired, nor can data in the phone be backed up. After full analysis of the phone, REWA LAB has found out that the fault is related to AP_TO_LCM_RESET signal of CPU. We can light up the screen with jumper wiring and get the phone temporarily prepared to complete data recovery for iPhone process.Let’s check out the video to see how to save phone data even with a dead logic board.
Se discutió ampliamente que el sensor de luz ambiental de la serie iPhone 8/X deja de funcionar después del reemplazo de la pantalla. Después de que el problema del iPhone 8 ALS se expuso adecuadamente, la solución para ello ha sido un tema candente para la industria. Con nuestras investigaciones y pruebas, REWA LAB ha desarrollado una Caja Programadora, que resuelve perfectamente el problema de auto-brillo para iPhone 8/8 plus/X en iOS 11.4. Echa un vistazo al vídeo para ver cómo solucionar el problema del sensor de luz ambiental del iPhone X.
Productos relacionados:
Programador 3 en 1 ALS(Ambient Light Sensor) para iPhone 8/8 Plus/X
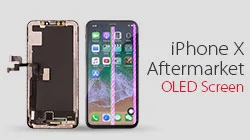
Here comes iPhone X Aftermarket OLED Screen! With iPhone X Aftermarket LCD Screen springing up in the market, much attention had been paid to iPhone X Aftermarket OLED Screen.
We got samples of iPhone X Aftermarket OLED Screen from the factory at the first sign of production and carried out a series of tests afterwards.
The Aftermarket OLED Screen performed well with no function problem, which has met the product standards of usage.
Now, let’s take a close look at iPhone X Aftermarket OLED Screen with test results.
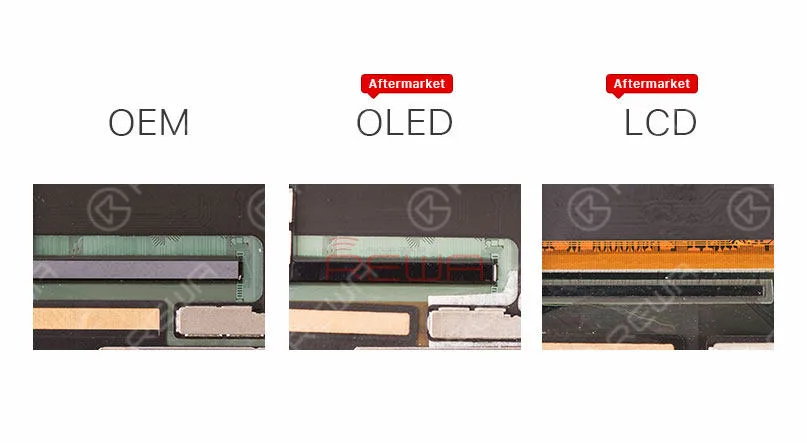
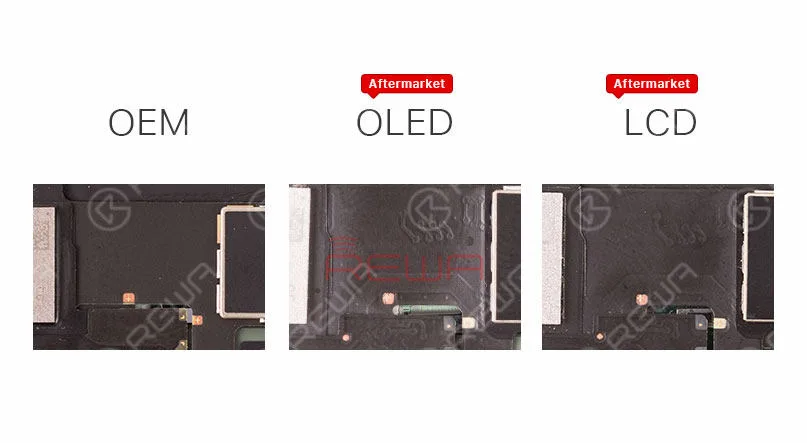
The IC on iPhone X Aftermarket OLED Screen and OEM Screen get high similarity.
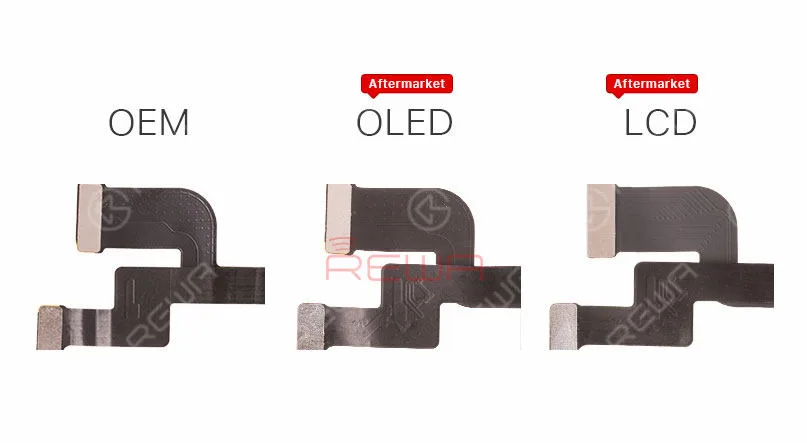
iPhone X Aftermarket OLED Screen and OEM Screen also share the same textures on LCD flex cable.
Aftermarket OLED Screen and Aftermarket LCD screen feature with the same textures on Touch flex cable.
Aftermarket OLED Screen and Aftermarket LCD screen also share the same 3D Touch flex cable.
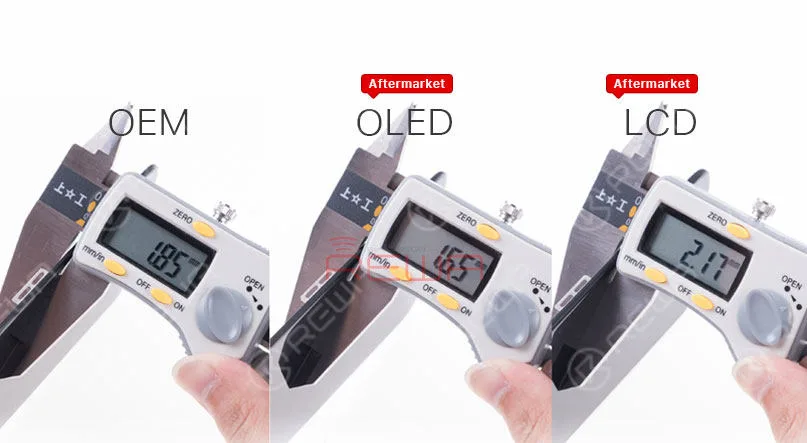
Check the thickness of iPhone X OEM Screen, iPhone X Aftermarket OLED Screen and iPhone X LCD Screen.
Since the 3D touch module of iPhone X Aftermarket OLED Screen is thinner, it will be slightly thinner when measuring, Yet the bezel much thicker than iPhone X OEM Screen, so it will little higher after installation.
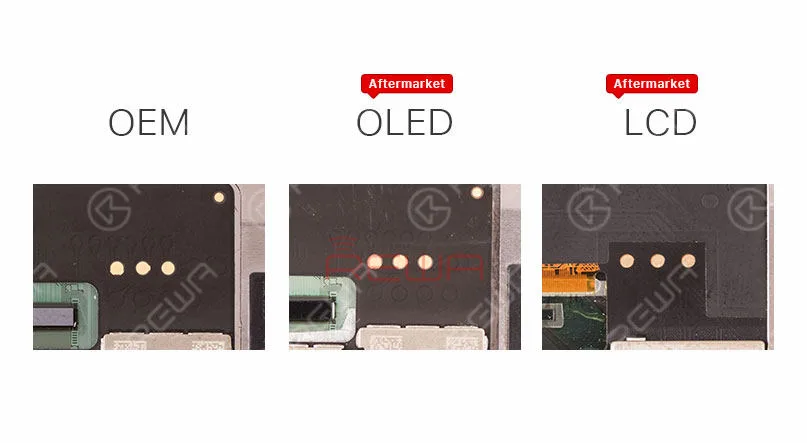
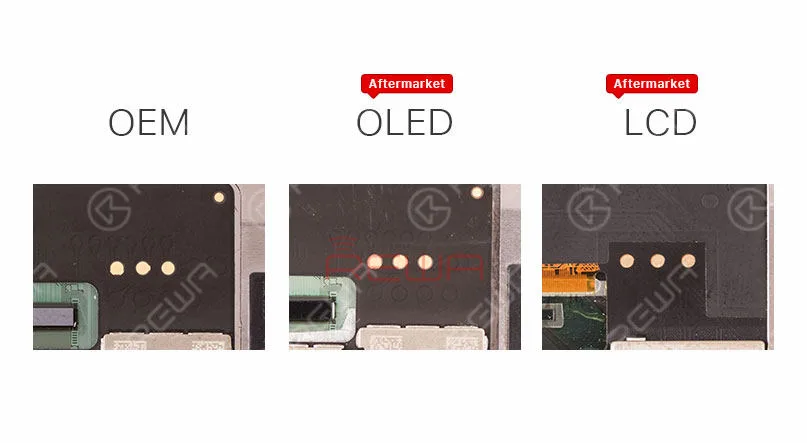
Besides, iPhone X Aftermarket OLED Screen features with four golden contacts which is highly similar to those on iPhone X OEM Screen.
Prueba de funcionamiento
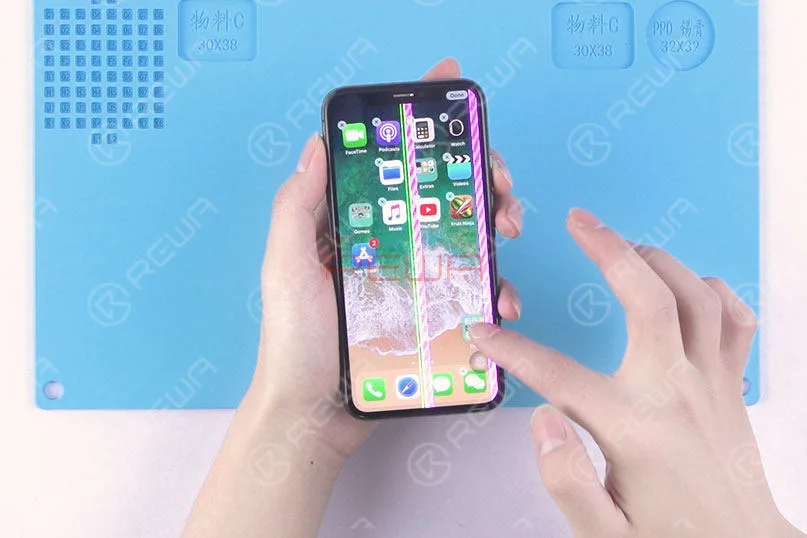
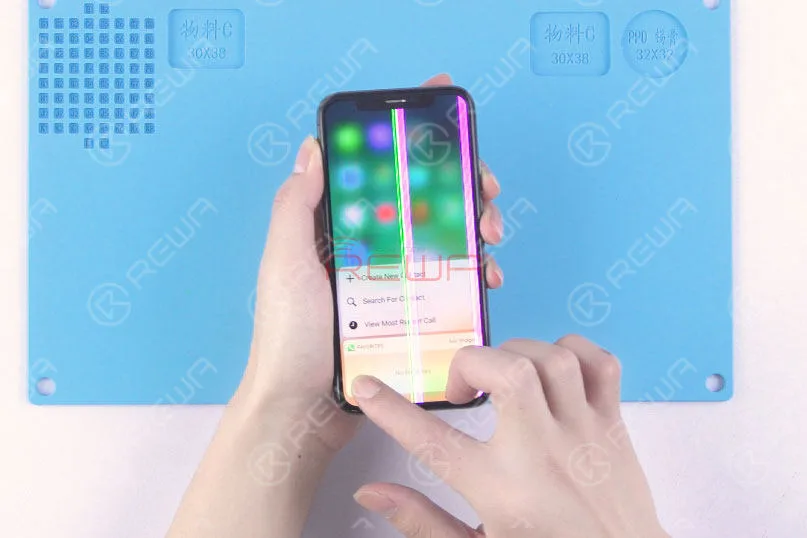
Since the LCD panel of iPhone X Aftermarket OLED Screen and OEM Screen share the same production process, the vertical line issue due to bonding procedure can also be frequently seen with our test samples.
Still, these imperfect screens can be screened out in subsequent quality inspection.
Also, because of the vertical line issue, there is no brightness test in our video today.
First, run touch function test, the phone performs with normal touch function.
Yet the screen is not running smoothly because of glass lens material.
We believe that this will be improved when it comes to full production.
Continue to run 3D Touch function test, the phone performs with normal 3D Touch function.
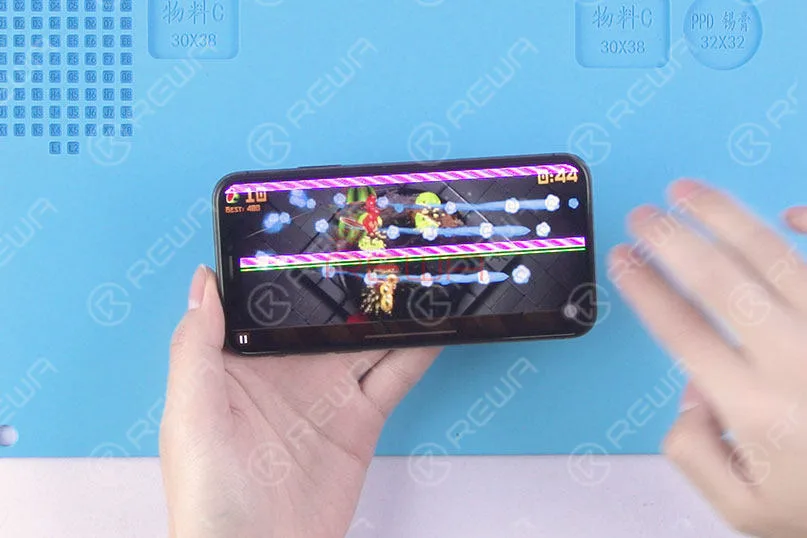
Run the multi-touch test in game mode, the phone performs normally.
Conclusión:
Within a few days of trying out the iPhone X with Aftermarket OLED Screen, our technicians carried out a series of tests under the condition of excluding the impact of the vertical issue.
The Aftermarket OLED Screen of iPhone X performed well with no function problem, which has met the product standards of usage.
Please stay tuned and we will pay close attention to the product in the future.
For more iPhone X Aftermarket OLED Screen test details please view our Youtube video here:
El iPhone 8 Plus se enciende con la pantalla en negro. ¿Con qué vas a empezar?
Para los problemas de pantalla, la solución más común es sustituirla por un nuevo conjunto de pantalla para ver si es un problema de pantalla o de placa.
En cuanto a los problemas de pantalla negra, también podemos empezar con la corriente de arranque.
Realice primero la medición de la corriente de arranque.
Si la corriente de arranque es normal, entonces podemos confirmar que el teléfono se enciende sin pantalla.
En cuanto a los problemas de pantalla, encuentra el conector de pantalla al principio.
Related post: Samsung Galaxy S6 edge+ se enciende con la pantalla en negro
¿Le parece sencillo? Pues siga nuestra guía de reparación y podrá resolverlo usted mismo.
Problema
Pulsa el botón de encendido para encenderlo. El teléfono no responde.
Desmonta el teléfono y desconecta la batería.
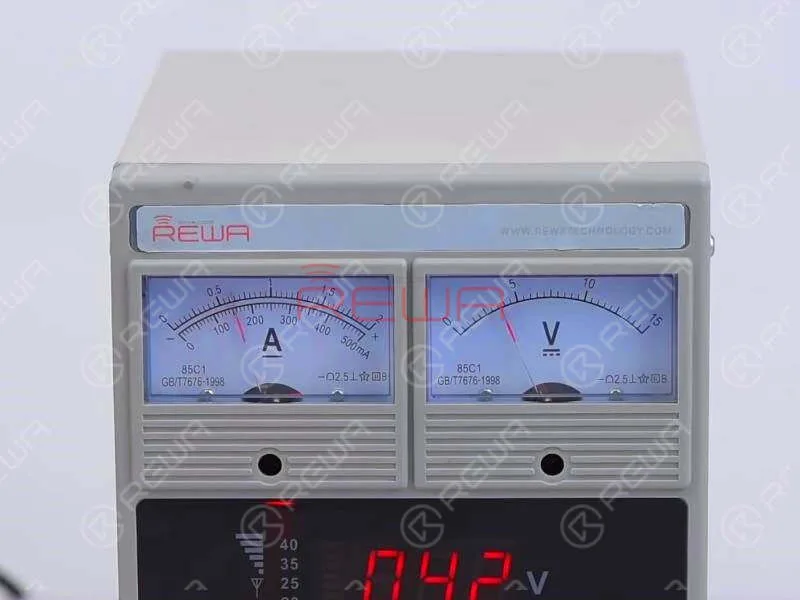
Conecte el conector de la batería con Fuente de alimentación CC y pulsa el botón de encendido para encenderlo.
La lectura de corriente en el amperímetro es normal.
Lo que indica que el teléfono se enciende, pero con la pantalla en negro.
Diagnóstico
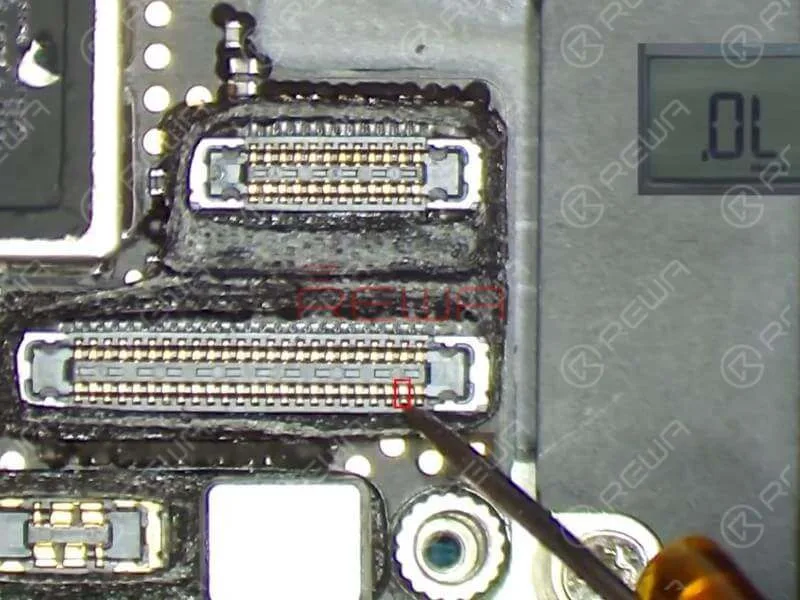
Dado que J5700 es el conector LCD/pantalla táctil de la placa lógica, necesitamos ejecutar primero la medición en modo diodo de J5700.
El valor medido de los pines 39 y 45 en J5700 es 0. A juzgar por esto, el fallo está relacionado con el circuito relevante de los dos pines.
Consulte Refox - el dibujo de mantenimiento y podemos ver que los dos circuitos son partes del circuito de retroiluminación de la pantalla.
Ahora necesitamos realizar más mediciones de los dos circuitos. Podemos empezar con R5730 y R5733.
Los dos son "resistencias" de cero ohmios que suelen actuar como protectores del circuito.
R5730 y R5733 se encuentran debajo de la cubierta de blindaje.
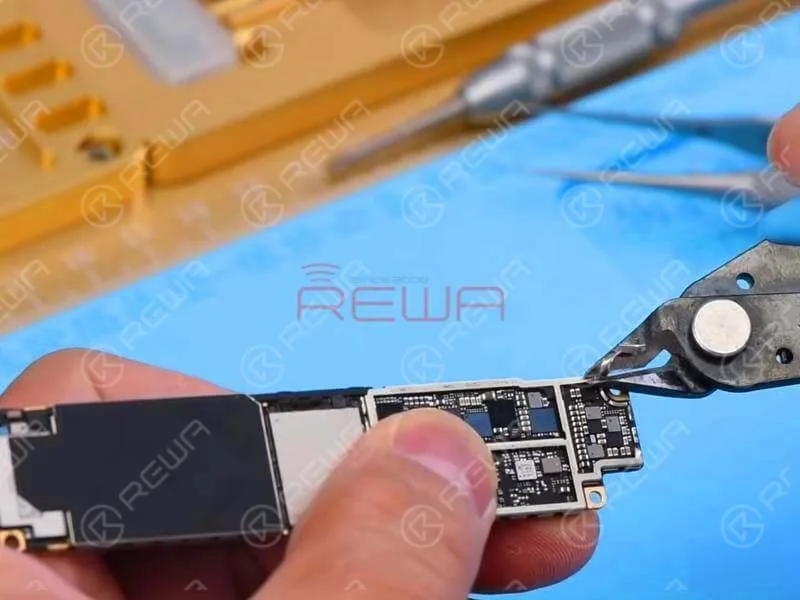
Para un mejor funcionamiento, tenemos que arrancar la pasta de blindaje y quitar el soporte de blindaje con Cutting Nipper primero.
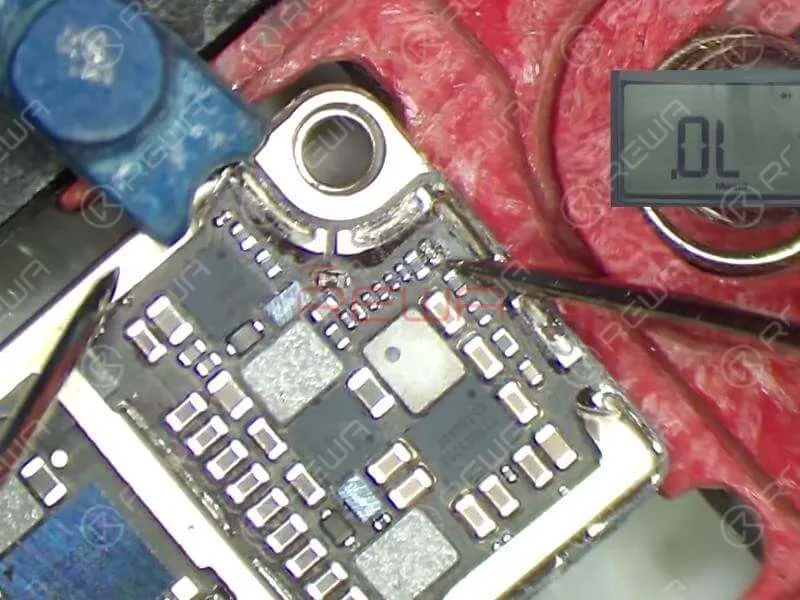
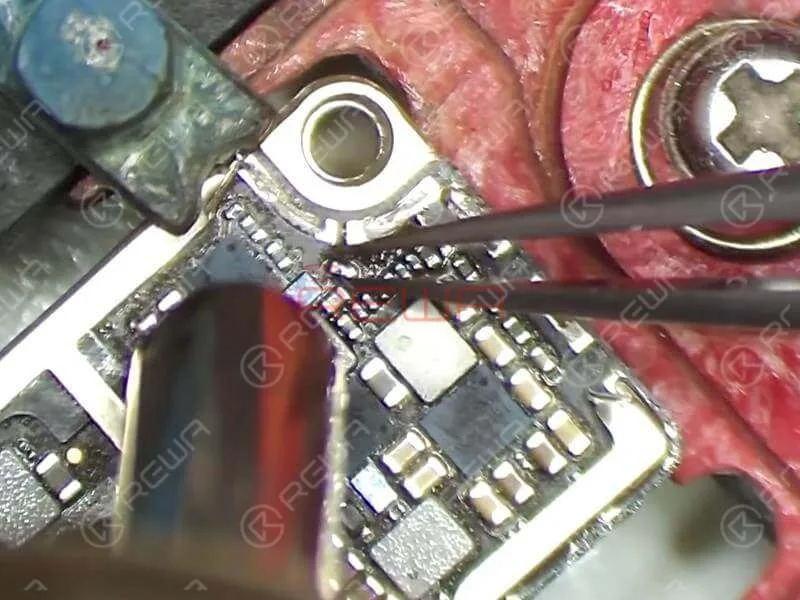
Fije la placa lógica al soporte PCB y ejecute la medición en modo diodo de R5733 y R5730.
El valor medido del Pin 1 en R5733 es normal y no hay valor medido del Pin 2 en R5733, que es anormal.
El valor medido del Pin 1 en R5730 es normal y no hay valor medido del Pin 2 en R5730, que también es anormal.
A juzgar por esto, R5733 y R5730 se han dañado y tenemos que reemplazar con nuevas resistencias.
Consejos
Como R5733 y R5730 son "resistencias" de cero ohmios, podemos simplemente sustituirlas por nuevas resistencias o reemplazarlas por inductores de perlas de ferrita.
Solución de problemas
Separe R5733 y R5730 de la placa con la pistola de aire caliente.
Aplique un poco de fundente en pasta BGA a la almohadilla de unión. A continuación, aplique soldadura a media temperatura a la pastilla de unión con el soldador. Una vez hecho esto, limpie la almohadilla de unión con PCB Cleaner.
A continuación, aplique un poco de fundente en pasta BGA a la almohadilla de unión y alinee los dos inductores en el lugar correcto. Soldar con pistola de aire caliente.
Una vez terminado, espere a que la placa lógica se enfríe durante 5 minutos. Y luego limpiar a fondo con PCB Cleaner.
Volver a montar y probar
Primero monta la placa lógica. A continuación, ejecute la medición del modo de diodo de Pin 39 y Pin 45 en J5700.
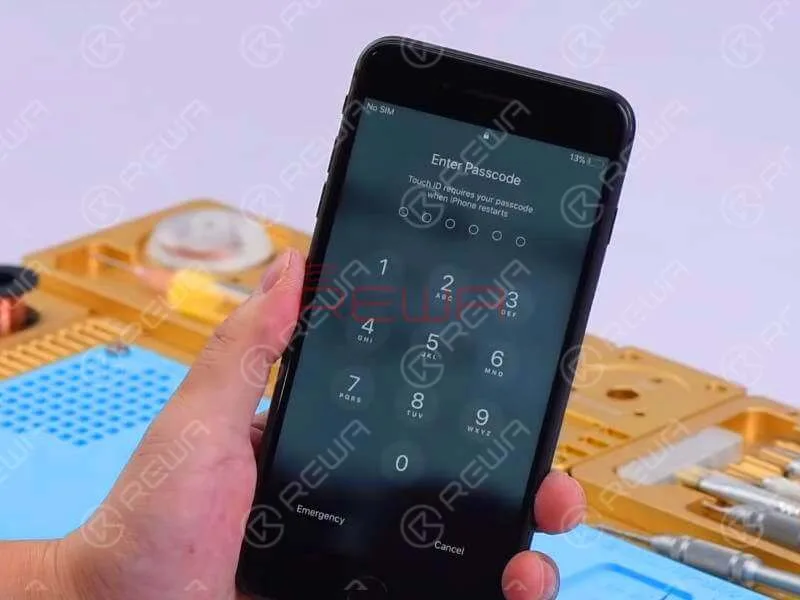
Esta vez el valor medido es normal. Continúe abrochando el conjunto de la pantalla y conecte la batería. Pulse el botón de encendido para encender.
El teléfono se enciende con la pantalla normal. Ejecuta la prueba de funcionamiento. Todo va bien.
With iPhone X aftermarket LCD screen springing up in the market, much attention had been paid to iPhone X aftermarket OLED screen. We got samples of iPhone X China Made OLED screen from the factory at the first sign of production and carried out a series of tests afterwards. The aftermarket OLED screen performed well with no function problem, which has met the product standards of usage. Now, let’s take a close look at iPhone X aftermarket OLED screen with test results.
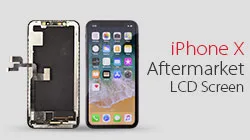
Muchas personas en la industria de reparación de teléfonos móviles tienen expectativas de que la pantalla alternativa para el iPhone X reduzca el costo de reparación de la pantalla del iPhone X. Dado que el iPhone X es diferente a los modelos anteriores, la dificultad de producción de la pantalla alternativa del iPhone X es bastante alta. Después de probar completamente el primer lote de pantallas alternativas LCD para iPhone X, REWA comparte nuestros resultados de prueba con usted para su información.
If you are interested in REWA iPhone logic board repair training but still feel it’s hard to make a decision, check our revealing reviews on repair training course II. Does REWA repair training course live up to its promises and expectations? Here you can get the answer!
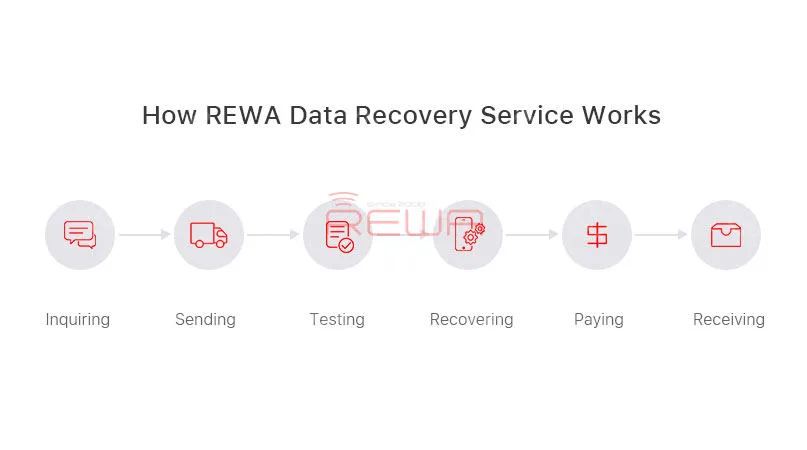
¿No tiene ideas con sus placas lógicas defectuosas? ¿No sabe cómo manejar las reparaciones difíciles? ¿Por qué no recurrir a REWA? Hemos estado ofreciendo servicios de reparación de placas lógicas a nivel de chip para iPhone, iPad y MacBook. Expertos y técnicas profesionales pueden liberarle de reparaciones pesadas y difíciles. En sólo 5 pasos, podemos resolver casi todos sus problemas de iPhone, iPad y MacBook. Reparación de la placa base del MacBook problemas.
1. Consulta
Póngase en contacto con nuestro departamento de ventas y obtenga un precio probable. Le ayudaremos con el embalaje y la logística.
2. Envío de
Cada placa lógica se etiquetará con información básica, como modelo, descripción del problema y nº de serie. Así, DIAGNÓSTICO No se enciende, 6s sin sensor de proximidad (chip sensor de proximidad). Después de bien embalado y por favor enviar a REWA HongKong oficina y no se olvide de proporcionar su lista de e-embalaje, foto del paquete y número de seguimiento para nosotros.
3. Confirmación
Cuando recibamos sus tarjetas lógicas, las comprobaremos y le proporcionaremos un informe de confirmación con modelos, problemas y precios para su confirmación. Si usted no está de acuerdo con nuestro informe, entonces su placa lógica sería enviada de vuelta. Si está de acuerdo con nuestro informe, comenzaremos el proceso de reparación.
4. Pagar y reparar
Nuestros ingenieros diagnosticarán y repararán su placa lógica, todas las placas lógicas se repararán en el plazo de una semana.
5. Recepción
Una vez finalizada la reparación, le proporcionaremos un PI y le enviaremos las placas reparadas una vez confirmado el pago. Sólo tiene que esperar a recibir sus tarjetas lógicas y devolvérselas a sus clientes.
We've detected you might be speaking a different language. Do you want to change to:


 English
 Español
 Français
 Deutsch
 Italiano