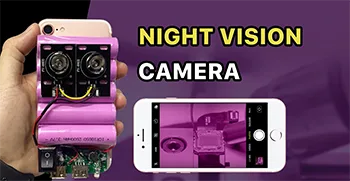
Ein zusätzliches iPhone kann für viele Zwecke verwendet werden. In diesem Video zeigen wir Ihnen nicht nur, wie Sie ein zusätzliches iPhone 7 in eine Nachtsichtkamera verwandeln, sondern auch, wie Sie einen massiven externen Akku installieren.
Schlagwort: iphone
-
iPhone XR lässt sich nicht einschalten: Kurzschlussdiagnose und Reparaturanleitung
Wenn sich Ihr iPhone XR nicht mehr einschalten lässt, kann das frustrierend sein - vor allem, wenn es keine sichtbaren Schäden gibt. In diesem Reparaturfall zeigen wir Ihnen, wie ein Kurzschluss in der Nähe des Audioverstärker-ICs dazu führte, dass das iPhone XR zu viel Strom zog und nicht mehr startete. Mit professionellen Werkzeugen wie einem DC-Netzteil, Kolophonium und REFOX Bitmap haben wir das Problem genau diagnostiziert und durch den Austausch eines fehlerhaften Kondensators behoben.
Egal, ob Sie ein Reparaturtechniker, ein Heimwerker oder ein Werkstatteigentümer sind, dieser detaillierte Leitfaden wird Ihnen dabei helfen, ähnliche Fälle, in denen kein Kofferraum vorhanden ist, mit Zuversicht anzugehen.
Reparaturfall: iPhone XR schaltet sich nicht ein
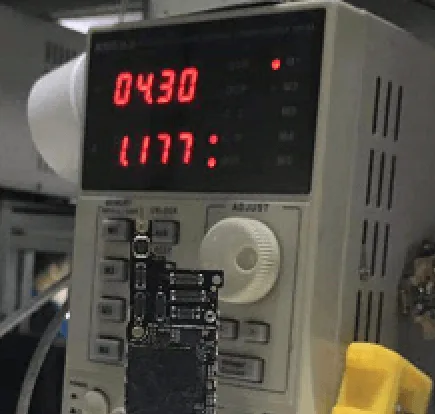
Nachdem wir das iPhone XR erhalten haben, haben wir es mit einem DC-Stromversorgung für die Diagnose. Die Stromaufnahme betrug etwa 1Awas auf eine mögliche Kurzschluss auf der Tafel.
Da der Leckstrom unmittelbar nach dem Anschluss an die Gleichstromversorgung beginnt, vermuten wir einen Kurzschluss auf einer der folgenden Stromschienen:
PP_BATT_VCCPP_VDD_MAINPP_VDD_BOOST
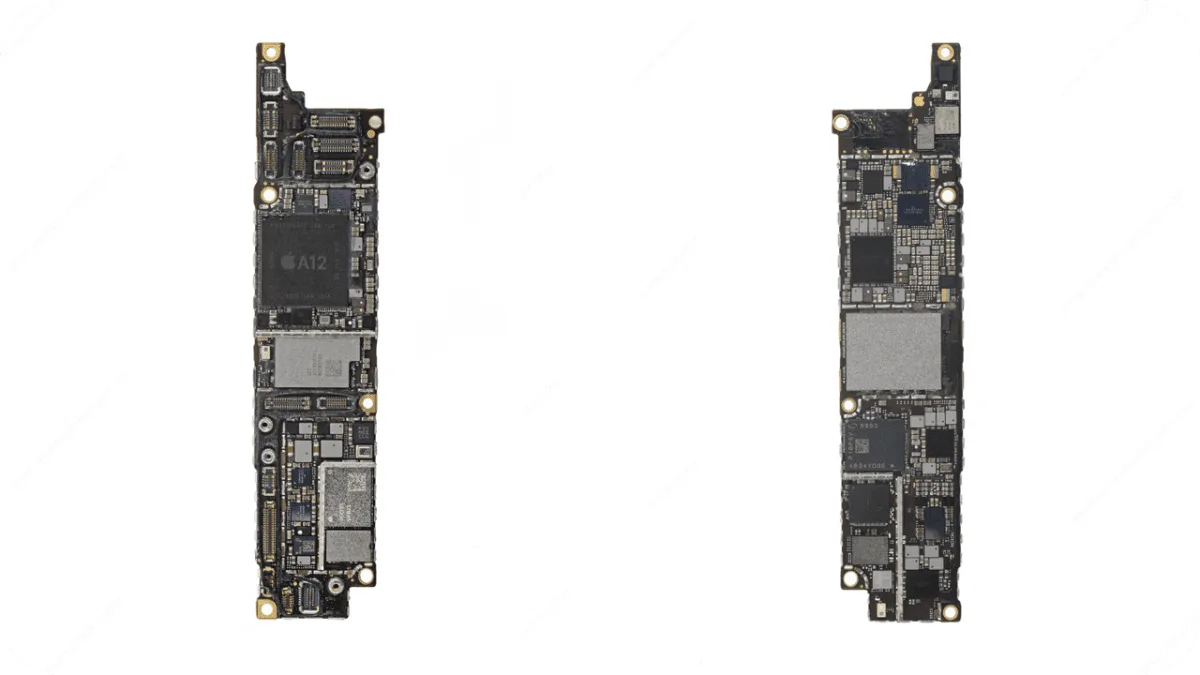
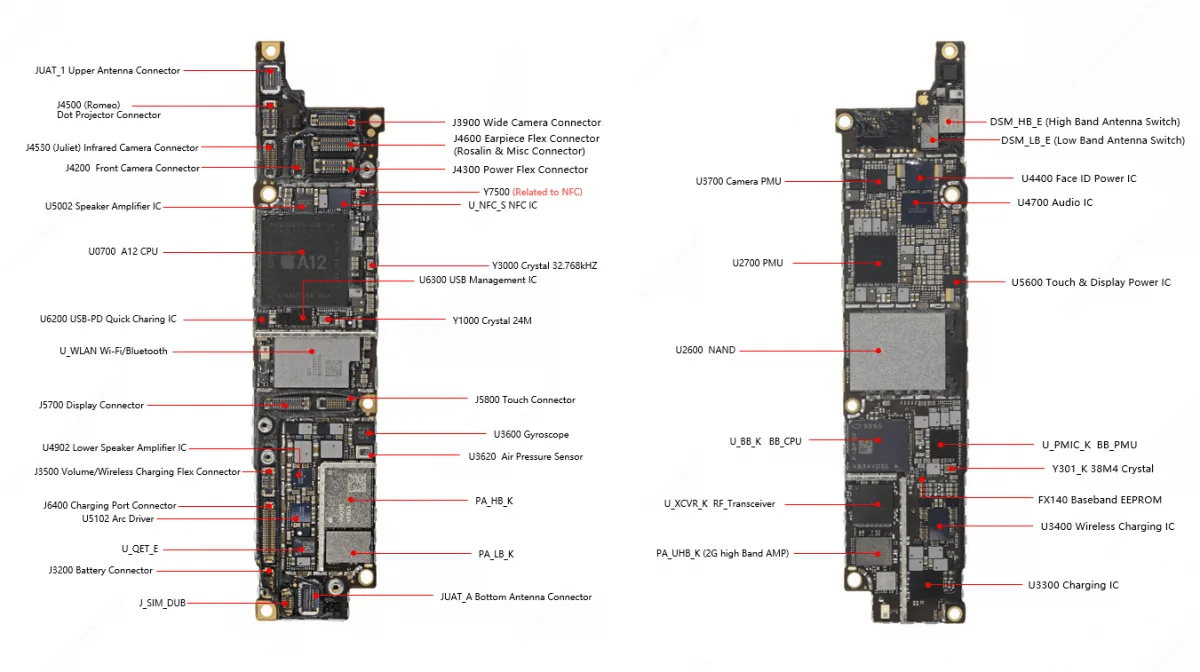
Die Platinenstruktur des iPhone XR ist ähnlich wie bei älteren Modellen wie dem iPhone 8 Plus. Erfahrungsgemäß können wir entweder die Kolophonium-Prüfverfahren oder eine Wärmebildkamera um überhitzte Komponenten zu erkennen.
Bevor wir irgendwelche Hilfsmittel einsetzen, haben wir zunächst eine einfache Methode angewandt: Fingertest bei angelegter Gleichstromversorgung. Wir spürten eine ungewöhnliche Hitze um den Audio-Verstärker-IC Bereich.
Um dies zu bestätigen, haben wir Kolophonium auf das Brett und schaltete es wieder ein. Das Kolophonium schmolz direkt auf dem Audio-Verstärker-ICund bestätigt damit die Wärme in diesem Bereich.
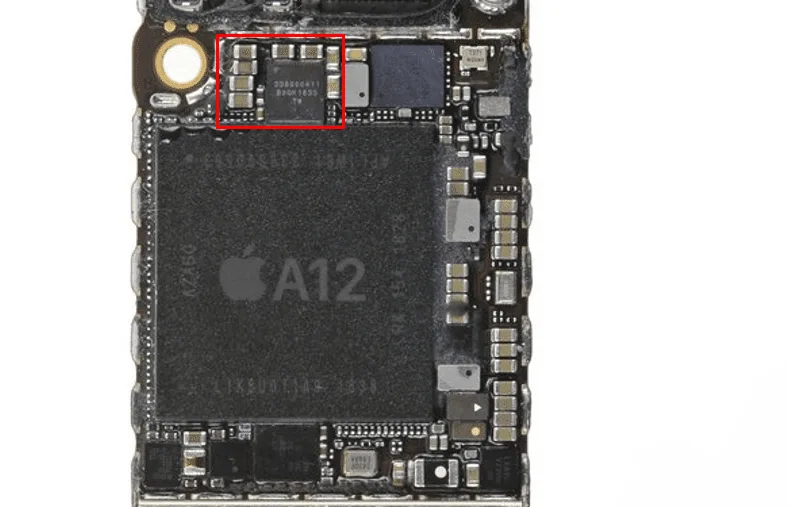
An diesem Punkt würden die meisten den Audioverstärker-IC ersetzen. Aufgrund seiner Nähe zur CPU könnte ein Austausch jedoch das Risiko bergen CPU-Pseudolöten (ein Zustand, bei dem die CPU-Verbindungen durch Hitzeeinwirkung instabil werden). Außerdem hat der Audioverstärkerschaltkreis mehrere Stromleitungen, was bedeutet, dass ein Kurzschluss Kondensator könnte ebenfalls die Ursache sein.
Eingrenzung des Themas
Auf der Grundlage dieser Erkenntnisse haben wir die kleine Kondensatoren um den Audioverstärker-IC. Und tatsächlich, wir fanden eine kurzgeschlossener Kondensatorwie in der Abbildung gezeigt (im Originalinhalt mit einem Pfeil markiert).
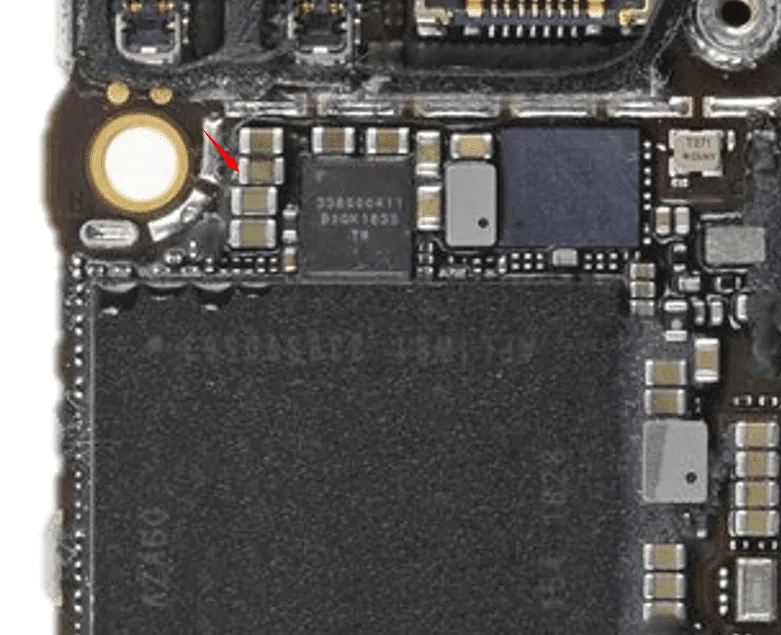
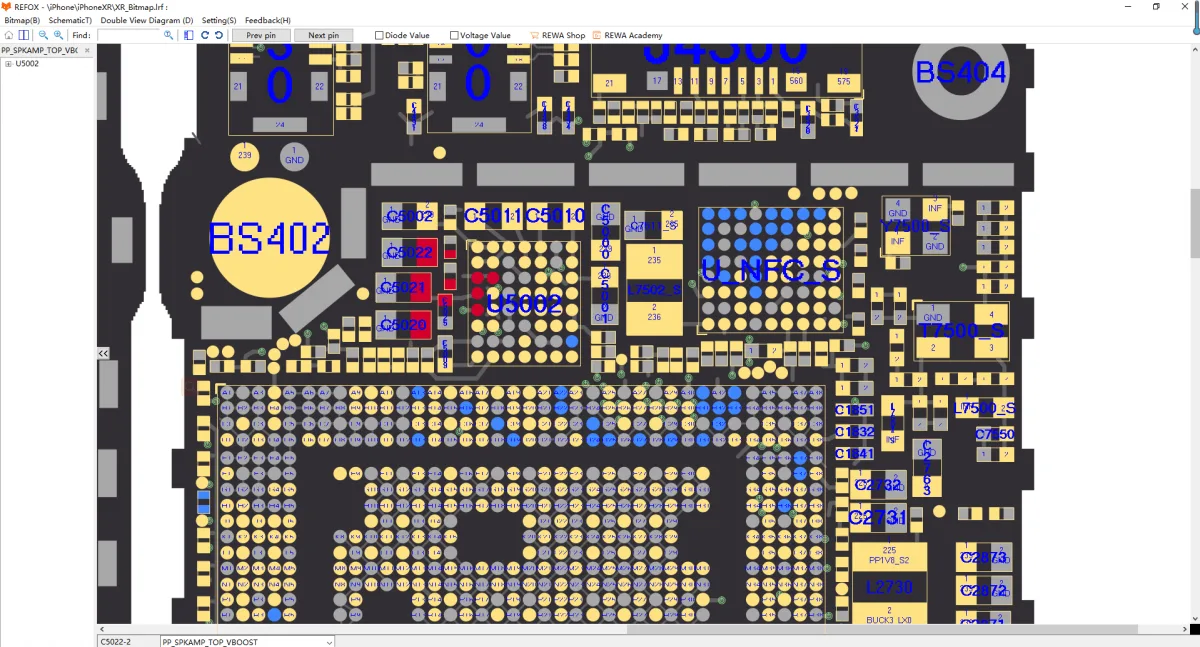
Durch die Überprüfung mit dem REFOX-Bitmaphaben wir festgestellt, dass dieser Kondensator zu dem PP_SPKAMP_TOP_VBOOST Stromschiene.
Reparatur-Prozess
Wir haben den fehlerhaften Kondensator entfernt und die Stromaufnahme erneut getestet. Der Einschaltstrom ging zurück auf Normalwerte.
Als Nächstes haben wir den Kondensator durch einen von identische Spezifikation. Nach der Neuinstallation ist das iPhone XR normal hochgefahren.
Wir haben das Telefon wieder zusammengebaut und einen vollständigen Funktionstest durchgeführt - alle Funktionen funktionierten einwandfrei.
Profi-Tipps
- In diesem Fall reichte der Austausch eines einzigen kurzgeschlossenen Kondensators aus, um ein schwerwiegendes No-Boot-Problem zu beheben.
- Wenn sich mehrere Komponenten heiß anfühlen, kleine passive Bauteile prüfen (wie Kondensatoren) zuerst.
Schlussfolgerung:
Ein iPhone XR, das nicht mehr startet, mag wie ein schwerwiegender Fehler erscheinen, aber mit dem richtigen Diagnoseansatz können selbst komplexe Probleme wie Kurzschlüsse effizient behoben werden. In diesem Fall wurde bei einer sorgfältigen Inspektion ein kurzgeschlossener Kondensator in der Nähe des Audioverstärker-ICs entdeckt, dessen Austausch das Telefon wieder zum Leben erweckt hat. Diese Reparatur zeigt, wie wichtig es ist, das Verhalten von Schaltkreisen zu verstehen, Boardview-Tools wie REFOX Bitmap zu verwenden und nicht vorschnell wichtige Chips zu ersetzen. Wenn Sie in der Reparaturbranche tätig sind oder gerne selbst Handys reparieren, können Sie durch die Beherrschung dieser Diagnosetechniken Zeit sparen, das Risiko verringern und die Erfolgsquote erhöhen.
-
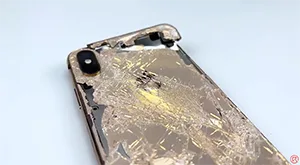
Wie man ein zerstörtes iPhone XS Max in ein brandneues "iPhone 13 Pro Max" verwandelt
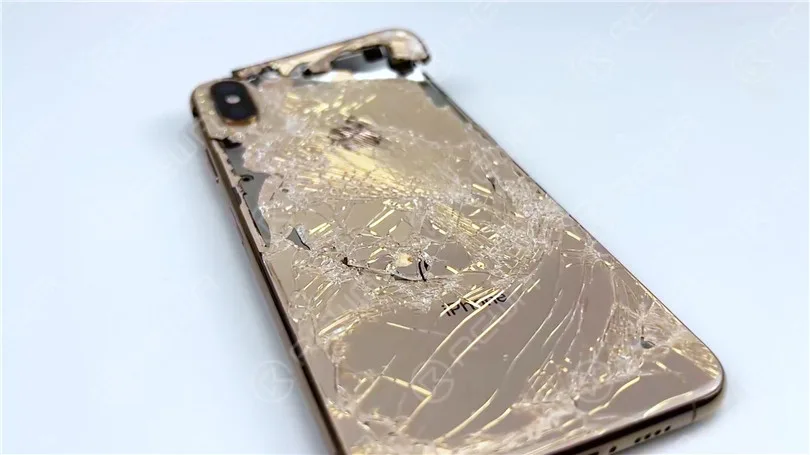
Wir haben ein stark beschädigtes iPhone XS Max von einem unserer Fans erhalten. Der Fan fragte uns, ob wir das Telefon wiederherstellen und es in ein iPhone 13 Pro Max verwandeln könnten. Das Telefon ist schwer beschädigt und hat einen komplett zerbrochenen Bildschirm und Rückendeckel. Schlimmer noch, die Gesichtserkennung funktioniert nicht und der Touchscreen reagiert nicht. Schauen Sie sich dieses Video an, um zu sehen, wie wir das iPhone wiederherstellen und es in ein iPhone 13 Pro Max verwandeln.
-
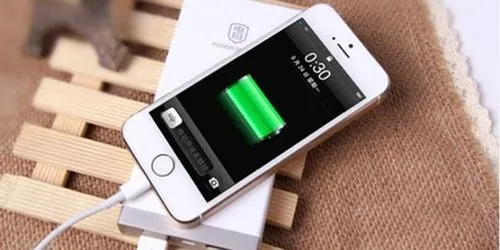
Troubleshooting Slow iPhone Charging: Causes and Solutions
Your iPhone charges slowly and you don’t have a clue why. This issue could be brought about by your iPhone’s charging port, cable, charger, or programming — the four parts of the charging system. In this article, we will clarify why your iPhone is charging slowly and tell you the best way to fix the issue for good!
Why Is My iPhone Charging Slowly?
More often than not, an iPhone charges slowly for one of two reasons:
1. Slow charging of your iPhone is on the grounds that you’re utilizing a low amperage charging source. Envision a fire hose: If voltage is the speed water courses through the hose, then, at that point, amperage is the width of the hose, or how much water can move through on the double. iPhones can charge at 5 volts, yet the amperage shifts from one charger to another — typically from 500mA (milliamps) to 2.1 amps, which compares to 2100 milliamps. The more amperage the charger has, the quicker your iPhone will charge.
2. Your iPhone is charging slowly because there is a type of gunk or garbage stuck inside the charging port of your iPhone. The cable you use to charge your iPhone has 8 pins, and on the off chance that any of those pins gets blocked by trash, it might make your iPhone charge slowly or not charge by any means.
Clean Out Your iPhone’s Charging Port
In the first place, clean out your iPhone’s charging port to eliminate any gunk or garbage. We suggest utilizing an anti-static brush, a similar apparatus specialists and Geniuses use at the Apple Store. In the event that you don’t have an anti-static brush, a pristine toothbrush makes a decent substitution.
Stick your brush inside the port and delicately scoop out any build-up, gunk, or trash inside. You might be shocked by how grimy it is!
In the wake of cleaning out the port, have a go at charging your iPhone once more. Is it charging at a typical rate? If not, you might need to give cleaning out the port another attempt. It’s conceivable that the trash has become profoundly compacted in the port. Thereafter, assuming your iPhone is as yet charging slowly, continue to read!
Examine Your iPhone’s Charging Cable
The following significant piece of the charging system is your charging cable. In the event that the cable is harmed or frayed in any capacity, it very well may be the reason behind why your iPhone is charging slowly.
Take a closer look at your charging cable and examine it for any harm. In the picture beneath, you’ll see an illustration of a damaged cable.
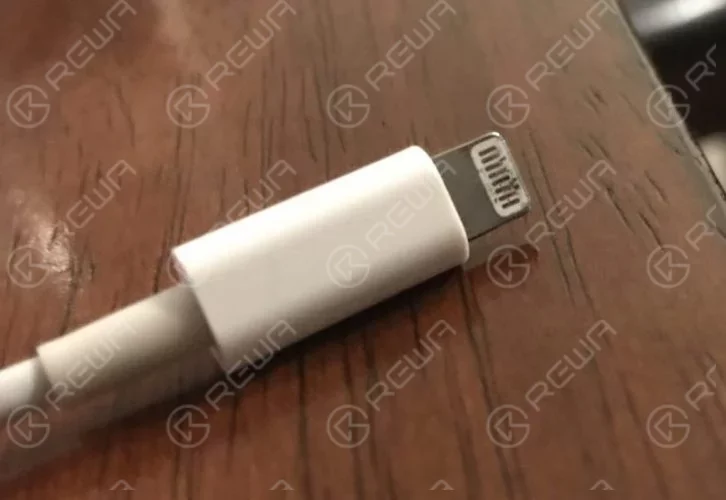
Assuming that you think your cable is damaged, try to charge your iPhone with a couple of different cables. If you want to change your Lightning cable, we strongly suggest one of our selected charging cables in our online shop.
Try A Few Different Chargers
Not all power sources are made equivalent! Charging your iPhone with a power source that has a low amperage could bring about your iPhone charging slowly.
Assuming you don’t have the foggiest idea the number of amps your power source has, take a stab at charging your iPhone while connected to numerous various sources. If you ordinarily charge your iPhone utilizing the USB port on your PC, have a go at connecting your iPhone to a wall charger (as well as the other way around).
Fehlersuche Software Problems
The regularly neglected part of the charging system is the product of your iPhone. Each time you plug a charging link into your iPhone, it’s the product that chooses if the battery will be charged. Along these lines, assuming there’s an issue with your iPhone’s product, your iPhone might charge gradually regardless of whether there’s nothing bad about your Lightning port, Lightning link, or power source.
Update Your iPhone
Apple routinely delivers software updates to patch bugs with and present new highlights. It’s really smart to refresh your iPhone when new updates become accessible so your iPhone runs as productively as could be expected.
Open Settings and tap General – > Software Update. Tap Download and Install or Install Now if another iOS update is accessible.
DFU Restore Your iPhone
The DFU (Device Firmware Update) restore is the most inside and out restore you can perform on an iPhone. Each line of code on your iPhone is deleted and reloaded.
Before you do, make sure you back up your iPhone. Without a backup, you’ll lose every one of the information on your iPhone, including your photos, videos, and contacts.
For phone repair information sharing, you can subscribe to our YouTube-Kanal. If you need any replacement parts or repair tools, please visit REWA-Laden.
-
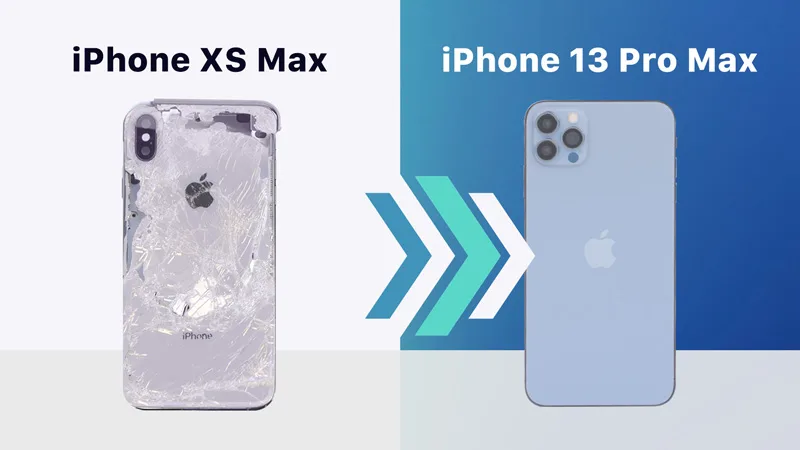
Wie man ein zerstörtes iPhone XS Max in ein brandneues "iPhone 13 Pro Max" verwandelt
We have received a heavily damaged iPhone XS Max from one of our fans. The fan asked us if we could restore the phone and turn it into an iPhone 13 Pro Max. It is evident that the phone has suffered severe damage.
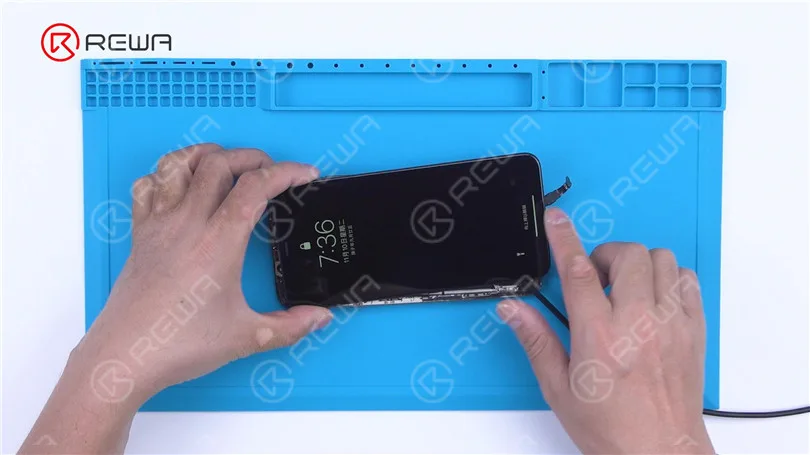
Firstly, we verify the motherboard’s condition. Remove the damaged screen and proceed to establish a connection between the motherboard and a replacement screen. As a result, the phone powers on, yet the touch screen fails to respond.
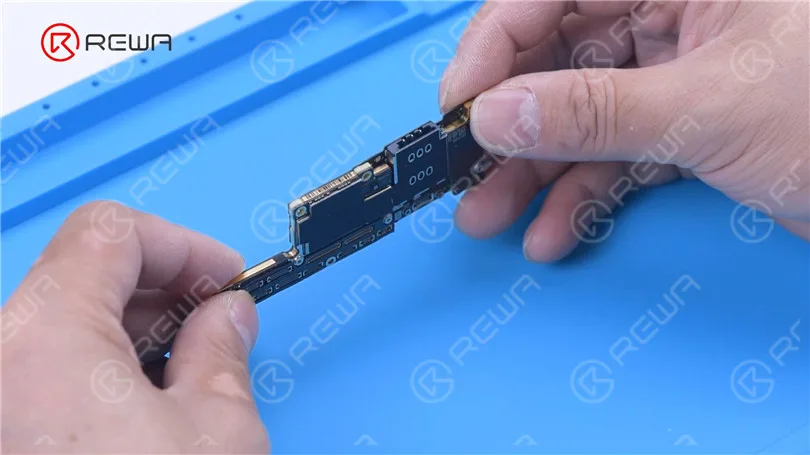
Remove the motherboard, and we can see that the signal board is deformed. To fix the problem, replacing the signal board is required.
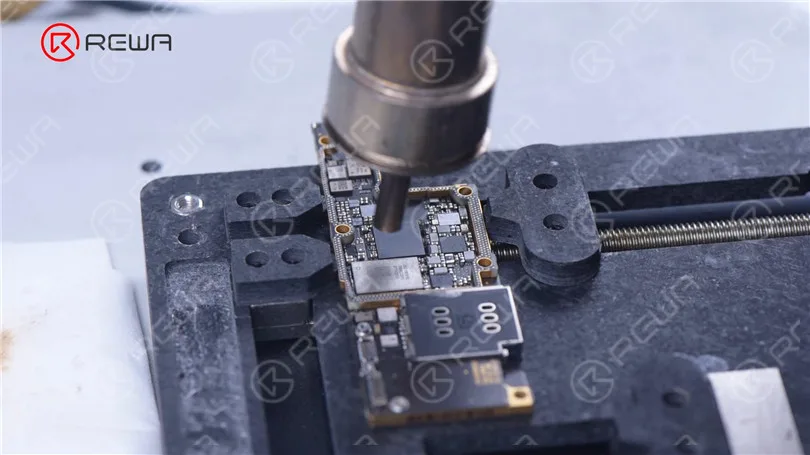
First of all, remove the baseband CPU, EPROM, and NFC chip on the signal board. After reballing these three chips, solder them to a good signal board.
Since the signal board is changed, we need to remove the NAND to unbind the WiFi. Attach the NAND to the Programmierer for WiFi unbinding.
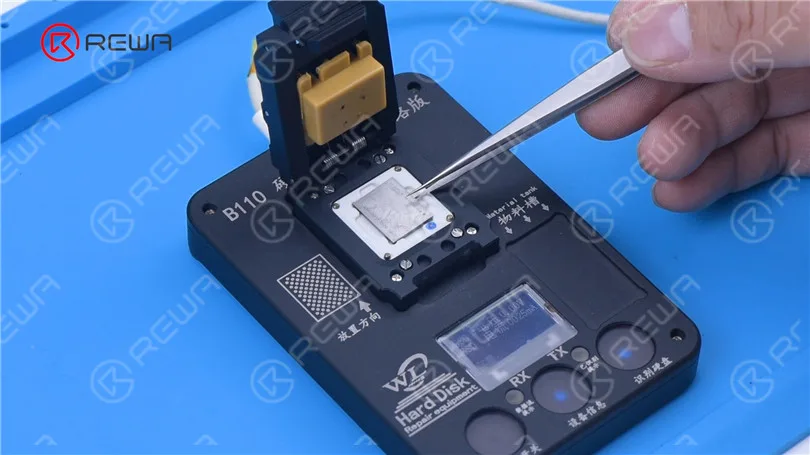
After unbinding, we solder the NAND back on.
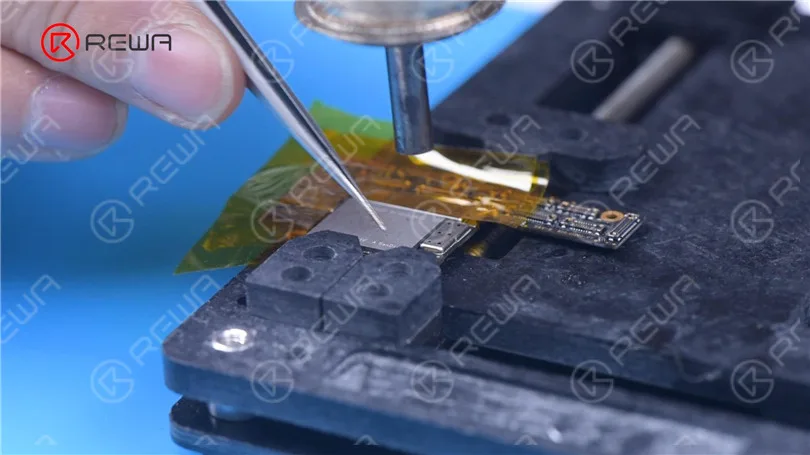
Apply some solder paste to the bonding pads of the new signal board. Next, we use a Heizplattform to recombine the signal board with the logic board.
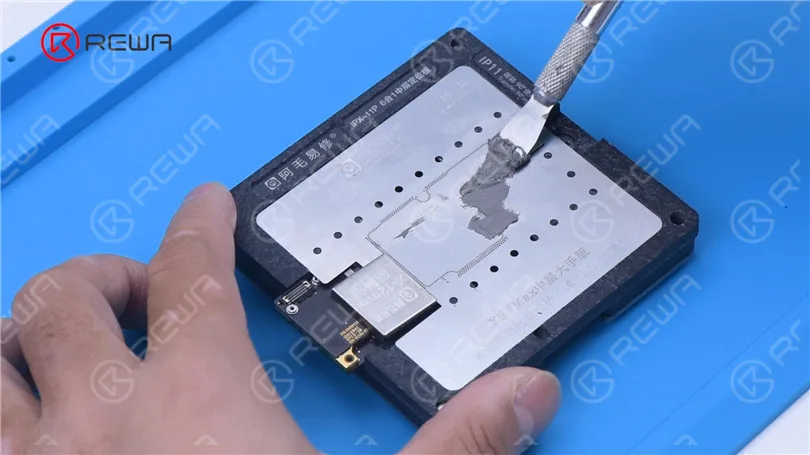
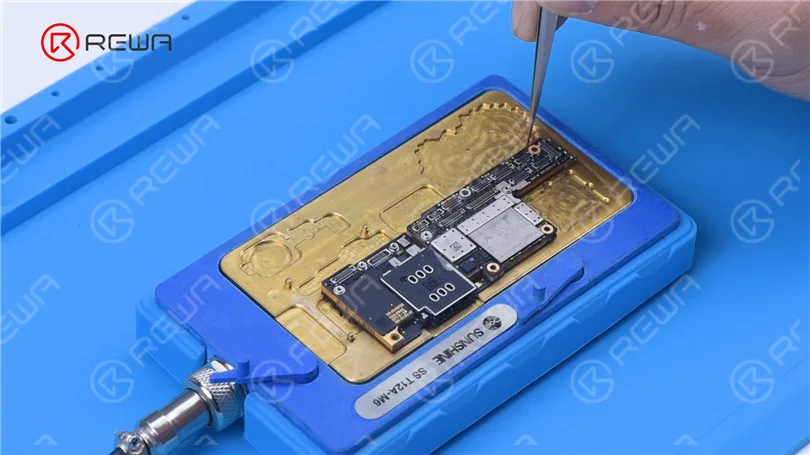
Connect the screen to test. The phone turns on and the touch screen is working fine. The motherboard is restored.
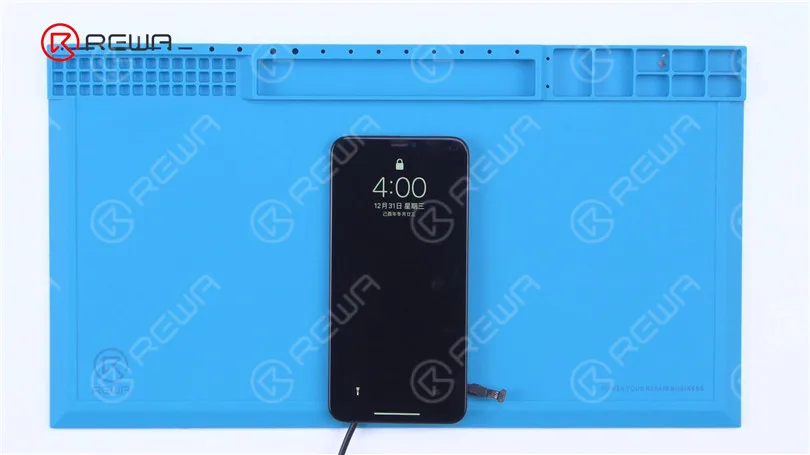
The dot projector of the front camera module is also damaged. Then we need to move the flex cables of the infrared camera and dot projector to a new front camera module. Grind to remove the infrared camera. Install the infrared camera to a new front camera module and secure it
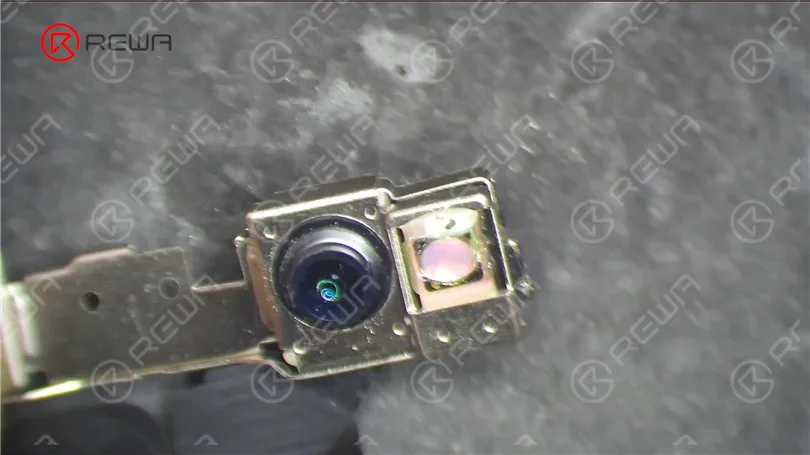
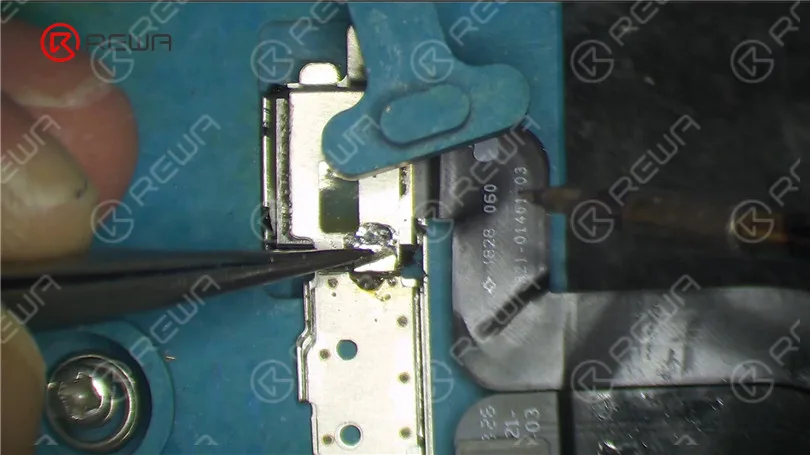
Remove the broken dot projector flex cable. Then remove the dot projector module and read its data. Write the data to a new flex cable.
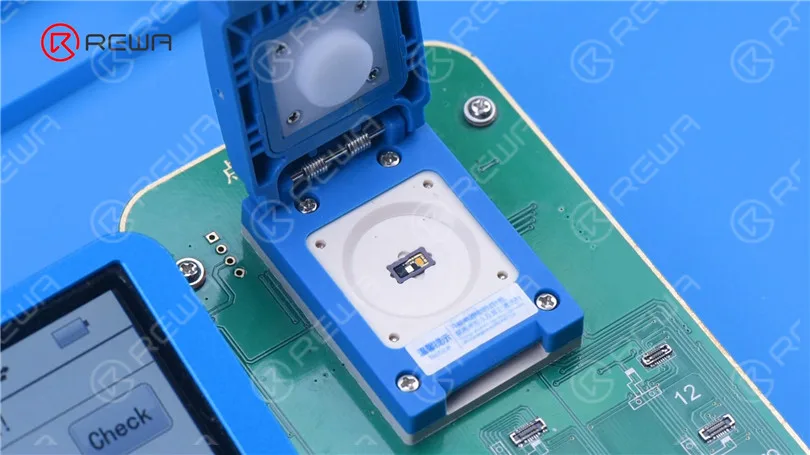
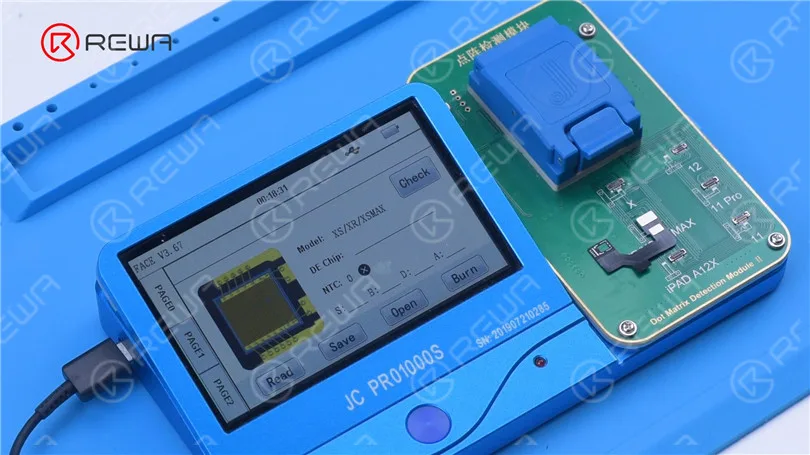
Before soldering the dot projector module, we need to remove the MOSFET and short pin 2 and 3.
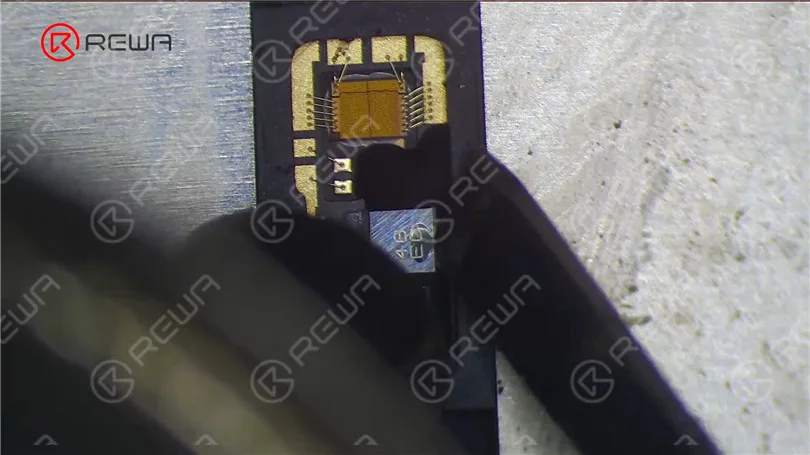
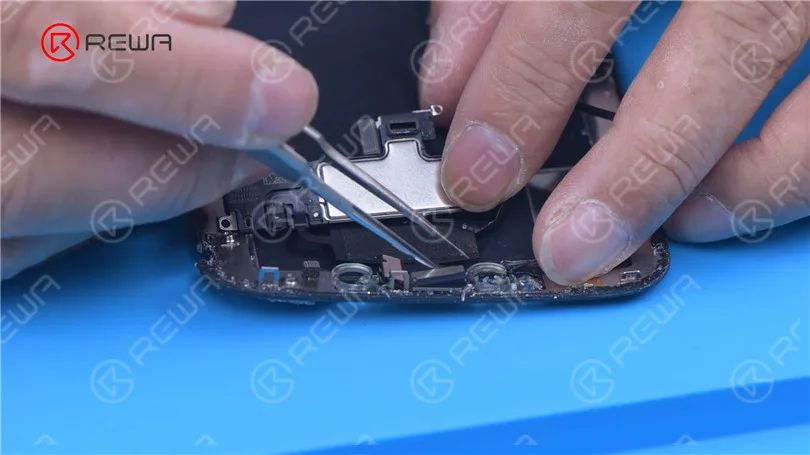
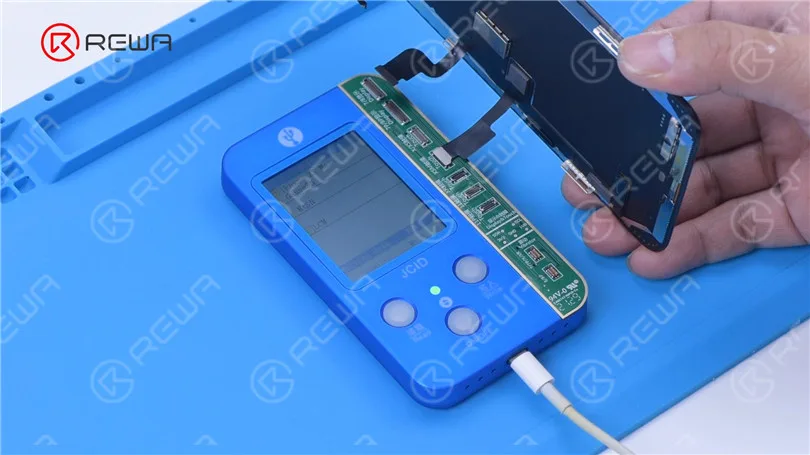
Next, we solder the dot projector module to a new flex cable. Put the new dot projector flex cable back to the front camera module. Align the flex able and fix it with adhesive. After we have repaired the front camera module, the next step is to restore the True Tone of the screen. Remove the earpiece flex cable from the broken screen and install it on a new screen. Read the screen data from the damaged screen and write the data to the new screen.
As the original back cover is severely damaged, we need to replace it with a specialized iPhone 13 Pro Max back cover. Move parts of the damaged back housing to the new back cover.
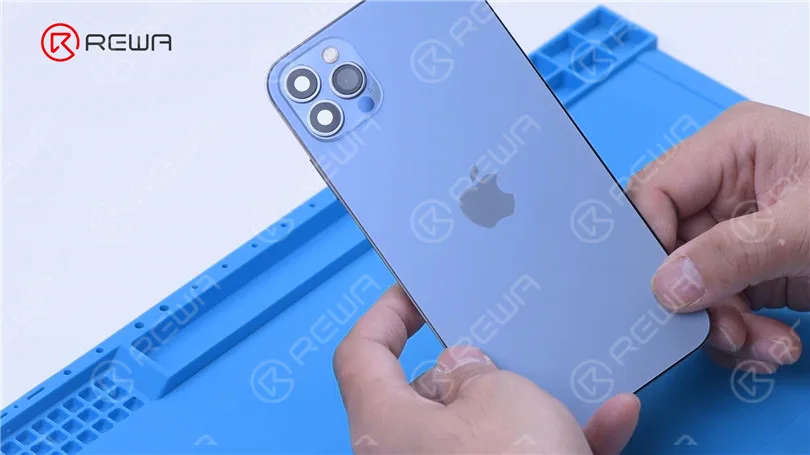
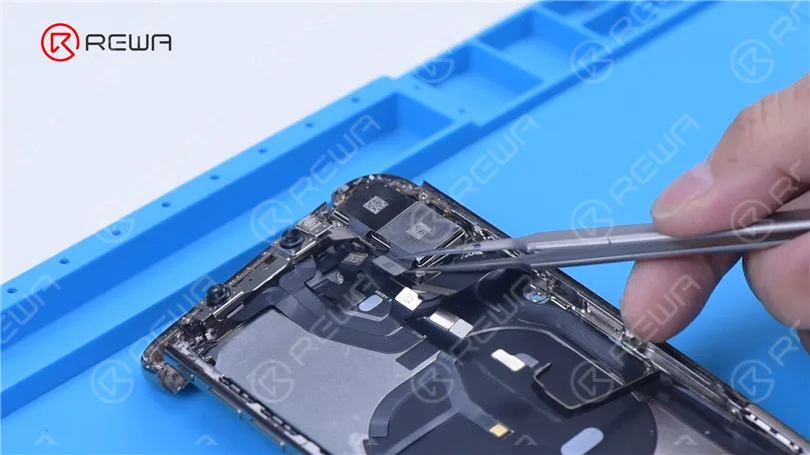
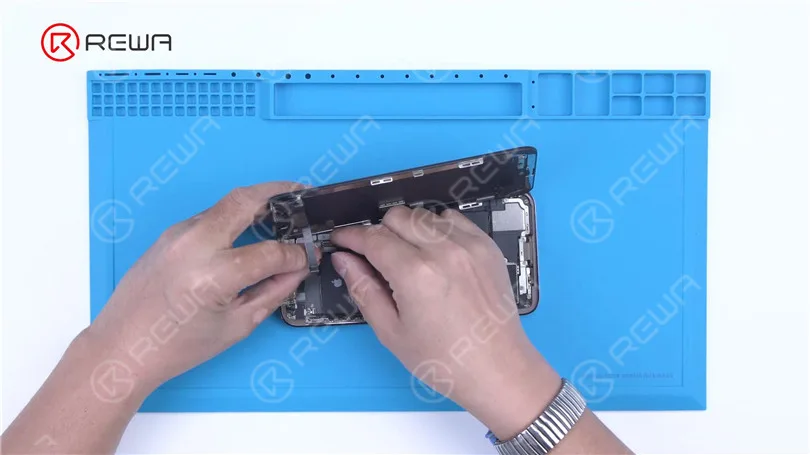
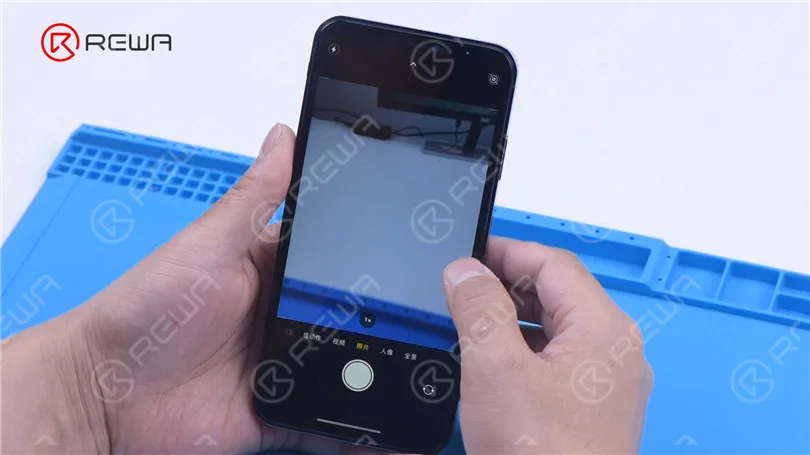
The iPhone XS Max has been successfully restored and all functions are normal.
-
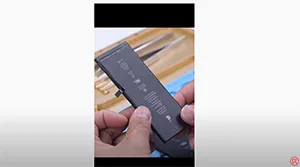
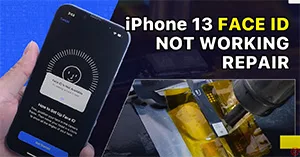
iPhone 13 Face ID funktioniert nach dem Austausch des Bildschirms nicht mehr
Vor kurzem hat Phone Repair Guru ein Video über den Austausch des iPhone 13-Bildschirms veröffentlicht. Nach dem Austausch erscheint die Meldung "Important Display Message". Was noch schlimmer ist, Face ID ist nicht verfügbar. Schauen Sie sich diesen Clip an, um zu sehen, wie wir das Problem beheben.
-
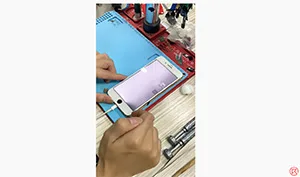
Behebung der nicht funktionierenden Hintergrundbeleuchtung des iPhone 8 Plus
Die Hintergrundbeleuchtung des iPhone 8 Plus funktioniert nicht. Nach einem Austausch der Induktivität war das Problem behoben.
-
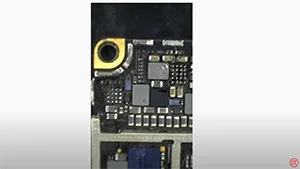
Reparieren Sie ein wasserbeschädigtes iPhone 8 Plus, das sich nicht mehr einschalten lässt
Dieses iPhone Motherboard bekommen schwere Wasserschäden und verursacht Hintergrundbeleuchtung IC & Display IC alle kurzen Strom. Wir behoben es durch den Austausch von zwei Hintergrundbeleuchtung ICs und ein Display IC.
-
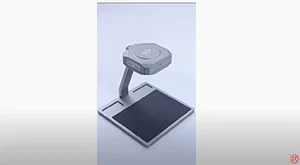
Finden Sie das fehlerhafte Bauteil mit der LINCSEEK Infrarot-Wärmekamera
Das iPhone 7 steckt im Apple Logo fest und lässt sich nicht einschalten. Mit Hilfe der LINCSEEK Infrarot-Wärmekamera wurde ein Kurzschluss im RF IC festgestellt.
-
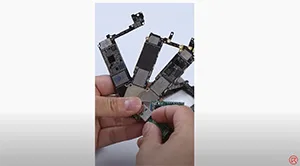
NAND in ein USB-Flash-Laufwerk verwandeln
Elektroschrott ist am häufigsten in Reparaturwerkstätten zu finden. Aber auch Sie können Abfall in einen Schatz verwandeln. Sehen Sie sich unser Video an und erfahren Sie, wie Sie ein iPhone NAND in ein USB-Flash-Laufwerk verwandeln können.
-
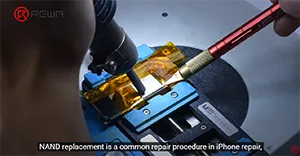
iPhone XS lässt sich mit MJ P12 NAND Programmer nicht mehr einschalten
Der NAND-Austausch ist ein gängiges Reparaturverfahren bei der iPhone-Reparatur. Für den NAND-Austausch wird ein NAND-Programmiergerät benötigt, um die NAND-Daten zu lesen und zu schreiben. Heute werden wir ein iPhone, das sich nicht mehr einschalten lässt, mit dem neuesten NAND-Programmierer P12 reparieren. Mit einem Klick kann der P12 nicht nur den lila Modus aktivieren, sondern auch alle BGA110 NAND SYSCFG lesen.
 English
 Español
 Français
 Deutsch
 Italiano