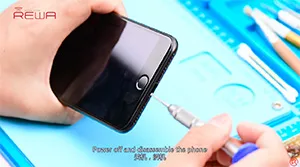
You might noticed that we have already released a memory upgrading video for iPhone 6s before, and many audiences and customers are interested in this trick. Recently, some of them asked about iOS 11.0.3 and China Made Screen based on the upgrading. Therefore, REWA LAB decided to launch this new video for iPhone 7 Plus storage upgrading, from 32GB to 256GB, with iOS 11.0.3 available. Something new with iPhone memory upgrade. Let’s find out!
Schlagwort: iphone
-
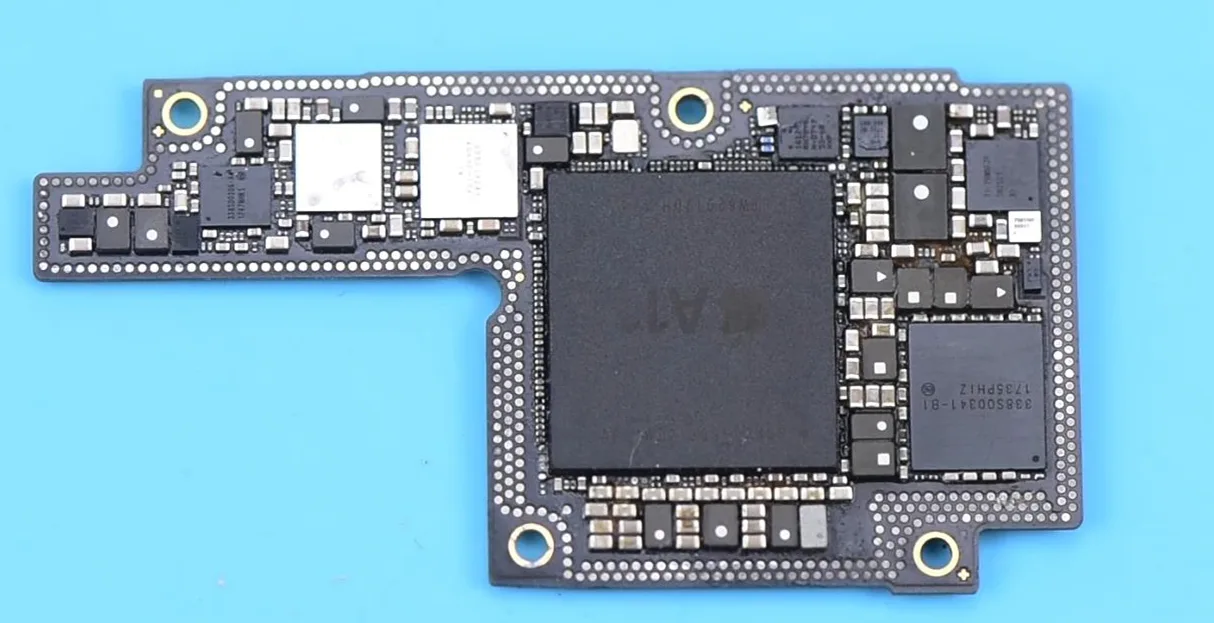
Mastering Desoldering & Soldering of iPhone X PMU
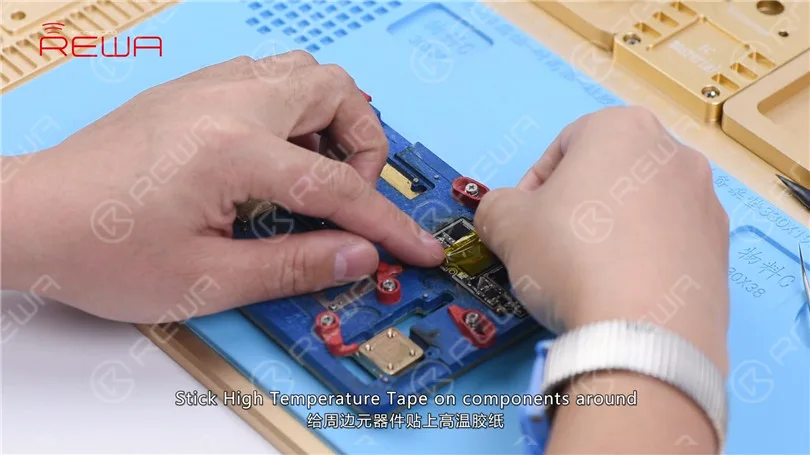
Today’s handwork course will focus on a tutorial for desoldering and soldering the iPhone X PMU. Begin by attaching the upper layer of the motherboard to the PCB Holder, then proceed to apply High-temperature Tape on the surrounding components.
Start by removing the black adhesive surrounding the PMU. Apply heat using a Hot Air Gun set at 280℃ with an air flow of 3. Then, use a specialized knife to get rid of the black adhesive around the chip.
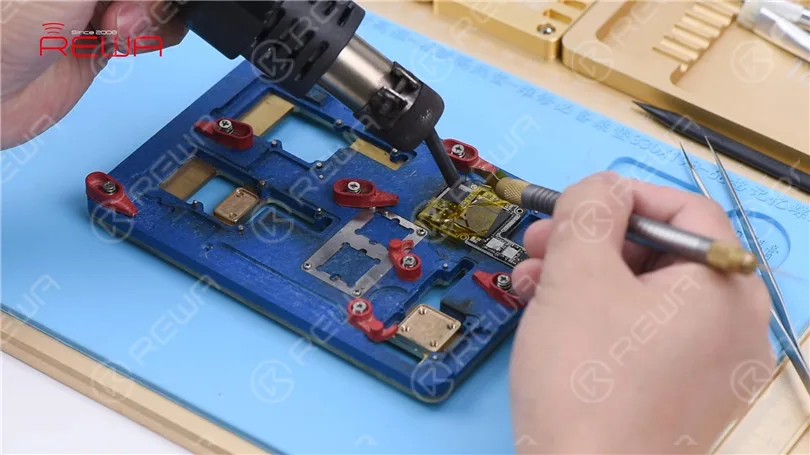
Vorsicht! When removing the black adhesive near the PMU to prevent dislodging any nearby components.
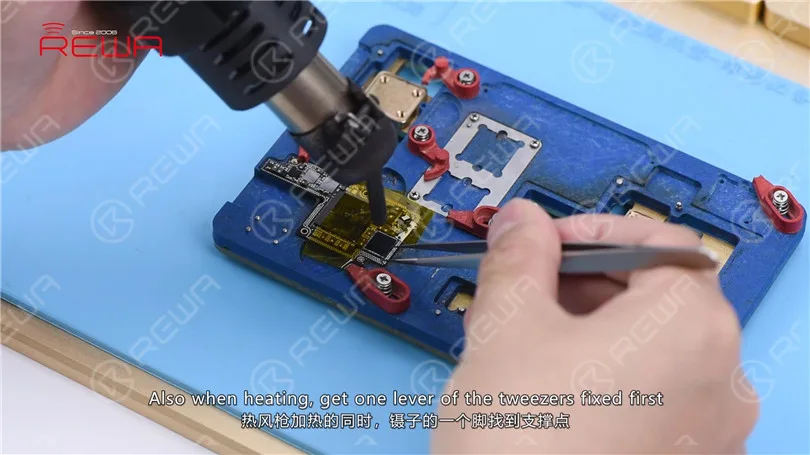
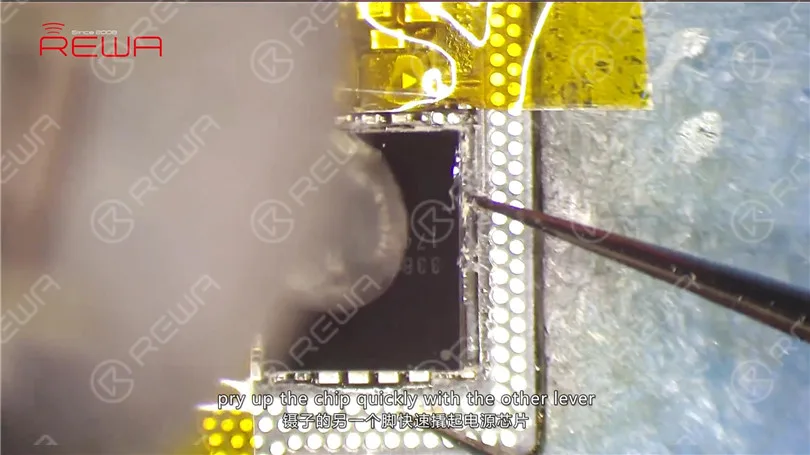
Apply heat to the PMU using a Hot Air Gun set at 330℃ with an air flow of 5. Prior to heating, secure one end of the tweezers. After 15 seconds, when the solder begins to melt, swiftly lift the chip using the other end of the tweezers. Ensure that you lift the chip at the appropriate moment to avoid causing damage to the bonding pad.
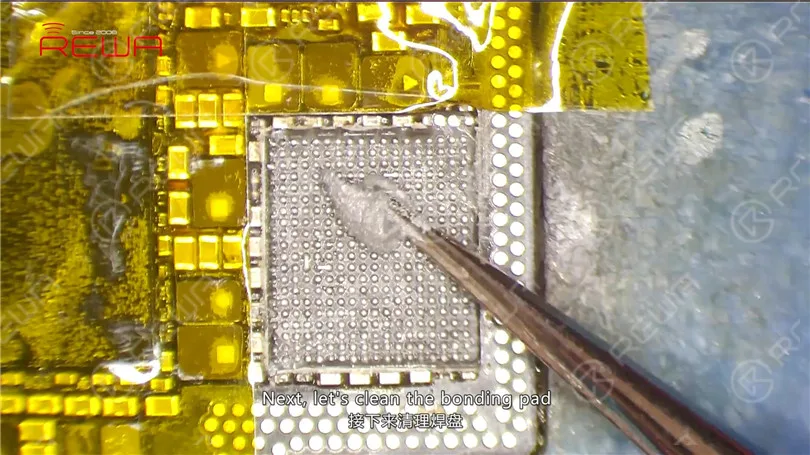
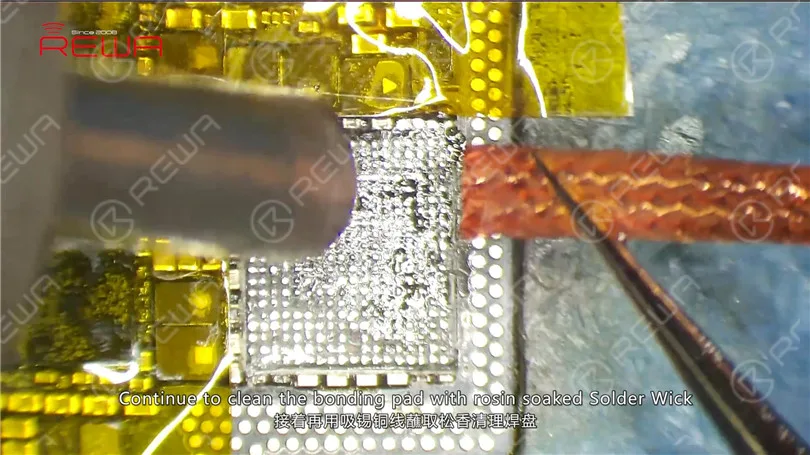
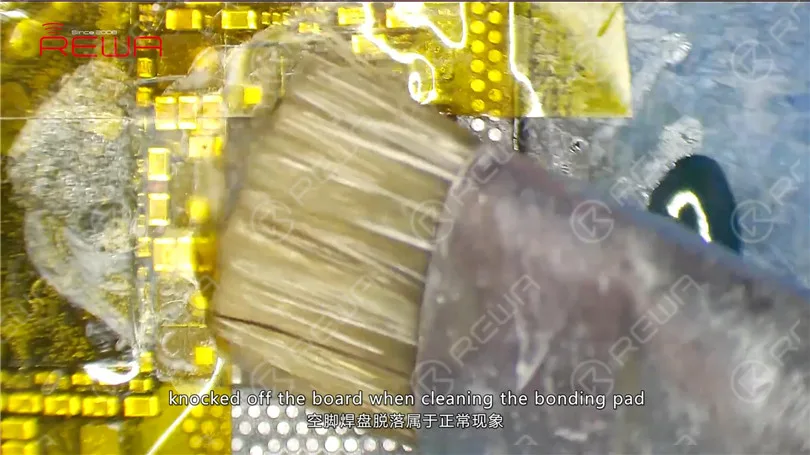
Next, let’s clean the bonding pad. Apply some mid-temperature Solder Paste to the bonding pad. Heat with Hot Air Gun at 280℃. Meantime, clean the bonding pad with Soldering Iron at 360℃. Continue to clean the bonding pad with rosin soaked Solder Wick. Clean with PCB Cleaner afterwards. Tips: bonding pads of those empty pins might get knocked off the board when cleaning the bonding pad, which is normal. We can just leave them alone.
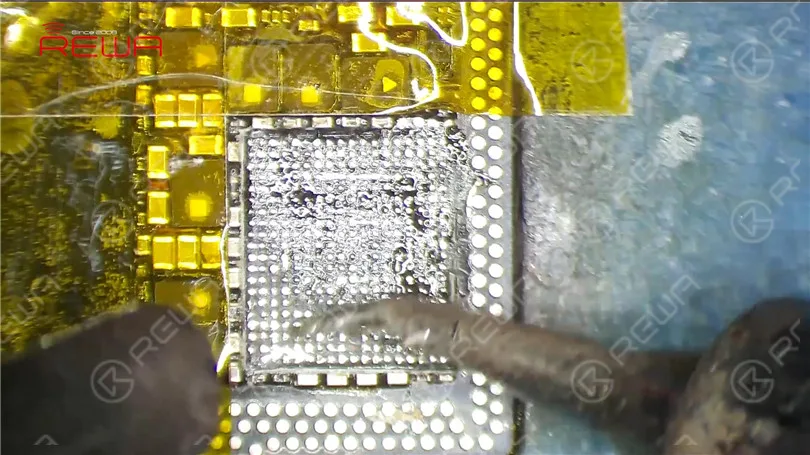
Continue to remove black adhesive on/around the bonding pad. Also when we pry up the chip, components around get knocked off the board. So our next move is to re-solder these components. First, apply some Paste Flux to their bonding pads. Then, apply solders with Soldering Iron. Get these components in position. And then solder with Hot Air Gun at 330℃, air flow 3.
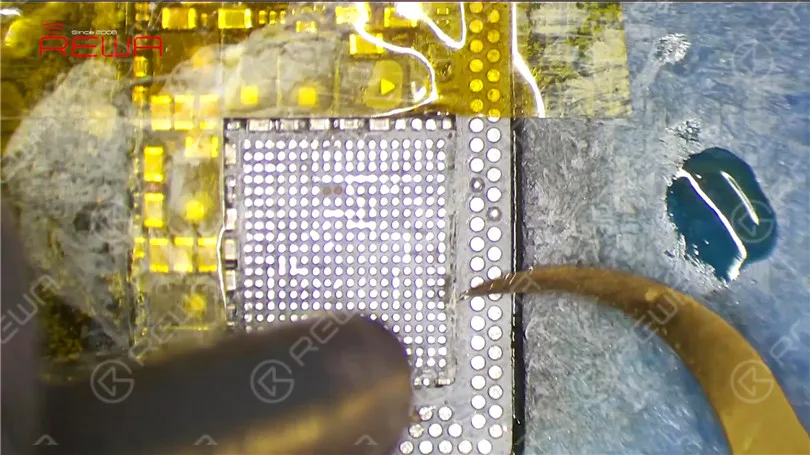
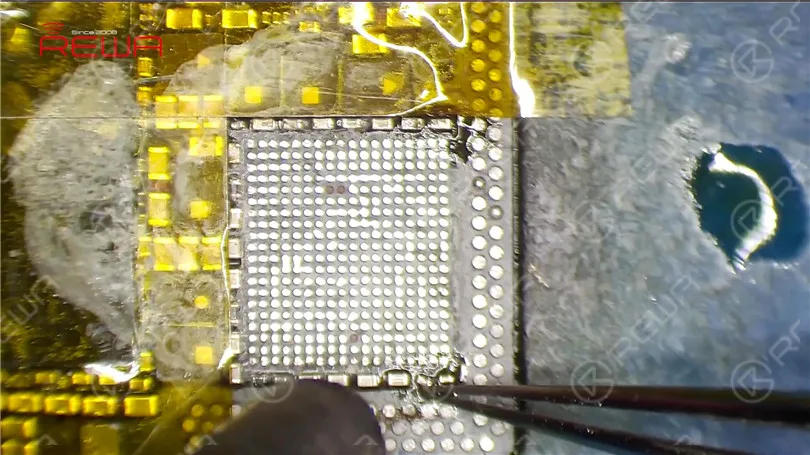
Before soldering the chip, clean the bonding pad again. Clean with PCB Cleaner afterwards.
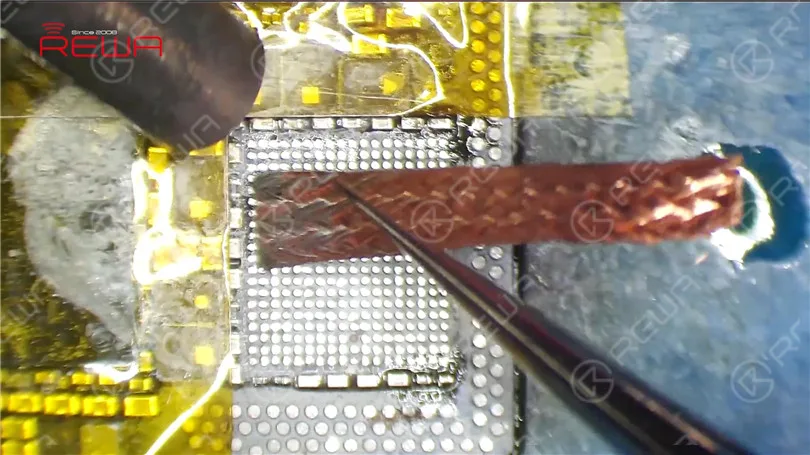
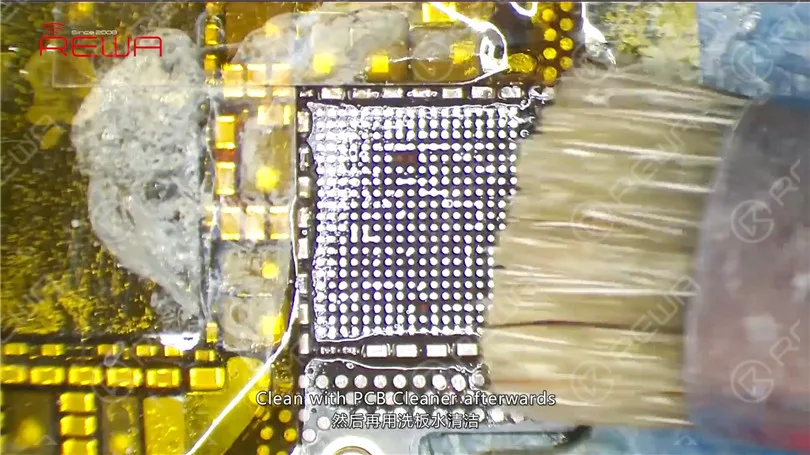
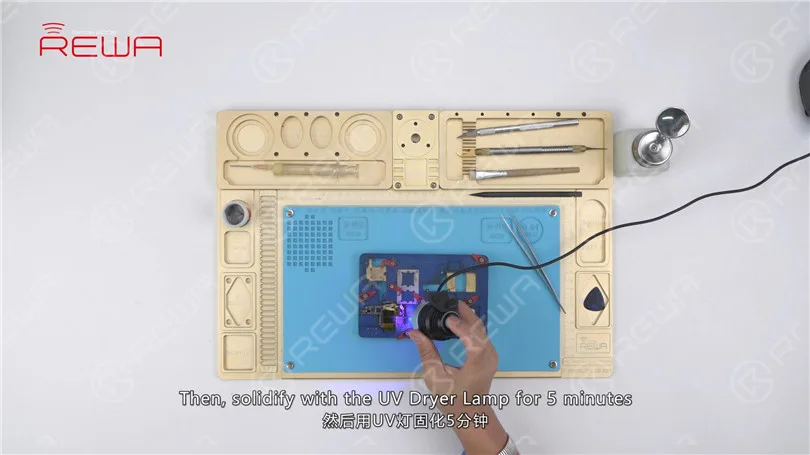
Also when we remove the black adhesive, some of the insulation varnish on PCB has fallen off the board. So we need to remedy with the UV Curable Solder Mask. Dip some UV Curable Solder Mask with tweezers. And apply the solder mask to the exposed area. Then, solidify with the UV Dryer Lamp for 5 minutes.
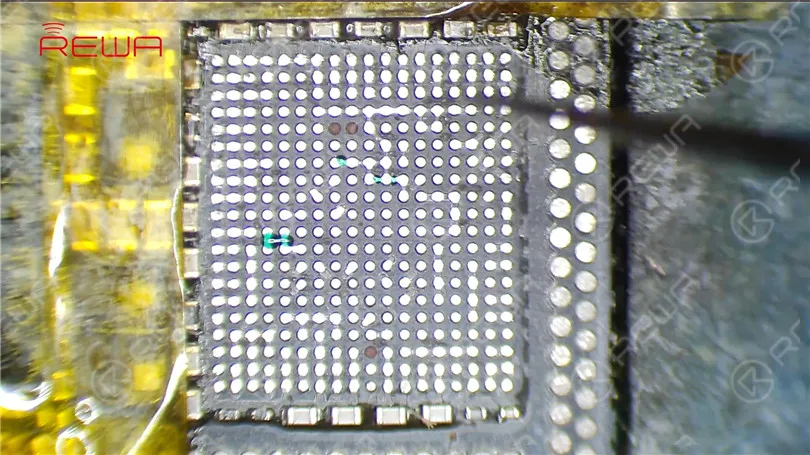
Now we can solder the PMU. Apply some Paste Flux to the bonding pad. Get a new PMU in position. Make sure you put it in the right direction. Solder with Hot Air Gun at 330℃, air flow 3 for 20s.
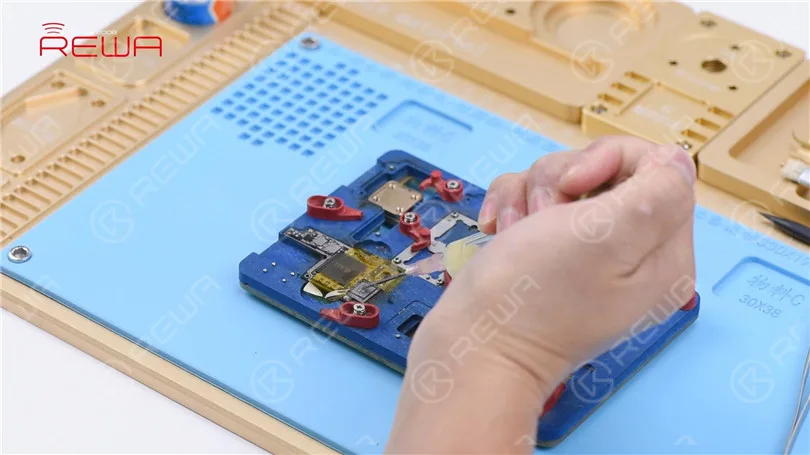
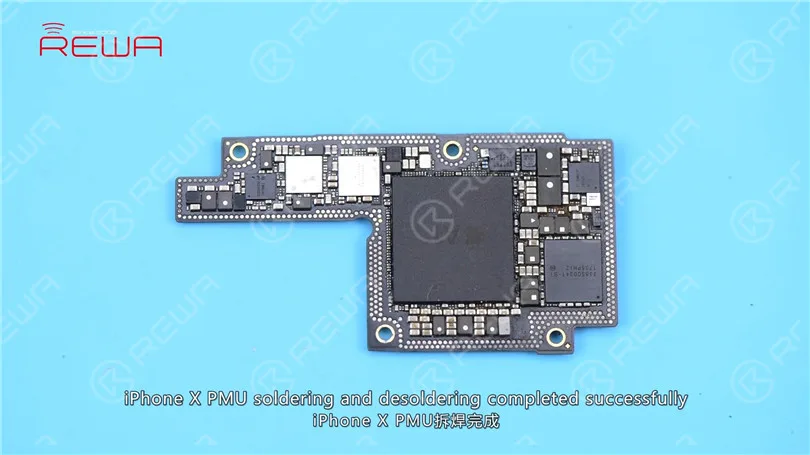
With the chip sinking and Paste Flux flowing, continue heating for 10s. Wait for the upper layer to cool for 5 minutes. Tear off the High Temperature Tape. Clean with PCB Cleaner afterwards. iPhone X PMU soldering and desoldering completed successfully.
-
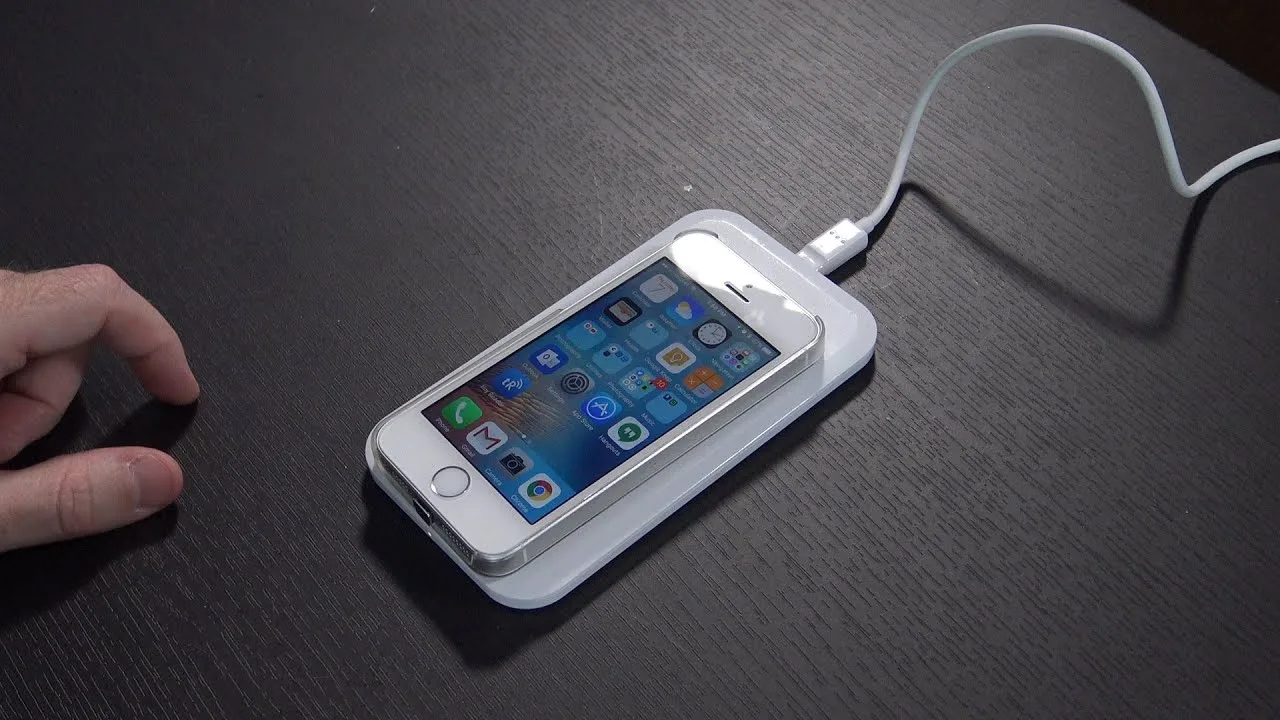
Wie kann ich das iPhone SE nicht aufladen?
Wenn Sie frustriert sind, weil sich Ihr iPhone SE nicht aufladen lässt, sind Sie nicht allein. Viele Benutzer haben mit diesem Problem zu kämpfen. Aber keine Sorge! In diesem Blog-Beitrag finden Sie eine umfassende Anleitung, die Ihnen helfen wird, das Problem zu lösen. Lesen Sie weiter, um schnelle Lösungen zu finden, mit denen Sie Ihr iPhone SE im Handumdrehen wieder aufladen können.
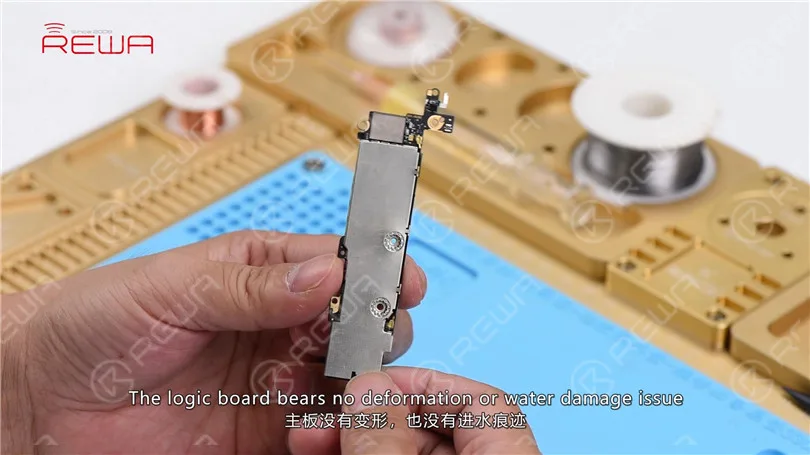
Führen Sie zunächst eine kosmetische Inspektion der Logikkarte durch. Die Logikkarte weist keine Verformungen oder Wasserschäden auf.
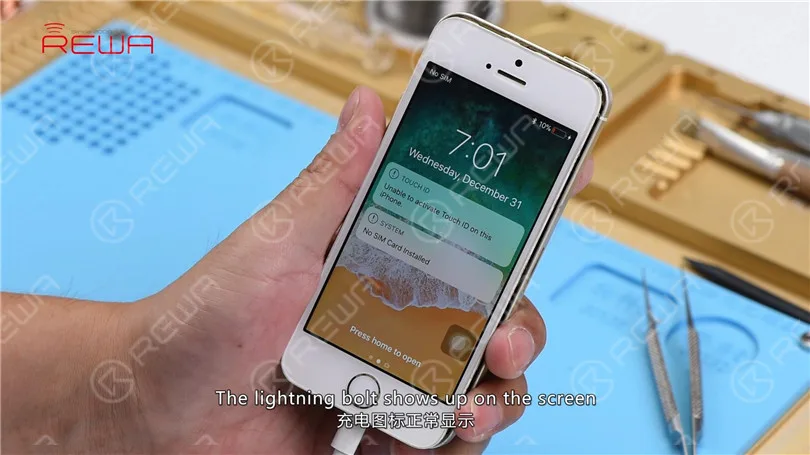
Als Nächstes werden wir das Telefon zusammenbauen und testen. Installieren Sie die Logikplatine und die Display-Baugruppe. Schließen Sie den Akku an und drücken Sie die Einschalttaste. Der Prozentsatz des Akkus wird in der oberen rechten Ecke als 10% angezeigt. Stecken Sie das Ladekabel ein. Der Blitz wird auf dem Bildschirm angezeigt. Nach 10 Minuten Ladezeit wird in der oberen rechten Ecke immer noch 10% angezeigt, was darauf hinweist, dass der Ladestromkreis nicht richtig funktioniert.
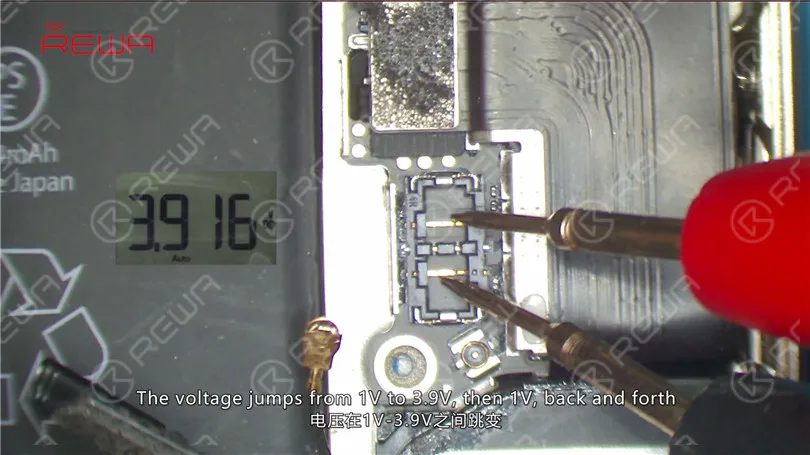
Schalten Sie das Multimeter in den Gleichspannungsmodus. Klemmen Sie zuerst die Batterie ab. Messen Sie dann am Batterieanschluss J2400. Die Spannung springt von 1V auf 3,9V, dann 1V hin und her, was bedeutet, dass die Ladespannung normal ist.
Trennen Sie das Ladekabel ab und entfernen Sie die Anzeigeeinheit. Führen Sie im Diodenmodus eine Messung an J2400 durch. Der gemessene Wert von Pin 5 ist 436, was normal ist. Der gemessene Wert von Pin 2 ist OL, was abnormal ist. Der Normalwert sollte bei 600 liegen. Demnach ist der relevante Schaltkreis von Pin 2 unterbrochen worden.
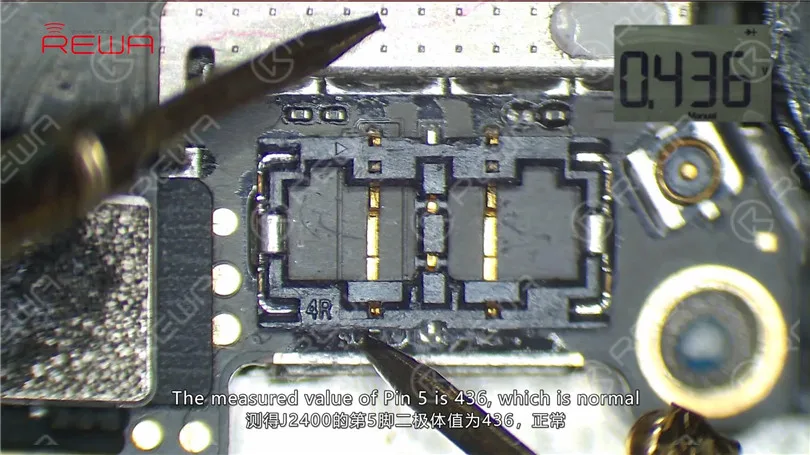
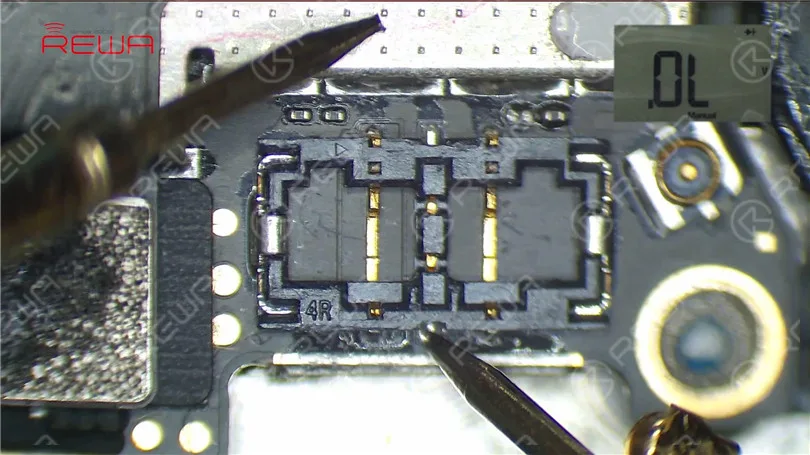
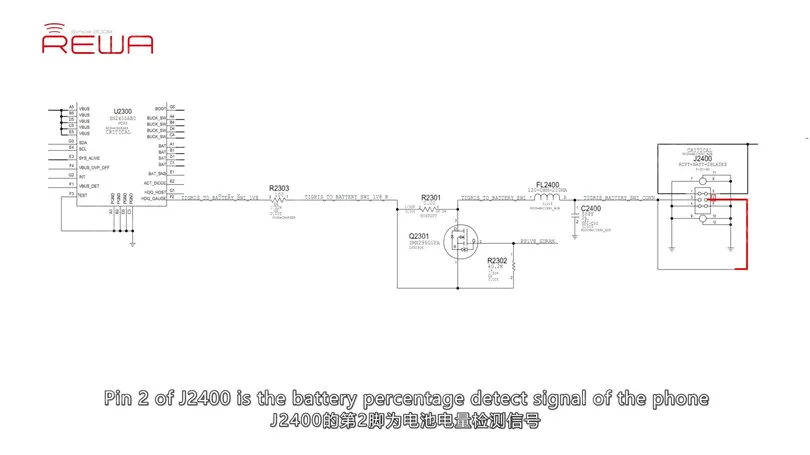
Pin 2 von J2400 ist das Signal zur Erkennung des Akkuprozentsatzes des Telefons, das über FL2400 mit Pin 3 von Q2301 verbunden ist. Die Schiene erstreckt sich bis zu Pin F2 von U2300 über Pin 1 von Q2301 und dann R2303. Auch bei unseren Messungen stellen wir fest, dass FL2400 fehlt.
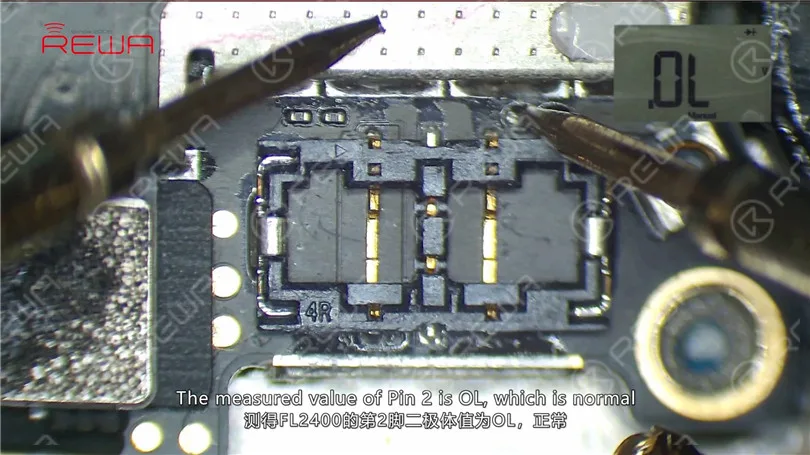
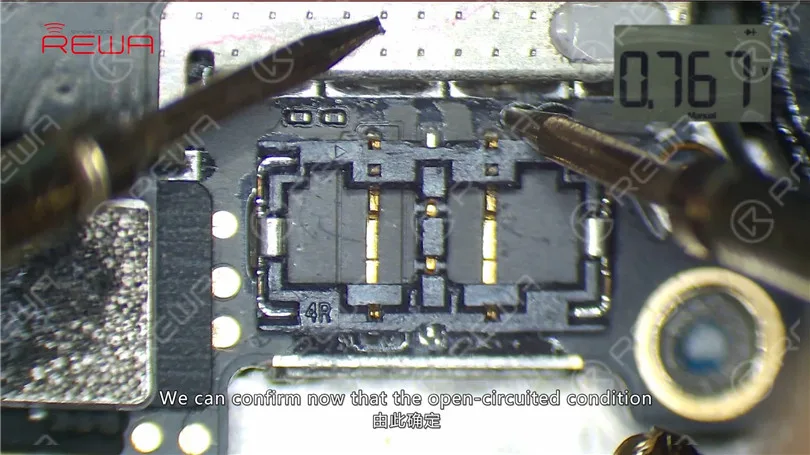
Fahren Sie mit der Diodenmessung an der Klebefläche fort. Der gemessene Wert von Pin 2 ist OL, was normal ist. Der Messwert von Pin 1 ist 767, was normal ist. Wir können nun bestätigen, dass der offene Stromkreis durch das Fehlen von FL2400 verursacht wird.
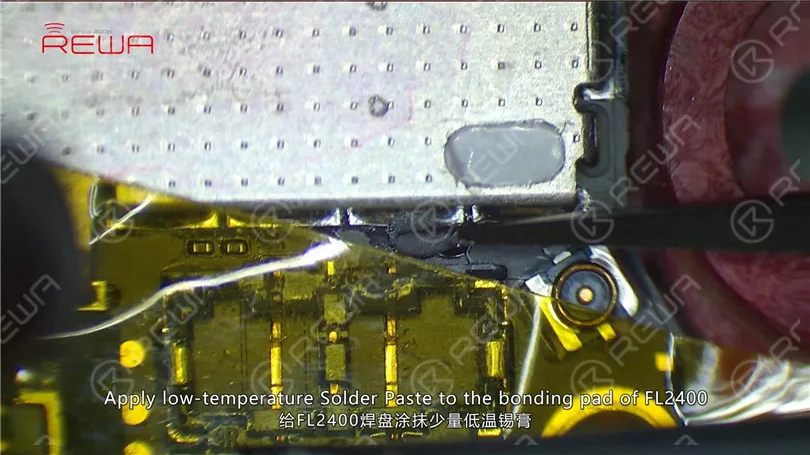
Da FL2400 eine gekoppelte Induktivität ist, können wir das Problem beheben, indem wir die beiden Stifte mit Lötpaste verbinden. Nehmen wir nun die Logikkarte heraus. Kleben Sie Hochtemperatur-Schutzband auf J2400. Tragen Sie Niedertemperatur-Lötpaste auf das Kontaktierungsfeld von FL2400 auf. Erhitzen Sie mit einer Heißluftpistole bei 240℃, Luftstrom 2. Verbinden Sie dann die beiden Pins mit geschmolzener Lötpaste. Warten Sie, bis die Logikkarte 5 Minuten abgekühlt ist. Anschließend mit PCB Cleaner reinigen.
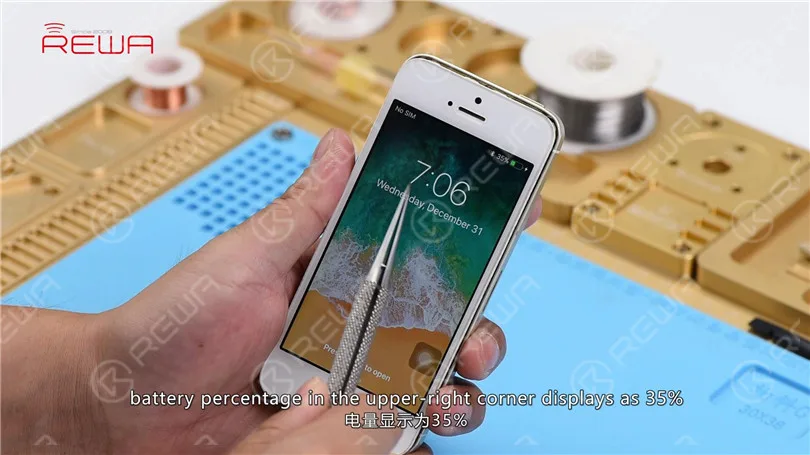
Jetzt können wir das Telefon zusammenbauen und testen. Bauen Sie die Logikplatine und das Display zusammen. Schließen Sie den Akku an und drücken Sie die Einschalttaste, um das Telefon einzuschalten. Das Telefon schaltet sich normal ein. Der Prozentsatz des Akkus wird in der oberen rechten Ecke als 26% angezeigt. Stecken Sie das Ladekabel ein. Der Blitz wird auf dem Bildschirm angezeigt. Nach einer Ladezeit von 3 Minuten wird in der oberen rechten Ecke ein Akkustand von 35% angezeigt. Störung behoben.
-
iPhone 8 Zerbrochener LCD-Bildschirm Wiederaufbereitung
Here, you can get the latest iPhone 8 broken LCD screen glass-only refurbishing technique supported by REWA LAB. This technique uses a new frame-separating machine and an integrated glass lens with a bezel applied. It is a cost-effective and efficient LCD refurbishing solution for all iPhone repair professionals and enthusiasts. Don’t miss our new glass-only repair video!
-
REWA Fix iPhone 6 kein Lautsprecher Sound verursacht durch Pseudo Löten
Have you ever encountered with a problem of “iPhone 6 no speaker sound” while receiving dialing or playing music via louder speaker, and if you plug EarPods in, the sound come out again? This iPhone speaker no sound problem may be caused by some components pseudo soldering while the iPhone leaving factory. As time goes by, operating environment and personal habits of users may accelerate the oxidation or shedding of pseudo soldered components. Let’s check the video and find out how to fix iPhone speaker not working problem.
-
iPhone 6s Überhitzung und immer heiß Problem Fix - Exklusive Logic Board Reparatur
iPhone 6s overheating and getting hot? Usually the problem is caused by excessive running apps, but in this tutorial video, we demonstrated a logic board repair method. After current detecting and rosin detecting, we can confirm that the problem was caused by damaged capacitors inside the WiFi module. With our repairing experience, we adopt a exclusive repair solution to fix the iPhone 6s high temperature warning screen issue.
-
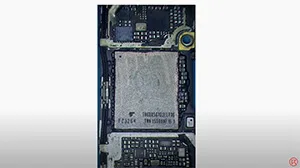
Einblick in das Innere von NAND durch Lasermaschine
NAND ist eine Art nichtflüchtiger Speicherchip, der in allen iDevices verwendet wird. Willst du sehen, was sich im Inneren des iPhone NAND befindet? In diesem Video sehen wir uns das Innere des NAND mit Hilfe einer Lasermaschine an.
-
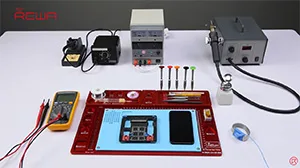
Fix iPhone 7/7 Plus Won’t Turn On – CPU Repair
iPhone 7/7 Plus won’t turn on after it is dropped? Due to the imperfect technology of CPU supplier, the SDRAM of iPhone 7/7 Plus series can be easily damaged. Once dropped, the SDRAM might be short circuited and the phone won’t turn on afterwards. The traditional SDRAM replacing method is complex and easy to get it pseudo soldered. This time we introduced a new solution with CNC Chip Grinding Machine. Let’s check the video to see how we fix iPhone 7 plus won’t power on issue in a more efficient way.
-
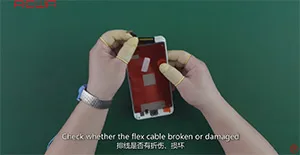
iPhone China Made In-Cell LCD Bildschirm-Qualifizierte Alternative
As a product with new structure, China Made In-cell LCD Screen has went through strict tests of REWA LAB. So far, there are two kinds of iPhone models for China Made In-cell LCD Screen – iPhone 6s Plus and iPhone 7 Plus. According to our test results, iPhone 7 Plus version has some polarizing problems and therefore is not recommended for the moment. As for iPhone 6s Plus version, it performs perfectly in the function tests, like touch function, 3D Touch, installation matching, brightness and other stability tests. With all test results closer to those of OEM, it stands out with a thinner screen and a more advantageous price that can be a good alternative for OEM screen.
-
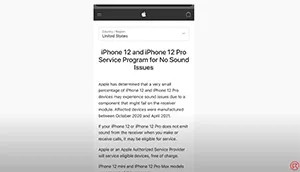
Fix iPhone 12 Pro No Sound Issue by Replacing the Receiver
Recently, some of the iPhone 12/12 Pro have no sound unless put in hand-free mode. This was caused by damage to the receiver module. To fix it, simply replace a brand new receiver.
-
iPhone 8/X Lichtsensor defekt auch mit Originalteilen von Dritten repariert
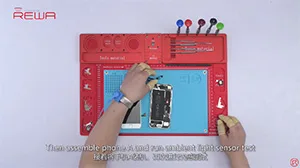
Recently, REWA has got feedback from a number of third-party repair shops that some iPhone 8 series and iPhone X have got “ambient light sensor not working issue” after repairing even with genuine parts. After testing and analysis, REWA LAB has found that Apple might have set up some technical barriers for repairing to prevent customers from resorting to third-party repair.Let’s check the video and find out the testing procedures and results.
-
Upgrade iPhone 12 64GB Speicher auf 256GB
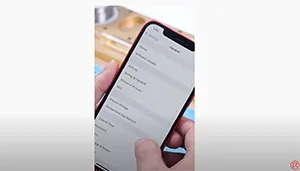
From the first iPhone to iPhone 11, Apple has stored serial number, WiFi address, and Bluetooth address on NAND. However, the NAND on iPhone 12 does not store serial number, WiFi address, and Bluetooth address, which means that the NAND of iPhone 12 can directly be replaced by an iPhone 12 NAND and activated.
 English
 Español
 Français
 Deutsch
 Italiano