Tag: iphone x

  • Troubleshooting iPhone X Won’t Turn On – Expert Repair Guide

    Troubleshooting iPhone X Won’t Turn On – Expert Repair Guide

    Our previous blog has walked you through the work-flow of iPhone X Boot Circuit .

    And you have learned that to have the phone turned on, working conditions like power supply, clock signal and reset signal are indispensable.

    Since there are so many components involved in the process, reasons for won’t turn on of the phone can also be various.

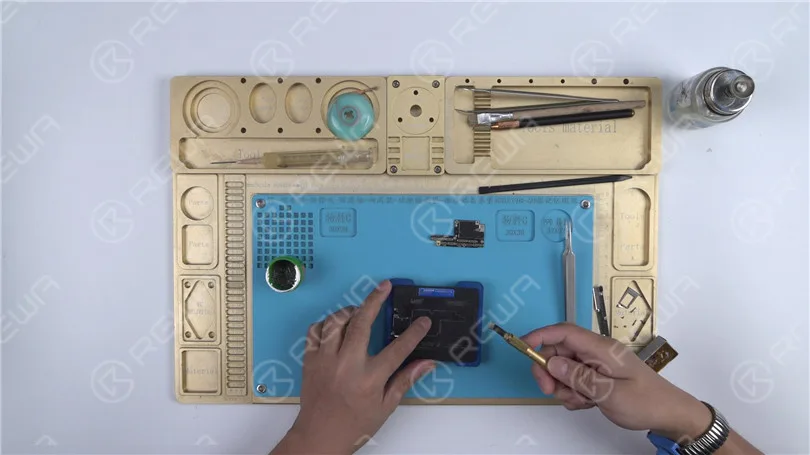
    Today we will explain the troubleshooting and repairing process of iPhone X by showing a real-life iPhone X won’t turn on case.

    Follow our repair guide step and step and you can definitely learn something.

    Analyzing  

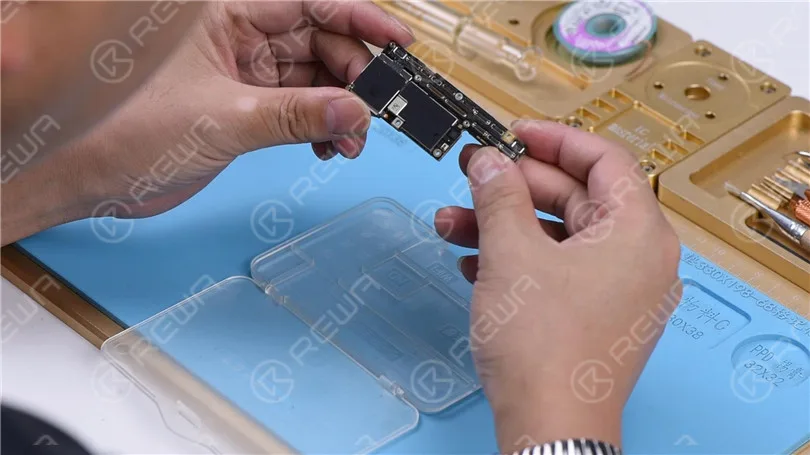
    First, run cosmetic inspection of the motherboard.

    The motherboard is not deformed or water damaged.

    Then connect the motherboard with the DC power supply.

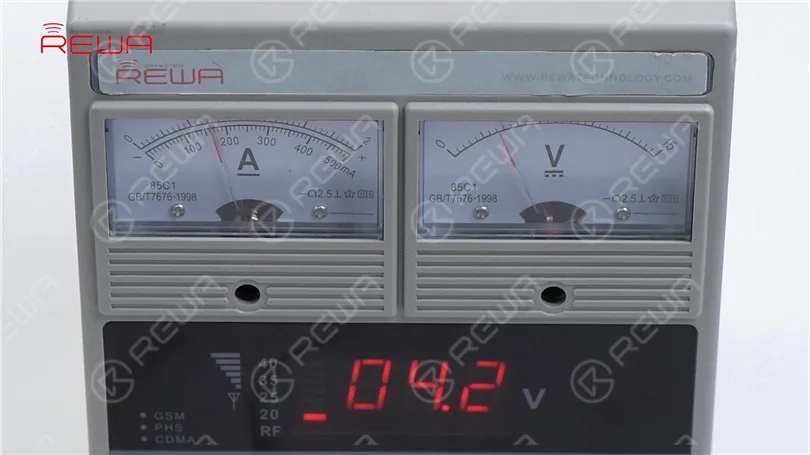
    We can see that there is no current leakage.

    Judging by this, the three main power supply rails, PP_BATT_VCC, PP_VDD_MAIN and PP_VDD_BOOST are in normal condition.
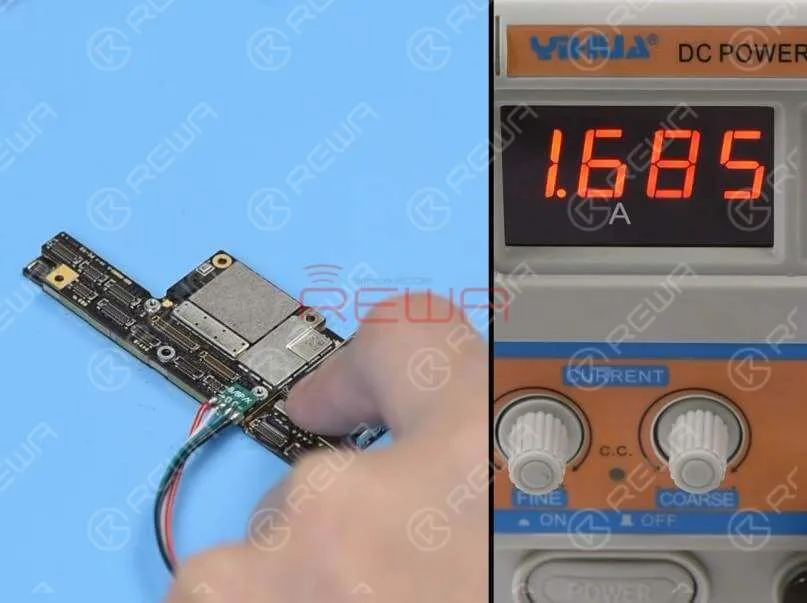
    First, run cosmetic inspection of the motherboard. The motherboard is not deformed or water damaged.Then connect the motherboard with the DC power supply. We can see that there is no current leakage. Judging by this, the three main power supply rails, PP_BATT_VCC, PP_VDD_MAIN and PP_VDD_BOOST are in normal condition.

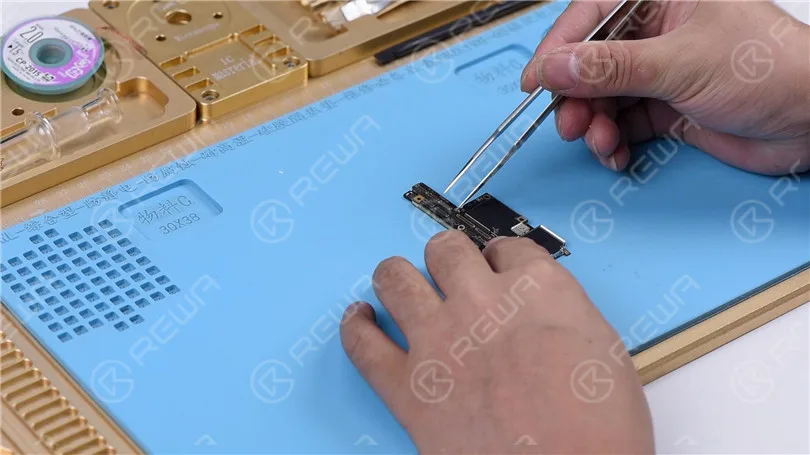
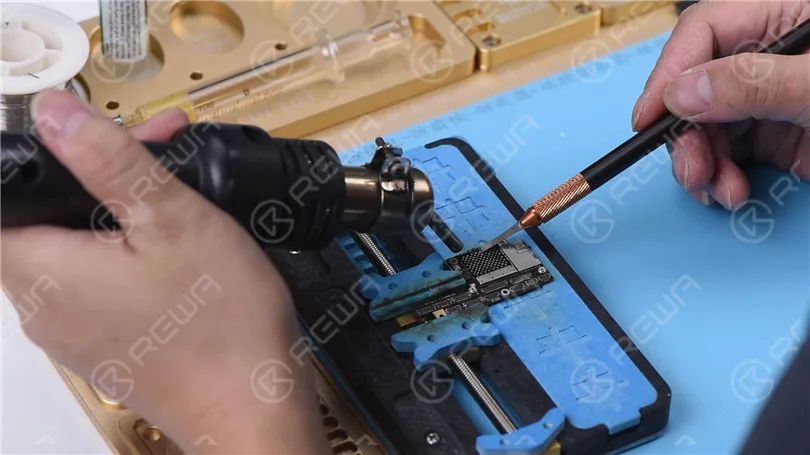
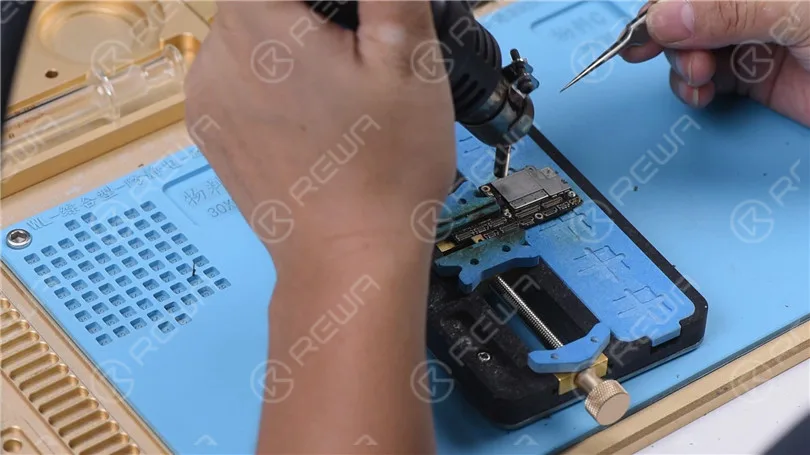
    Continue to get the motherboard booted up with tweezers.

    We can see that the boot current is larger than normal value.

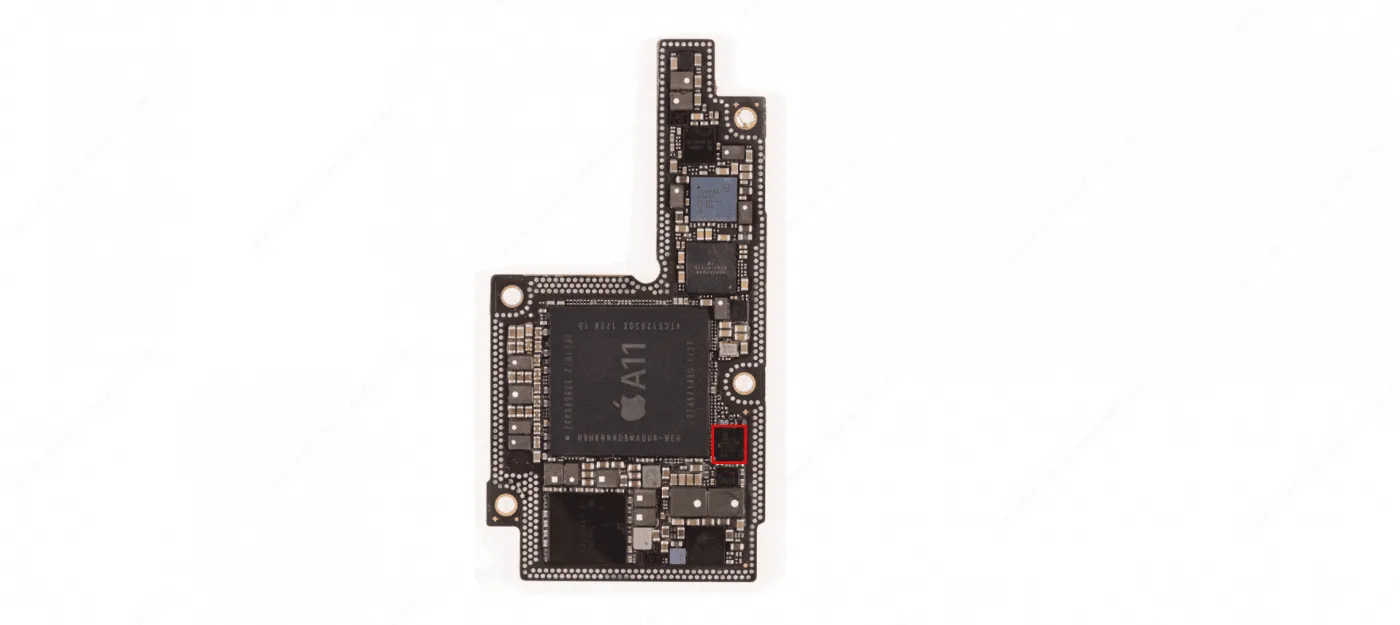
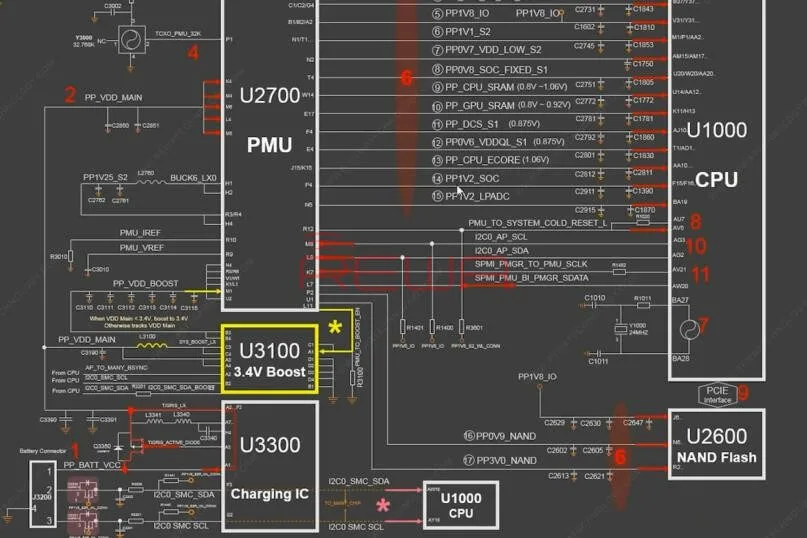
    We can confirm now that the fault is probably related to the 17 power supply rails outputted from PMU.

    Motherboard Separating

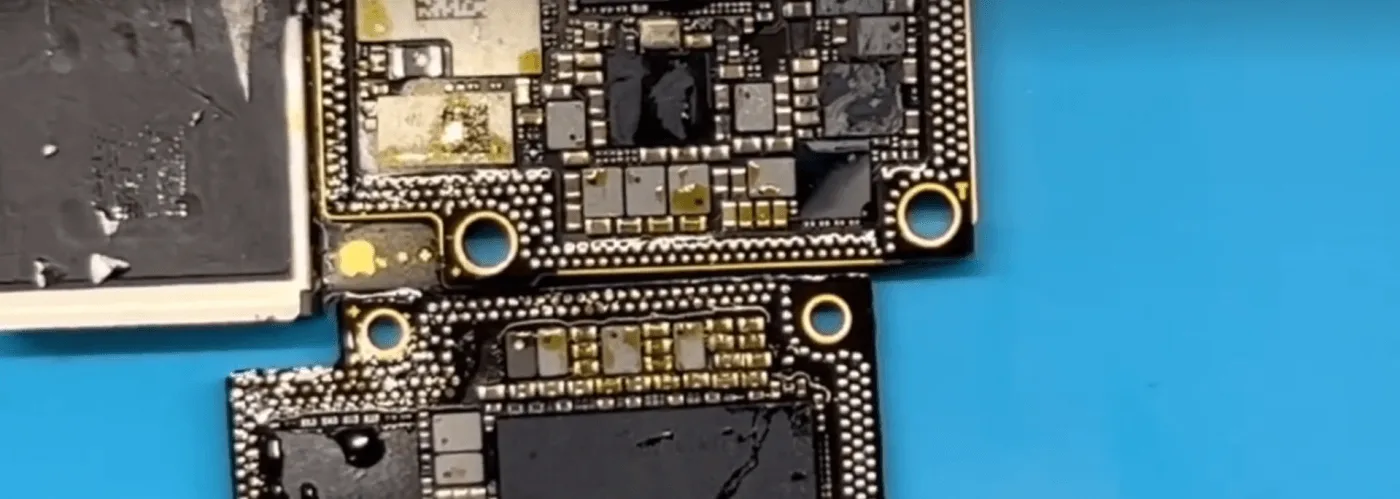
    Now we need to separate the motherboard to confirm whether the fault is related to the upper layer or the lower layer.

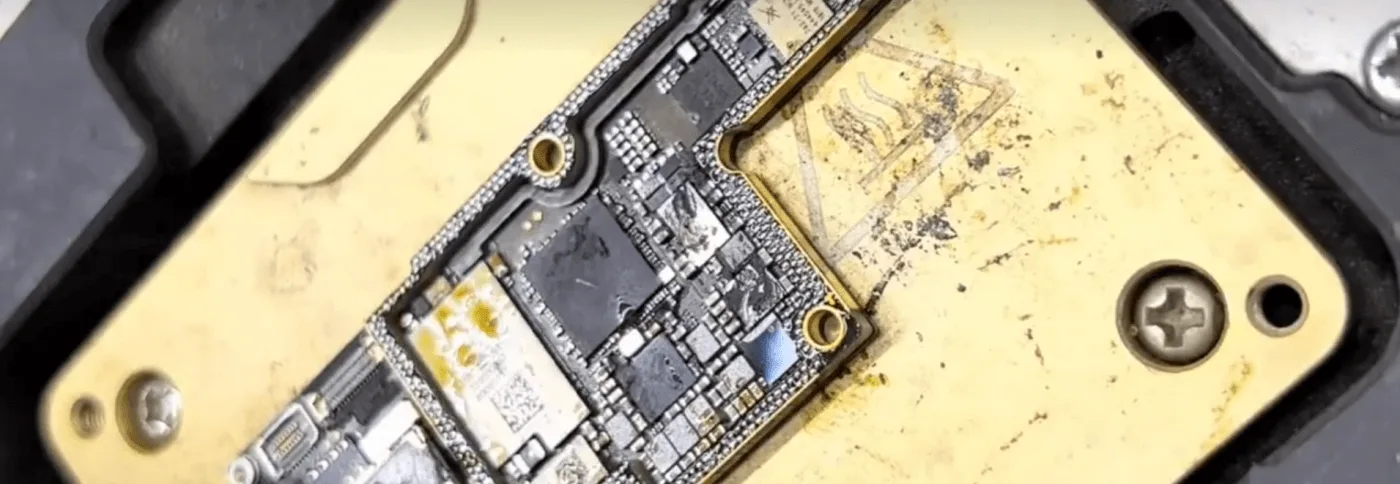
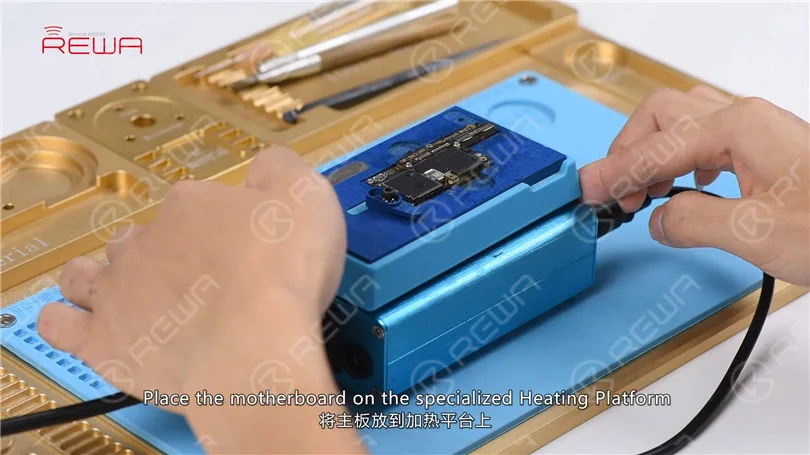
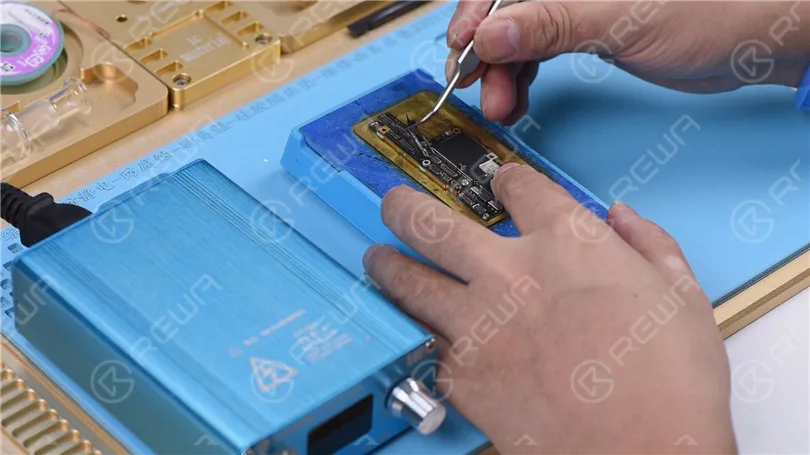
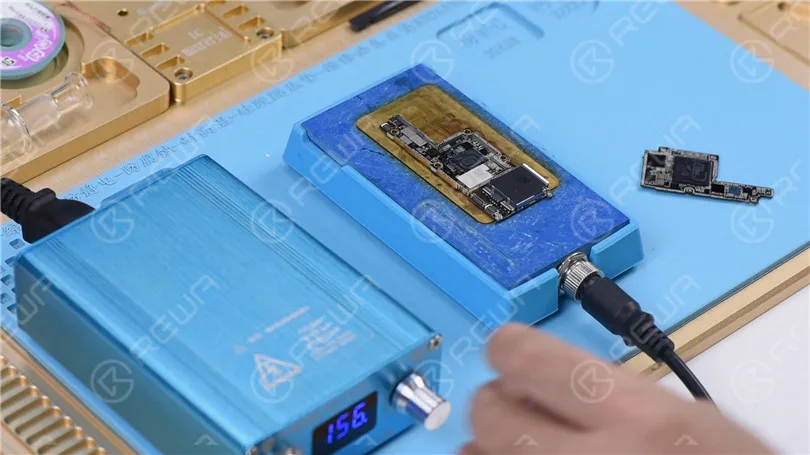
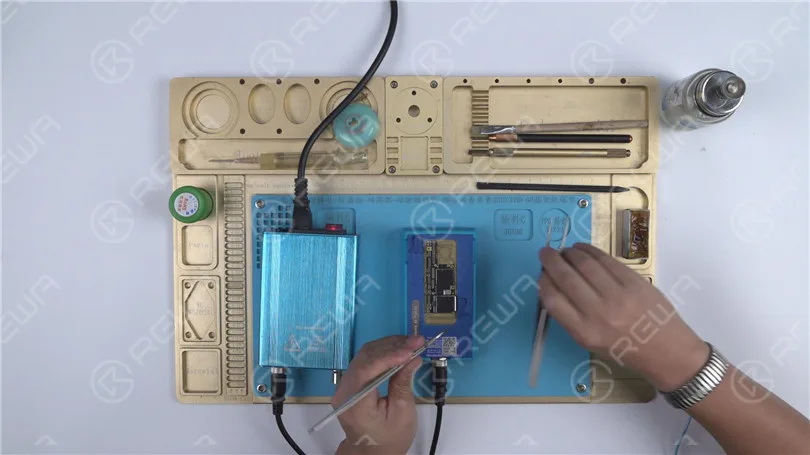
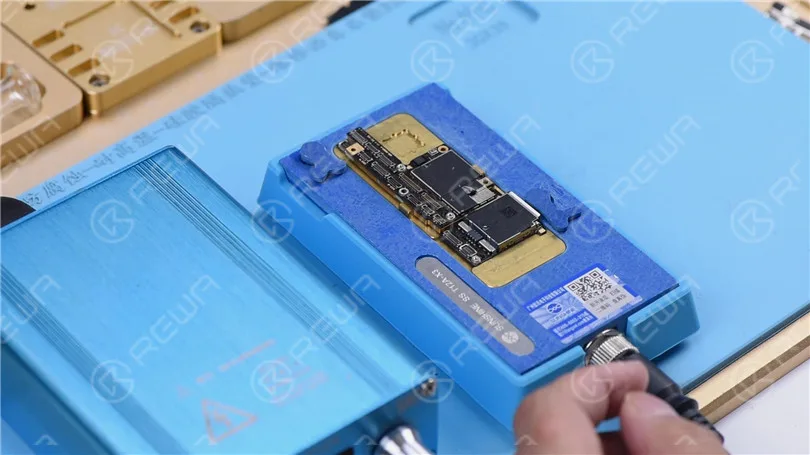
    Place the motherboard on the specialized Heating Platform.

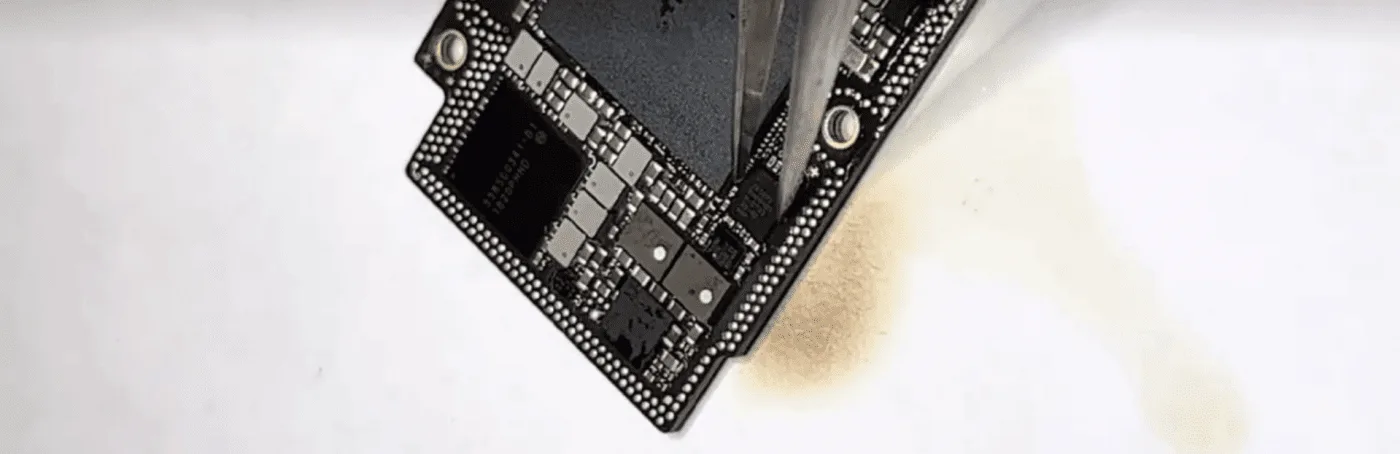
    With temperature of the platform reaching the set temperature, pick up the upper layer with tweezers carefully.

    Continue to take the lower layer off the platform.
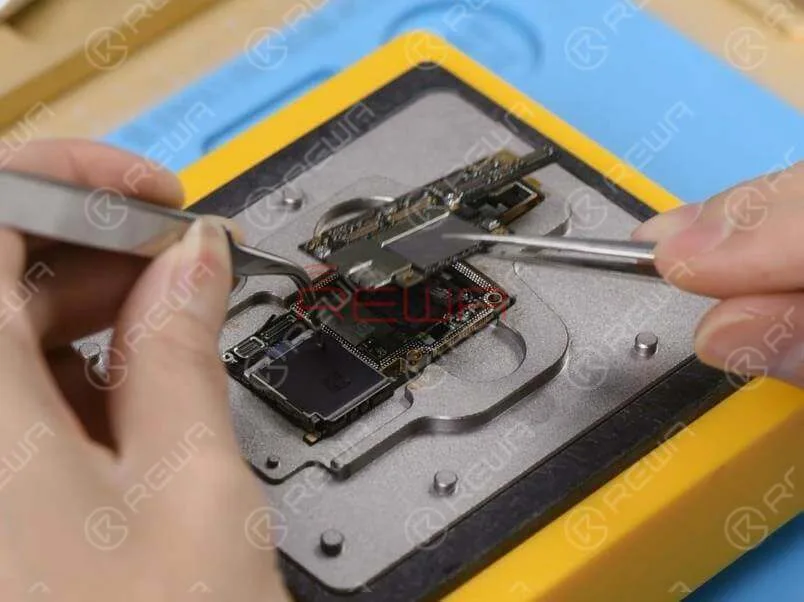
    Now we need to separate the motherboard to confirm whether the fault is related to the upper layer or the lower layer.Place the motherboard on the specialized Heating Platform. With temperature of the platform reaching the set temperature, pick up the upper layer with tweezers carefully. Continue to take the lower layer off the platform.

    Diagnosis

    Now we can test the upper layer.

    Connect the battery connector on the upper player with the DC power supply.

    Then get the upper layer booted up with tweezers.

    The boot current is still larger than normal value.

    We can confirm now that the fault is related to the upper layer.
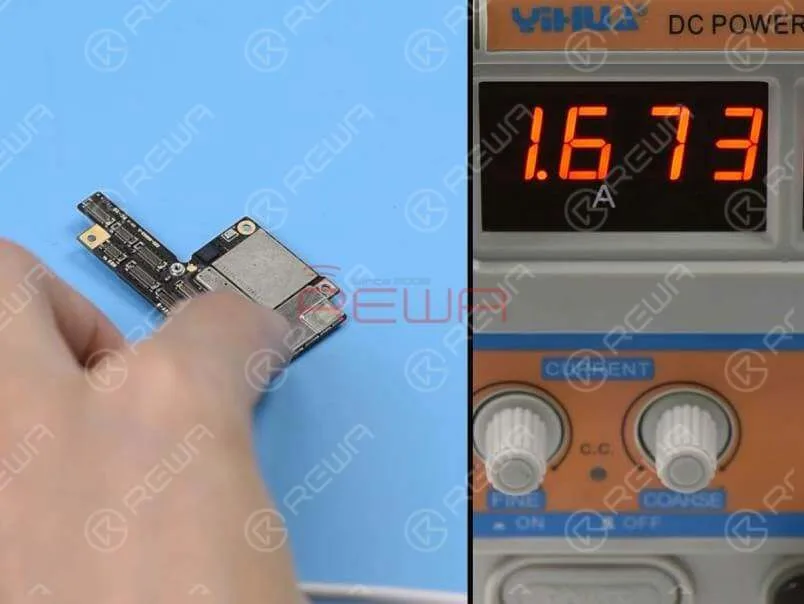
    Now we can test the upper layer. Connect the battery connector on the upper player with the DC power supply. Then get the upper layer booted up with tweezers. The boot current is still larger than normal value. We can confirm now that the fault is related to the upper layer.

    So our next step is to check the 17 rails outputted from PMU one by one.Let’s start with PP_CPU_PCORE first. Locate C2701, one of the test points of PP_CPU_PCORE on Refox.

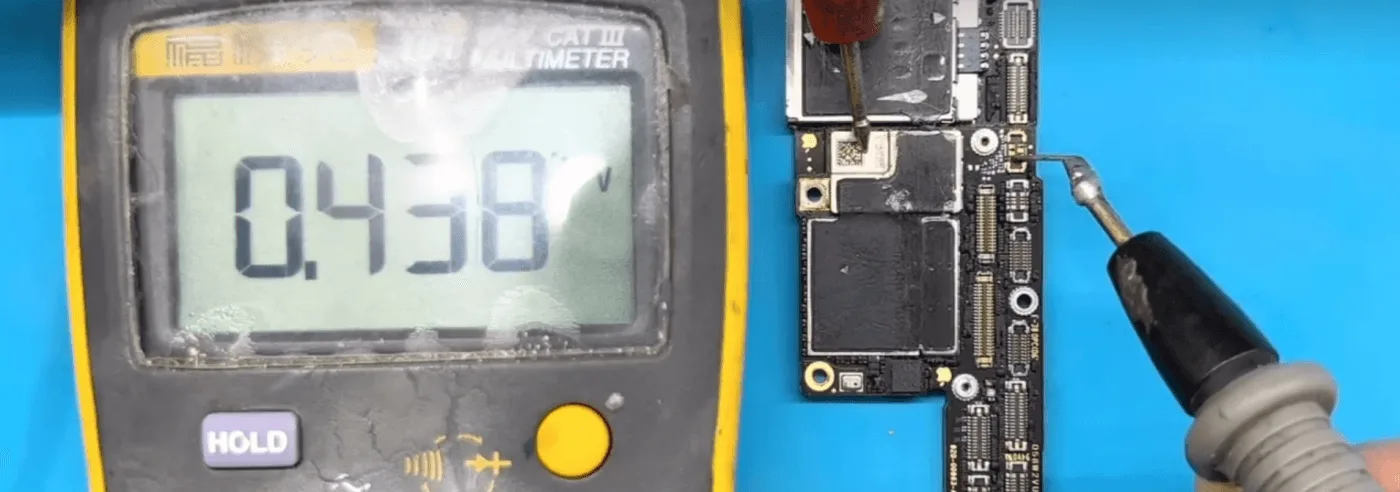
    Then run diode mode measurement of a capacitor on C2701 relevant circuit.

    The measured value is normal.
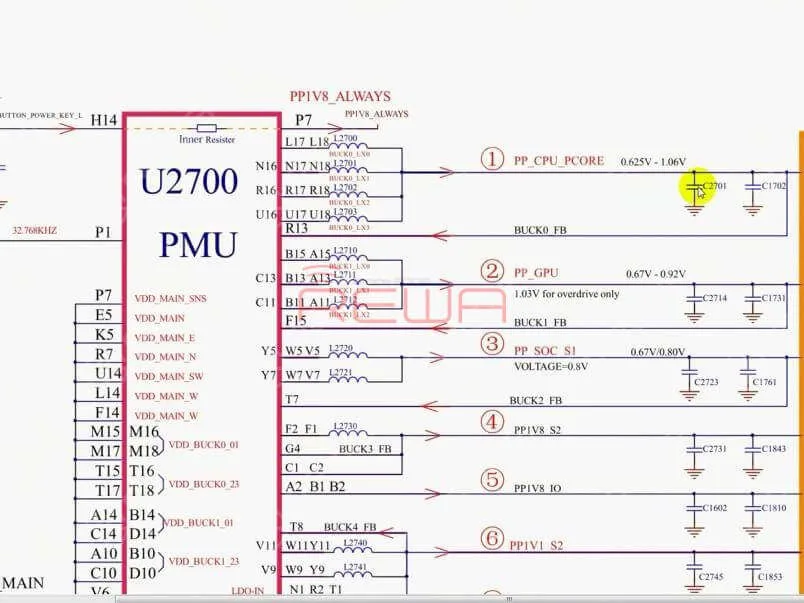
    So our next step is to check the 17 rails outputted from PMU one by one.Let's start with PP_CPU_PCORE first. Locate C2701, one of the test points of PP_CPU_PCORE on Refox. Then run diode mode measurement of a capacitor on C2701 relevant circuit. The measured value is normal.

    Continue measuring test points of the remaining 16 rails.

    Judging by the measured value, PP3V0_NAND has shorted.

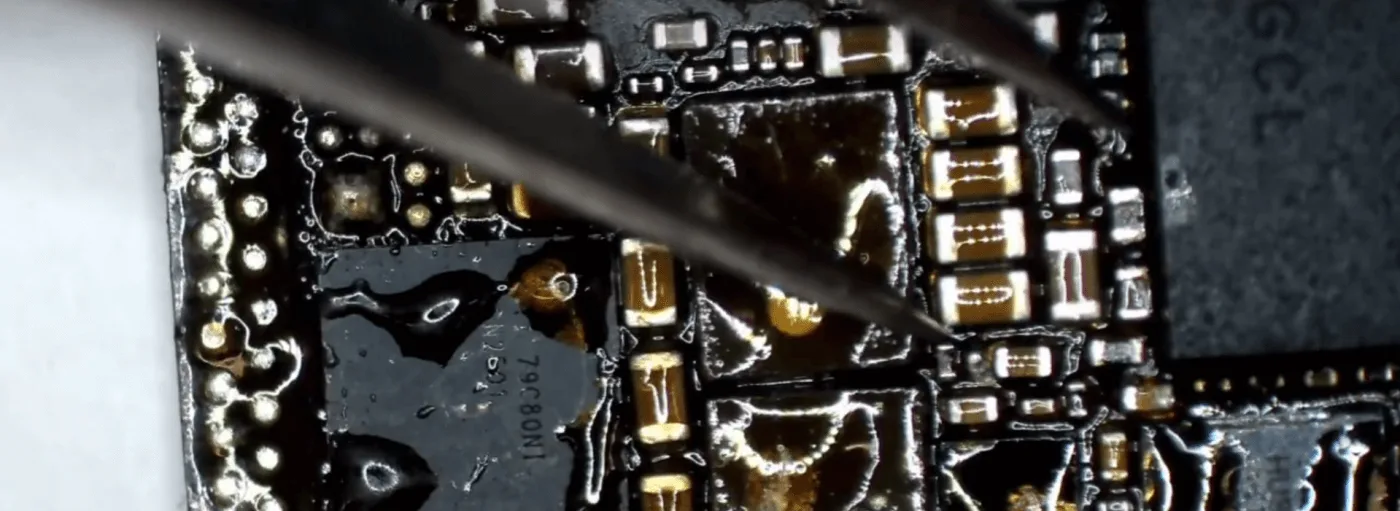
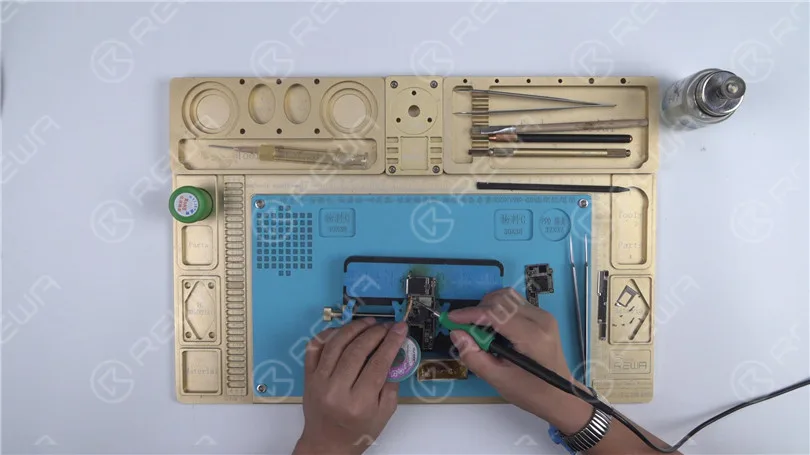
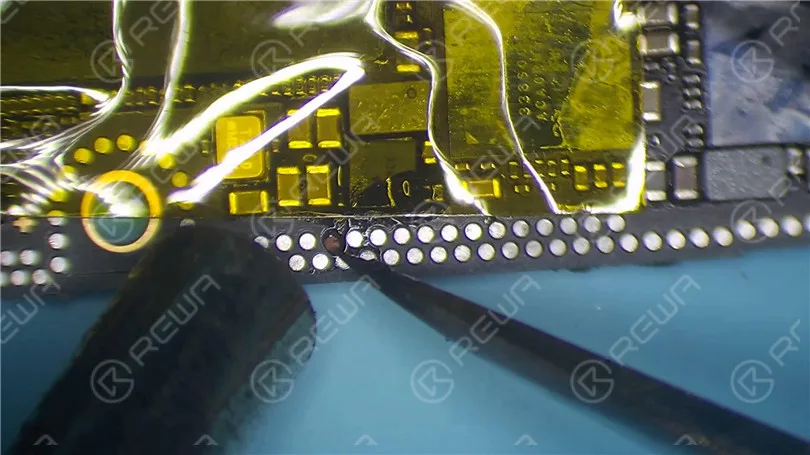
    Since there are many components on PP3V0_NAND, we can locate the faulty component with rosin detecting.Dip some rosin with the Soldering Iron at 350℃.

    Then smoke rosin on components on PP3V0_NAND.

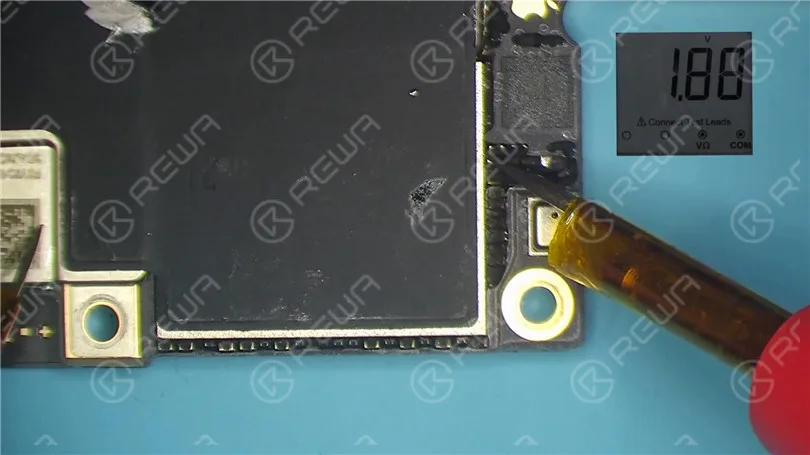
    Set the output voltage of the DC Power Supply at 3V. Get the black probe grounded.

    Meanwhile, get the red probe touched with a capacitor on PP3V0_NAND.
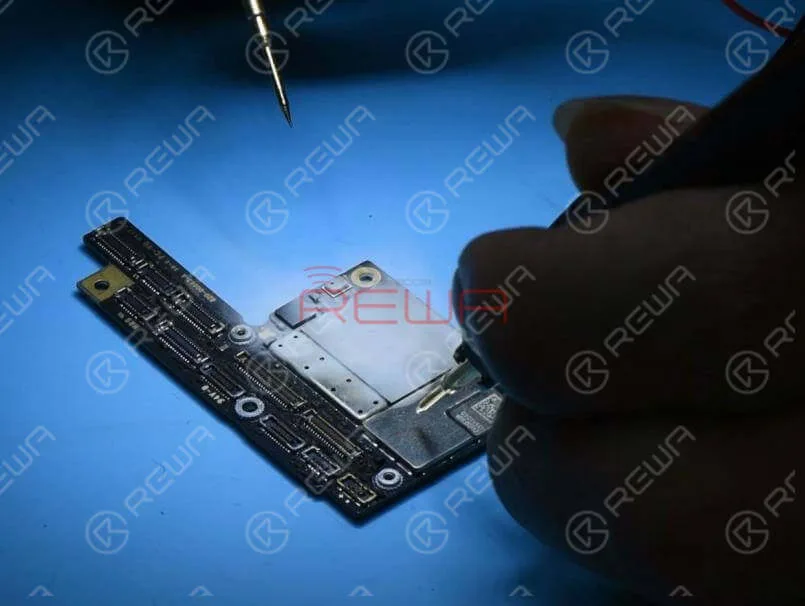
    Continue measuring test points of the remaining 16 rails. Judging by the measured value, PP3V0_NAND has shorted. Since there are many components on PP3V0_NAND, we can locate the faulty component with rosin detecting.Dip some rosin with the Soldering Iron at 350℃. Then smoke rosin on components on PP3V0_NAND. Set the output voltage of the DC Power Supply at 3V. Get the black probe grounded. Meanwhile, get the red probe touched with a capacitor on PP3V0_NAND.

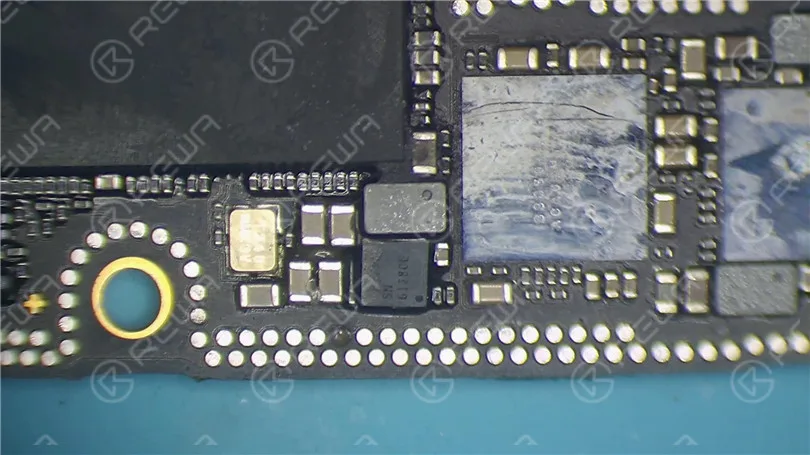
    We can see that rosin on C2649 melts immediately.

    Judging by this, C2649 has been damaged.

    Troubleshooting

    Let’s try to detach C2649 from the board and see how it works.

    Remove black adhesive around C2649 first.

    Then we can just remove it with tweezers slightly.
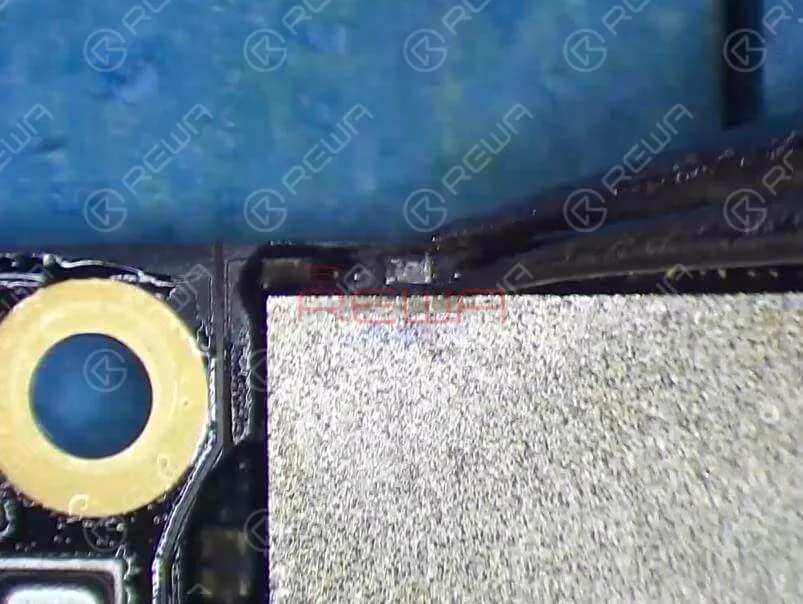
    Let’s try to detach C2649 from the board and see how it works. Remove black adhesive around C2649 first. Then we can just remove it with tweezers slightly.

    Again, get the red probe grounded.

    Touch the two pins of C2649 with the black probe.

    The measured value is normal.

    We can confirm now that the shorted condition is caused by damage of C2649.

    Still, we need to test the upper layer.

    Remove the upper layer and clean with PCB Cleaner.

    Connect the battery connector on the upper layer with the DC Power Supply.

    Get the upper layer booted up with tweezers.

    The boot current is normal this time.
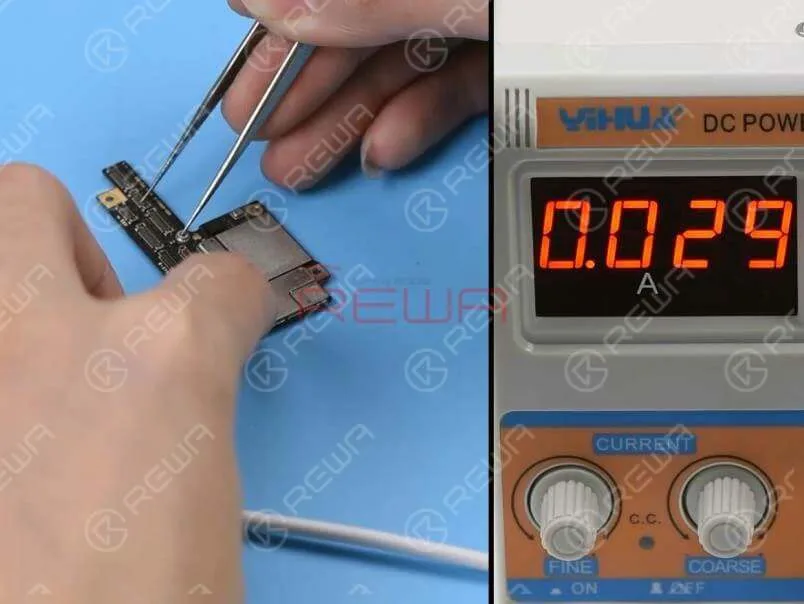
    Remove the upper layer and clean with PCB Cleaner. Connect the battery connector on the upper layer with the DC Power Supply. Get the upper layer booted up with tweezers. The boot current is normal this time.

    Motherboard Recombining

    Next thing we need to do is to solder the two layers together.

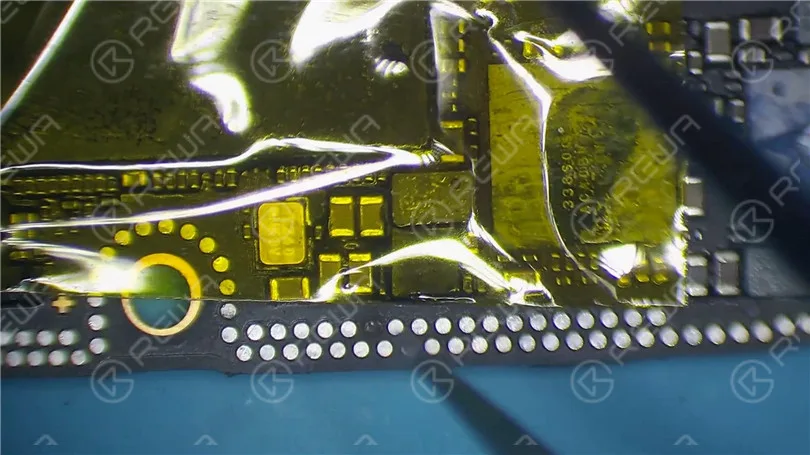
    Remove heat insulation adhesive on the lower layer first.

    Then place the lower layer onto the heating platform.

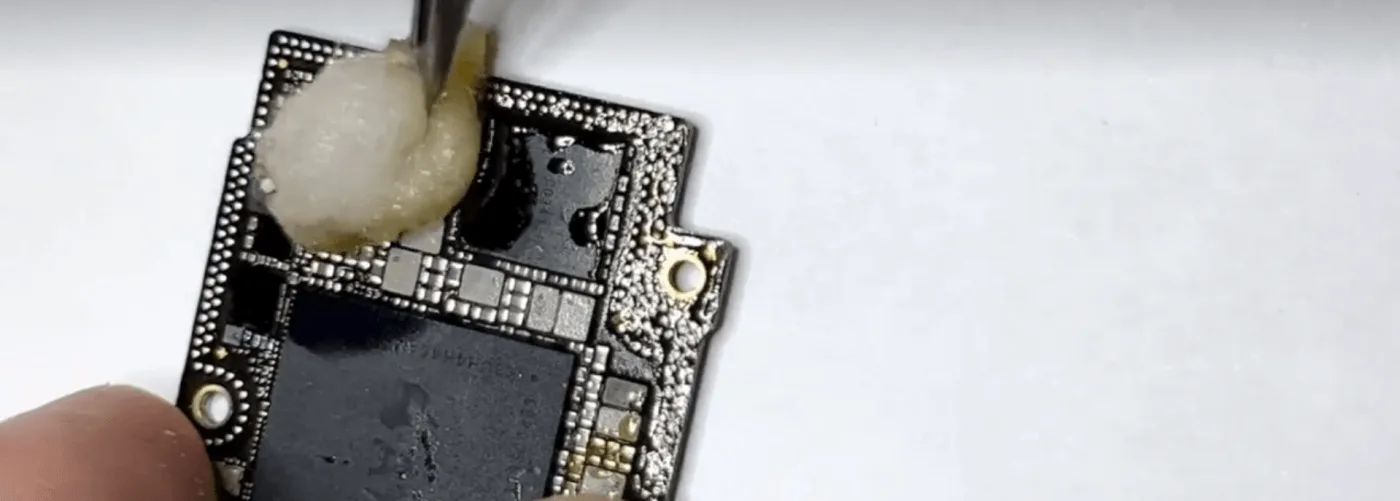
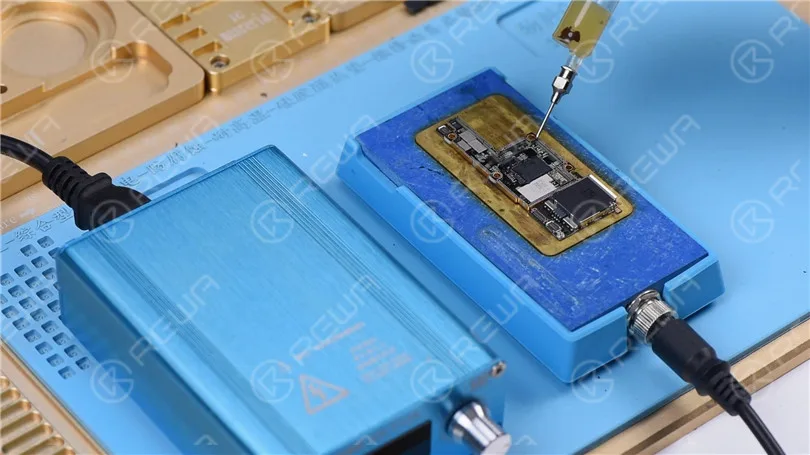
    Power on the heating platform and apply some Paste Flux to the third space PCB.

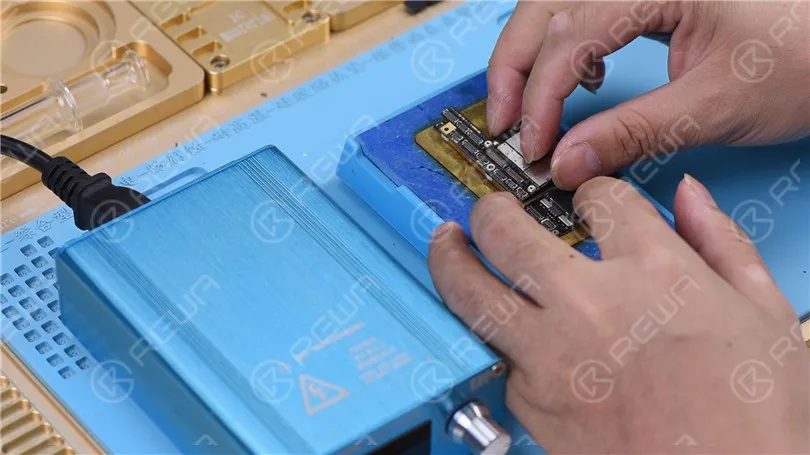
    Then get the upper layer in position.
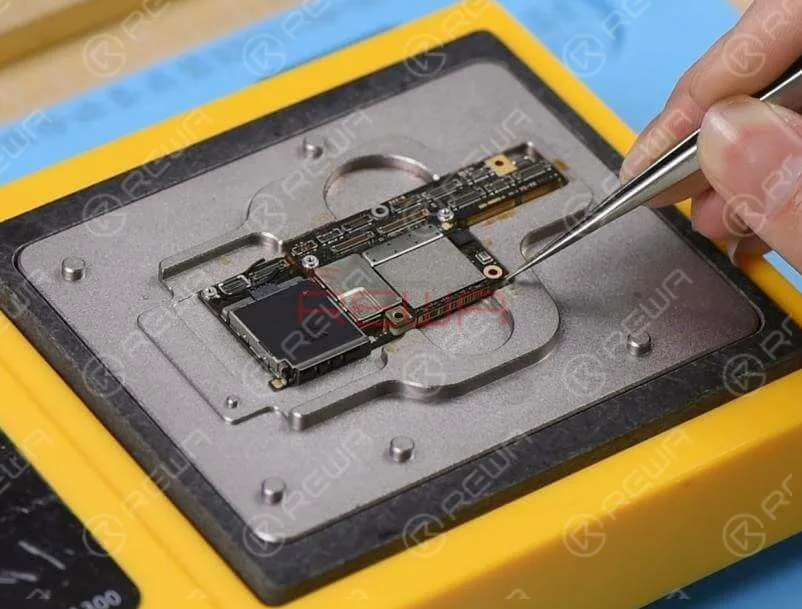
    Remove heat insulation adhesive on the lower layer first. Then place the lower layer onto the heating platform. Power on the heating platform and apply some Paste Flux to the third space PCB. Then get the upper layer in position.

    Reassemble And Test

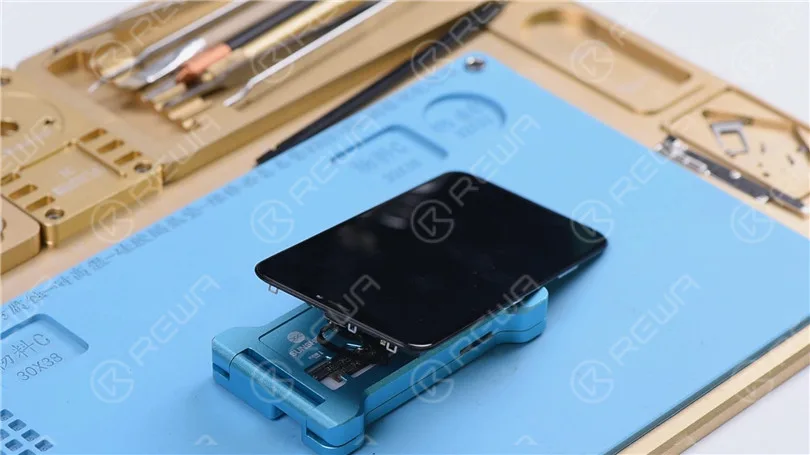
    Get the display assembly installed.

    Connect the battery connector with the DC Power Supply and get the motherboard booted up with tweezers.

    The boot current is normal.

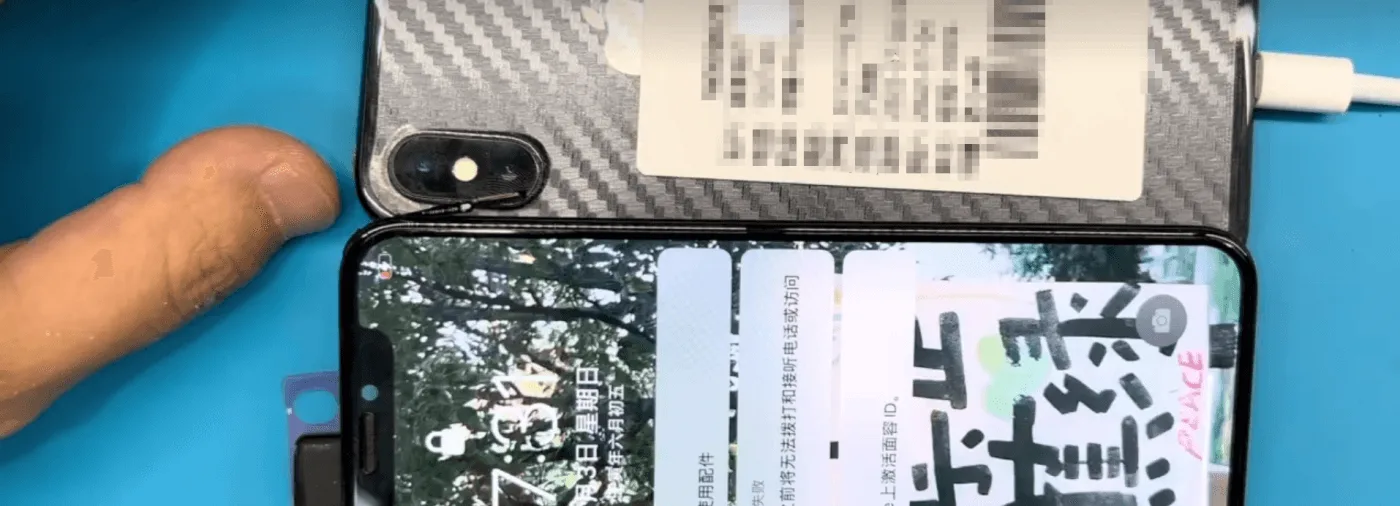
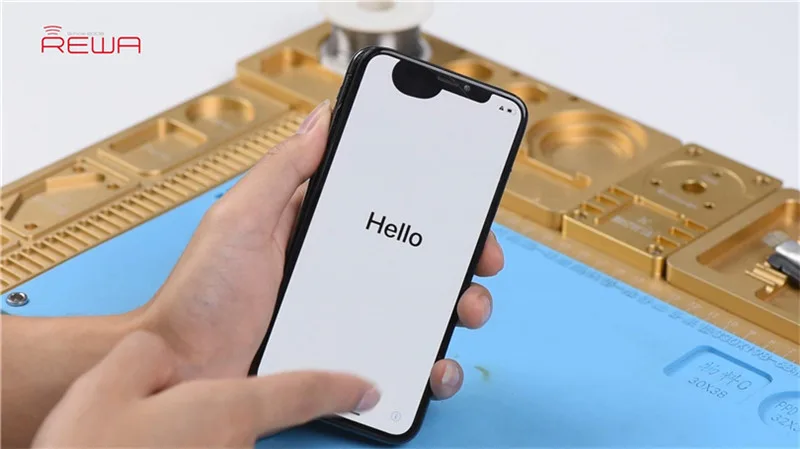
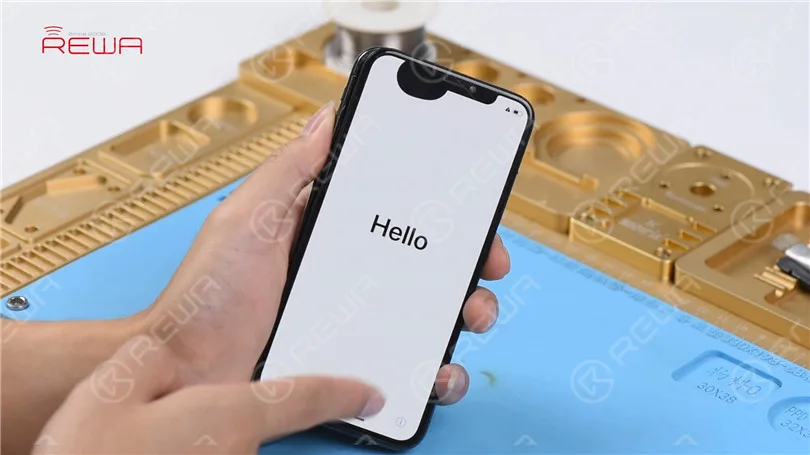
    The phone comes with normal display and can get access to the system. Fault cleared.
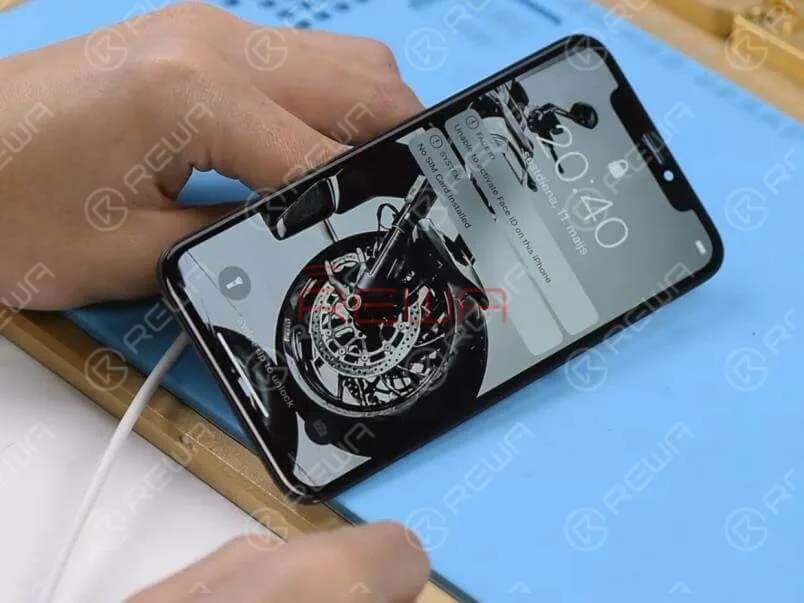
    Get the display assembly installed. Connect the battery connector with the DC Power Supply and get the motherboard booted up with tweezers. The boot current is normal. The phone comes with normal display and can get access to the system. Fault cleared.

    Tools Used

    Free Schematic Software:  Refox

    Visit our online shop for more parts and tools.

    You can also visit  REWA YouTube Channel to check our video and learn how to repair the iPhone X step by step.

    [uploading100%] When repairing iPhone logic boards, we identify the issue first, find out why it occurred next, and figure out how to fix it in the end.

    This is a general process adopted by professional repair technicians around the world.

    Wanna be a professional repair technician and handle iPhone tough repair?

    You need systematic training courses on REWA Academy .

    Just click the course link below to know more!

  • How to Fix an iPhone X Won’t Charge: A Comprehensive Repair Guide

    How to Fix an iPhone X Won’t Charge: A Comprehensive Repair Guide

    When your iPhone X won’t charge, it can be a frustrating experience, especially after multiple unsuccessful repair attempts. In this guide, we’ll walk you through a detailed troubleshooting and repair process to resolve charging issues, focusing on cases where the phone has already been worked on by other technicians.

    iphone x

    Phone Details:

    Model: iPhone X

    Announced: 2017, September 12

    Defect Phenomenon

    The iPhone X was brought in with a non-functional charging port, and despite being repaired by several shops, the problem persisted. There was no charging symbol when connected to a charger, and tests using a USB multimeter charger detector showed no charging current.

    Troubleshooting the Charging Issue

    1: Initial Inspection

    iphone x won't charge

    After disassembling the phone and inspecting the motherboard, it was clear that the board was dirty and oily, with excess flux paste visible. This was an immediate red flag, as improper handling and poor-quality repairs can lead to further complications.

    how fix iphone won charge comprehensive repair guide the motherboard is

    2: Diode Value Check

    The next step was to measure the diode values on the battery connector. Fortunately, all the diode values were within the expected range, indicating that the issue wasn’t with the basic battery circuitry.

    how fix iphone won charge comprehensive repair guide lets measure the

    3: Motherboard Separation

    Given the state of the motherboard, we decided to separate the two layers for a closer inspection. Placing the board on a heating platform allowed us to separate the layers, revealing a messy interior full of low-quality solder paste flux. Additionally, the charging circuit components had been poorly resoldered by previous technicians.

    Repair Process

    1: Cleaning the Motherboard

    The first and crucial step was to thoroughly clean the motherboard using a PCB cleaner. This not only removed the excess flux and dirt but also allowed for a more accurate assessment of the board’s condition.

    how fix iphone won charge comprehensive repair guide usb ic

    2: Replacing the USB IC

    Based on our repair experience, the USB IC often has a high failure rate and is a common culprit in charging issues. Here’s how we replaced it:

    • Remove the Original USB IC: Carefully desolder the existing USB IC using a hot air gun.
    • Prepare the PCB: Apply solder paste flux to the area and clean the PCB with solder wick and a soldering iron to remove any residual tin.
    • Install the New USB IC: Align the new USB IC in the correct position and use a hot air gun to solder it securely onto the motherboard.
    how fix iphone won charge comprehensive repair guide replace usb ic

    3: Testing the Repair

    After allowing the motherboard to cool down, we temporarily assembled the phone and connected it to a DC power supply. The good news? The phone charged normally, indicating that the repair was successful.

    how fix iphone won charge comprehensive repair guide the phone can be

    4: Recombining the Motherboard

    The next step was to recombine the two layers of the motherboard using the heating platform. Once reassembled, we tested the phone again, and all functions, including charging, were working perfectly.

    iPhone X Does Not Charge

    Tips for Technicians

    • Keep It Clean: Maintaining a clean motherboard is not just a best practice but a sign of respect for your customers. Always clean off excess glue, solder paste flux, and other residues after repairs.
    • Attention to Detail: Reapply any stickers and foam that were removed during the repair process. If possible, solder back the shielding covers to protect the components.
    • Quality Matters: Using high-quality materials and tools is essential to ensure the longevity and reliability of your repairs.

    Conclusion

    The iPhone X charging issue was resolved by identifying and replacing a faulty USB IC, along with thoroughly cleaning and reassembling the motherboard. This guide highlights the importance of proper repair techniques and attention to detail, ensuring that the phone is returned to the customer in optimal condition.

    If you’re facing a similar issue or have any questions about iPhone repairs, feel free to reach out or leave a comment below!

  • iPhone X Battery Replacement – Complete Guide

    iPhone X Battery Replacement – Complete Guide

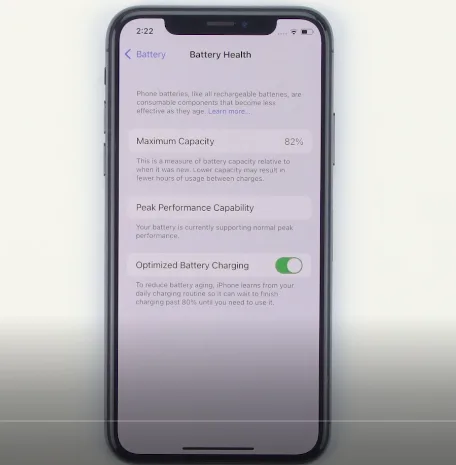
    If your phone battery is in a low health condition, like 80%, it’s time to replace a new one. We will bring you a full case of iPhone X battery replacement as a reference.

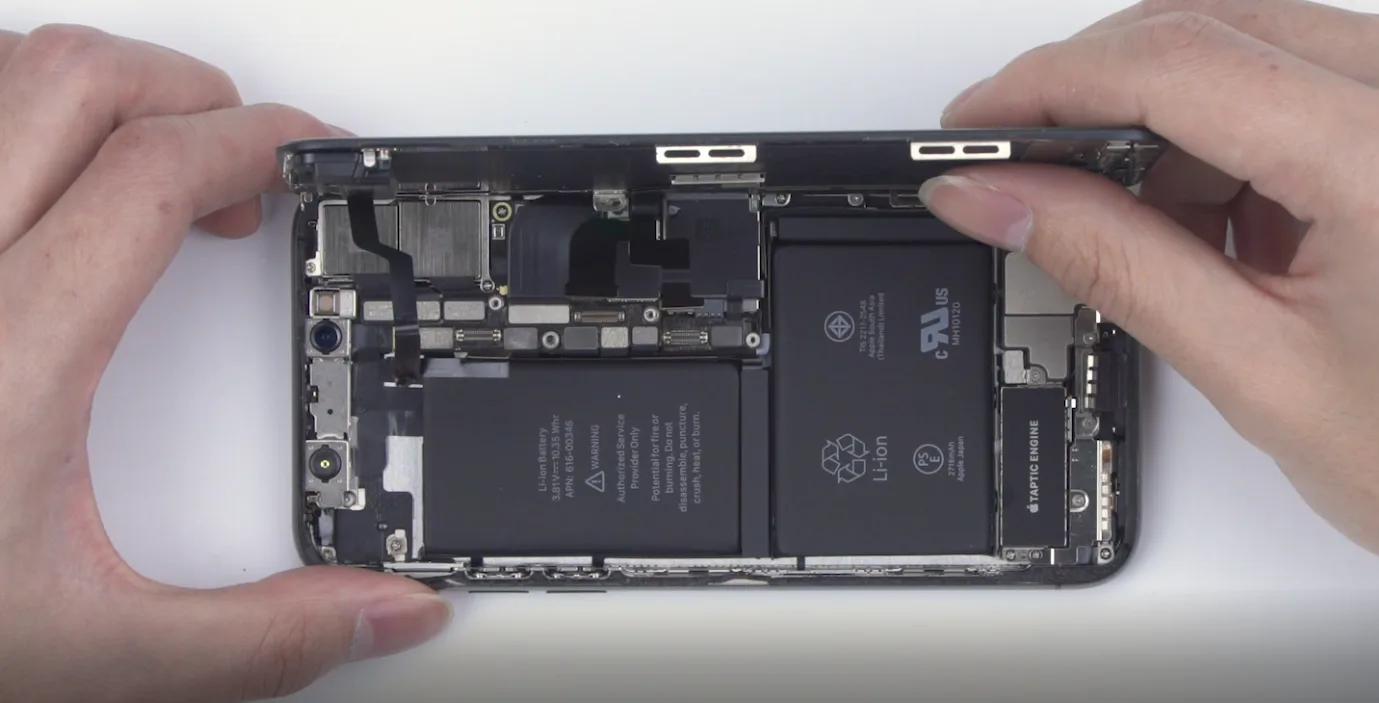
    All you need is a repair kit and a new battery. The repair kit should be included as below: tweezers, screwdrivers, pry piece, suction cup, heating pad, spudger, battery adhesive, and waterproof adhesive.

    iPhone low battery health

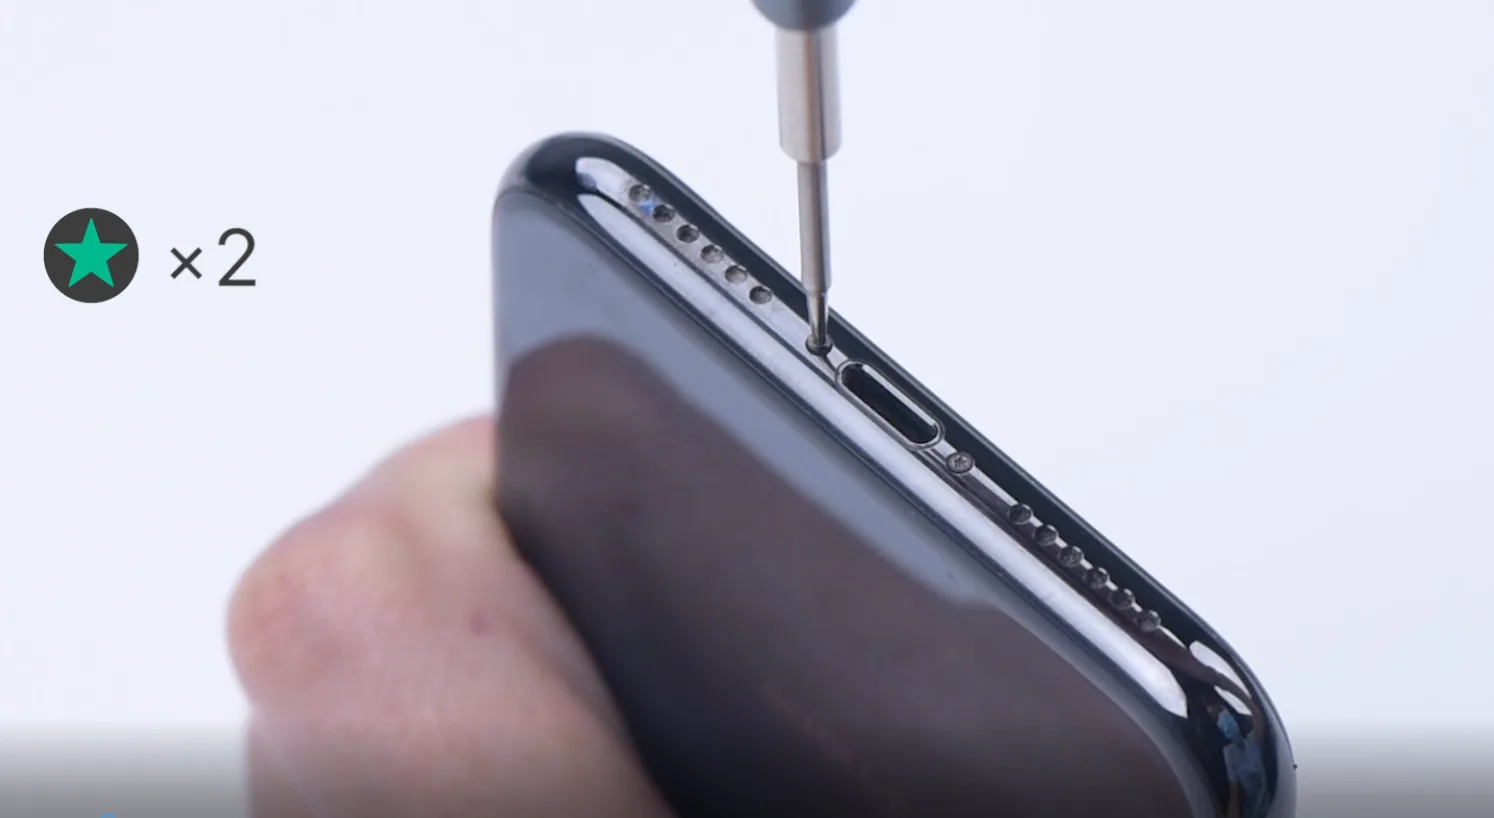
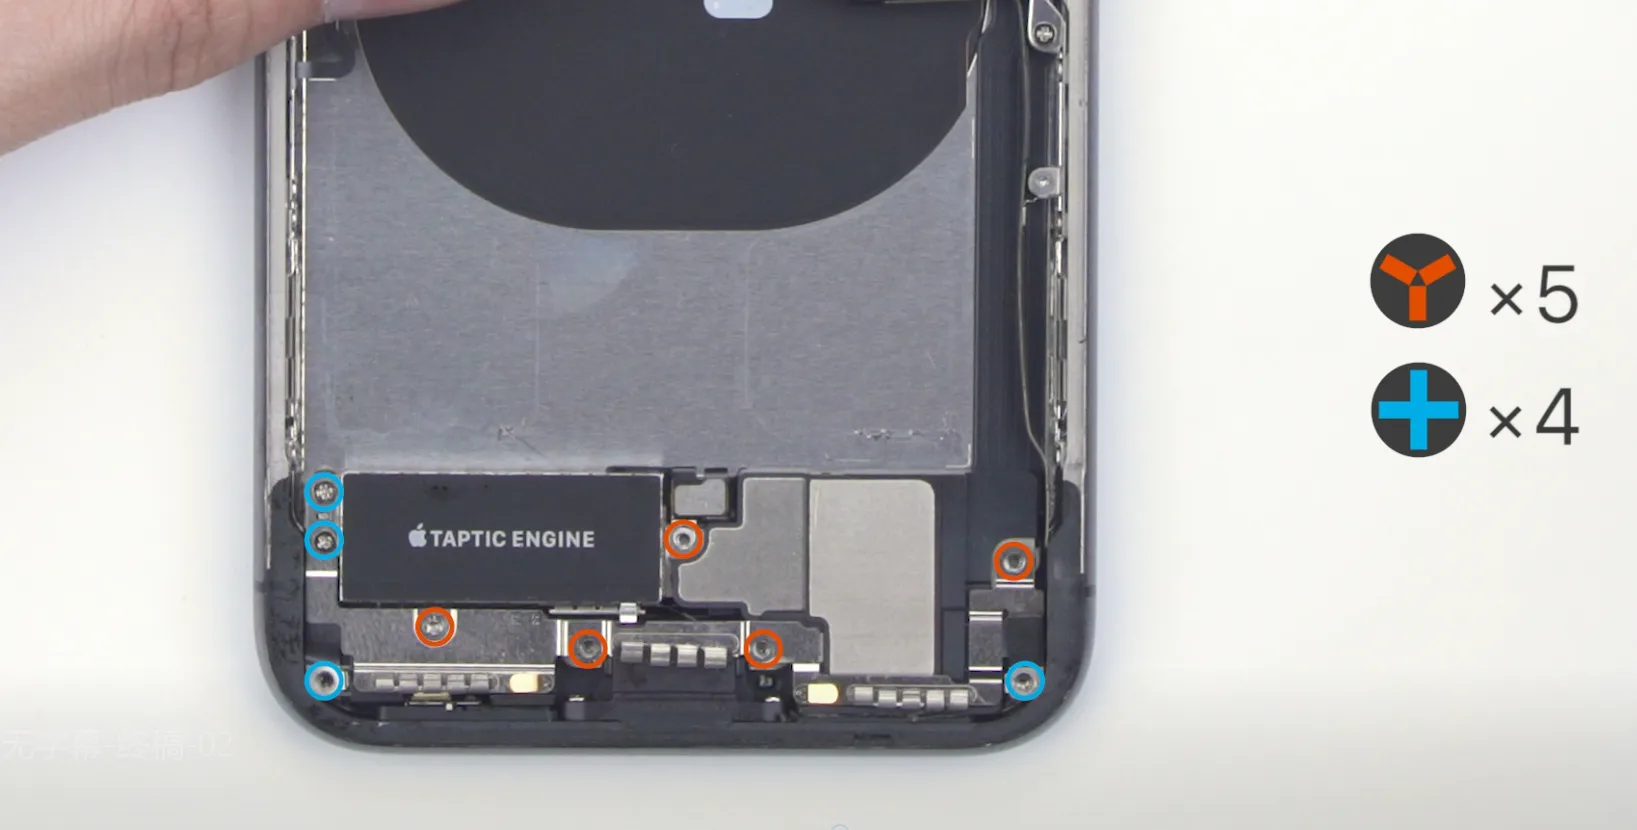
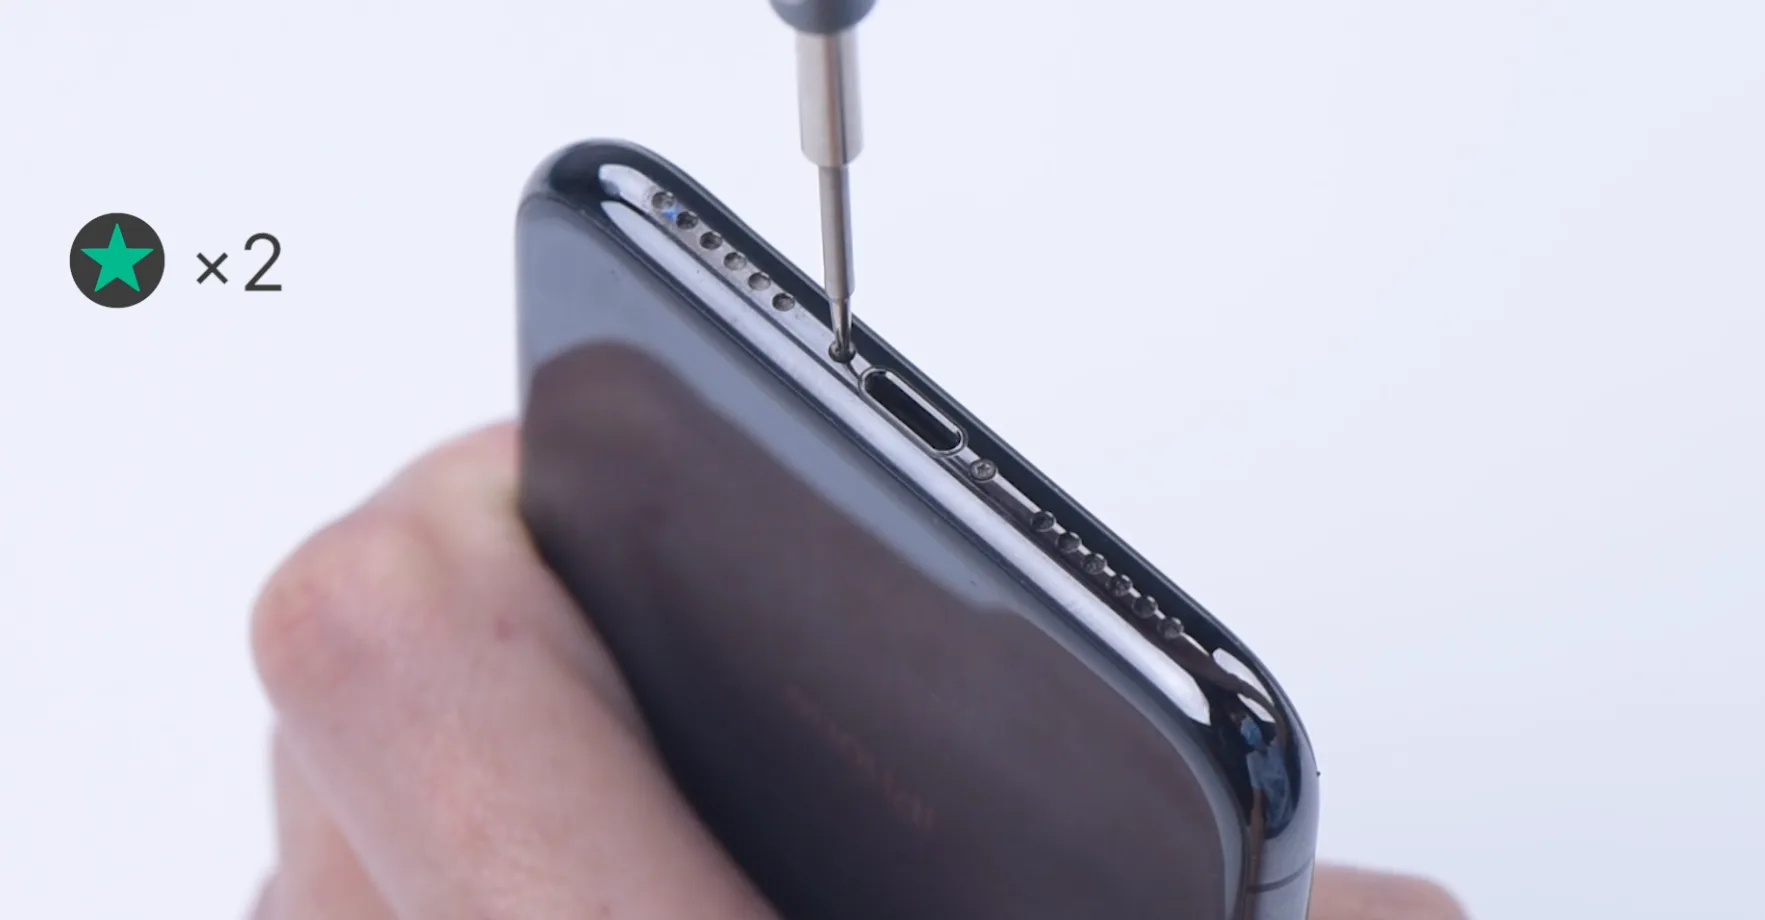
    Firstly, please long press the phone to turn it off. Then you can use a pentagon screwdriver to unscrew the screws at the bottom of the phone.

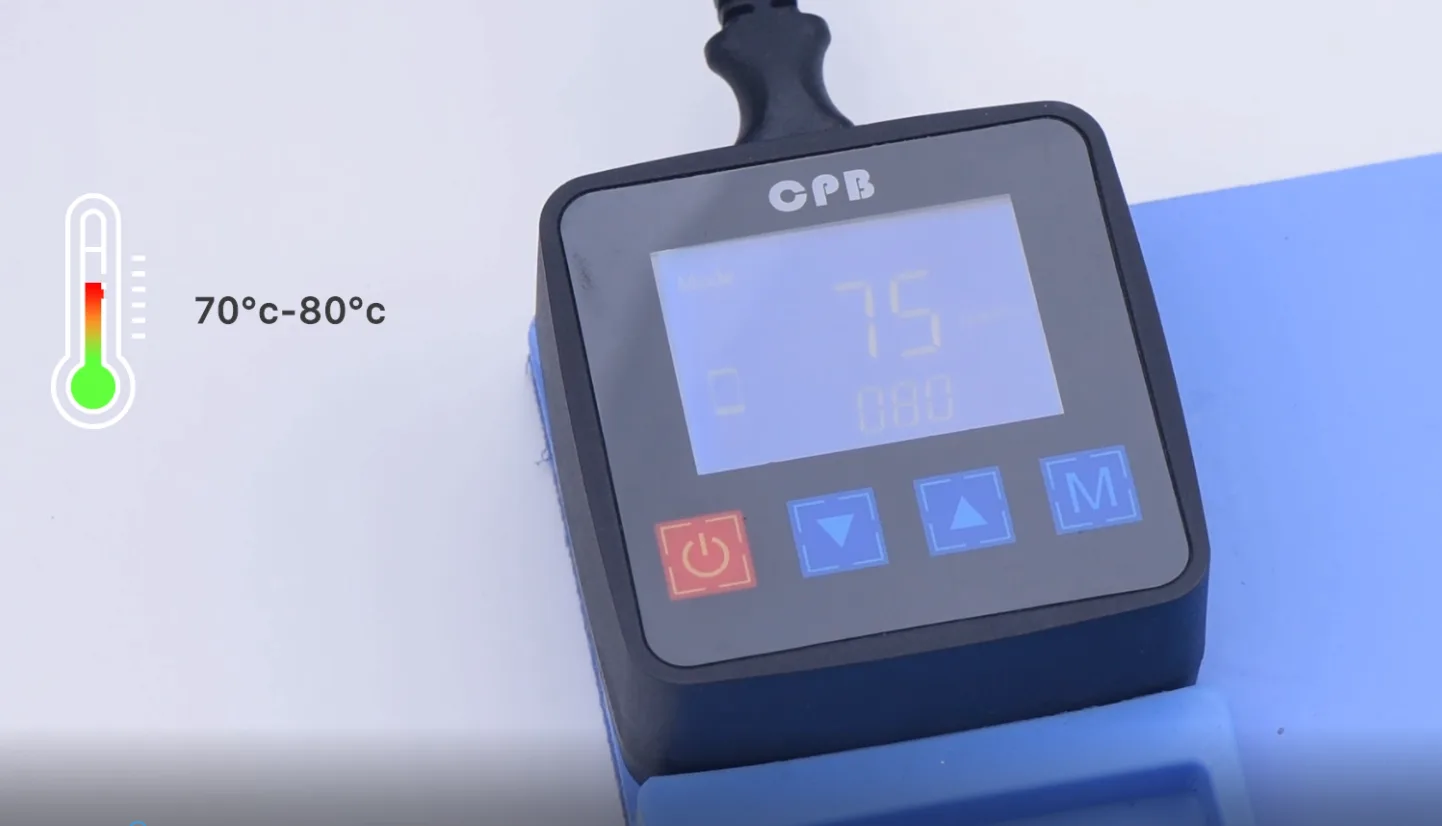
    Please pay attention to putting the screws aside well. You can place the screen face down on the pad for about 2-3 minutes after the heating pad is up to the temperature of 70—80°c.

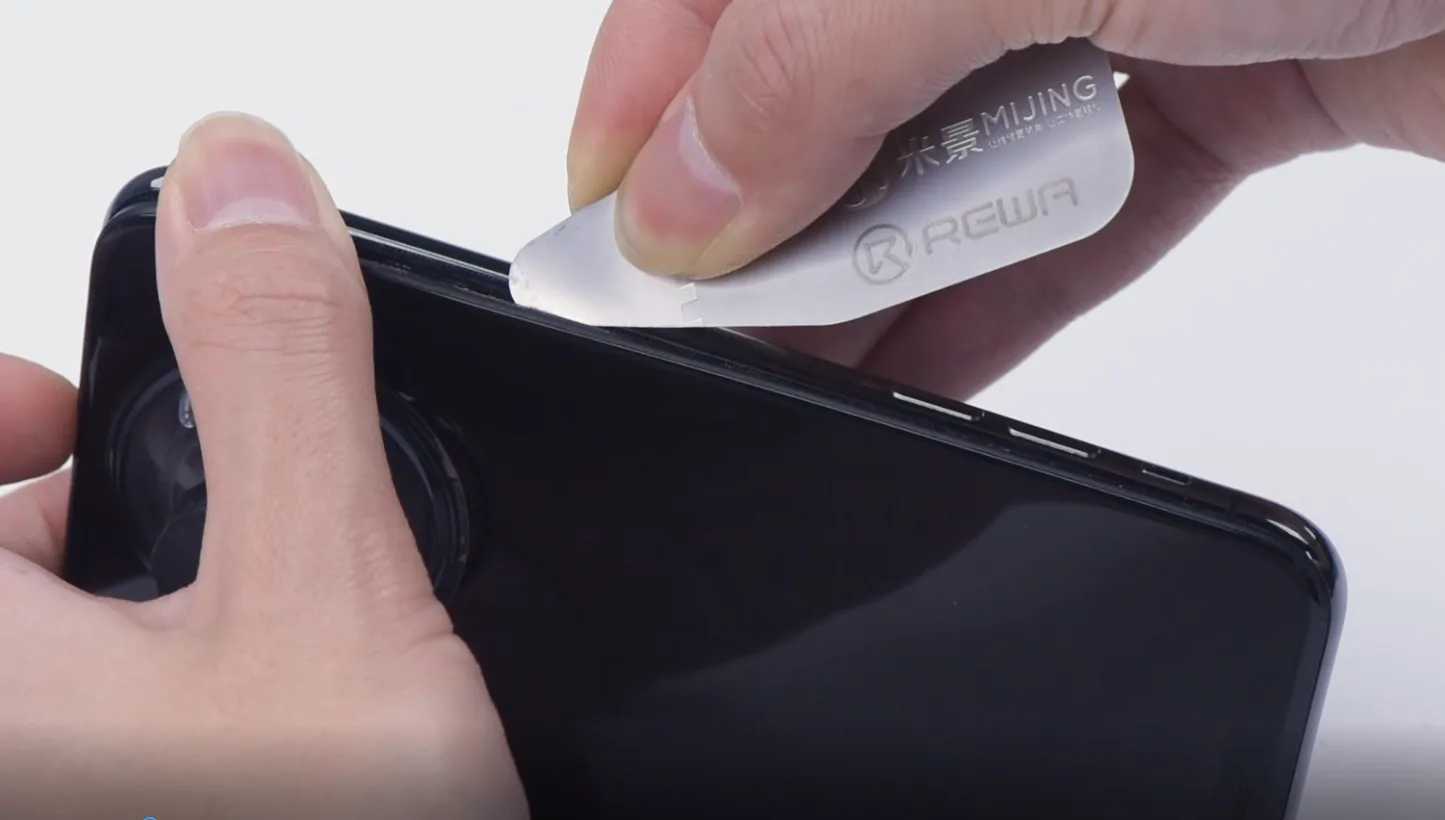
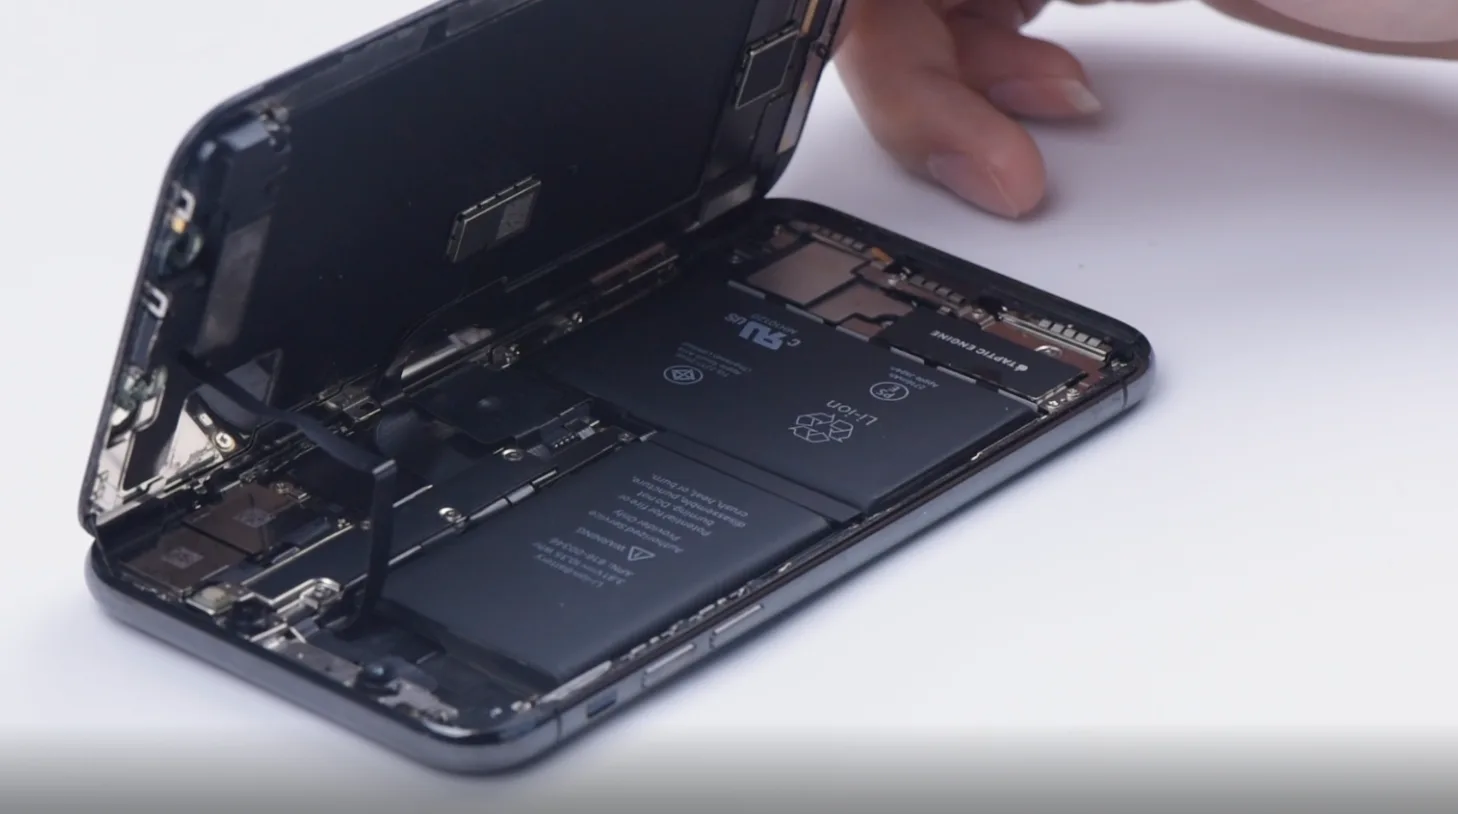
    And fix the suction cup at the bottom of the phone, lift the screen gently, and insert a pry piece underneath. Gradually move around the edge of the display, separating the screen along the gap.

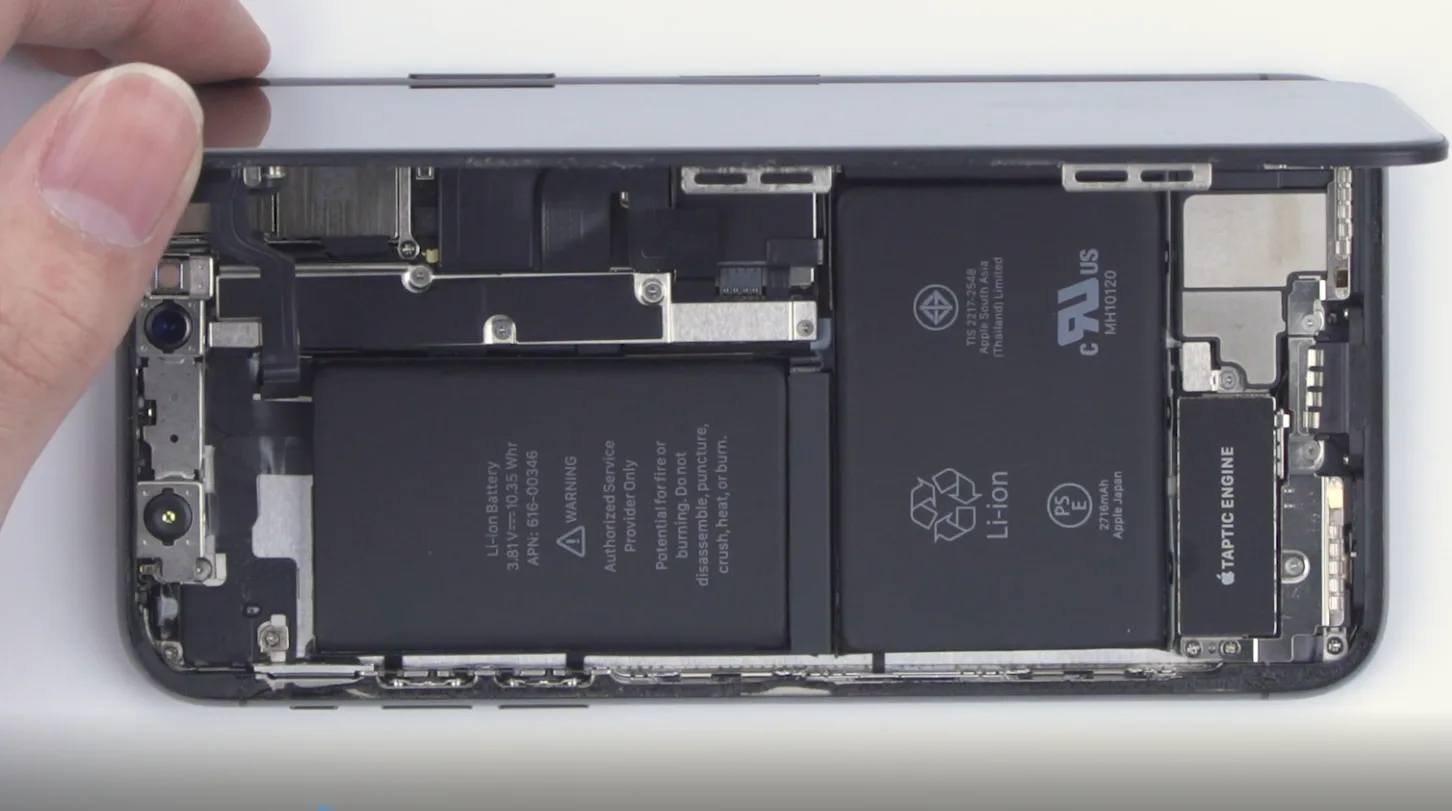
    The display assembly is still connected to the iPhone by cables, so don’t try to remove it completely. Again, please pay attention to the position of the cable to avoid damage.

    The angle should not be greater than 90 degrees to prevent breaking the flex cable. The process of removing the cover is done.

    use a pentagon screwdriver to unscrew the screws
    the heating pad is up to the temperature of 70—80°c
    insert a pry piece underneath
    The angle should not be greater than 90 degrees

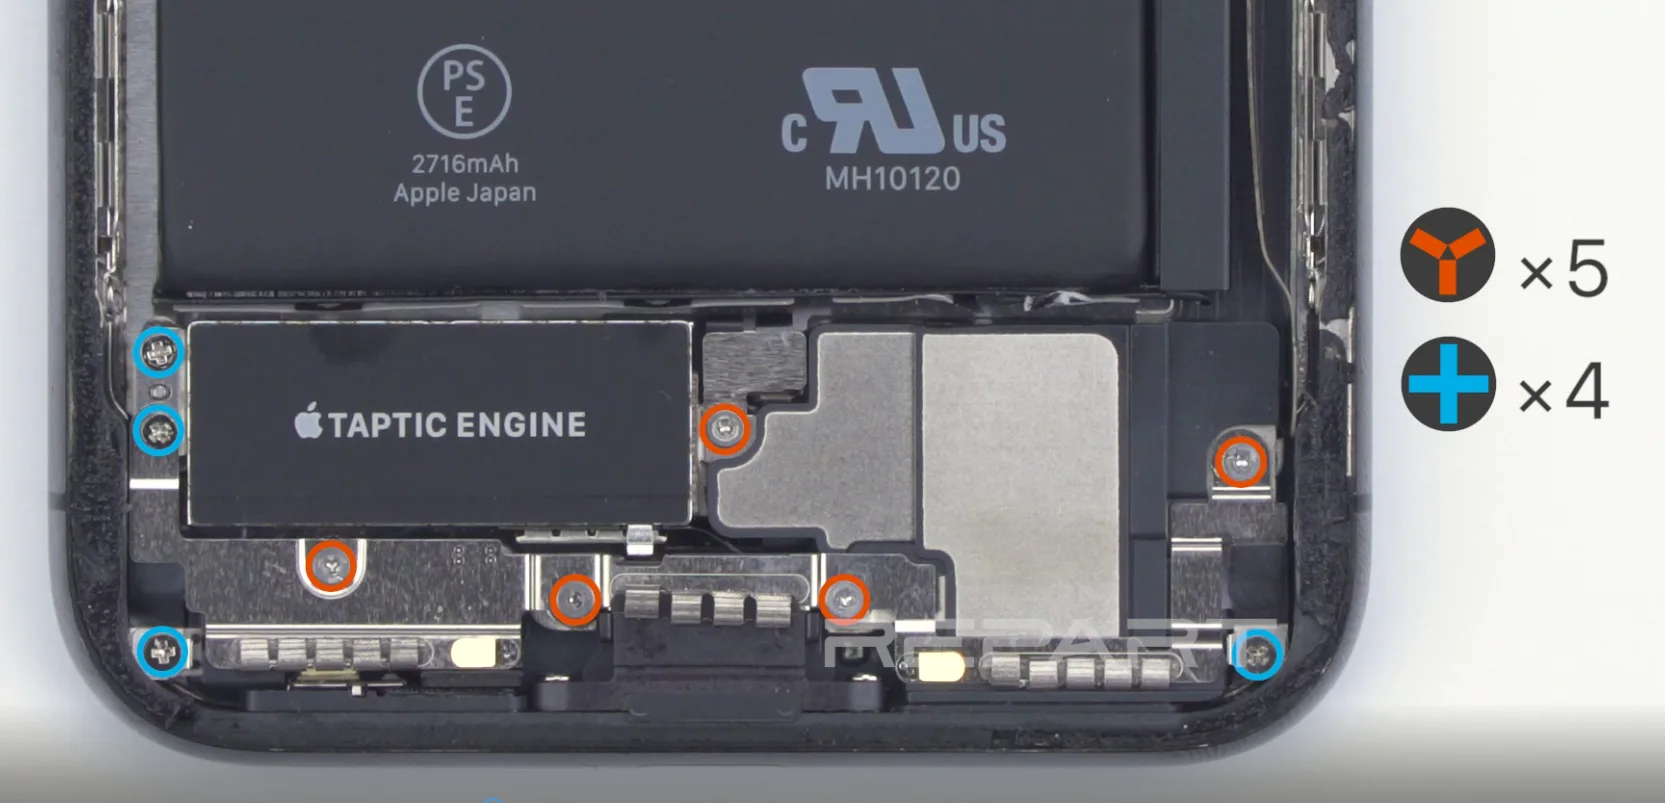
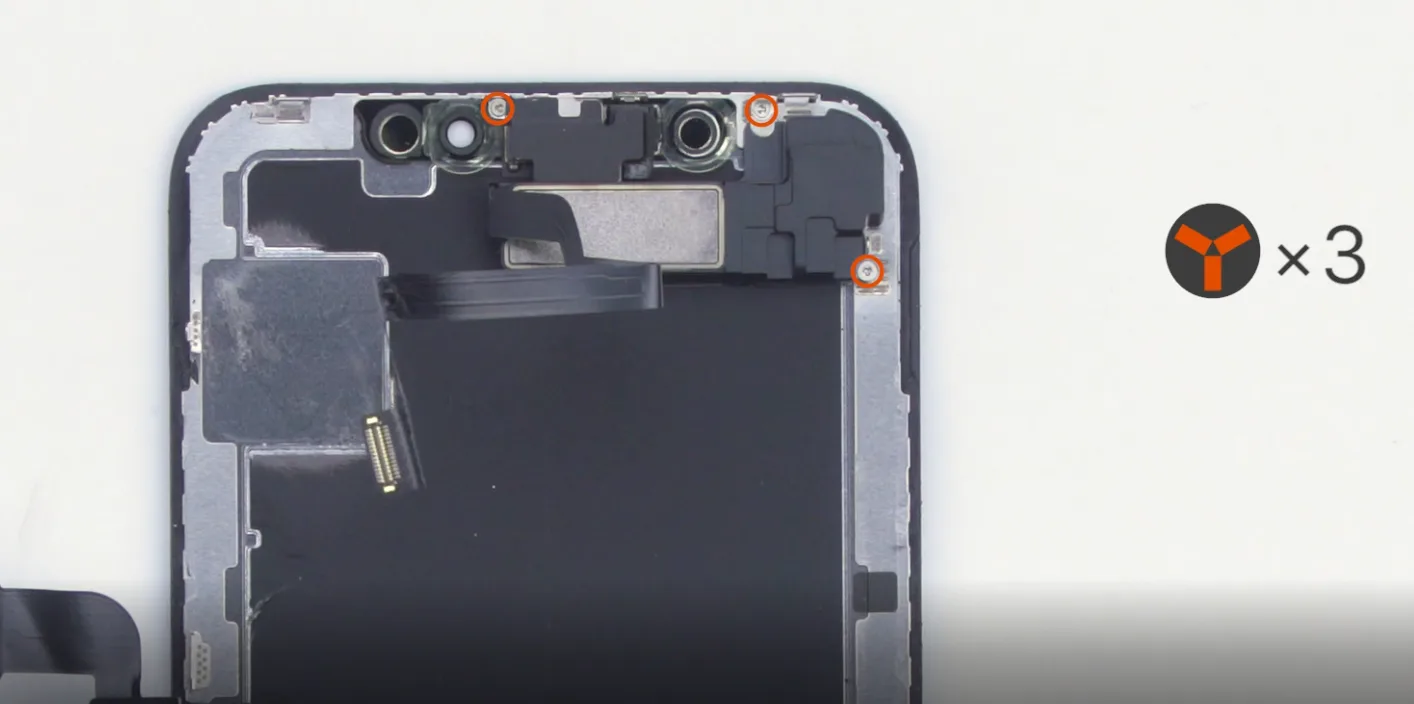
    Next, use a Tri-wing screwdriver to unscrew the screws on the shielding cover of the cable connector. You can use a spudger slightly to extricate the battery and the connector between the screen and the motherboard.

    Now, continue to follow instructions step by step. Detach the earpiece speaker flex cable, and remove the old display assembly.

    unscrew the screws
    Detach the earpiece speaker flex cable
    unscrew the screws

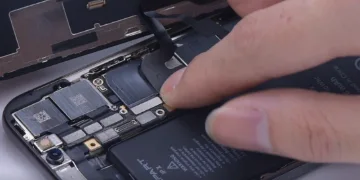
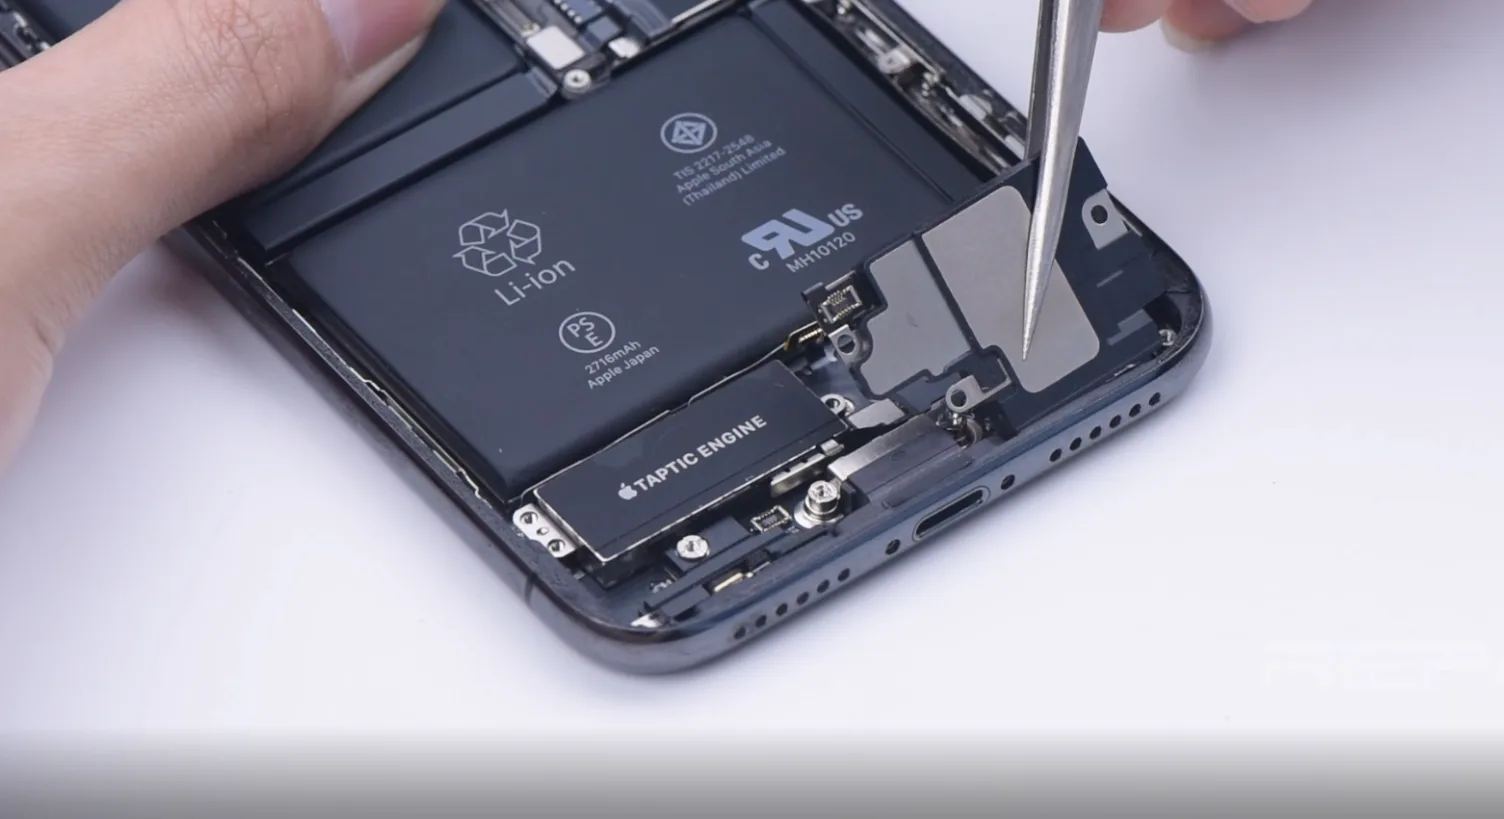
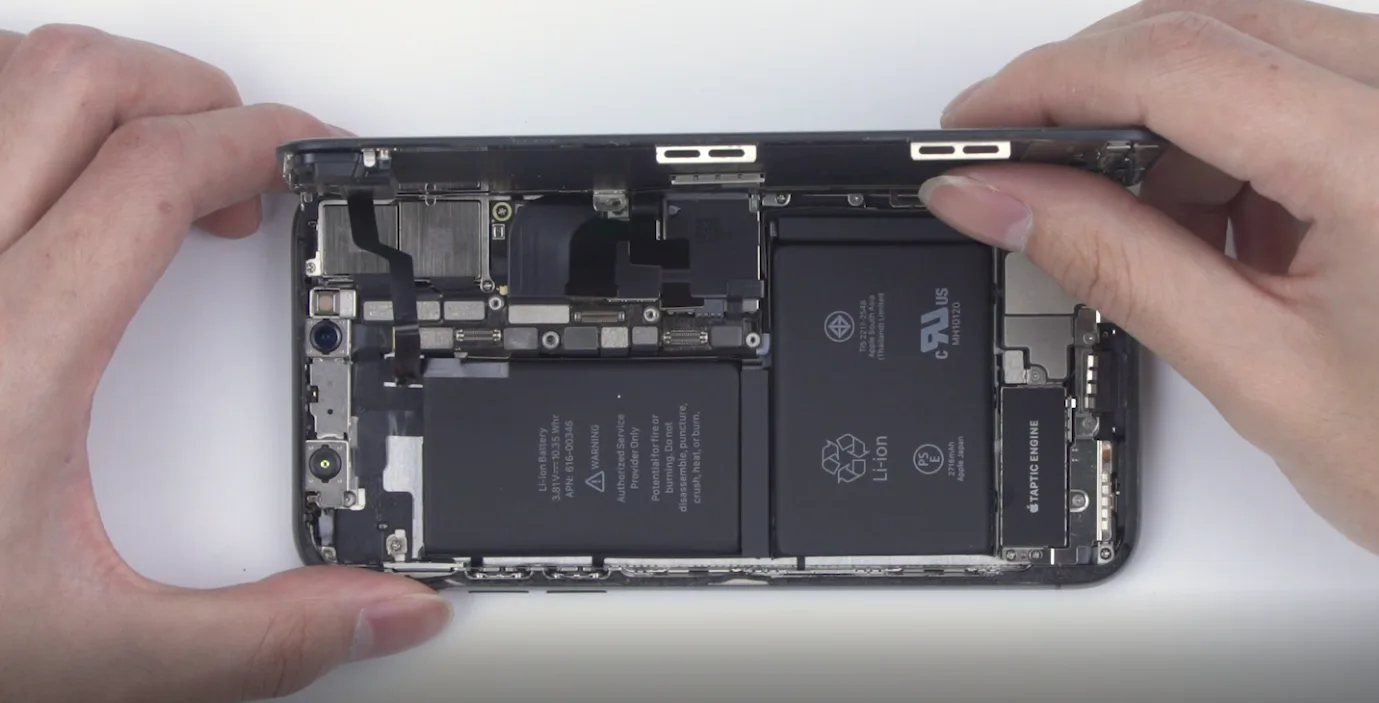
    Then, please use tweezers to clean up the battery adhesive. It’s suggested to detach the Taptic Engine and loudspeaker better to remove the adhesive at the bottom of the battery.

    Again, use a Tri-wing screwdriver to unscrew the screws on the speaker flex cable and detach the shielding cover.
     
    After taking out the loudspeaker and Taptic Engine, let’s continuously remove the battery adhesive. Because the adhesive at the bottom of the battery has been for a long time, it’s hard to remove it. We need to drop some alcohol to help clean up.

    Drop the alcohol around the edge of the battery, and leave it to penetrate and evaporate. Use tweezers to make it loose, take out the old battery, and continue to remove the rest adhesive.

    Please keep removing the waterproof adhesive around the frame. And replace the Taptic Engine and loudspeaker. Remember to tighten the screws and replace them with the new battery.

    battery adhesive
    Waterproof adhesive

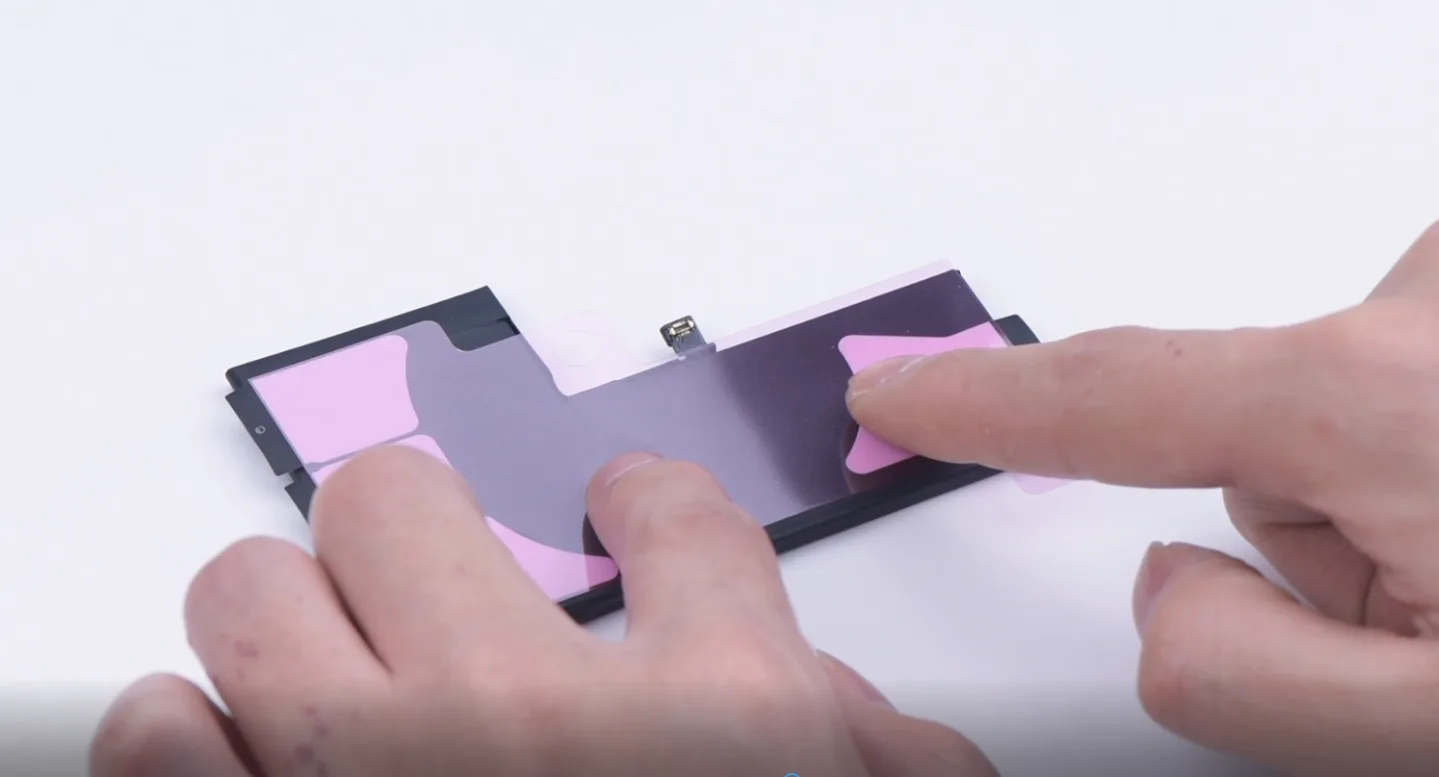
    Tear off the film of the battery adhesive, and make its glue adhere to the battery. Press it slightly, and tear off the film. Please put on the new battery, and press it slightly.

    Use a spudger to disengage the battery connector. Reassemble the display cable, touch the cable, and continuously.
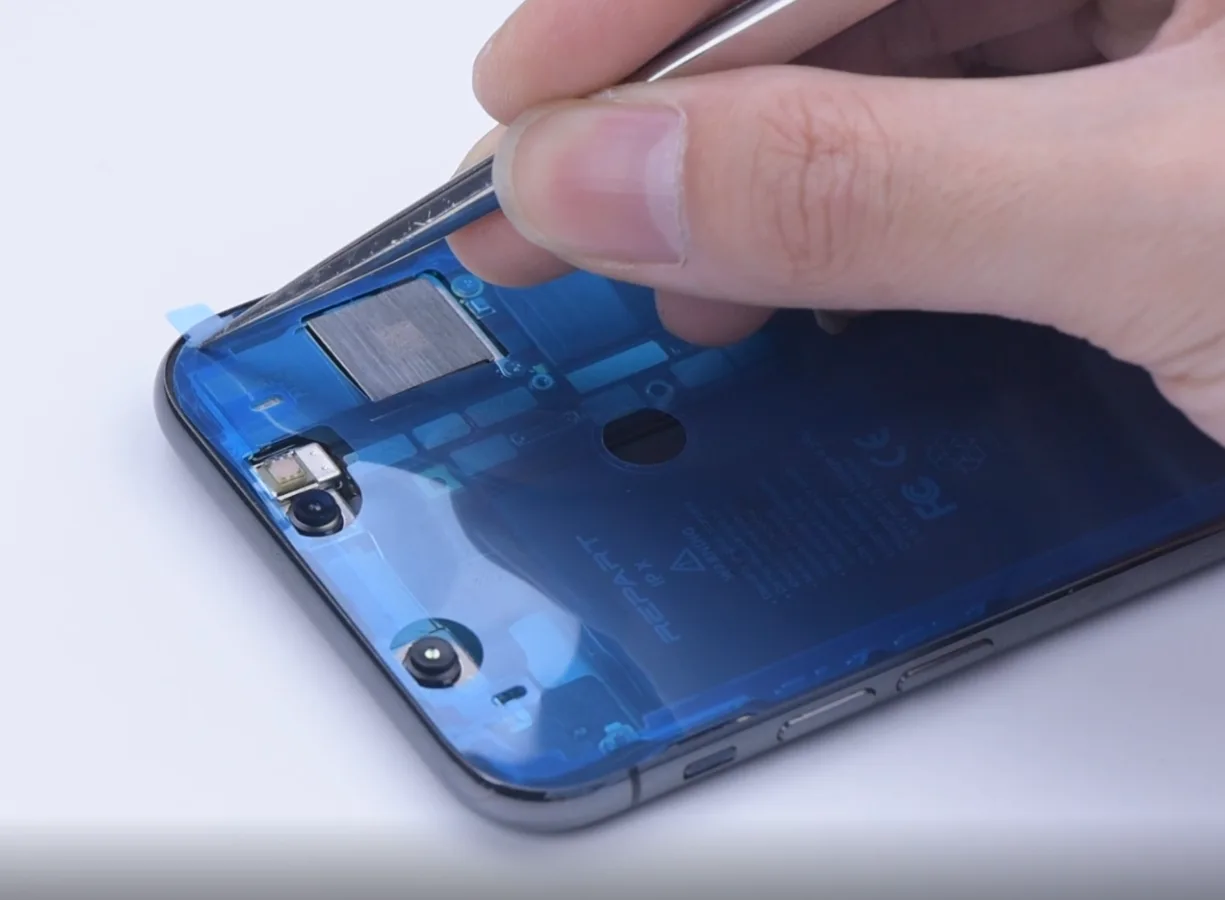
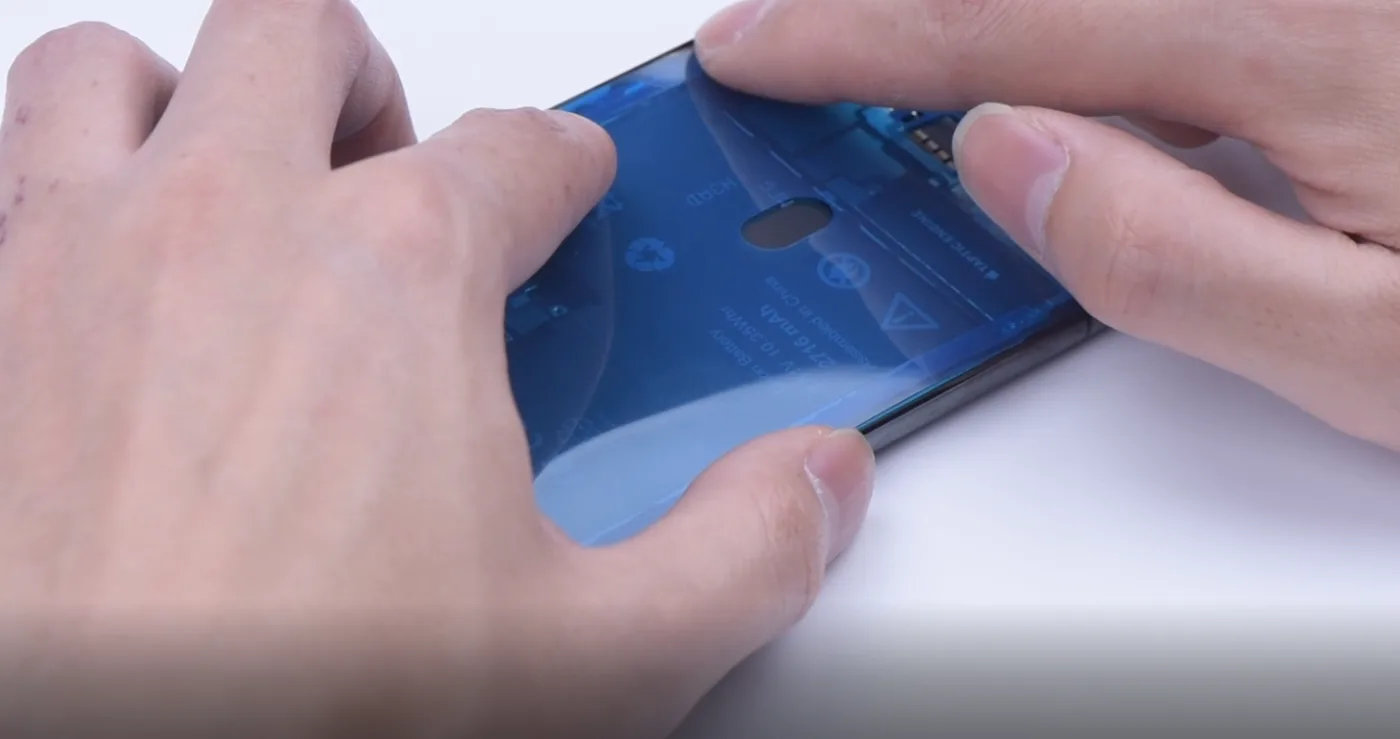
    Please turn it on. Check the health condition of the battery. It shows the maximum capacity of the battery now is 100%. Please turn it off. Tear off the waterproof adhesive. Make it adhere to the phone body. Press lightly with tweezers to make it adhesive.

    Tear off the film. Reassemble the display cable and touch the cable. Reassemble the earpiece speaker flex cable, and connect the battery. Install the shielding cover, and tighten the screws.

    Take off the waterproof adhesive around the frame. Buckle the phone screen.

    Please turn it on again. Let’s do some battery tests. First is the wired charging test. Next is the wireless charging test. It’s working. Both are working.

    The above guidance is about the battery replacement process. If you have any problems or advice, please leave us a comment below. 
     

  • How to Replace iPhone X Screen Display

    How to Replace iPhone X Screen Display

    If you’ve broken your phone screen, here are some tips for display replacement. We will bring you a case iPhone X as a reference. All you need is a repair kit and a new screen. The repair kit should be included as below: tweezers, screwdrivers, pry piece, suction cup, heating pad, programmer, spudger, battery adhesive, and waterproof adhesive.

    how replace iphone screen display

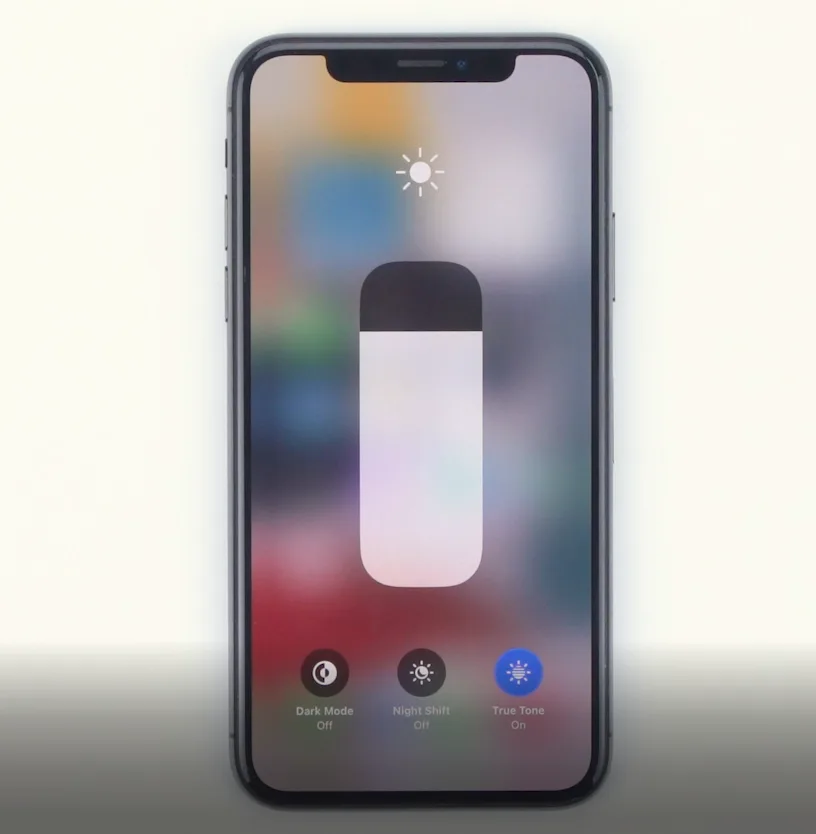
    Before the screen assembly replacement, we need to check out the True Tone display function and whether it still works as usual or not to make sure the new screen will be working.

    Firstly, please long press the phone to turn it off. Then you can use a pentagon screwdriver to unscrew the screws at the bottom of the phone. Please pay attention to putting the screws aside well. You can place the screen face down on the pad for about 2-3 minutes after the heating pad is up to the temperature of 70—80°c. And fix the suction cup at the bottom of the phone, lift the screen gently, and insert a pry piece underneath. Gradually move around the edge of the display, separating the screen along the gap. The display assembly is still connected to the iPhone by cables, so don’t try to remove it completely. Again, please pay attention to the position of the cable to avoid damage. The angle should not be greater than 90 degrees to prevent breaking the flex cable. The process of removing the cover is done.
    how replace iphone screen display 2
    how replace iphone screen display 3

    Next, use a Tri-wing screwdriver to unscrew the screws on the shielding cover of the cable connector. You can use a spudger slightly to extricate the battery and the connector between the screen and motherboard. Now, continue to follow instructions step by step. Detach the earpiece speaker flex cable, and remove the old display assembly.

    how replace iphone screen display 4

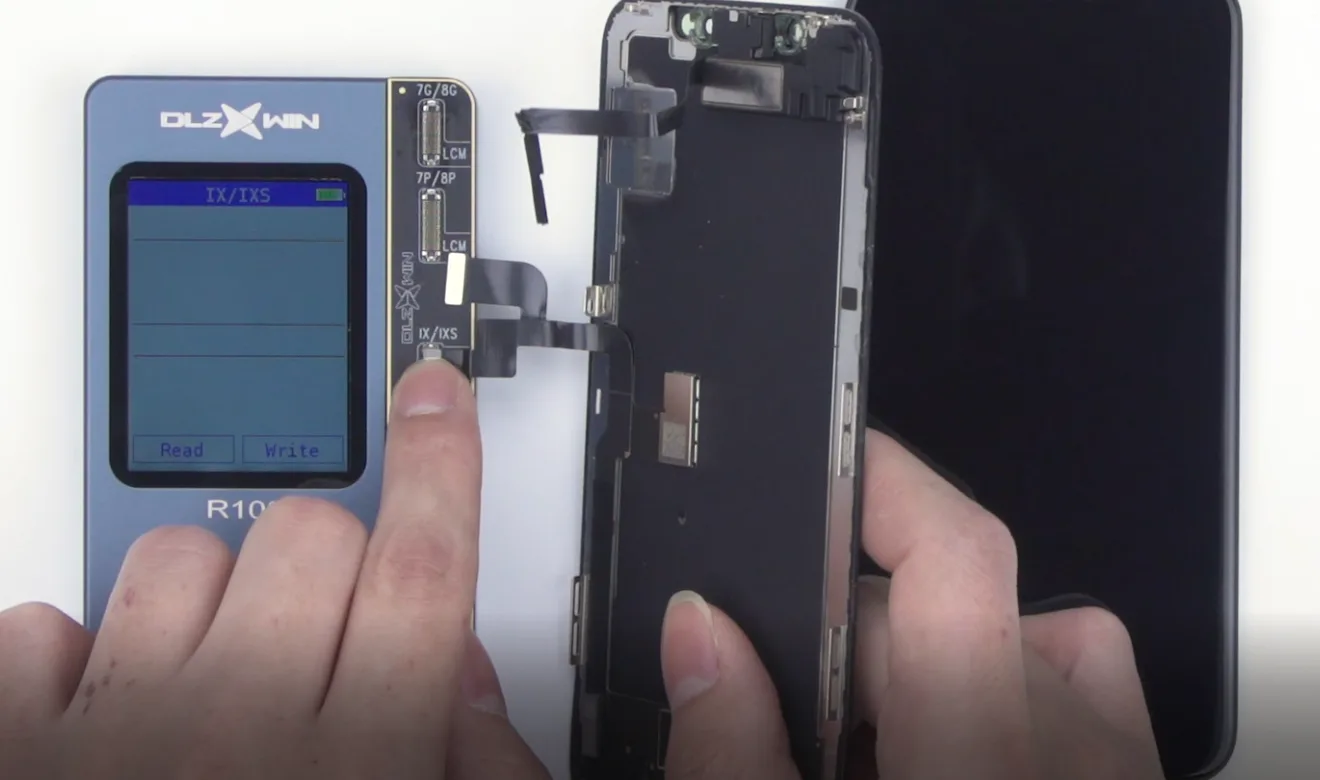
    In order to retain the True Tone function on the display as everything in the iPhone is paired to another screen, it’s suggested to make good use of a programmer. Fasten the old touch connector on the corresponding connector of the programmer, and start reading. After everything is done, take off the old screen assembly, connect the new one to the programmer, and start writing.

    how replace iphone screen display 5

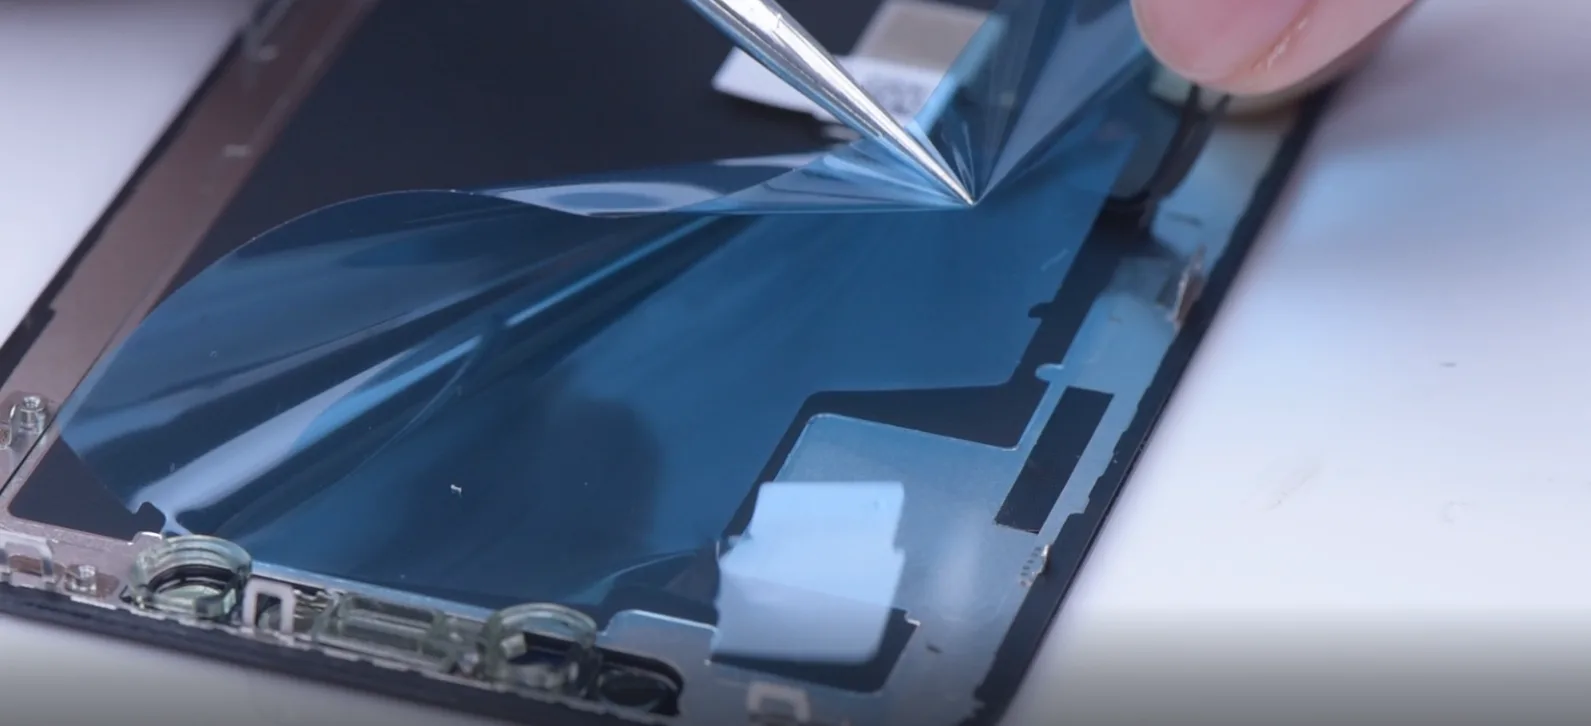
    Please connect the new screen assembly to the programmer, start writing, then place the old screen assembly on the heating pad. You can use a Tri-wing screwdriver to unscrew the screws of the earpiece cable and take out the earpiece. Tear off the protector of the new screen assembly and reassemble the earpiece cable on the new screen assembly. Lastly, tighten the screws. Please pay attention to the position of the grounding chip. Finally, we come to the connection part. Please connect the display cable, touch cable, earpiece cable, and battery accordingly.

    If there is something wrong with the repair process or assembly issue, it’s better to do some tests after replacing a new screen.

    how replace iphone screen display 6
    how replace iphone screen display 7

    It is the same step as the beginning. Long press to turn it on to do some screen test first. We need to do several tests: 3D touch testing, True Tone testing, and light adjustment testing. If your phone shows, all is usually working. Then you can tear off the waterproof adhesive and make it adhere to the phone body. Press lightly with tweezers to make it adhesive, tear off the film, reassemble the display cable, and touch the cable. And the earpiece assembly, and connect the battery. Install the shielding cover, and tighten the screws. Take off the waterproof film around the frame. Buckle the phone screen, and tighten the screws at the bottom.

    how replace iphone screen display 8

    Those are all iPhone X screen replacement steps we share with you. If there is any confusion, please leave us your comment.

  • Unlock NAND Data for NAND Repair – Fix iPhone X Stuck in Recovery Mode

    Unlock NAND Data for NAND Repair – Fix iPhone X Stuck in Recovery Mode

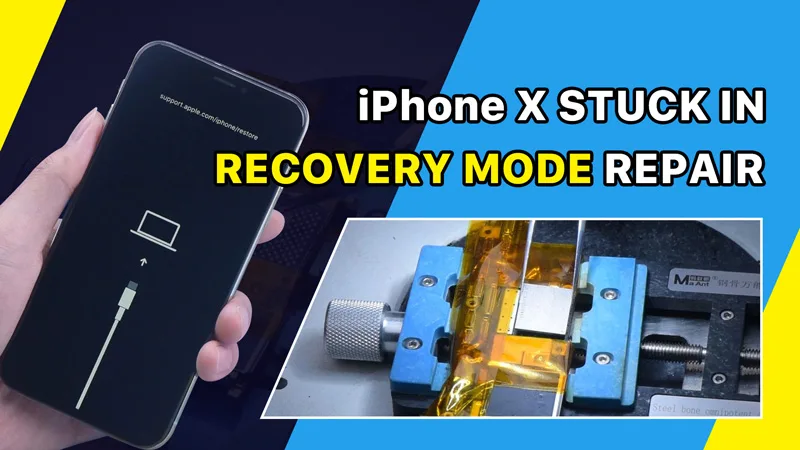
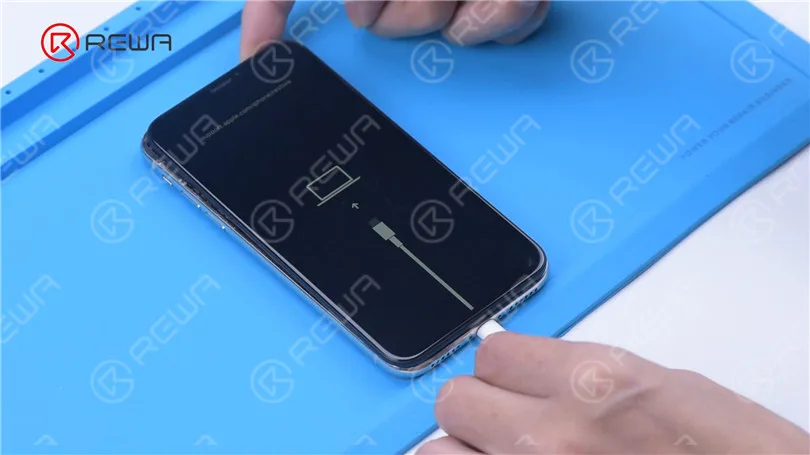
    Today we will share how to fix an iPhone X that is stuck on recovery mode.

    Press the power button and the phone is stuck on recovery mode. Then we try to flash the phone. Open 3uTools to flash. The progress bar of flashing appears on the phone and the flashing gets stuck at 20%. An error also appears.

    Unlock NAND Data for NAND Repair - Fix iPhone X Stuck in Recovery Mode
    Unlock NAND Data for NAND Repair - Fix iPhone X Stuck in Recovery Mode

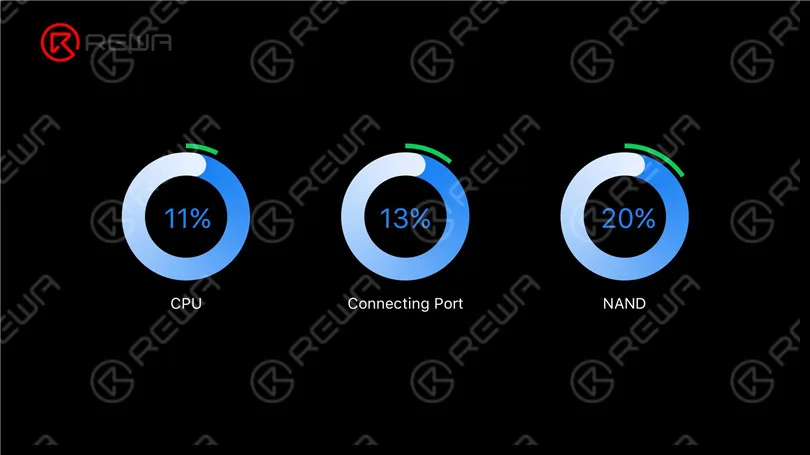
    Getting stuck at different progress bar can initially tell us the corresponding repair solution. 11 % with an error and failure to enter recovery mode from DFU indicate that the CPU malfunctions. 13 % with an error means that the connecting port is faulty while 20% with an error always come with a NAND fault. So it can be preliminarily judged that the NAND fault has caused the problem.

    Unlock NAND Data for NAND Repair - Fix iPhone X Stuck in Recovery Mode

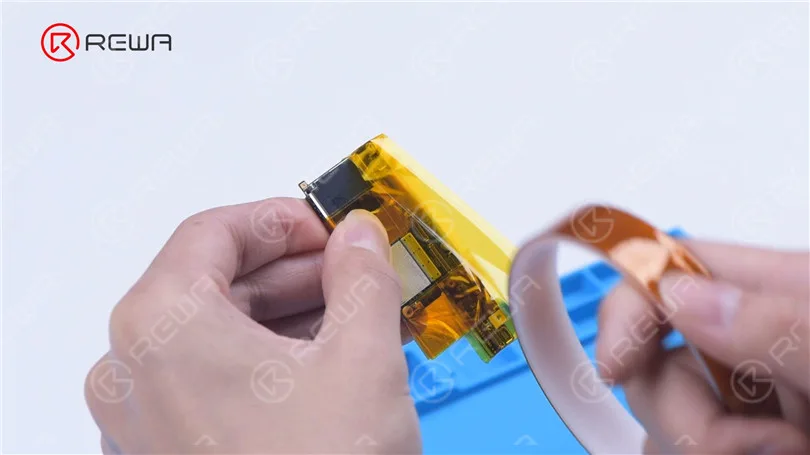
    Then we disassemble the phone. Remove foam on the motherboard. Wrap high-temperature tape around the motherboard.

    Unlock NAND Data for NAND Repair - Fix iPhone X Stuck in Recovery Mode

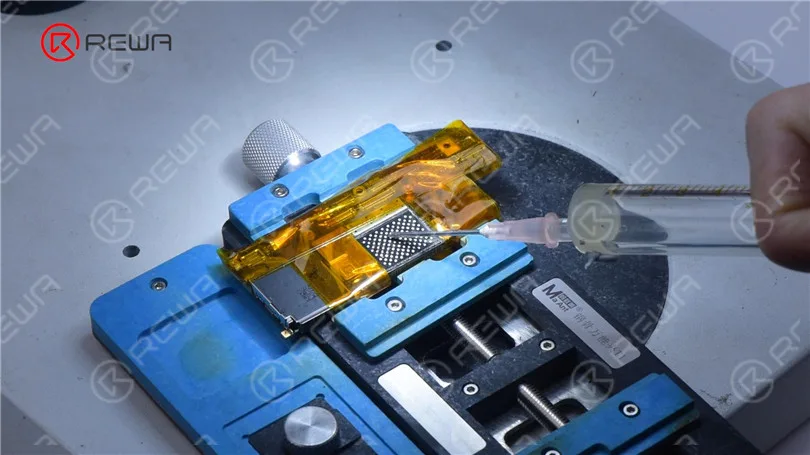
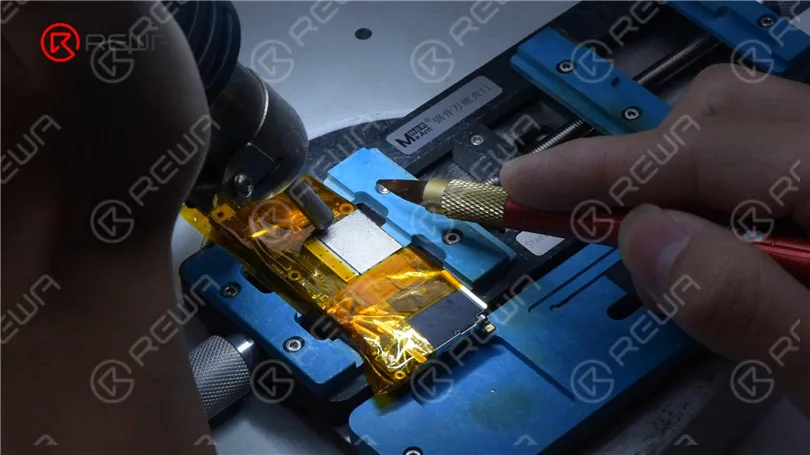
    Attach the motherboard to the holder. Heat with Hot Air Gun at 260 °C to remove adhesive around the NAND. Then heat the NAND evenly at 380 °C. Remove the NAND with a Pry Blade.

    Unlock NAND Data for NAND Repair - Fix iPhone X Stuck in Recovery Mode

    Apply some Paste Flux to the bonding pads. Apply some middle-temperature Solder Paste to the bonding pads with Soldering Iron at 360 °C. This is to neutralize the temperature of the bonding pads.

    Unlock NAND Data for NAND Repair - Fix iPhone X Stuck in Recovery Mode
    Unlock NAND Data for NAND Repair - Fix iPhone X Stuck in Recovery Mode

    Clean the bonding pads with Solder Wick. Remove residual black adhesive with Hot Air Gun at 280 °C.

    Unlock NAND Data for NAND Repair - Fix iPhone X Stuck in Recovery Mode

    Clean the bonding pads with PCB Cleaner. Apply some Paste Flux. Put a known-good NAND in position.

    Unlock NAND Data for NAND Repair - Fix iPhone X Stuck in Recovery Mode
    Unlock NAND Data for NAND Repair - Fix iPhone X Stuck in Recovery Mode

    Heat with Hot Air Gun at 340 °C. Push the NAND gently with Tweezers. When the NAND automatically resets, soldering is complete.

    Unlock NAND Data for NAND Repair - Fix iPhone X Stuck in Recovery Mode

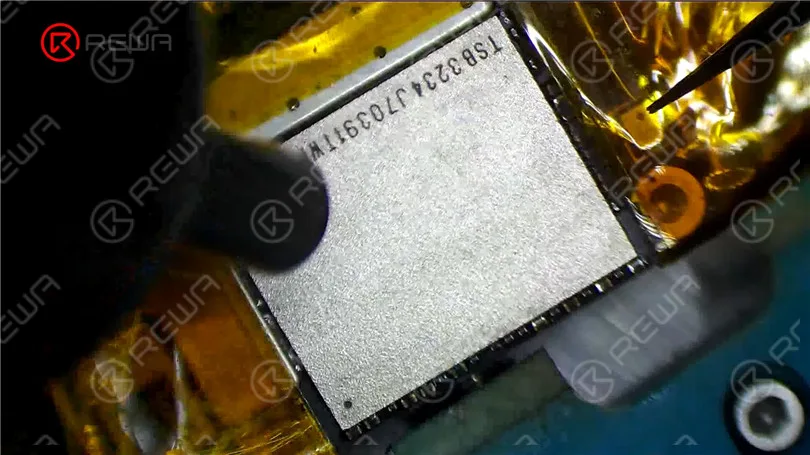
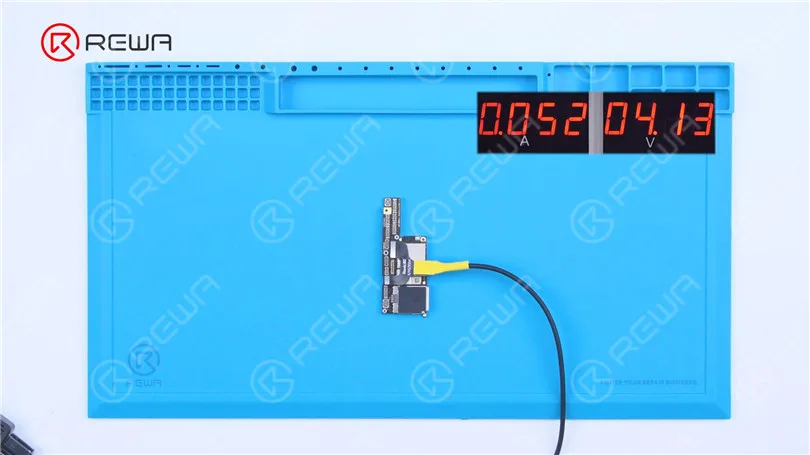
    Tear off high-temperature tape. Connect the motherboard with a Power Cable. Measure the current of the motherboard. The current is 52 mA, which is normal.

    Unlock NAND Data for NAND Repair - Fix iPhone X Stuck in Recovery Mode

    Connect the phone with computer to keep flashing. The phone is successfully flashed. The not turning on issue is now confirmed to be caused by the NAND fault.

    Unlock NAND Data for NAND Repair - Fix iPhone X Stuck in Recovery Mode

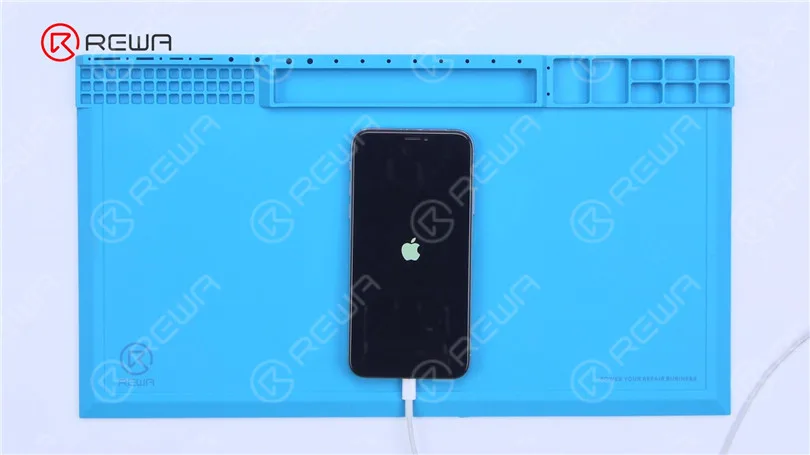
    Turn on the phone for testing. Since WiFi and Bluetooth addresses are stored on the NAND, and the new NAND doesn’t match the WiFi and Bluetooth addresses on the motherboard, we need to read the data of the original NAND. In the first place, jailbreak the phone.

    Unlock NAND Data for NAND Repair - Fix iPhone X Stuck in Recovery Mode

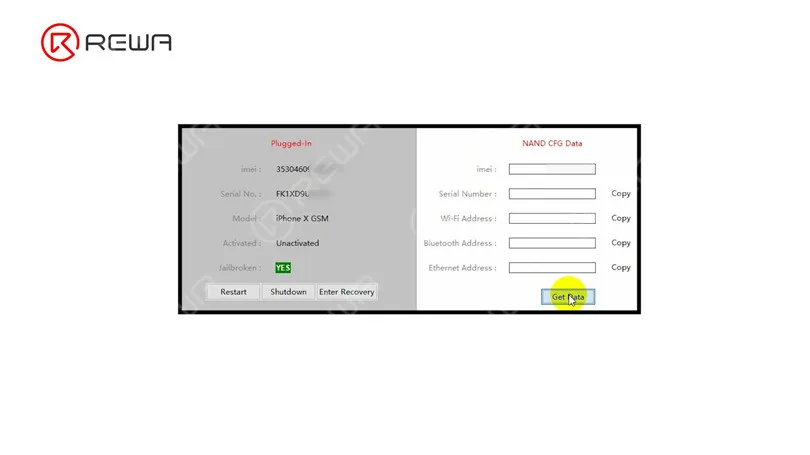
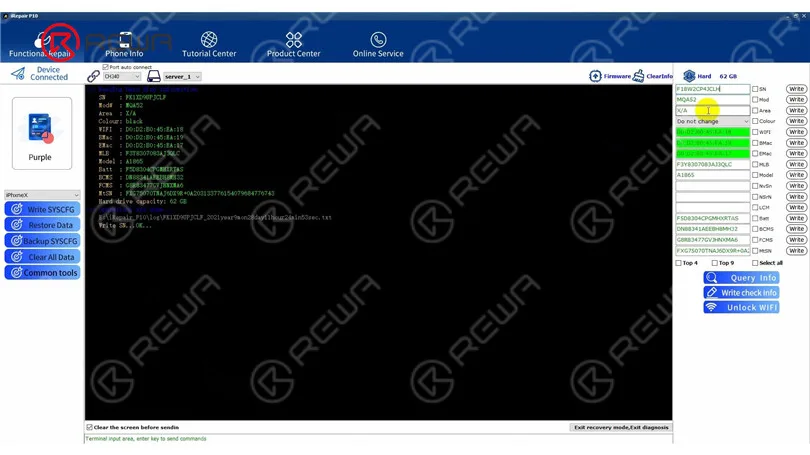
    After jailbreaking, connect the phone with computer and open 3uTools. Open the software to read the original data.

    Unlock NAND Data for NAND Repair - Fix iPhone X Stuck in Recovery Mode

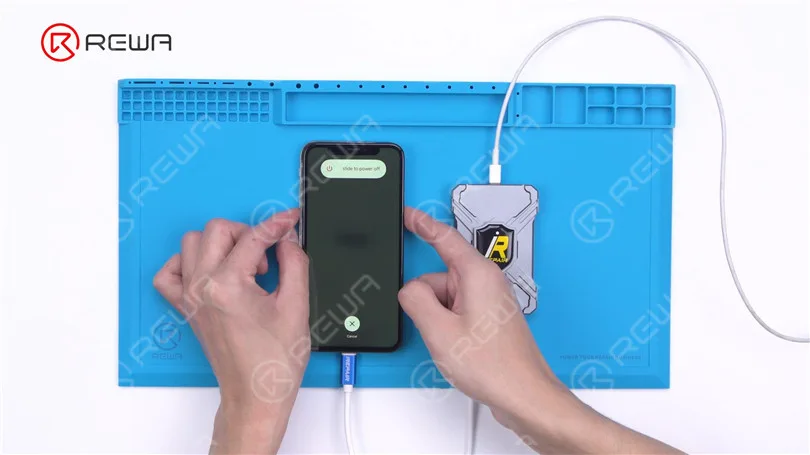
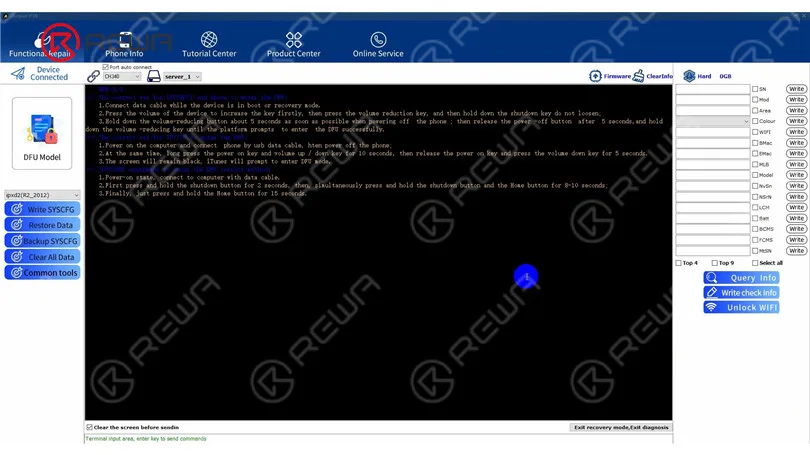
    Then we use P10 to write the data. Connect the phone to P10. Get the phone into DFU mode.

    Unlock NAND Data for NAND Repair - Fix iPhone X Stuck in Recovery Mode

    Open the P10 software. Click “DFU Mode”. After entering purple mode, the data have been successfully read and written.

    Unlock NAND Data for NAND Repair - Fix iPhone X Stuck in Recovery Mode
    Unlock NAND Data for NAND Repair - Fix iPhone X Stuck in Recovery Mode

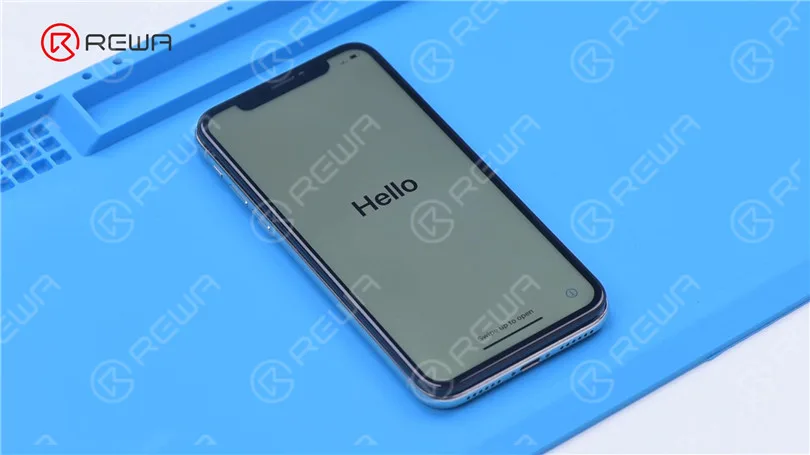
    The phone turns on normally. WiFi also functions well. The fault has been cleared.

    Unlock NAND Data for NAND Repair - Fix iPhone X Stuck in Recovery Mode
  • Mastering Desoldering & Soldering of iPhone X PMU

    Mastering Desoldering & Soldering of iPhone X PMU

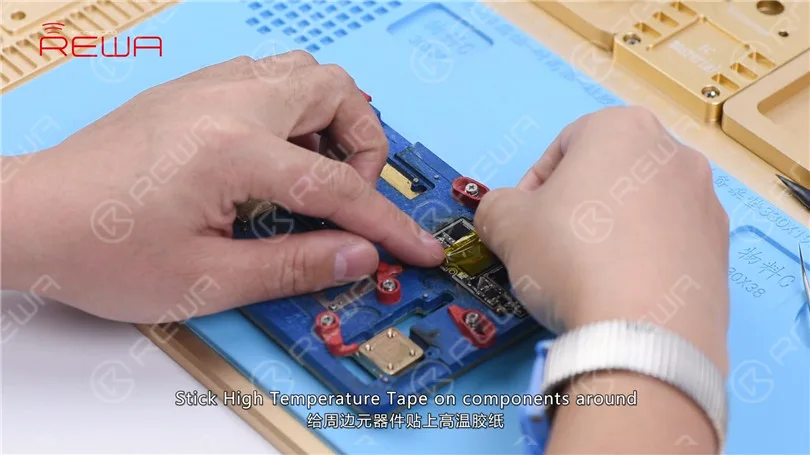
    Today’s handwork course will focus on a tutorial for desoldering and soldering the iPhone X PMU. Begin by attaching the upper layer of the motherboard to the PCB Holder, then proceed to apply High-temperature Tape on the surrounding components.

    mastering desoldering soldering iphone pmu h023 sol

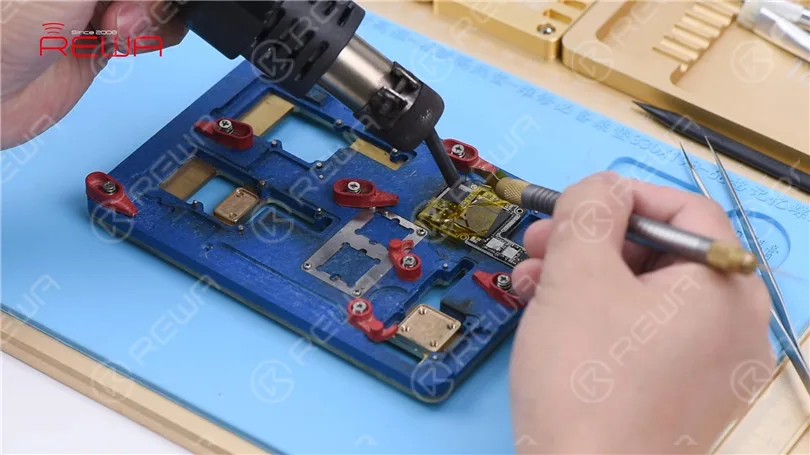
    Start by removing the black adhesive surrounding the PMU. Apply heat using a Hot Air Gun set at 280℃ with an air flow of 3. Then, use a specialized knife to get rid of the black adhesive around the chip.

    mastering desoldering soldering iphone pmu h023 sol 2

    Caution: When removing the black adhesive near the PMU to prevent dislodging any nearby components.

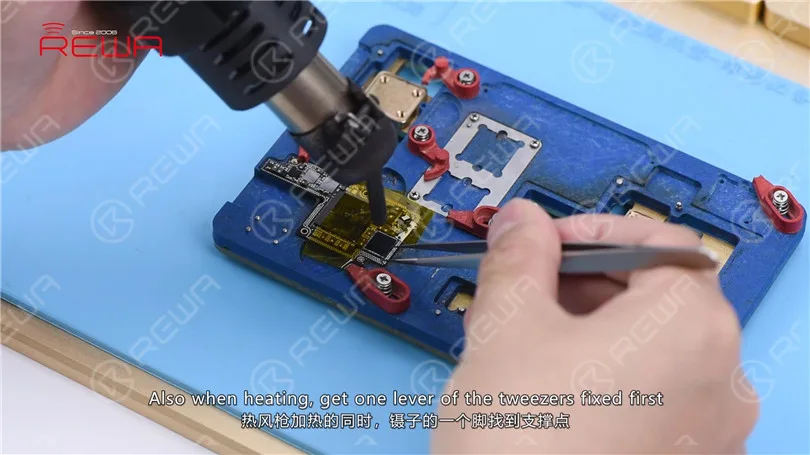
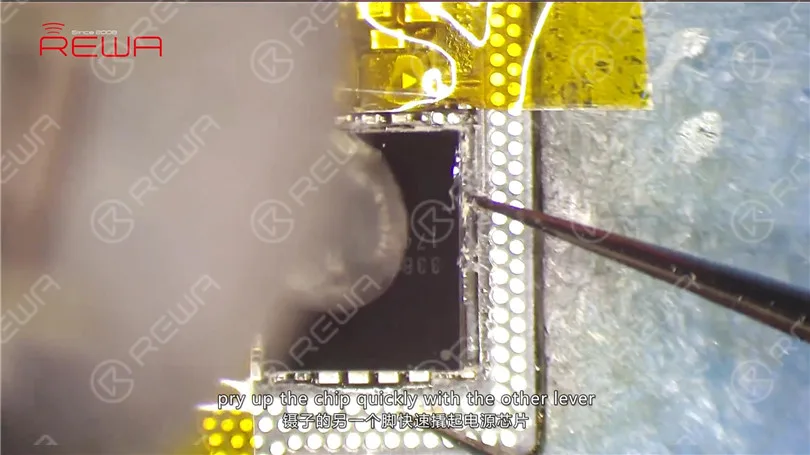
    Apply heat to the PMU using a Hot Air Gun set at 330℃ with an air flow of 5. Prior to heating, secure one end of the tweezers. After 15 seconds, when the solder begins to melt, swiftly lift the chip using the other end of the tweezers. Ensure that you lift the chip at the appropriate moment to avoid causing damage to the bonding pad.
    mastering desoldering soldering iphone pmu h023 sol 3
    mastering desoldering soldering iphone pmu h023 sol 4

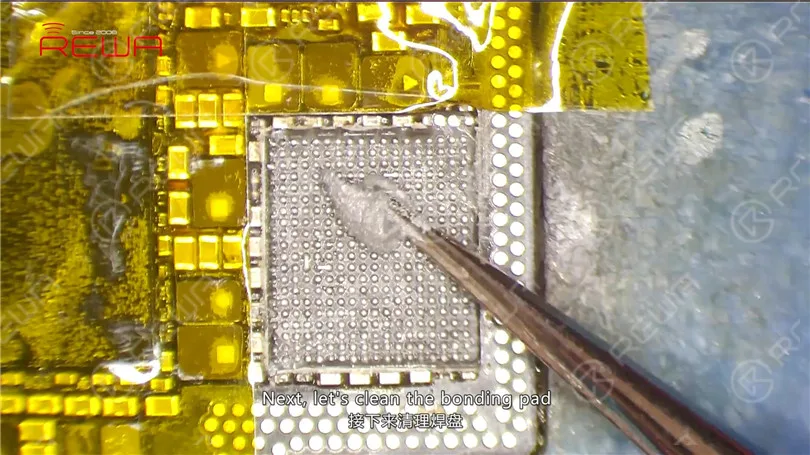
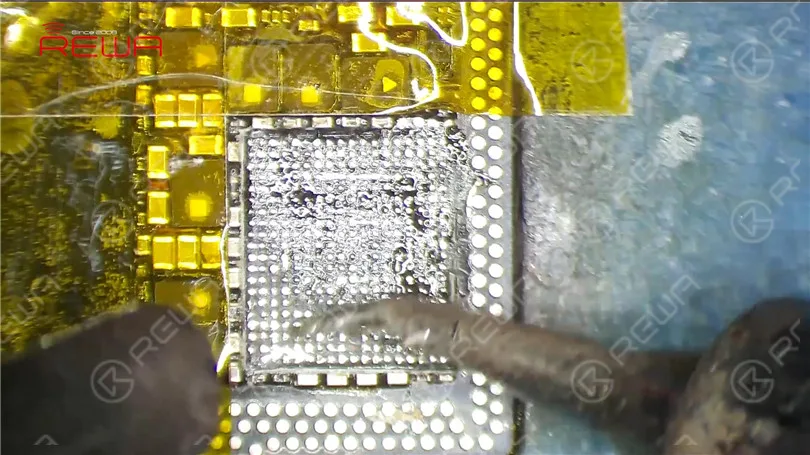
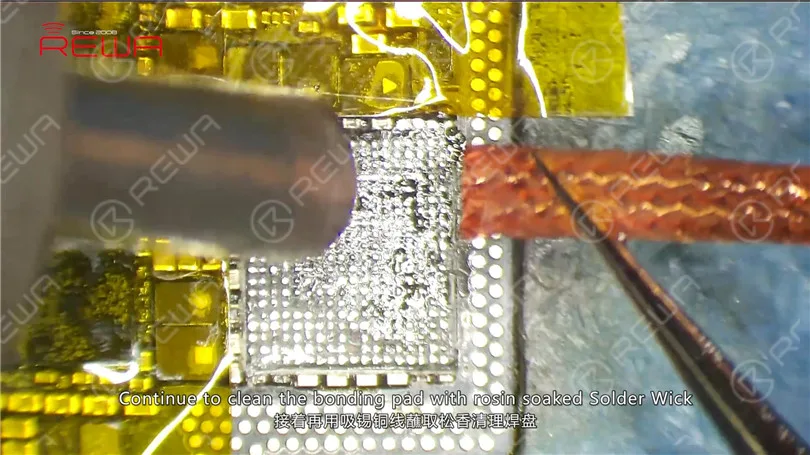
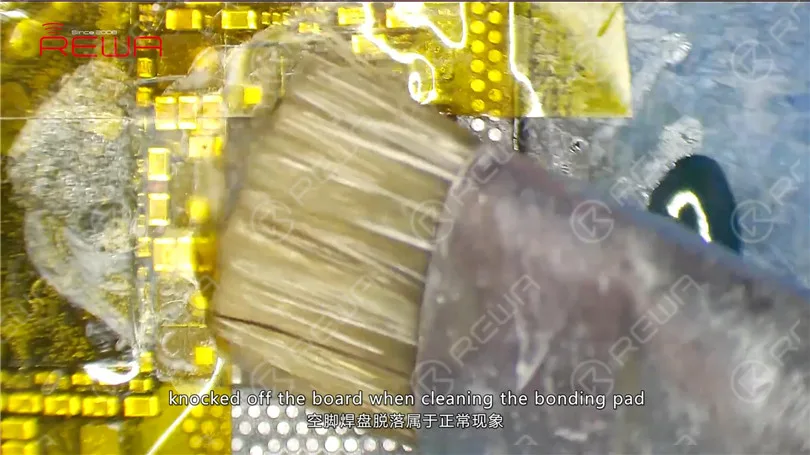
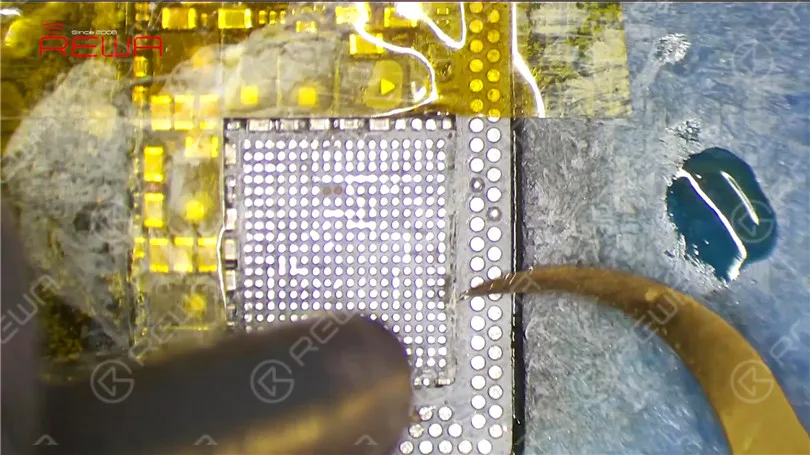
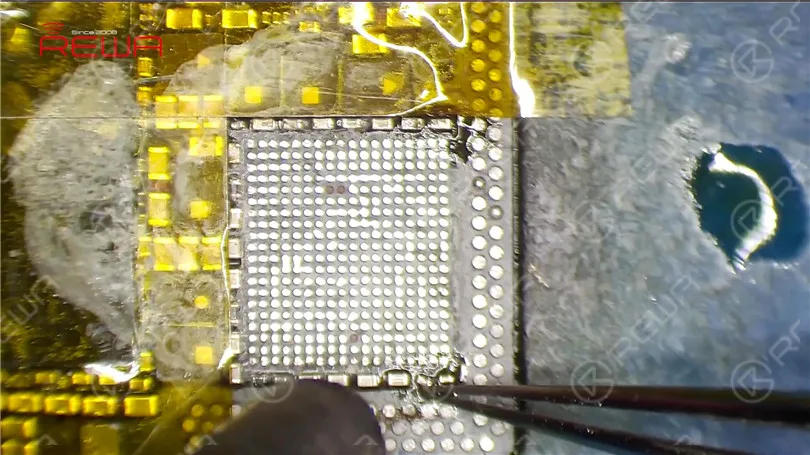
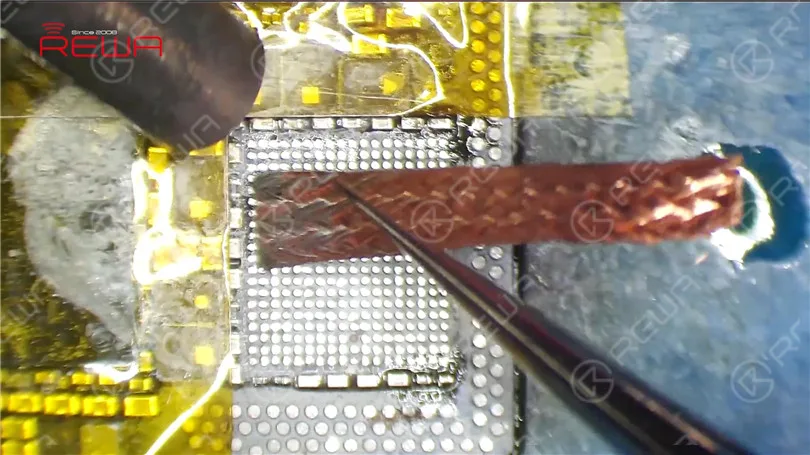
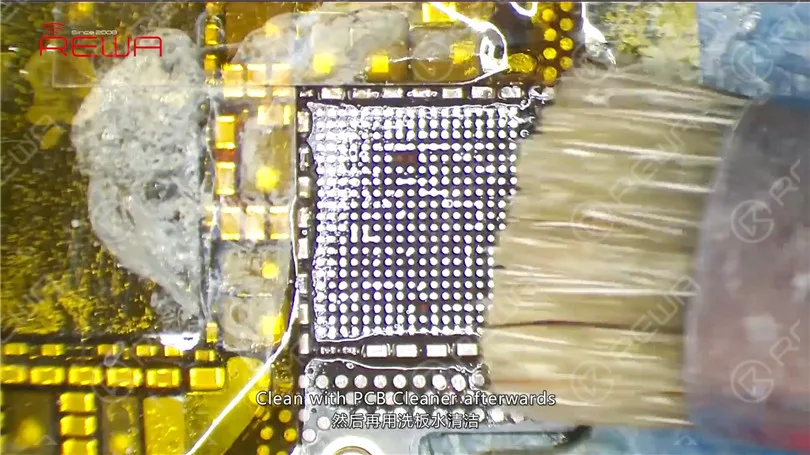
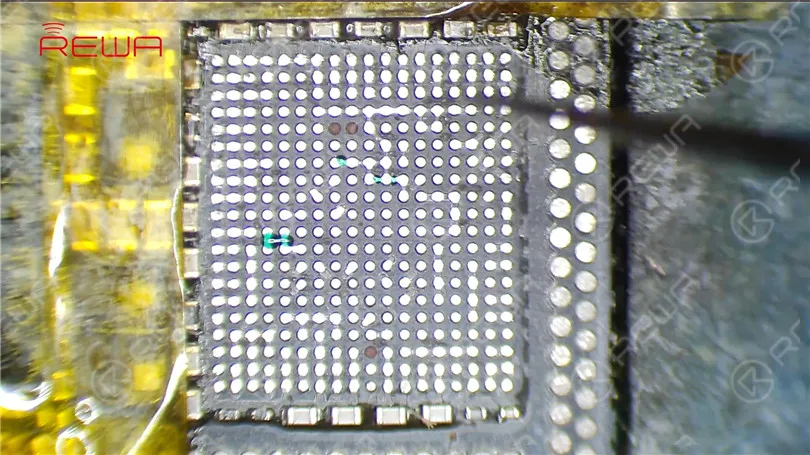
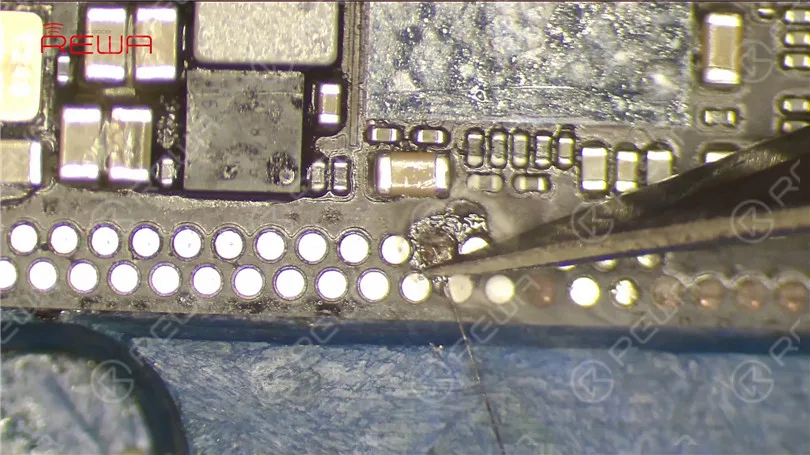
    Next, let’s clean the bonding pad. Apply some mid-temperature Solder Paste to the bonding pad. Heat with Hot Air Gun at 280℃. Meantime, clean the bonding pad with Soldering Iron at 360℃. Continue to clean the bonding pad with rosin soaked Solder Wick. Clean with PCB Cleaner afterwards. Tips: bonding pads of those empty pins might get knocked off the board when cleaning the bonding pad, which is normal. We can just leave them alone.

    desoldering&soldering of iPhone X PMU
    mastering desoldering soldering iphone pmu h023 sol 6
    mastering desoldering soldering iphone pmu h023 sol 7
    mastering desoldering soldering iphone pmu h023 sol 8

    Continue to remove black adhesive on/around the bonding pad. Also when we pry up the chip, components around get knocked off the board. So our next move is to re-solder these components. First, apply some Paste Flux to their bonding pads. Then, apply solders with Soldering Iron. Get these components in position. And then solder with Hot Air Gun at 330℃, air flow 3.

    mastering desoldering soldering iphone pmu h023 sol 9
    mastering desoldering soldering iphone pmu h023 sol 10

    Before soldering the chip, clean the bonding pad again. Clean with PCB Cleaner afterwards.

    mastering desoldering soldering iphone pmu h023 sol 11
    mastering desoldering soldering iphone pmu h023 sol 12

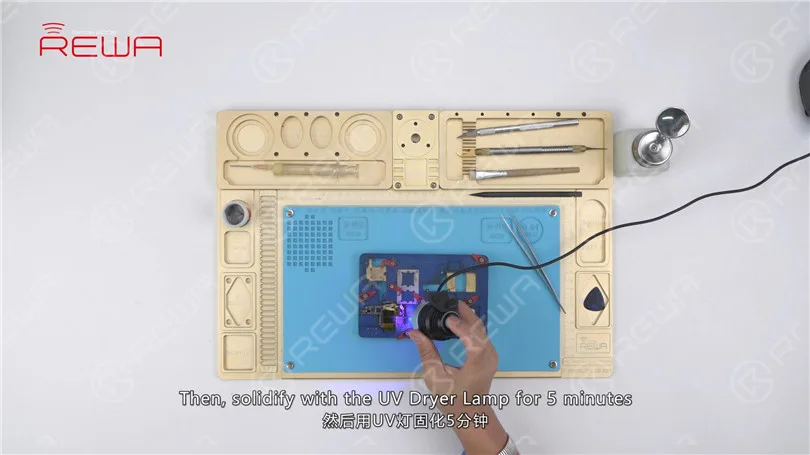
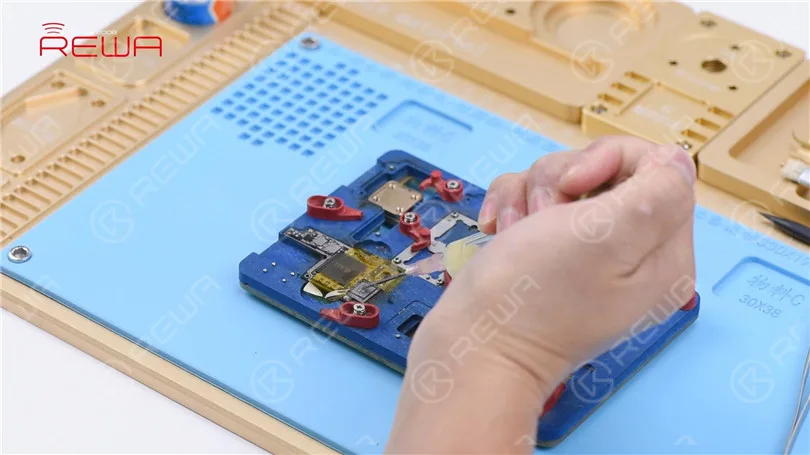
    Also when we remove the black adhesive, some of the insulation varnish on PCB has fallen off the board. So we need to remedy with the UV Curable Solder Mask. Dip some UV Curable Solder Mask with tweezers. And apply the solder mask to the exposed area. Then, solidify with the UV Dryer Lamp for 5 minutes.

    mastering desoldering soldering iphone pmu content 9ff202ff81dc
    mastering desoldering soldering iphone pmu h023 sol 13

    Now we can solder the PMU. Apply some Paste Flux to the bonding pad. Get a new PMU in position. Make sure you put it in the right direction. Solder with Hot Air Gun at 330℃, air flow 3 for 20s.

    mastering desoldering soldering iphone pmu h023 sol 14

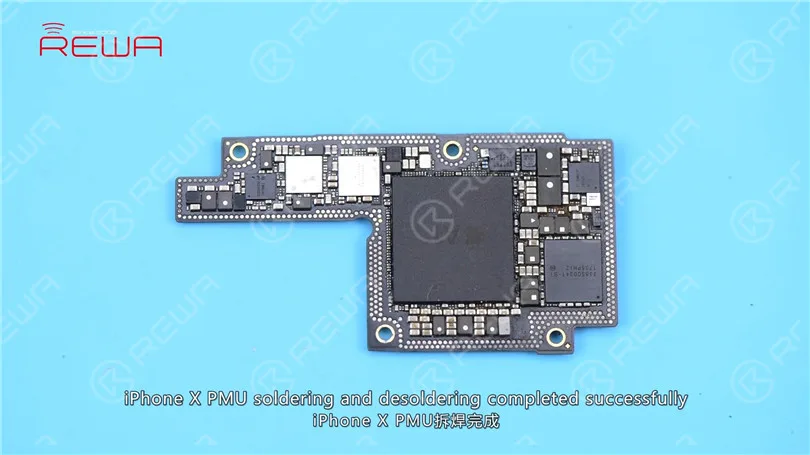
    With the chip sinking and Paste Flux flowing, continue heating for 10s. Wait for the upper layer to cool for 5 minutes. Tear off the High Temperature Tape. Clean with PCB Cleaner afterwards. iPhone X PMU soldering and desoldering completed successfully.

    mastering desoldering soldering iphone pmu h023 sol 15
  • iPhone 8/X Light Sensor Failed Even With Genuine Parts Repaired By Third Party

    iPhone 8/X Light Sensor Failed Even With Genuine Parts Repaired By Third Party

    Recently, REWA has got feedback from a number of third-party repair shops that some iPhone 8 series and iPhone X have got “ambient light sensor not working issue” after repairing even with genuine parts. After testing and analysis, REWA LAB has found that Apple might have set up some technical barriers for repairing to prevent customers from resorting to third-party repair.Let’s check the video and find out the testing procedures and results.

  • iPhone X Unresponsive Touch Screen Repair

    iPhone X Unresponsive Touch Screen Repair

    Our course today is about iPhone X touchscreen unresponsive repair.

    Press the power button to turn on the phone. The phone turns on normally. Touch screen of the phone is unresponsive.

    iPhone X Unresponsive Touchscreen Repair

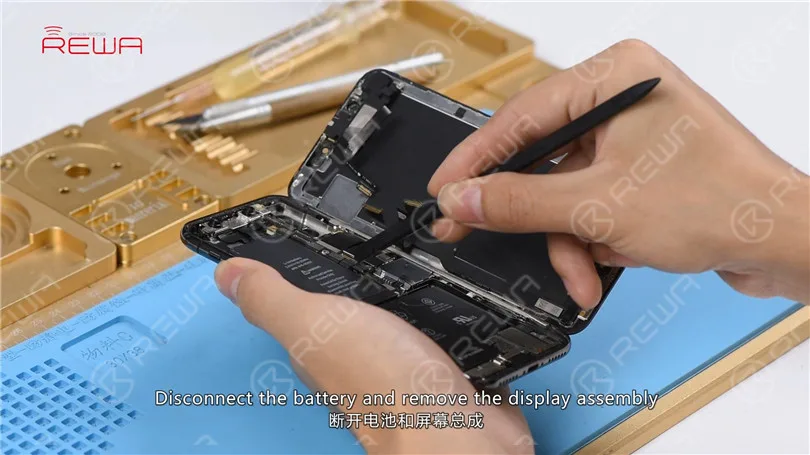
    Turn off the phone and take apart it. Disconnect the battery and remove the display assembly.

    iPhone X Unresponsive Touchscreen Repair

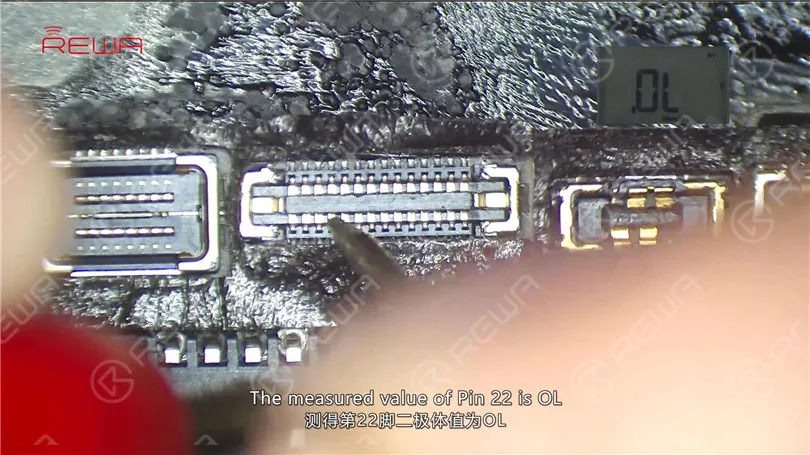
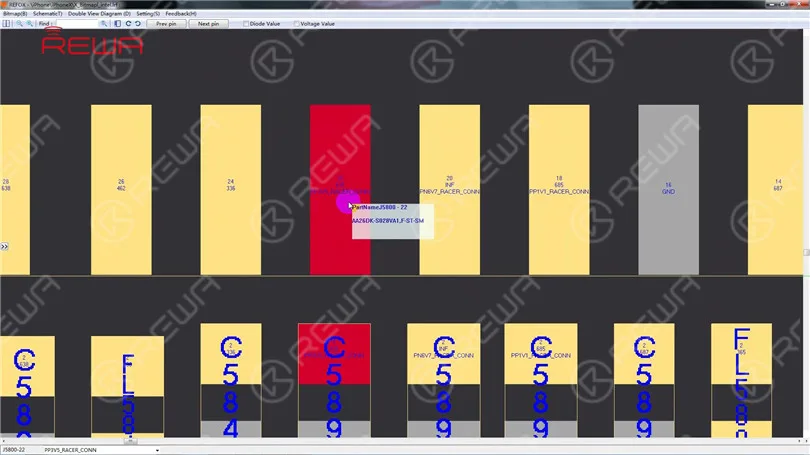
    Take out the motherboard. The first thing we do is to check the Touch ID FPC connector J5800. Run diode mode measurement of J5800. The measured value of Pin 22 is OL which indicates that Pin 22 relevant circuit has open-circuited.

    iPhone X Unresponsive Touchscreen Repair

    We can see that there is an inductor FL5893 on the circuit. Let’s start with FL5893.

    iPhone X Unresponsive Touchscreen Repair

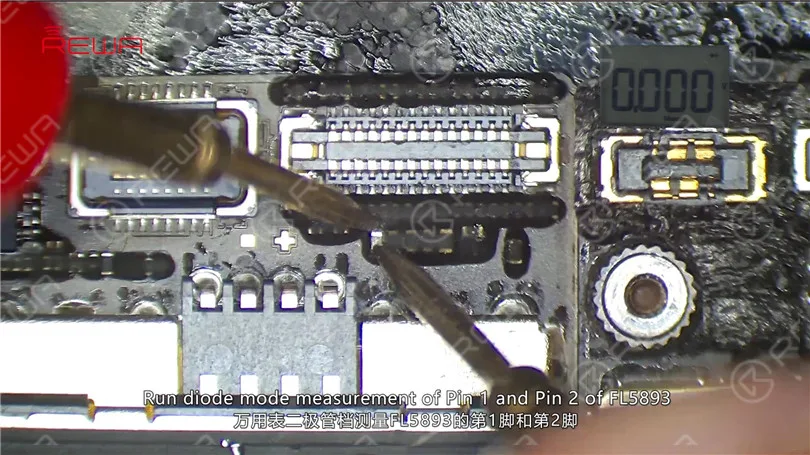
    First, remove sponge around J5800 with tweezers. Run diode mode measurement of Pin 1 and Pin 2 of FL5893. The measured value of the two pins is 0. Judging by the measured value, FL5893 is in normal status.
    iPhone X Unresponsive Touchscreen Repair

    We can see that the circuit makes its way to the third space PCB. So we need to separate the motherboard to check the third space PCB. Place the motherboard on the specialized Heating Platform. With temperature of the platform reaching 160℃, pick up the upper layer with tweezers.

    iPhone X Unresponsive Touchscreen Repair

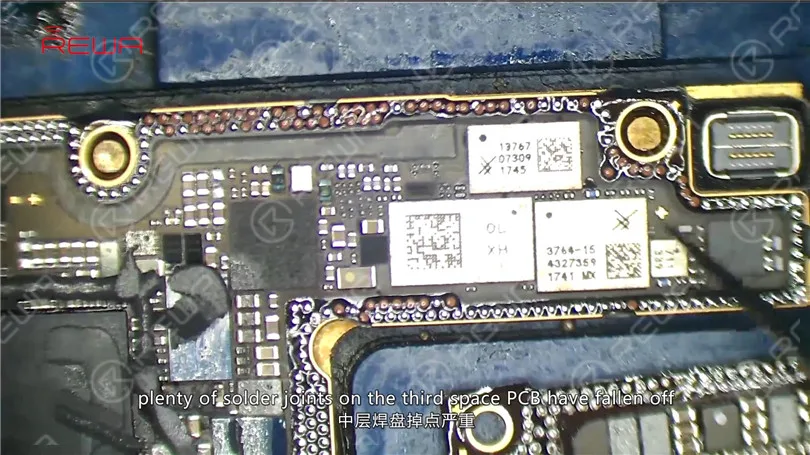
    As you can see, plenty of solder joints on the third space PCB have fallen off. And the motherboard is severely deformed. Judging by this, the motherboard is unrepairable.

    iPhone X Unresponsive Touchscreen Repair

    Conclusion

    iPhone X touchscreen is unresponsive. The first thing we do is to check the Touch ID FPC connector J5800. Run diode mode measurement of J5800. Judging by the measured value, Pin 22 relevant circuit has open-circuited. We can see on the bitmap that the circuit makes its way to the third space PCB. Separate the motherboard and we find that plenty of solder joints on the third space PCB have fallen off. The motherboard is also severely deformed. Judging by this, the motherboard is unrepairable.

  • How to Fix iPhone X Bottom Speaker Not Working

    How to Fix iPhone X Bottom Speaker Not Working

    Today we will share how to fix iPhone X bottom speaker not working.

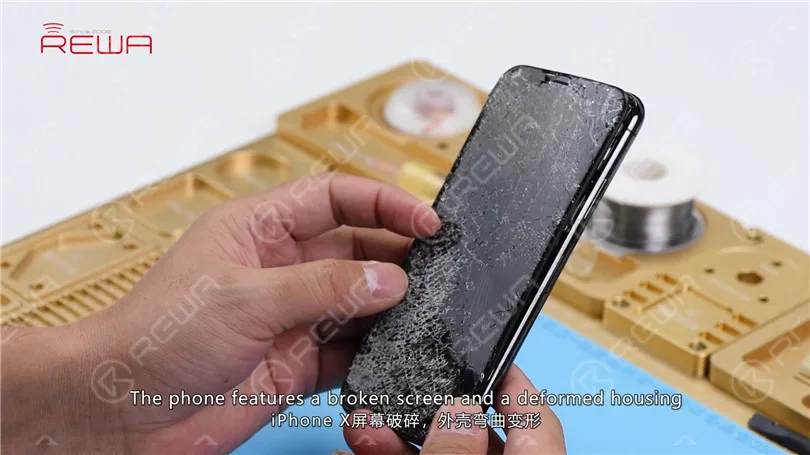
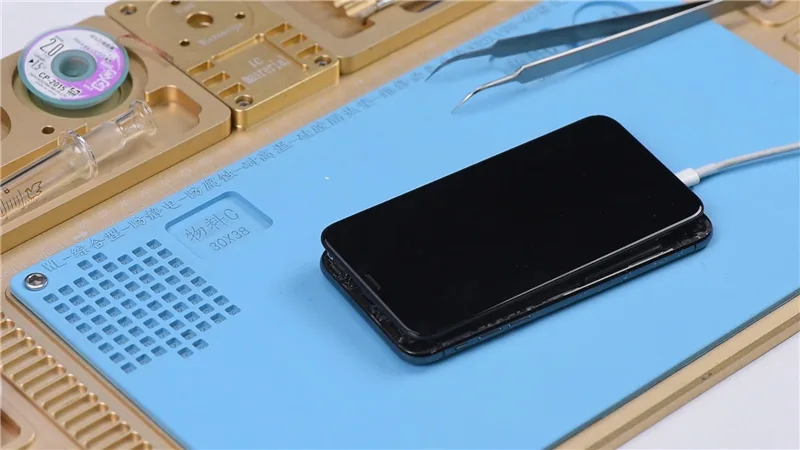
    The phone features a broken screen and a deformed housing. Get a new display assembly installed and test. The phone turns on normally. Both the front camera and the rear camera work normally. WiFi also functions well.

    iPhone X Bottom Speaker Not Working Repair

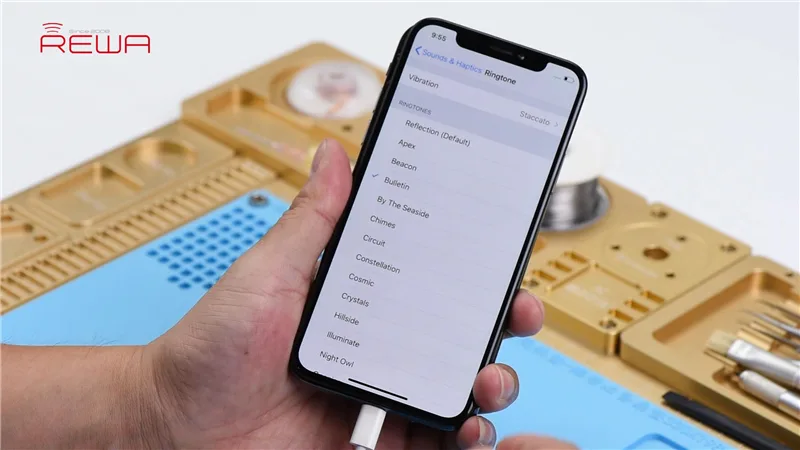
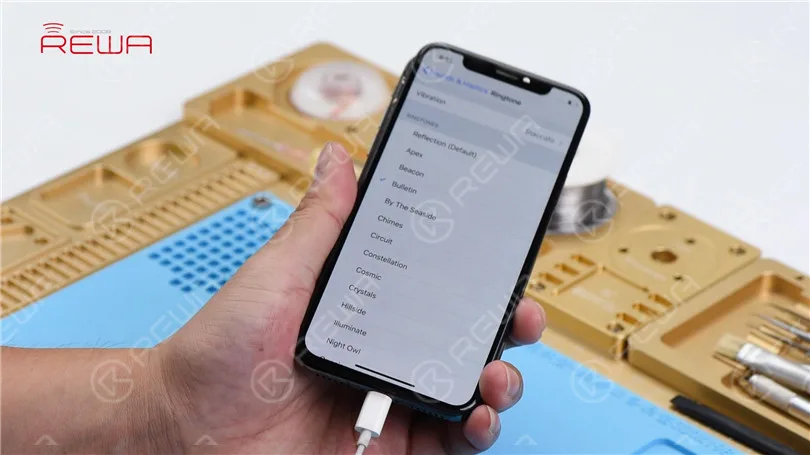
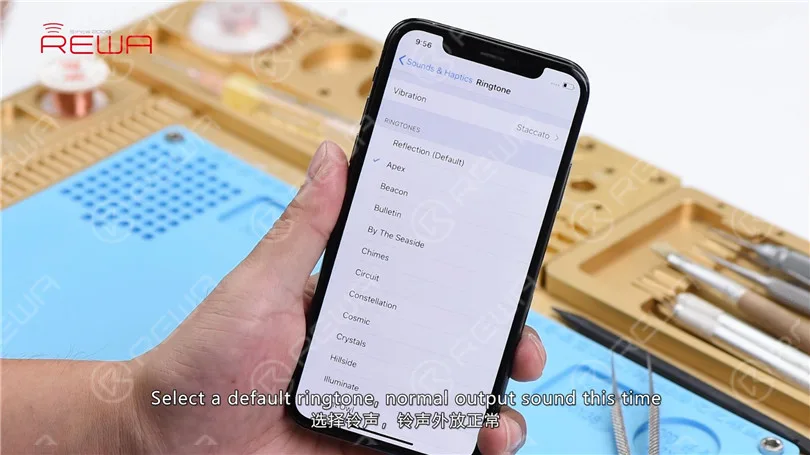
    Go to Sounds & Haptics > Ringtone. Select a default ringtone and there is no output sound. But the sound works fine with headphones in.

    iPhone X Bottom Speaker Not Working Repair

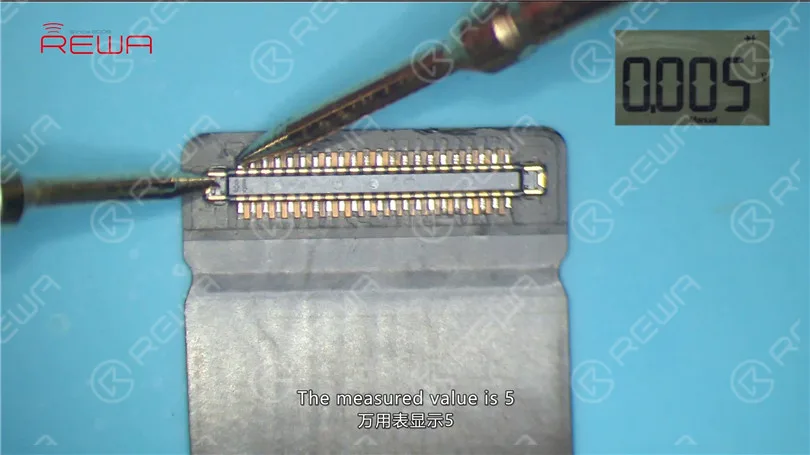
    The preliminary judgment is that the audio circuit is in normal condition. It’s just that the bottom speaker is not working. Remove the display assembly and disconnect the battery. Disconnect the charging port flex cable. Run diode mode measurement of Pin 1 and Pin 45 of the DOCK connector. The measured value is 5, which indicates that the bottom speaker is in normal condition.

    iPhone X Bottom Speaker Not Working Repair

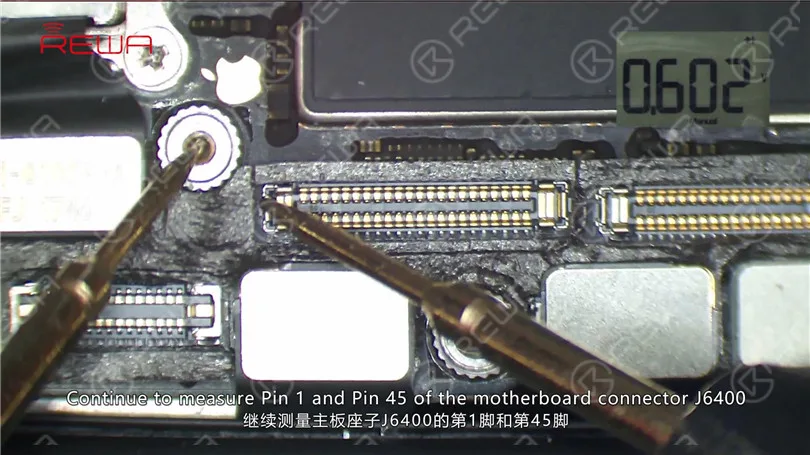
    Continue to measure Pin 1 and Pin 45 of the motherboard connector J6400. The measured value of Pin 45 is 602, which is normal.

    iPhone X Bottom Speaker Not Working Repair

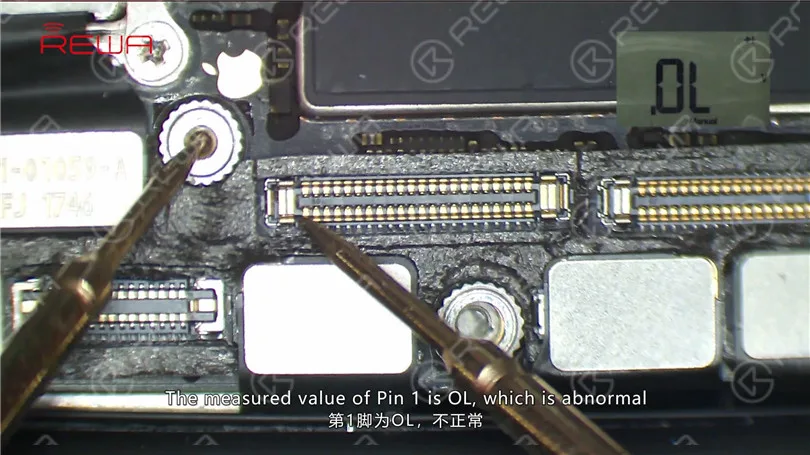
    The measured value of Pin 1 is OL, which is abnormal.

    iPhone X Bottom Speaker Not Working Repair

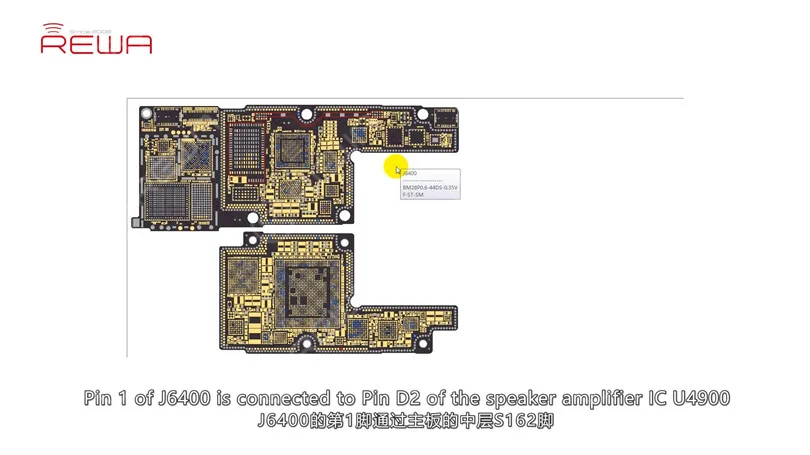
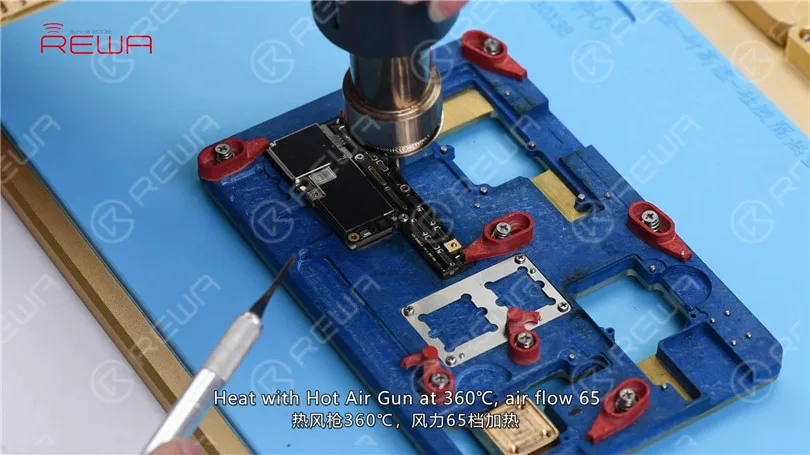
    Judging by this, Pin 1 relevant circuit has been open-circuited. Pin 1 of J6400 is connected to Pin 2 of the speaker amplifier IC U4900 by way of Pin S162 on cylinders around the edge of the lower layer. So our next move is to check the circuit carefully. Disconnect flex cables on the motherboard and take out the motherboard. Fix the motherboard to the Holder. Heat with Hot Air Gun at 360℃, air flow 65.

    iPhone X Bottom Speaker Not Working Repair
    iPhone X Bottom Speaker Not Working Repair

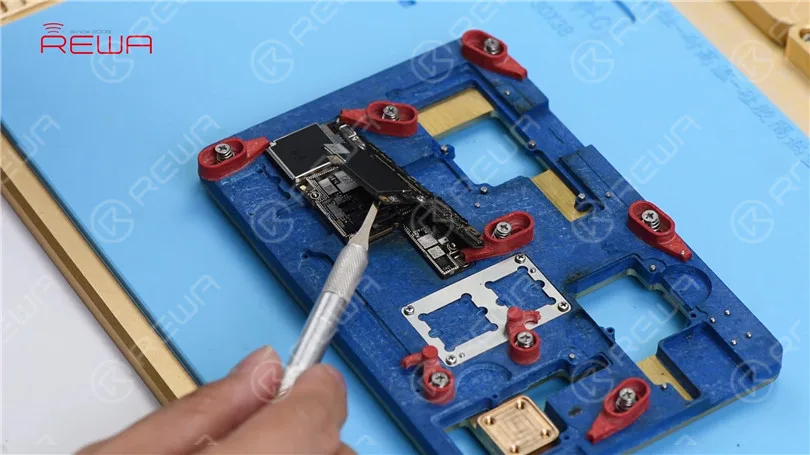
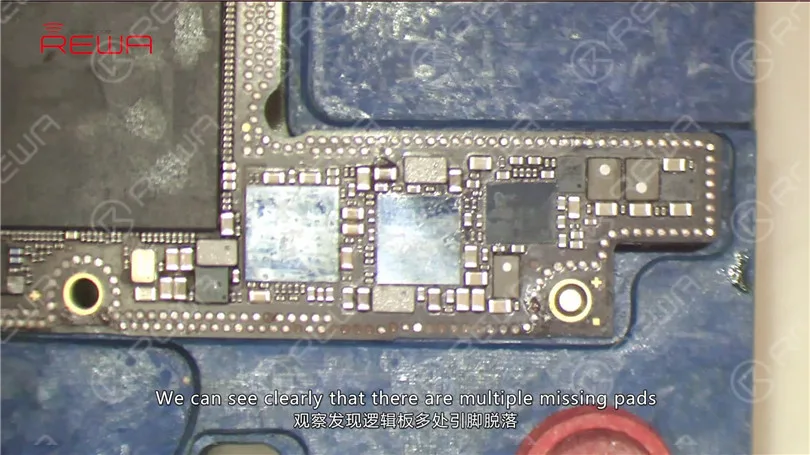
    One minute later, pry up the upper layer step by step. Tips: make sure you pry up the upper layer at the right moment when tins on cylinders have melted. We can see clearly that there are multiple missing pins on the upper layer, including Pin S166 of the NFC circuit.

    iPhone X Bottom Speaker Not Working Repair
    iPhone X Bottom Speaker Not Working Repair

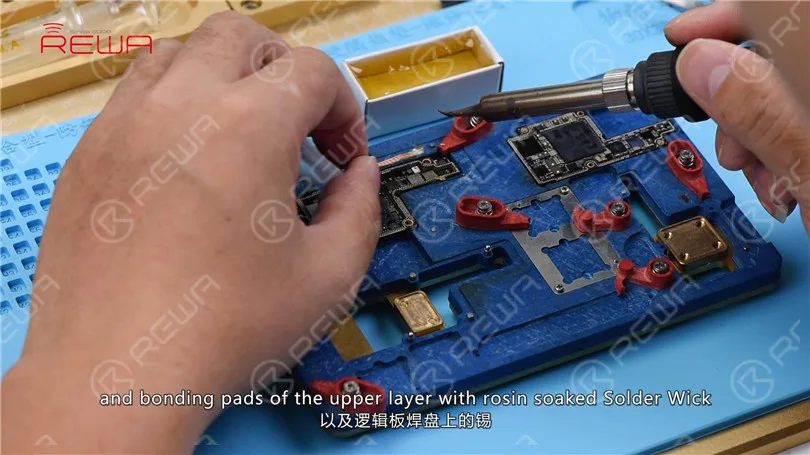
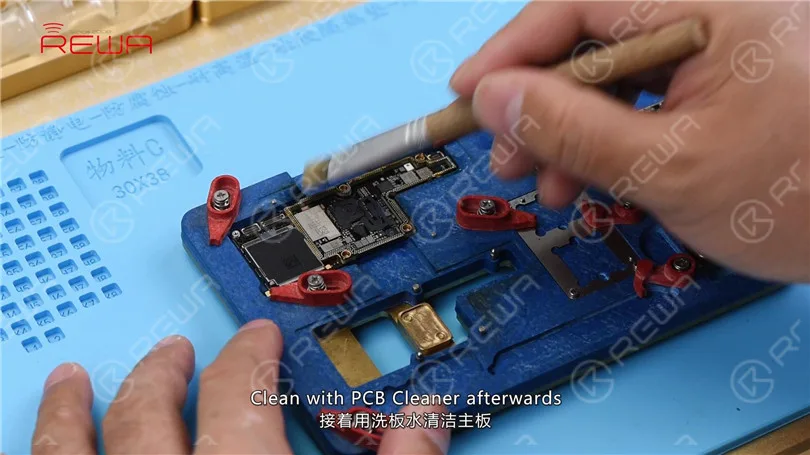
    Judging by this, the phone has been dropped, which resulted in pseudo soldering of the motherboard accompanied with the detachment of pins. Since most of those missing pins are ground pins, we can just ignore them. Yet we need to treat Pin S166 with jumper wiring. Remove tins on cylinders around the edge of the lower layer and bonding pads of the upper layer with rosin soaked Solder Wick. Clean with PCB Cleaner afterwards.

    iPhone X Bottom Speaker Not Working Repair
    iPhone X Bottom Speaker Not Working Repair

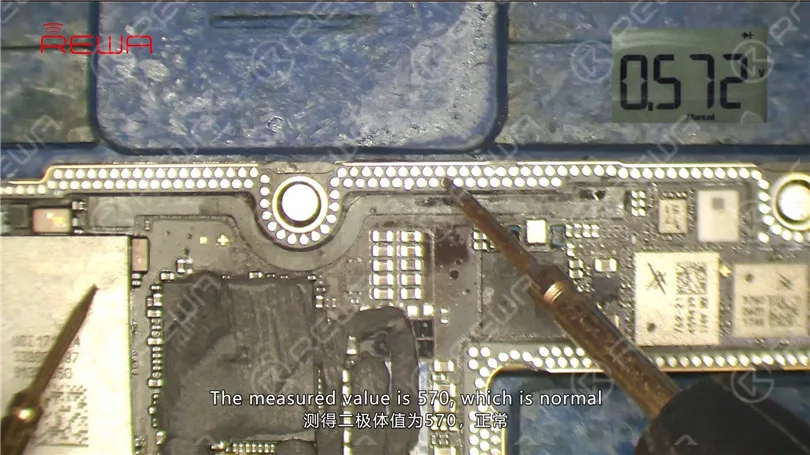
    Run diode mode measurement of Pin S162 on cylinders. The measured value is 570, which is normal. Continue to measure Pin S163. The measured value is 570, which is normal. Judging by this, the open-circuited condition of Pin 1 relevant circuit is caused by pseudo soldering of cylinders around the edge of the lower layer.

    iPhone X Bottom Speaker Not Working Repair

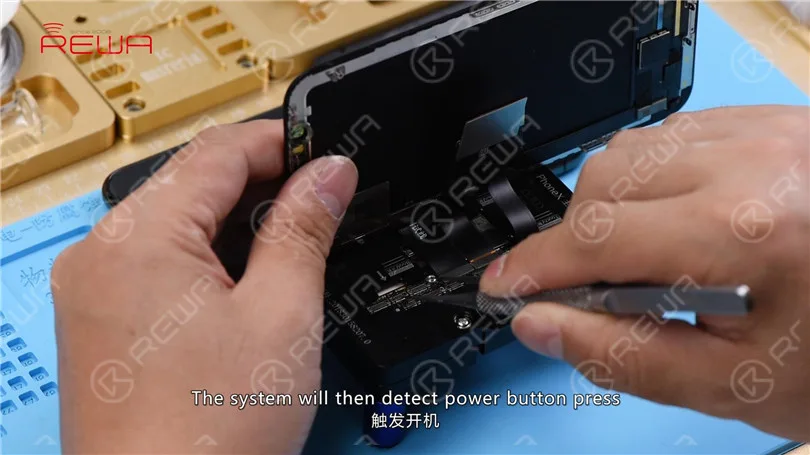
    Now, let’s get the motherboard installed to the testing kit. Buckle up the extension flex cable of the display assembly. Then the charging port flex cable and the display assembly. Connect the battery connector with the DC Power Supply. Short Pin 9 of J4300 to the ground with tweezers. The system will then detect power button press. Current reading on the ammeter is normal.

    iPhone X Bottom Speaker Not Working Repair
    iPhone X Bottom Speaker Not Working Repair

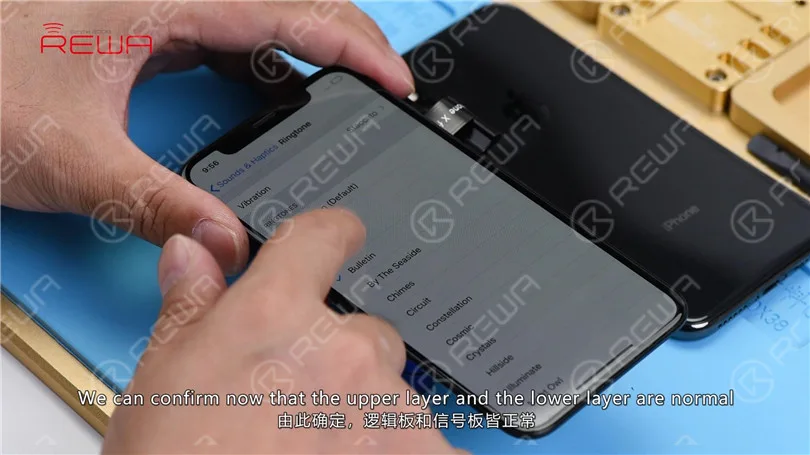
    Go to Settings > Sounds & Haptics > Ringtone. Select a default ringtone. Normal output sound this time.

    iPhone X Bottom Speaker Not Working Repair

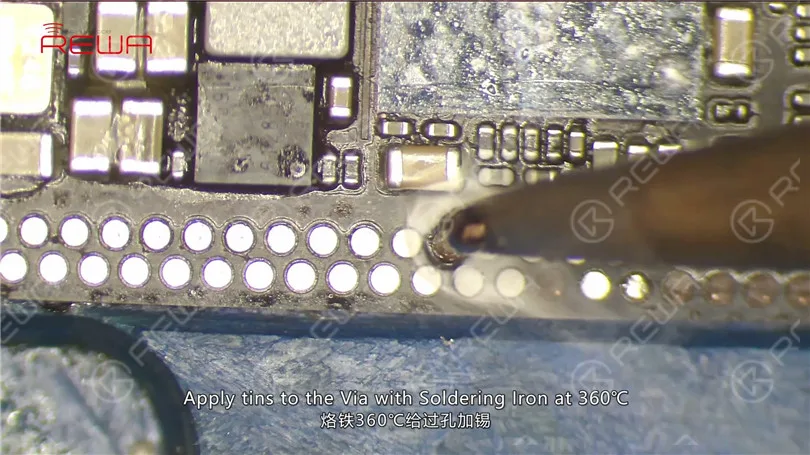
    We can confirm now that the upper layer and the lower layer are normal. And the fault is caused by pseudo soldering of cylinders. We can fix the problem by soldering the two layers together. Also before soldering, we need to treat Pin S166 with jumper wiring. Apply tins to the Via with Soldering Iron at 360℃. Prepare a length of tin applied Enameled Copper Wire of 0.02mm in diameter. Solder one end to the tin applied Via.

    iPhone X Bottom Speaker Not Working Repair
    iPhone X Bottom Speaker Not Working Repair

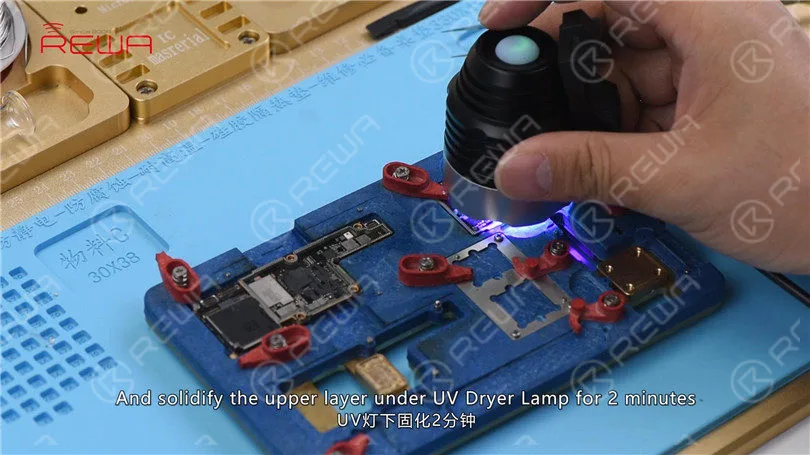
    Clean with PCB Cleaner afterwards. Then apply some UV Curable Solder Mask to the soldered area. And solidify the upper layer under UV Dryer Lamp for 2 minutes.

    how fix iphone bottom speaker not working c081 18

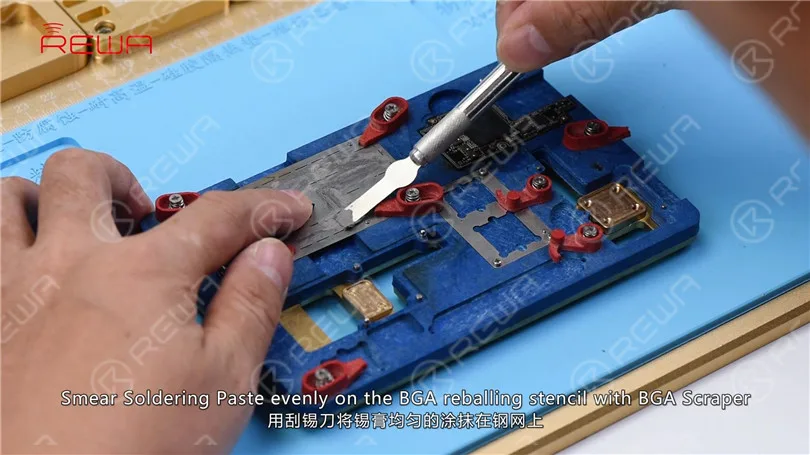
    Then get the other end to the right position. Next, attach the lower layer to PCB Holder. Fix the BGA Reballing Stencil to the right position. Smear Soldering Paste evenly on the BGA reballing stencil with BGA Scraper. Wipe out excess Soldering Paste with lint-free wiping cloth.

    iPhone X Bottom Speaker Not Working Repair

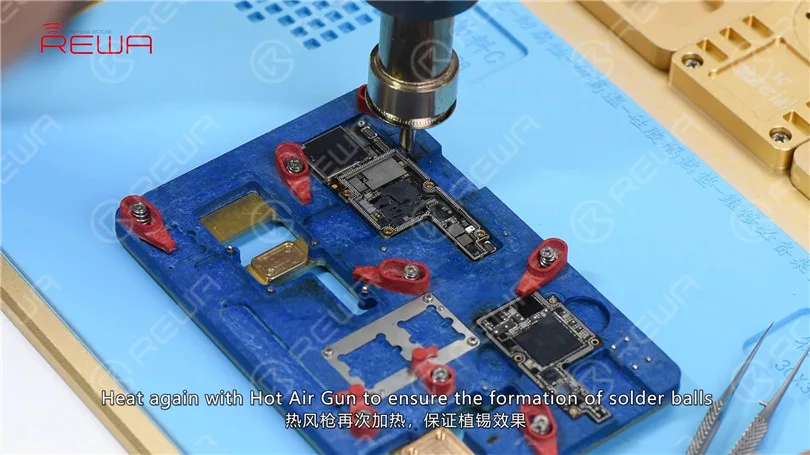
    Then heat evenly with Hot Air Gun at 350℃, air flow 35. So that all solder balls can solidify completely. Remove the BGA reballing stencil after 2 minutes. Heat again with Hot Air Gun to ensure the formation of solder balls.

    iPhone X Bottom Speaker Not Working Repair

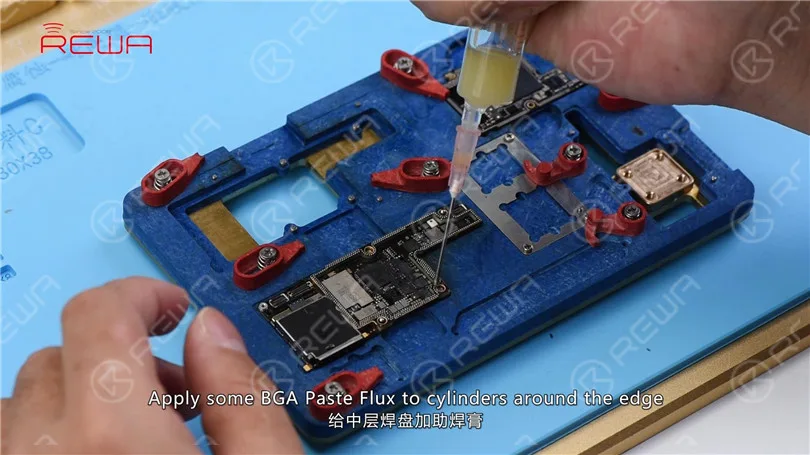
    Apply some BGA Paste Flux to cylinders around the edge and get the upper layer in position.

    iPhone X Bottom Speaker Not Working Repair

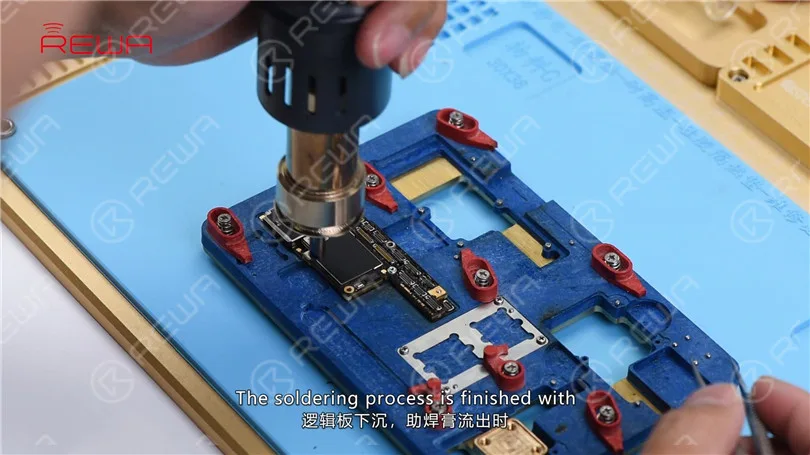
    Heat evenly with Hot Air Gun at 350℃, air flow 65. The soldering process is finished with the upper layer sinking and Paste Flux overflowing.

    iPhone X Bottom Speaker Not Working Repair

    Wait for the motherboard to cool for 5 minutes. Now, let’s assemble the phone and test. Go to Settings>Sounds&Haptics>Ringtone. Select a default ringtone, normal output sound this time.

    iPhone X Bottom Speaker Not Working Repair
  • Troubleshooting iPhone X Not Responding in Sleep Mode

    Troubleshooting iPhone X Not Responding in Sleep Mode

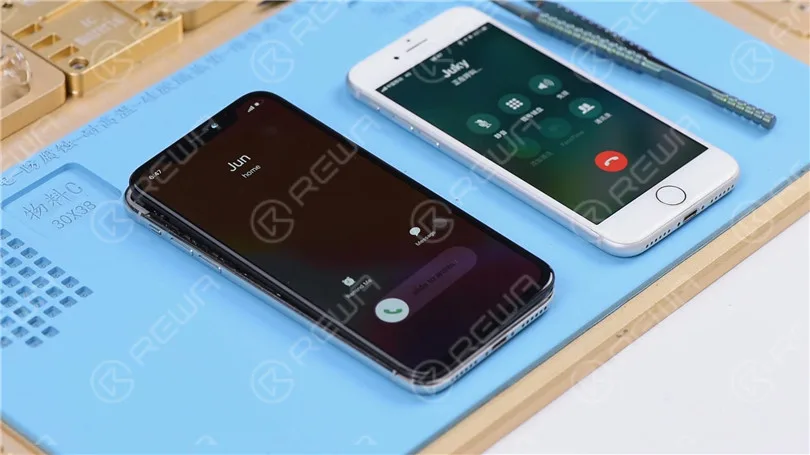
    Hello guys, today we will walk you through the troubleshooting of a rare case of iPhone X not responding in sleep mode when getting incoming calls.

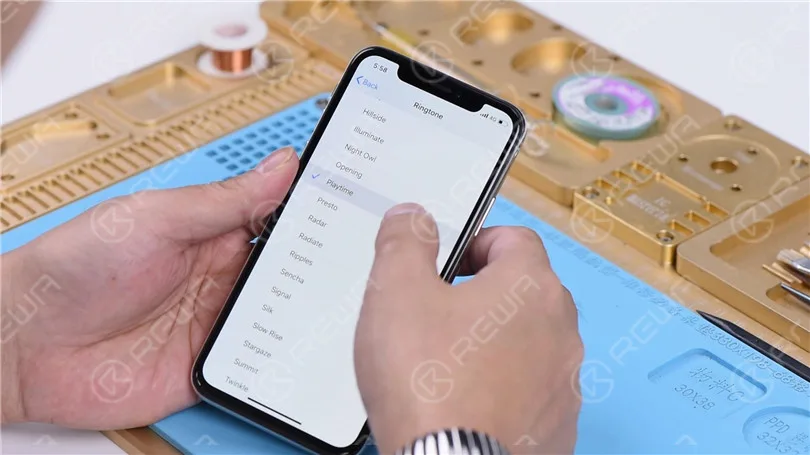
    Go to Settings>Sounds & Haptics. All going well.

    How to Fix iPhone X Not Responding in Sleep Mode When Getting Incoming Calls

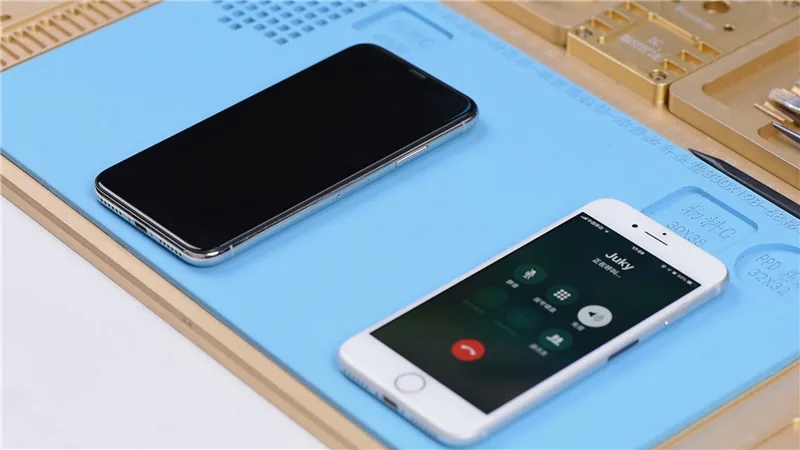
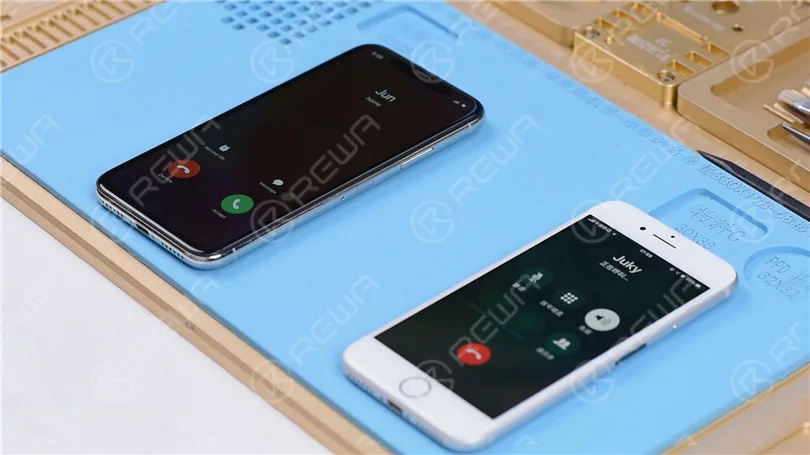
    With the screen on, place a call to the phone using a known-good phone. The decline and answer buttons appear on the screen.

    How to Fix iPhone X Not Responding in Sleep Mode When Getting Incoming Calls

    Turn the screen off. Place a call to the phone using a known-good phone. The phone is not responding at all. Press the power button to turn the screen on. We can see the decline and answer buttons on the screen.

    How to Fix iPhone X Not Responding in Sleep Mode When Getting Incoming Calls

    Judging by this, relevant circuits of the baseband wake signal might have malfunctioned. Take apart the phone and disconnect the battery. Remove the display assembly and take out the motherboard.

    How to Fix iPhone X Not Responding in Sleep Mode When Getting Incoming Calls

    Attach the motherboard to the PCB Holder. Heat with Hot Air Gun at 200℃, air flow 3. Tear off the heat dissipation sticker on the backside of the motherboard.

    How to Fix iPhone X Not Responding in Sleep Mode When Getting Incoming Calls

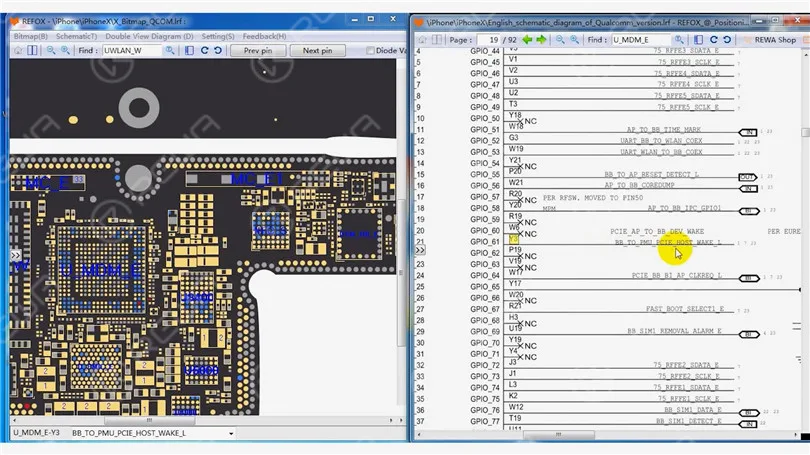
    Open the bitmap software. Locate BB_TO_PMU_PCIE_HOST_WAKE_L. Since relevant circuits of the wake signal might have malfunctioned, we can try to borrow the wake signal from WiFi relevant circuits.

    How to Fix iPhone X Not Responding in Sleep Mode When Getting Incoming Calls

    Locate WLAN_TO_PMU_HOST_WAKE. We can connect PP101_E-1 (the test point of the baseband wake signal) with PP7611_W-1 (the test point of the WiFi wake signal) by jumping a wire.

    Scrape off the insulating coating on the two test points first. Then apply some solder paste to the two bonding pads. Heat with Soldering Iron at 365℃. Tin the two bonding pads with solder paste.

    How to Fix iPhone X Not Responding in Sleep Mode When Getting Incoming Calls
    How to Fix iPhone X Not Responding in Sleep Mode When Getting Incoming Calls

    Connect PP101_E-1 to PP7611_W-1 with 0.02mm Enameled Copper Wire.

    How to Fix iPhone X Not Responding in Sleep Mode When Getting Incoming Calls

    Then coat the wire with the UV Curable Solder Mask.

    How to Fix iPhone X Not Responding in Sleep Mode When Getting Incoming Calls

    Now we can assemble the phone and test. With the screen off, test again. All going well. Fault cleared.

    How to Fix iPhone X Not Responding in Sleep Mode When Getting Incoming Calls

  • iPhone X no Response after Entering Password

    iPhone X no Response after Entering Password

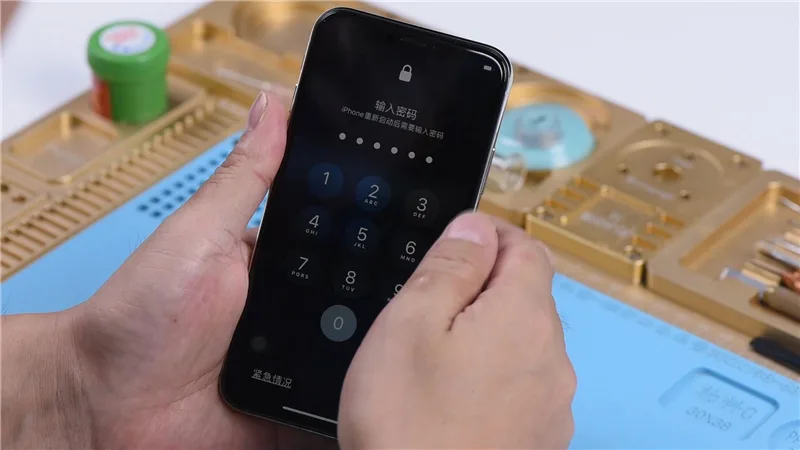
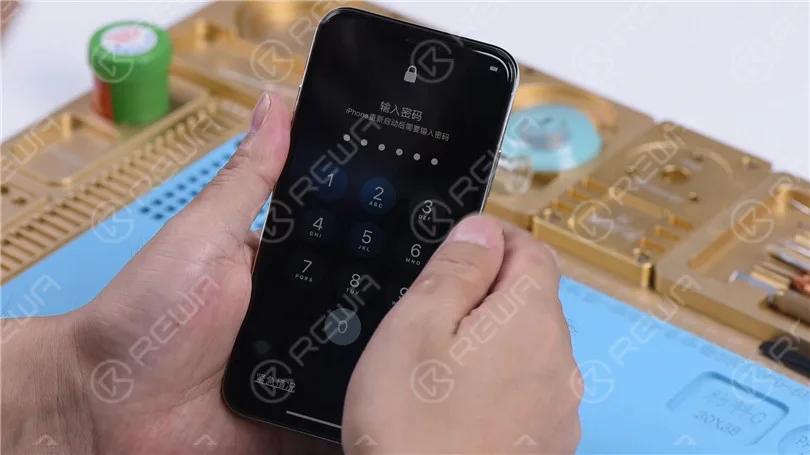
    Today our repair course is about fixing an iPhone X that freezes after entering passcode.
    The iPhone X freezes after entering passcode.

    Based on our experience, the issue is probably related to the NFC circuit.

    iPhone X Freezes after Entering Password

    Take apart the phone and disconnect the battery.

    Remove the display assembly. Take out the motherboard.

    Run cosmetic inspection of the motherboard. The motherboard is not water damaged.

    iPhone X Freezes after Entering Password

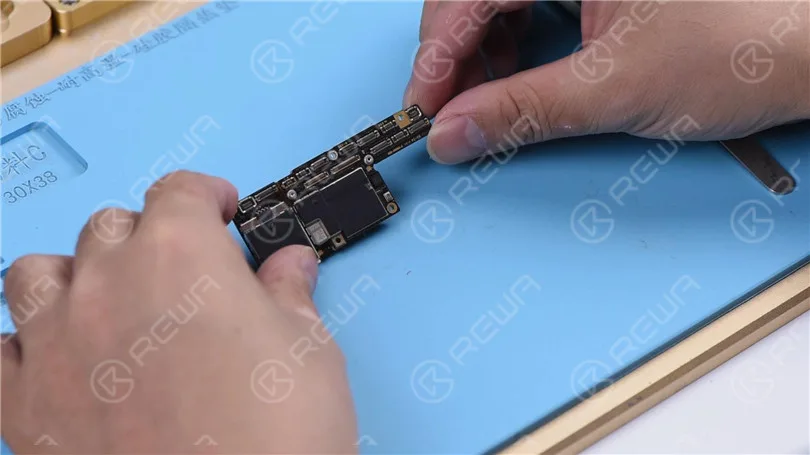
    The first thing we do is to separate the upper layer from the lower layer.

    Remove dust-proof sponge on the board. Set temperature of the heating platform at 160℃.

    Place the motherboard on the heating platform.

    iPhone X Freezes after Entering Password

    With the temperature of the platform reaching 160℃, take down the upper layer with tweezers and then the lower layer. The upper layer and the lower layer look just fine.

    For further confirmation, let’s test the two layers with the test fixture. Before test, we need to clean the third space PCB.  Attach the lower layer to the PCB Holder.

    Heat with the Soldering Iron at 365℃. Clean pads around the edge of the lower layer with rosin soaked Solder Wick. Once done, continue to attach the upper layer to the PCB Holder.

    Heat with the Soldering Iron at 365℃. Clean pads around the edge of the upper layer with rosin soaked Solder Wick. Clean with PCB Cleaner afterwards.

    We find that S159 pad on the upper layer has come off the board.

    iPhone X Freezes after Entering Password

    S159 pad is the audio signal of the audio/speaker amplifier IC U5000.

    Coming-off of the pad means that NFC connecting pads nearby might have been pseudo soldered and therefore resulted in the frozen screen issue.

    Scrape with sculpture knife to get the circuit under S159 pad exposed. Then stick high temperature tape on components around.

    iPhone X Freezes after Entering Password

    Apply some mid-temperature solder paste to the missing pad.

    Heat with Hot Air Gun at 300℃, air flow 2.

    Once done, push the solder joint with tweezers carefully.

    Make sure the solder joint has shaped-up perfectly.

    iPhone X Freezes after Entering Password

    Then remove a complete pad from a spare iPhone X motherboard.

    Cover the pad face-down on the solder joint. Solder with Hot Air Gun at 300℃, air flow 2.

    iPhone X Freezes after Entering Password

    Tips: when soldering, press the pad gently with tweezers to ensure that the height of the pad is consistent with that of nearby pads.

    Once done, apply some UV curable solder mask to the pad.

    And then solidify under the UV Lamp for 10 minutes.

    iPhone X Freezes after Entering Password

    Continue to scrape with sculpture knife to get the pad exposed.

    Clean with PCB Cleaner afterwards. Now we can test the upper layer and the lower layer with the test fixture. Attach the two layers to the test fixture.

    Get the screen connected. Connect the battery connector with the DC Power Supply.

    iPhone X Freezes after Entering Password

    Get the motherboard powered on with tweezers. The phone turns on normally. Enter the passcode. The phone enters the home screen normally.

    Touch function is also normal. We can confirm now that the fault is caused by pseudo soldering of the third space PCB. We can fix the problem by soldering the two layers back together.

    Put the lower layer into the reballing mold. Get the BGA Reballing Stencil in position.

    Place the mold onto the base. The stencil is tightly attached to the lower layer because of the magnetic structure of the base. Smear some low-temp Solder Paste on the stencil.

    Wipe off excess solder paste with lint-free wiper. Then take the mold down from the base. Remove the reballing stencil.

    iPhone X Freezes after Entering Password

    Heat the lower layer on the heating platform at 160℃.

    Once solder balls have shaped up completely. Cool for 5 minutes. Apply some BGA Paste Flux to the third space PCB.

    iPhone X Freezes after Entering Password

    And get the upper layer in position.

    Power on the heating platform. With the temperature reaching 160℃.

    Turn the power switch off. Cool for 5 minutes.

    Then take down the motherboard from the heating platform.

    Again, let’s assemble the phone and test. Fault cleared.

    iPhone X Freezes after Entering Password