Apple’s annual Worldwide Developers Conference, WWDC 2017, is happening in San Jose, CA, from June 5 to June 9 at the McEnery Convention Center. This event brings together developers and over 1,000 Apple engineers for sessions and networking.
The first day usually kicks off with a keynote where Apple unveils upcoming software and occasionally introduces new hardware.
Key Announcements:
New iPad Pro:
The new iPad Pro comes in two sizes: 10.5-inch and 12.9-inch, with a stunning Retina display.
It offers powerful performance, simplicity of use, and runs on iOS, the world’s most advanced mobile operating system.
Refreshed iMacs:
The latest iMacs feature new processors, cutting-edge graphics, innovative storage, and improved connectivity.
The Retina display is now brighter and more colorful, providing an immersive experience.
iMac Pro:
The iMac Pro is the fastest and most powerful iMac to date, with a 27-inch 5K display and advanced internal components.
It’s designed for professional-level performance, featuring Intel Xeon processors, Radeon Pro Vega GPUs, and impressive storage and memory options.
Mac OS High Sierra:
The newest Mac operating system, macOS High Sierra, focuses on reliability, capability, and responsiveness.
It includes under-the-hood updates and refines everyday features and apps.
Other Announcements:
iOS 11 introduces new features for iPhone and iPad.
WatchOS 4 enhances the Apple Watch with smarter activity and workout features.
HomePod is a breakthrough home speaker with exceptional sound and intelligence.
The event also showcased refreshed MacBooks, new watch bands, a Wireless Magic Keyboard with a Numeric Keyboard, and new iPad cases.
Apple has recently rolled out the first beta test version of iOS 15.2, marked with the version number 19c5026i. This update brings several noteworthy features and improvements, with a primary focus on enhancing user privacy and safety. In this article, we will delve into the key highlights of the iOS 15.2 beta update.
key highlights of the iOS 15.2 beta update.
App Privacy Report
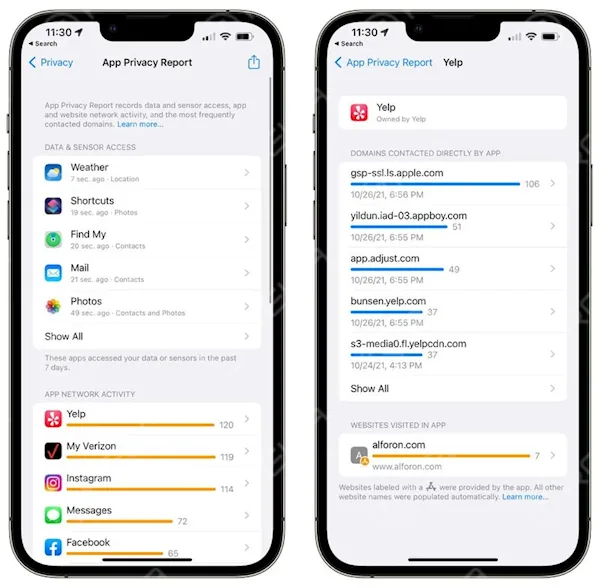
Privacy has been a core concern for smartphone users, and Apple continues to address this with the iOS 15.2 beta update. One of the standout features is the App Privacy Report, which empowers users to gain insights into their applications’ activities, including data network usage, location information, access to address books, and more.
To access this feature after updating your device to iOS 15.2:
1. Go to “Settings.”
2. Select “Privacy.”
3. Tap on “App Privacy Report.”
4. Enable “Open Application Privacy Report.”
Once activated, this feature will begin displaying the data whenever you use an application. This transparency gives users a better understanding of how apps interact with their data.
Emergency SOS
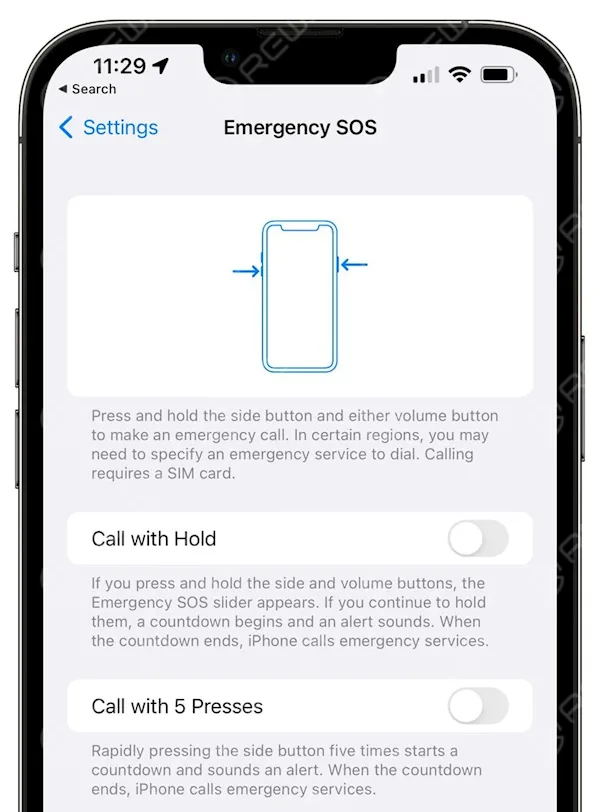
The Emergency SOS feature on iPhones plays a critical role in ensuring user safety. When activated, it automatically dials the local emergency number and shares your current location with your emergency contacts via SMS.
In the iOS 15.2 beta, the SOS Emergency Call function receives some notable updates for even quicker access and enhanced safety:
Activation: Now, you can activate Emergency SOS by using a combination of the power button and volume keys. Alternatively, a quick press of the power button five times will activate it.
Countdown Timer: The automatic dialing countdown has been extended from 3 seconds to 8 seconds. This gives users more time to cancel the call if it was accidentally triggered.
Notification Summary
Managing notifications is made more efficient and organized with the iOS 15.2 beta. The Notification Summary feature receives an update with improved card appearances. This means that your notifications are presented in a cleaner and more visually appealing manner.
Information Security
For parents concerned about their child’s online safety, the iOS 15.2 beta offers a valuable feature. When parental controls are enabled on a device used by a child, the system will notify parents if it detects the transmission or receipt of inappropriate content, such as indecent images.
This proactive approach empowers parents to stay informed and take necessary actions to protect their children online.
Conclusion
The iOS 15.2 beta update from Apple introduces significant enhancements in user privacy, safety, and notification management. With the new App Privacy Report, users can gain insights into app activities, while the updates to Emergency SOS and Notification Summary streamline important functions. Additionally, the focus on information security ensures a safer digital environment for young users.
As you explore these features in the iOS 15.2 beta, remember to provide feedback to Apple to help shape the final release, and stay tuned for further improvements as the beta testing progresses. Your data privacy and safety are at the forefront of Apple’s efforts, and these updates reflect their commitment to delivering a secure and user-friendly experience.
Disclaimer: This article discusses features in the iOS 15.2 beta, and some details may be subject to change in the final release. Please keep your device updated and refer to official Apple resources for the latest information.
Apple recently released the official version of iOS 15.1, along with iPadOS 15.1, WatchOS 8.1, and macOS 12.
To update your device from the iOS 15.1 beta system to the official version, follow these steps: remove the iOS 15 beta description file, restart your device, and wait for the iOS 15.1 official version update push.
SharePlay function and the support of HomePod’s non-destructive audio and Dolby Panorama audio audio.
SharePlay
SharePlay is a new way to share synchronized experiences in FaceTime with content from the Apple TV app, Apple Music, Fitness+, and other supported App Store apps
Shared controls give everyone the ability to pause, play, rewind or fast forward
Smart volume automatically lowers the audio of a movie, TV show or song when your friends speak
Apple TV supports the option to watch the shared video on your big screen while you continue the FaceTime call on iPhone
Screen sharing lets everyone on a FaceTime call look at photos, browse the web, or help each other out
HomePod non-destructive support
After upgrading to the iOS 15.1 system, the HOMEPOD supports the lossless audio and Dolby Panorama of Space Audio.
Camera
ProRes video capture using iPhone 13 Pro and iPhone 13 Pro Max
Setting to turn off automatic camera switching when taking macro photos and videos on iPhone 13 Pro and iPhone 13 Pro Max
Apple Wallet
COVID-19 vaccination card support allows you to add and present verifiable vaccination information from Apple Wallet
This release also fixes the following issues:
Photos app may incorrectly report storage is full when importing photos and videos
Weather app may not show current temperature for My Location, and may display colors of animated backgrounds incorrectly
Audio playing from an app may pause when locking the screen
Wallet may unexpectedly quit when using VoiceOver with multiple passes
Available Wi-Fi networks may not be detected
Battery algorithms updated on iPhone 12 models to better estimate battery capacity over time
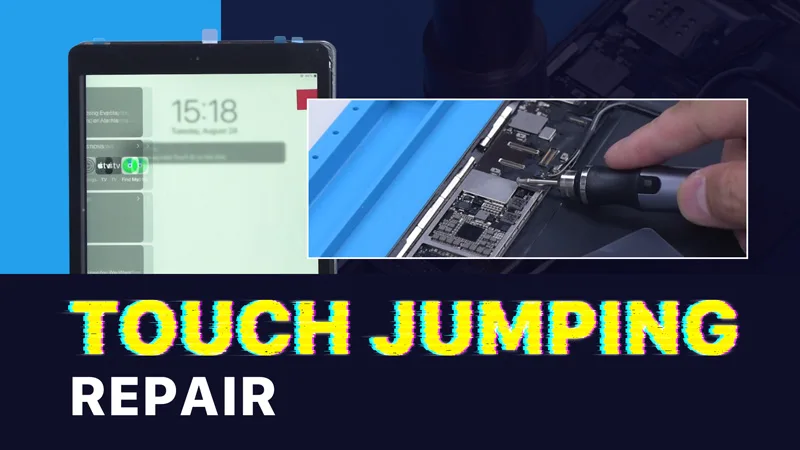
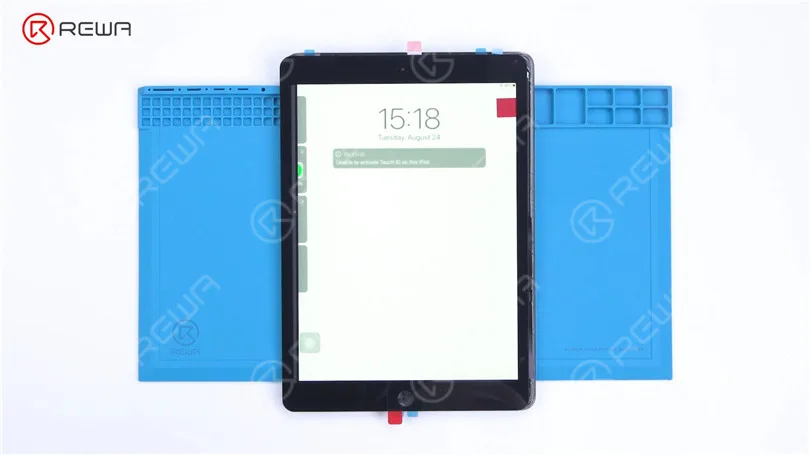
Today we will share how to repair iPad touch screen jumping. The touch screen of the iPad is still jumping after touch screen replacement.
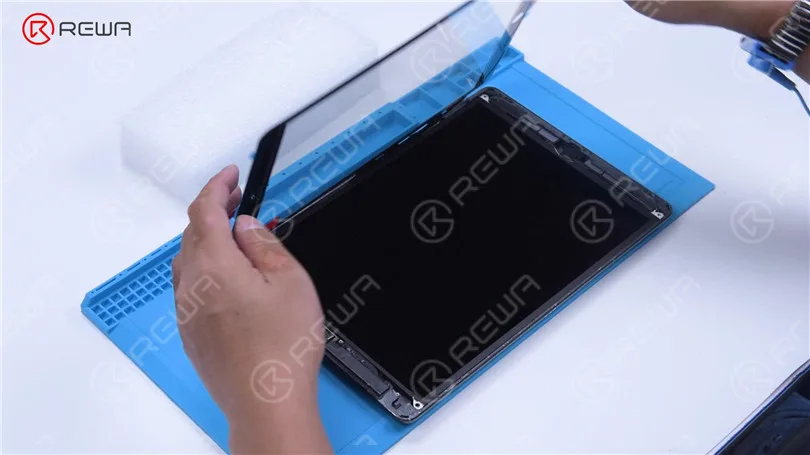
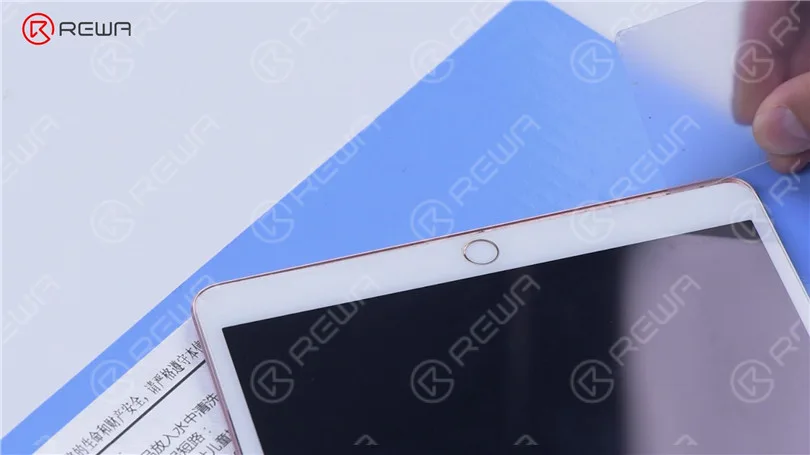
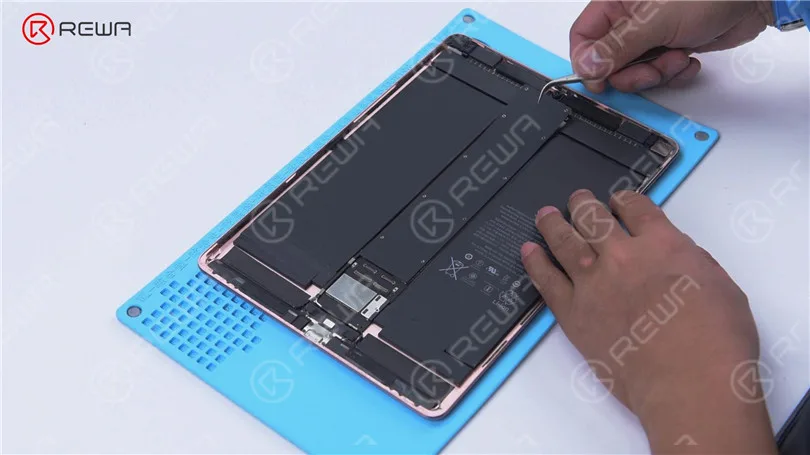
It can be preliminarily judged that the problem is caused by a motherboard fault. Next, we need to check the motherboard. Detach the touch screen and display.
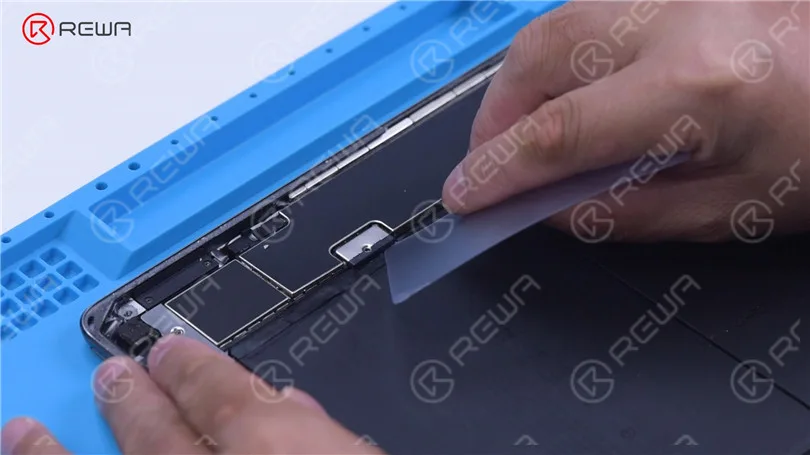
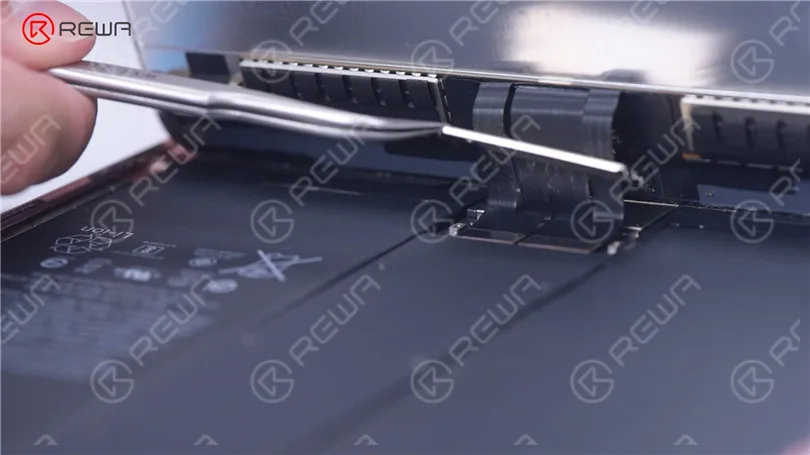
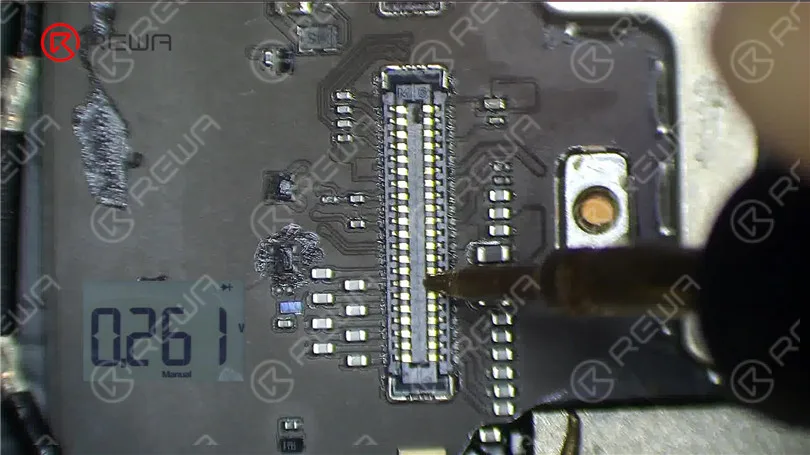
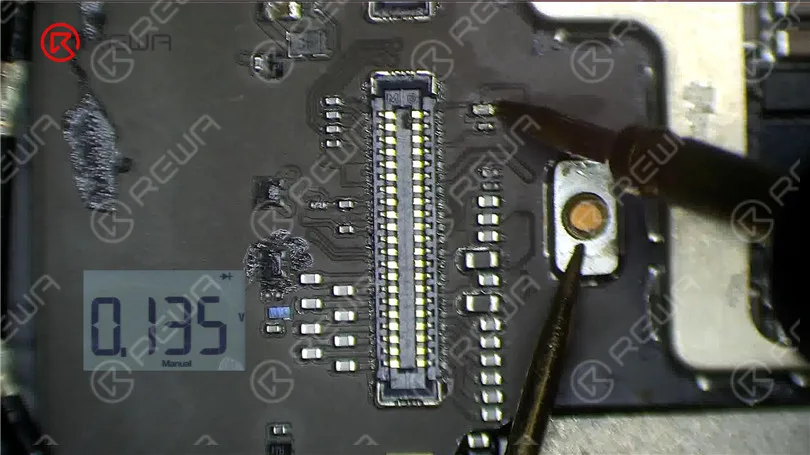
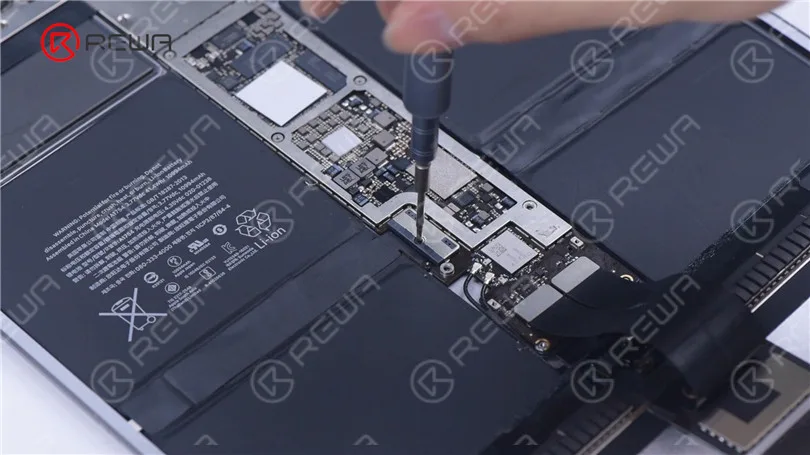
Remove the screw on the motherboard and insert a Pry Piece to disconnect the battery. Measure diode values of the two connectors with diode mode of the multimeter. The diode values are normal. It indicates that the circuit connecting the touch connectors to the touch IC is normal.
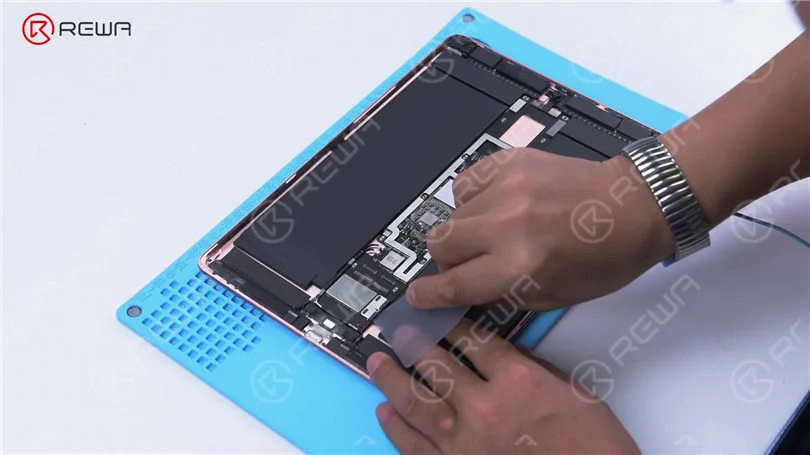
Then we try to replace the touch IC. Remove the shielding cover on the motherboard. Since there is another soldered shielding cover on the touch IC, we need to grind the shielding cover and then heat to remove. Grind the shielding cover with a Grinding Pen. Please pay attention not to damage surrounding components while grinding.
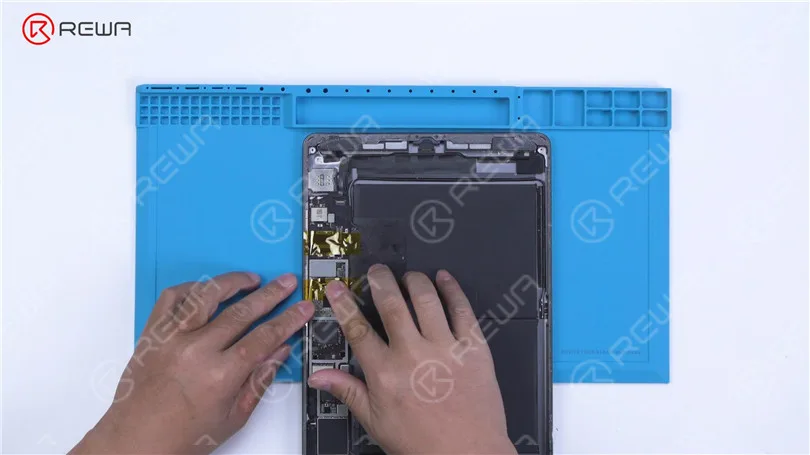
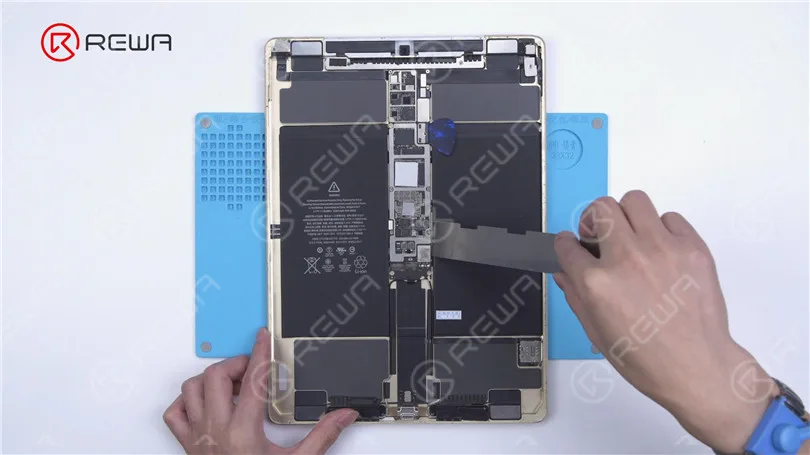
Tear off the tape after grinding. Disconnect the flex cable. To prevent hard desoldering due to fast heat dissipation, pry up the motherboard with a metal blade.
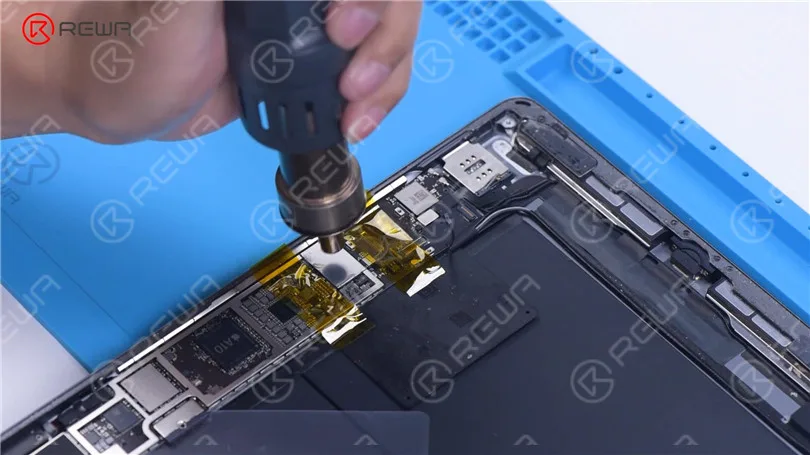
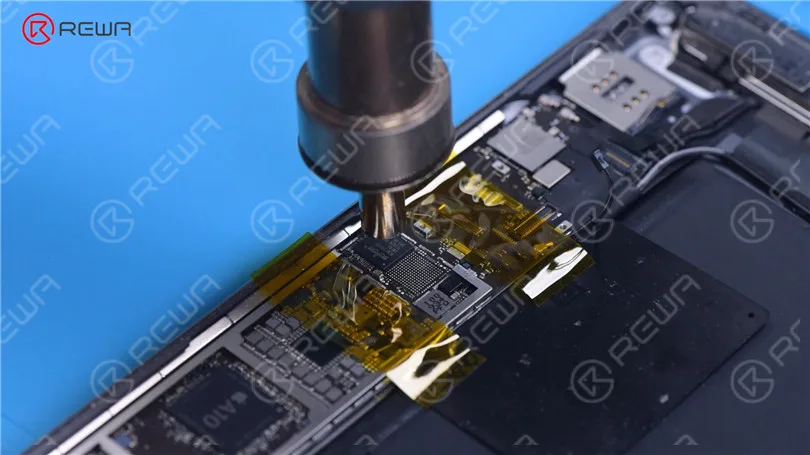
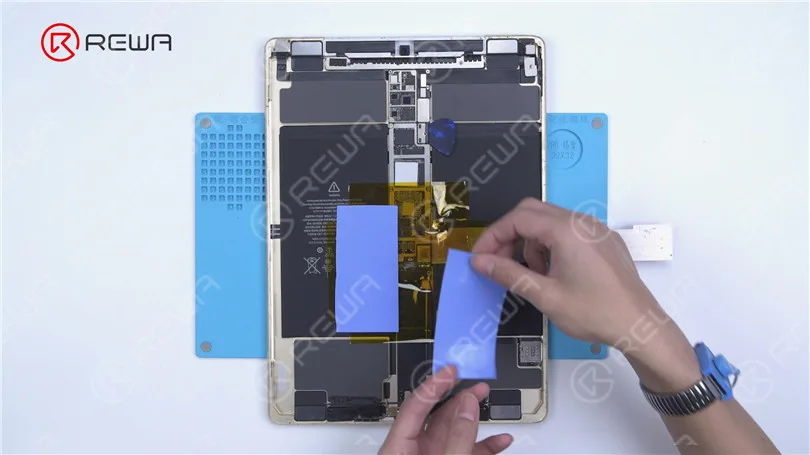
Protect nearby components with high-temperature tape. Apply some Paste Flux. Remove the shielding cover with QUICK 861D Hot Air Gun at 400 °C and airflow 45.
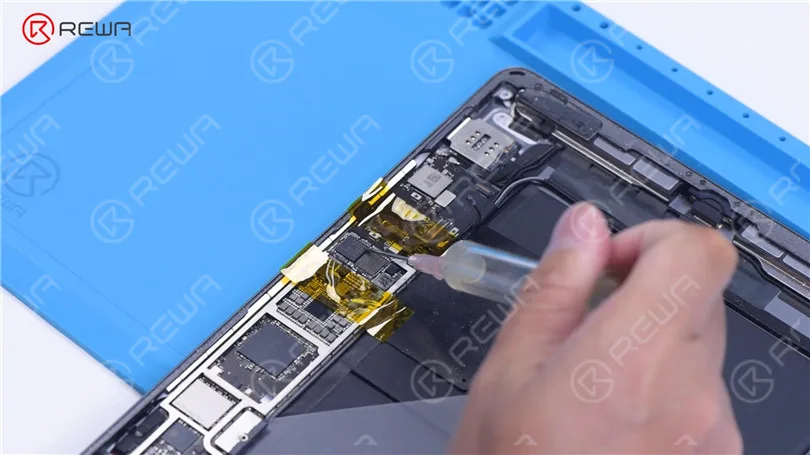
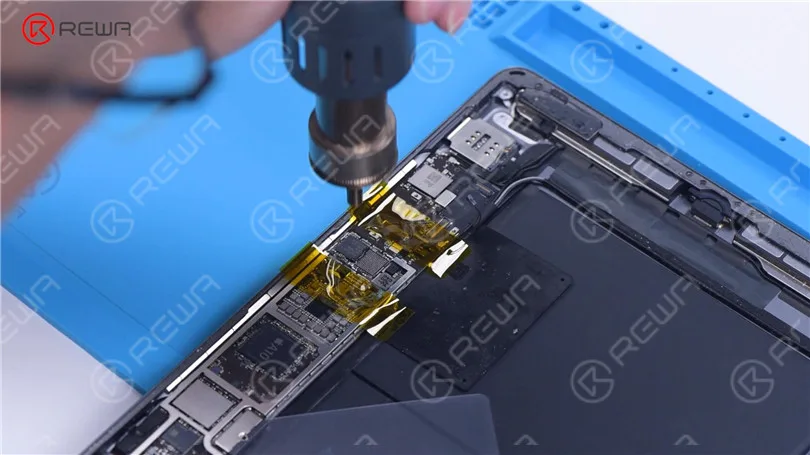
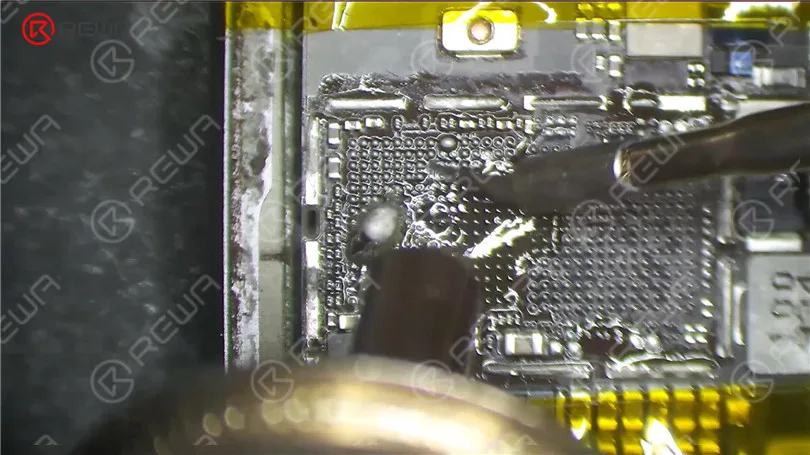
Apply some Paste Flux around the touch IC. Keep heating to remove the Touch IC. Apply some middle-temperature Solder Paste to the bonding pads with Soldering Iron at 365 °C.
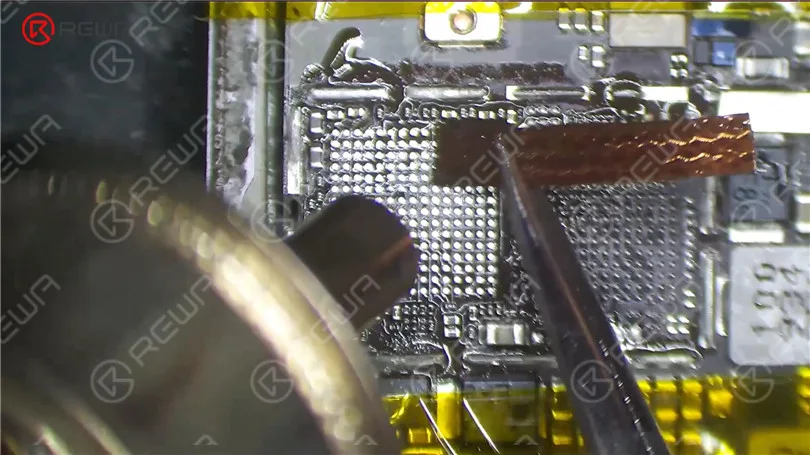
Add heat with Hot Air Gun to clean the bonding pads. Keep cleaning the bonding pads with Solder Wick. Clean the bonding pads with PCB Cleaner.
Apply some Paste Flux. Put a new touch IC in position. Heat with Hot Air Gun to solder.
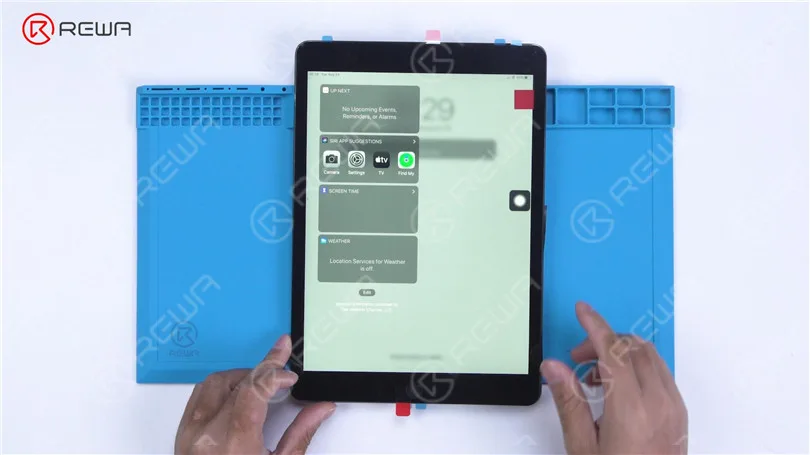
After the motherboard has cooled, remove the high-temperature tape. Connect the flex cable. Install the screw. Then install the touch screen and display. Turn on the iPad. The touch screen has returned to normal. The touch jumping problem has disappeared.
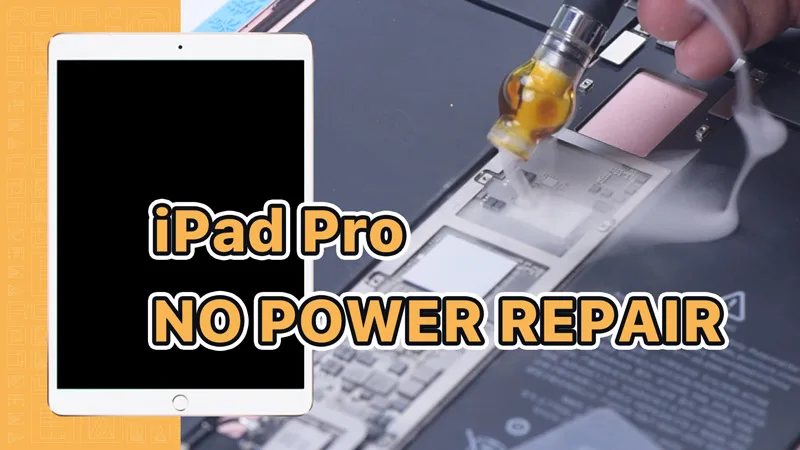
Have you encountered the disheartening situation of finding your beloved iPad Pro damaged by water and not working properly? Whether you mistakenly dropped it in the bathtub or spilled water on it, we’re here to assist you. This blog post provides precise details and proven methods to recover your water-damaged iPad Pro.
Initial Troubleshooting:
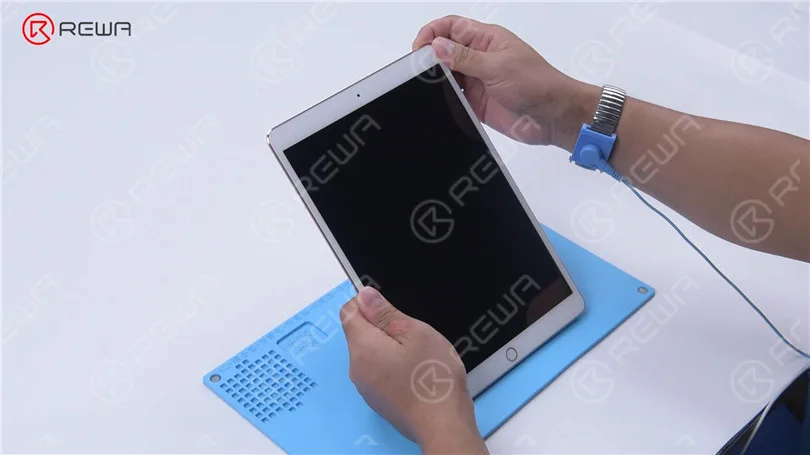
When your iPad Pro won’t turn on due to water damage, try pressing the power button.
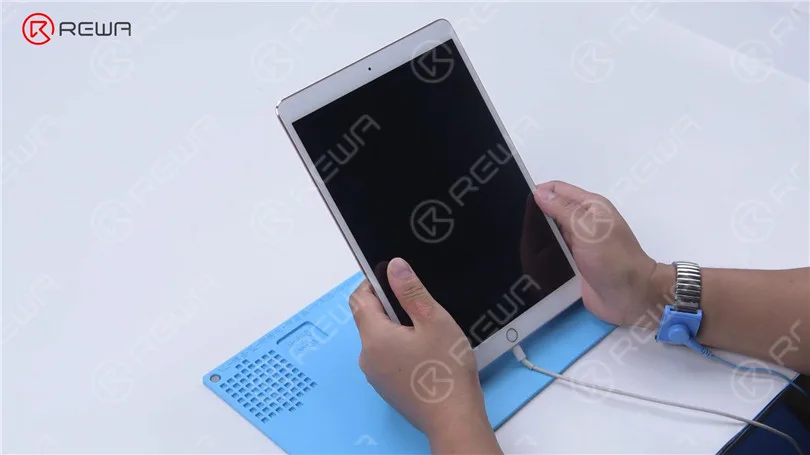
If it still doesn’t power on, connect it to a power supply and check for signs of life.
Disassembly and Heating
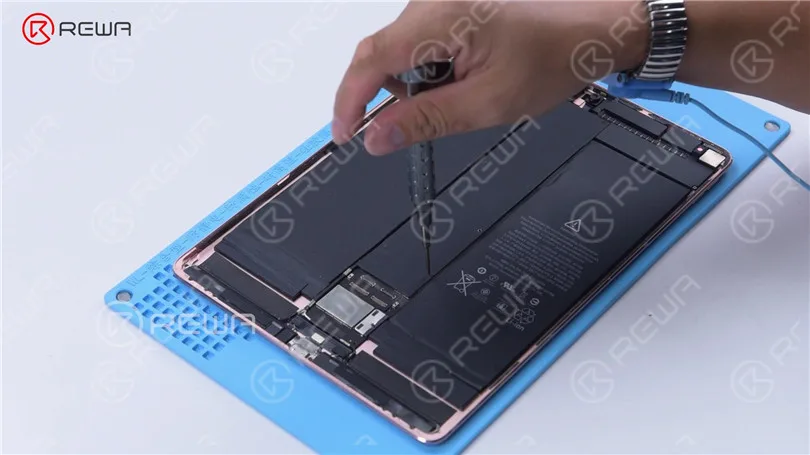
To begin the repair process, you’ll need to disassemble the iPad Pro.
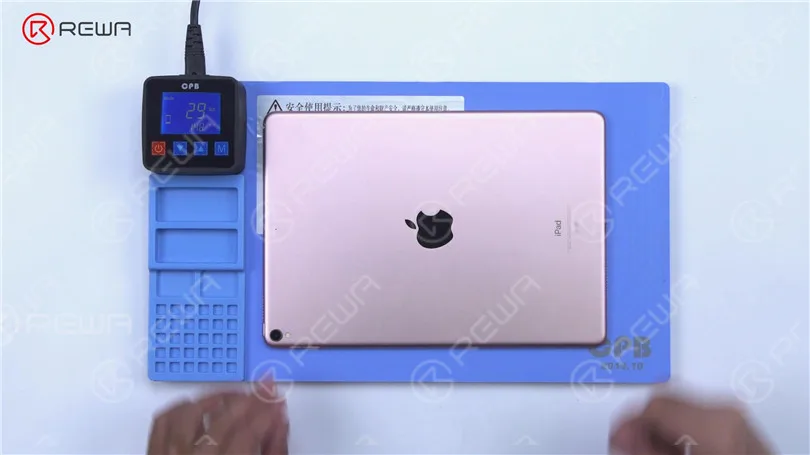
Place the iPad Pro on a heating pad and heat it to approximately 70°C. Carefully separate the screen using a pry tool, paying attention to the angle and direction to avoid damaging flex cables.
Motherboard Inspection
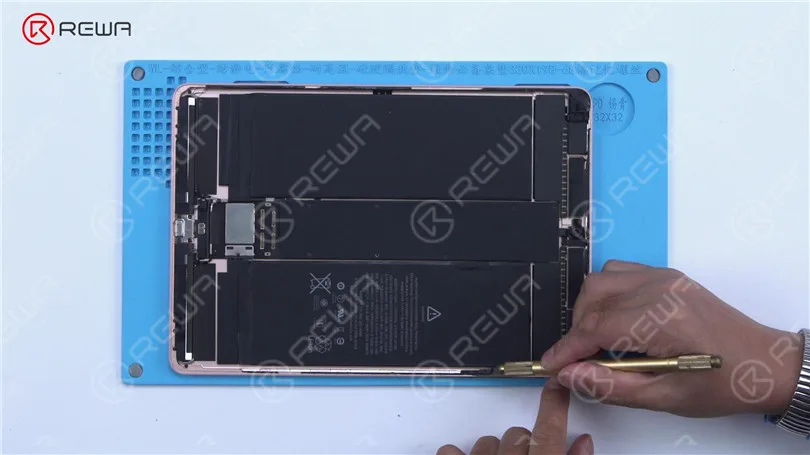
Remove screws from the shielding cover with a screwdriver and detach the shielding cover.
Disconnect flex cables and proceed to remove screws from the motherboard’s shielding cover.
Insert a pry tool between the battery and the motherboard and disconnect the battery.
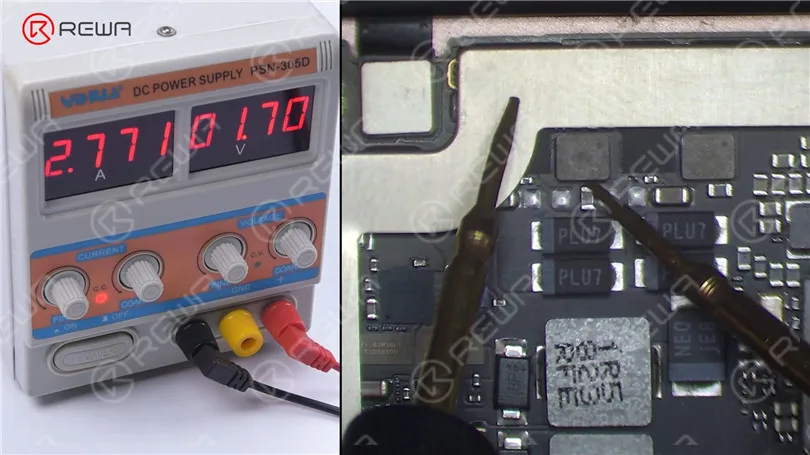
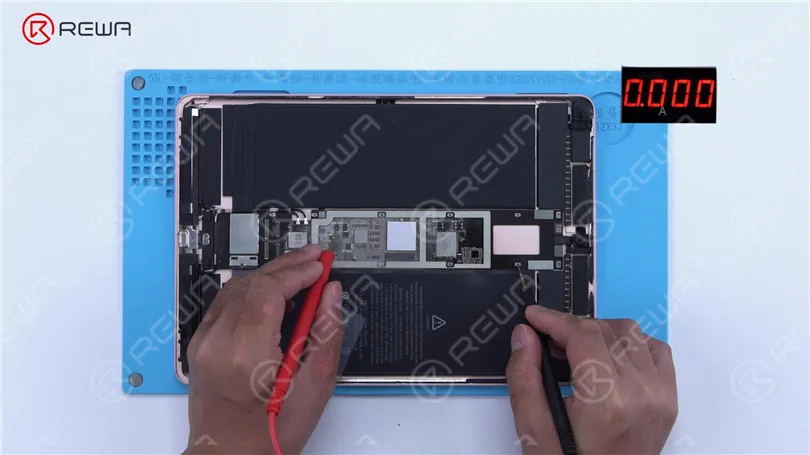
Check the motherboard’s boot current; it should be normal when powered with a direct current supply.
Identifying the Short Circuit
If the boot-up hasn’t been triggered and the current jumps to 2.7 A, there’s likely a short circuit in the main power supply circuit.
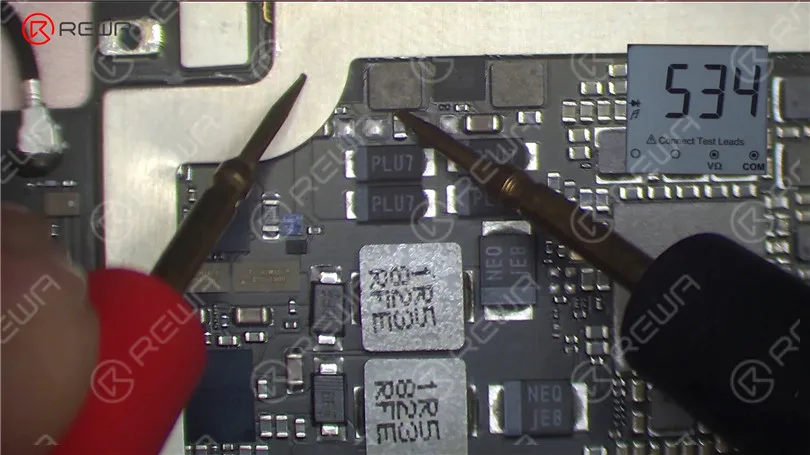
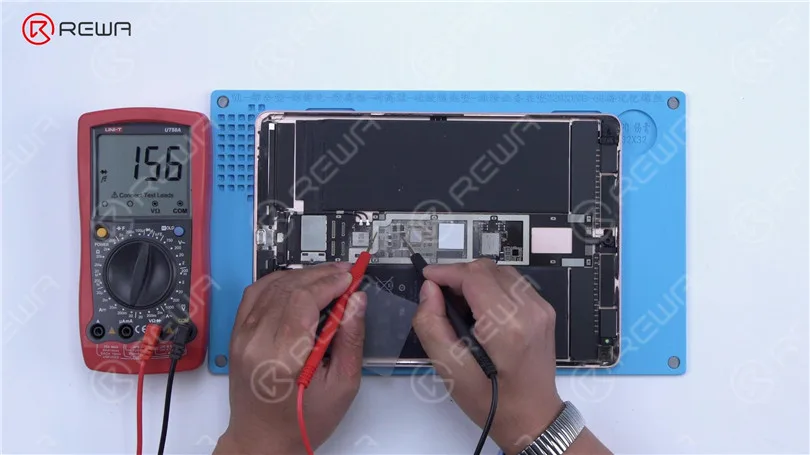
Measure the diode values of the main power supply circuit using a multimeter. A normal diode value is around 534 ohms.
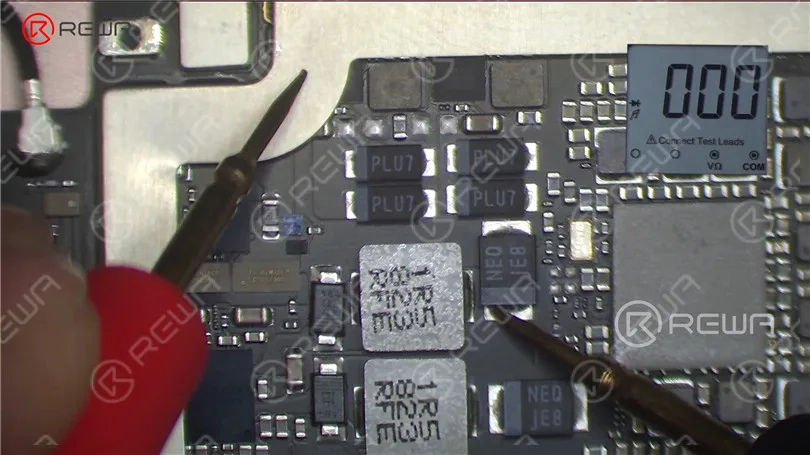
Look for nearby capacitors with diode values of 0; this indicates a short circuit.
Short Circuit Location
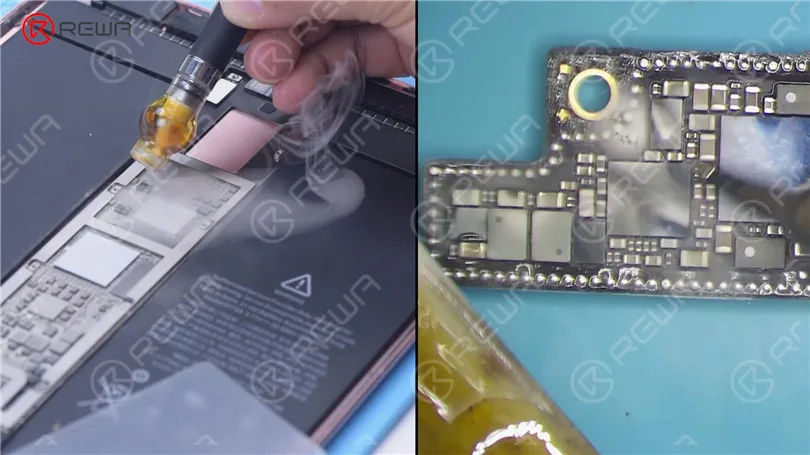
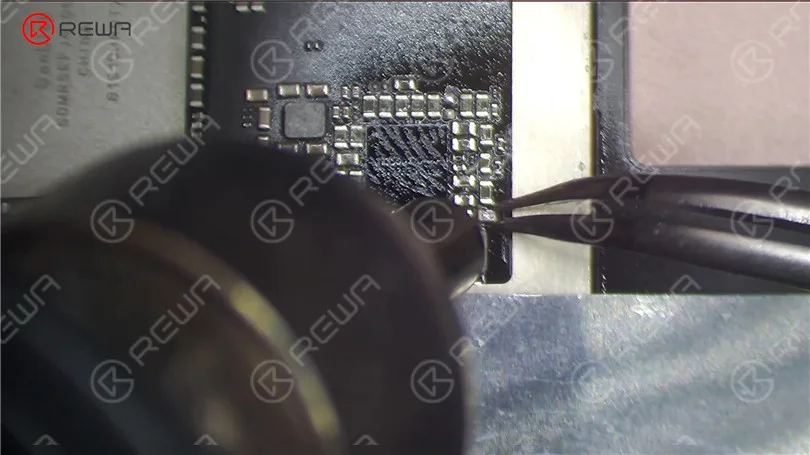
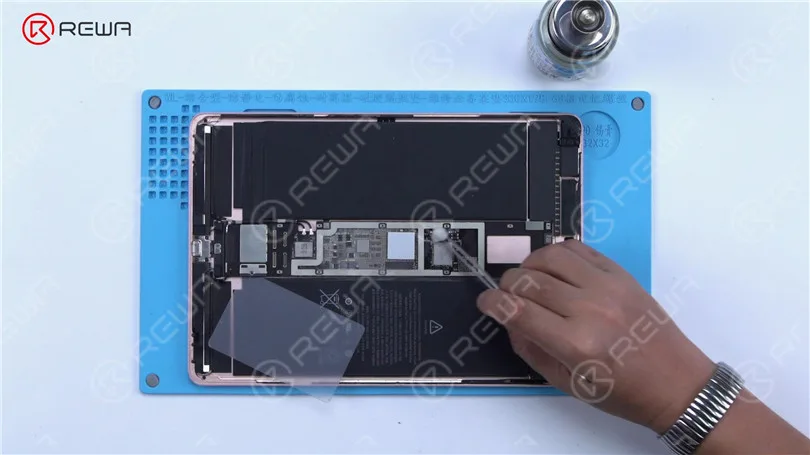
Due to the presence of numerous interconnected components on the circuit, we employ rosin detection to locate the component causing the short circuit. In this case, the rosin dispenser is utilized for dispensing the rosin. It offers a simpler and more effective operation when compared to the conventional soldering iron.
Apply a voltage of 3 V to the motherboard and look for melted rosin on a capacitor, indicating damage.
Component Removal
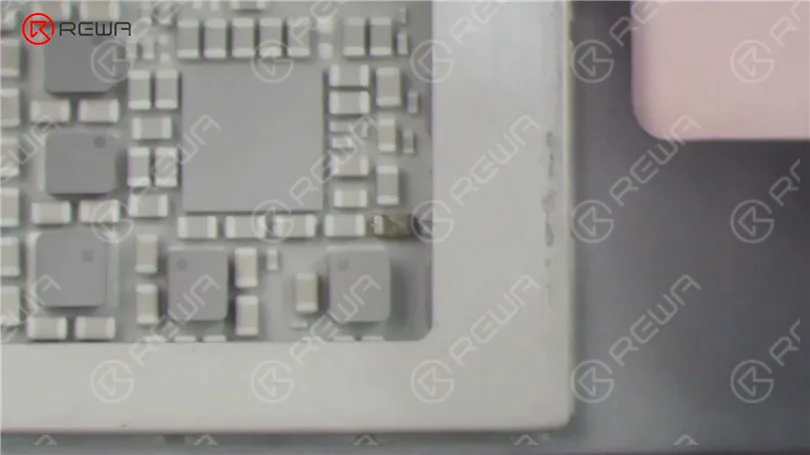
Remove the damaged capacitor with a hot air gun at 340°C and airflow set to 3. Ensure you protect the surrounding battery from heat damage.
Testing and Activation
After the motherboard cools, measure with a multimeter again; the diode value should return to a normal value (around 156 ohms).
Power up the motherboard to trigger the boot-up; the boot current should jump normally.
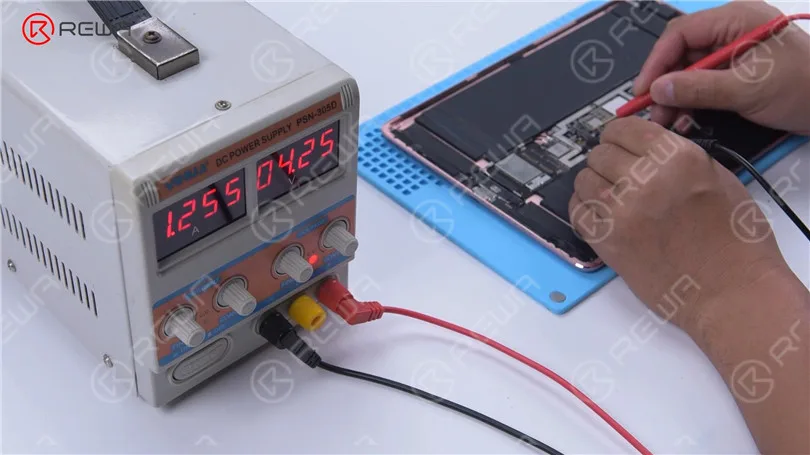
Activate the battery by cleaning the motherboard with PCB cleaner and applying a voltage of 4.2 V to the main power supply circuit.
Reassembly and Final Testing
Utilize PCB Cleaner to clean the motherboard. Take out the Pry Piece. Activate the battery by applying a voltage of 4.2 V to the primary power supply circuit.
Prepare the iPad Pro for testing by putting together its components. Secure the screws and attach the shielding cover. Prior to placing the screen, ensure that the double-sided tape on both the screen and rear cover housing has been removed.
Apply fresh double-sided tape and proceed to install the display.
Power on the iPad Pro to observe if it starts up without any issues. If the iPad Pro powers on normally and the problem has been resolved, it is worth noting that the screen displays indications of water damage. Given the customer’s reluctance to replace the screen, the extent to which our repair can be carried out is limited.
Conclusion
The above steps outline a comprehensive repair guide for a water-damaged iPad Pro that won’t turn on. If you’re interested in learning more about iPhone motherboard repair, consider joining the course offered by REWA Academy. This course includes troubleshooting methods, demo repairs for common motherboard problems, and ongoing technical support to enhance your repair knowledge.
Face ID is a facial recognition system that replaces Apple’s Touch ID fingerprint scanner on certain devices. It uses sensors located near the iPhone’s front-facing camera to scan your face and, if the scan matches the stored data, perform actions such as unlocking the phone or authorizing an Apple Pay transaction.
How Does Face ID Work?
Face ID relies on sensors located in the notch at the top of compatible iPhone screens. These sensors include:
Dot Projector: This projects over 30,000 invisible dots onto your face, creating a 3D facial map.
Infrared Camera: It reads the dots from the Dot Projector and captures an image.
Flood Illuminator: This additional infrared light ensures that Face ID works even in low-light conditions.
The facial map created by the infrared camera is then compared to the data stored on your iPhone to unlock the device or authorize an Apple Pay transaction. It’s also used for features like creating animated emojis based on your facial expressions.
Apple claims that Face ID is intelligent and sensitive enough to recognize you even if you change your hairstyle, wear glasses, grow or shave facial hair, or age. However, there have been some instances where Face ID has misidentified individuals, including twins and children who closely resemble their parents.
What Is Face ID Used for on an iPhone?
Face ID is used for various purposes, similar to Touch ID, including:
Authorizing Apple Pay transactions.
Unlocking the iPhone without using a passcode.
Providing access to your Apple ID and passwords
What Devices Support Face ID?
Face ID is supported on the iPhone X and newer models. It’s possible that, like Touch ID, Face ID may eventually be added to other Apple devices like the iPad.
Is My Face Scan Stored in the Cloud?
No, Face ID data is not stored in the cloud. All face scans are kept directly on your iPhone, specifically in the “Secure Enclave,” a chip dedicated to securing sensitive data. This is also where fingerprint data from Touch ID is stored.
How Secure Is My Face Scan?
Face ID is highly secure due to the way the Secure Enclave functions. Your actual facial scan isn’t stored on your iPhone. Instead, it’s transformed into a numerical representation that is stored on your device. Even if someone were to somehow access the Secure Enclave data (which is extremely unlikely), they would only find a numerical code, not an actual scan of your face. This makes it nearly impossible to misuse the data in other facial recognition systems.
How to Set up and Use Face ID
Setting up Face ID is straightforward, and you likely did it during the initial iPhone setup. You position your face within the onscreen frame and rotate your head until the circle is filled in. Repeat this process as instructed by the phone. If you skipped this step during setup, you can later add Face ID by going to Settings > Face ID and Passcode and following the onscreen instructions. You can also add alternative appearances to Face ID, such as someone you trust or different photos of yourself with varying facial features.
How to Disable Face ID
To quickly disable Face ID, press the side button and volume down buttons simultaneously. To re-enable Face ID, you’ll need to enter your passcode.
How Does Face ID Compare to Other Smartphone Facial Recognition Systems?
Face ID has been widely praised for its accuracy, speed, and ease of use. The transition from Touch ID to Face ID was smoother than anticipated. In contrast, some other facial recognition systems, such as those used by Samsung, have been shown to be less secure and easier to trick, even with a simple photo. Samsung does not allow its facial scans to authorize financial transactions, as Touch ID can on an iPhone.
Using Face ID When Wearing a Face Mask
With the iOS 14.5 update, users can unlock their iPhone X and later use Face ID while wearing a face mask. This feature requires an unlocked Apple Watch Series 3 or later to be nearby. Simply glance at your iPhone, and your Apple Watch will provide haptic feedback to confirm that the iPhone is unlocked.
Frequently Asked Questions
How does Apple Face ID work with a scarf?
Face ID is designed to work with head coverings like scarves and eyewear. It should be able to recognize your face even if you are wearing a hat, scarf, glasses, contact lenses, or many types of sunglasses.
Does Apple Face ID work when eyes are closed?
No, it doesn’t. Face ID is attention-aware and can detect if your eyes are open and your attention is directed toward the device. This feature helps prevent someone from unlocking your device without your knowledge.
In this guide, we’ll explore a detailed step-by-step process for fixing an unresponsive touch screen issue on a 1st Gen iPad Pro. If you’ve encountered this problem, don’t worry; we have a solution that involves diagnosing the issue and making the necessary repairs. Let’s dive into the troubleshooting and repair process.
Power On the iPad Pro
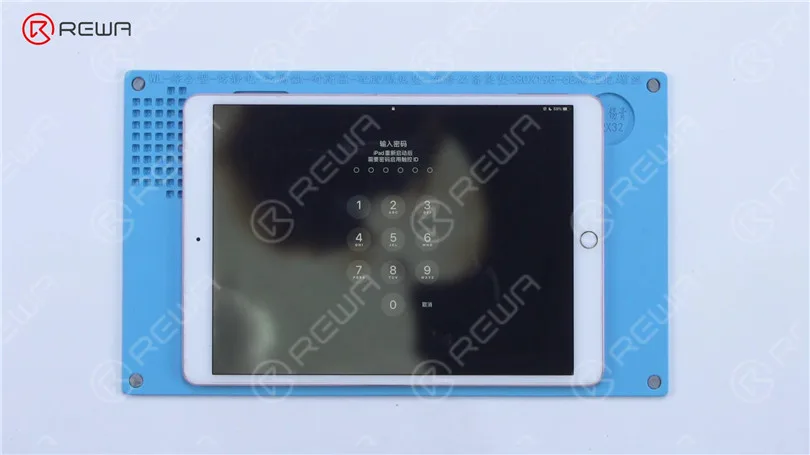
The first thing to try when your iPad’s screen isn’t responding is a simple restart. Hold down the power button until the “Slide to power off” slider appears. Slide it to turn off the device and then turn it back on. If the screen doesn’t response and can’t turn off then follow the next step.
Disconnect the Display
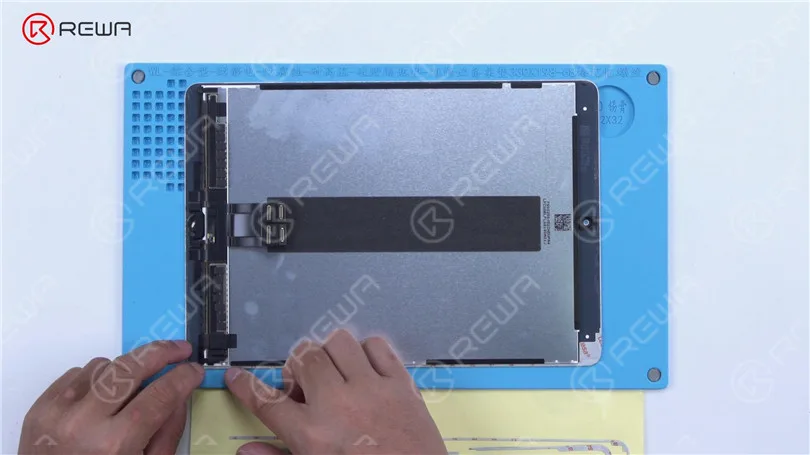
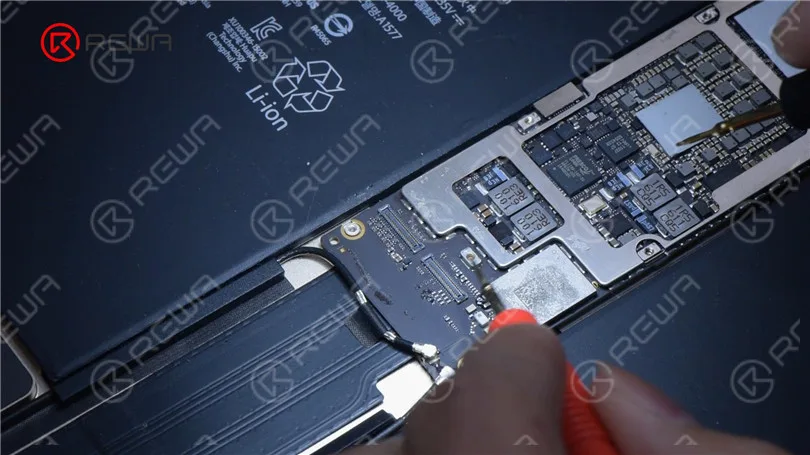
In some cases, a disconnected or damaged display could be the culprit. To check this, you may need to open up your iPad. If you’re not comfortable with this, it’s best to seek professional help. Remove the battery screw on the motherboard and insert a pry piece to isolate the battery from the motherboard to prevent any circuit damage.
Install a Known-Good Display
If after disconnecting and reconnecting the display, the touchscreen is still unresponsive, it’s safe to say that the issue is not with the display. Instead, it could be a motherboard fault.
Inspect Touch Connectors
Check the touch connectors to ensure they are not deformed or damaged. If they appear to be in good condition, proceed to the next step.
Measure Resistance Values
Using a multimeter, measure the resistance values of pin 2, pin 4, and pin 6. The normal value should be around 144 ohms. If these values are significantly different, you might have identified the issue.
Examine the Inductor
Inspect the inductor that connects these pins to the chip. Measure the resistance value of this inductor. If it’s abnormal, the inductor might be damaged, which can happen due to improper operation, such as installing the display with the battery still connected.
Replace the Damaged Inductor
To fix the issue, you’ll need to replace the damaged inductor. Follow these steps carefully.
Pry the motherboard slightly to prevent rapid heat dissipation.
Apply high-temperature tape and an insulation mat.
Use paste flux and heat with a Hot Air Gun at 360°C and airflow 2 to remove the damaged inductor.
Apply a middle-temperature solder paste and continue heating with the Hot Air Gun to lower the melting point of the bonding pad.
Remove any remaining solder with a solder wick.
Source a replacement inductor from an abandoned board and solder it with the Hot Air Gun at 330°C and airflow 2.
Clean the area with a PCB cleaner.
Measure the resistance values again to ensure they are normal.
Test the Screen
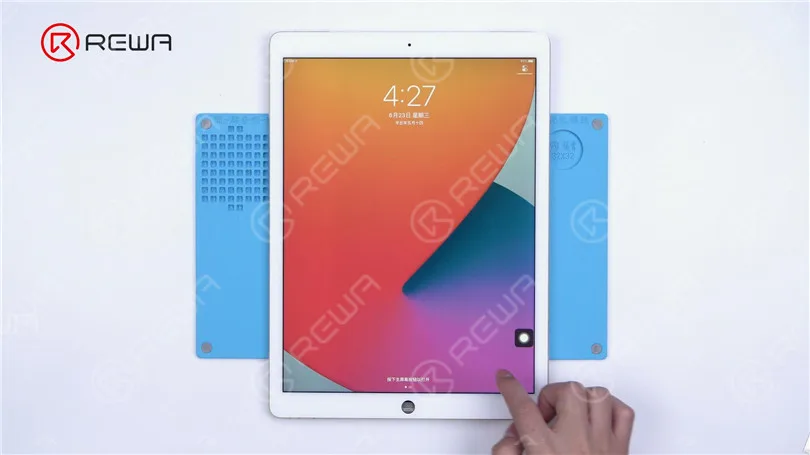
Reassemble your iPad and test the touchscreen. If both the touch and 3D Touch functions work properly, congratulations, you’ve successfully fixed the unresponsive touchscreen issue on your iPad Pro.
Video Guide to Fix ipad pro touch screen not working
Conclusion
Troubleshooting and repairing an unresponsive iPad Pro touchscreen can be a daunting task, but with the right steps and precautions, it’s possible to diagnose and fix the issue. Remember to disconnect the battery when working on your device to avoid any further damage. If you’re unsure about any step, it’s always best to seek the help of a professional technician.
Please feel free to leave a comment if you have any questions or if there are other repair topics you’d like to learn about. If you’re interested in mastering iPhone motherboard repair, consider enrolling in the REWA Academy live online course, designed for beginners. Hurry, as only 20 spots are available for each training session. And for iPad replacement parts, visit the REWA Shop.
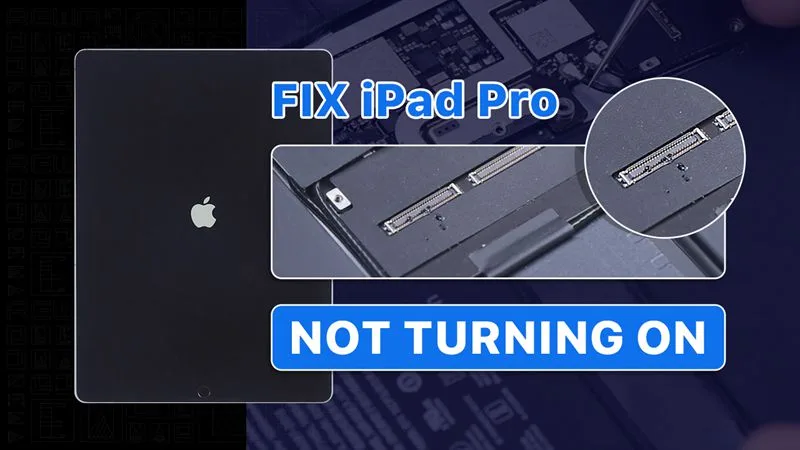
We have received an iPad Pro from our fan. The original fault of the iPad Pro was the top left corner speaker with noise.
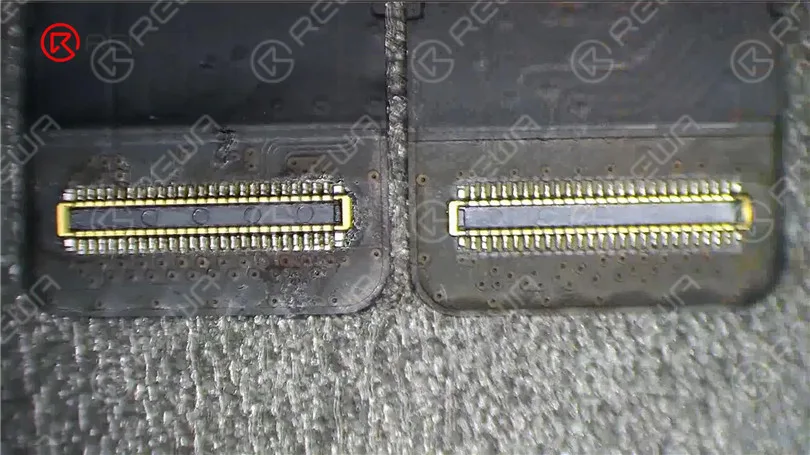
After speaker replacement, the connectors of the motherboard and display are burnt out while connecting the display. Now the iPad Pro won’t turn on.
So the fan mailed the iPad Pro to REWA for repair. Let’s check out how we fix the iPad Pro.
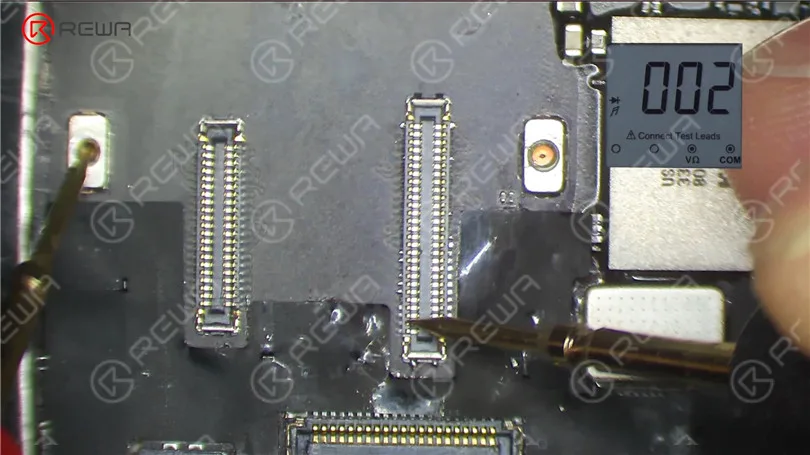
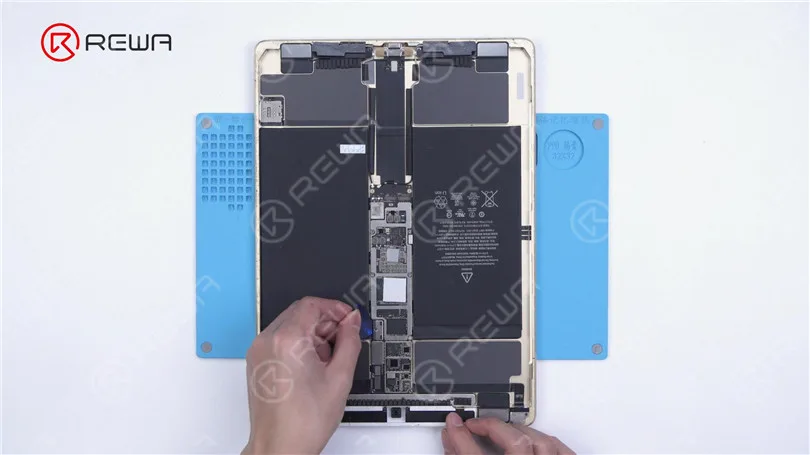
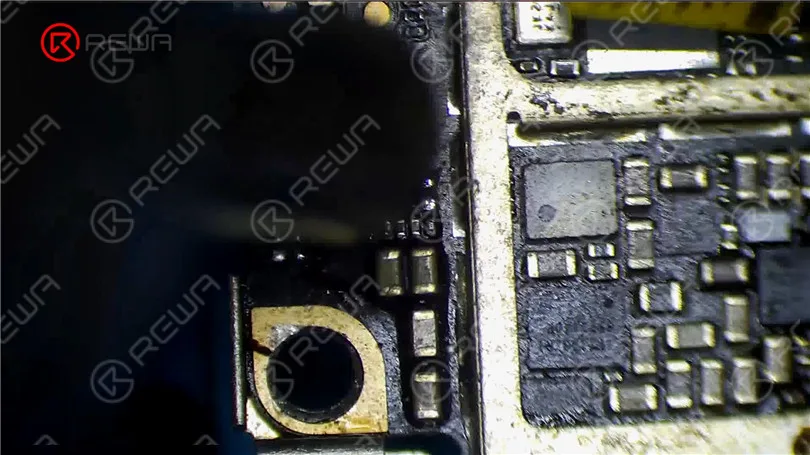
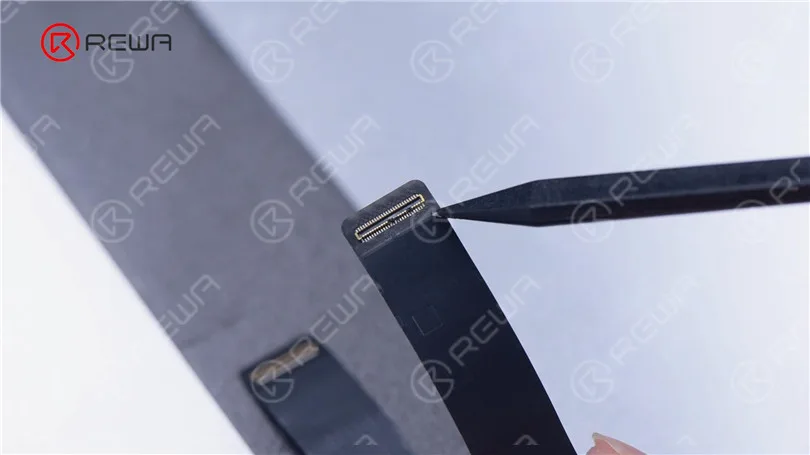
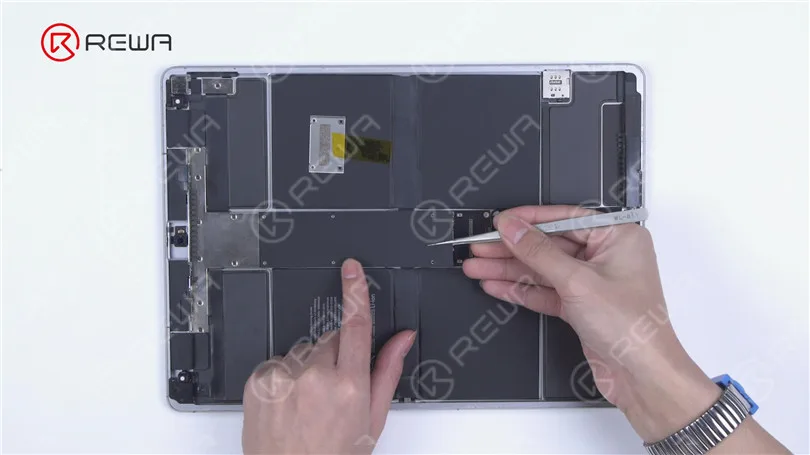
In the first place, we remove the display. We can see that the connectors are burnt out.
Since the battery is connected to the motherboard, the connectors will burn out with the device turned on and display connected.
To avoid unnecessary damage, we recommend you disconnect the battery first during repair.
After the display is connected, connect the battery to turn on the device.
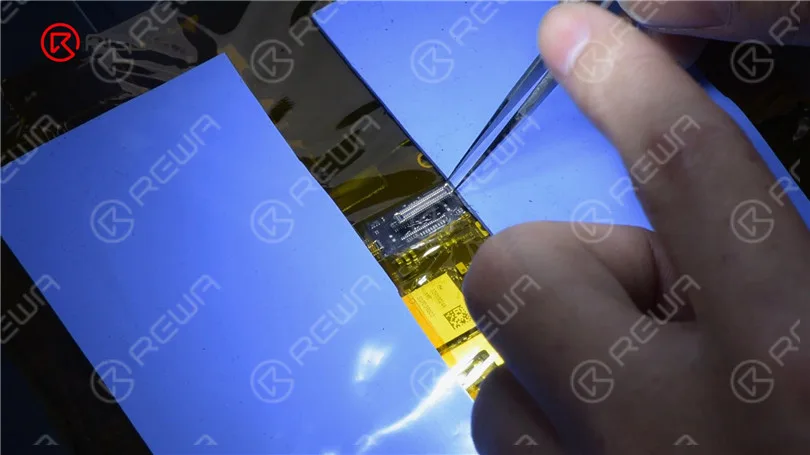
Next, we replace the connectors. First of all, we replace the display connector. Fix the flex cable with high-temperature tape and cover the screen with an insulation mat.
Apply some Paste Flux to the connector. Heat with Hot Air Gun to remove the damaged connector.
Keep applying Paste Flux. Get a new connector and align the connector.
Heat to solder the connector with Hot Air Gun. After soldering and the connector has cooled, clean with PCB Cleaner.
Check soldering pads one by one with tweezers. It can be seen that the soldering is perfect.
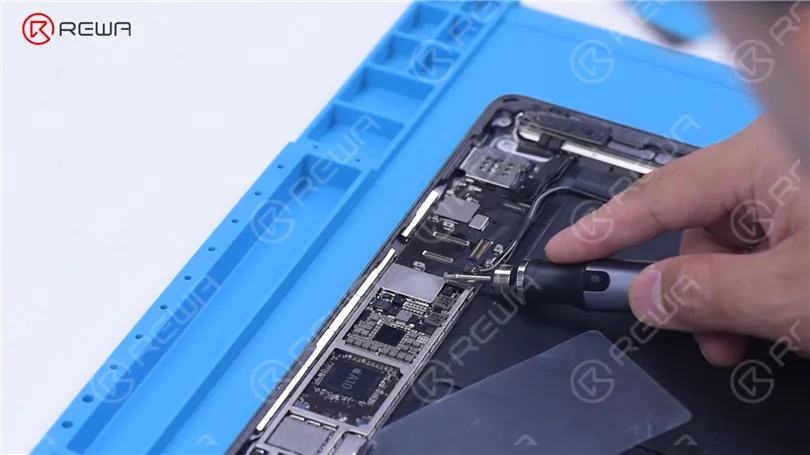
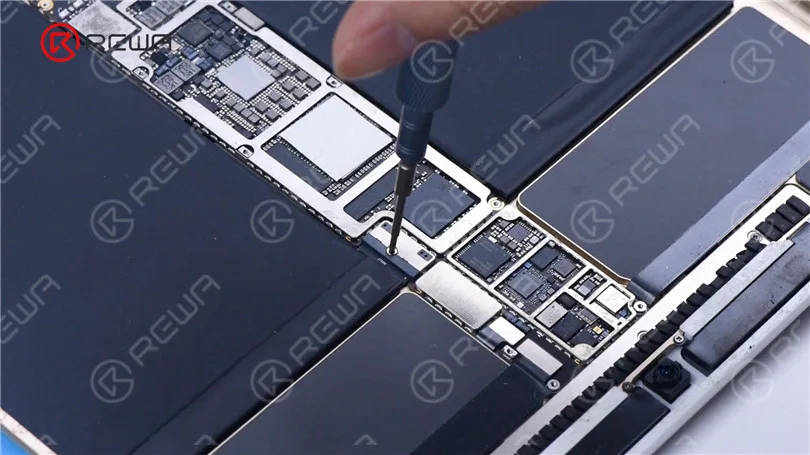
Then we replace the connector on the motherboard. Firstly, remove the shielding cover.
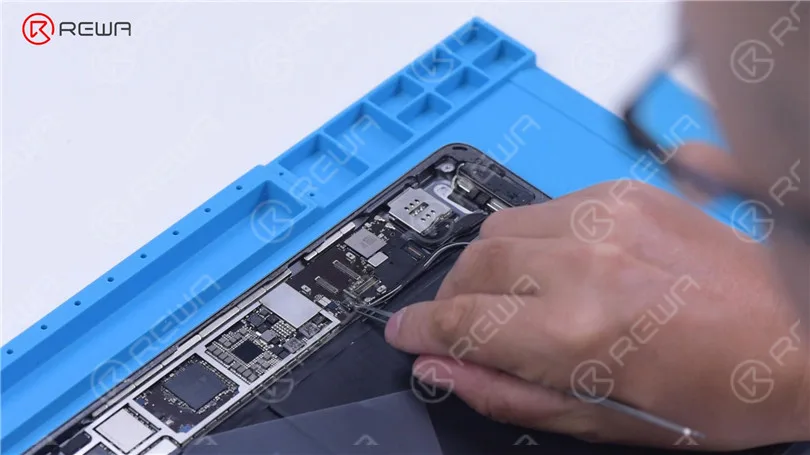
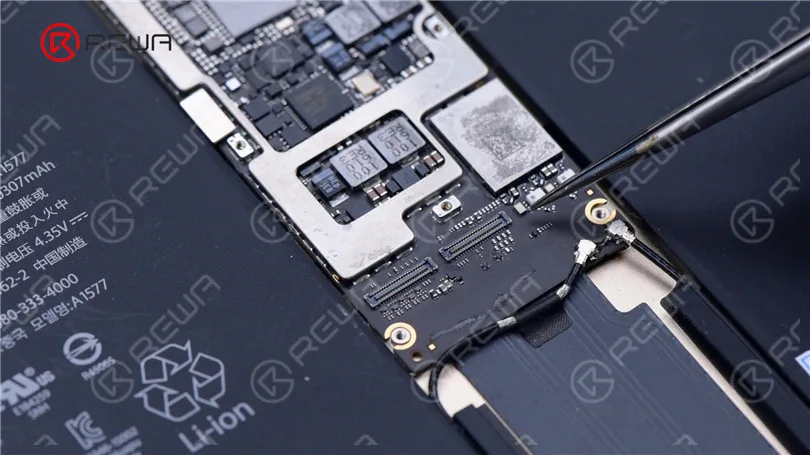
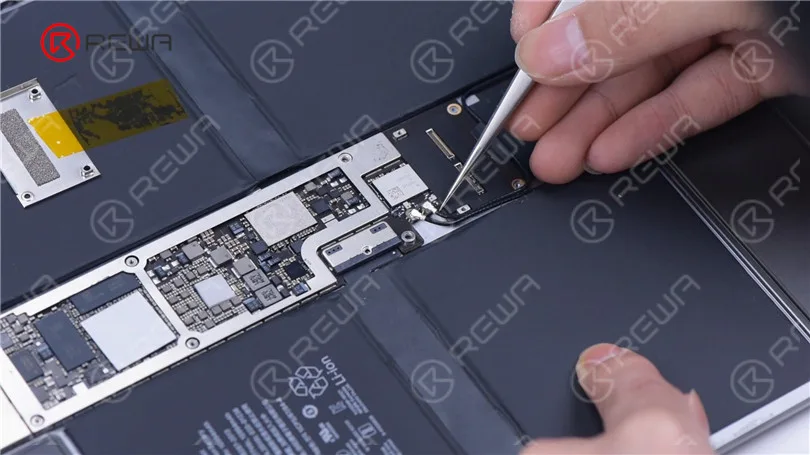
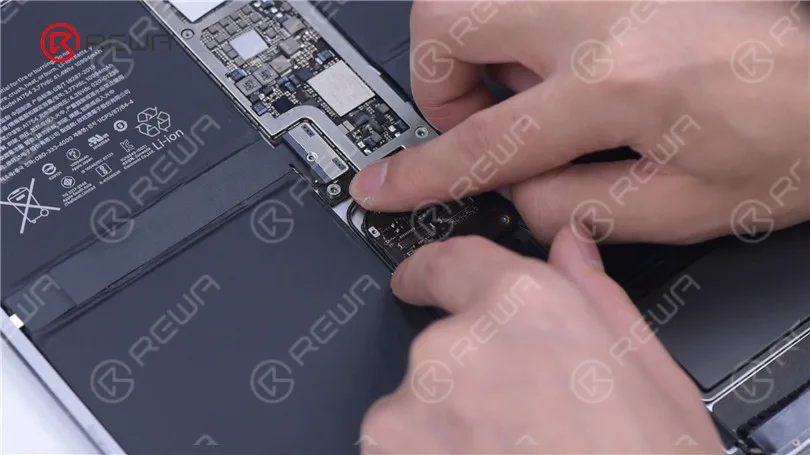
Disconnect the battery and the antenna.
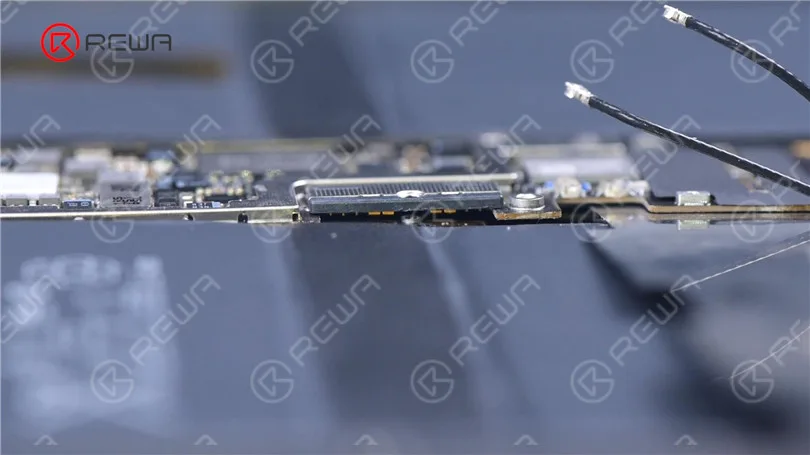
To protect the motherboard, pry up the motherboard gently, disconnecting the battery from the motherboard.
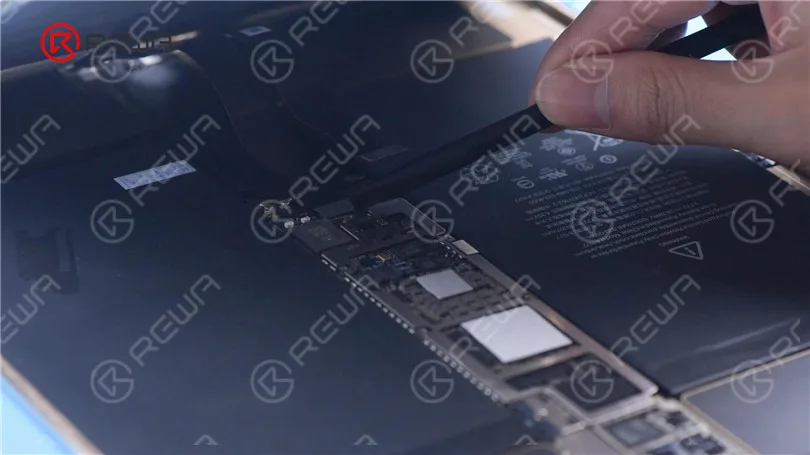
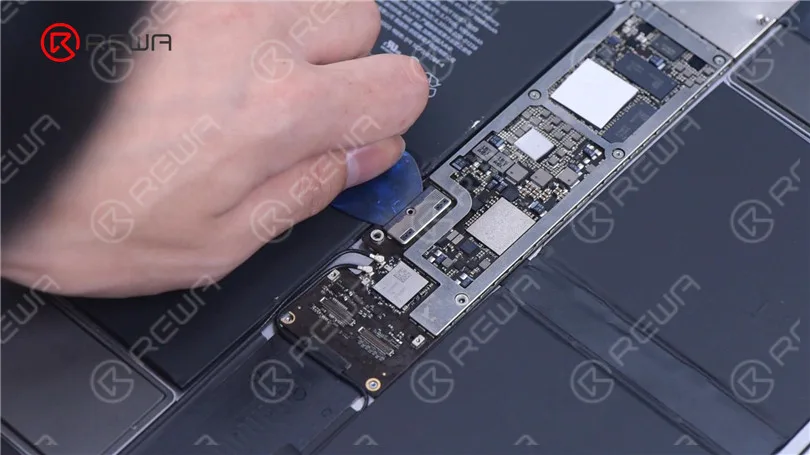
Remove the shielding tape of the connector. Since the motherboard is surrounded by batteries, we need to insulate the area.
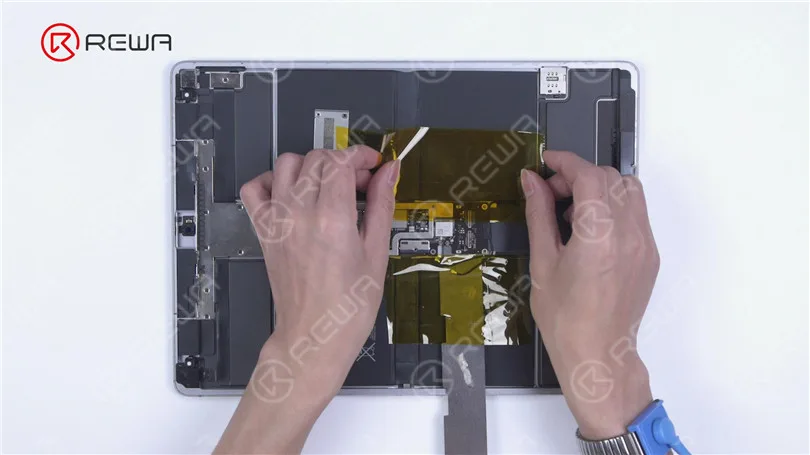
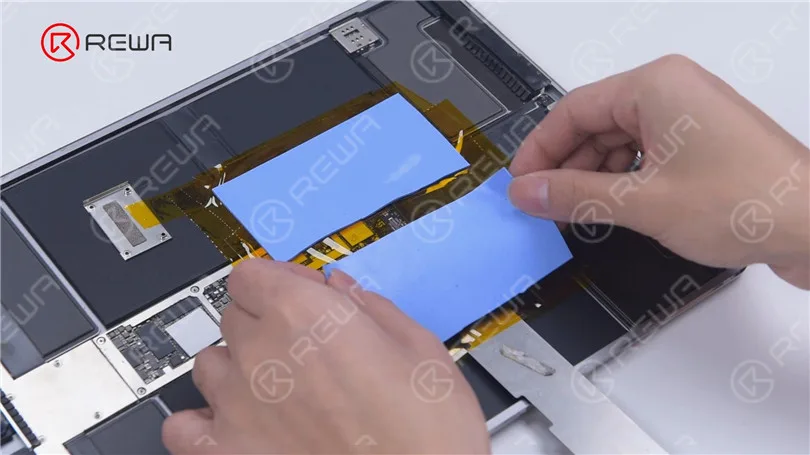
Apply high-temperature tape around the motherboard. For better protection, we advise you to apply several layers. Then apply the insulation mats.
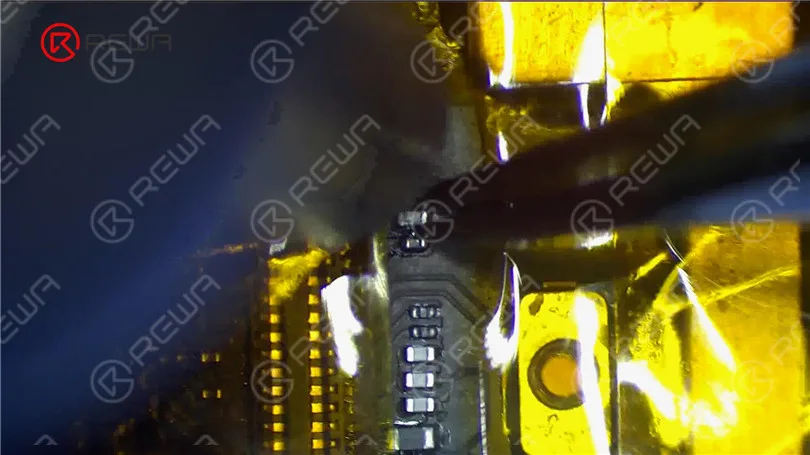
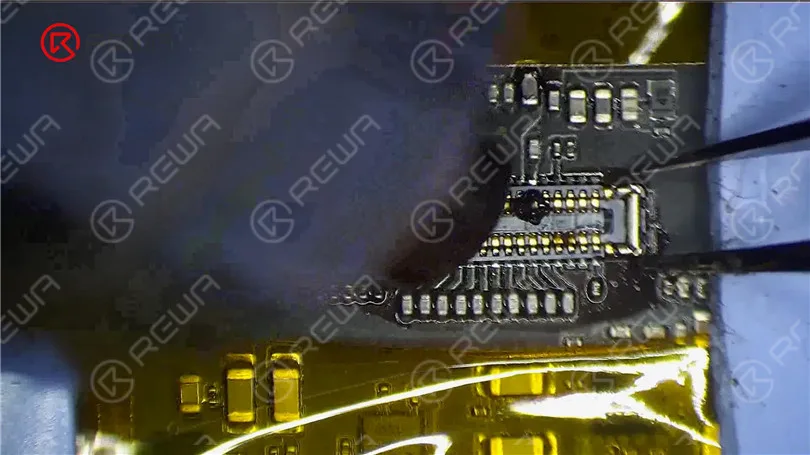
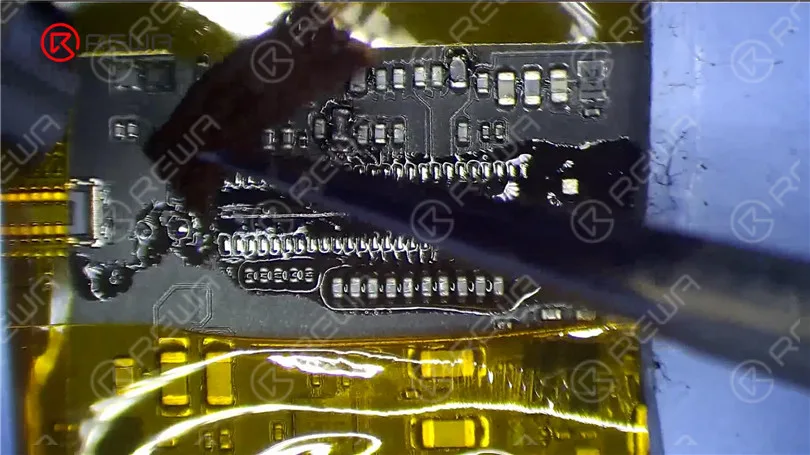
Apply some Paste Flux to the connector. Remove the damaged connector with Hot Air Gun.
Apply some middle-temperature Solder Paste and Paste Flux. Get an inductor. Make soldering pads uniform by sliding the inductor.
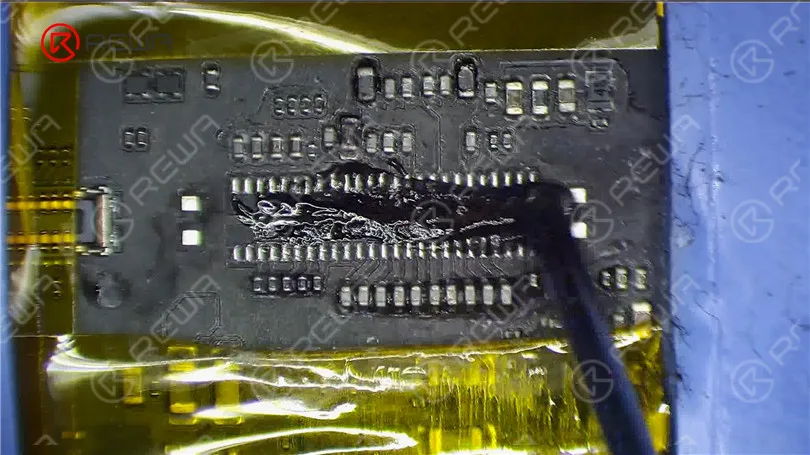
Clean tin around the connector with Hot Air Gun and Solder Wick.
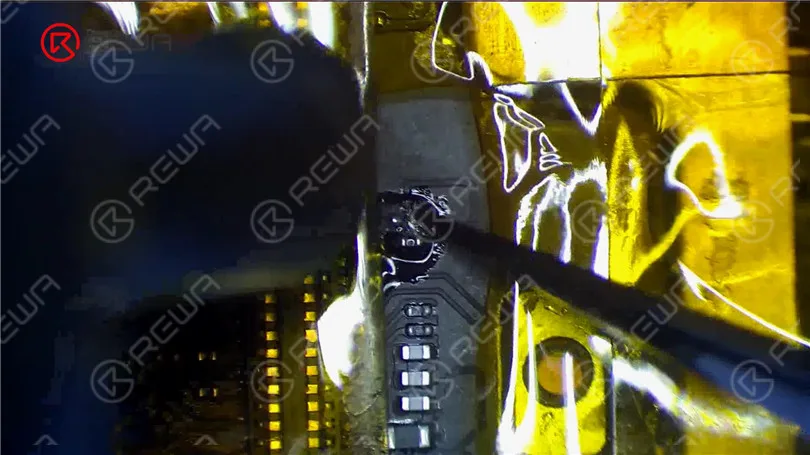
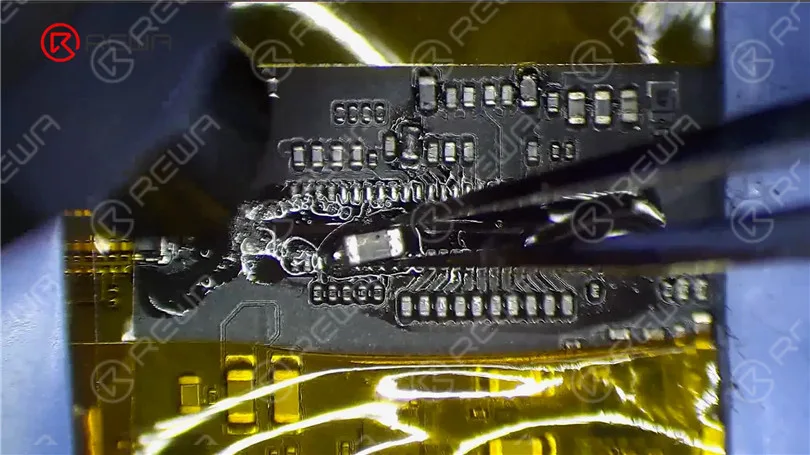
Clean the bonding pad with PCB Cleaner. Apply some Paste Flux and put the new connector in position. Heat to solder the connector with Hot Air Gun. Clean the connector with PCB Cleaner.
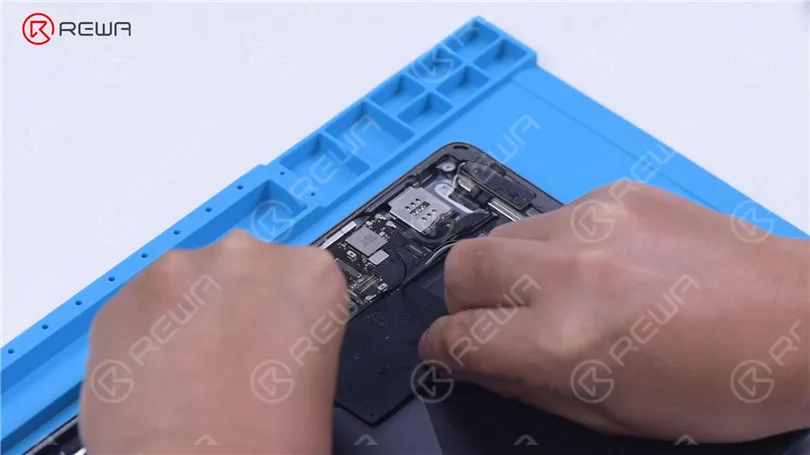
Then we connect the antenna.
Disconnect the battery from the motherboard with a Pry Piece, which is to prevent the connector from being damaged with the screen connected.
Then we connect the screen. Remove the Pry Piece. Screw the battery and motherboard.
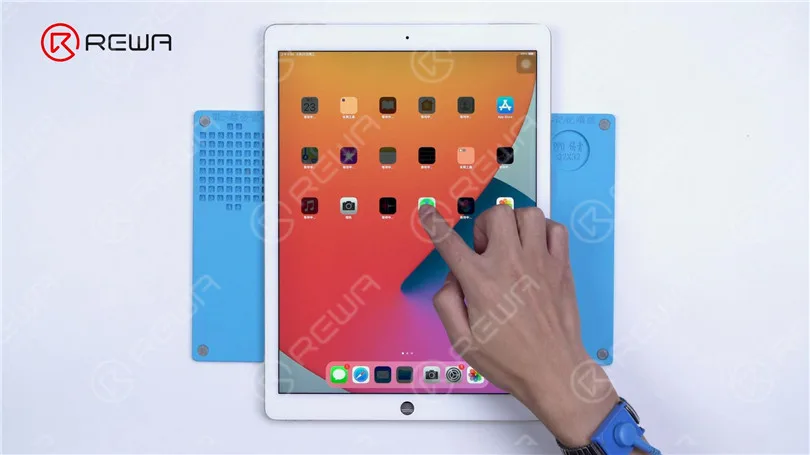
Turn on the iPad Pro to test. The iPad Pro can be turned on. Both the display and touch work well. The music can be played without noise.
iPad Pro won’t turn on has been successfully fixed.
Please feel free to leave a comment on iPad repair topics that you are interested in.
Watch the below video to see how we fix an iPad Pro that won’t turn on.
Cleaning the touchscreen of your smartphone is a simple task that doesn’t require a special cleaning kit or cleaning solution. You can use materials that you probably already have to safely clean your tablet or smartphone’s touchscreen. However, it’s important to know what to avoid as many common types of cloth and cleaning solutions can damage the touchscreen. In this guide, we will provide you with a step-by-step method to safely clean your smartphone touchscreen.
Cautions: What to Avoid
Before we dive into the cleaning process, it’s crucial to understand what you should never do when cleaning your smartphone or tablet touchscreen:
Avoid Harsh Chemicals
It is important to never use harsh chemicals like Windex, ammonia-based cleaners, or alcohol-based solutions when cleaning your screen. These chemicals can cause damage to the screen. If you need to use a liquid, only use a small amount of water on a cloth. You can also purchase special cleaning solutions, such as iKlenz, which is recommended by Apple.
Steer Clear of Abrasive Materials
To avoid scratching the touchscreen, it is important not to use abrasive cloths, paper towels, or tissue paper. Even small scratches can build up over time and ultimately damage and dull the screen. Instead, it is recommended to use microfiber cloths which are specially designed to clean sensitive surfaces.
Limit Water Usage
Avoid using excessive water on your device. If water is necessary, make your microfiber cloth slightly damp, but don’t apply water directly to the screen. It’s a good idea to power off your device before cleaning if water is involved.
Don’t Apply Excessive Pressure
When cleaning your device, remember to be gentle with your touchscreen to avoid damaging it.
It’s important to note that the cleaning process will differ if you have a screen protector on your device. The method described below is specifically for cleaning glass screens. However, if your device has a plastic screen protector, you have more flexibility and can use different types of cleaning solutions.
Getting Started
To clean your touchscreen, you’ll need a few simple items:
Microfiber Cloth
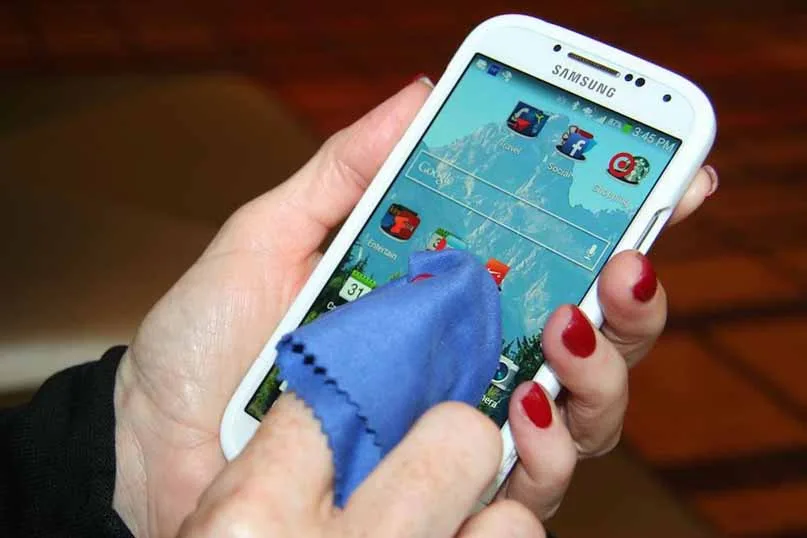
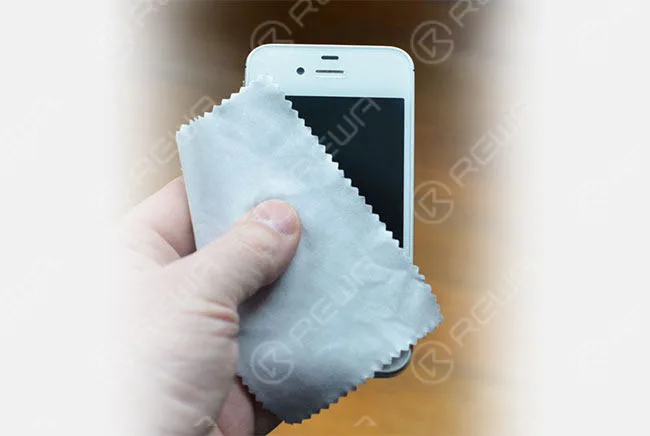
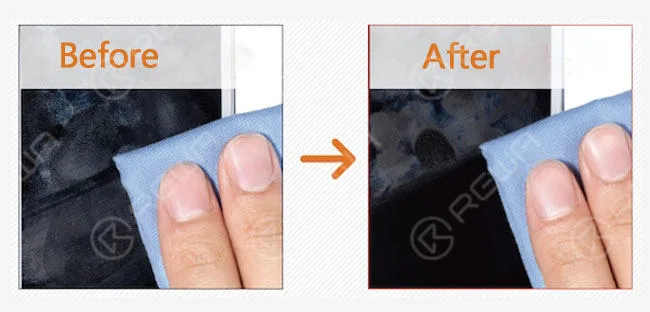
One of the best tools to use for cleaning is a microfiber cloth. These cloths are designed to clean sensitive glass surfaces without scratching them. For cleaning a touchscreen, a microfiber cloth is all that is needed. Although the term “microfiber cloth” may sound fancy, they are actually very common and inexpensive. Most people have a pair of eyeglasses that come with a microfiber cloth for cleaning the glasses. This cloth can be used to safely clean sensitive glass surfaces without scratching them, such as those found on a touchscreen device.
Microfiber cloths are designed with very small fibers that won’t scratch your touchscreen. They also attract dust and oils, pulling them off your device’s screen instead of rubbing them around the screen. You may also have received a microfiber cloth with another device. In case of an emergency, you can use kinds of cotton, such as cotton cloth or the corner of a cotton t-shirt, but this won’t work nearly as well. With just a few quick wipes using a microfiber cloth, your device’s screen will be clean and clear in no time.
Water
For dirty screens, you may need a small amount of plain water. Avoid using soap or other cleaning agents.
The Cleaning Process: Now that you have the right tools, let’s walk through the steps to safely clean your touchscreen:
How To Clean a Touch Screen
Now that you have the appropriate cloth to clean your screen, the process is very simple:
Turn off the device
This step is optional but recommended, especially if you plan to use water. It makes it easier to spot dirt and prevents potential issues.
Wipe Horizontally or Vertically
Using the microfiber cloth, wipe across the touchscreen in one repeating direction. For instance, start from the left side and wipe straight to the right. Then, move the cloth lower and repeat until the entire screen is clean. This motion prevents rubbing dirt onto the screen.
Use a Damp Cloth (if necessary)
If stubborn grime remains, dampen a corner of the cloth with a small amount of water (no soap). Clean the screen in the same way. In some cases, you may need to use a circular motion for challenging spots.
Dry the Screen
After cleaning, use the dry part of a microfiber cloth to dry the screen lightly. Allow the remaining water to air dry, avoiding aggressive drying with the cloth.
Clean the Microfiber Cloth
Periodically clean the microfiber cloth by soaking it in warm, soapy water, rinsing it thoroughly, and letting it air-dry. Avoid using harsh chemicals that can damage the cloth.
Additional Tips:
While you can purchase specialized cleaning kits, a microfiber cloth and water are often sufficient.
Regular handwashing can prevent excessive oil and smudges on your touchscreen.
Conclusion
Cleaning your smartphone or tablet touchscreen is a straightforward process when you know the dos and don’ts. For more tips on maintaining your tech devices, check out our guide to cleaning keyboards, mice, computer fans, and LCD monitors. How do you prefer to clean your touchscreen gadgets? Share your cleaning tips in the comments below!
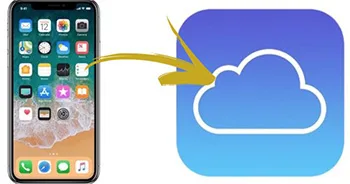
When you purchase an iPhone or iPad, it comes with a specific storage capacity to store your apps, music, photos, and other content. Additionally, you receive 5GB of free iCloud storage to back up your device and keep your data safe. Understanding the distinction between your device’s storage space and your iCloud storage is crucial for efficient storage management. In this comprehensive guide, we will explain the differences and provide you with the best practices for optimizing your storage space.
Device Storage Space:
Your iPhone or iPad’s device storage is where all the content you enjoy resides. Depending on your device’s size and the amount of content you accumulate, you might find your storage space running low. When your device’s storage is full, you won’t be able to add more, but you can free up space by following these steps.
Managing Device Storage Space:
Access Storage Settings: Navigate to your iPhone or iPad’s Settings, then select “General” and “iPhone Storage.” Here, you’ll find recommendations for storage optimization and a list of applications and the space they occupy.
App-Specific Storage: Tap on the name of an application to get detailed information about its storage usage. This will help you identify apps that consume the most space.
When Your Device Storage Space Is Running Low:
It’s crucial to keep an eye on your device’s storage space to prevent performance issues and data loss. Here are some strategies to create more storage space:
Delete Unnecessary Content: Remove content like photos and music that you no longer need. You can also uninstall apps you no longer use.
Transfer Media: Export photos, videos, and other media to your computer to free up space on your device.
iCloud Storage Space:
When you set up iCloud, you automatically receive 5GB of free storage. This space can be used to back up your device and securely synchronize photos, videos, documents, and text information across all your Apple devices.
Managing iCloud Storage Space:
Check iCloud Usage: To monitor your iCloud storage, go to “Settings,” select your Apple ID, and then tap “iCloud.” Your current storage usage will be displayed at the top.
Running Out of iCloud Storage:
If your iCloud storage is running low, your device won’t back up to iCloud. Here’s how you can address the issue:
Free Up iCloud Space: Delete any unnecessary content, such as old backups, photos, and files, to create more iCloud storage space.
App-Specific Backups: Some iOS apps automatically back up to iCloud after installation. You can disable the backup feature for unused apps or remove old iCloud backups to free up space.
Conclusion
In conclusion, optimizing your iPhone and iPad storage is essential to ensure your devices perform at their best and your data remains secure. By following these best practices and staying vigilant about your storage usage, you can keep your devices running smoothly and take full advantage of iCloud’s capabilities.
Apple unveiled its iPhone 12 and iPhone 12 Pro/Pro Max during the “Hi, Speed” event on October 13th, marking a significant milestone in the iPhone’s evolution. This article explores the key features of the iPhone 12 Pro series and offers personal insights into the event.
Design
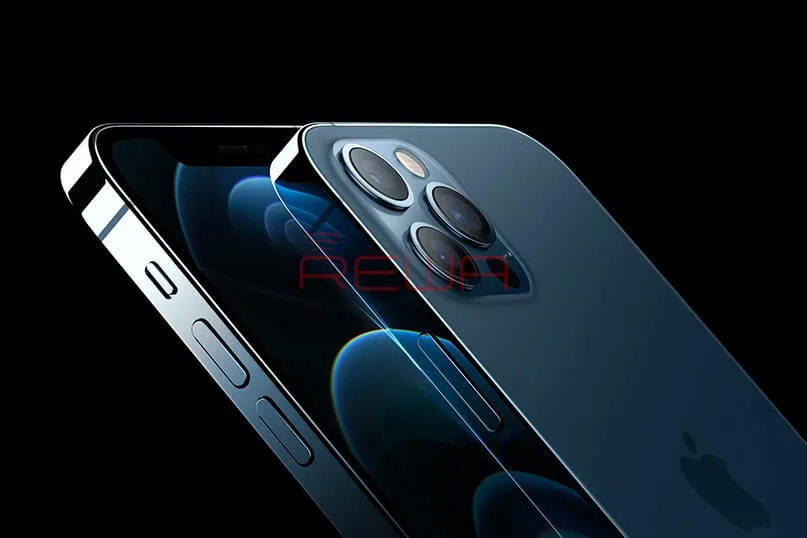
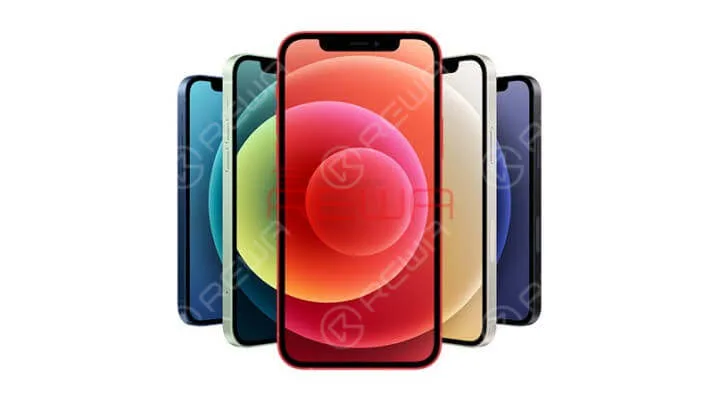
The iPhone 12 series boasts a sleek and “new” design, featuring flat edges reminiscent of the iPhone 4 and iPhone 5. All models in the series support 5G connectivity and are powered by the A14 chip. The lineup includes the compact iPhone 12 Mini (5.4-inch screen), the standard iPhone 12 (6.1-inch screen), the iPhone 12 Pro (6.1-inch screen), and the iPhone 12 Pro Max (6.7-inch screen). Color options vary, with the iPhone 12/12 Mini offering five choices and the iPhone 12 Pro/Pro Max offering four, including an exclusive pacific blue.
Display
One significant upgrade across the entire iPhone 12 series is the Super Retina XDR OLED display, ensuring a premium viewing experience on par with the high-end iPhone 12 Pro.
Camera
The camera setup is a notable point of differentiation between the iPhone 12 and iPhone 12 Pro. The standard iPhone 12 features dual 12MP wide and ultra-wide cameras, promising a camera experience akin to the iPhone 11. Notably, the iPhone 12 boasts a wider f/1.6 aperture, enhancing low-light performance.
On the other hand, the iPhone 12 Pro maintains the triple camera system with 12MP sensors and includes an exclusive LiDAR scanner, previously seen in the iPad Pro. Apple’s commitment to AR innovation is evident. The 12 Pro series offers a primary wide-angle lens, an ultrawide lens with a 120-degree field of view, and a telephoto lens with a 4x optical zoom and 10x digital zoom. The main difference between the 12 Pro Max and 12 Pro is the telephoto sensor, with the Pro Max featuring a narrower f/2.4 aperture, 5x optical zoom, and 12x digital zoom.
Additionally, the iPhone 12 Pro series introduces the Apple ProRAW mode, exclusively available for creative enthusiasts. It also supports Dolby Vision HDR at 60 fps, a step up from the iPhone 12 series, which supports 30 fps.
Choosing Wisely
When it comes to selecting the right iPhone 12 model, it’s essential to consider your needs and budget. The iPhone 12 Mini, starting at $699 for 64GB, offers impressive cost-performance value for budget-conscious users. Meanwhile, the iPhone 12, starting at $799 for 64GB, provides standard performance without substantial cost savings, making it a less appealing option.
The iPhone 12 Pro, starting at $1099 for 128GB, offers a compelling blend of performance and affordability for those seeking a high-end product. If you’re a mobile photographer/videographer or an enthusiast, the iPhone 12 Pro Max is the ultimate choice with its exceptional camera capabilities.
Conclusion
In retrospect, the Apple iPhone 12 event marked a significant leap forward in smartphone technology. While the iPhone 12 series provides a range of options, the iPhone 12 Pro and Pro Max stand out as high-performance choices. The decision ultimately depends on your individual needs and preferences.
We appreciate your continued support, and if you’re looking for high-quality iPhone aftermarket replacement parts, please visit our shop.
Feel free to share your thoughts and whether you’re planning to purchase an iPhone 12 series in the comments section. Your feedback is valuable to us.
Logic board repair relies heavily on accurate schematics and boardview software. For years, paid programs like ZXW and Wuxinji have dominated the repair industry—but not everyone wants to commit to expensive subscription tools, especially new technicians, DIY repairers, and refurbishers managing tight budgets.
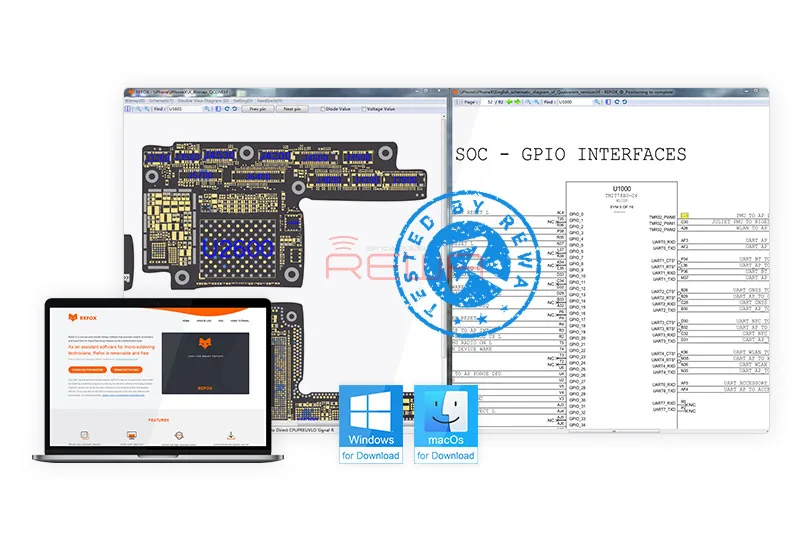
That’s where REFOX, a fully free boardview software, has gained massive attention. Tested extensively by REWA repair masters and widely adopted in the industry, REFOX is becoming a go-to tool for technicians who need fast circuit tracing, powerful diagnostics, and cross-platform support without the cost.
This guide gives you a complete, updated review of REFOX, who it’s for, and why it’s becoming the best free alternative to paid PCB analysis tools.
What Makes REFOX Stand Out?
Clean Interface With Full-Featured Functionality
REFOX focuses on practicality—clean layout, intuitive tools, and simple navigation. Even beginners can quickly locate circuits, view nets, check values, and inspect traces with minimal learning time.
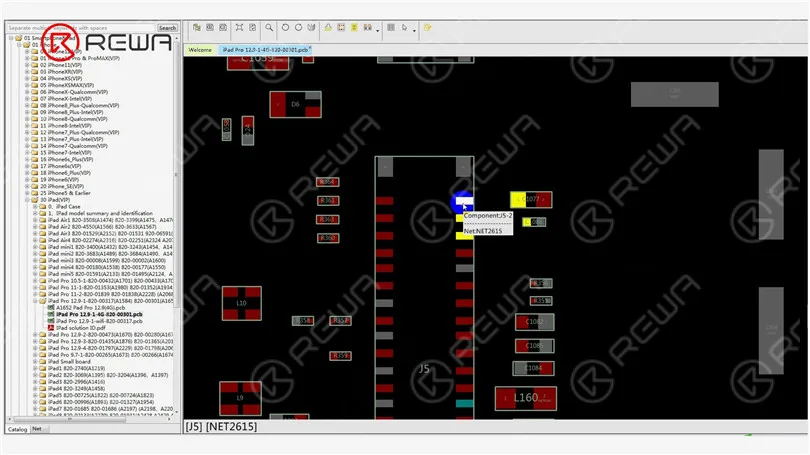
Dual View: Boardview + Schematics Together
One of REFOX’s strongest features is its synchronous double-view mode, allowing you to:
Load the schematic and boardview at the same time
Click a component to immediately see its related circuits
Jump between diagrams instantly for faster troubleshooting
This dramatically cuts repair time for short circuits, open lines, and no power issues.
Diode Mode & Voltage Reference Values
REFOX lets you display component pins by:
Pin number
Diode value
Voltage value
This is extremely useful for diagnosing common faults such as no power, dead boot, display failures, and charging issues.
Complete iPhone Board Files
REFOX includes boardview files covering:
iPhone 5 → Latest models (XR, XS, XS Max at the time of the article)
Perfect for shops specializing in Apple repair or refurbishing.
New Workflow Block Diagrams for Training
The newly added block diagrams help beginners:
Understand component interconnections
Identify which areas control power, charging, baseband, touch, etc.
Follow step-by-step repair workflow
These diagrams are also used in REWA’s logic board repair training programs.
Customizable Color Themes
You can adjust the boardview appearance using built-in color templates to suit your workflow—great for reducing eye strain during long repair sessions.
A Long Way To Go
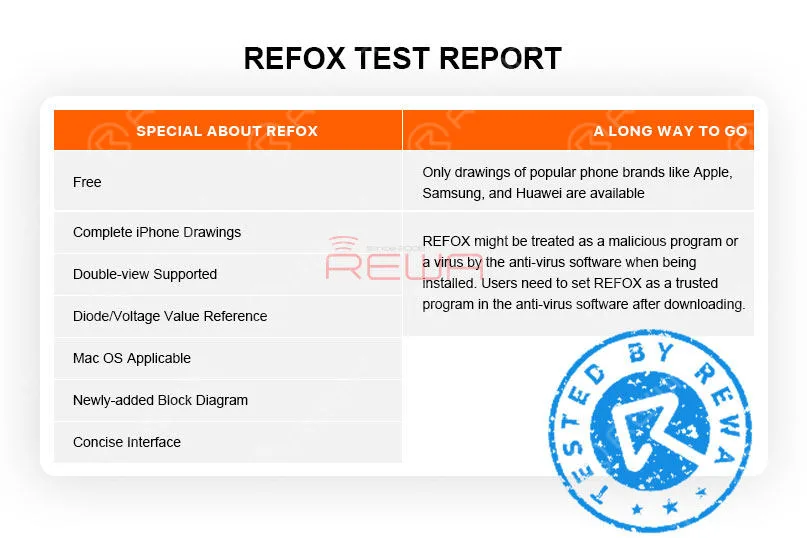
1. Only drawings of popular phone brands like Apple, Samsung, and Huawei are available. There are still more brands for us to explore.
2. According to REFOX, with schematics and board files encrypted, REFOX might be treated as a malicious program by the anti-virus software or the browser when being installed.
Actually, REWA has been using and testing REFOX for several months and has found no internet security risks. Still, we hope that the next version can fix the bug.
Conclusion
REFOX has now been updated to V3.25 and bugs of earlier versions have also been fixed.
Although there is still room for improvement, we are proud to announce that REFOX can fully meet repair needs of repair technicians.
What’s more, it is completely free.
Therefore, we highly recommend this bitmap software to you.
For those in need, please visit www.refoxteam.com to download the software.
There are also some detailed operation videos for your reference on the official website.
You can also visit REWA Youtube Channel to check the detailed description of Refox.
We've detected you might be speaking a different language. Do you want to change to:







 English
 Español
 Français
 Deutsch
 Italiano