Tag: face id

  • How iPhone X Face ID Works | REWA Academy Online Course

    How iPhone X Face ID Works | REWA Academy Online Course

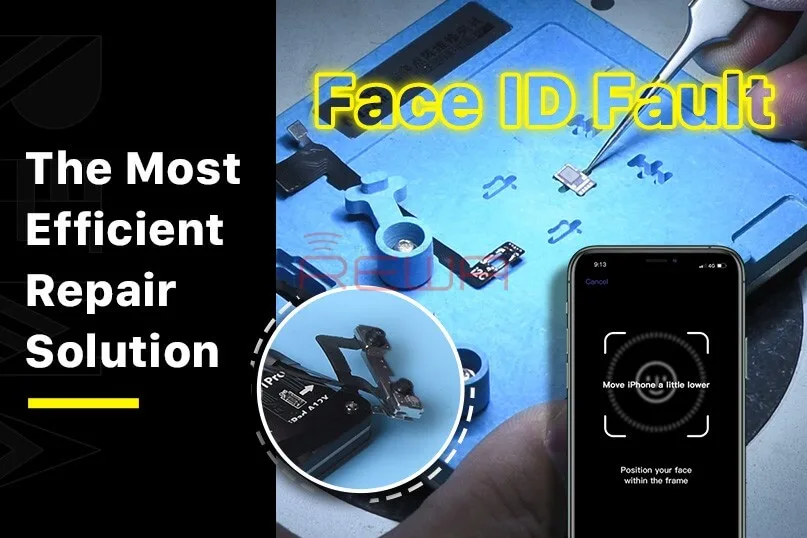
    As iPhone X’s biggest draw, Face ID can securely unlock your iPhone X with a simple glance. Meantime, ‘Face ID not working’ is also the most common issue in daily repair, especially for phones that have been dropped or water damaged. iPhone X Face ID not working? Why and How to fix it? Check out our Face ID circuit course today and you will find the answer you want.

    Bitmap Software Used in video- REFOX, Download Here:https://www.refoxteam.com/

  • Mastering Face ID on iPhone X Series: A Comprehensive Guide for Professionals

    Mastering Face ID on iPhone X Series: A Comprehensive Guide for Professionals

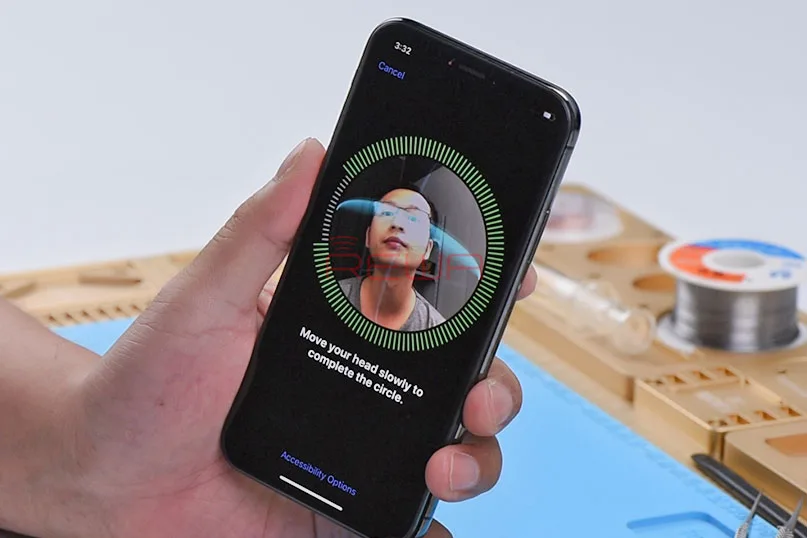
    iPhone X is the first model with the Face ID function. In the traditional model, the authentication method called “Touch ID” is adopted, but the “Face ID” is unlocked by turning your face steering screen. Here, we will show how to set it and how to solve some face id not working problems.

    How to set Face ID on the iPhone X?

    I want to set up Face ID and unlock it, but I don’t know how to set it! This article will tell you how to set the Face ID for this kind of iPhone user.

    How to set a face ID on iPhone X

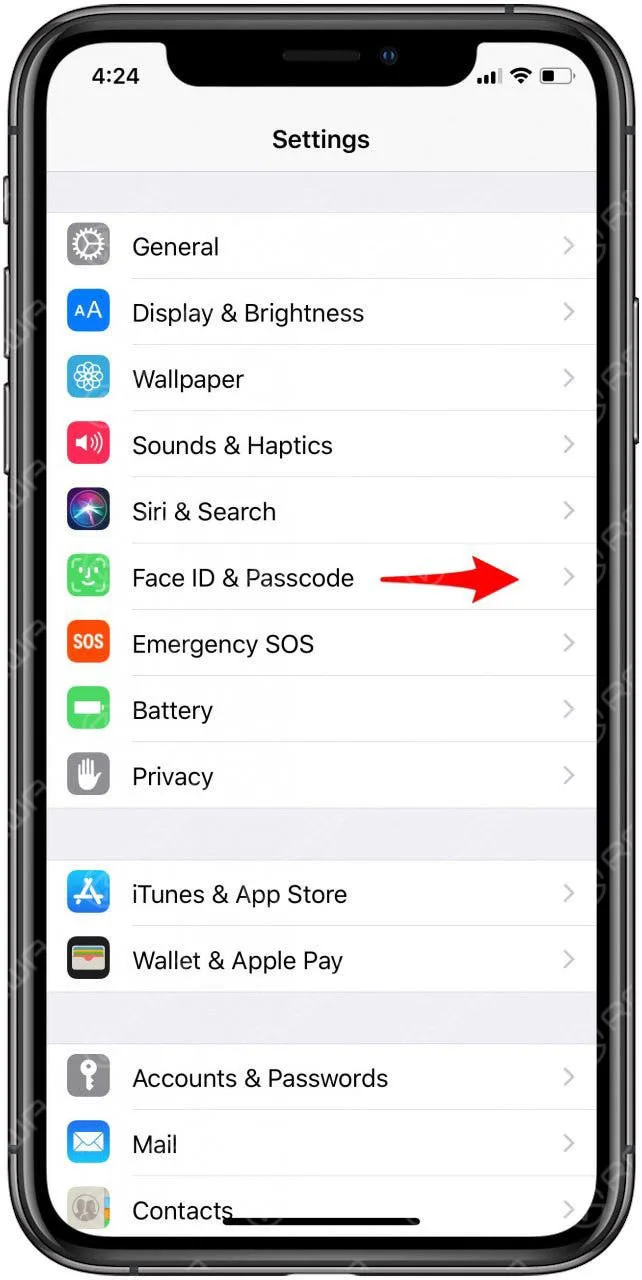
    1: Select “Settings” → “Face ID and Password”.

    face ID on iPhone X

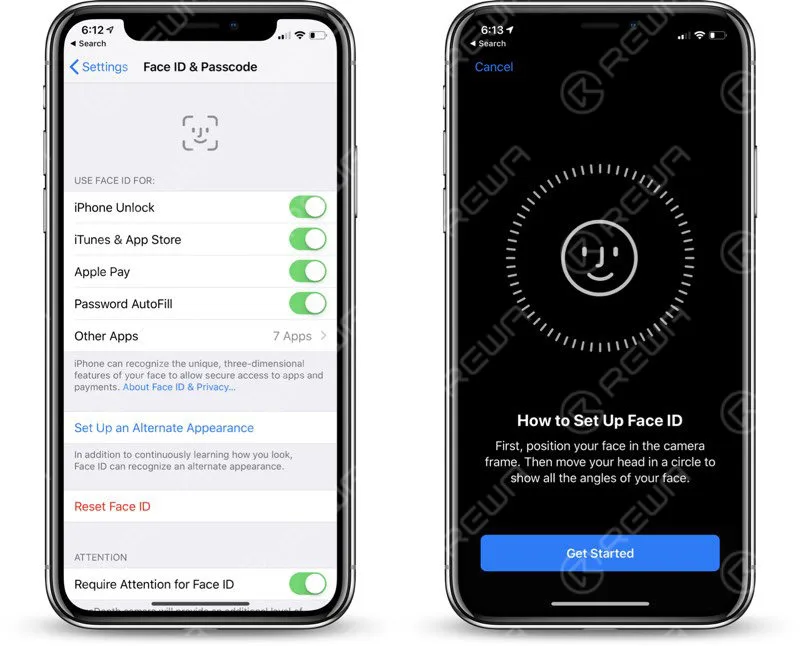
    2: Click “Set the Face ID”.

    Set the Face ID

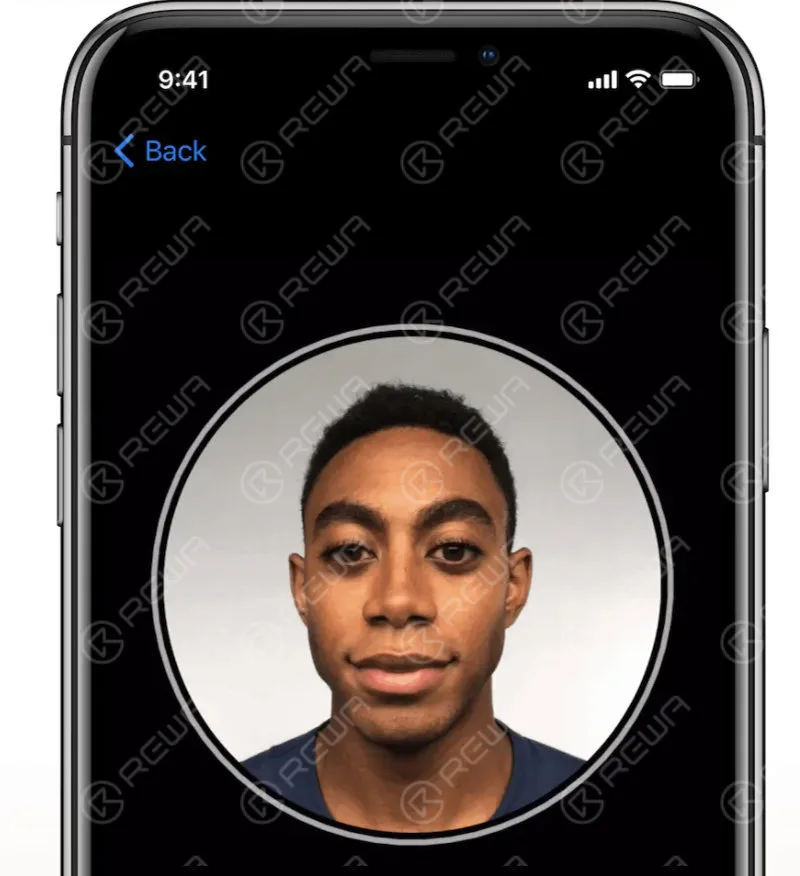
    3: Hold the device vertically, then place the “face” in front of your phone, then tap “Start”.

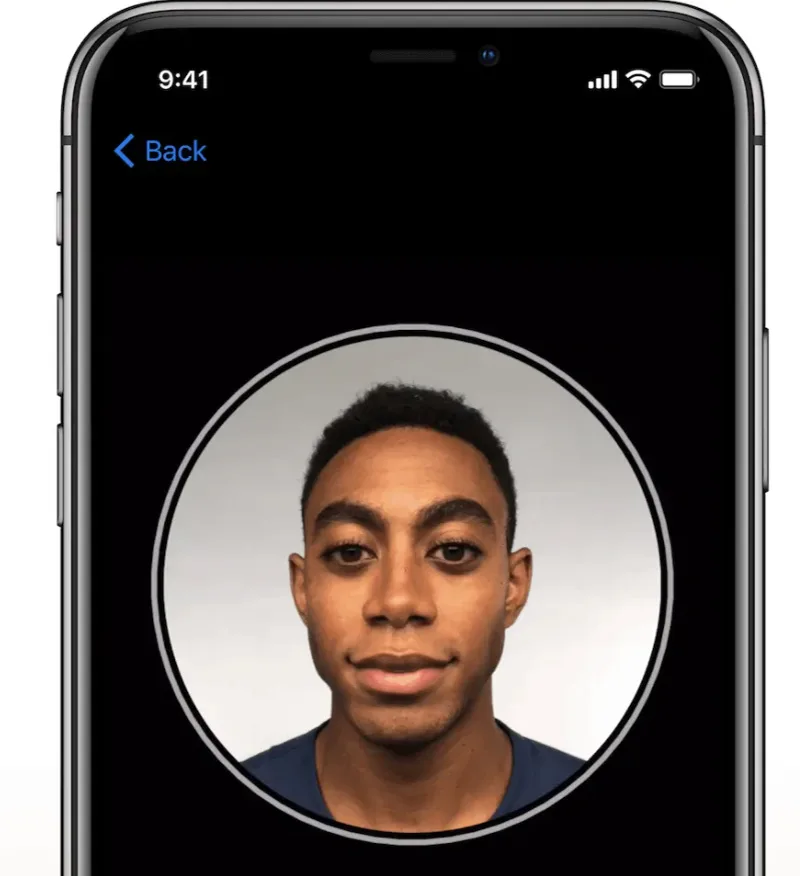
    4: Make sure your face is on the center of the frame, and then moves slowly with circumferential motion. If you can’t move your head, click “Assist Features Options”.

    Assist Features Options

    5: After the first scan, click “Continue” and repeat the same operation.

    6: Click “Complete” to complete the settings.

    Unable to set up Face ID on iPhone X … What is the reason?

    First, make sure your TrueDepth camera and face are not covered by anything. Also make sure your device is portrait, and your face is facing the screen. If you still can’t set up, check the update and restart.

    TrueDepth camera

    How do I set up Face ID on iPhone XR?

    Since the operation is the same as the above iPhone X / XS, the figure is omitted.

    • Open in the order of “Settings” → “Face ID and Password”.
    • Click “Set the Facial ID (Settings)”.
    • Hold the equipment vertically, so that your face is in front of the phone, then click “Start”.
    • Move the face to the center of the picture, and then move slowly with circumference. If you can’t move your head, click “Assist Features Options”.
    • After the first scan is completed, click “Continue” and then perform the same operation again.
    • Click “Complete” to complete the settings.

    I can’t use a human face ID registrar information

    What should I do if I can’t register facial information? And can you register your face ID even if you wear glasses? People wearing glasses are particularly worried.

    I can’t use a human face ID to register your face information! Is this in the camera?

    If there is not fully registered facial information, it may be a TRUEDEPTH camera failure. If a fault occurs, you need to repair it, so bring it to the Apple Store or transport store.

    [Reference] Apple Support Official Website:

    https://support.apple.com/iphone/repair/service

    If you wear glasses, can you recognize the face ID?

    If you don’t wear glasses, you can use the Face ID when you certify. If you do not get authentication in the state of the glasses, you will be registered with the state of the glasses and the state of glasses. Set – Open “Face ID and Path Code”, enter the path code, click ” Set another look. ” Afterward, please follow the steps.

    An error message appears on the FACE ID?

    Although the facial information has been registered on the face ID, an error message can be displayed without recognition. Let’s take a look at this time.

    When setting the FACE ID, a message “Moves the iPhone slightly”

    When this message is displayed, let’s change the lighting environment. If it is too bright or too dark, it may not be able to successfully identify. In addition, protect paper is not recognized and cannot be identified, so let’s try to make a protective film at a time. If there is no improvement, please restart.

    “Attack measures” When “currently cannot use”

    First, let’s check and restart the update. If it is also unreliable, reset the facial ID and register the facial information again. If this is not improved, it may fail, so please contact Apple support or bring it to the Apple Store.

    “When this iPhone can’t activate the Face ID”

    This problem seems to have occurred after the application is updated. If you cannot use it after restarting the device, you may need to fix or replace it.

  • How to Secure Your iPhone Memo with a Password or Face ID

    How to Secure Your iPhone Memo with a Password or Face ID

    Protecting the content of your iPhone’s memo is essential to ensure your privacy. In this guide, we will walk you through the steps to set a password or enable Face ID to unlock your memo. By implementing these security measures, you can prevent unauthorized access to your sensitive information.

    Notes before use:

    1. Choose a memorable password and set a password prompt to avoid forgetting it in the future.
    2. Keep in mind that if you access your iCloud memo on multiple Apple devices, the same password will be used for all memos.
    3. Enabling Face ID or Touch ID as a memo password includes the encryption key in your device’s keychain. It is important to note that anyone who knows your device lock screen password can access the locked memos. For enhanced security, you can opt not to enable Face ID or Touch ID as the memo password.

    Setting a memo password and enabling Face ID unlock:

    1. Open the memo you want to lock and tap the “Operation” or “…” button located in the upper-right corner. Then, select “Lock Memo.”
    2. Enter your desired password, ensuring it is easy for you to remember, and set a password prompt. Optionally, enable Face ID as a means to unlock the memo. Tap “Finish” to save your settings.

    If you already have a password set, you can change it by navigating to “Settings” on your iPhone, then selecting “Memo” and making the desired modifications.

    After locking the memo, it will be protected by the password across all your devices. Note that if you choose to use Face ID or Touch ID on other devices to unlock the memo, you will still need to enter the password first. To enable Face ID or Touch ID on other devices, follow the respective device’s settings.

    Conclusion:

    Securing your iPhone memo with a password or Face ID is a crucial step in safeguarding your sensitive information. By following the outlined steps, you can enhance the privacy and security of your memos. Remember to choose a strong password and enable a password prompt for easy recall. With these measures in place, you can trust that your memo content remains private and inaccessible to unauthorized individuals.

  • Can iPhone have 2 Face ID?

    Can iPhone have 2 Face ID?

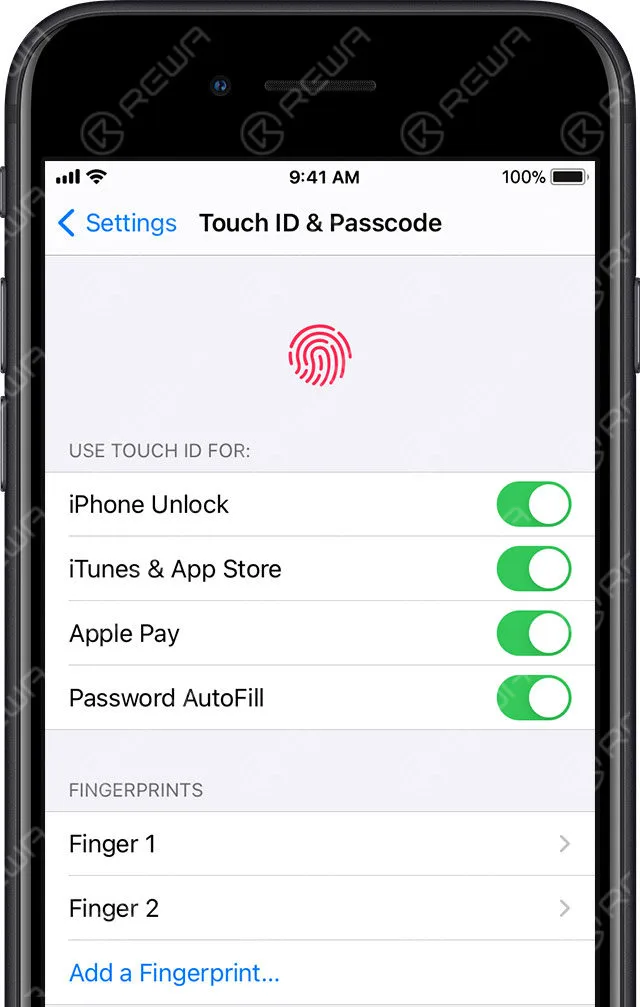
    iPhone 8 and older models with Touch ID can add multiple fingerprints to unlock, so you can add other people’s fingerprints to unlock your iPhone. For the iPhone X and later models, it uses facial recognition to unlock. In fact, this unlocking method can have 2 facial information.

    Touch ID

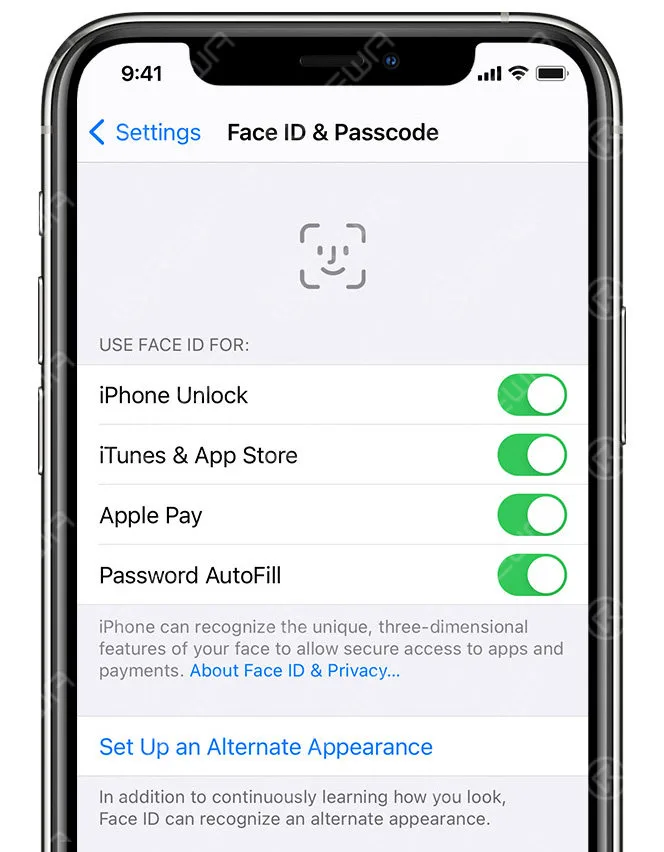
    To set up an alternative appearance, follow these steps:

    1. Go to “Settings” – “Face ID & Passcode“.
    2. Tap “Set up an Alternate Appearance“.
    face information

    The next step is to enter the face information: directly look straight to the iPhone or IPAD and place the face in the view box, slowly turn the head to complete the full-scale collection, complete the first face ID scan, tap “Continue”, then turn slowly The head is completed for the second all-round acquisition. After completing the face ID setting, tap “complete”.

    After the entry is completed, both faces can unlock the iPhone.

  • Unveiling Apple’s Revolutionary Face ID

    Unveiling Apple’s Revolutionary Face ID

    Face ID is a face-to-face ID, a face recognition system for Apple’s design and release, is first used in iPhone X; it allows users to unlock Apple devices, purchase in each Apple Digital Media Store, and as Apple Pay or Applications The authentication method pays within.

    Apple’s Security Commitment

    Apple boasts that Face ID offers a one-in-a-million chance of being unlocked by an unauthorized user. Face ID stands apart is its approach to data security. Unlike some systems that store sensitive data in the cloud, Apple’s Face ID stores your facial recognition information in a secure enclave within the Apple A11 Bionic chip. This ensures that your personal data remains on your device and in the cloud.

    Compatible devices

    Initially introduced with the iPhone X, Face ID has been part of various Apple devices, including:

    • iPhone X, Xʀ, Xs/Max, 11, 11 Pro/Max, 12/Mini, and 12 Pro/Pro Max
    • iPad Pro (third and fourth generation)

    How Face ID Works

    Face ID relies on a multi-step process to accurately identify the user:

    1. Illumination and Infrared Imaging: Face ID first illuminates the user’s face with infrared light and captures a 2D infrared image using a floodlight sensor.
    2. Infrared Camera Recognition: An infrared camera then scans the user’s face to capture distinct features.
    3. Dot Array Projection: Over 30,000 unique encoded infrared points are projected onto the user’s face. These points reflect back to the infrared camera, creating a 3D map of the face’s surface.
    4. Data Processing: The offset between the original infrared image and the reflected infrared points is analyzed, constructing a precise 3D model of the user’s face.
    5. Mathematical Transformation: The infrared image and the 3D model are sent to the device’s processor, where they are transformed into a mathematical expression.
    6. Face Comparison: The device compares the mathematical expression with previously registered facial data, determining whether to grant access.

    Additional features

    Face ID incorporates several features to enhance security and accuracy:

    • Floodlight: Invisible infrared light aids face identification, even in low-light conditions. This ensures that the system can discern if the user’s eyes are open and facing the device.
    • Dot Matrix Projector: More than 30,000 invisible dots are projected onto the user’s face to construct an accurate, 3D facial model. The arrangement of these dots is distinct for each individual.
    • Infrared Camera: This camera captures a 2D infrared image while reading the unique dot matrix pattern. The data is then analyzed and sent to the secure enclave within the A11 Bionic chip for comparison.

    Technical Provider: Face ID incorporates technology from Sensomotoric INSTRUMENTS, utilizing PrimeSense Structural Light Technology and Faceshift for facial capture technology.

    Conclusion

    Apple’s Face ID is not just a convenient way to unlock your device; it’s a sophisticated and highly secure facial recognition system that leverages cutting-edge technology to ensure your privacy and security. With features like floodlighting, dot matrix projection, and infrared imaging, it’s no wonder that Face ID has become a benchmark for secure biometric authentication in the tech world. As Apple continues to innovate, we can expect even more exciting developments in this space.

  • How to Fix iPhone 11 Pro Max Face ID not working

    How to Fix iPhone 11 Pro Max Face ID not working

    Dot projector parts are extremely fragile. A fall or water damage may harm dot projector parts, inducing Face ID not working.

    This article explores a breakthrough method developed by REWA LAB for repairing Face ID, making it accessible and effective.

    The Problem

    The heart of Face ID lies in the dot projector integrated circuit (IC), a critical and encrypted component. Replacing this IC necessitates a complex process involving data encryption bonding, which repair technicians typically find daunting.

    The Solution

    Fortunately, REWA LAB has devised a streamlined and efficient approach to resolve Face ID issues.

    The step-by-step guide presented here will help you understand and perform the repair procedure.

    Step 1: Initial Diagnosis

    • Begin by navigating to your device’s Settings, then select “Face ID & Passcode” and “Set Up Face ID.”
    • During the setup process, you may encounter the message “Move iPhone a little lower/higher.” This indicates a malfunction in the dot projector.

    Step 2: Disassembly

    • To access the dot projector, remove the device’s display.
    • If you observe a red mark, it suggests that the phone has experienced water damage.
    • Connect the dot projector flex cable to the I2C Repair Programmer and perform a diagnostic test, confirming a malfunction.

    Step 3: Data Transfer and Crystal Fix

    • Use the programmer to read data from the malfunctioning flex cable.
    • Replace the flex cable with a new one and transfer the previously read data.
    • Apply a small amount of UV adhesive to secure the crystal of the dot projector flex cable using a UV lamp.

    Step 4: Removing the Dot Projector

    • Remove the foam covering the back of the dot projector.
    • For precise alignment during reassembly, mark the module with a Sculpture Knife.
    • Lift the metal plate to access the dot projector flex cable beneath.

    Step 5: Precision Work

    • Utilize a Holding Fixture for precise handling of the Face ID module.
    • Grind the welding position of the metal plate to access the dot projector.
    • Carefully detach the dot projector module using a Hot Air Gun.
    • Remove the MOSFET by heating at 320°C.

    Step 6: Soldering and Reassembly

    • Apply Solder Paste to the bonding pad with a Soldering Iron and jump wire between pins 2 and 3 of the MOSFET using 0.02mm copper wire.
    • Clean the dot projector module with rosin and solder-wick, followed by PCB Cleaner.
    • Reball the new flex cable, apply Paste Flux, and solder it to the dot projector module.

    Step 7: Testing and Final Assembly

    • Connect the soldered flex cable to the I2C programmer and run a test.
    • If the test passes, attach the flex cable to the Holding Fixture and align it with the dot projector module.
    • Apply 460 Adhesive to secure the components.
    • Install the flex cable in the phone.
    • Power up the device and configure Face ID settings.

    Conclusion

    By following these meticulous steps, you can successfully restore your device’s Face ID functionality. The fault will be cleared, and your phone will regain its secure and convenient authentication feature. 

    Please feel free to visit our online shop for repair parts and tools.

    Watch the video below to get a more detailed iPhone 11 Pro Max Face ID repair.

  • Why Face ID Can Be So Easily Damaged

    Why Face ID Can Be So Easily Damaged

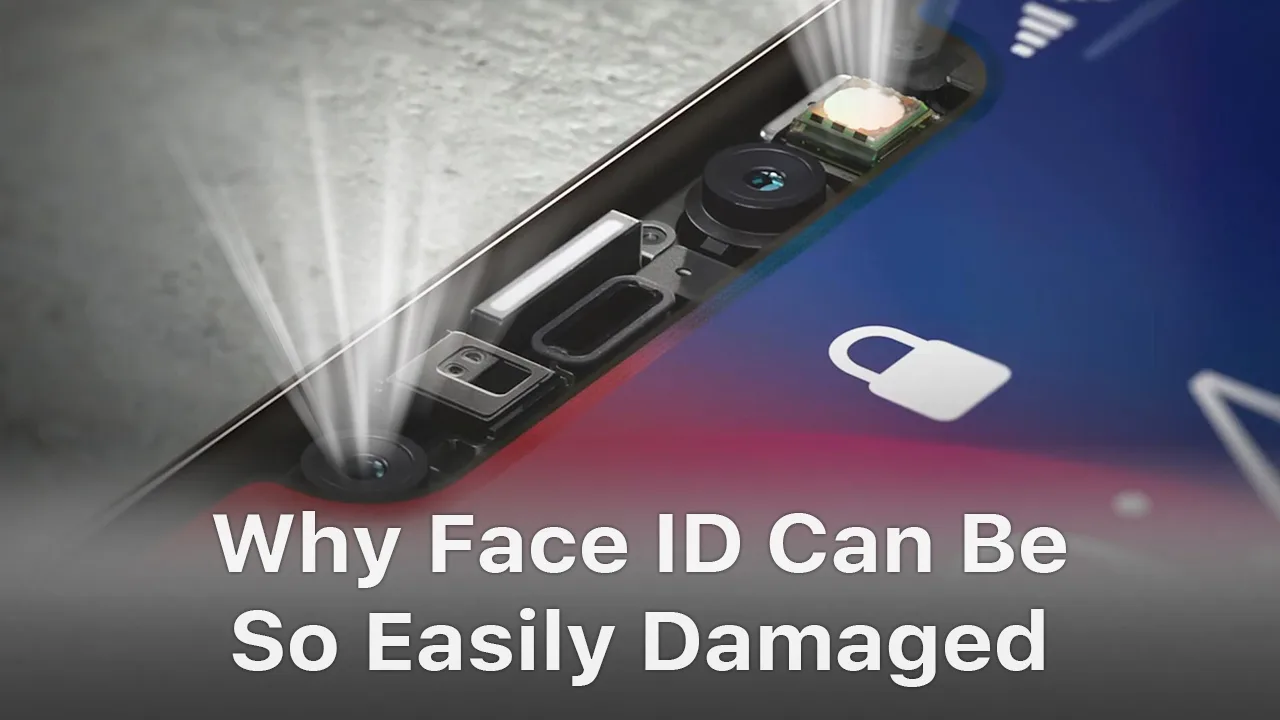
    Face ID is a new feature introduced to iPhone X/XS/XR/XS Max. While it is the most powerful component that allows biometric authentication for unlocking a device, there are quite a lot of instances when Face ID will not work. In this video, we fully tore down the Face ID module(dot projector, flood illuminator, an infrared camera), and took a deep analysis of the reasons and solutions of Face ID issues. 

  • Face ID Is Not Available on iPhone X/XS? Here is The Real Fix

    Face ID Is Not Available on iPhone X/XS? Here is The Real Fix

    Face ID lets you securely unlock your iPhone, authenticate purchases and sign in to apps all with just a glance. However, due to the vulnerability of the Face ID parts, it can be easily damaged when iPhone X is dropped or during screen replacement, which will result in Face ID failure. Do not worry. In this video, REWA guides you to fix Face ID Is Not Available step by step.

    Tools Used:

  • Troubleshooting iPhone X Face ID Issues after Screen Replacement

    Troubleshooting iPhone X Face ID Issues after Screen Replacement

    Recently we got many messages about Face ID not available after screen replacement from our clients, which surprised our technicians greatly.

    Since the screen replacing would not affect face ID function at all according to our practical verification.

    However, REWA has done some further researches and will share you the detailed analysis and solution for iPhone X face ID failure caused by damage of flex cable after repair here.

    How does face ID work?

    First, let’s understand how face ID works.

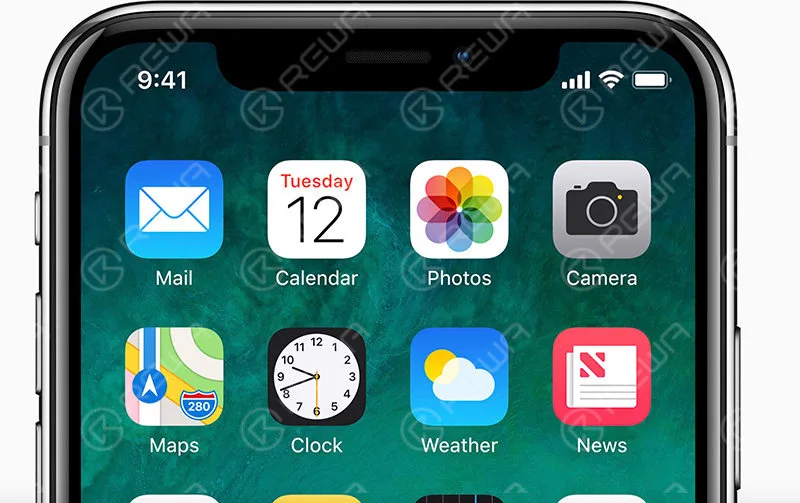
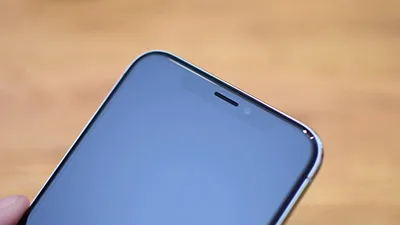
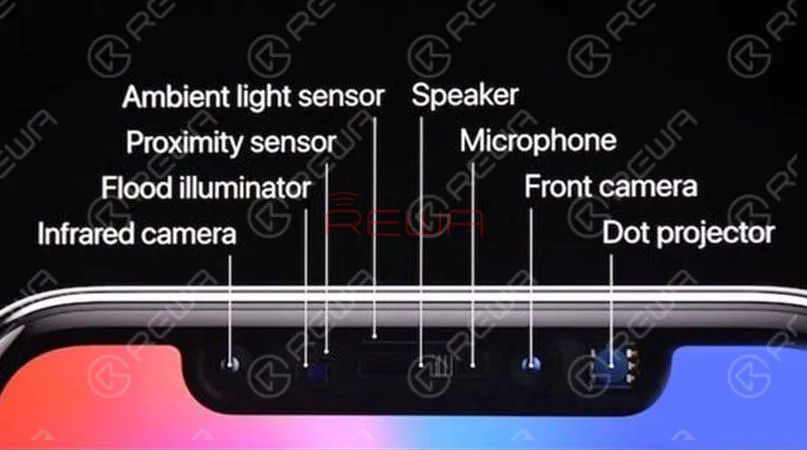
    The whole functional area is dubbed the “TrueDepth camera system”, which is made up of flood illuminator, infrared camera, front camera, dot projector, proximity sensor, ambient light sensor, speaker and microphone.

    Speaking of which, have you read iPhone 8/X Ambient Light Sensor Issues ?

    Every time you glance at your iPhone X, the flood illuminator detects your face with infrared light and forms an image.

    Then the dot projector will project out over 30,000 invisible infrared dots over your face to create a 3D map.

    Last, the infrared camera reads this map and sends the data to neural networks to create a mathematical model of your face.

    Your iPhone X will check that mathematical model against the one that you’ve set up and stored on your device to see if it’s a match, and if it is, it will unlock your phone.
    How To Fix iPhone X Face ID Not Working

    How do we repair?

    According to the description, this iPhone X was dropped once.

    However, the face ID is in normal status.

    It fails to work until a replacement of screen assembly. With all the knowledge, we begin our repair.

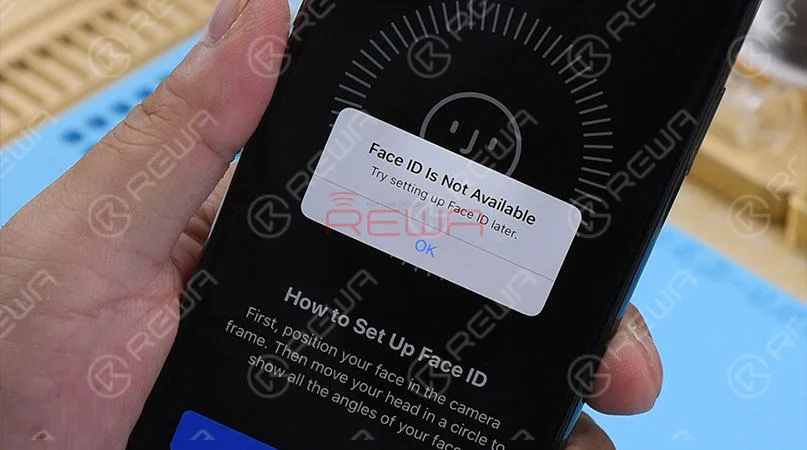
    Power on the phone and it shows “unable to activate Face ID on this iPhone” . So we resort to resetting face ID. Go to Settings > Face ID & Passcode > Reset Face ID.

    We get the message “Face ID is Not Available, try setting up Face ID later” .

    Our initial judgment is that the unavailable Face ID might be caused by misoperation in the screen replacing process.

    Therefore, next thing we do is to check flex cables that are related to Face ID.
    How To Fix iPhone X Face ID Not Working

    Disassemble the phone.

    And check the Infrared camera and dot projector module under Microscope first. Nothing goes wrong.

    Then move to the Flood illuminator module on the earpiece speaker assembly.

    Check the connector and flex cables carefully. Still, nothing goes wrong.
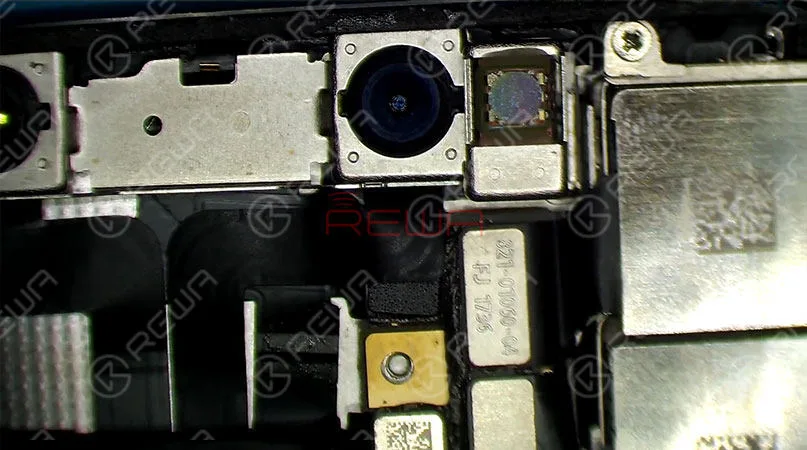
    How To Fix iPhone X Face ID Not Working

    Then remove screws. And detach the earpiece speaker and front sensor assembly from the phone.

    Be careful not to damage flex cables in the process since the Flood illuminator module is bonded to glass lens with double-sided tape.

    We can see clearly that the flex cable where locates the Flood illuminator module is fractured at the edge.
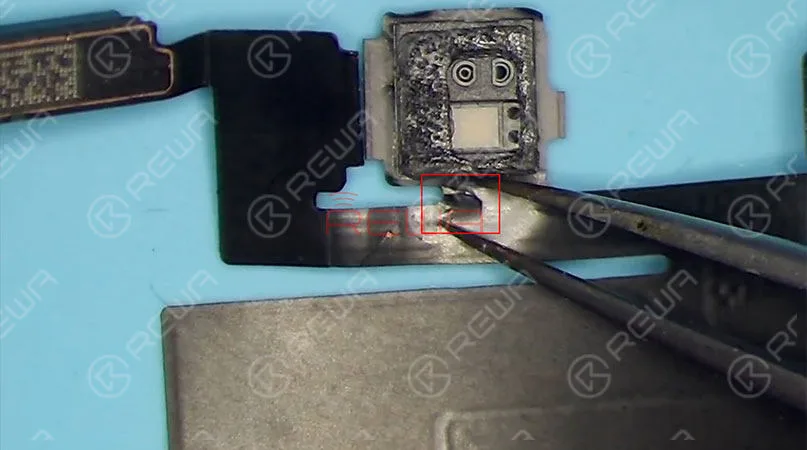
    How To Fix iPhone X Face ID Not Working

    Since the Flood illuminator module is an essential part for Face ID circuit, damage of the flex cable can result in not working of it, which can absolutely affect normal working of Face ID.

    Also, as flex cable repair is difficult, we can solder the Flood illuminator module to a new flex cable.

    To replace with a new flex cable, we need to separate the earpiece speaker and the ambient light sensor module from the earpiece speaker and front sensor assembly first.

    Heating with Soldering Iron, the ear speaker was separated successfully.

    Then, secure the flex cable in the place with High-Temperature Protective Tape for further separating the ambient light sensor module flex cable.

    Soldering Iron and Hot Air Gun are required to remove this flex cable.

    Once done, remove excess tins on the flex cable with Soldering Iron and clean with PCB Cleaner.

    Now the fractured flex cable is separated completely.

    Next thing we do is to replace with a new flex cable.

    Remove the Flood illuminator module on the flex cable first.

    Prepare a new flex cable. Apply some Paste Flux to the bonding pad.

    Align the Flood illuminator module in place with the new flex cable.

    Be careful with the direction.

    Then solder with Hot Air Gun. Remove residual glue on the module afterward.
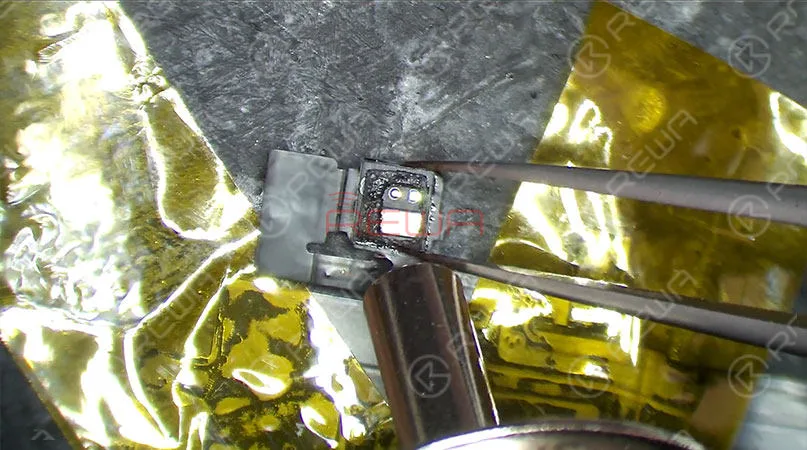
    How To Fix iPhone X Face ID Not Working

    The repair part is almost over right the moment.

    Next thing we need to do is to re-solder the ambient light sensor module and earpiece speaker.

    However, the soldering of the ambient light sensor is the most difficult part of this repair. Whatever, let’s do it. Apply some Paste Flux to the bonding pad of ambient light sensor module.

    Then apply tins to the bonding pad with Soldering Iron .

    Clean with PCB Cleaner.

    Apply some Paste Flux to the bonding pad again.

    Get the detached ambient light sensor module flex cable in position.

    Secure the flex cable with one specific position soldered by Soldering Iron with curved nozzle first.

    Then use Soldering Iron with cutter nozzle to complete the remaining soldering process.

    Clean with PCB Cleaner afterwards.

    Now we need to solder the earpiece speaker back to flex cable.
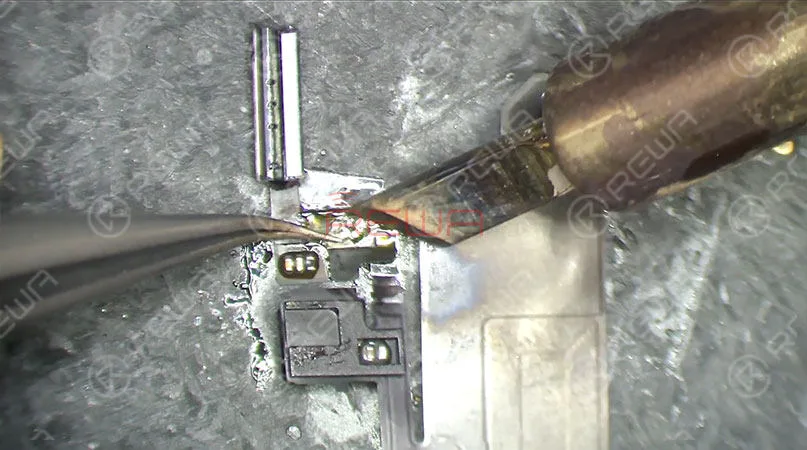
    How To Fix iPhone X Face ID Not Working

    It’s time to get the earpiece speaker and front sensor assembly assembled to the display assembly.

    Re-assemble the phone and test.

    Press power button to power on. Go to Settings > Face ID & Passcode > Set up Face ID .

    Face ID can be set up successfully.

    Press the power button to lock the screen. Press the power button again. The screen lights up. Glance at the iPhone X.

    The screen can be unlocked automatically. Fault cleared.

    questions about iPhone X Face ID Not Working After Repairing Tutorial, welcome to comment below.

    Click below if you are interested in the Tools & Spare Parts used in the video. For more details and latest price please feel free to contact sales@rewatechnology.com

    * Integrated Mobile Phone Repair Platform

    * Tri-wing Screwdriver – Type 2

    * Straight Tweezer – Type 3

    * 4x Optical Microscope – KS7045

    * PCB Cleaner – 250ml

    * BGA Strip Flux Soldering Paste

    * Anti-static Plastic Pry Bar

    * Heat-resisting Adhesive Tape – 5.0mm

    * 100g Solder Wire – Type 1

    * iPhone X Replacement Parts

    Visit REWA  online shop  for more parts and tools.

    I wanna learn basic knowledge about iPhone motherboard, master iPhone micro-soldering techniques, understand the work-flow of different iPhone circuits, master troubleshooting processes of different iPhone issues, and learn detailed screen/back glass refurbishing steps——You can visit REWA Academy.