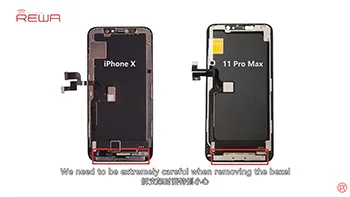
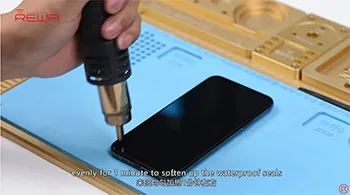
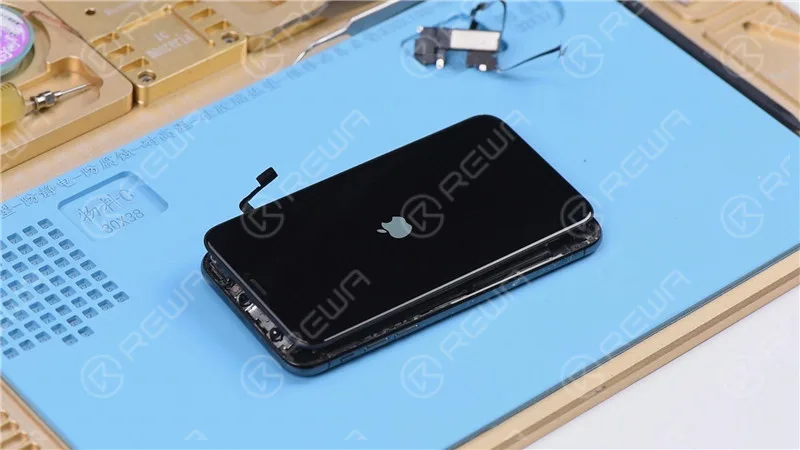
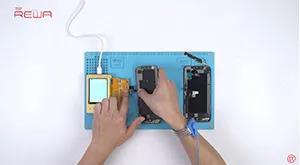
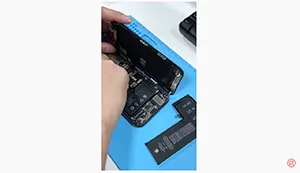
Pour l'iPhone X et les modèles d'iPhone ultérieurs, le support couvrant la zone de liaison du câble flexible inférieur est collé à l'aide d'un adhésif à froid. La méthode traditionnelle avec assistance par chauffage lors du retrait de la lunette risque d'endommager l'écran. Après plusieurs tentatives, REWA LAB a constaté que la nouvelle méthode avec assistance à froid peut améliorer le taux de réussite et l'efficacité de la remise à neuf de l'écran. Pour plus de détails, consultez notre vidéo d'aujourd'hui - Remise à neuf de l'écran de l'iPhone 11 Pro Max.
Outils et pièces utilisés pour reconditionner l'iPhone 11 Pro Max
Toutes les machines remises à neuf peuvent être consultées sur le site
Pistolet à air chaud Station de reprise
Pince à épiler droite
Tournevis Phillips
Tournevis à pentalobe
Tournevis à trois ailettes
Plate-forme intégrée de réparation de téléphones mobiles
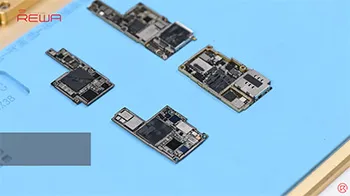
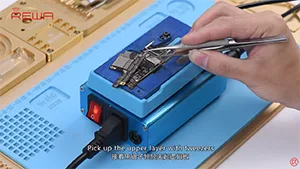
iPhone new series have undergone considerable changes on both inside and outside. Especially on the motherboard. How will these changes affect the repair industry? Will it make third-party repair harder or easier? Follow our iPhone 11 Pro motherboard separation&recombination video today and find the answer by yourself.
Tools & Parts used to separate iPhone 11 Pro
Pistolet à air chaud Station de reprise
Pince à épiler droite
Tournevis Phillips
Tournevis à pentalobe
Tournevis à trois ailettes
Plate-forme intégrée de réparation de téléphones mobiles
The iPhone 11 series has impressed the repair industry again with its new iPhones. What does the new design mean to our repair work? In our video, we will show you each part inside the iPhone 11 pro and share repair tips from REWA perspective.
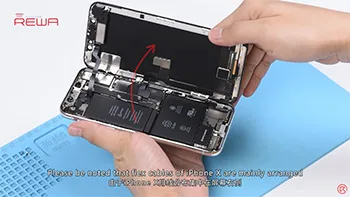
Le remplacement d'écran et de batterie est une activité essentielle pour les ateliers de réparation. Des techniques de remplacement professionnelles permettent non seulement de réduire le taux de panne lors du remplacement d'écran et de batterie et de gagner du temps, mais aussi de valoriser l'image professionnelle de l'atelier de réparation et d'obtenir des retours favorables de la part des clients. Aujourd'hui, nous prenons l'iPhone X comme exemple pour vous montrer des astuces et des conseils pour le remplacement d'écran et de batterie des iPhone X/XS/XS Max. Suivez nos étapes et dynamisez votre atelier de réparation dès maintenant.
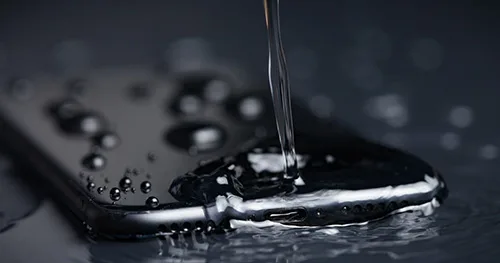
La série iPhone 12 comprend quatre modèles et présente une résistance à l'eau de niveau IP68 selon la norme IEC 60529 (6 mètres d'eau pendant 30 minutes).
Il convient toutefois de noter que la résistance aux éclaboussures, à l'eau, à la poussière et à la poussière n'est pas permanente.
La performance de la protection peut diminuer en raison de l'usure normale, et les dommages causés par l'immersion ne sont pas couverts par la garantie.
Si l'iPhone tombe accidentellement dans l'eau :
Essuyez l'iPhone avec un chiffon doux. Pour sécher l'iPhone, retirez le port de charge et tapotez doucement votre iPhone avec votre main pour évacuer l'excès de liquide.
Ou placez l'iPhone dans un endroit sec et ventilé.
Vous pouvez également placer l'iPhone devant le ventilateur et laisser le vent froid souffler directement sur le port de charge, ce qui peut accélérer le processus de séchage.
Veillez à ne pas utiliser de source de chaleur externe pour sécher l'iPhone et à ne pas insérer d'objets étrangers dans le port de charge, tels qu'un coton-tige ou un mouchoir en papier.
Attendre que l'iPhone soit complètement sec après avoir ouvert le plateau de la carte SIM.
Si vous devez recharger l'iPhone, attendez au moins 5 heures pour vous assurer que l'iPhone est sec, puis vous pouvez le recharger.
Si le son du haut-parleur est déformé après une chute dans l'eau
Vérifiez s'il y a de l'eau dans le microphone ou le haut-parleur.
Laissez le haut-parleur face vers le bas, posez l'iPhone sur un chiffon soulevé et vérifiez qu'il n'y a pas de goutte d'eau. La présence d'eau dans le port peut réduire les performances du haut-parleur ou du microphone.
La fonction ne reviendra pas à la normale tant que l'humidité ne se sera pas complètement évaporée.
Ce qu'il faut noter dans l'utilisation quotidienne
Ne prenez pas l'iPhone avec vous lorsque vous prenez un bain ou que vous allez nager.
Par exemple, n'utilisez pas d'iPhone dans le sauna ;
Ne plongez pas délibérément votre iPhone dans l'eau ;
Ne placez pas votre iPhone dans de l'eau à haute pression ou à fort débit, comme la douche, le ski, le surf, etc.
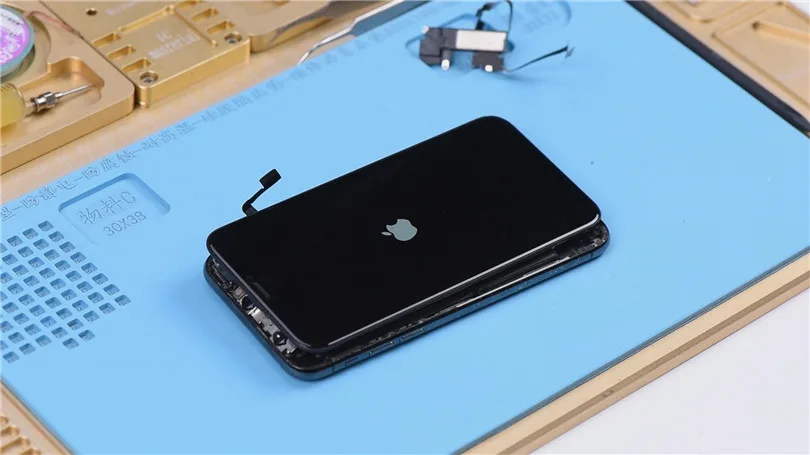
It can be extremely frustrating to find your iPhone stuck on apple logo or iTunes Error 4013. In most cases, this is not a serious issue and a software update can resolve the issue. However, if the software update does not resolve the issue, it may be a hardware issue that requires a more thorough diagnosis and repair.
iPhone Error 4013: Possible Causes
iPhone Error 4013 can occur due to various factors, encompassing both software and hardware components, which contribute to the occurrence of this perplexing error.
Outdated iTunes Version
One of the primary causes of iPhone Error 4013 is an outdated version of iTunes. Since iTunes is crucial for both restoring and updating the device, it is imperative to keep it up to date. A simple and free software update can often resolve this issue, ensuring smooth communication between the iPhone and the computer.
Software Glitches
Random firmware crashes can sometimes lead to iPhone Error 4013. Performing a force restart or hard reset can help overcome these software glitches. By holding down the appropriate buttons, you can initiate a restart that may rectify the error and restore normal functionality.
Hardware Complications
While software issues are common culprits, hardware problems can also trigger iPhone Error 4013. In some cases, sweat or other forms of liquid entering the earpiece can cause a boot loop and lead to this error. Additionally, faulty USB cables, damaged USB ports, or third-party security software can contribute to this frustrating issue.
This blog post will exclusively address hardware problems that can lead to this issue.
Remarque : Please note that this tutorial utilizes an iPhone X for demonstration purposes, although the method can be applied to most iPhone models.
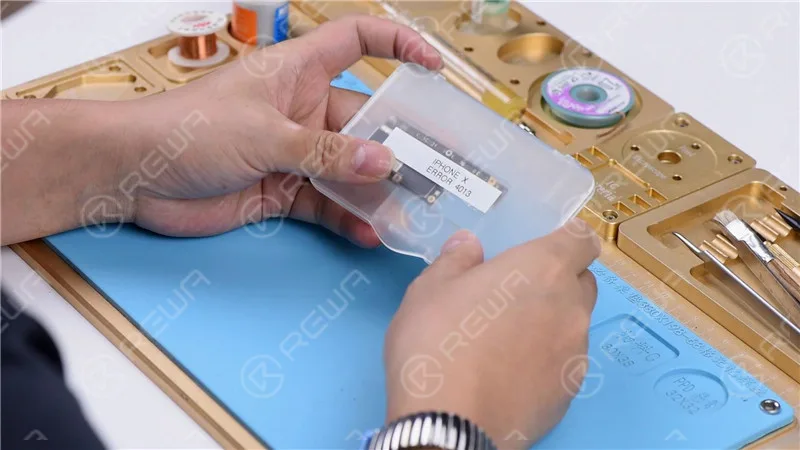
Cosmetic Inspection of the Motherboard
Before diving into any troubleshooting, it’s essential to ensure the motherboard is in optimal condition. Check for any deformities or water damage that might hinder the repair process.
Identifying the Problem
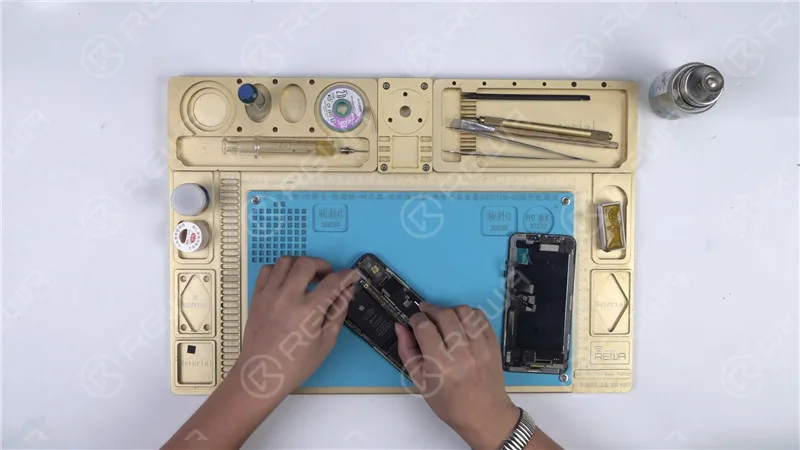
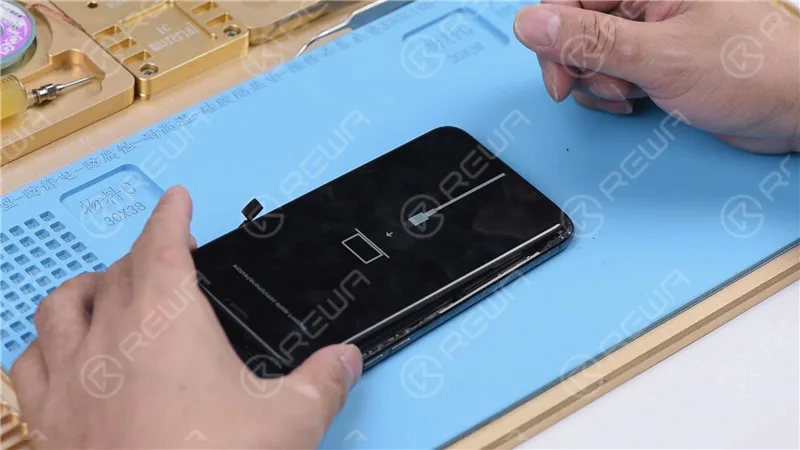
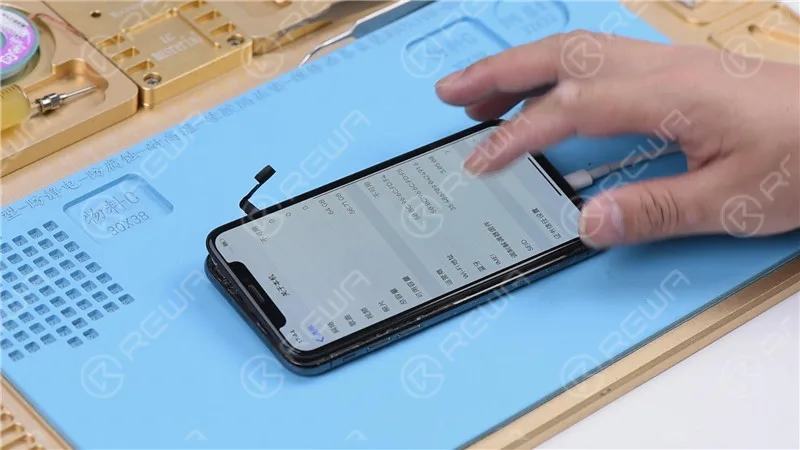
Let’s proceed with the motherboard installation and test it by pressing the power button. However, the phone automatically enters recovery mode, indicating a possible restore failure with the motherboard. As a result, the phone is unable to boot into the system normally.
Restoring the Phone
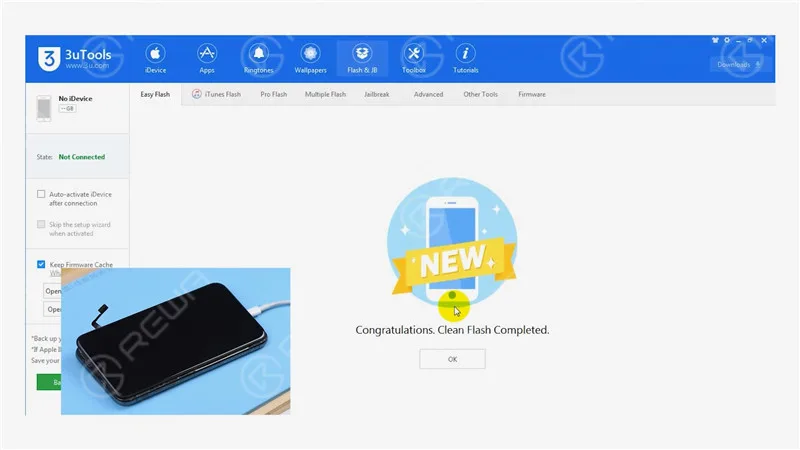
To begin, connect your iPhone X to a computer and initiate the restoration process using 3U Tools. A successful restoration indicates the motherboard is functioning correctly, and your phone can be activated normally.
Diagnosing Further Issues
Successful Restoration
If the phone can be restored successfully and activated, it’s an indication that the motherboard is functioning properly. The issue likely lies elsewhere.
Checking Baseband Info
Navigate to Settings>General>About to verify the baseband information, reinforcing the motherboard’s health.
Pinpointing the Issue
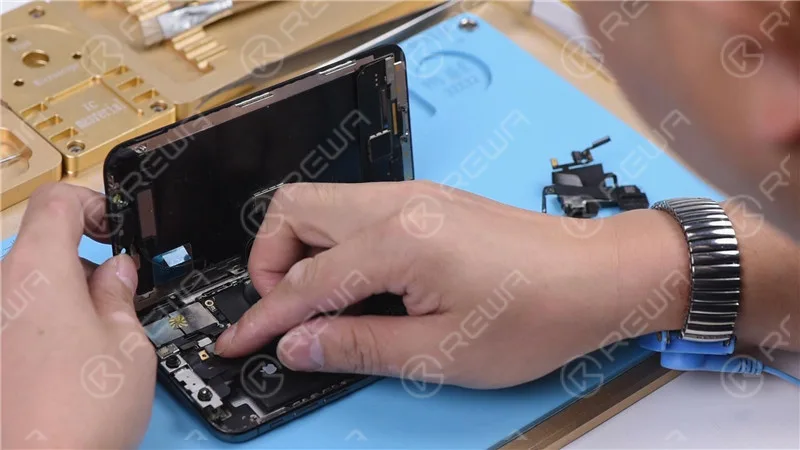
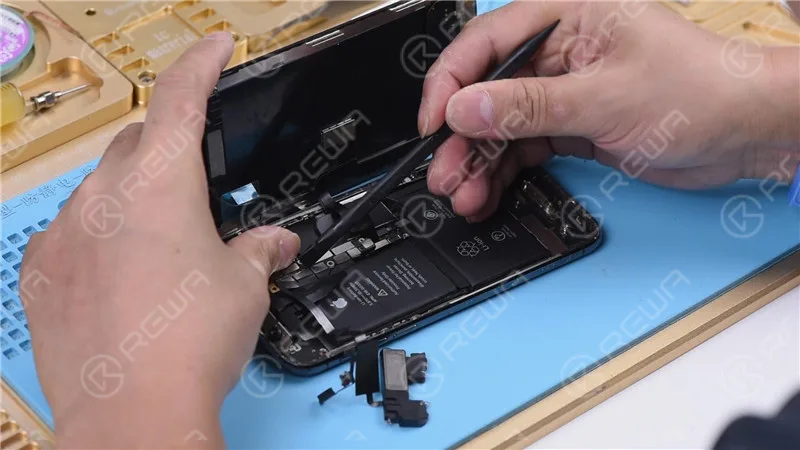
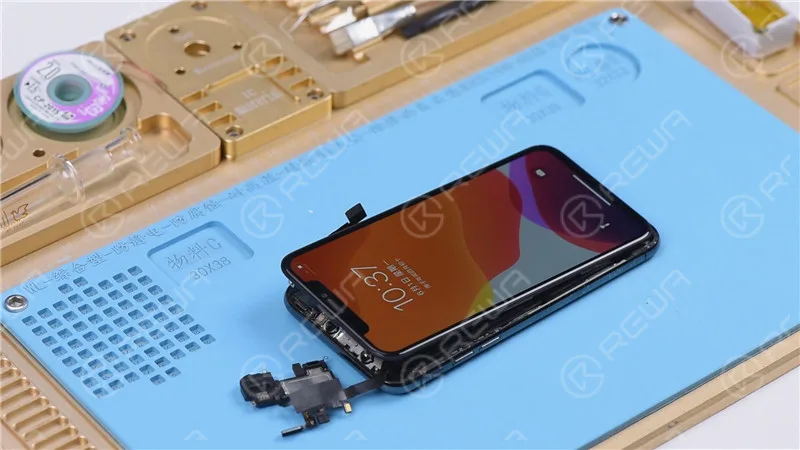
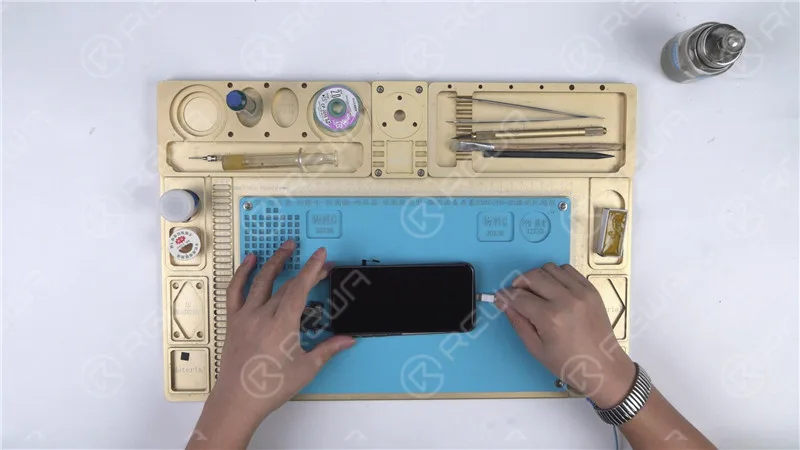
Adding Flex Cables: To narrow down the problem, reattach the earpiece speaker and sensor flex cable along with the front camera flex cable, and attempt to turn on the phone.
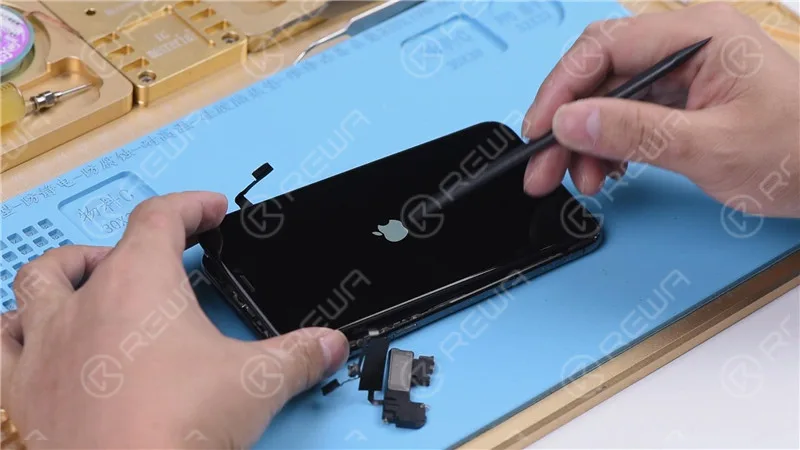
Stuck on Apple Logo: If the phone gets stuck on the Apple logo and restarts, it suggests an issue with the earpiece speaker and sensor flex cable or the front camera flex cable.
Isolating the Problem
Disconnecting the Earpiece Speaker and Sensor Flex Cable: Remove the earpiece speaker and sensor flex cable, then try to power on the phone. If it turns on normally, the issue is indeed related to these components.
Fixing the Flood Illuminator Module
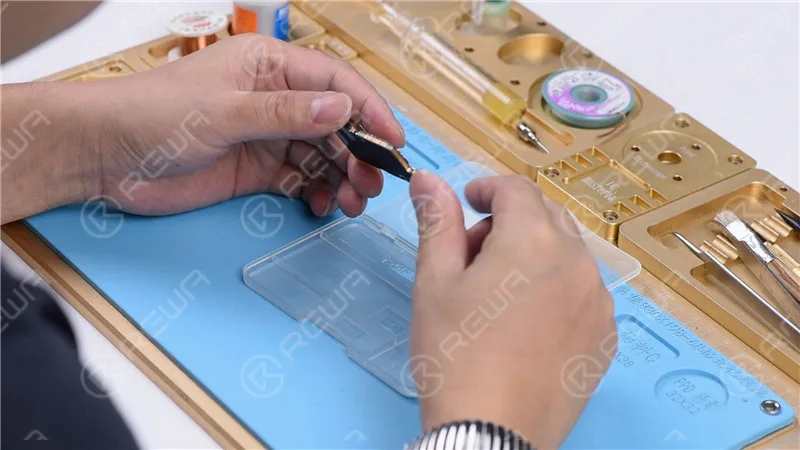
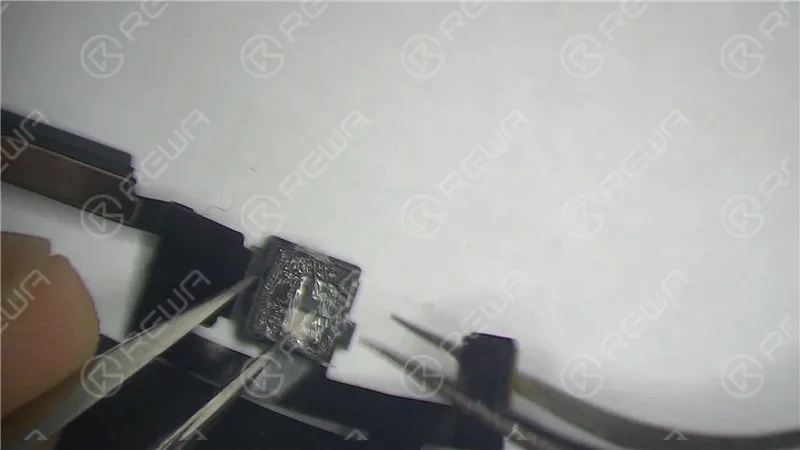
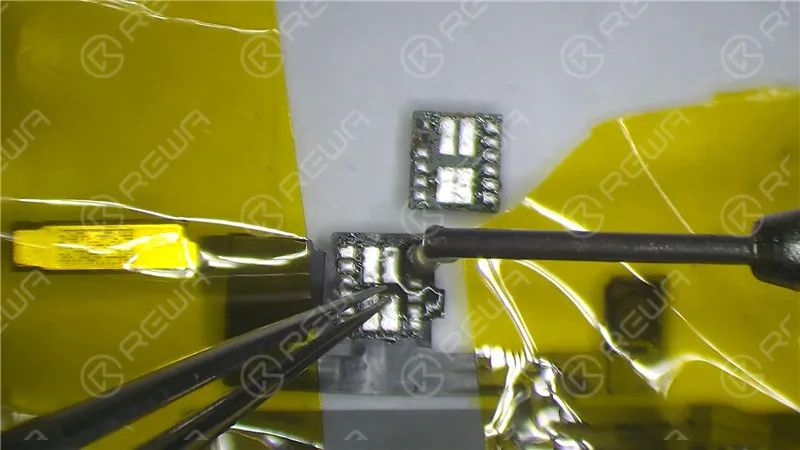
Microscopic Examination: Inspect the Flood illuminator module and identify any mold or corrosion.
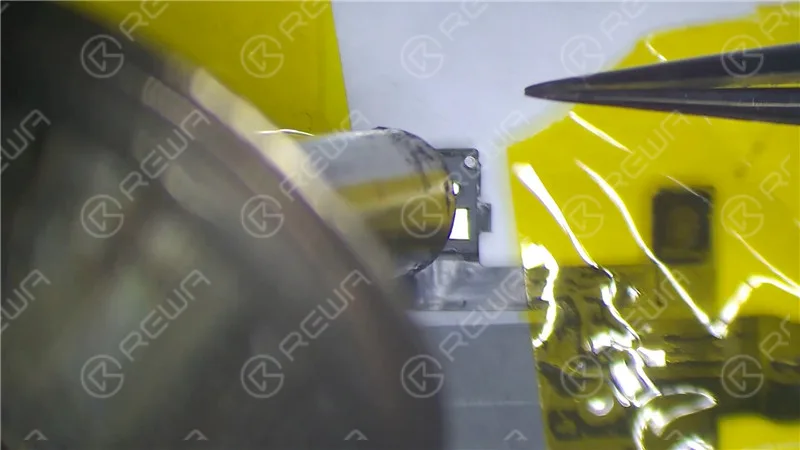
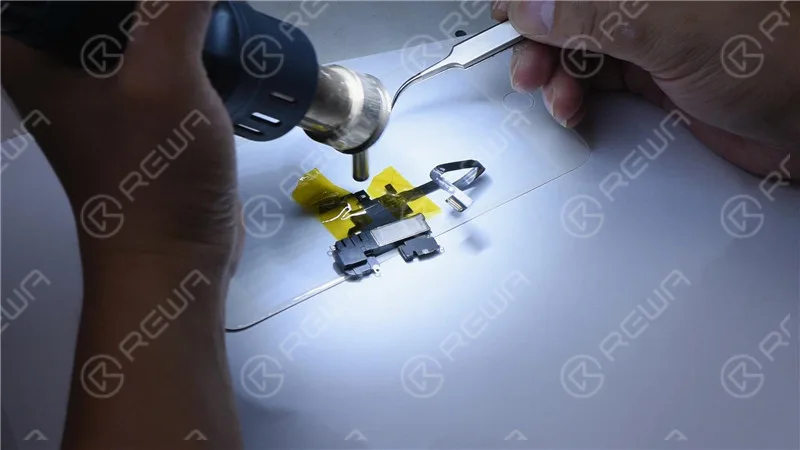
Repairing with High-Temperature Tape: Fix the earpiece speaker and sensor flex cable using high-temperature tape. Heat the affected area with a Hot Air Gun at 320℃ with an air flow of 35. Remove the damaged Flood illuminator module.
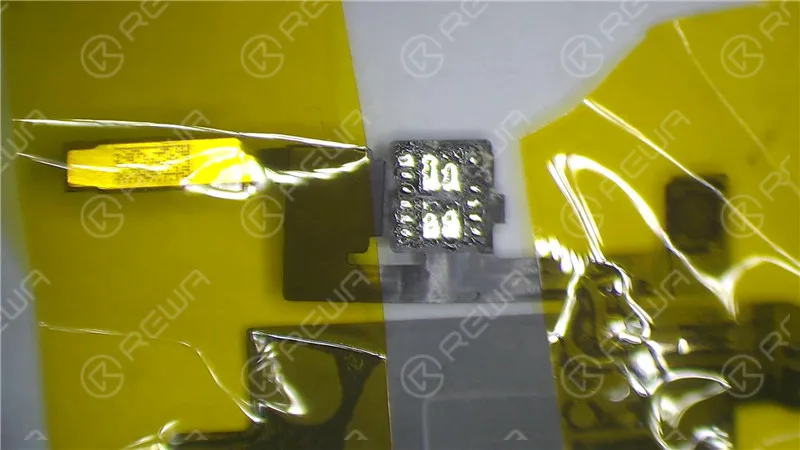
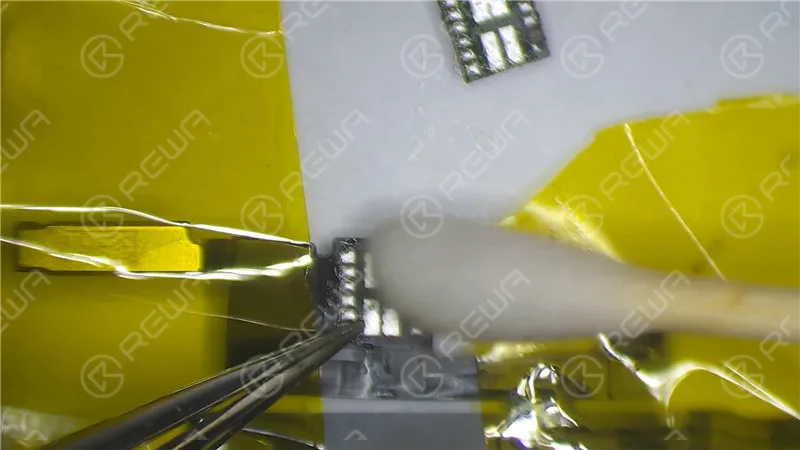
Corroded Bonding Pad: If the bonding pad on the Flood illuminator module is severely corroded, apply paste flux, clean with a soldering iron at 360℃, and reapply medium-temp solder paste. Clean with PCB Cleaner afterward.
Remontage : Reassemble the Flood illuminator module, applying paste flux and soldering it in place with a Hot Air Gun at 320℃.
Wait for 2 Minutes: Allow the repaired components to settle for two minutes.
Testing and Restoring
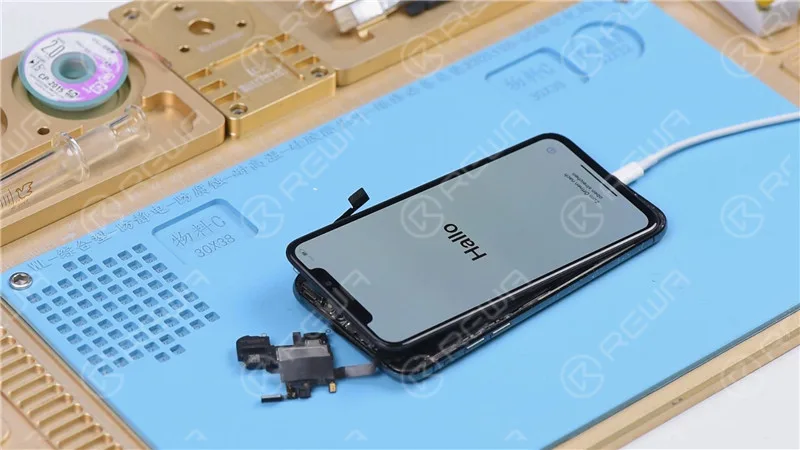
Reconnection: Reinstall the earpiece speaker and sensor flex cable, connect the battery, and power on the phone.
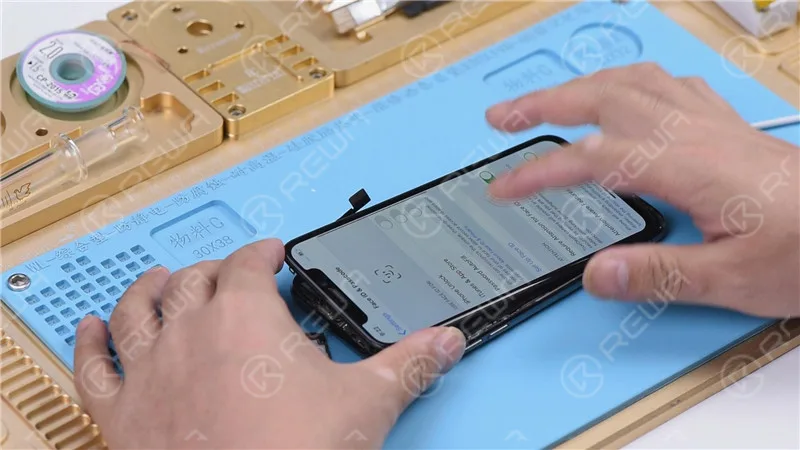
Restoring with Components Connected: Since the flex cables were not connected during the previous restoration, restore the iPhone X with both cables connected to ensure Face ID functionality.
Final Verification
Entering DFU Mode: Place the phone in DFU mode and connect it to the computer.
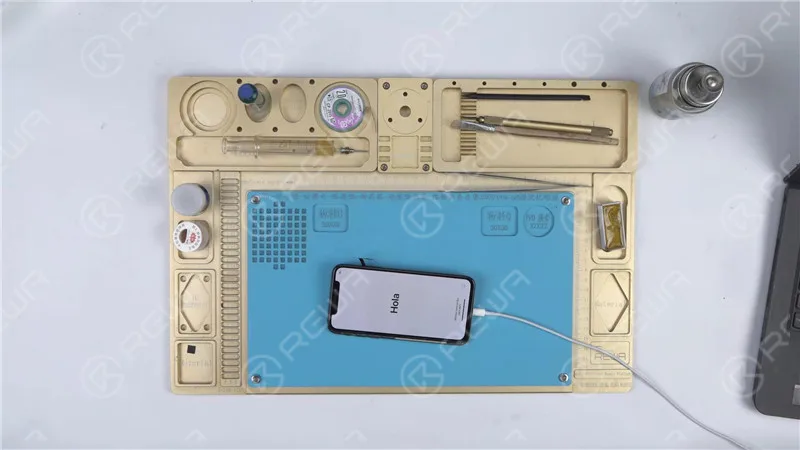
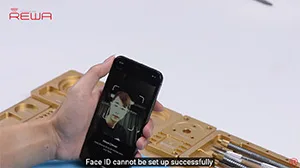
Restoration: Use 3U Tools or similar software to restore the phone. If it completes successfully, and the phone boots into the system and allows for Face ID setup, the issue has been resolved.
Video Guide to Fix iphone stuck on apple logo
Conclusion :
In this comprehensive guide, we have walked through the troubleshooting and repair process for an iPhone X stuck on the Apple logo with iTunes Error 4013. By methodically evaluating each component, from the motherboard to the earpiece speaker and sensor flex cable, we’ve successfully identified and fixed the issue, allowing the phone to function normally once again. For more in-depth repair knowledge, consider visiting Académie REWA.
What will you do when meeting Face ID issues on iPhone X/XS/XS Max or even on iPhone 11 series? As we know some Face ID issues can be repaired but some cannot. Is there any easier way to find out before we repair? Yes, there is. REWA repair tricks on Face ID troubleshooting-Face ID fault-finding in 3 minutes. Check out our ‘move iPhone a little lower/higher when setting up Face ID’ video and you will learn a lot.
iOS 13 update has again brought the True Tone missing problem to some iPhone users. Well,
REWA LAB has worked out a new solution to fix the problem. We will take iPhone XS as an example and show you how to restore True Tone of aftermarket screens step by step.
Tips: True Tone supports iPhone devices from iPhone 8 to later models.
We introduced the 3 must-have tool kit for iPhone double-stacked motherboard repair. Also, there is a New Arrival Recommendation – REWA Selected 3 in 1 iPhone X/XS/XS Max Heating Platform instead of the one we used in the video. With the help of these tools, you can not only improve repair efficiency and success rate but also power your repair business.
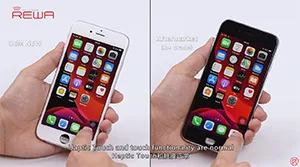
iOS 13 has been officially released for a month. In order to provide our clients with featuring stable quality, REWA LAB has conducted a series of compatibility tests for iPhone series from iPhone 6s to iPhone X with OEM NEW, A+Grade Aftermarket Screens and Aftermarket Batteries respectively. Now, Let’s take iPhone 6s, iPhone 8P, and iPhone X as examples and show you how the test goes.
Tips: iOS 13 only supports the iPhone 6s and later models.
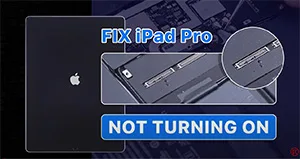
We have received an iPad Pro from our fan. The original fault of the iPad Pro was the top left corner speaker with noise. After speaker replacement, the connectors of the motherboard and display are burnt out while connecting the display. Now the iPad Pro won’t turn on. So the fan mailed the iPad Pro to REWA for repair. Let’s check out how we fix the iPad Pro.
 English
 Español
 Français
 Deutsch
 Italiano