

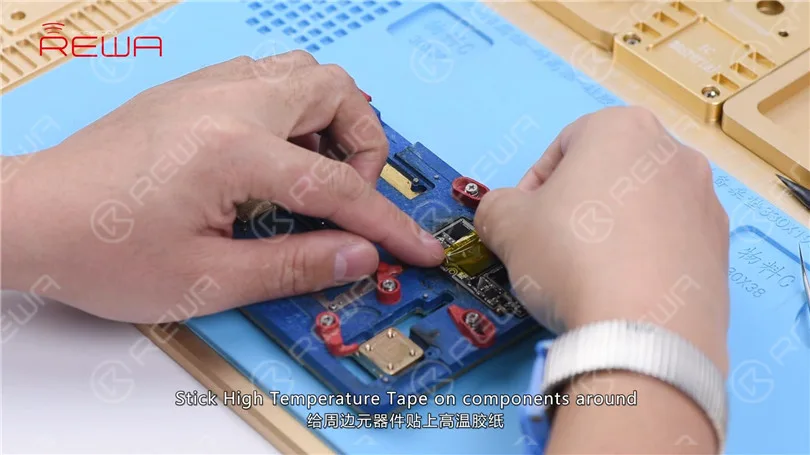
Today’s handwork course will focus on a tutorial for desoldering and soldering the iPhone X PMU. Begin by attaching the upper layer of the motherboard to the PCB Holder, then proceed to apply High-temperature Tape on the surrounding components.
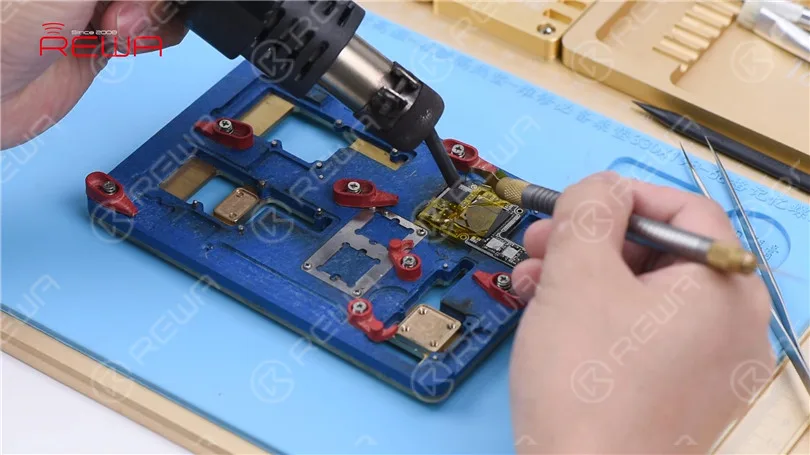
Start by removing the black adhesive surrounding the PMU. Apply heat using a Hot Air Gun set at 280℃ with an air flow of 3. Then, use a specialized knife to get rid of the black adhesive around the chip.
Attention : When removing the black adhesive near the PMU to prevent dislodging any nearby components.
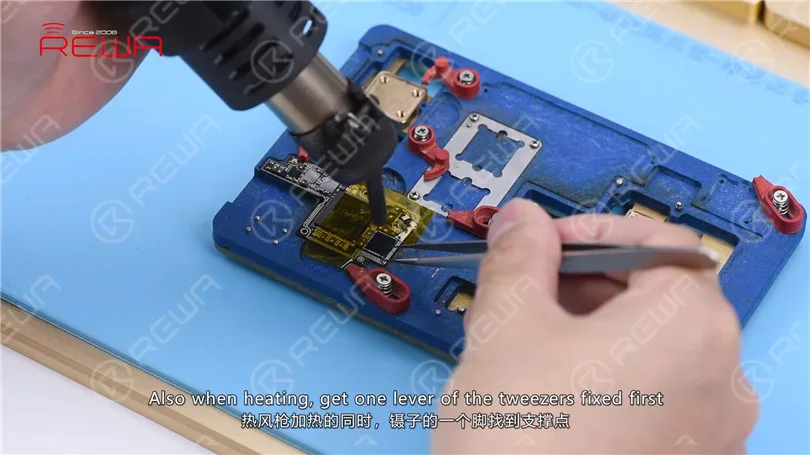
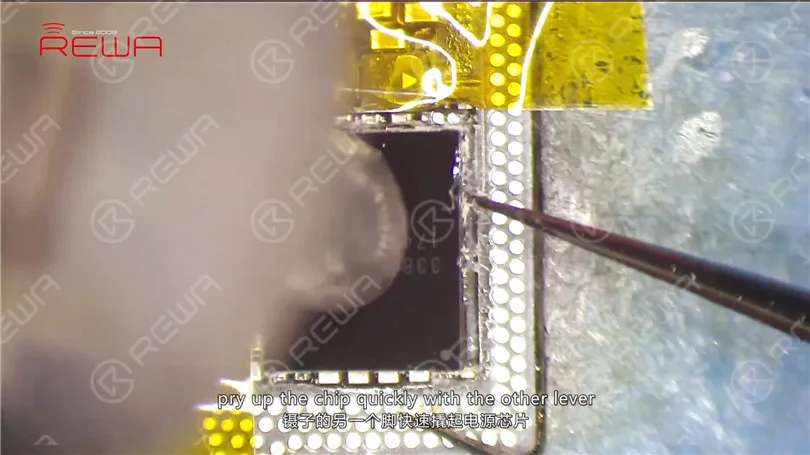
Apply heat to the PMU using a Hot Air Gun set at 330℃ with an air flow of 5. Prior to heating, secure one end of the tweezers. After 15 seconds, when the solder begins to melt, swiftly lift the chip using the other end of the tweezers. Ensure that you lift the chip at the appropriate moment to avoid causing damage to the bonding pad.
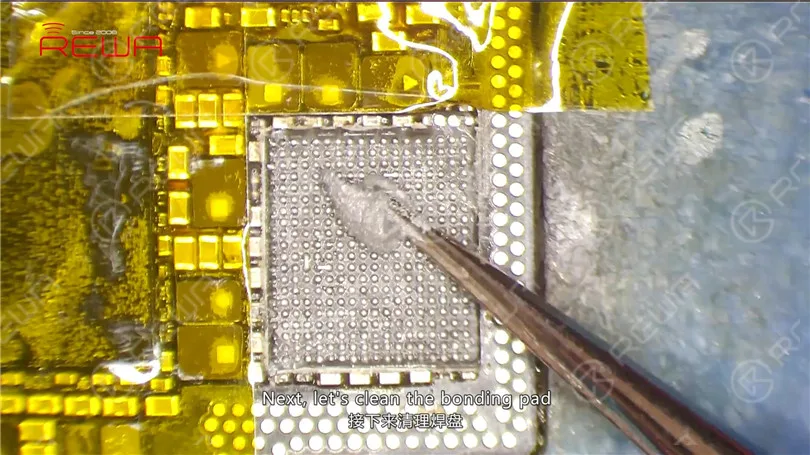
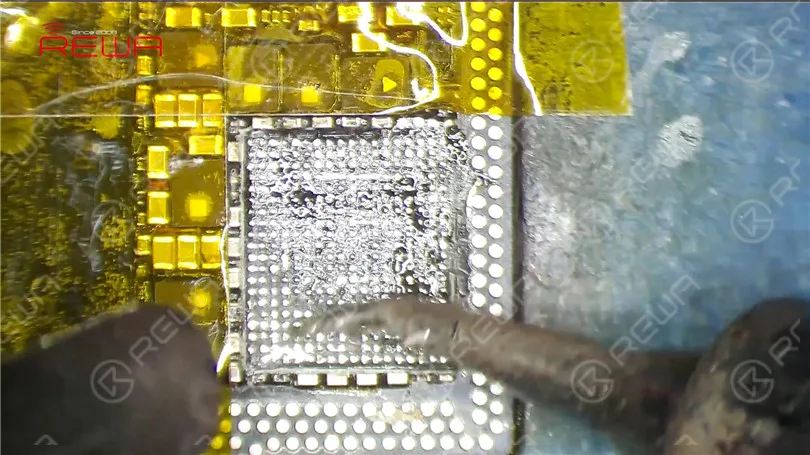
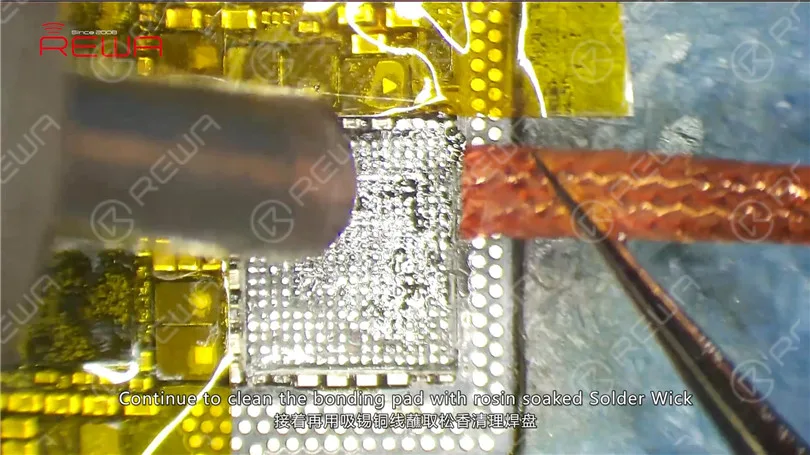
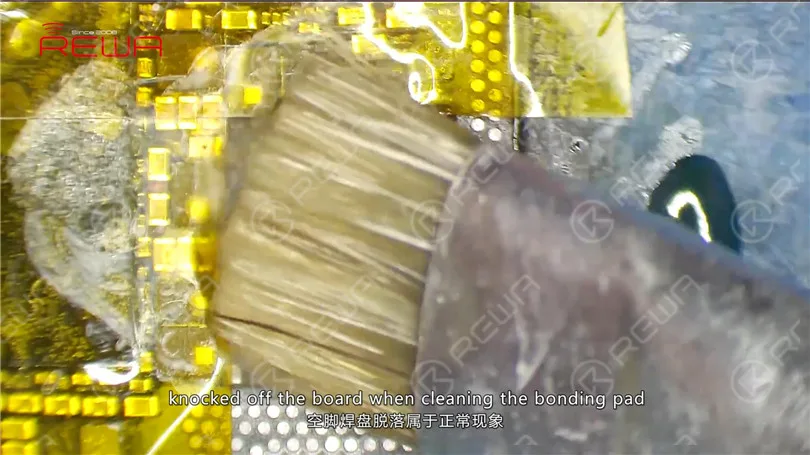
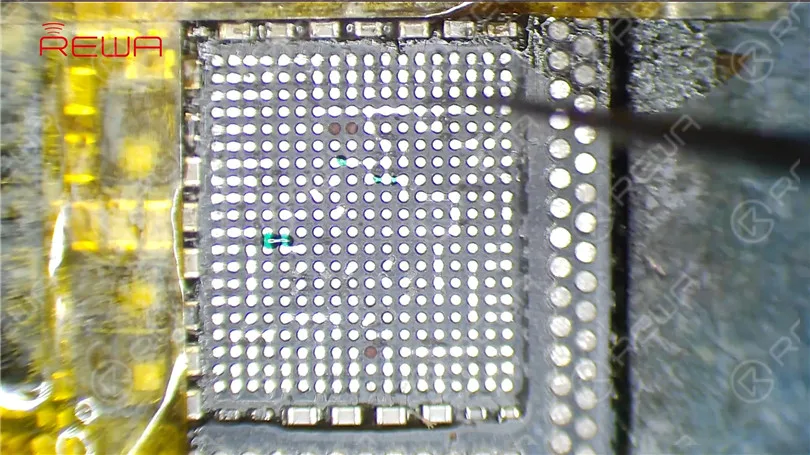
Next, let’s clean the bonding pad. Apply some mid-temperature Solder Paste to the bonding pad. Heat with Hot Air Gun at 280℃. Meantime, clean the bonding pad with Soldering Iron at 360℃. Continue to clean the bonding pad with rosin soaked Solder Wick. Clean with PCB Cleaner afterwards. Tips: bonding pads of those empty pins might get knocked off the board when cleaning the bonding pad, which is normal. We can just leave them alone.
Continue to remove black adhesive on/around the bonding pad. Also when we pry up the chip, components around get knocked off the board. So our next move is to re-solder these components. First, apply some Paste Flux to their bonding pads. Then, apply solders with Soldering Iron. Get these components in position. And then solder with Hot Air Gun at 330℃, air flow 3.
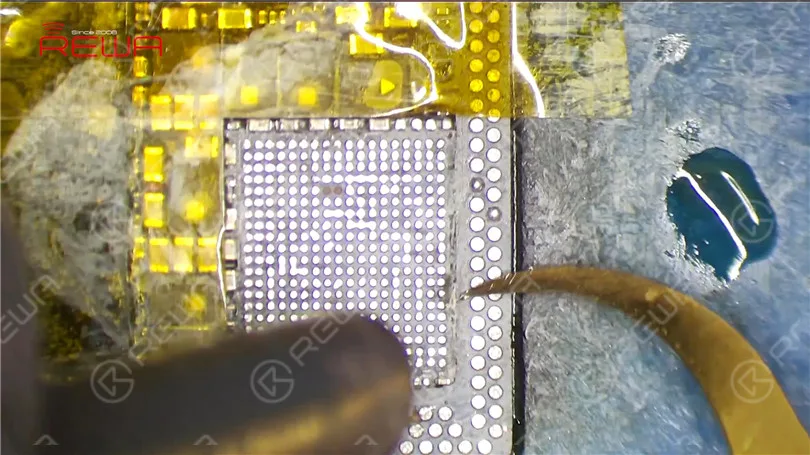
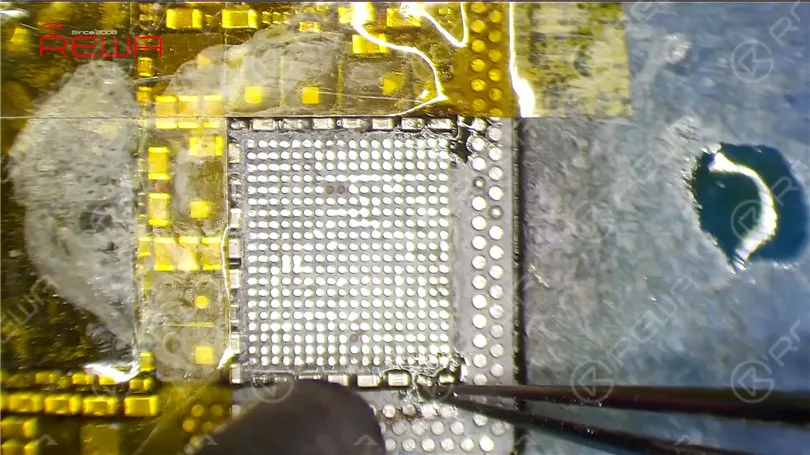
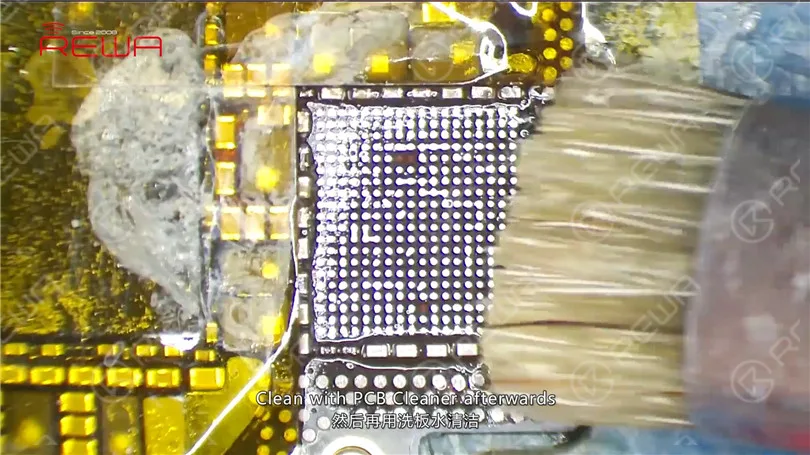
Before soldering the chip, clean the bonding pad again. Clean with PCB Cleaner afterwards.
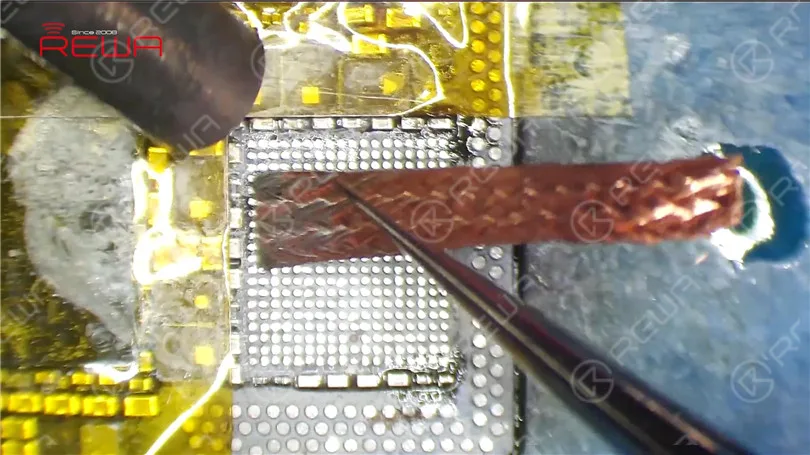
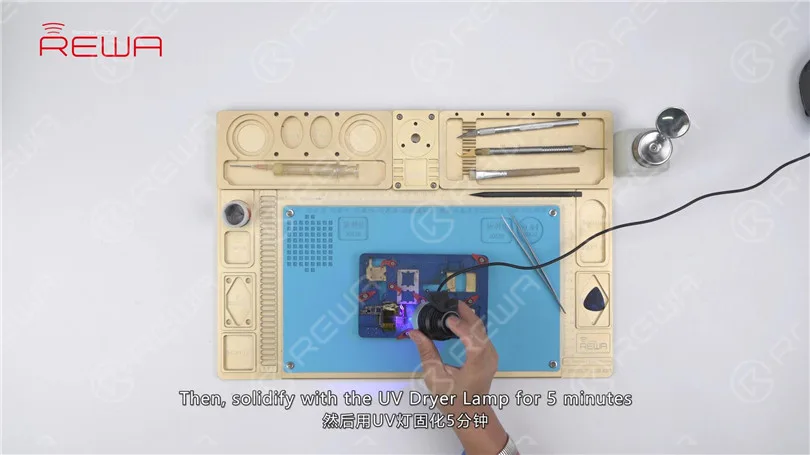
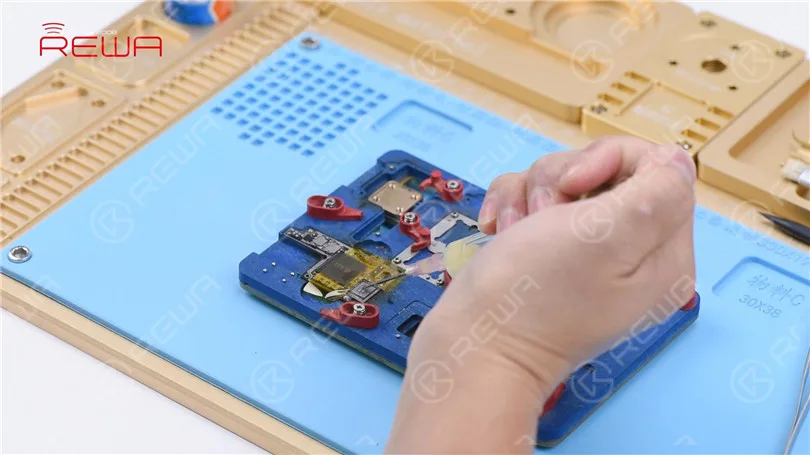
Also when we remove the black adhesive, some of the insulation varnish on PCB has fallen off the board. So we need to remedy with the UV Curable Solder Mask. Dip some UV Curable Solder Mask with tweezers. And apply the solder mask to the exposed area. Then, solidify with the UV Dryer Lamp for 5 minutes.
Now we can solder the PMU. Apply some Paste Flux to the bonding pad. Get a new PMU in position. Make sure you put it in the right direction. Solder with Hot Air Gun at 330℃, air flow 3 for 20s.
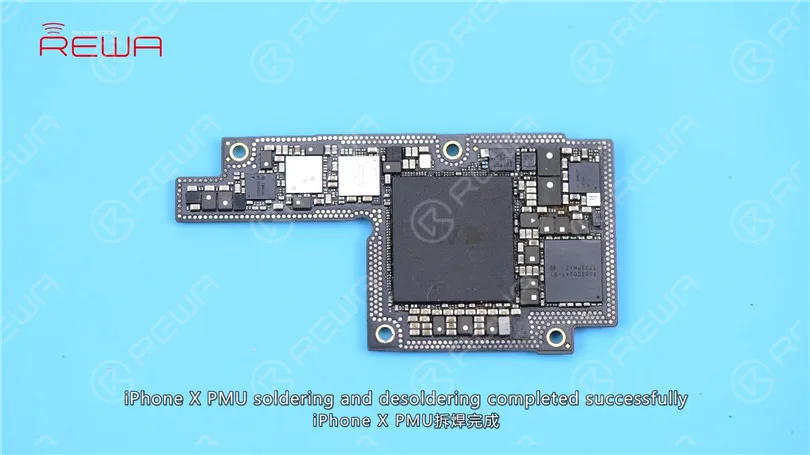
With the chip sinking and Paste Flux flowing, continue heating for 10s. Wait for the upper layer to cool for 5 minutes. Tear off the High Temperature Tape. Clean with PCB Cleaner afterwards. iPhone X PMU soldering and desoldering completed successfully.

 English
  Español
  Français
  Deutsch
  Italiano