Schlagwort: iphone

  • Fix iPhone 12 Won’t Turn On By Infrared Thermal Imaging Camera

    Fix iPhone 12 Won’t Turn On By Infrared Thermal Imaging Camera

    Today we will share a repair case of an iPhone 12 that is unable to turn on. There are generally three reasons why phones won’t turn on: display assembly failure, battery failure, and motherboard failure.

    Next, we will look for the faulty part step by step.

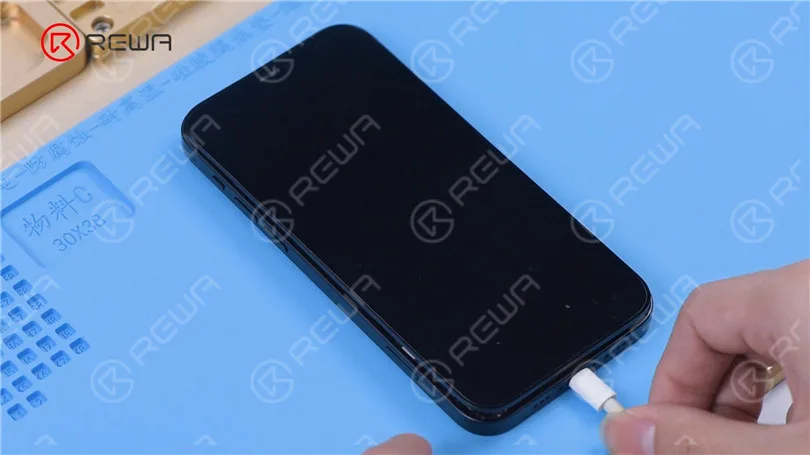
    Press the power button and the phone won’t turn on. Connect the phone to power and the phone still won’t turn on.
    Fix iPhone 12 Won't Turn On By Infrared Thermal Imaging Camera

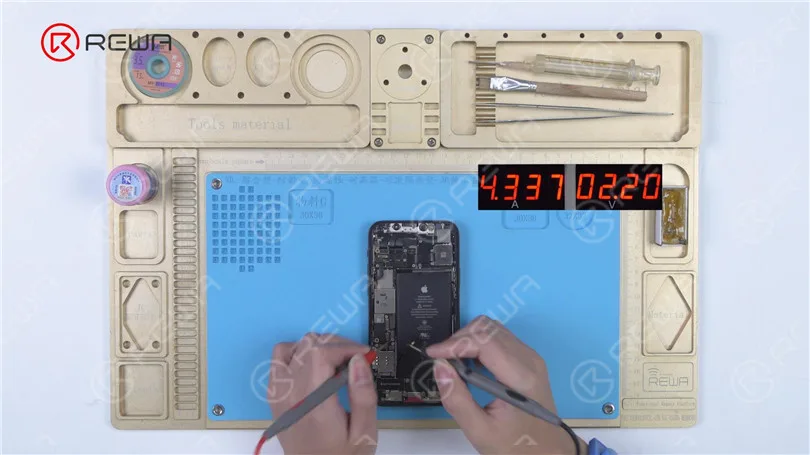
    Disconnect the display. Power up the motherboard. Please be noted that the time for powering up shouldn’t be too long. It can be seen that the current value is large. The motherboard has a large current which indicates the motherboard is short-circuited.
    Fix iPhone 12 Won't Turn On By Infrared Thermal Imaging Camera

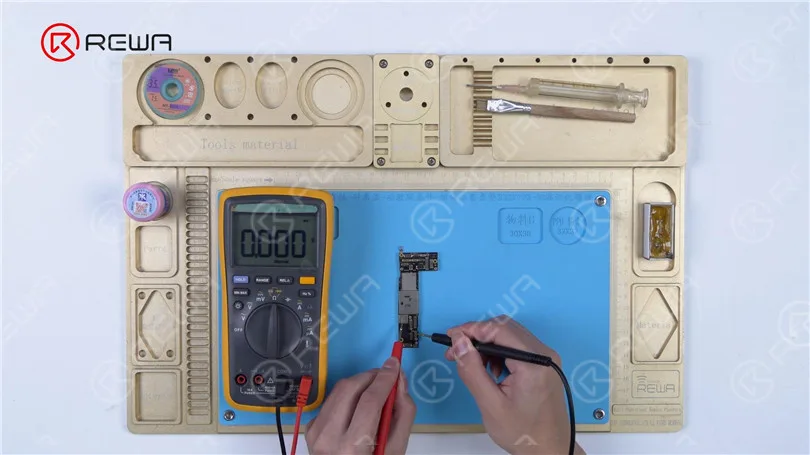
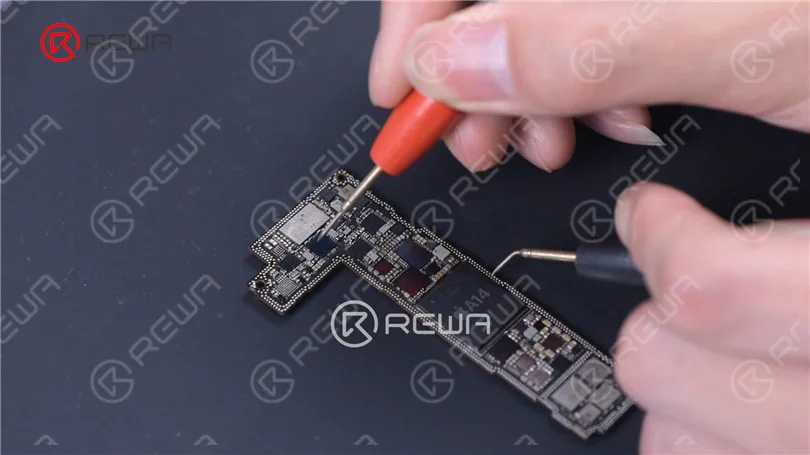
    Next, we need to remove the motherboard and locate the faulty part for repair. Measure the diode value of PP_BATT_VCC line with a multimeter.The diode value is 0. It can be confirmed that PP_BATT_VCC line is short-circuited. PP_BATT_VCC line and PP_VDD_MAIN line of iPhone 12 are connected in series by an inductor. So the short-circuited PP_BATT_VCC line may also cause the PP_VDD_MAIN line to short circuit.
    Fix iPhone 12 Won't Turn On By Infrared Thermal Imaging Camera
    Fix iPhone 12 Won't Turn On By Infrared Thermal Imaging Camera

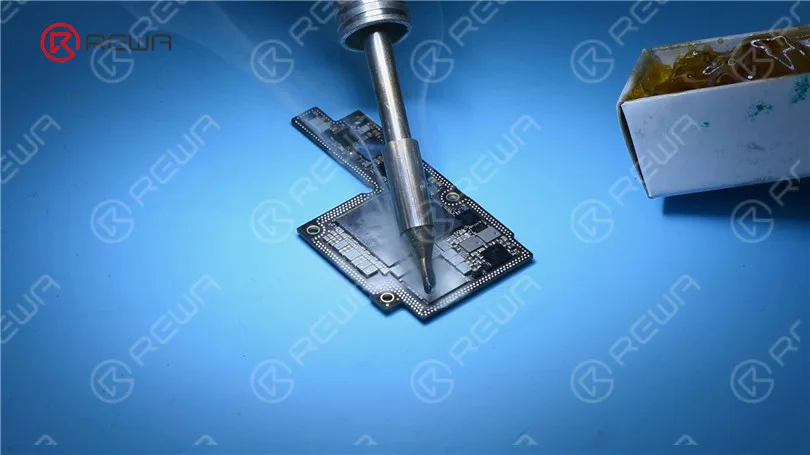
    The old solution to repair the large current problem is through rosin detecting. Through the melting of rosin, we can confirm the faulty part. Though the solution is cheap and effective, it has some shortcomings. The motherboard has to be covered with rosin while the rosin is hard to clean up afterward. In addition, we have to remove shielding covers on the motherboard for a thorough inspection. There is no doubt that operation difficulty will be greatly enhanced.
    Fix iPhone 12 Won't Turn On By Infrared Thermal Imaging Camera
    Fix iPhone 12 Won't Turn On By Infrared Thermal Imaging Camera

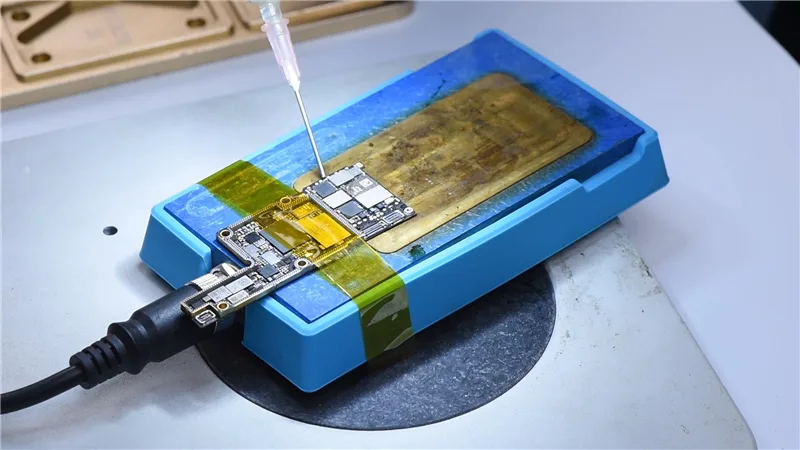
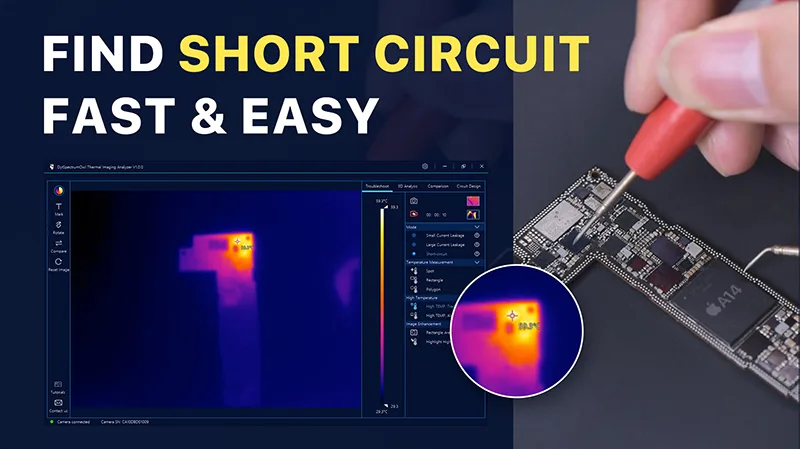
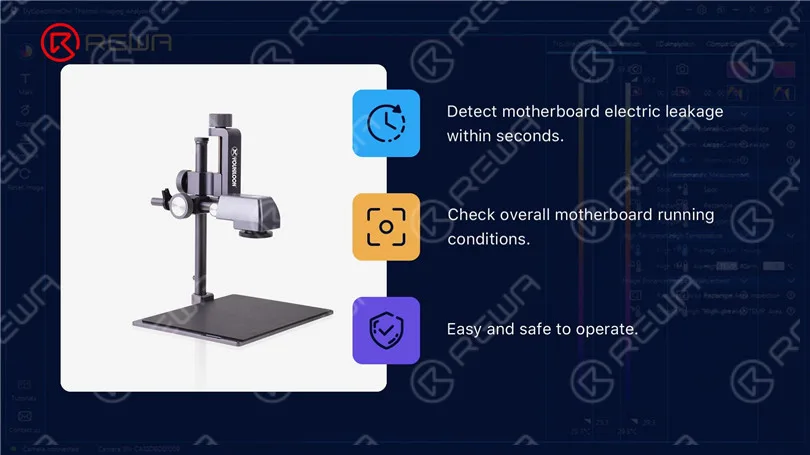
    Today we will introduce a more advanced and effective way to look for short circuit on the motherboard with the help of a Thermal Imager Camera . The thermal imager locates the part of which temperature is higher than normal value via infrared radiation. The thermal imager can detect motherboard electric leakage within seconds. The faulty parts will be detected in no time once you put the motherboard under the camera, tremendously improving repair efficiency. While checking overall motherboard working conditions, the thermal imager can pinpoint faulty parts with high accuracy. Furthermore, the thermal imager is an expert in detecting small electric leakage, short circuit and other problems with easy and safe operation, substantially lowering the error rate.
    Fix iPhone 12 Won't Turn On By Infrared Thermal Imaging Camera

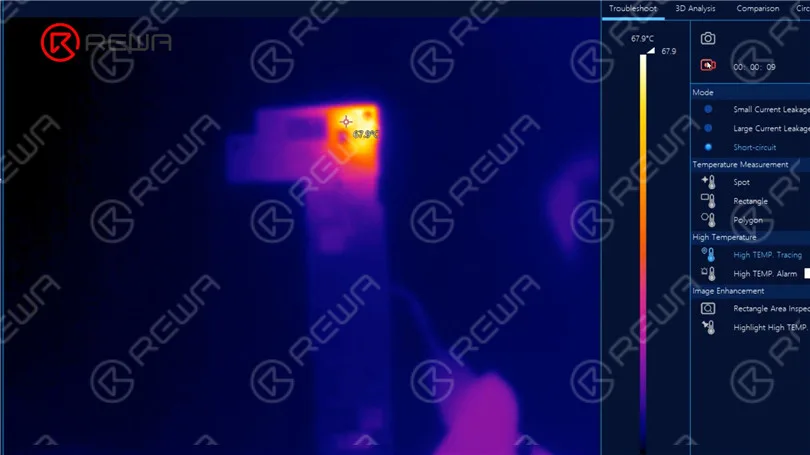
    First of all, we put the motherboard on the working platform. Connect the black probe of the direct power supply to the ground and connect the red probe to PP_BATT_VCC line. The temperature on the top left corner has risen up. The faulty part can be confirmed on the top left corner.
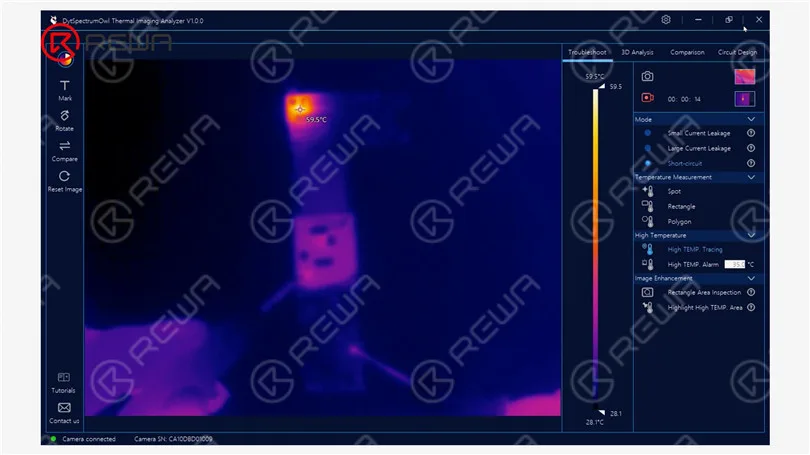
    Fix iPhone 12 Won't Turn On By Infrared Thermal Imaging Camera

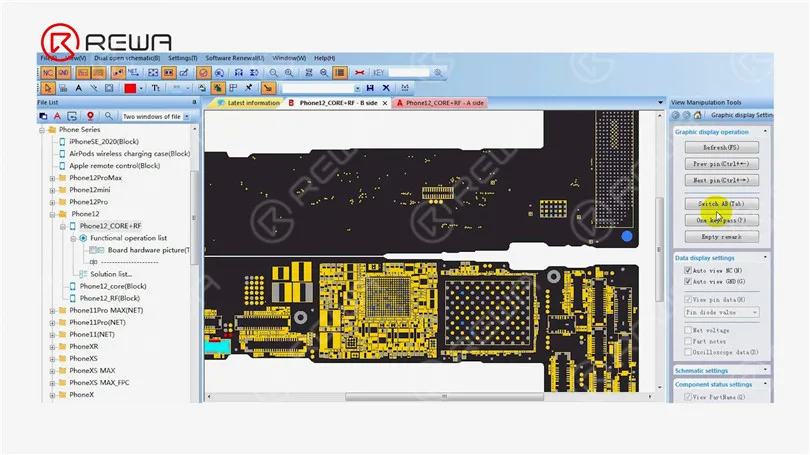
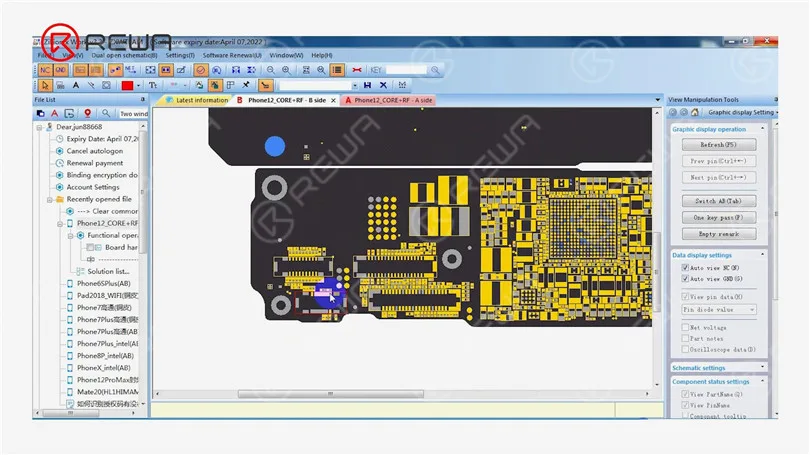
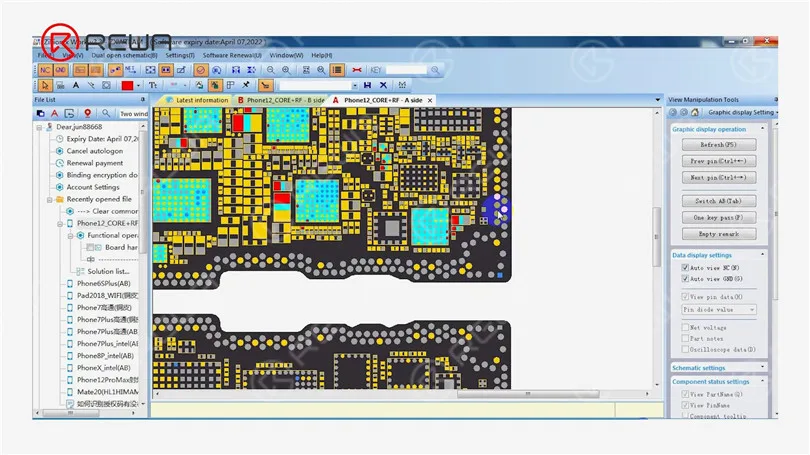
    Open the bitmap. We can see that PP_BATT_VCC line is not on the top left corner. Since PP_BATT_VCC line and PP_VDD_MAIN line are connected in series by an inductor, we can judge that PP_VDD_MAIN line is short-circuited. Through inductors of PP_BATT_VCC line, click another side of the inductors. The other side is connected to PP_VDD_MAIN line. We can again determine the range of faulty part.
    Fix iPhone 12 Won't Turn On By Infrared Thermal Imaging Camera
    Fix iPhone 12 Won't Turn On By Infrared Thermal Imaging Camera

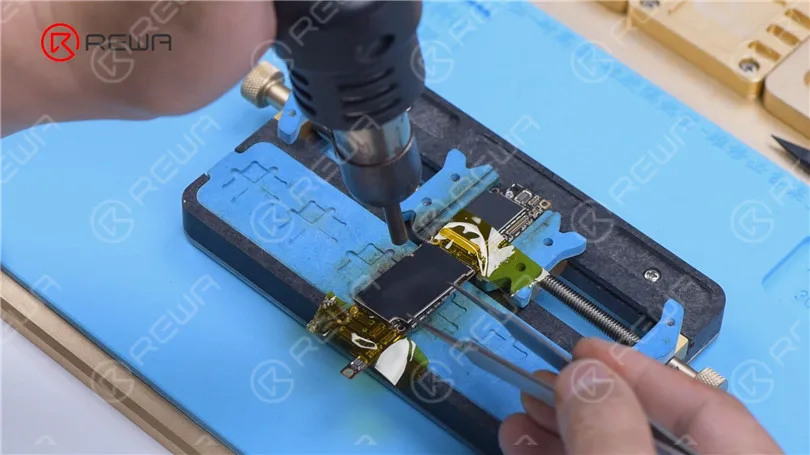
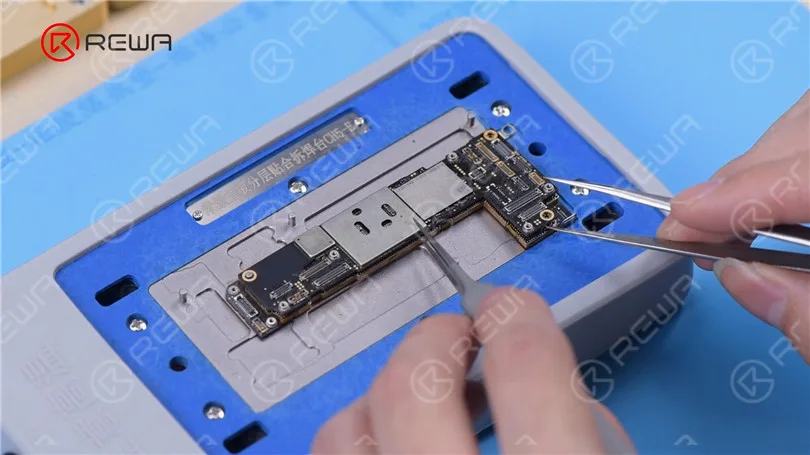
    It can be seen on the bitmap that the PP_VDD_MAIN line is on the logic board. Next, we separate the motherboard. Put the motherboard on the 170 °C Heizungsplattform to heat.
    Fix iPhone 12 Won't Turn On By Infrared Thermal Imaging Camera

    After the logic board has cooled, power up the logic board. Connect the black probe to the ground and connect the red probe to PP_VDD_MAIN line. Through the thermal image, we can now confirm the faulty part. The capacitor is flawed with charring.
    Fix iPhone 12 Won't Turn On By Infrared Thermal Imaging Camera
    Fix iPhone 12 Won't Turn On By Infrared Thermal Imaging Camera
    Fix iPhone 12 Won't Turn On By Infrared Thermal Imaging Camera

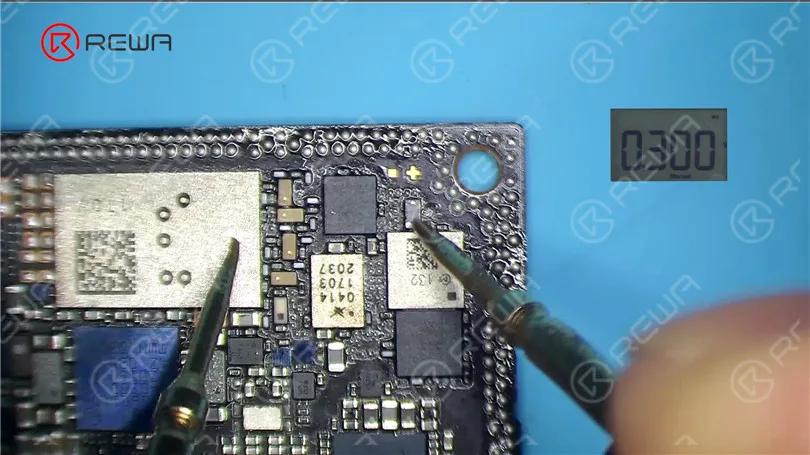
    Remove the capacitor and clean the bonding pad with PCB Cleaner. Measure the diode values of PP_VDD_MAIN line and PP_BATT_VCC line. The diode values return to normal. The short circuit fault has been eliminated. Then we recombine the motherboard.
    Fix iPhone 12 Won't Turn On By Infrared Thermal Imaging Camera

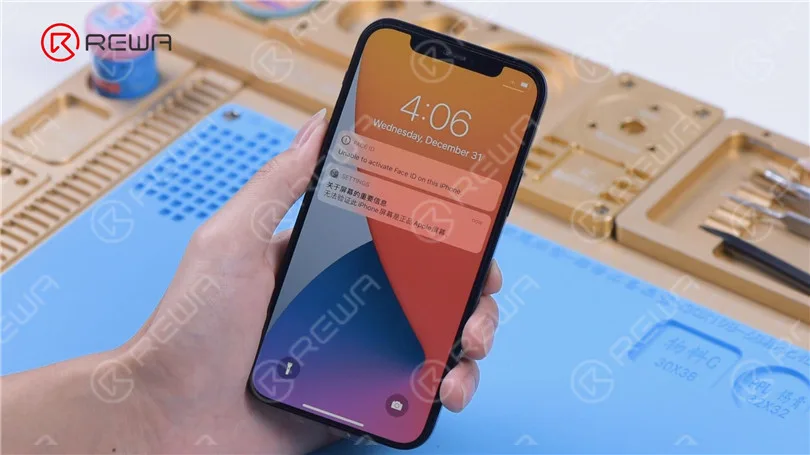
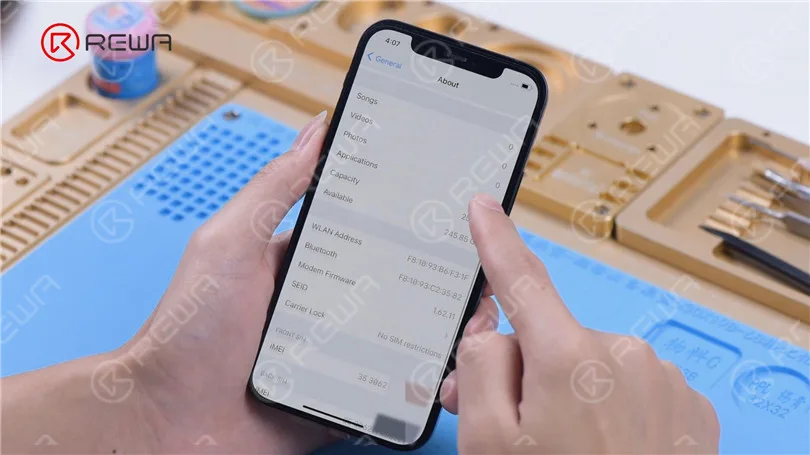
    Assemble the phone to test. The phone turns on normally. WiFi and baseband function well. IMEI number can be seen. The fault has been eliminated.
    Fix iPhone 12 Won't Turn On By Infrared Thermal Imaging Camera
    Fix iPhone 12 Won't Turn On By Infrared Thermal Imaging Camera

    You can purchase the Thermal Imager Camera on REWA shop. Please don’t hesitate to contact our account managers or customer service team for more details.

    Please watch the below video for more details
     

  • Wie iPhone 12 Bildschirm flackern Problem zu beheben - Was ist die Lösung?

    Wie iPhone 12 Bildschirm flackern Problem zu beheben - Was ist die Lösung?

    Die Bildschirme des iPhone 12 sind vollständig aufgerüstet und der ursprüngliche LCD-Bildschirm wird durch einen OLED-Bildschirm ersetzt. Das Flackern Problem der OLED-Bildschirm ist gut bekannt. Wie kann man dieses Problem dann lösen? REWA bringt Ihnen die neuesten Informationen über Mobiltelefone. Schauen wir es uns an!

    iPhone 12 Bildschirm flackert

    Wie behebt man das Bildschirmflackern des iPhone 12?

    Derzeit werden die Augen nach längerer Nutzung des iPhone 12 trocken, weil das OLED bei PWM-Dimmung flackert. Stellen Sie sich vor, dass der Bildschirm bei geringer Helligkeit immer flackert (nur das Flackern ist für das bloße Auge unsichtbar, aber der Sehnerv kann es wahrnehmen), was zu Augenproblemen führt.

    Das iPhone 12 unterstützt kein DC-Dimmen.

    Wir können das Flackern des Bildschirms jedoch reduzieren, indem wir den Helligkeitspunkt anpassen und nicht die PWM-Dimmung auslösen. Dann halten Sie den Bildschirm in einem geeigneten niedrigen Helligkeitswert durch “Senken des Weißpunkts”. Die spezifische Methode ist nicht besonders schwierig.

    Tutorial verwenden

    1. Gehen Sie zu “Einstellungen”.”

    2. Öffnen Sie “Zugänglichkeit”.”

    3. Wählen Sie “Anzeige & Textgröße”.”

    4. Suchen Sie “Weißpunkt reduzieren”.”

    Auf diese Weise können wir indirekt die iPhone 12 Bildschirm flackert, mit dem Sie die Trockenheit Ihrer Augen lindern und Ihre Augen schützen können. Es ist ziemlich erstaunlich.

  • Face ID Dot Projector Repair Tools Review – I2C/JC/LUBAN

    Face ID Dot Projector Repair Tools Review – I2C/JC/LUBAN

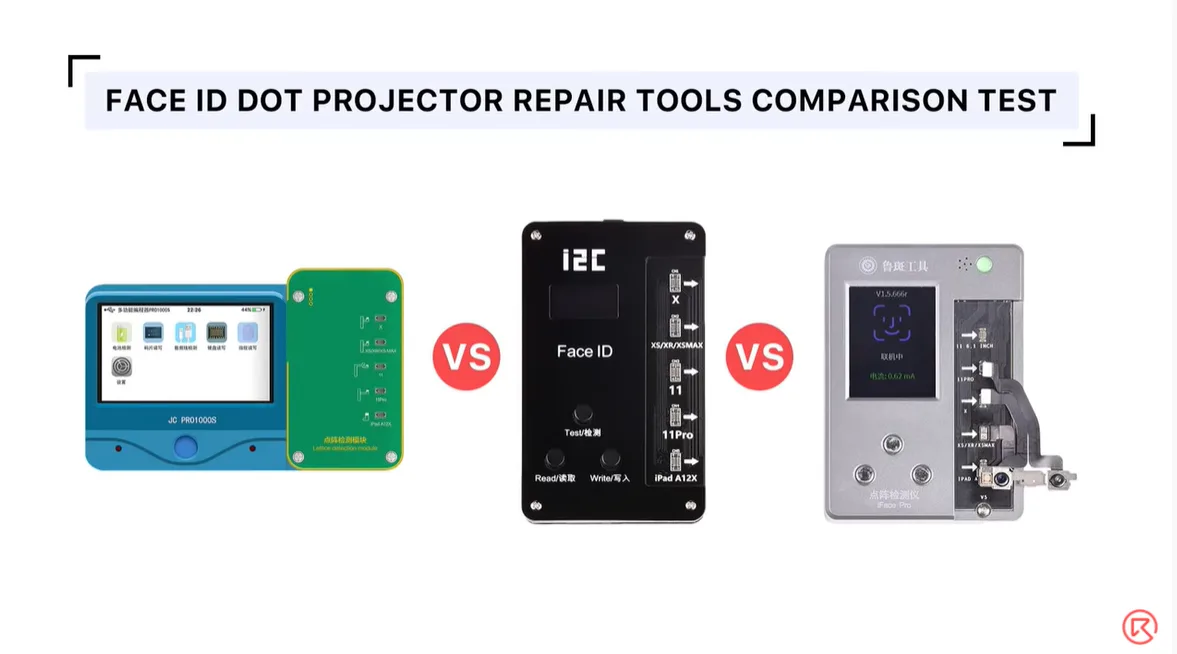
    Today, REWA LAB will walk you through a detailed explanation of three dot projector repair solutions and show you the three most popular dot projector repair tools in the industry. Which one is the best choice for repair shops? Check out the video now and you will get the answer you want.

    • 00:00 Intro
    • 00:12 Face ID Dot Projector Repair Tools Review – I2C/JC/LUBAN
    • 00:54 Comparison Of Repair Process
    • 01:36 Inspection
    • 01:54 Burn Data
    • 02:55 Dot Projector Flex Cable
    • 03:51 Dot Projector Repair
    • 04:49 Test

    In diesem Video empfohlene Produkte:

  • iPhone XS Max Face ID Not Working Fixed – Dot Projector Repair

    iPhone XS Max Face ID funktioniert nicht - Dot Projector Repair

    Face ID Not Working "Move iPhone a Little Lower/Higher" ist in der Regel durch eine Beschädigung des Dot-Projektors verursacht und das Problem ist bestätigt, fast unreparierbar zu sein. Allerdings gibt es endlich eine Lösung, um das Problem zu beheben. Schauen Sie sich noch heute unser iPhone XS MAX Face ID Reparaturvideo an und lernen Sie die neueste Dot-Projektor-Reparaturtechnik!

    • 00:00 Intro
    • 00:14 iPhone XS Max Face ID funktioniert nicht - Dot Projector Repair
    • 03:23 Trennen Sie den Kristall vom Kabel
    • 04:31 Daten verbrennen
    • 05:36 Überbrückung des MOSFET
    • 06:51 Das Punktprojektor-Modul löten
    • 10:44 Kleben Sie einen bekannten guten Kristall
    • 11:19 Test

    In diesem Video empfohlene Produkte:

  • iPhone X Incoming Calls Not Showing – Fixed By Jumping Wires

    iPhone X Incoming Calls Not Showing – Fixed By Jumping Wires

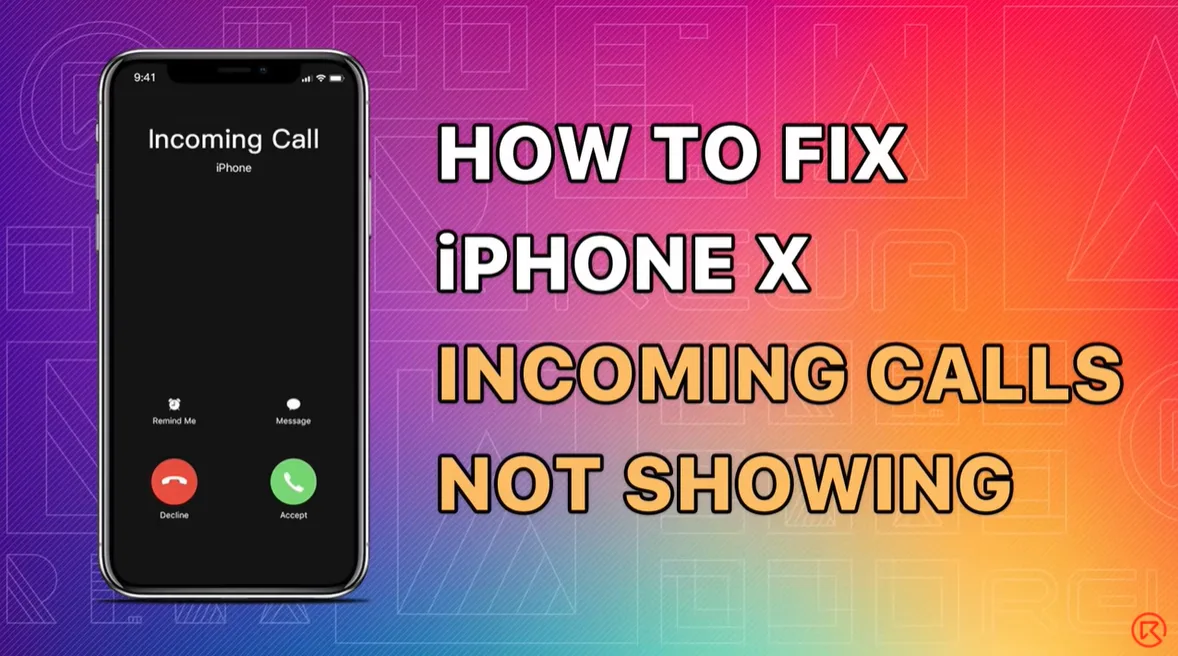
    Right now, there are few solutions to fix iPhone not responding in sleep mode when getting incoming calls. The general repair process of a repair technician is to take out the motherboard, check PMU and baseband CPU, and then replace or re-solder the faulty component. The whole repair process is complicated and difficult. Check out our video today and REWA LAB will show you a brand new ‘signal borrowing’ solution to fix the problem quickly and efficiently.

    • 00:00 Intro
    • 00:26 Tools & Materials
    • 00:56 Diagnosis
    • 02:37 Confirm the Signal Location
    • 03:27 Borrow Signal by Jumping a wire
    • 05:50 Assemble the Phone and Test
  • Was tun, wenn Ihr iPhone heiß wird?

    Was tun, wenn Ihr iPhone heiß wird?

    Eine Überhitzung des iPhones zeigt sich häufig durch einen abnormalen Batterieverbrauch, eine sich schnell entleerende Batterie und einen langsamen Ladevorgang. Sie können mit dem Batterieverbrauch beginnen. Gehen Sie zu "Einstellungen" > "Batterie" und prüfen Sie den Batterieverbrauch pro App. Wenn die App-Aktivität abnormal ist, können wir das Problem lösen.

    1: Hintergrundanwendungen führen zu Überhitzung

    Rufen Sie die Startseite des iPhone auf. Gehen Sie zu "Einstellungen" > "Allgemein" > "Apps im Hintergrund aktualisieren". Schalten Sie nicht benötigte Apps aus und lassen Sie die Chat-Apps eingeschaltet. Gehen Sie dann zum App Store in den Einstellungen, um die Apps und App-Updates zu deaktivieren. Reduzieren Sie außerdem die Verwendung von Bluetooth und deaktivieren Sie die Standortdienste.

    GPS ist einer der Schuldigen, die das iPhone heiß werden lassen, und eine der Hauptursachen dafür, dass die Batterie des Mobiltelefons zu schnell entladen wird. Wenn Sie die Kartennavigations-App nicht mehr verwenden, sollten Sie sie ausschalten und nicht lange in der Kartennavigationsoberfläche verweilen.

    2: Verursacht durch Software-Update

    Gehen Sie zu Einstellungen > Allgemein > Zurücksetzen, um alle Daten und Inhalte zu löschen. Geben Sie den Verifizierungscode ein und löschen Sie sofort. Bitte achten Sie auf die notwendige Sicherung, bevor Sie dies durchführen.

    Diese können Ihr iPhone auch heiß machen:

    1. Führen Sie Anwendungen mit hohem Stromverbrauch aus: Spiele, Filme, große Datenübertragungen, das Laden des Handys ist zu hoch. Schließen Sie die Anwendungen mit hohem Stromverbrauch, um das Problem zu lösen.

    2. Spielen Sie das Spiel oder telefonieren Sie während des Ladevorgangs. Da der Akku geladen und entladen wird, kann der Akku beschädigt werden und Sie müssen das Spiel oder den Anruf beenden

    3. Schlechte Lithium-Batterie: iPhone-Benutzer, die die Batterie geändert haben, müssen aufmerksam sein. Sie müssen zum autorisierten Geschäft für den Austausch gehen.

    4. App-Fehler: Manchmal werden einige Apps Fehler wird eine große Menge an Speicher zu besetzen, so dass das Mobiltelefon hoch belastet ist, und diese Apps können beendet werden.

    5. Schutzhüllen und andere Abdeckungen: Einige minderwertige oder übermäßige Schutzhüllen können die Wärmeableitung des iPhone beeinträchtigen, so dass das Telefon heiß wird. Das Entfernen der Schutzhülle oder des Covers kann das Problem lösen.

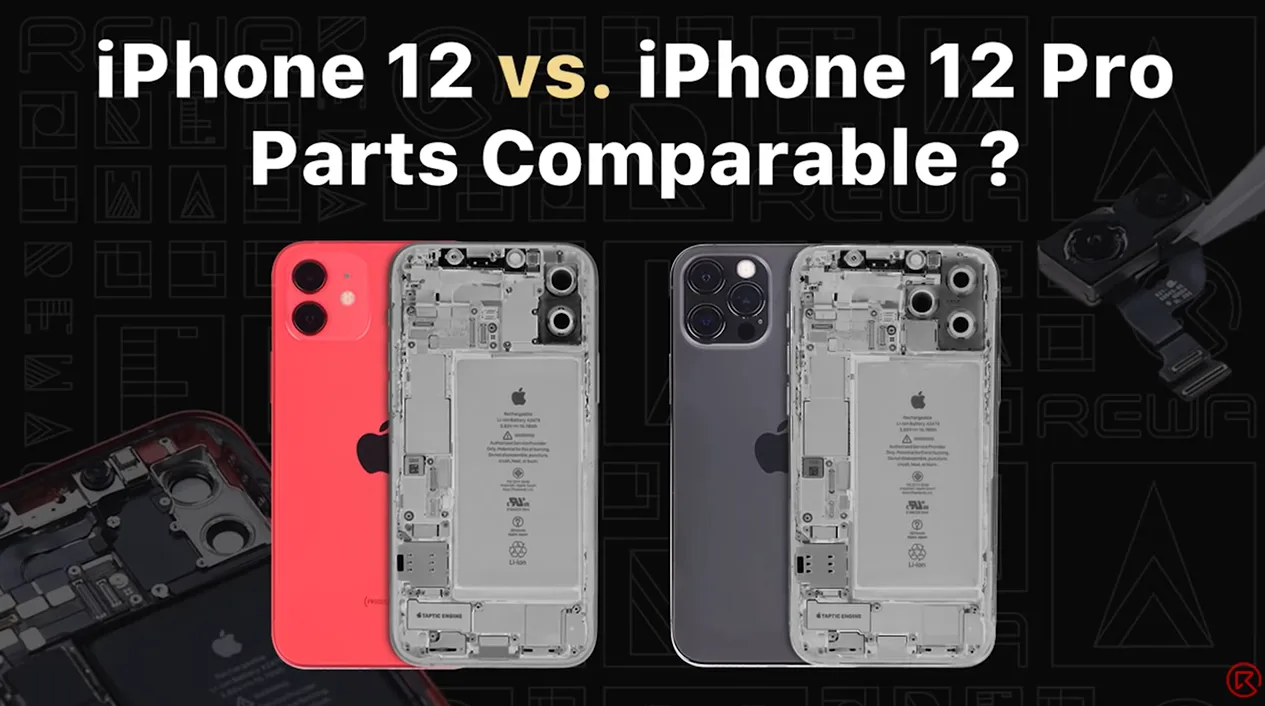
  • iPhone 12 vs. iPhone 12 Pro: Parts Swapping Test by REWA LAB

    iPhone 12 vs. iPhone 12 Pro: Parts Swapping Test by REWA LAB

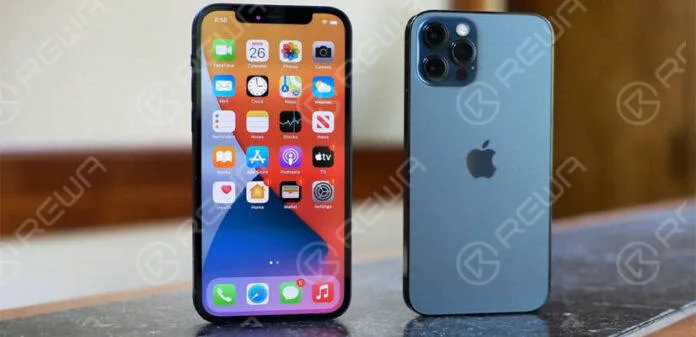
    Recently, REWA LAB found that interior structure and appearance of iPhone 12 and iPhone 12 Pro look very similar after teardown. Therefore, REWA technicians tried to swap some parts of the two models to test if they can be functionally interchangeable. Want to find out the test result? Watch this video and you will know!

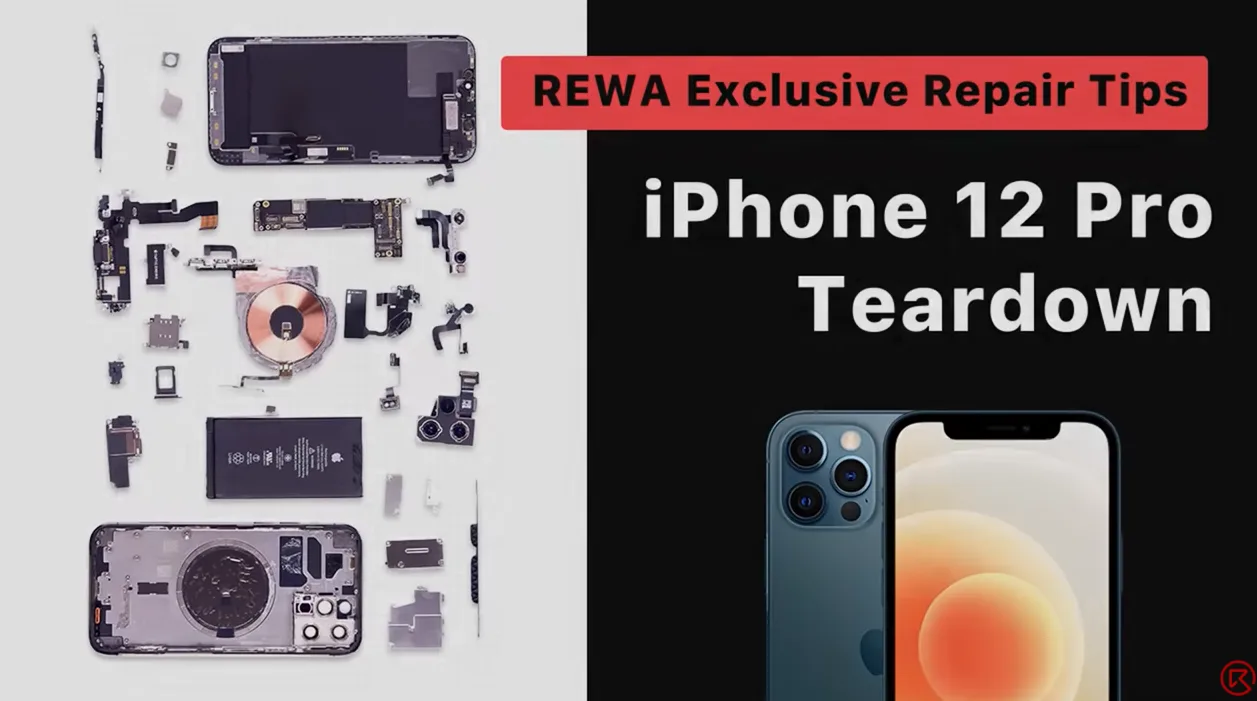
  • iPhone 12 Pro Detailed Teardown Tips For Repair Shop Technicians

    iPhone 12 Pro Detailed Teardown Tips For Repair Shop Technicians

    Apple’s new iPhone 12 models have been the talk of the town. For repair shop owners, the biggest concern is what to pay attention during disassembly. Today, REWA LAB is going to share a detailed teardown tutorial of the iPhone 12 Pro. Let’s take a look!

    In diesem Video empfohlene Produkte:

    • Mobile Phone Disassemble Set
    • REWA SELECTED iPhone 12 Series Accessories:
    • Phone Case
    • Charger Plug
    • Screen Protector
    • Earphone
  • How to Replace iPhone X SIM card Reader?

    How to Replace iPhone X SIM card Reader?

    Today we will talk about how to replace iPhone X SIM card reader.

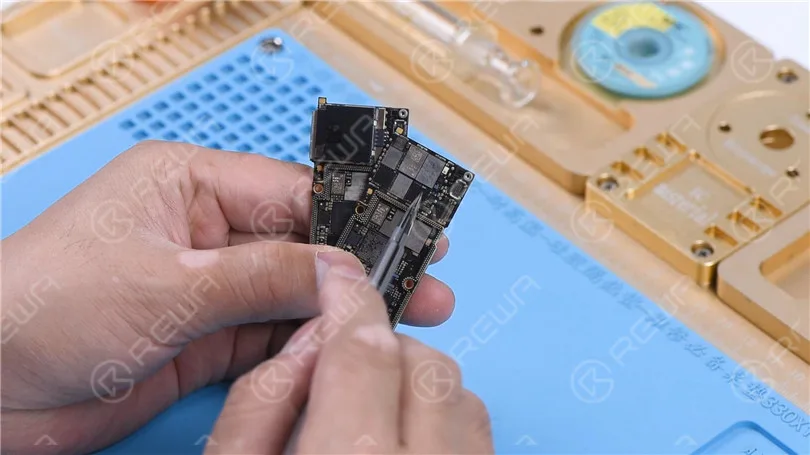
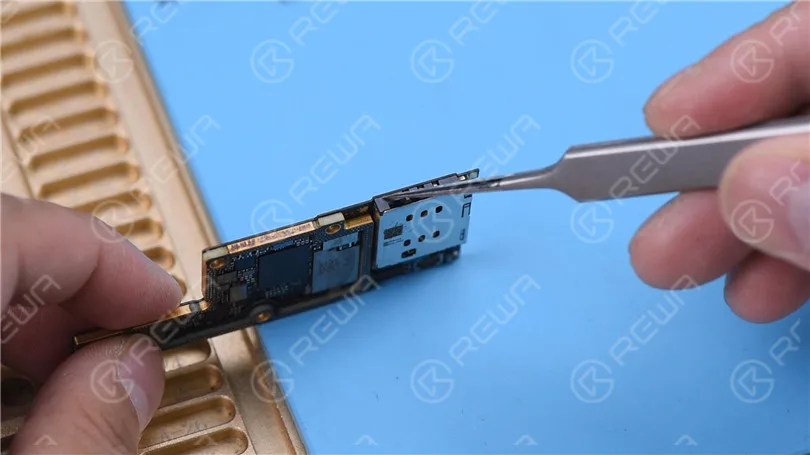
    The SIM card reader of iPhone X is soldered with medium-temperature tin, while the middle layer of the motherboard adopts low-temperature tin. Hence we advise you to separate the motherboard before removing the SIM card reader. There are other ICs on the SIM card reader. Besides, a plastic part is also in the middle of the SIM card reader.

    How to replace the SIM card reader of iPhone X?

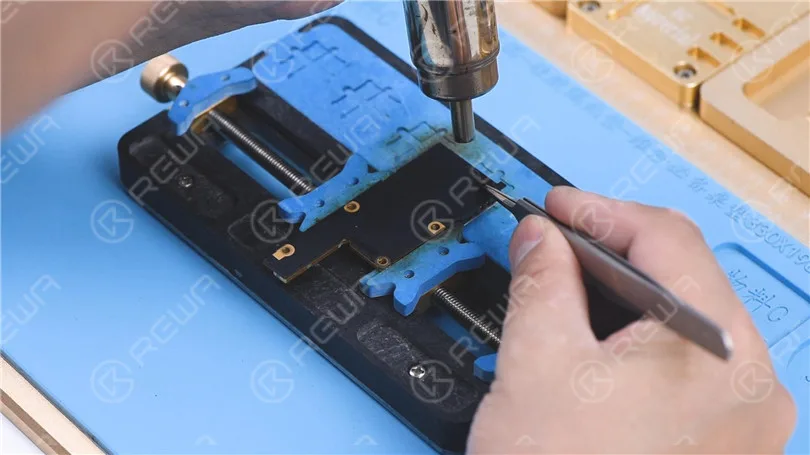
    While disassembling and soldering, we need to heat it with rotational air and control the temperature. Attach the motherboard to the PCB Holder. Heat it with Hot Air Gun 240℃ and airflow 7. Tear off the sticker on the back of the motherboard.

    How to replace the SIM card reader of iPhone X?

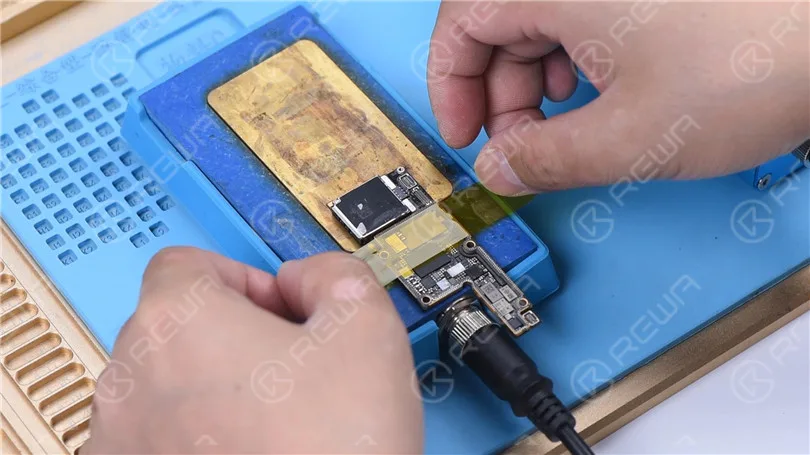
    Put the motherboard on the Heizungsplattform. We only need to heat the SIM card reader part. Fix the motherboard with high-temperature adhesive. Set the temperature of the Heating Platform to 200℃. Heat the edge of the SIM card reader with Heißluftpistole 280℃ and airflow 7.

    How to replace the SIM card reader of iPhone X?

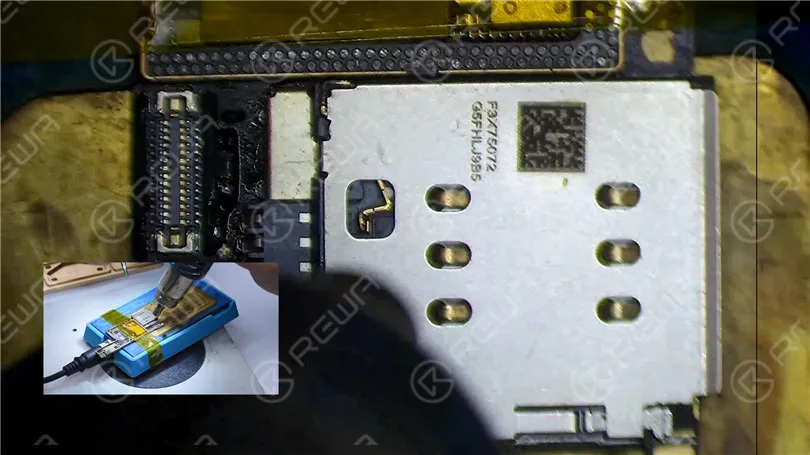
    Stir the SIM card reader with tweezers while heating. Remove the SIM card reader when it becomes loose. Please be noted that we need to pick up the SIM card reader in a vertical manner. To avoid damage or malposition of components under the SIM card reader, please do not pry with tweezers. Next, we replace the old SIM card reader with a new one. Apply some Paste Flux to the bonding pad of the SIM card reader. Put the new SIM card reader in position. Keep heating it on the 200℃ Heating Platform. Heat the edge of the SIM card reader evenly with Hot Air Gun 280℃ and airflow 7. Press the SIM card reader gently while heating. Make sure that the SIM card reader is pressing against the PCB.

    How to replace the SIM card reader of iPhone X?

    Turn off the power. Cool the motherboard. Check the SIM card reader soldering. The SIM card reader is pressing against the PCB. Every soldering spot has no pseudo soldering. Solder it again with Soldering Iron if pseudo soldering happens.

    How to replace the SIM card reader of iPhone X?

    Please set the temperature of the Hot Air Gun according to the environment and device brand. The temperature in this article is only for reference.

    Please visit REWA-Akademie to study more iPhone repair knowledge.

  • Die 1. iPhone 12 MagSafe Back Glass Repair Demo (fast gescheitert)

    Die 1. iPhone 12 MagSafe Back Glass Repair Demo (fast gescheitert)

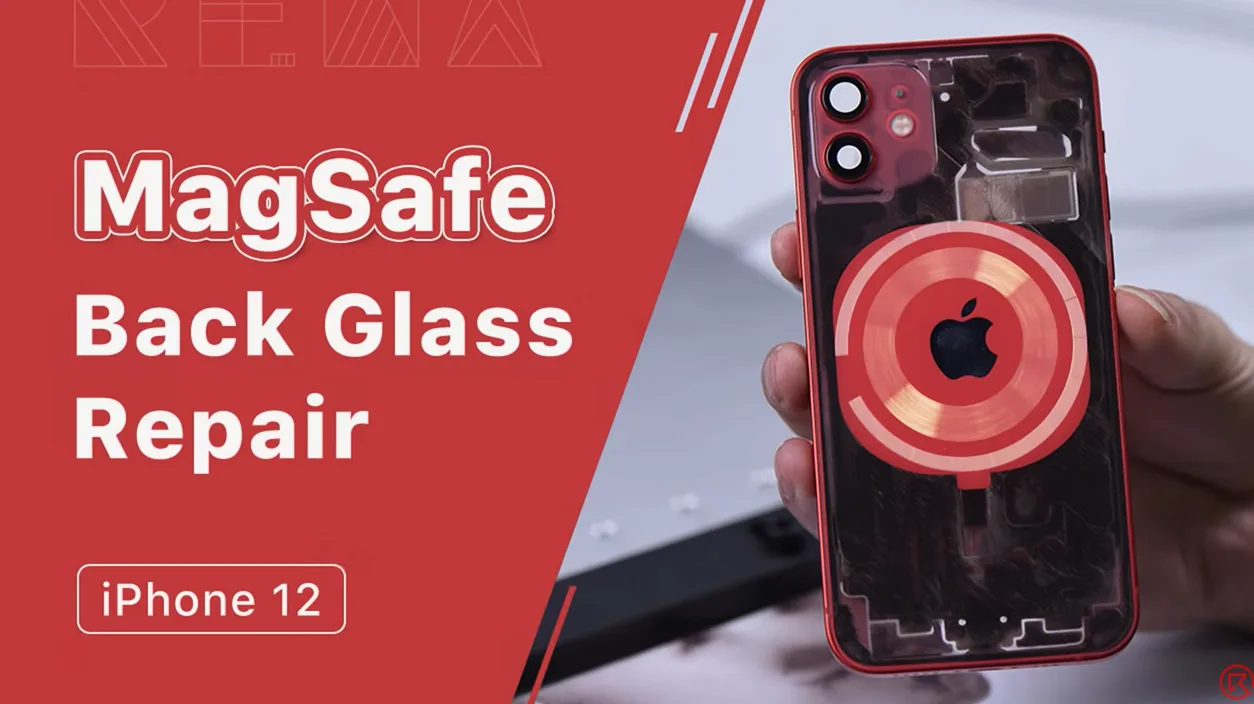
    Es ist allgemein bekannt, dass Apple das iPhone 12 mit MagSafe ausgestattet hat. Beim Versuch, das Rückglas abzulösen, mussten wir feststellen, dass die Magnete auf das Rückglas geklebt sind. Zweifellos hat sich dadurch die Schwierigkeit, das Rückglas der iPhone 12-Serie zu überholen, entsprechend erhöht. In diesem Video unternimmt der REWA-Reparaturtechniker den ersten Versuch, das Rückglas zu überholen. Möchten Sie wissen, auf welche Herausforderungen wir gestoßen sind? Schauen Sie sich dieses Video an!

    In diesem Video empfohlene Produkte:

  • iPhone 12/12 Pro Motherboard Analysis (A14 Bionic, 5G Network, LiDAR Scanner, Face ID Parts, PMU)

    iPhone 12/12 Pro Motherboard Analysis (A14 Bionic, 5G Network, LiDAR Scanner, Face ID Parts, PMU)

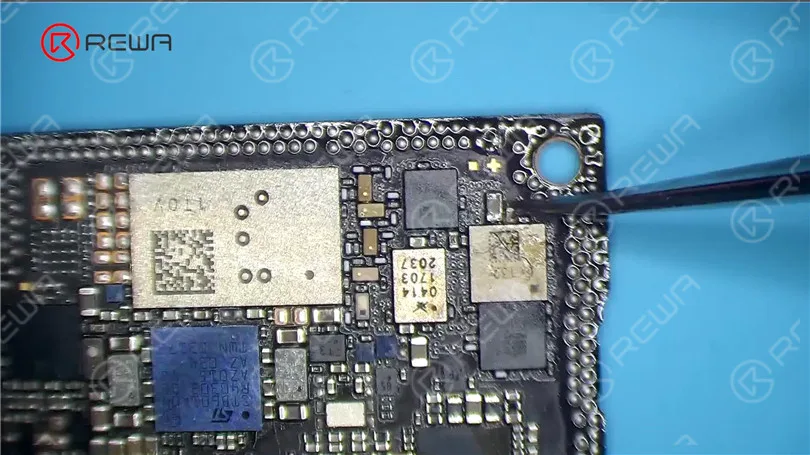
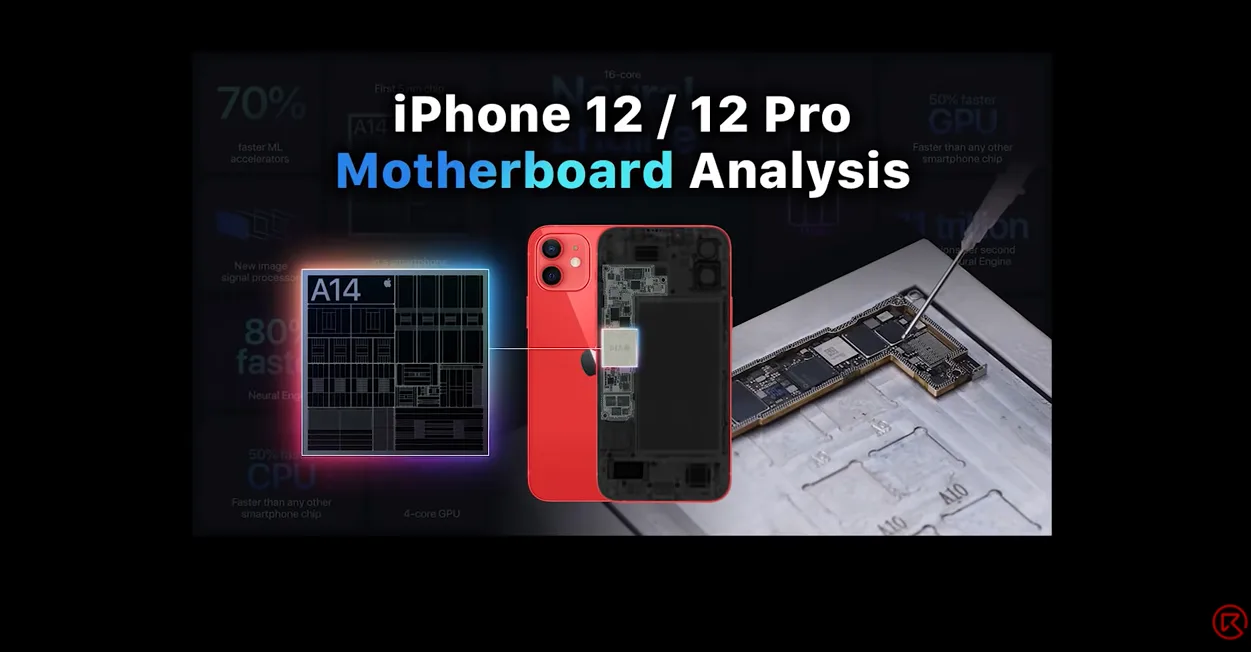
    Compared with the iPhone 11 series, the motherboard separation of the iPhone 12 has become more difficult with different components structure. Today, REWA LAB will separate the iPhone 12 motherboard, demonstrating separation and recombination operation process. This video will give you a comprehensive analysis of the structure and repair difficulties.

    *Source: iREPAIR, Bloomberg, Apple

    Recommended Items for iPhone 12 Series Repair:

  • iPhone 12 Lineup OLED-Bildschirm Refurbishing-Lösung

    iPhone 12 Lineup OLED-Bildschirm Refurbishing-Lösung

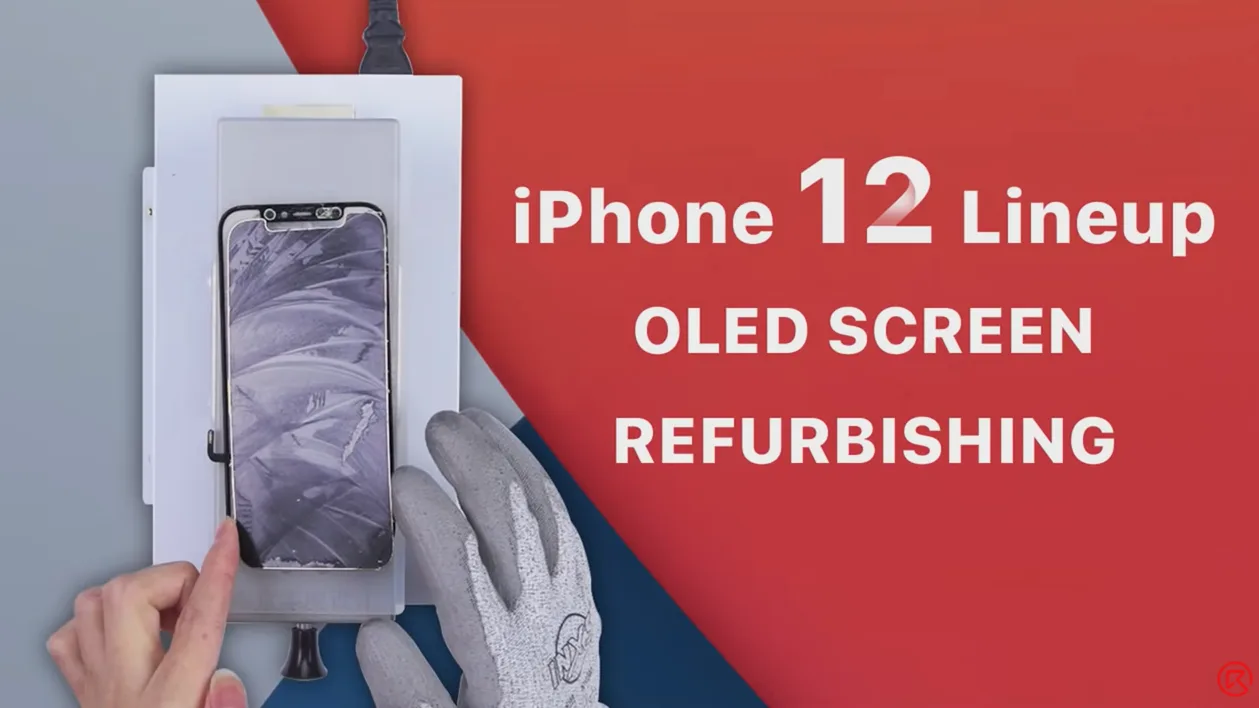
    Die Reparaturrate des Bildschirms ist eine der höchsten unter den vielen Mobiltelefonteilen. Professionelle Tools und Techniken für die Bildschirmaufbereitung können nicht nur die Ausfallrate beim Austausch des Bildschirms verringern, sondern auch die Effizienz der Reparatur verbessern. Es ist bekannt, dass das iPhone 12 Lineup einen OLED-Bildschirm hat. Heute wird REWA LAB die iPhone 12 Bildschirmaufbereitung als Beispiel nehmen, um die neuesten Techniken und Maschinen für die Bildschirmaufbereitung in der Industrie vorzustellen. Werfen wir einen Blick darauf!

    In diesem Video empfohlene Produkte: