Tag: xiaomi

  • Xiaomi 12 Pro Network Problem Repair Guide

    Xiaomi 12 Pro Network Problem Repair Guide

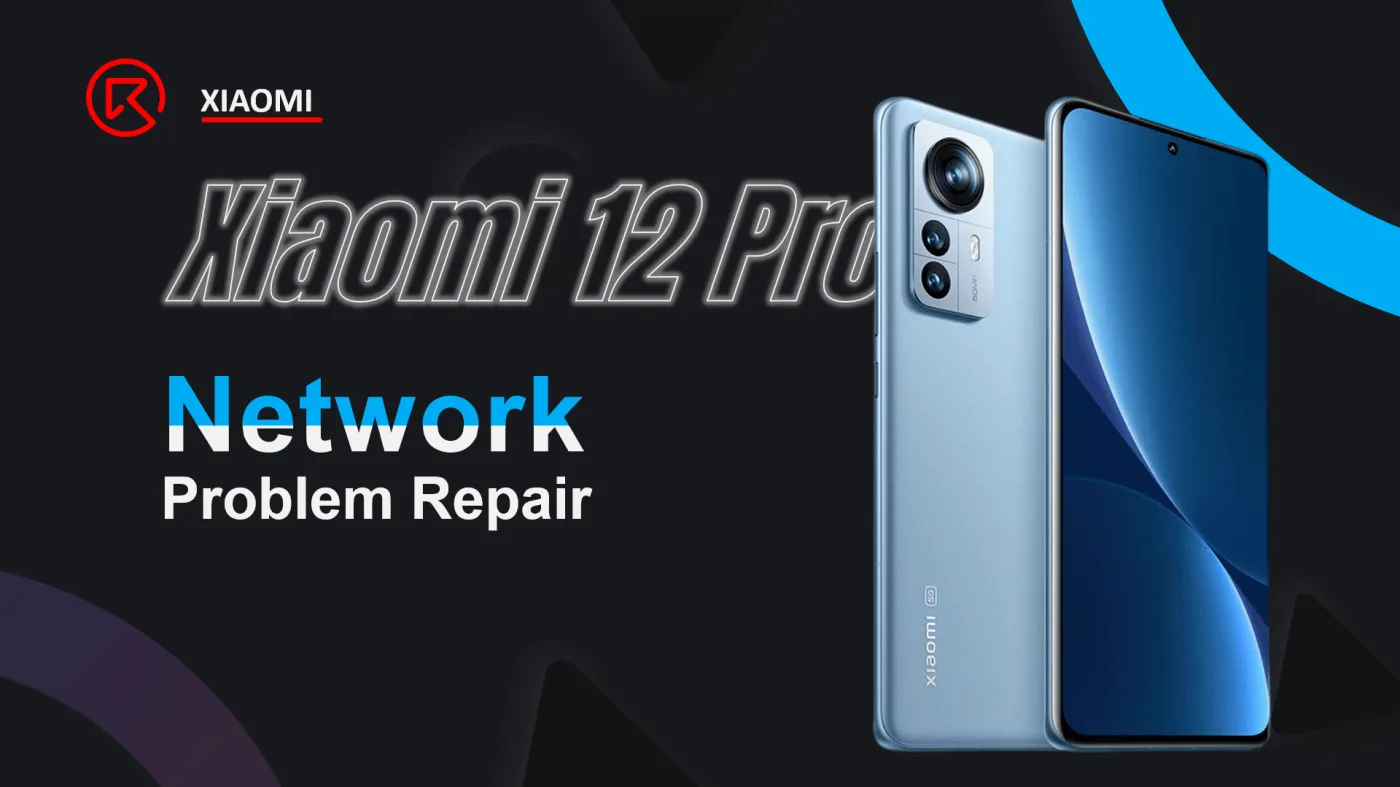
    The Xiaomi 12 Pro, announced on December 28, 2021, is a high-end smartphone with impressive features. However, some users may encounter network issues such as “no network available” or “Unregistered SIM card.” For phones without obvious water or drop damage, try the following software and hardware troubleshooting steps.

    Basic Troubleshooting Steps

    Restart Your Phone:

    Minor crashes causing network issues can often be resolved by simply restarting the device.

    Re-insert the SIM Card:

    Ensure the SIM card is properly inserted. Removing and re-inserting it can sometimes solve connectivity problems.

    Check Network Settings:

    Go to Settings > Network & Internet > Mobile Network > Advanced. Enable the “Automatically select network” option.

    Turn Off Roaming Mode:

    Go to Settings > Network & Internet > Mobile Network. Disable the “Roaming” option.

    Advanced Troubleshooting
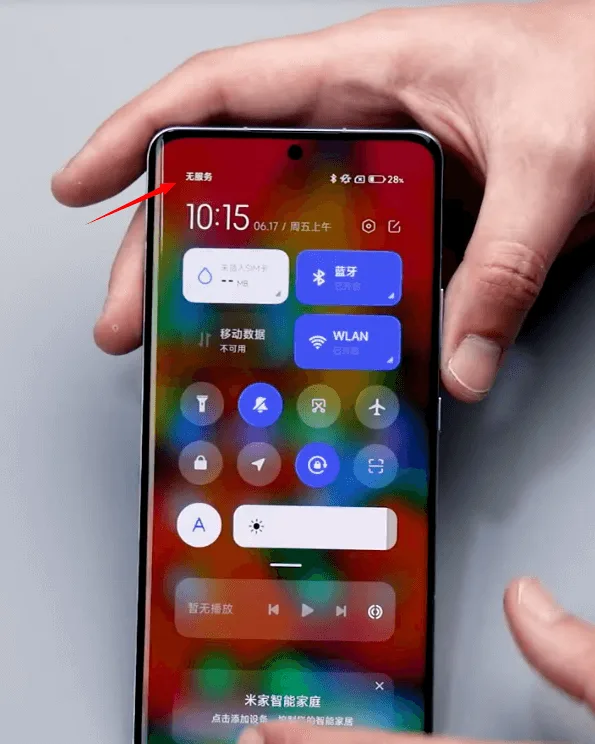
    xiaomi 12 pro network problem repair guide no service

    If the above methods do not resolve the issue, a hardware inspection of the motherboard may be necessary.

    Defect Phenomenon

    A Xiaomi 12 Pro may exhibit a network issue after being caught in a car door, resulting in the phone having no service despite being able to turn on. Checking the device settings may show the Baseband Version as UNKNOWN, indicating a deeper hardware issue.

    Since it’s an unknown Baseband issue, there’s no need to test the SIM card function.

    Disassembly and Inspection

    Disassemble the Phone:

    • Protect the cameras with stickers.
    • Properly save removed screws.
    • Disconnect flex cables with an anti-static pry bar.
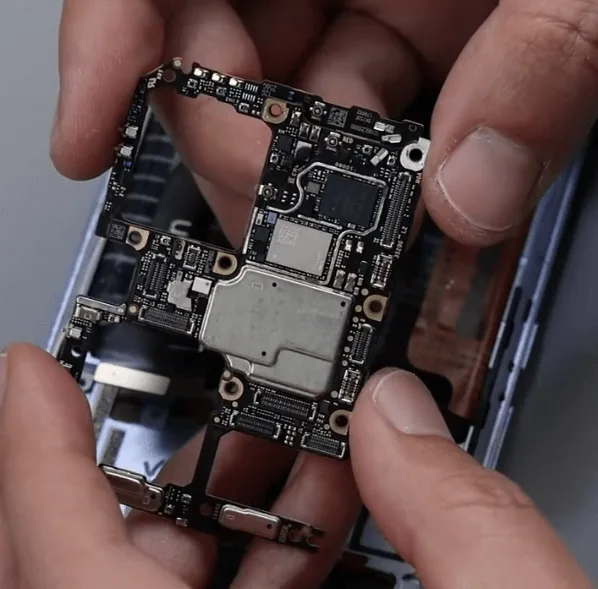
    03. Check the motherboard cosmetic carefully

    Inspect the Motherboard:

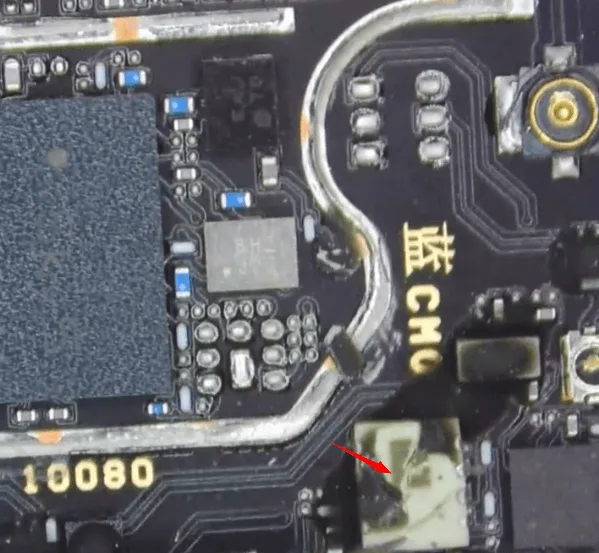
    • Check for deformities and signs of previous repairs. Missing capacitors around the power amplifier IC (U0600) and a cracked filter (FL0400) can cause network issues.

    Check again under the microscope carefully, we find two obvious problems

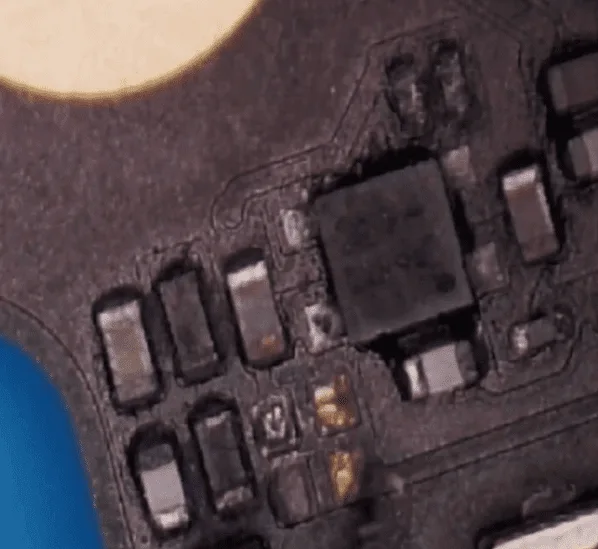
    1. There are two capacitors around the power amplifier IC U0600 that are missing
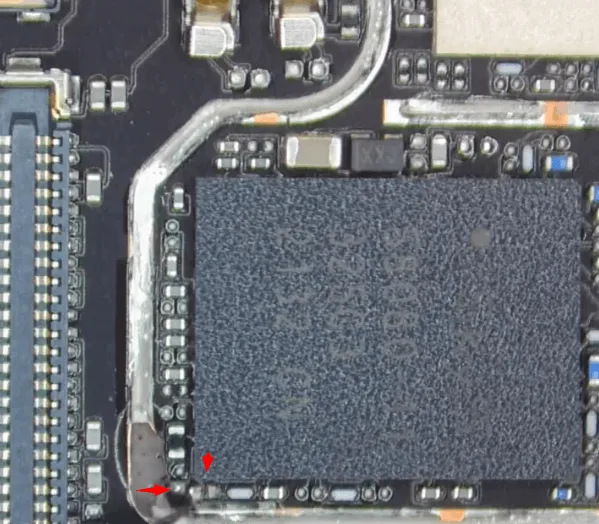
    xiaomi 12 pro network problem repair guide two capacitors around the

    After checking the bitmap, the two capacitors are filter-type capacitor
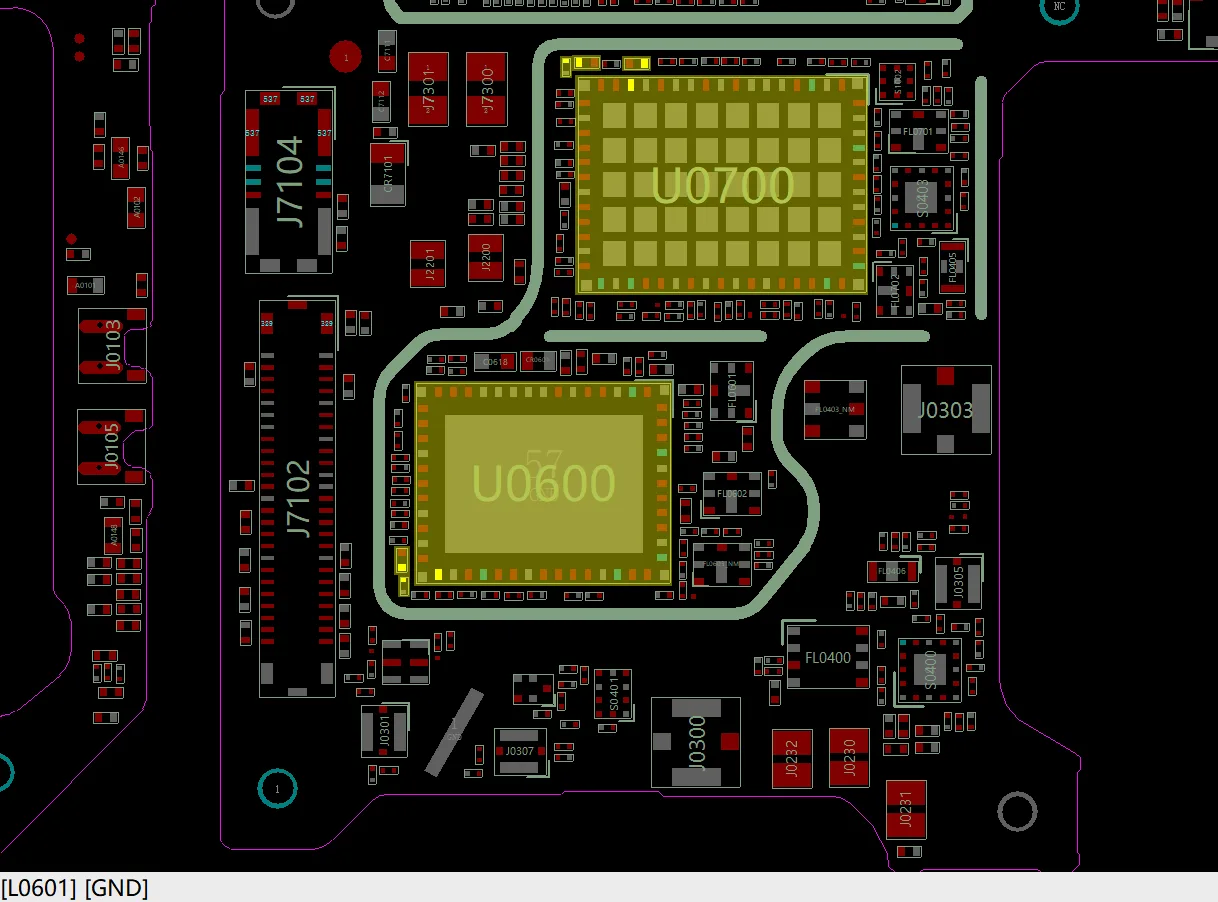
    xiaomi 12 pro network problem repair guide u0600 around it some

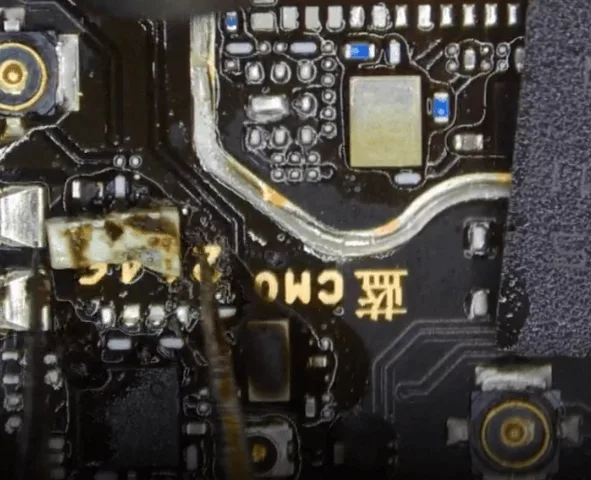
    2. The filter FL0400 is also cracked
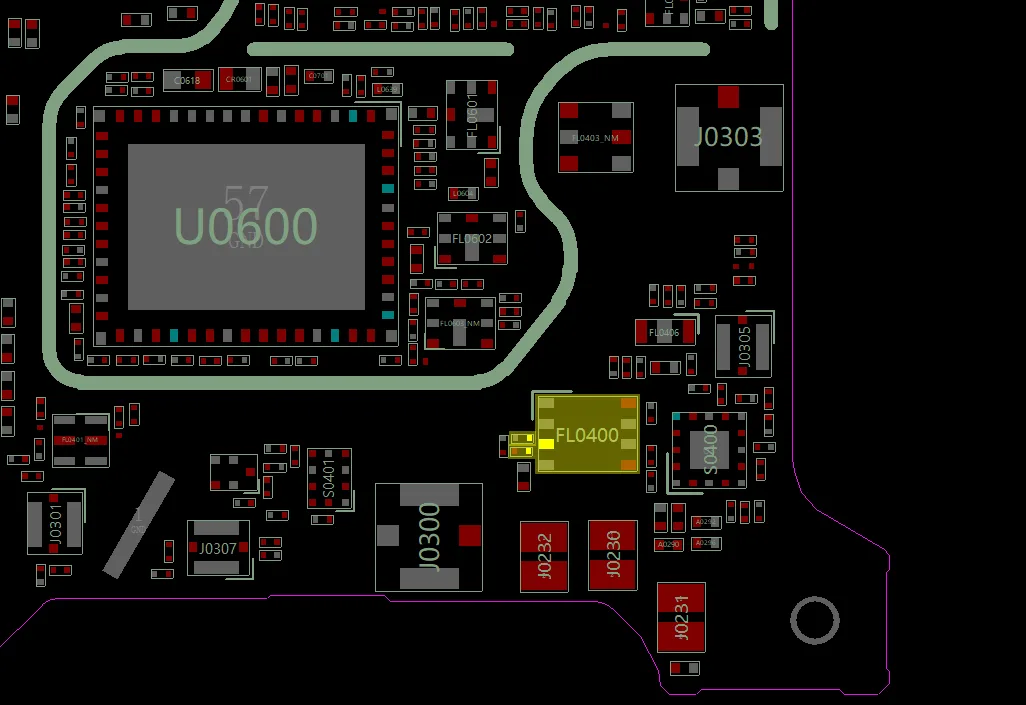
    xiaomi 12 pro network problem repair guide the filter is also cracked
    xiaomi 12 pro network problem repair guide fl0400 is cracked

    The filter-type capacitor missing or the filter (FL0400) damaged might cause the network issue, but cannot cause the no Baseband issue. So we should keep searching to find out the root cause. 

    After searching the whole motherboard under the microscope carefully, there’s no more obviously damaged chips or components can be found. It is initially determined that the fault might caused by the deformation of the motherboard.

    Recombine the deformed motherboard has a very high risk to cause very serious issues like cannot boot the phone or even killing the phone directly. So before separating the two layers of the motherboard, let’s first try to resolder/replace the amplifier IC U0600 and deal with the filter FL0400.
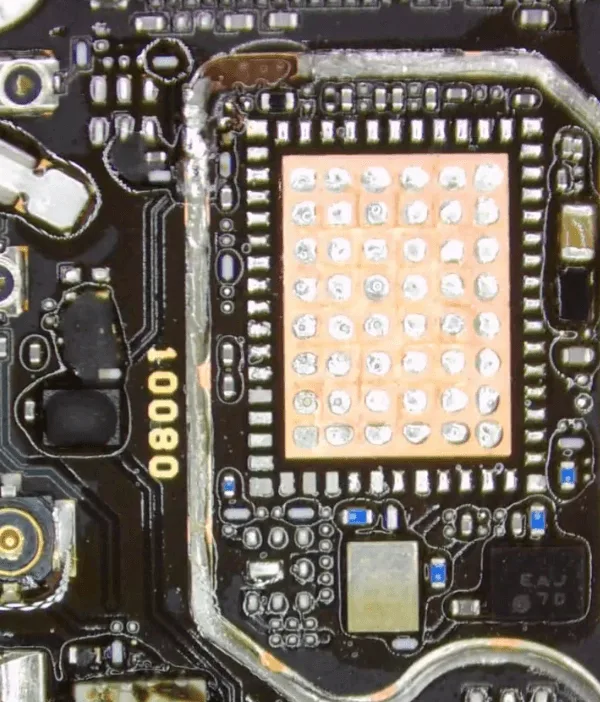
    xiaomi 12 pro network problem repair guide the bonding pads on pcb are
    xiaomi 12 pro network problem repair guide remove the filter

    The bonding pads on the PCB are all in good condition, we can solder back the amplifier IC with a new one directly.
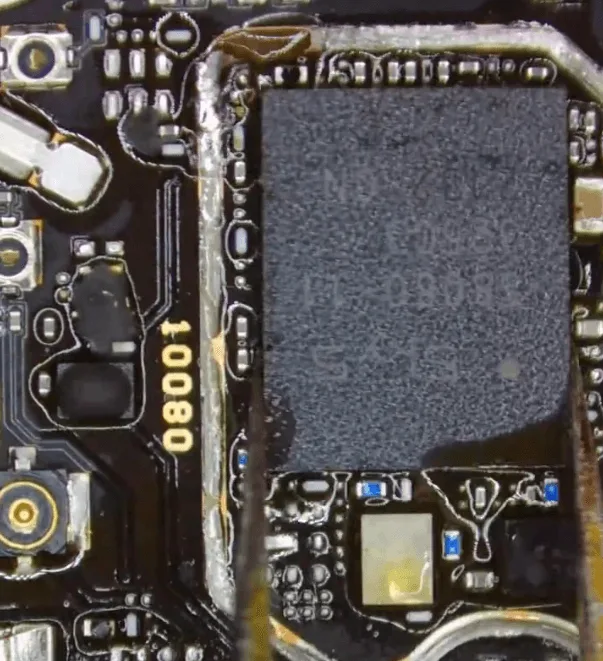
    xiaomi 12 pro network problem repair guide solder back ap

    For the filter, we can jump wires to short it.
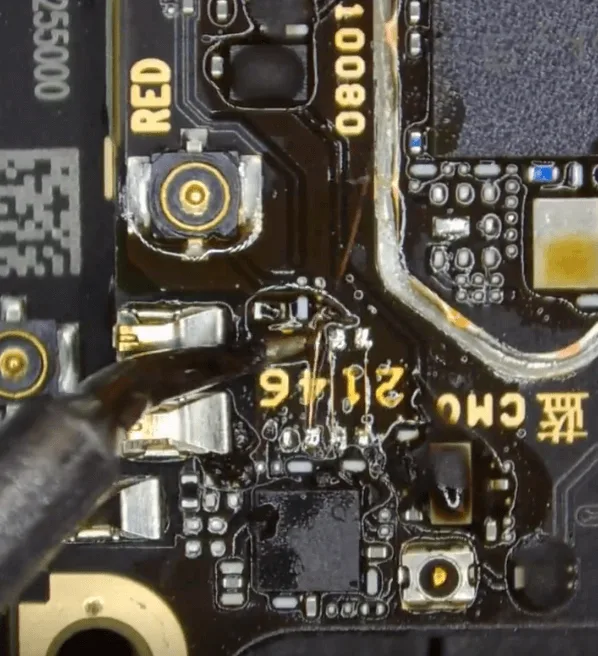
    xiaomi 12 pro network problem repair guide short the filter

    After that, let’s assemble the phone temporarily to have a test. The defect still remains the same (no service)

    Separate the two layers of the motherboard

    In the next step, let’s separate the two layers of the motherboard and check the bonding pads
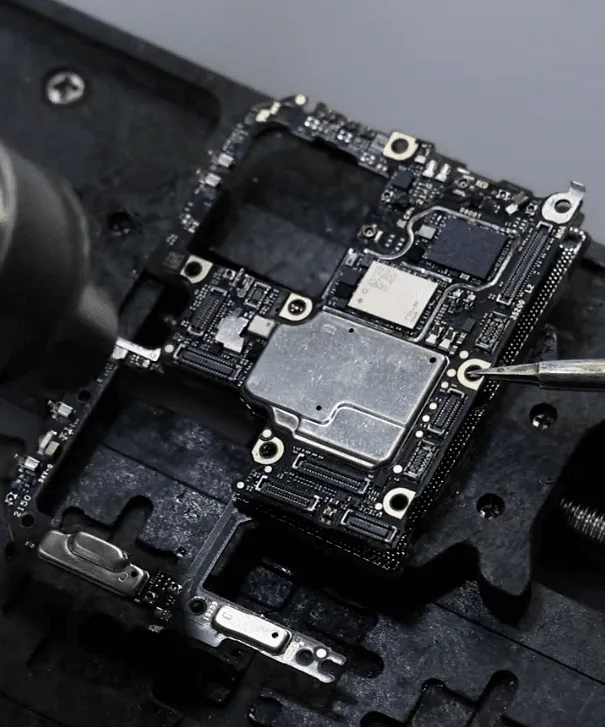
    xiaomi 12 pro network problem repair guide separate the two layers of

    After separating, we can see the pads on the middle layer are all in good condition.
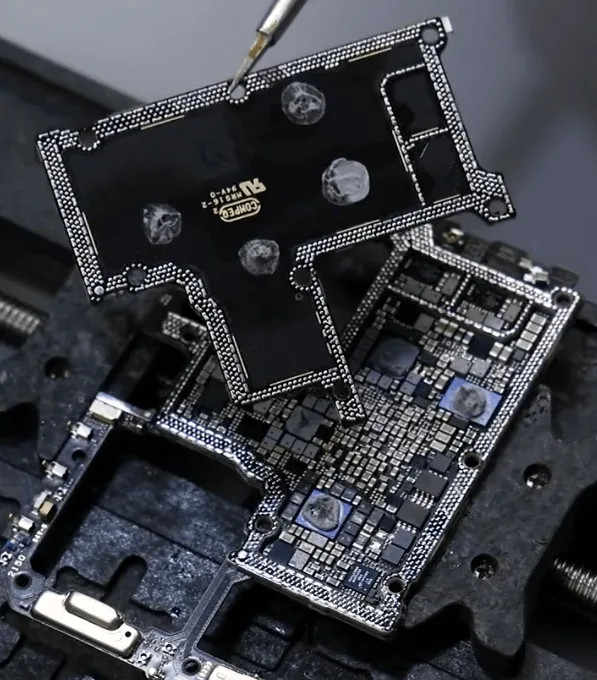
    xiaomi 12 pro network problem repair guide the pads are all very good

    Then measuring the diode values on the PCB pads with the multimeter is also OK.
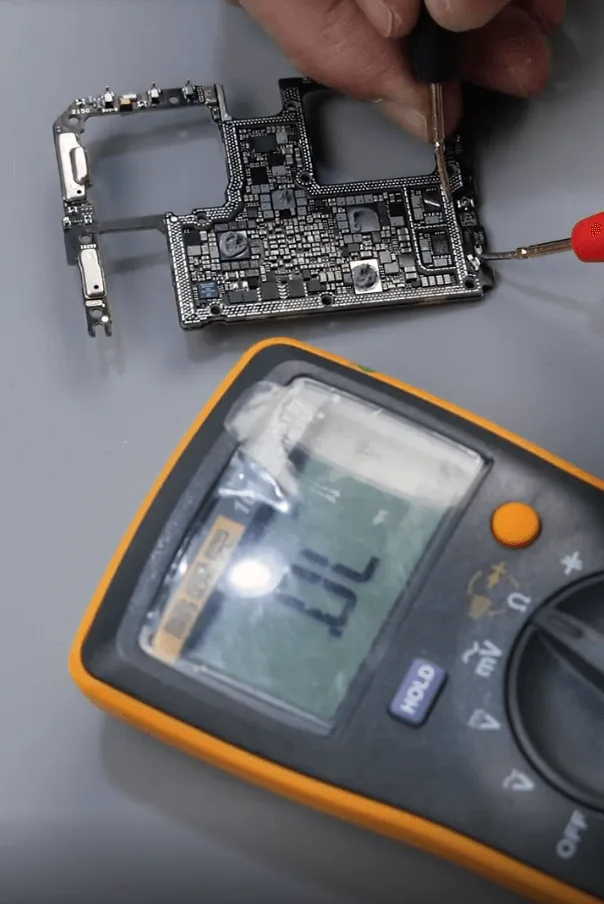
    xiaomi 12 pro network problem repair guide measure diode values are ok

    Then let’s check the little signal board

    Remove the shielding cover first
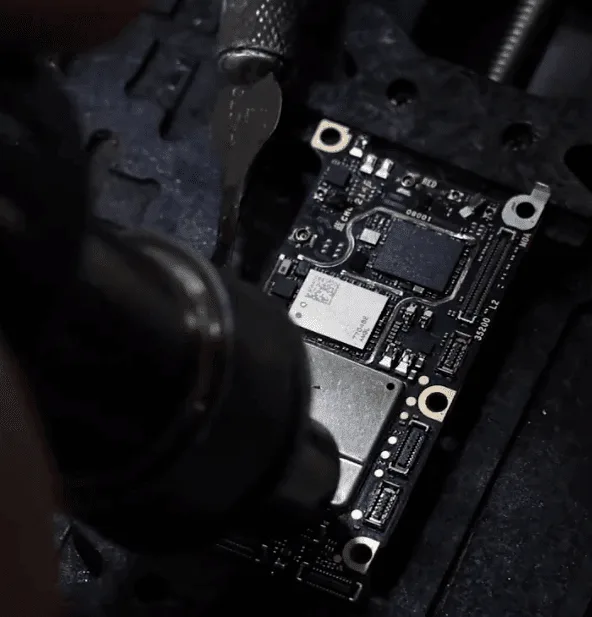
    xiaomi 12 pro network problem repair guide remove the shieding cover

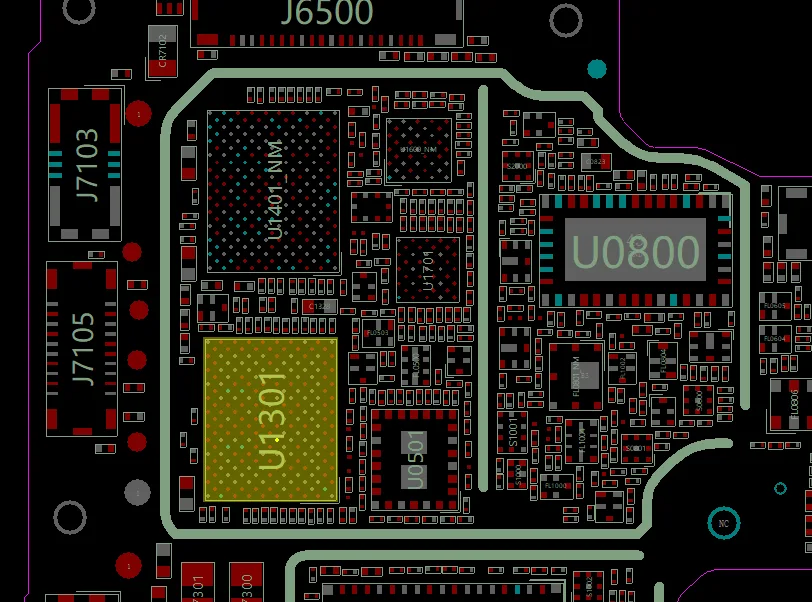
    We can see there’s only an RF signal IC (U1301) on the signal board.
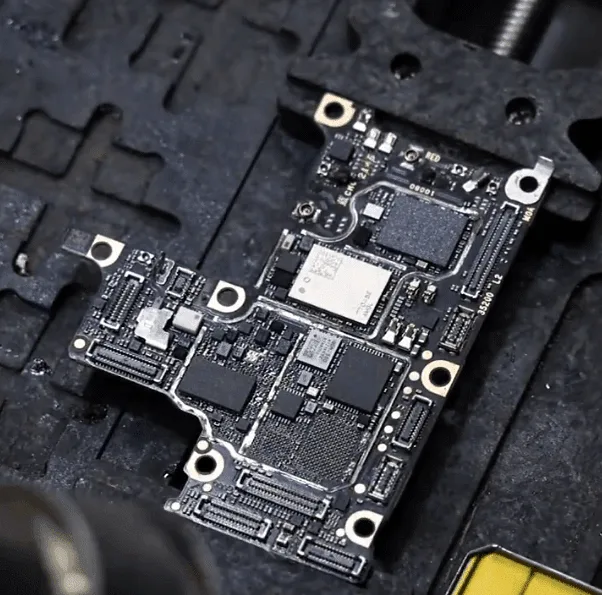
    xiaomi 12 pro network problem repair guide theres only power amplifier
    xiaomi 12 pro network problem repair guide u1301
    • Remove the U1301 and check the pads on the PCB, all the pads are steady and diode values are OK.
    • Then reball the U1301 and solder it back to the signal board.

    To this moment, we’ve tried to fix almost every part that is relative to the Baseband function. And considering this board was deformed, if keeps heating for a long time, may cause more serious issues, so we decided to recombine the two layers of the motherboard.
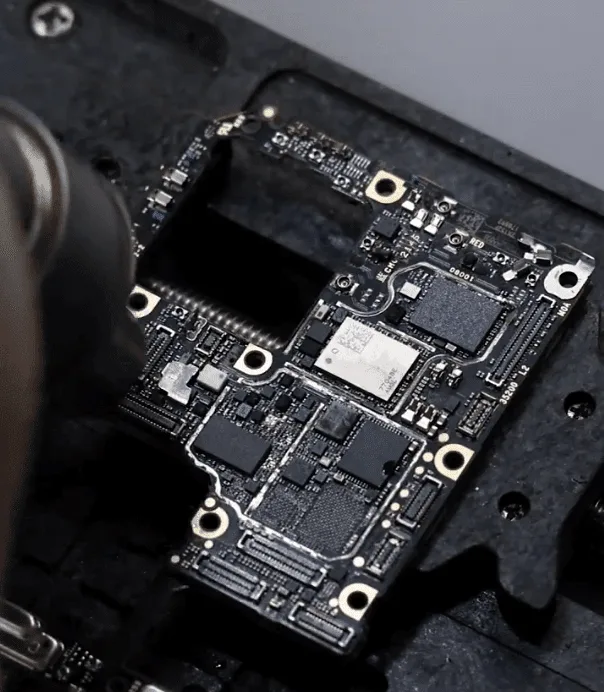
    xiaomi 12 pro network problem repair guide heat with the hot air gun to

    After the recombination, assemble the phone to test again. Fortunately, this time the Baseband function comes back to normal, insert the SIM card to have a test, and the 5G signal is also OK.
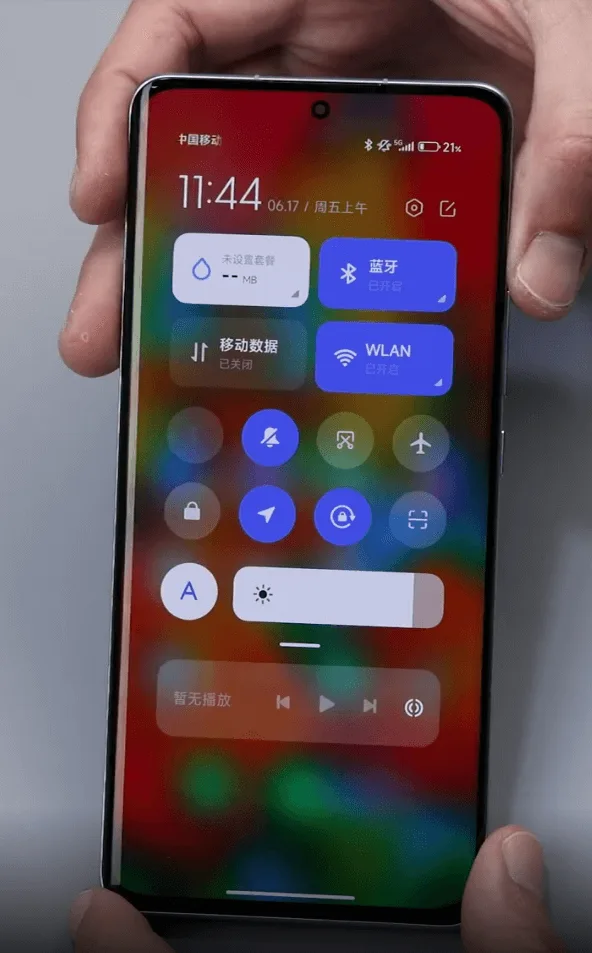
    Xiaomi 12 Pro Network Problem Repair

    Final Assembly and Testing

    After repairing the relevant components, recombine the motherboard layers and reassemble the phone. Test the device to ensure the Baseband function and network connectivity are restored. Insert a SIM card and check for 5G signal and call functionality.
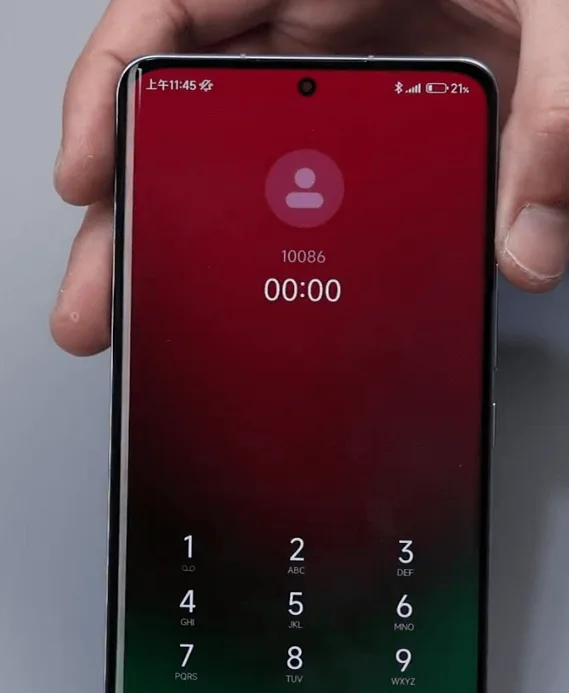
    xiaomi 12 pro network problem repair guide 4

    Conclusion

    The network and Baseband issues were resolved by addressing damaged components and recombining the deformed motherboard layers. Recombining the motherboard is a complex and risky procedure that can cause further damage if not done correctly. It is advisable to inform customers of the risks involved to avoid disputes.

    By following this detailed guide, you can effectively troubleshoot and repair network issues on the Xiaomi 12 Pro, ensuring your device remains fully functional.
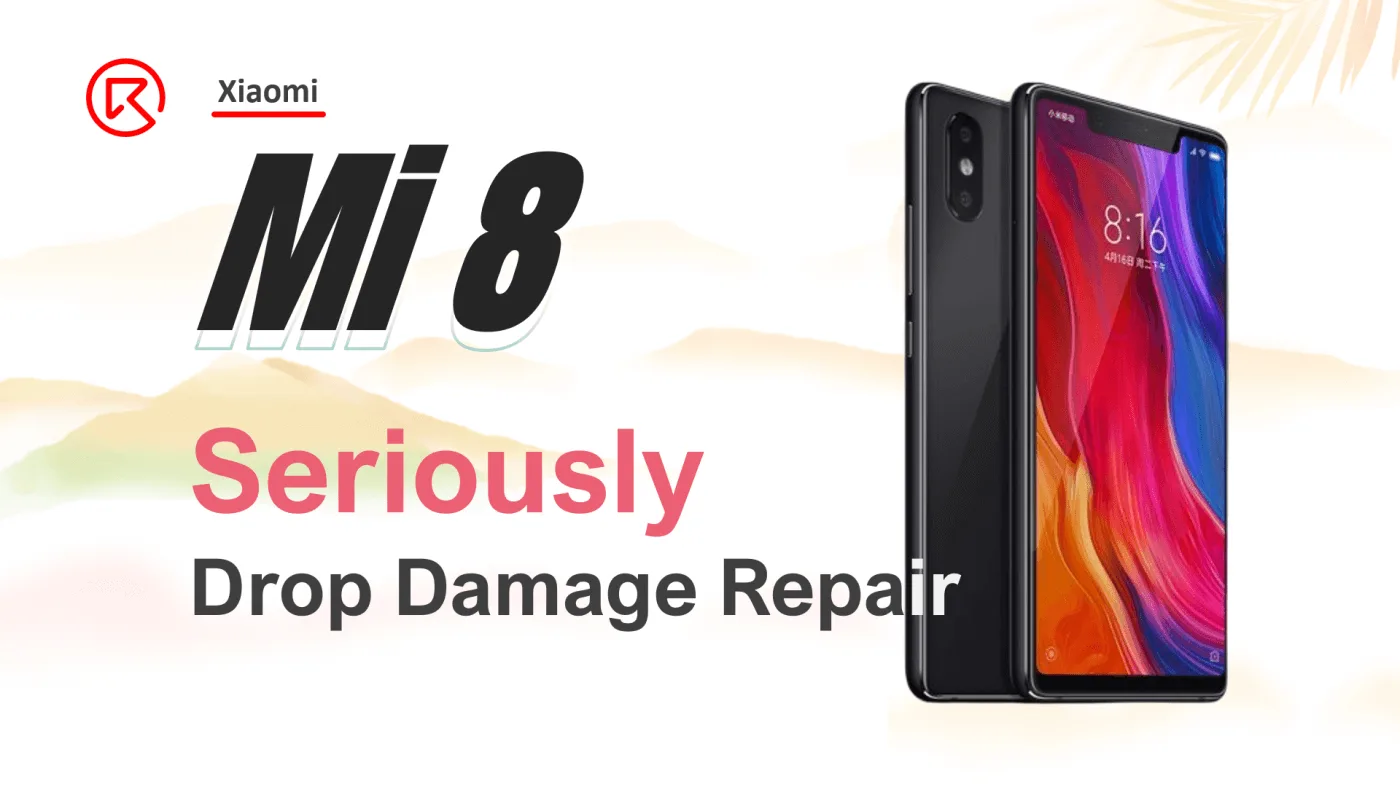

  • Xiaomi Mi 8 Drop Damage Repair

    Xiaomi Mi 8 Drop Damage Repair

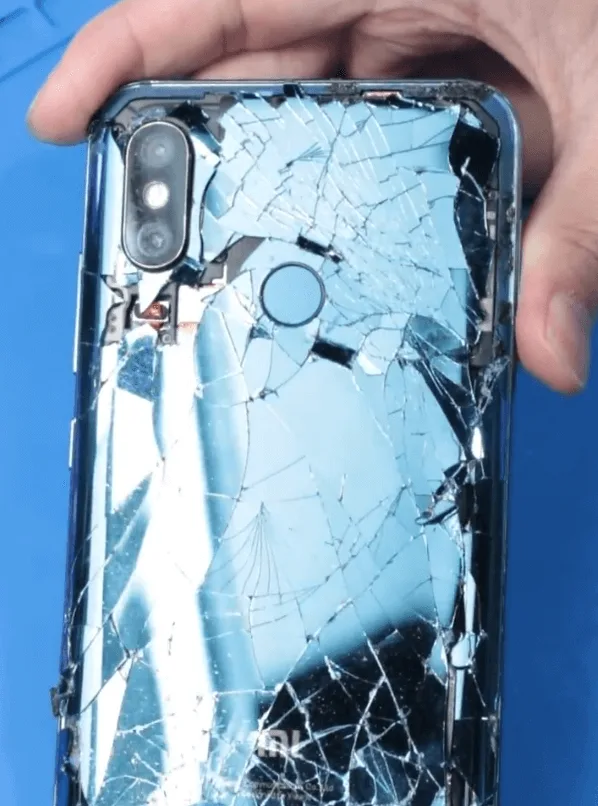
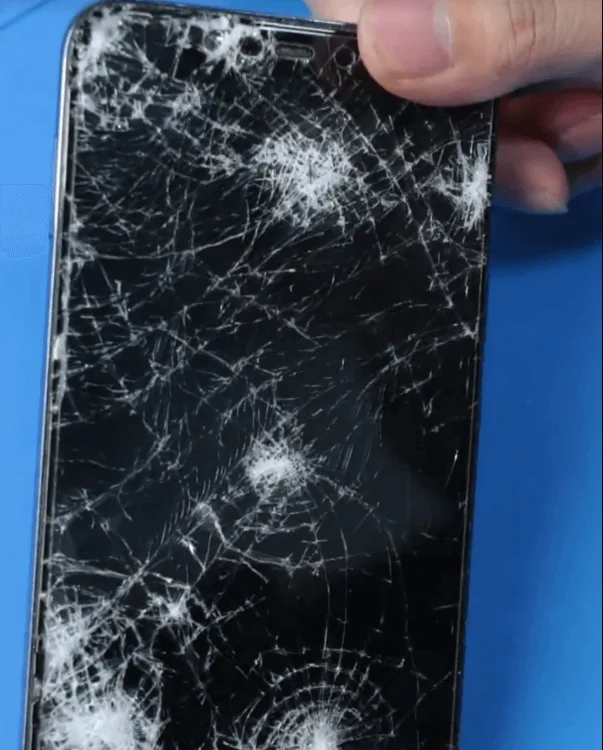
    A stunning flagship was introduced by Xiaomi in May 2018, the Xiaomi Mi 8. It quickly gained popularity among smartphone enthusiasts because. Accidents can happen to even the most advanced technology, as one unfortunate Xiaomi Mi 8 owner discovered. The incident involved a severe drop that caused extensive damage to the rear cover and front screen glass of the Xiaomi Mi 8. The phone was also found to have suffered serious motherboard damage, rendering it unrepairable. This blog post, however, will discuss how to repair Xiaomi Mi 8 Drop Damage.

    xiaomi mi drop damage repair

    Phone details

    Model: Xiaomi Mi 8

    Announced: 2018, May

    Defect Phenomenon

    A Xiaomi Mi 8 was severely damaged in an accident, resulting in both the rear cover and front screen glass being heavily cracked. The phone was taken to a repair shop, where it was diagnosed with serious motherboard damage, making it seemingly unrepairable. However, the owner needed to retrieve important pictures and videos stored on the device.

    Troubleshooting

    1: Initial Assessment

    xiaomi mi drop damage repair take out the motherboard of mi8
    • Due to the severe damage, it is assumed that the screen is broken and the motherboard may be cracked.
    • Disassemble the phone to examine the motherboard for any visible signs of damage.

    2: Motherboard Inspection

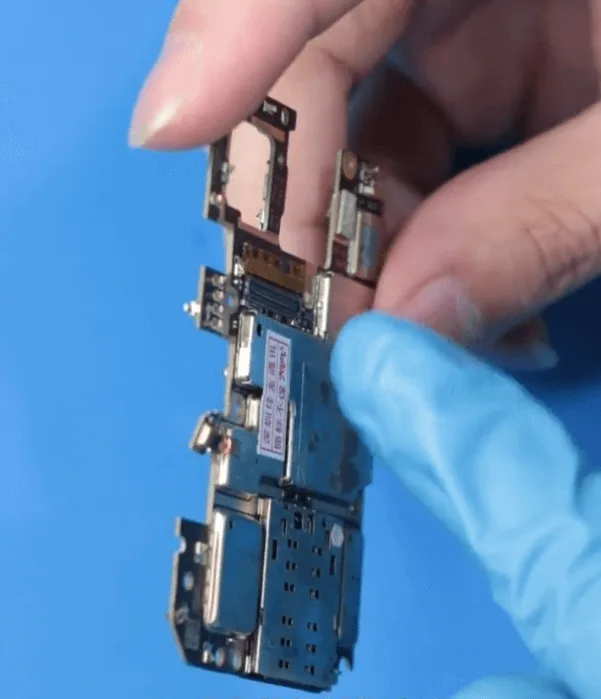
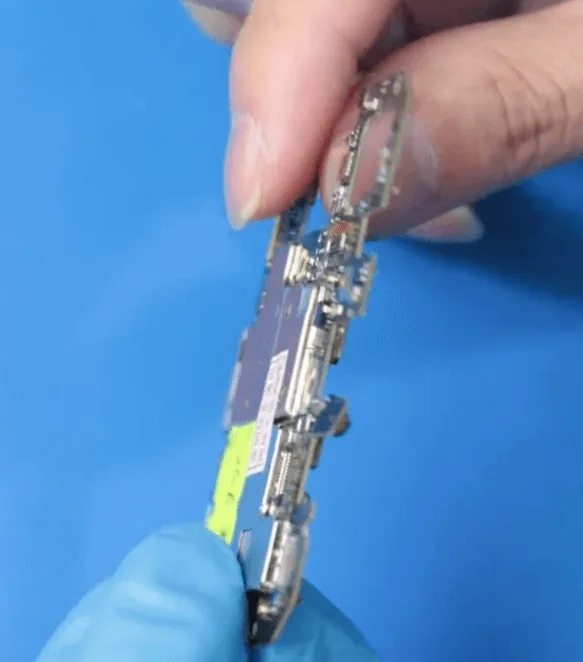
    xiaomi mi drop damage repair the motherboard has get cracked
    • Upon inspection, there are no prior repair traces, but the motherboard is significantly deformed.
    • The shielding cover over the CPU and PMIC (Power Management Integrated Circuit) is also uneven, indicating possible internal damage.

    3: PMIC Check

    • Remove the shielding cover on the PMIC to inspect the chips and components.
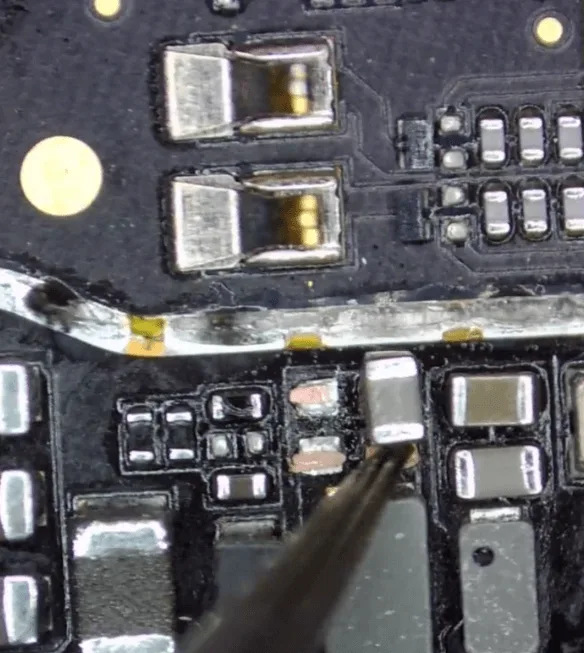
    • Two capacitors are found to have poor soldering and fall off easily when touched. As they are filter-type capacitors, they are not critical to the immediate repair and can be ignored for now.
    • Remove the PMIC to inspect the pads on the PCB. Fortunately, there are no missing pads or broken rails.
    • Reball the PMIC and solder it back onto the PCB.

    4: Testing the Phone:

    • Reassemble the phone temporarily to test it.
    • Connect it to a USB cable to charge, but there is no charging current. Attempt to boot the phone, but it fails to start. This suggests the issue is not related to the PMIC or capacitors.

    5: CPU Examination

    xiaomi mi drop damage repair resolder the cpu
    • The CPU appears cosmetically intact, with no visible cracks or signs of poor soldering.
    • Despite this, the CPU is resoldered as a precaution. The CPU consists of two layers: the upper layer is RAM, and the lower layer is the core CPU.
    • Remove and clean the layers, then resolder the chips using stencils.

    6: Further Testing:

    xiaomi mi drop damage repair connect with charging cable to have try
    • After reassembling the phone, connect it to the charging cable again, but still, there is no charging current, and the phone does not boot.
    • Given the serious drop damage, it’s likely that internal PCB rails are broken

    Repair Process

    1: Chip Swapping

    • To attempt recovery, the CPU and UFS (Universal Flash Storage) chips are swapped to a new motherboard.
    • After the swap, the phone is connected to the charging cable, and this time, there is a charging current.
    • Assemble the phone and trigger it to boot, which it does successfully.

    2: Data Recovery

    • Connect the phone to a computer and back up the important data.

    3: Final Assembly

    Xiaomi Mi 8 Drop Damage Repair
    • Replace the damaged screen, battery, and housing.
    • Test all functions to ensure the phone is working normally.

    Conclusion

    The Xiaomi Mi 8, which was severely damaged in a drop, had an unbootable motherboard likely due to internal PCB rail damage. By swapping the CPU and UFS chips to a new motherboard, the phone was successfully repaired, allowing for data recovery and restoring full functionality.

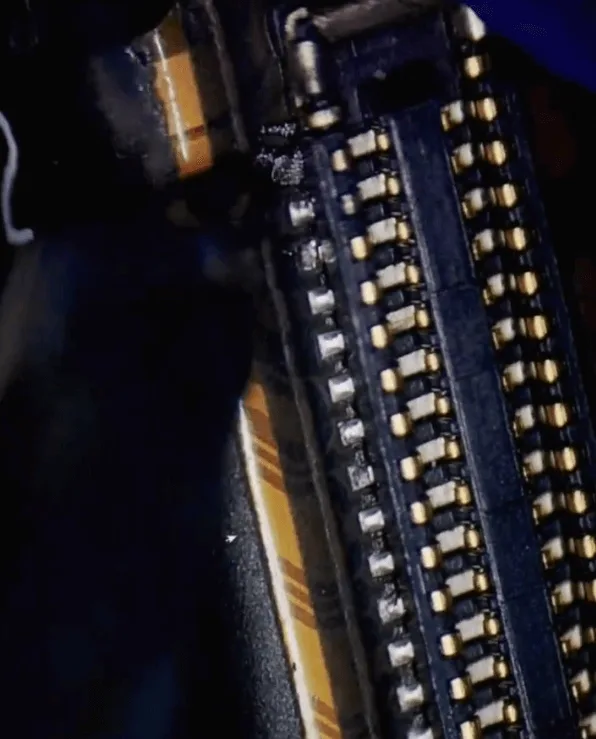
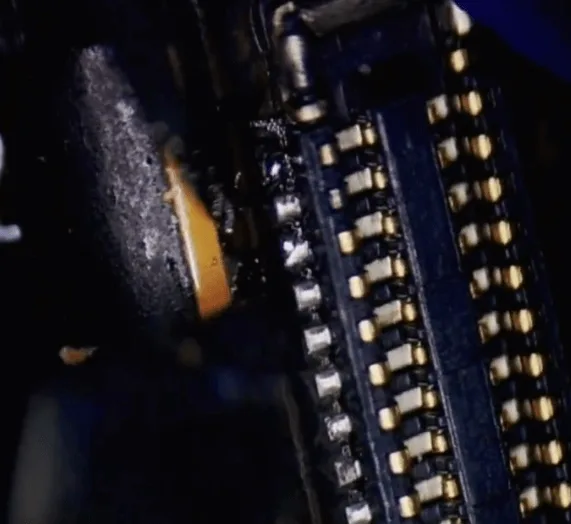
  • Xiaomi Mi 10 Ultra Water Damage Repair: Restoring a Non-Booting Phone

    Xiaomi Mi 10 Ultra Water Damage Repair: Restoring a Non-Booting Phone

    Water damage can be a nightmare for any smartphone owner, especially when the phone fails to boot afterward. The Xiaomi Mi 10 Ultra is no exception. When faced with a hefty repair quote from the official service center, it’s worth exploring more affordable alternatives. In this guide, we’ll walk you through the process of diagnosing and repairing a Xiaomi Mi 10 Ultra water damage, focusing on addressing corrosion on key components to restore functionality. Whether you’re a professional technician or a DIY enthusiast, this step-by-step guide will help you bring your device back to life.

    xiaomi mi 10 ultra

    Phone Details:

    Model: Xiaomi Mi 10 Ultra

    Announced: 2020, August 11

    Defect Phenomenon

    The Xiaomi Mi 10 Ultra suffered water damage and cannot start up. After an assessment by the official service center, it was determined that both the motherboard and the screen were damaged and needed replacement. However, the high replacement cost led the owner to seek out a more cost-effective repair option with us.

    Troubleshooting to Repair Xiaomi Mi 10 Ultra Water Damage

    1: Initial Assessment

    • Start by placing the phone on a heating pad for a few minutes to soften any adhesives, making it easier to disassemble.
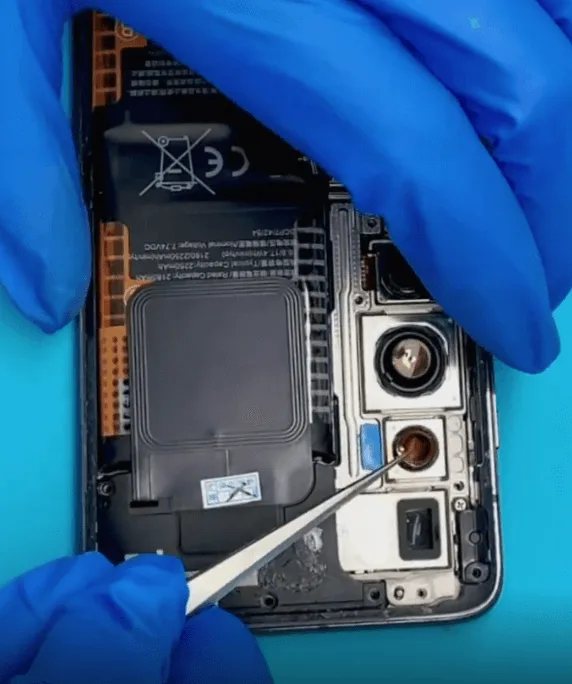
    • Carefully disassemble the phone. Although it appears that the official repair center may have already cleaned the device, inspect it thoroughly for any remaining signs of water damage.

    2: Protect and Remove the Motherboard

    • Protect the camera module before proceeding.
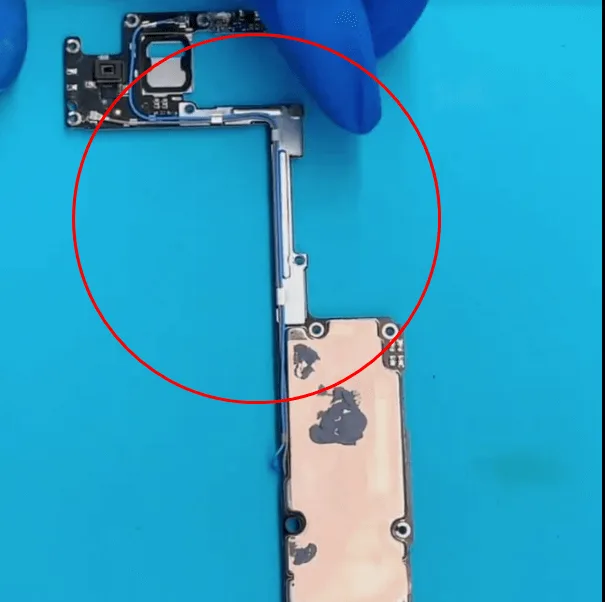
    • Carefully remove the motherboard, being mindful of its thin and fragile structure to avoid any damage.

    Inspect the motherboard under a microscope to identify any areas affected by corrosion.

    3: Identify Corrosion

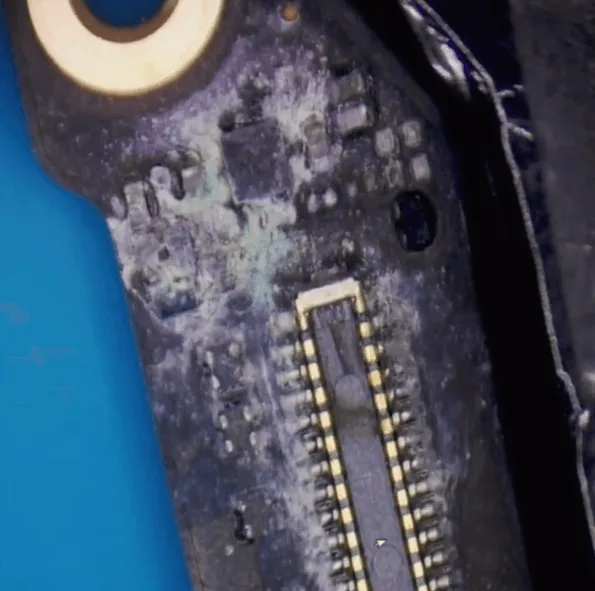
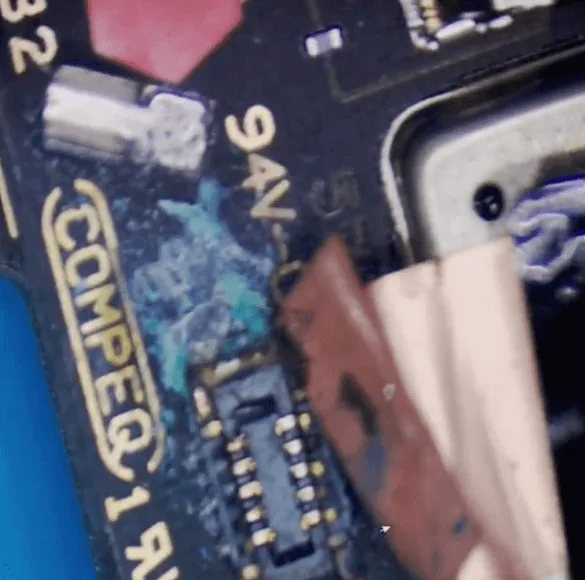
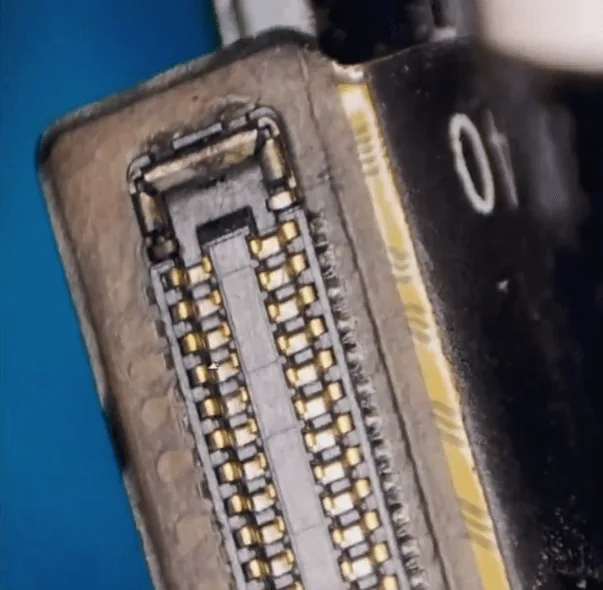
    • Display Connector: The display connector is heavily corroded.
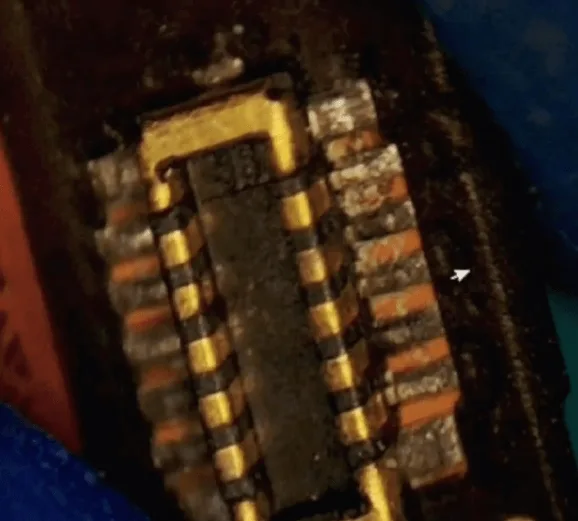
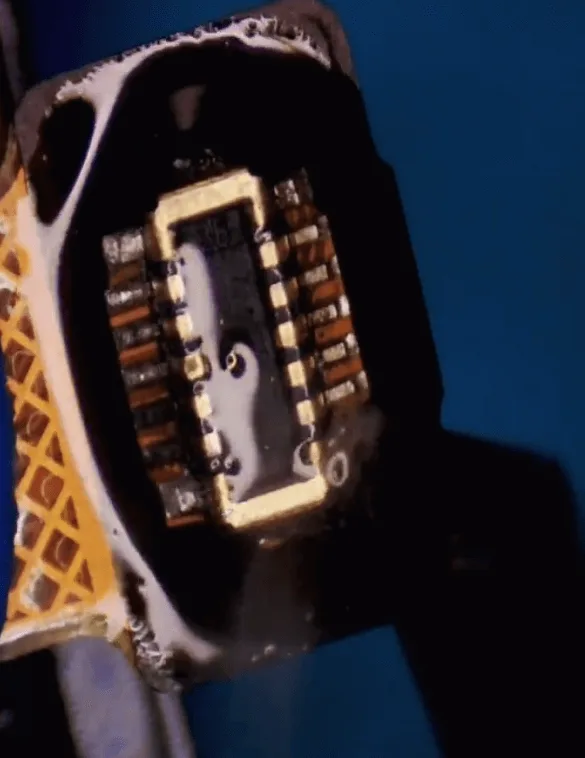
    • Fingerprint Connector: Similarly, the fingerprint connector shows significant corrosion.
    • Other Components: There are also minor signs of corrosion on other parts of the phone, including the flex cables.

    Repair Process

    1: Repairing the Display Connector

    Clean the corroded display connector
    • Clean the corroded display connector using a PCB cleaner.
    • Gently scratch off the corroded electrolyte with a blade knife.
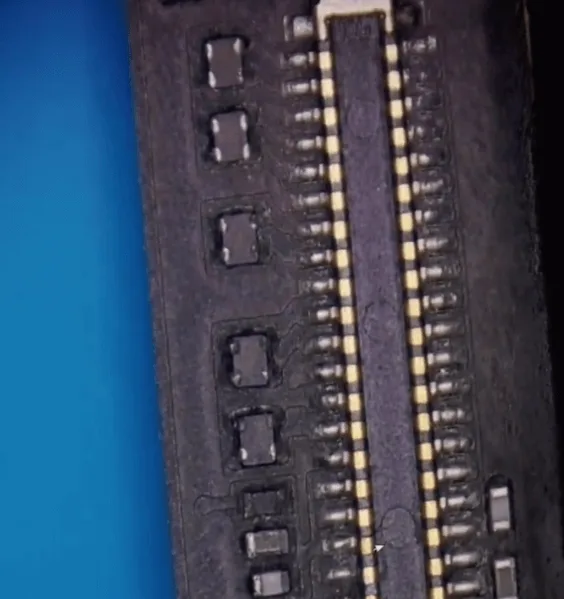
    • Apply a small amount of tin paste and carefully “refresh” the connector pins using a soldering iron.

    2: Addressing the Touch Connector Corrosion

    The touch connector on the motherboard also shows corrosion. Follow the same cleaning and soldering steps as with the display connector.

    3: Missing Resistor Repair

    During the inspection, you might notice a missing resistor on the motherboard. To fix this, jump a wire across the missing resistor’s location.

    4: Fixing the Screen Flex and Fingerprint Flex Cables

    • The display flex connector has two corroded pins, which can be repaired by soldering with tin paste.
    • Apply solder paste flux on the fingerprint flex cable connector and resolder it with the soldering iron.

    5: Final Cleaning and Assembly

    repair xiaomi mi 10 ultra
    • After the repairs are complete, allow the components to cool down before cleaning the motherboard and connectors with a PCB cleaner.
    • Reassemble the phone and test it.

    Results: Upon testing, the phone displays normally, and all functions are working correctly. The issues were successfully resolved through careful connector resoldering and jumping a wire to replace the missing resistor.

    Conclusion

    Repairing a Xiaomi Mi 10 Ultra water damage is a complex process that requires meticulous attention to detail, especially when dealing with corrosion. By addressing the damage on the motherboard and connectors, you can often avoid costly replacements and restore your device to full functionality. If you encounter similar issues, consider trying these repair steps before opting for more expensive solutions.

  • How to Fix Xiaomi Mi 9 Won’t Turn On

    How to Fix Xiaomi Mi 9 Won’t Turn On

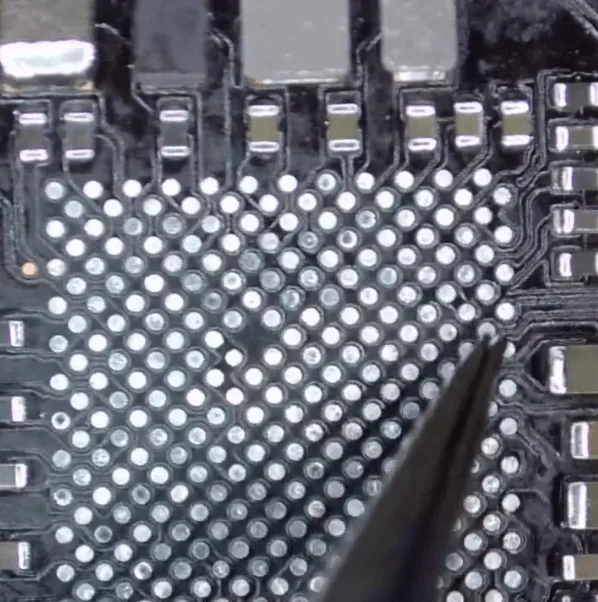
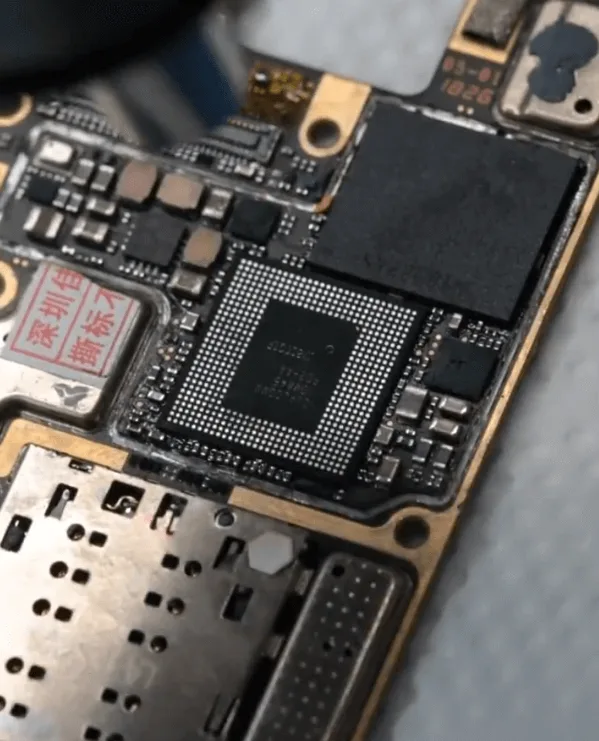
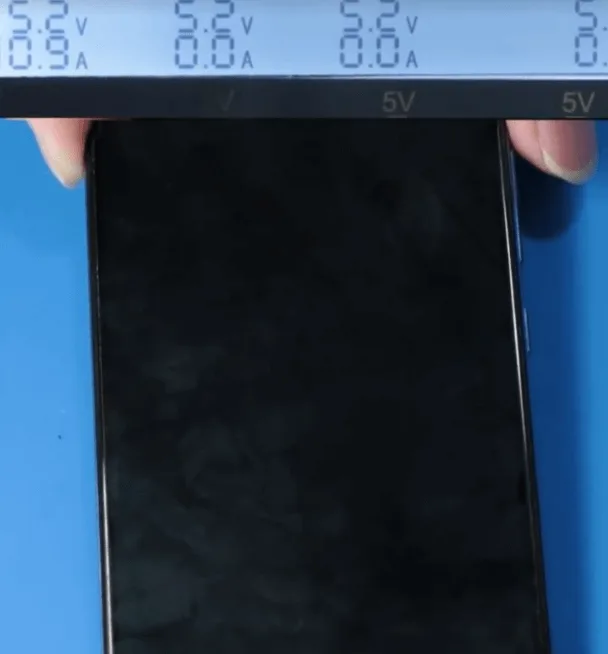
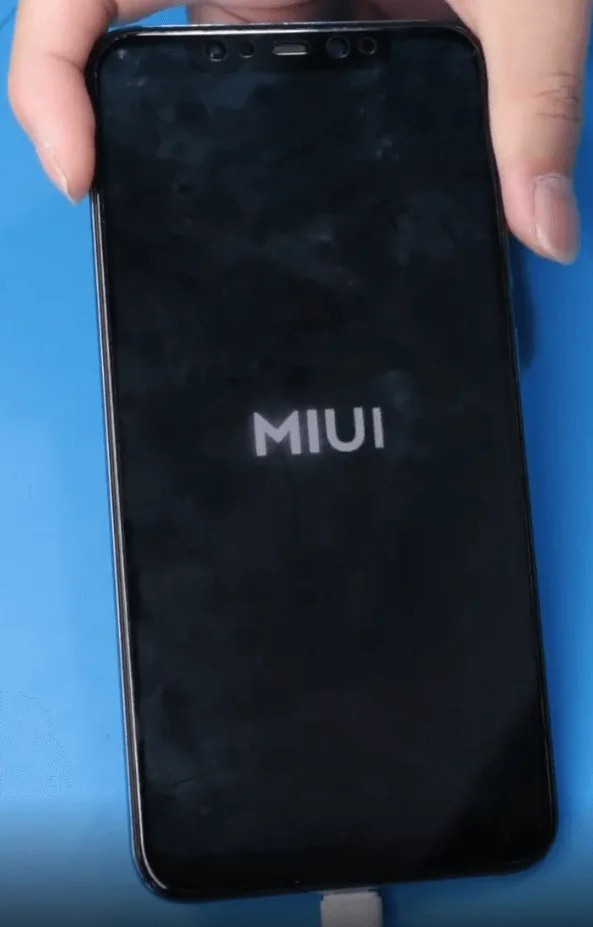
    Xiaomi Mi 9 won’t turn on. After troubleshooting, the PMU IC was found to be damaged. Check out this video to see how we fix the Xiaomi Mi 9 won’t turn on.