Tag: water damage

  • Xiaomi Mi 10 Ultra Water Damage Repair: Restoring a Non-Booting Phone

    Xiaomi Mi 10 Ultra Water Damage Repair: Restoring a Non-Booting Phone

    Water damage can be a nightmare for any smartphone owner, especially when the phone fails to boot afterward. The Xiaomi Mi 10 Ultra is no exception. When faced with a hefty repair quote from the official service center, it’s worth exploring more affordable alternatives. In this guide, we’ll walk you through the process of diagnosing and repairing a Xiaomi Mi 10 Ultra water damage, focusing on addressing corrosion on key components to restore functionality. Whether you’re a professional technician or a DIY enthusiast, this step-by-step guide will help you bring your device back to life.

    xiaomi mi 10 ultra

    Phone Details:

    Model: Xiaomi Mi 10 Ultra

    Announced: 2020, August 11

    Defect Phenomenon

    The Xiaomi Mi 10 Ultra suffered water damage and cannot start up. After an assessment by the official service center, it was determined that both the motherboard and the screen were damaged and needed replacement. However, the high replacement cost led the owner to seek out a more cost-effective repair option with us.

    Troubleshooting to Repair Xiaomi Mi 10 Ultra Water Damage

    1: Initial Assessment

    • Start by placing the phone on a heating pad for a few minutes to soften any adhesives, making it easier to disassemble.
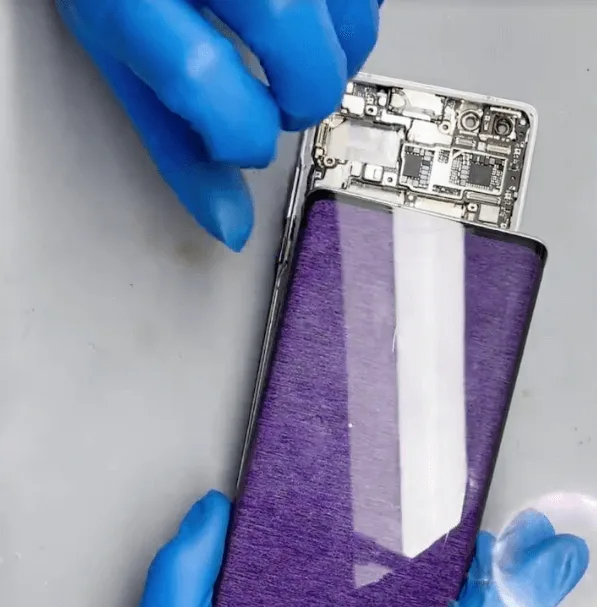
    • Carefully disassemble the phone. Although it appears that the official repair center may have already cleaned the device, inspect it thoroughly for any remaining signs of water damage.

    2: Protect and Remove the Motherboard
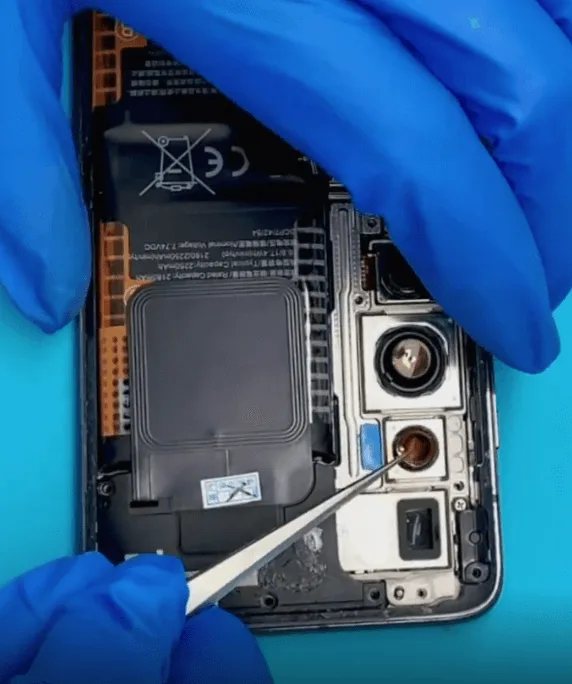
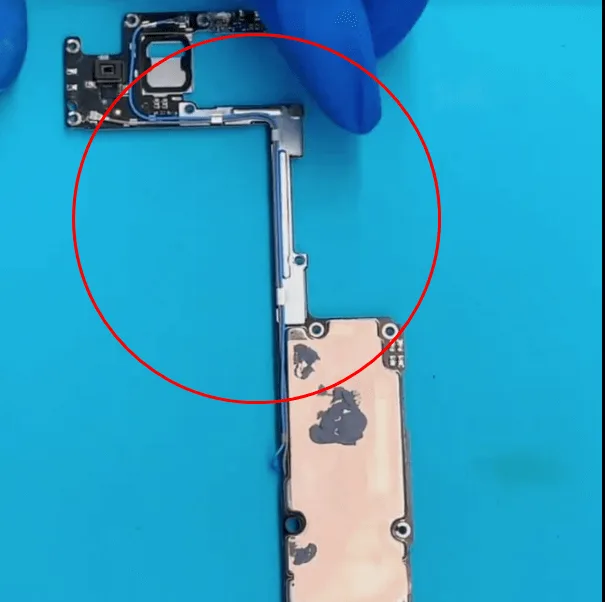
    • Protect the camera module before proceeding.
    • Carefully remove the motherboard, being mindful of its thin and fragile structure to avoid any damage.

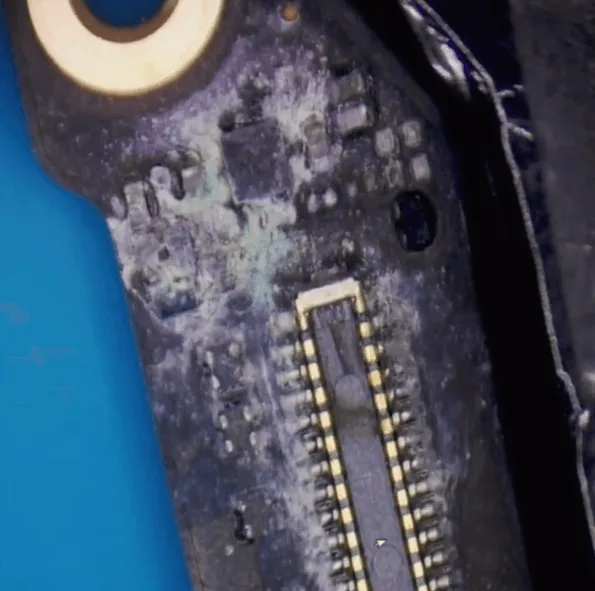
    Inspect the motherboard under a microscope to identify any areas affected by corrosion.

    3: Identify Corrosion
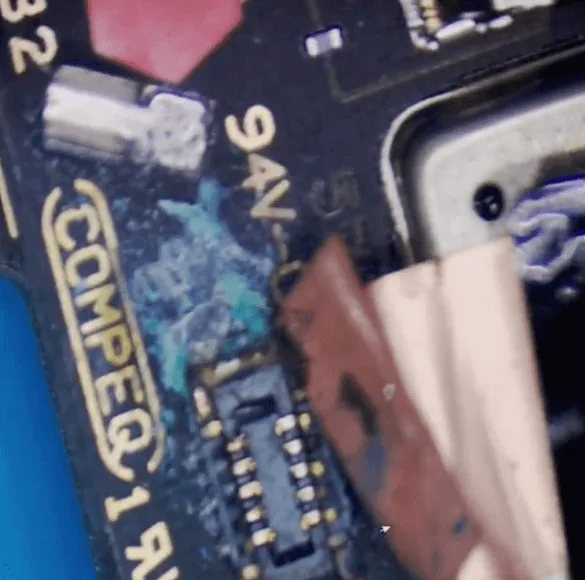
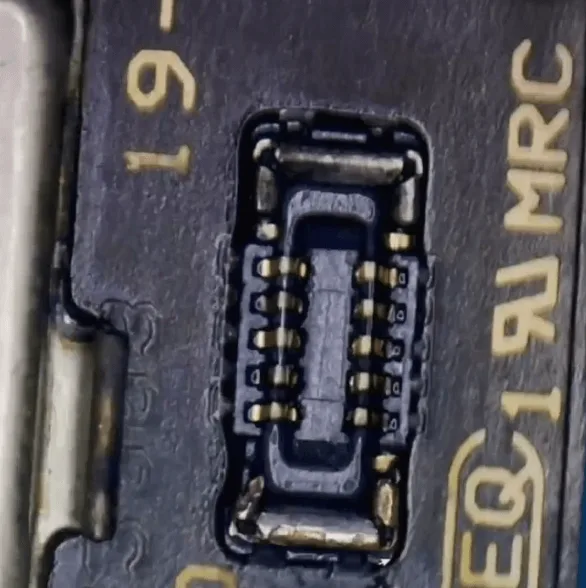
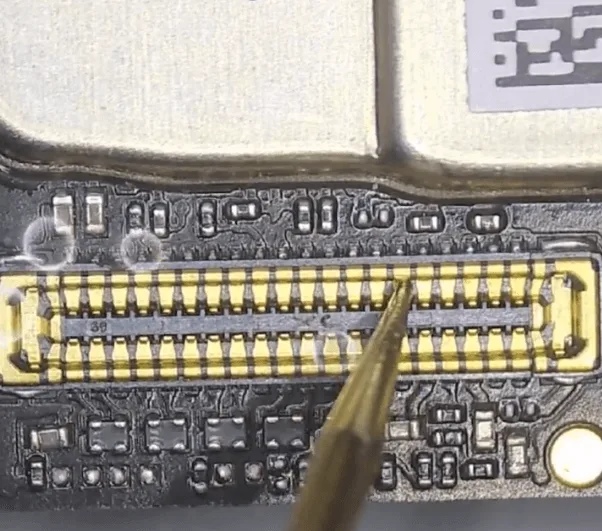
    • Display Connector: The display connector is heavily corroded.
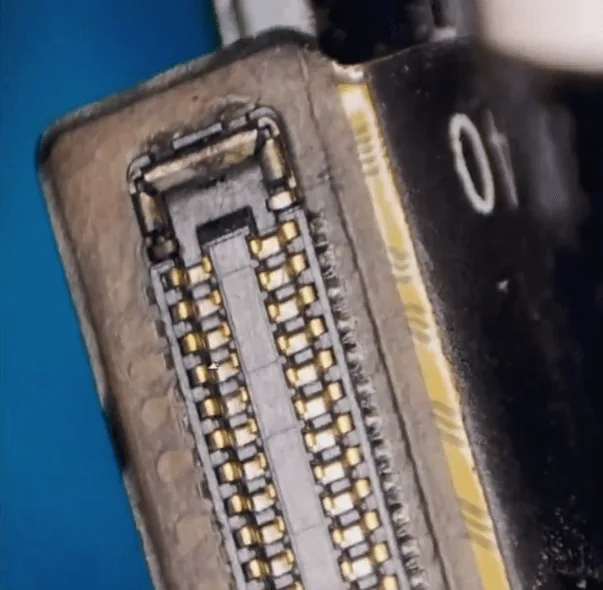
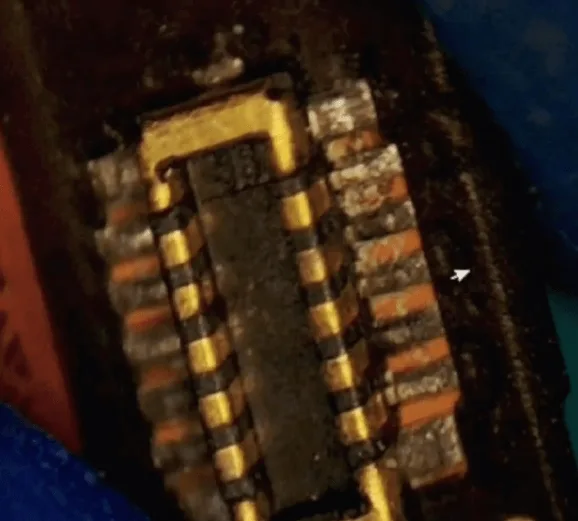
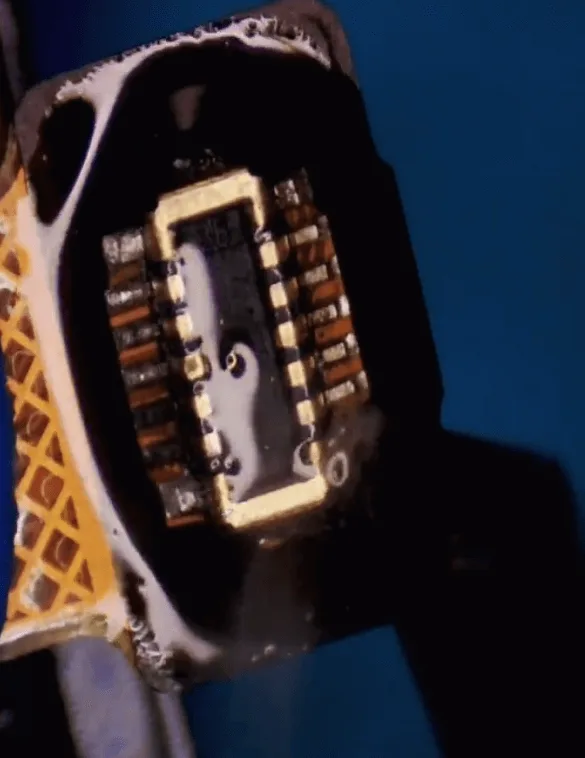
    • Fingerprint Connector: Similarly, the fingerprint connector shows significant corrosion.
    • Other Components: There are also minor signs of corrosion on other parts of the phone, including the flex cables.

    Repair Process

    1: Repairing the Display Connector
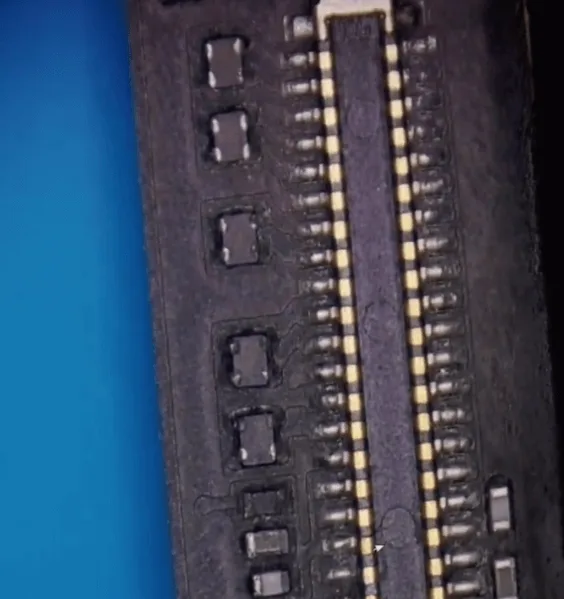
    Clean the corroded display connector
    • Clean the corroded display connector using a PCB cleaner.
    • Gently scratch off the corroded electrolyte with a blade knife.
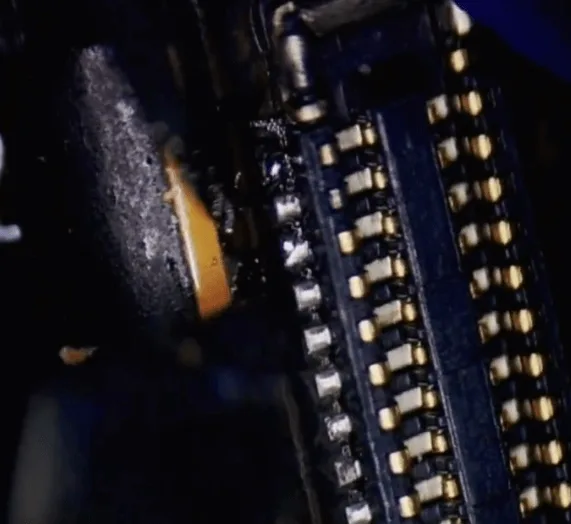
    • Apply a small amount of tin paste and carefully “refresh” the connector pins using a soldering iron.

    2: Addressing the Touch Connector Corrosion
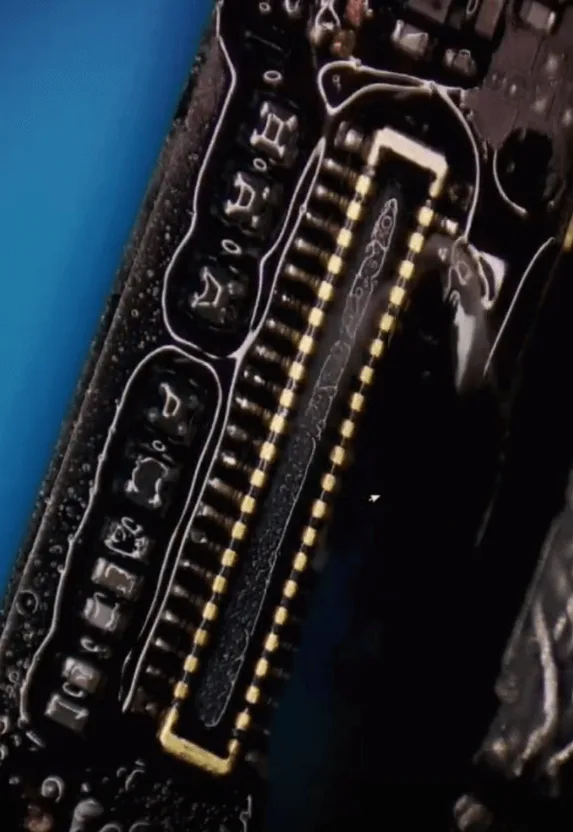
    The touch connector on the motherboard also shows corrosion. Follow the same cleaning and soldering steps as with the display connector.

    3: Missing Resistor Repair
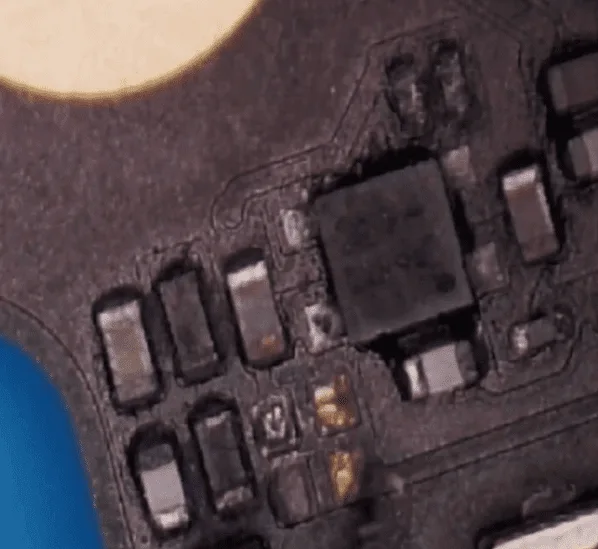
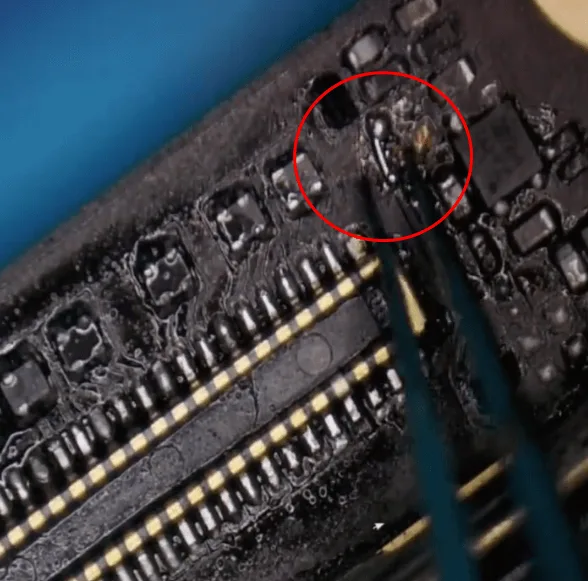
    During the inspection, you might notice a missing resistor on the motherboard. To fix this, jump a wire across the missing resistor’s location.

    4: Fixing the Screen Flex and Fingerprint Flex Cables
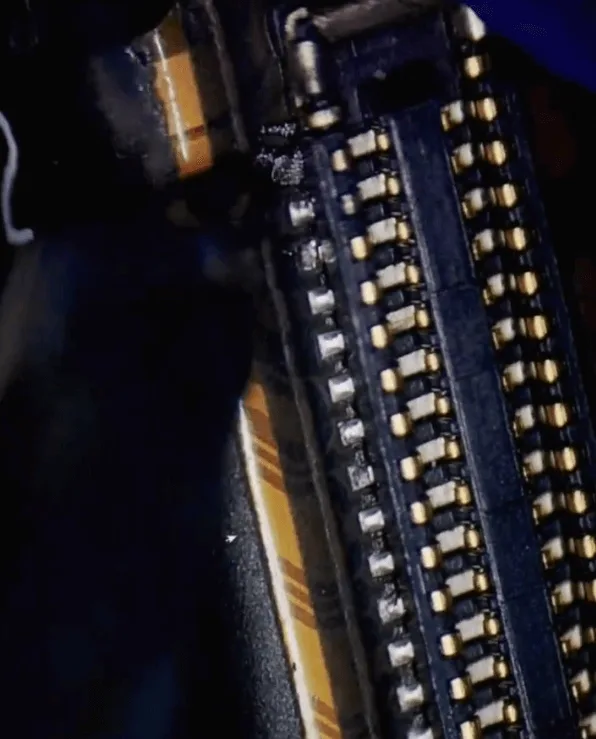
    • The display flex connector has two corroded pins, which can be repaired by soldering with tin paste.
    • Apply solder paste flux on the fingerprint flex cable connector and resolder it with the soldering iron.

    5: Final Cleaning and Assembly
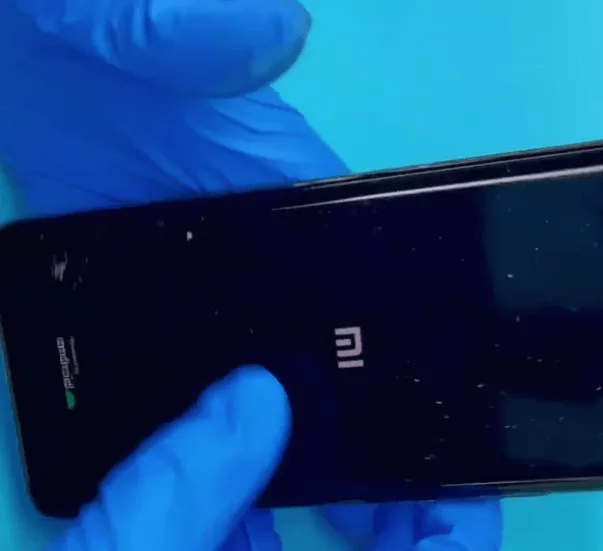
    repair xiaomi mi 10 ultra
    • After the repairs are complete, allow the components to cool down before cleaning the motherboard and connectors with a PCB cleaner.
    • Reassemble the phone and test it.

    Results: Upon testing, the phone displays normally, and all functions are working correctly. The issues were successfully resolved through careful connector resoldering and jumping a wire to replace the missing resistor.

    Conclusion

    Repairing a Xiaomi Mi 10 Ultra water damage is a complex process that requires meticulous attention to detail, especially when dealing with corrosion. By addressing the damage on the motherboard and connectors, you can often avoid costly replacements and restore your device to full functionality. If you encounter similar issues, consider trying these repair steps before opting for more expensive solutions.
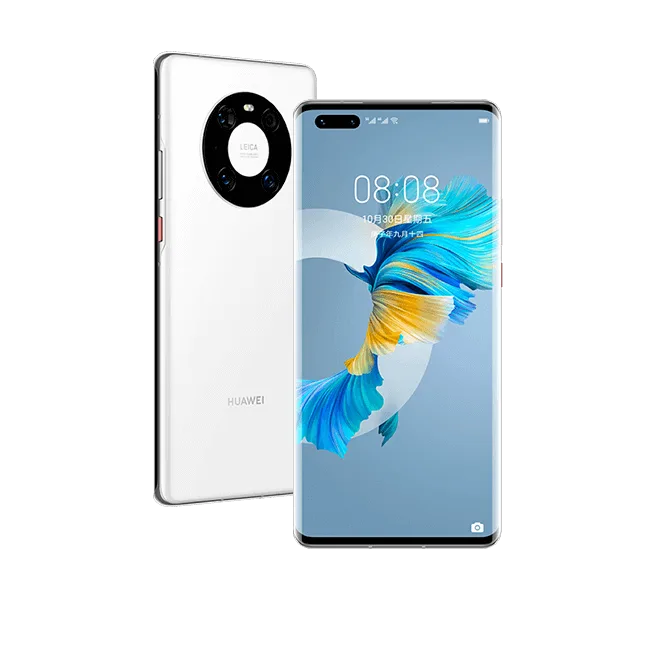
  • How to Fix HUAWEI Mate 40 Pro Water Damage and Display Issues: A Step-by-Step Repair Guide

    How to Fix HUAWEI Mate 40 Pro Water Damage and Display Issues: A Step-by-Step Repair Guide

    Water damage can be a major setback for any smartphone, especially when it leads to issues like a non-functional display or inability to boot. If your HUAWEI Mate 40 Pro has encountered water exposure and now refuses to power on or shows display problems, don’t worry—there’s hope for repair. In this guide, we’ll walk you through diagnosing the root cause of water damage, replacing critical components like the display IC, and reflowing the PMIC to bring your device back to life. Whether you’re a technician or a DIY enthusiast, this tutorial will help you get your HUAWEI Mate 40 Pro back in working order.

    Huawei Mate 40 pro

    Device Details

    Model: HUAWEI Mate 40 Pro

    Announced: 2020, October 22

    Defect Phenomenon

    The issue began when the phone was used for watching videos while taking a shower, causing water vapor to enter the device. The phone’s display became blurry, and after charging it overnight, it would not power on the next day.

    Troubleshooting

    The phone likely suffered from water vapor entering its internal components, leading to a short circuit. Here’s the process to identify the problem:

    1. Screen Test: Separate the motherboard and connect it to a different screen. The replacement screen displays abnormal behavior, indicating a deeper issue.
    2. Diode Measurement: Use a multimeter to measure the diode values on the display connector; all values are normal.
    3. Component Check: Inspect the small components around the display PMIC with a multimeter; the diode values appear normal as well.

    Repair Process

    Even though the diode values around the PMIC were normal, it’s possible the display IC could be faulty. The next step involves replacing the display IC:

    how fix huawei mate 40 pro water damage display issues step repair guide 5
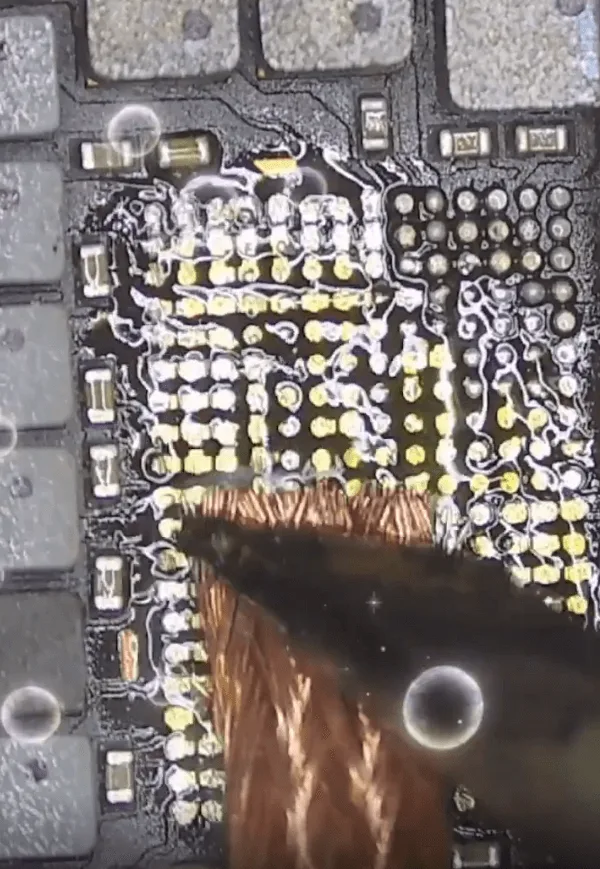
    • Remove the Original Display IC: Carefully desolder and remove the display IC.
    • Clean the PCB Pads: Use a cleaning solution to ensure the PCB pads are free from residue.
    • Reball and Solder: Apply fresh solder balls to the new display IC and reattach it to the motherboard.

    After reassembling the phone and testing it again, the display issue persisted.

    Additional Investigation

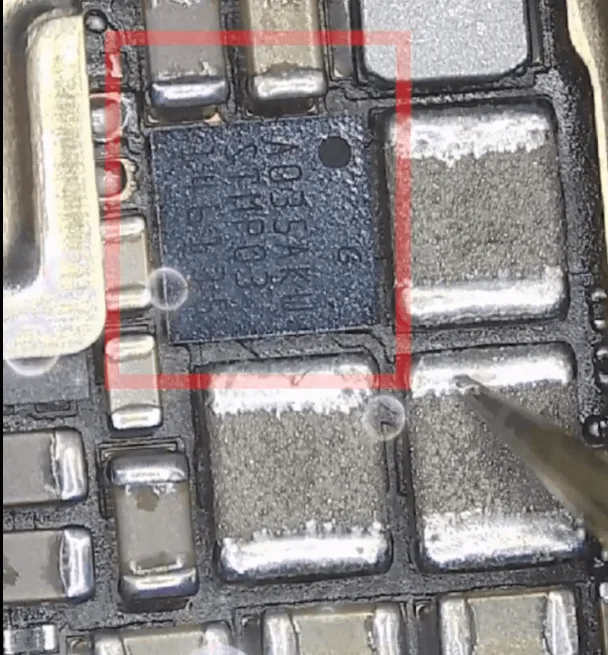
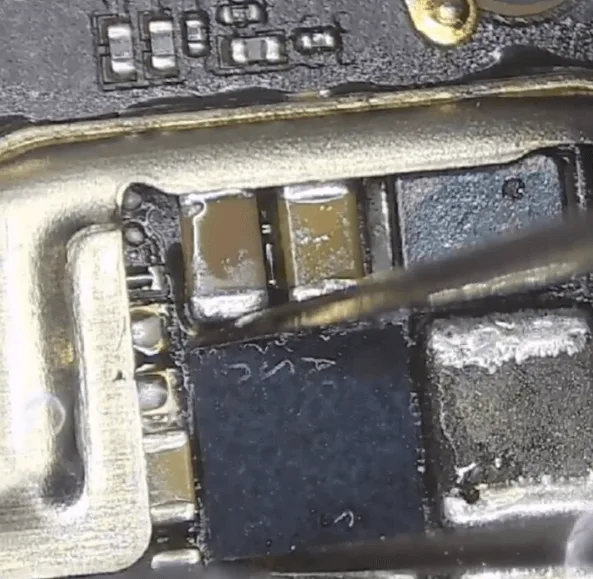
    Upon further inspection under a microscope, water damage stains were found around the PMIC. It was possible that poor soldering of the PMIC caused the issue. To address this:

    how fix huawei mate 40 pro water damage display issues step repair guide 6
    1. Reflow the PMIC: Apply solder paste flux around the PMIC and reflow the chip.
    2. Test Again: Reassemble the phone, and this time, the display functions normally.

    To ensure a permanent fix, the following steps were taken:

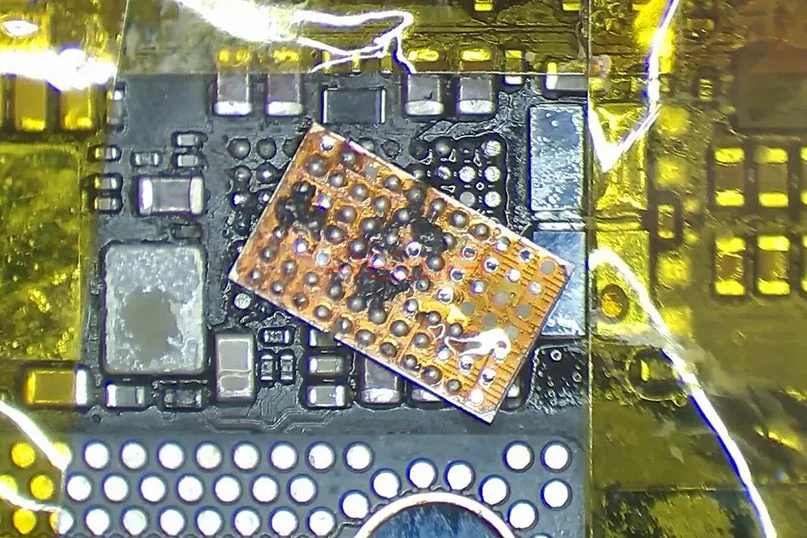
    1. Remove and Clean the PMIC: Remove the PMIC chip completely and clean the corrosive residue on the PCB pads.
    2. Reball and Resolder the PMIC: Apply fresh solder and reattach the PMIC.
    3. Final Testing: After reassembling the phone, all functions, including the display, worked perfectly.

    Conclusion

    The HUAWEI Mate 40 Pro’s display issue was ultimately caused by poor PMIC soldering due to water damage. By reballing and properly resoldering the PMIC, the phone’s display function was restored. This process ensured that the corrosive damage would not cause future problems. With careful diagnosis and repair, even water-damaged phones like the HUAWEI Mate 40 Pro can be brought back to life, saving time and money.

    Tools & Parts List

    • Replacement Display IC
    • PMIC chip
    • Soldering iron and hot air rework station
    • Solder paste flux
    • Cleaning solution (e.g., isopropyl alcohol)
    • Multimeter for diode measurements
    • Microscope for inspecting small components
    • Reballing kit
  • iPhone X/XS/XS Max Water Damage Troubleshooting

    iPhone X/XS/XS Max Water Damage Troubleshooting

    iPhone water damage has always been a frustrating and difficult issue for repair technicians. Things can also be much more difficult when it comes with iPhone X/XS/XS Max. What you usually do with iPhone water damage repair? Got your unique repair thoughts? Well, don’t panic! Our iPhone X water damage repair blog today shall definitely enlighten you.

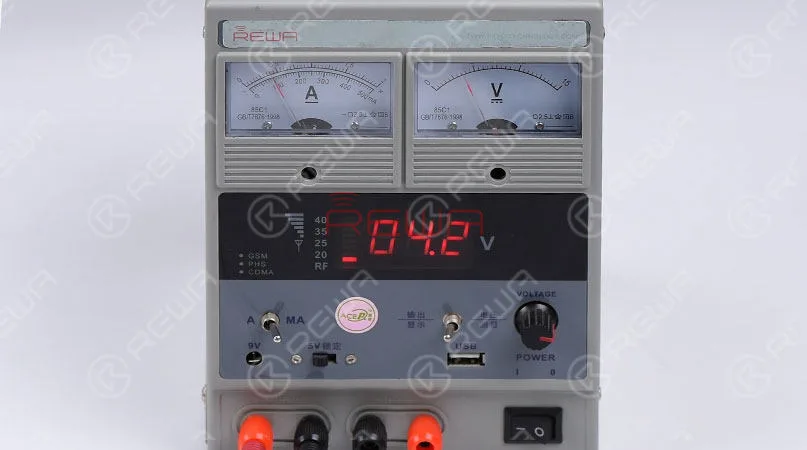
    Press the power button to turn on the phone but there is no response at all. Let’s take apart the phone and remove the display assembly first. Connect the battery connector with the DC Power Supply. Current reading on the ammeter jumps to 100mA and then stays still, which is abnormal.

    iPhone X/XS/XS Max Water Damage Troubleshooting

    Step 1: Motherboard Separating

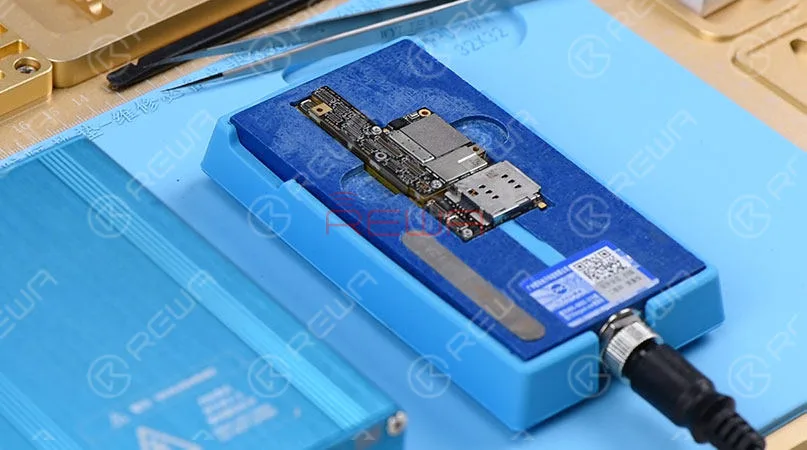
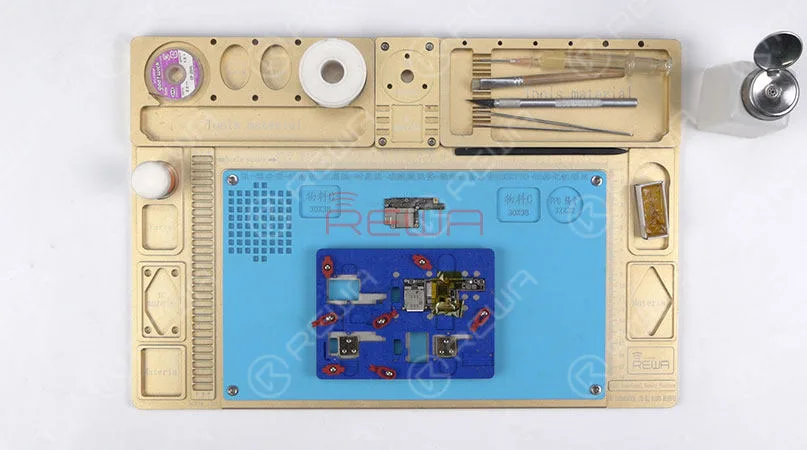
    Place the motherboard on the specialized Heating Platform. With temperature of the platform reaching the set temperature. Detach the upper layer and the lower layer from the platform with tweezers. The specialized Heating Platform is perfect for iPhone X motherboard separating.

    iPhone X/XS/XS Max Water Damage Troubleshooting

    Step 2: Fault Finding

    Check the two layers under the Microscope, and we can see nothing goes wrong with the upper layer. Yet areas on the lower layer bear obvious signs of water damage. Let’s clean the motherboard first.

    iPhone X/XS/XS Max Water Damage Troubleshooting

    Step 3: Fault Analyzing

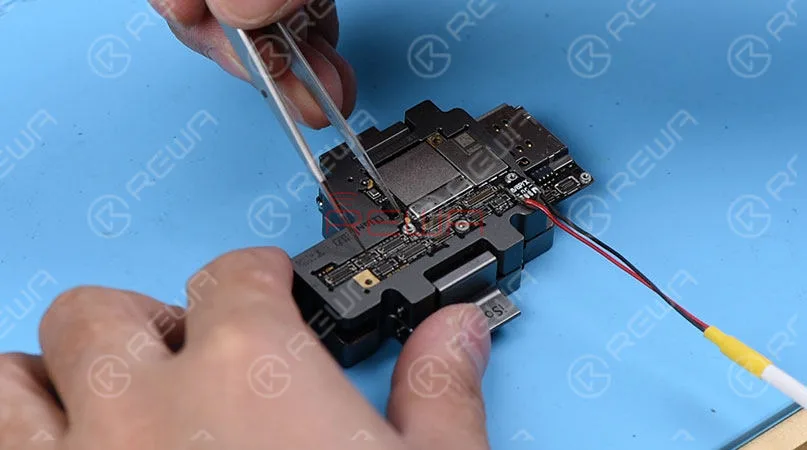
    Attach the upper layer and the lower layer to the test fixture and get the phone powered on with tweezers. Current reading on the ammeter jumps to 100mA and then stays still, which is abnormal. Connect the battery connector on the upper layer and powered on. Current reading on the ammeter is normal. Judging by this, the upper layer has nothing to do with the won’t turn on issue and the fault is probably related to the lower layer. So our next move is to further measure the lower layer.

    iPhone X/XS/XS Max Water Damage Troubleshooting

    Step 4: Fault Confirming

    Run diode mode measurement of capacitors around the moldy IC U3400, and there is no short-circuit problem around U3400. Continue to run diode mode measurement of the third space PCB. The measured value of Pin S30 is 40, which is abnormal. Since Pin S30 is connected directly to Pin L4 of U3400, the fault is probably related to U3400. So the next thing we do is to check U3400. First, remove U3400 with Hot Air Gun. We can see that U3400 and its bonding pad have mildewed severely. Therefore, we need to replace it with a new IC.

    iPhone X/XS/XS Max Water Damage Troubleshooting

    Step 5: Fault Clearing

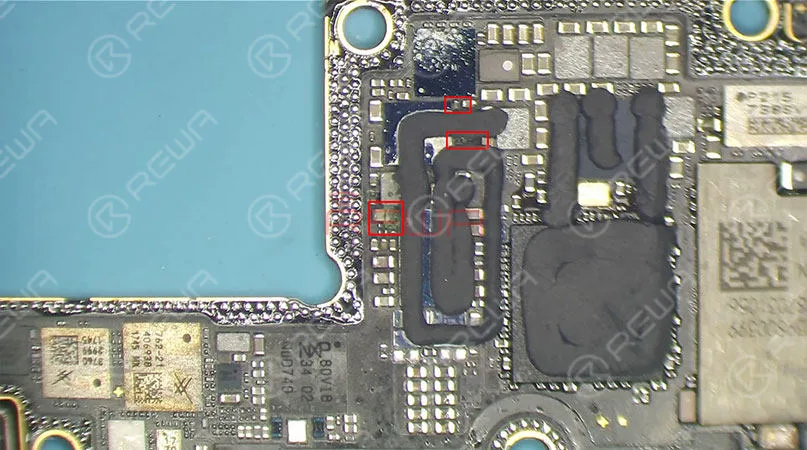
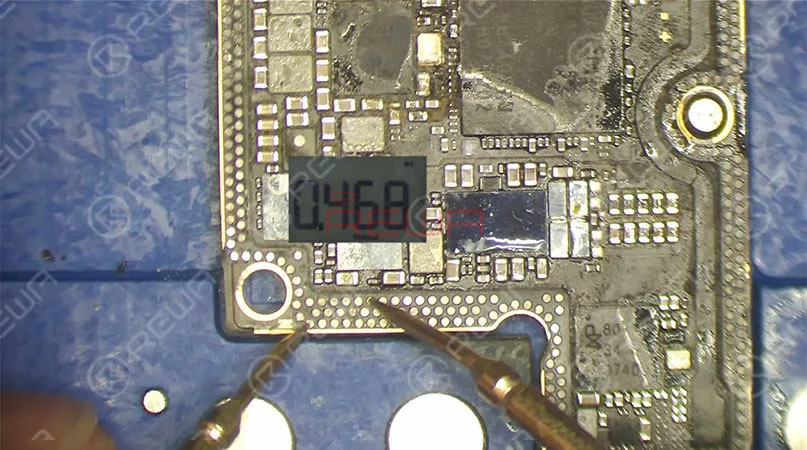
    When cleaning the bonding pad, we find that three components around U3400 have been subjected to different degrees of corrosion. We need to remove the three components one by one and solder new components to corresponding positions. After that, we can move on to IC soldering. Once done, wait for the lower layer to cool for 5 minutes. Again, run diode mode measurement of Pin S30 on the third space PCB. The measured value is 468, which is normal now.

    iPhone X/XS/XS Max Water Damage Troubleshooting

    Step 6: Test

    Now, attach the upper layer and the lower layer to the test fixture. Current reading on the ammeter is normal this time and the phone turns on normally.

    Step 7: Reballing

    In this step we will use a very useful tool, known as iPhone X specialized reballing mold. It can help us complete the reballing process perfectly.

    Step 8: Motherboard Recombining

    With the help of iPhone X specialized Heating Platform, the motherboard recombining process is very easy and efficient. Wait for the motherboard to cool for 10 minutes.

    Step 9: Assemble & Test

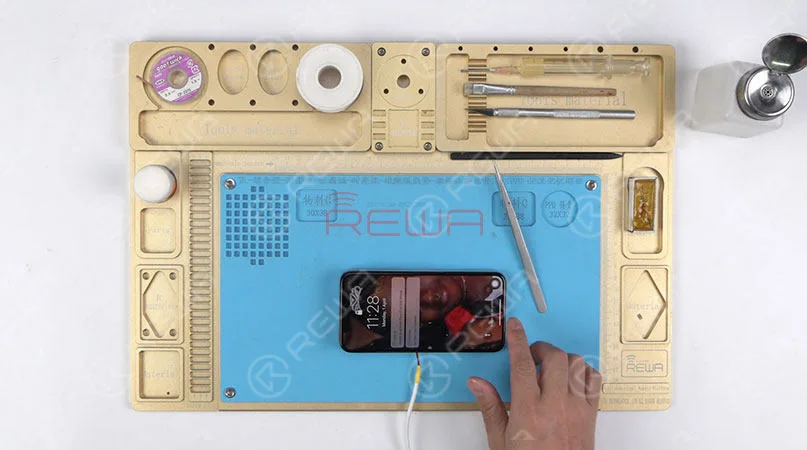
    Now we can assemble the phone and test. Press the power button to turn on the phone. The phone turns on normally. Fault cleared. Warm tips: get the phone full assembled after confirmation of fault clearance. iPhone X won’t turn on caused by water damage fixed perfectly.

    iPhone X/XS/XS Max Water Damage Troubleshooting

    For more iPhone X water damaged troubleshooting details, please visit here: REWA ONLINE SHOP IS OPEN, EQUIPPED WITH ALL TOOLS USED IN THE BLOG, READY TO POWER YOUR REPAIR BUSINESS?