The client uses the Vivo T1 in the rain and won’t turn on after that. Let’s see the detailed troubleshooting and fixing process.
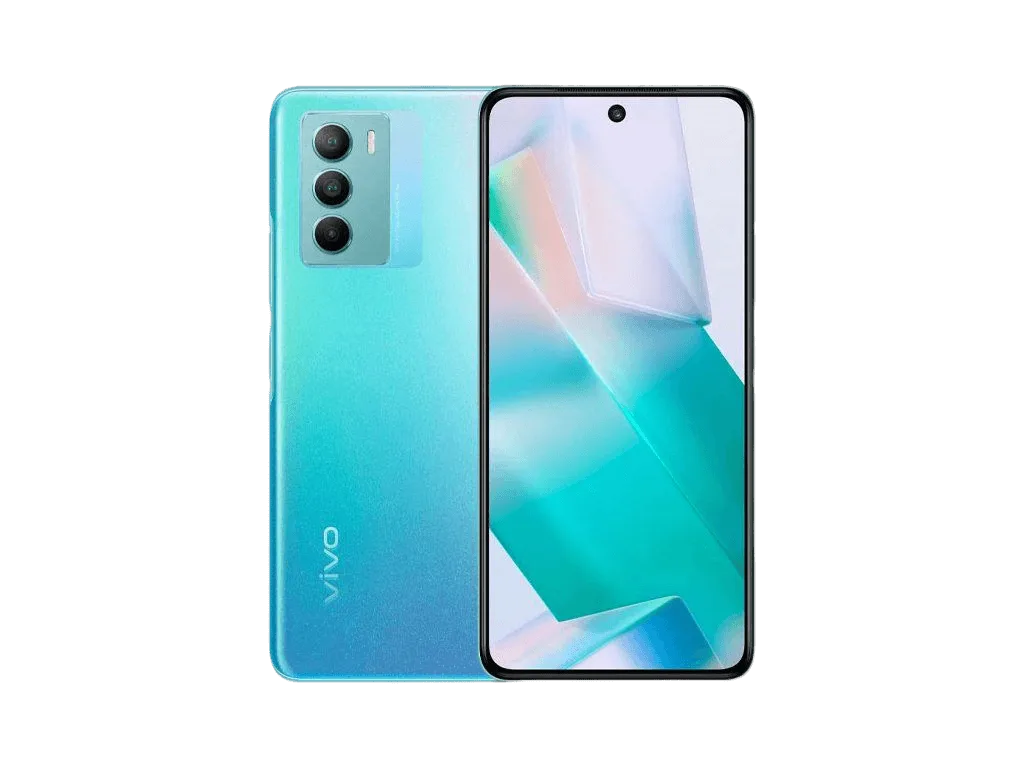
Model: Vivo T1
Announced: 2021, October 20
Defect Phenomenon
The phone looks very new from the cosmetics, it can be seen that the owner should cherish the mobile phone very much. But the screen turned black and cannot be turned on after using it in the rain, so it should be the boot or the display circuit with the problem.
We should disassemble the phone and check the parts and accessories to know the exactly defective reason.
Disassemble the Phone
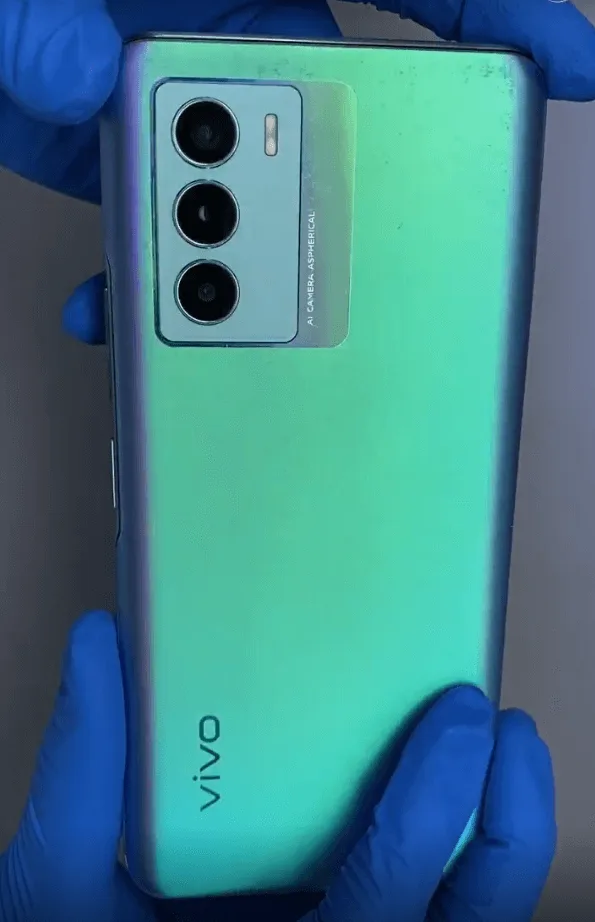
First, let’s disassemble the phone to have a check.
Place the phone on the heating pad, set the heating temperature at around 90℃, and heat for 3 minutes. After that, the glue between the rear housing cover and the middle frame will get soft, then we can separate it easily with the plastic pry opening tool.
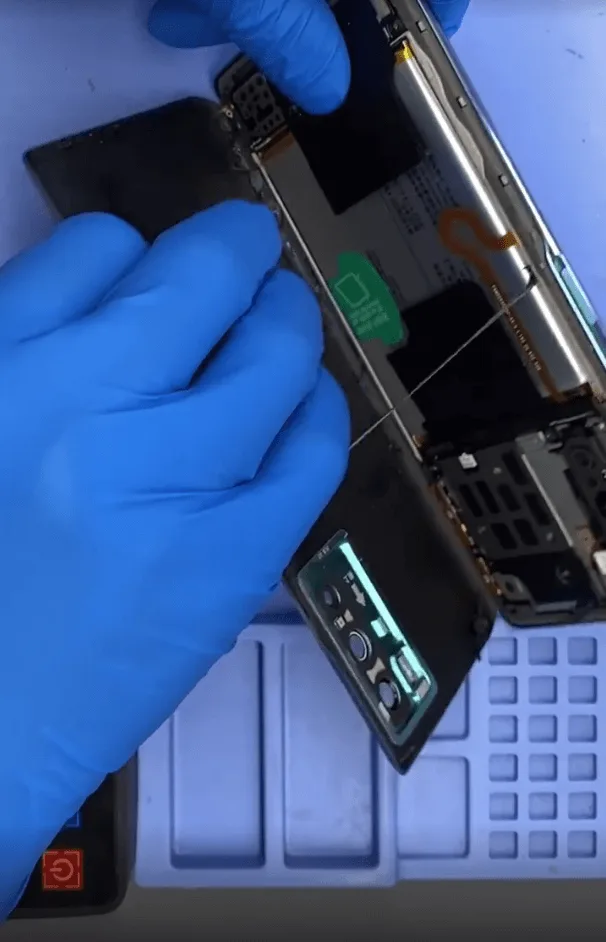
Secondly, let’s remove the screws.
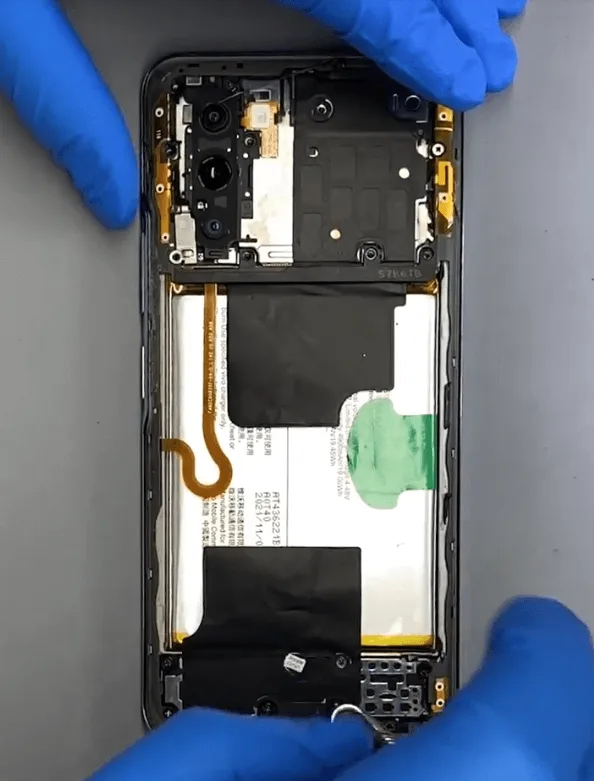
In the 3rd step, let’s separate the middle frame
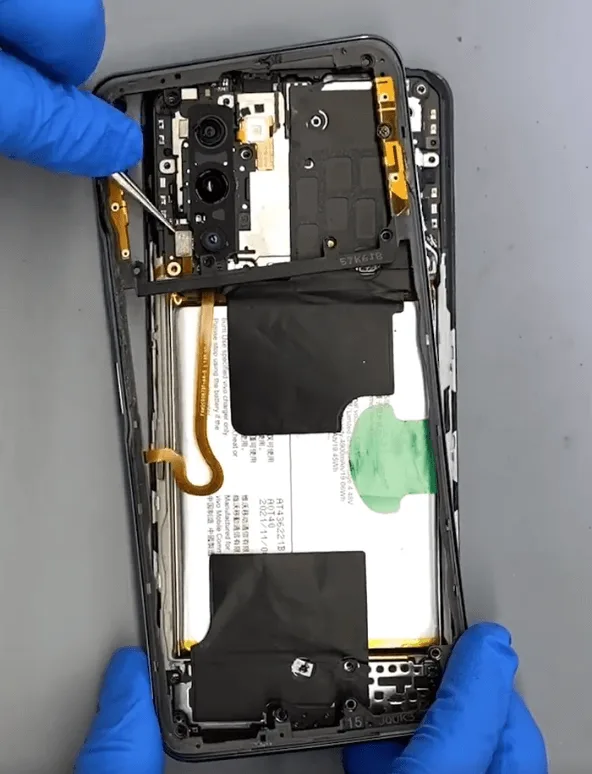
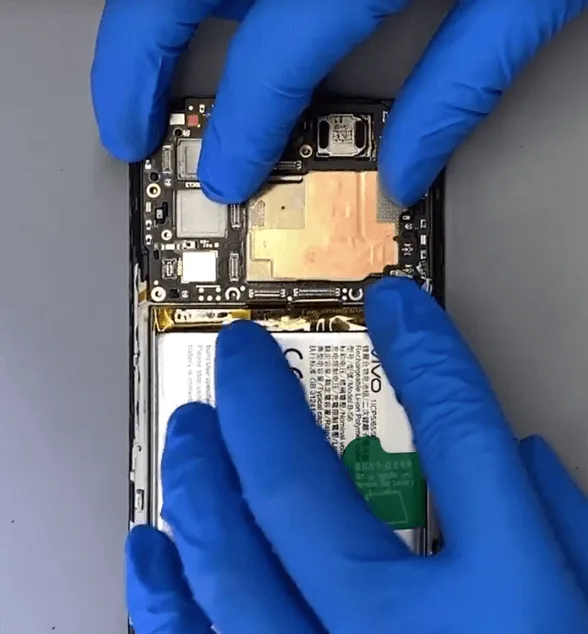
After taking off the baffle, we can see there do have some water-damaged traces.
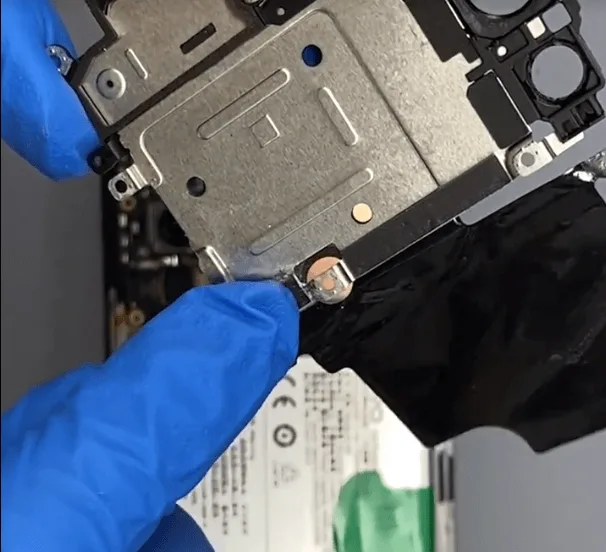
And the corresponding location on the motherboard is the battery connector.
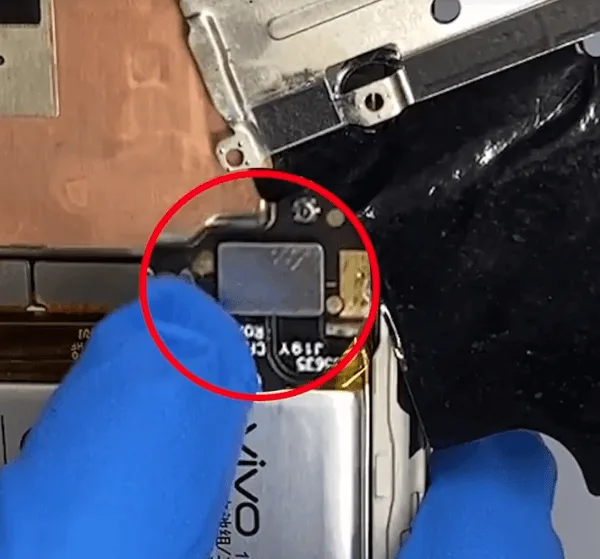
The waterproof mark sticker on the motherboard is also turned red.
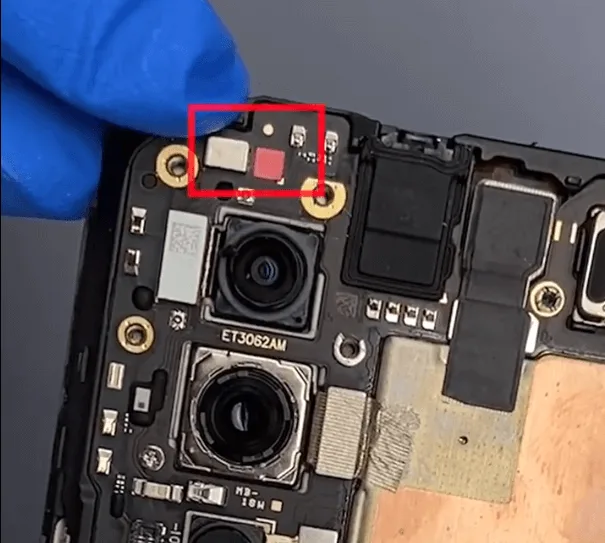
Then, let’s protect the cameras with tape stickers. And take out the motherboard to check carefully, after checking, there are some corrosive defects around the two shielding covers
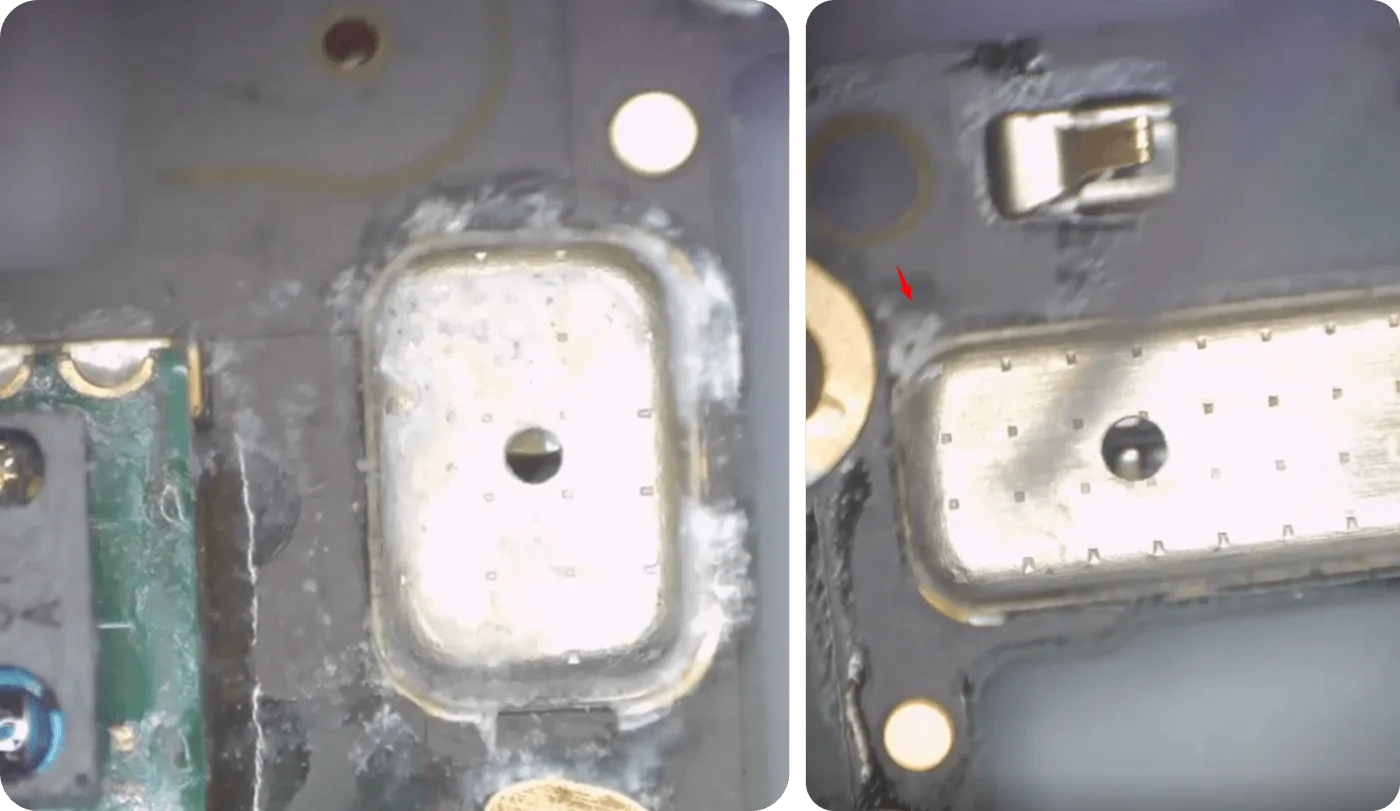
Troubleshooting & Repair
After separating the phone, we found the most obvious defects located on the two shielding covers of the motherboard. Let’s remove the shielding covers to deal with the components and chips inside.
Place the motherboard on the PCB holder
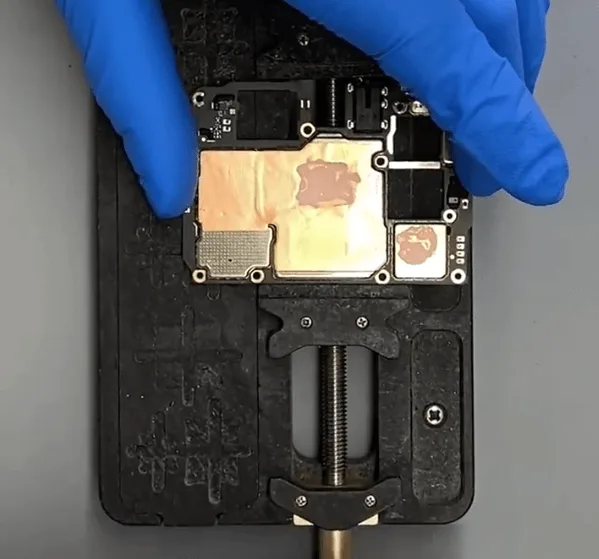
Heat the 1st shielding cover with the hot air gun and take it off with tweezers when the tin is melted
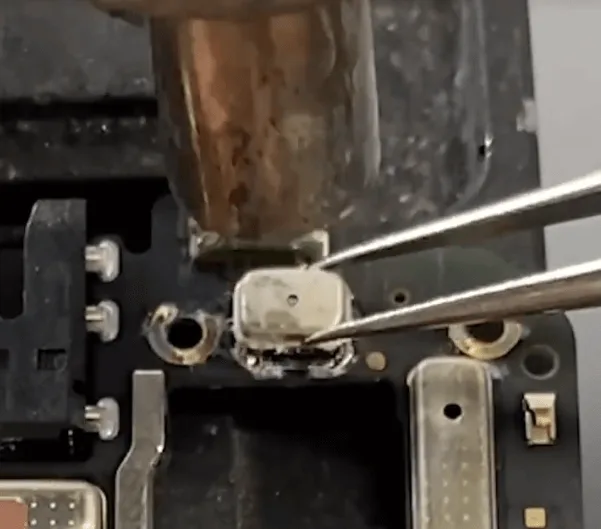
It does have a lot of electrolytes in it, we can clean them with the PCB cleaner first.
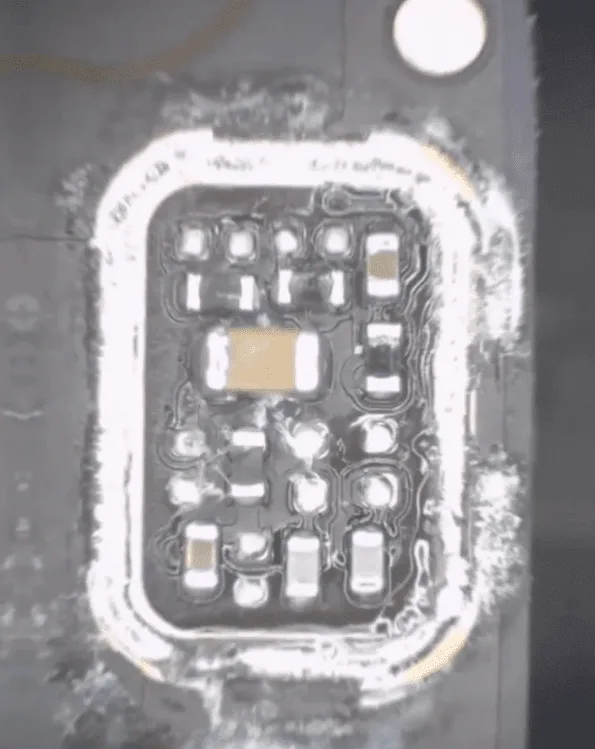
After that, apply a proper amount of solder paste flux, and heat with the hot air gun to reflow the components
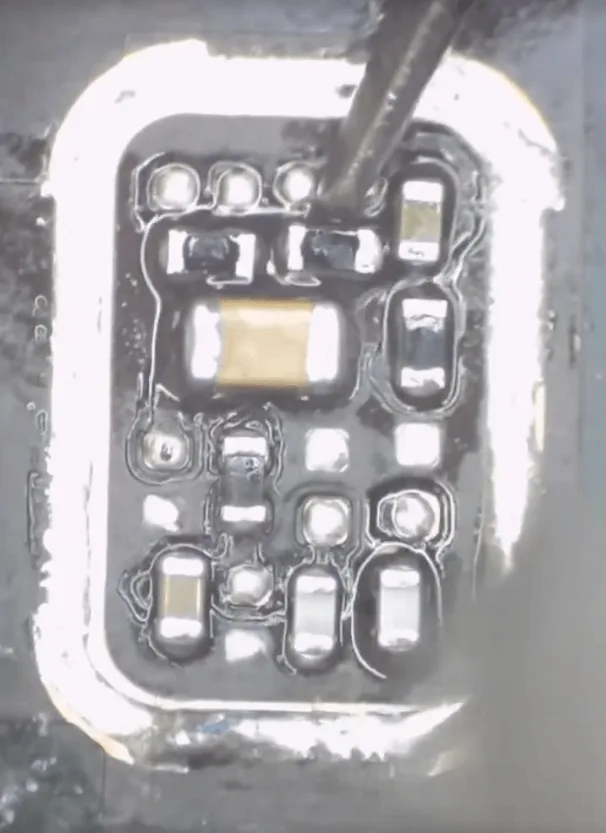
After processing is complete, solder back the shield.
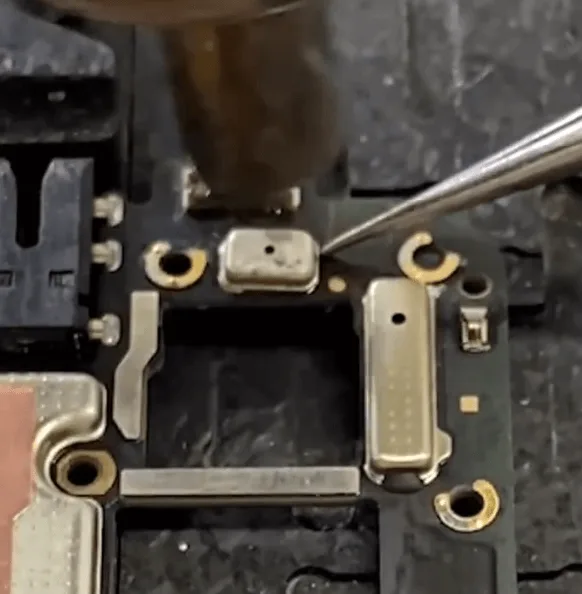
For another shielding cover, we can deal with it with the same process
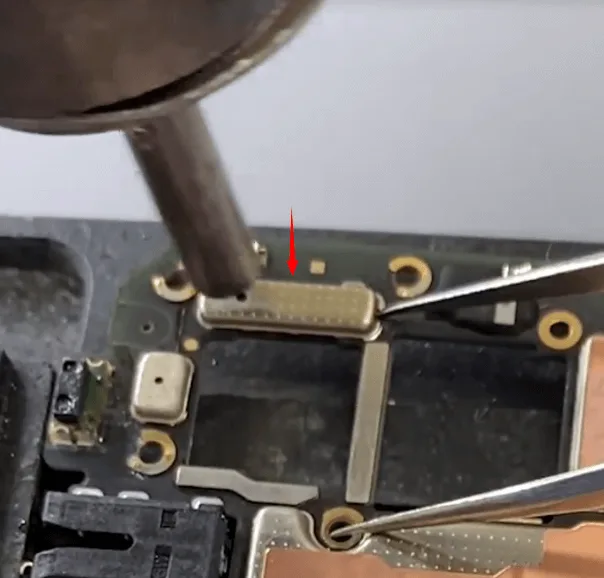
When all the components under the two shielding covers have been reflowed, let’s assemble the phone to have a test.
Plugging the USB charging cable, we can see the charging symbol, but there is no charging current
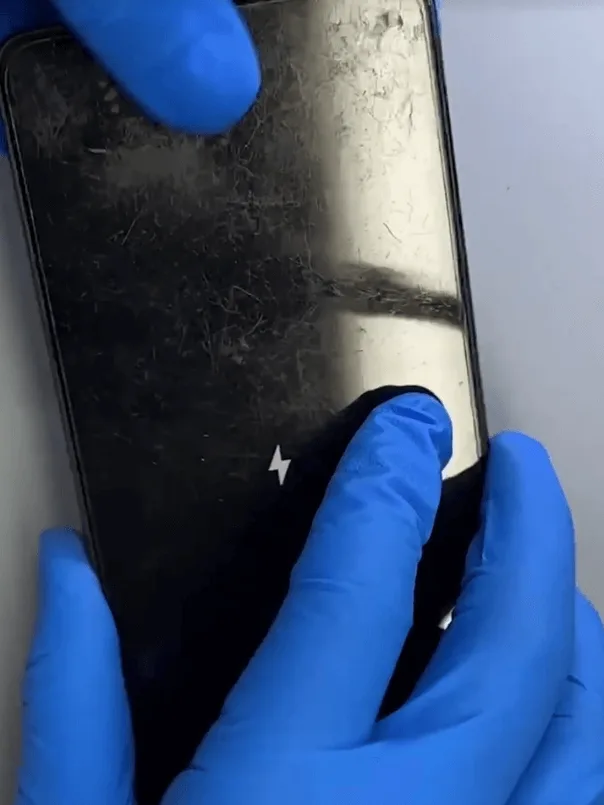
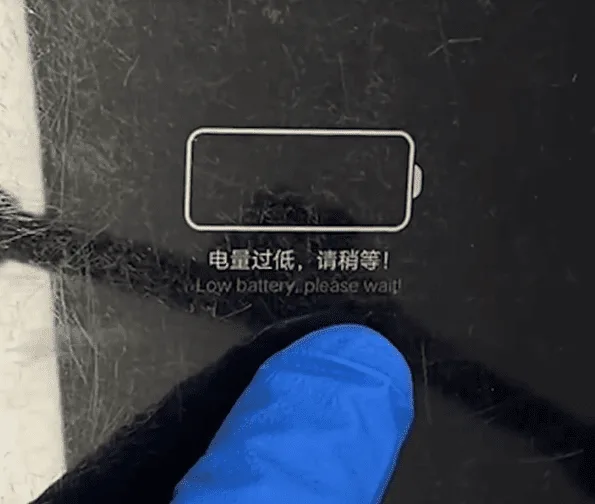
So we should also check the charging-related parts!
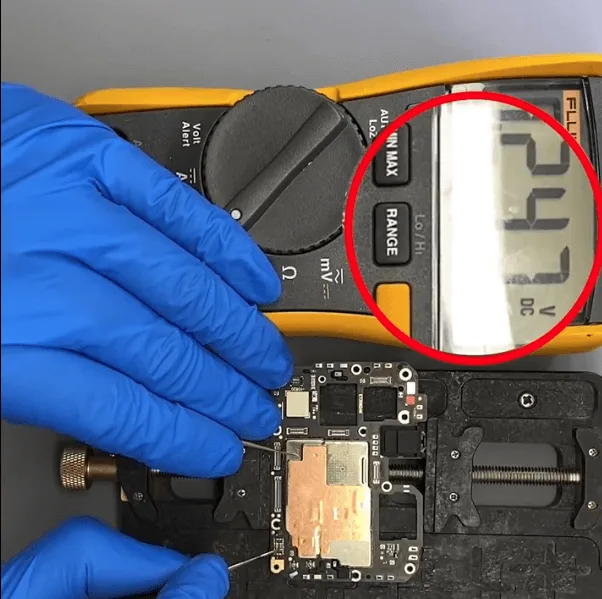
Take out the motherboard again and check the the battery connector with multimeter. After checking, one connector pin is open line, the diode value is OL!
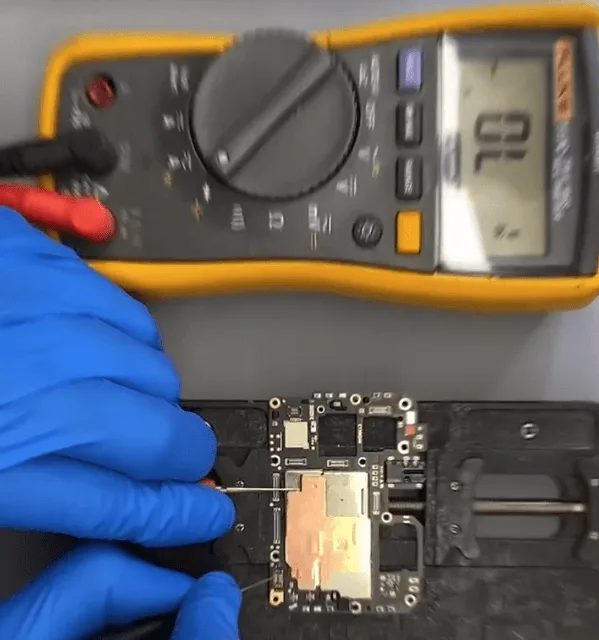
Check under the microscope, some of the battery connector pins are corrosive.
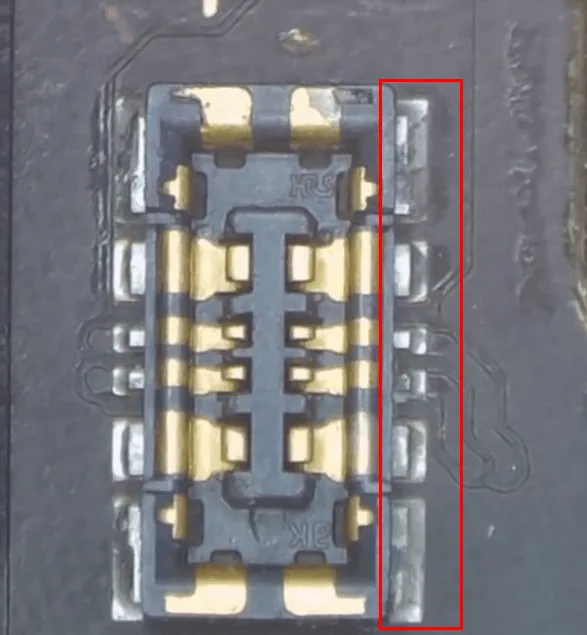
Let’s fix the pins by scratching off the surface corrosion first, then apply a little bit of solder paste to fix the open line rail.
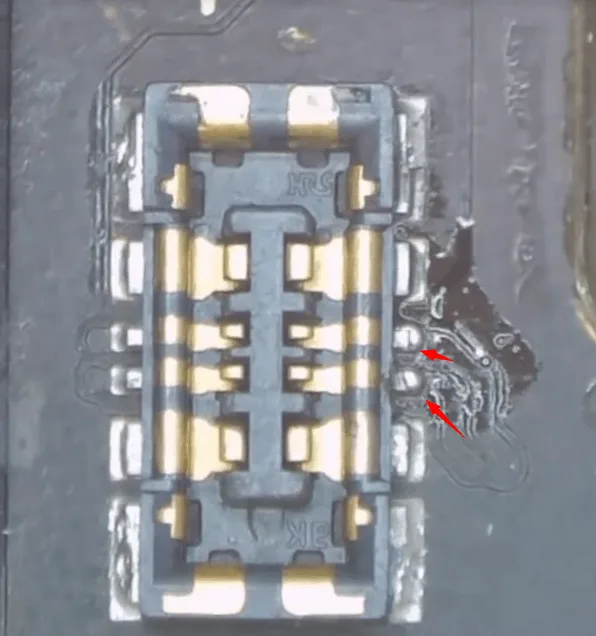
Measure the diode values on the battery connector again, the OL is gone!
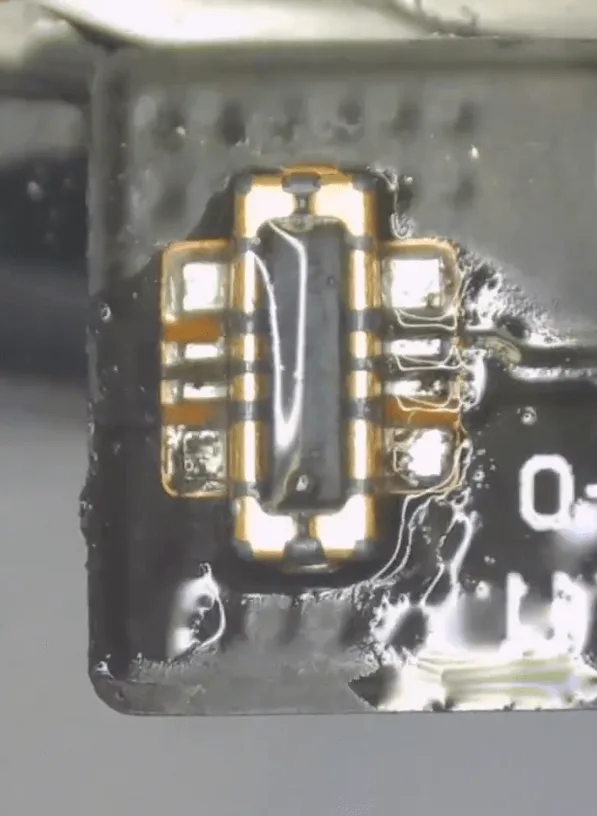
The battery flex connector should also be ‘refreshed’ too. We can apply a little bit of solder paste and scratch with the soldering iron slightly to make the pins shine as new.
Assemble and Test
Clean the motherboard and assemble the phone to test again.
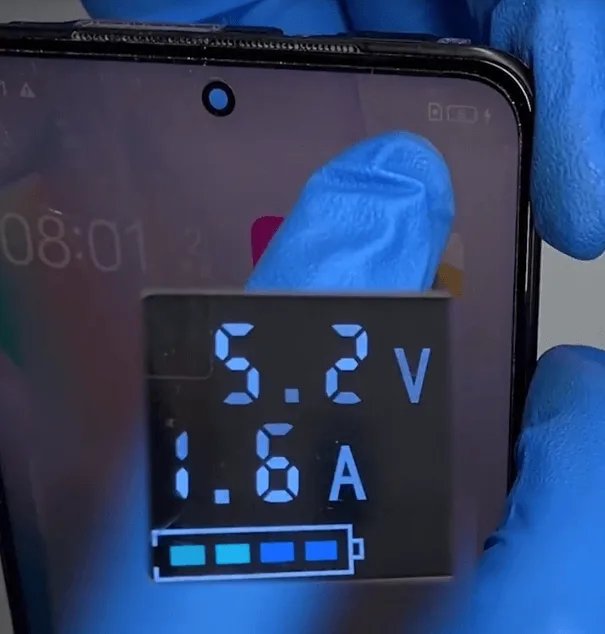
This time, the phone can turn on normally and the charging function is OK. As we can see there’s a 1.6A charging current when connecting with the charging cable.
Test the other functions are also OK.
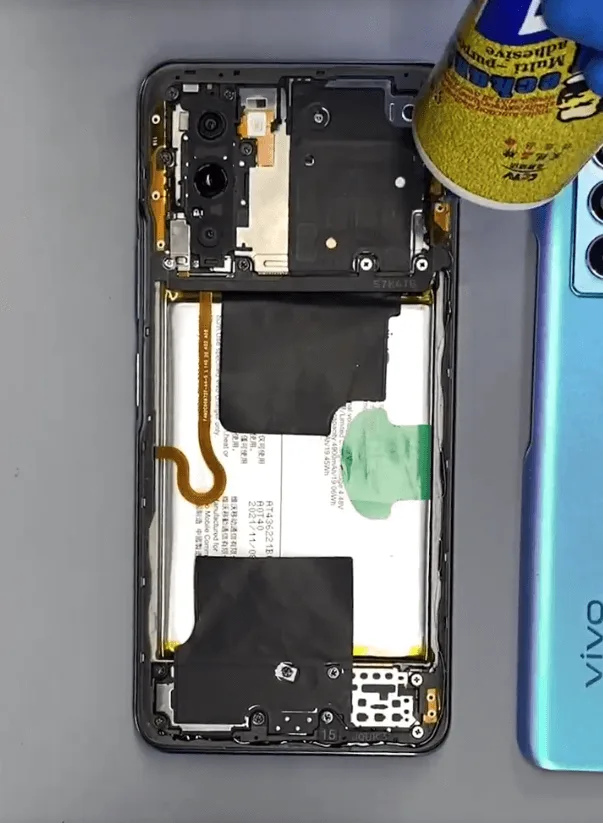
In the last step, assemble the rear cover with special glue, then the phone issue is perfectly repaired.
 English
 Español
 Français
 Deutsch
 Italiano