If an iPhone 12 touch screen not working can be frustrating, especially if it fails after a simple overnight charge. This guide will walk you through troubleshooting and fixing an iPhone 12 touch screen that isn’t responding. We’ll cover each step, from checking for physical damage to identifying and replacing faulty components on the motherboard. Whether you’re a seasoned technician or a DIY repair enthusiast, this guide provides everything you need to restore full touch functionality.
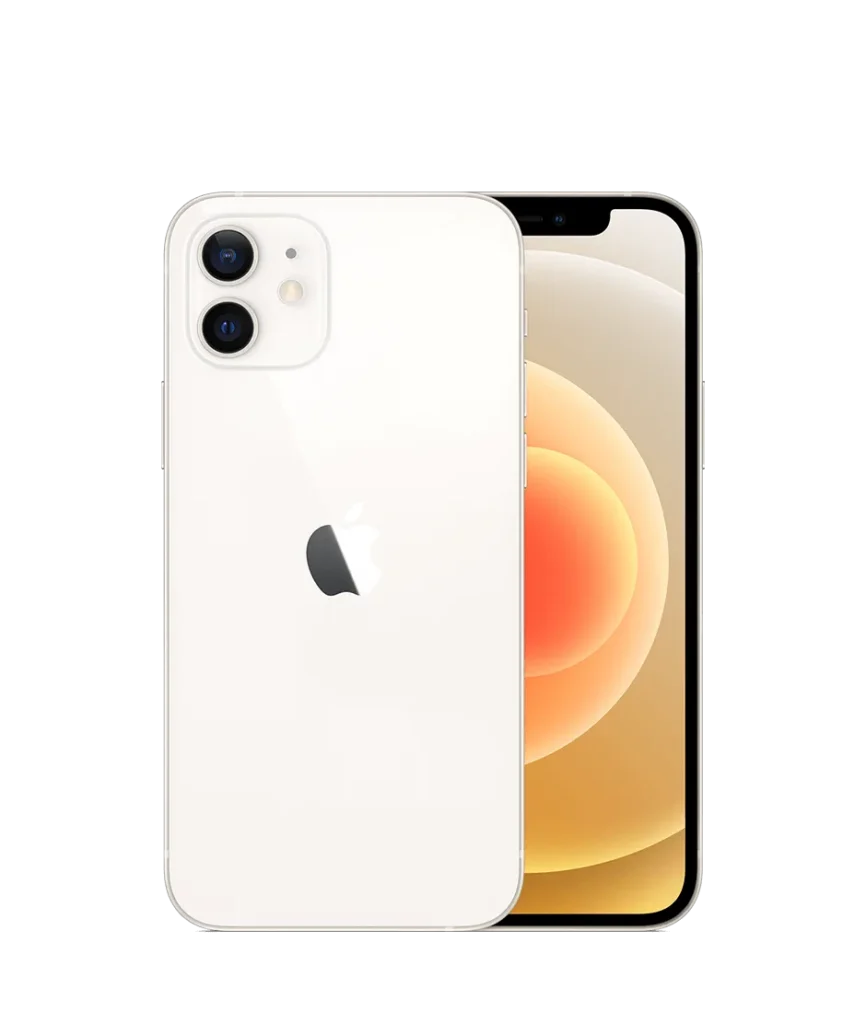
Device Details
Model: iPhone 12
Announced: 2020, October 13
Defect Phenomenon
The iPhone 12 worked fine, but after charging overnight, the touch screen became unresponsive the next morning.
Troubleshooting
Physical Inspection
Examine the exterior of the phone. It looks new and shows no signs of impact, the issue is likely internal.
Disassembly and Interior Check
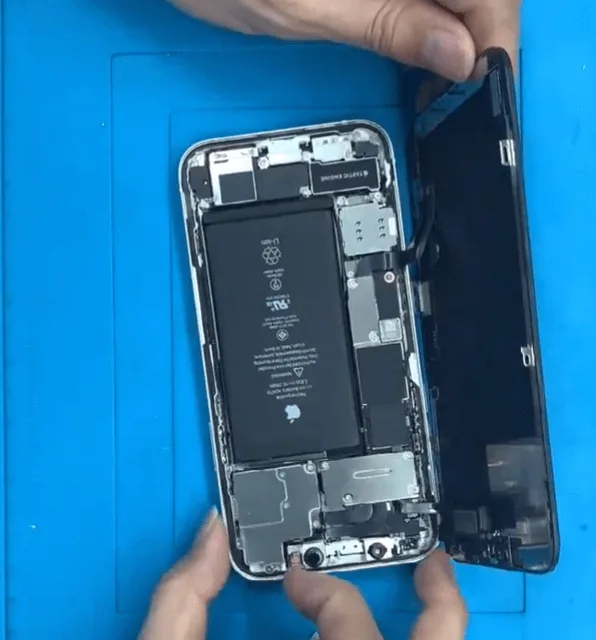
Disassemble the phone to inspect the internal components. Everything appears clean with no visible water or physical damage, it’s time to check for possible component malfunctions.
Screen Replacement Test
Replace the screen to rule out a faulty display. If the touch function remains unresponsive, the issue likely stems from the motherboard.
Diode Value Check on Touch Connector
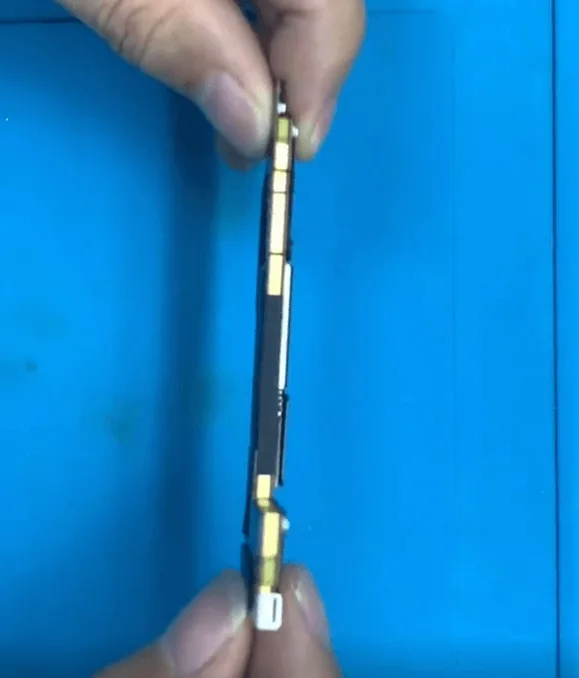
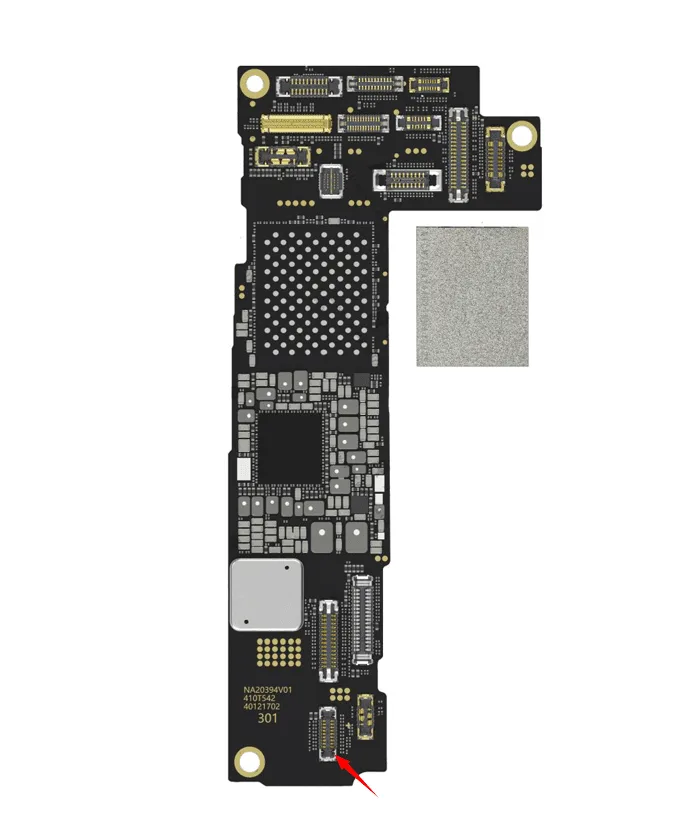
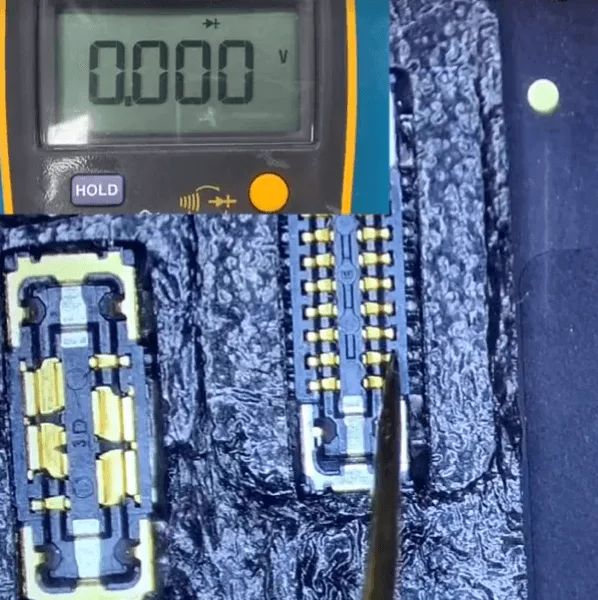
Remove the motherboard and place it under a microscope. Measure the diode values at each pin on the touch connector. If you find an abnormal reading (like 0 instead of the expected 300-400), there’s likely a grounded connection causing the issue.
Repair Process:
Focus on Pin 3 (PP5V1_TOUCH_VDDH)
Pin Information:
- Pin Number: 3
- Signal Name: PP5V1_TOUCH_VDDH (Power supply for touch)
- Relevant Components: C8901, C8903, C8902, C11693, XR1696, U8910
Note: The focus will be on the highlighted components around this pin.
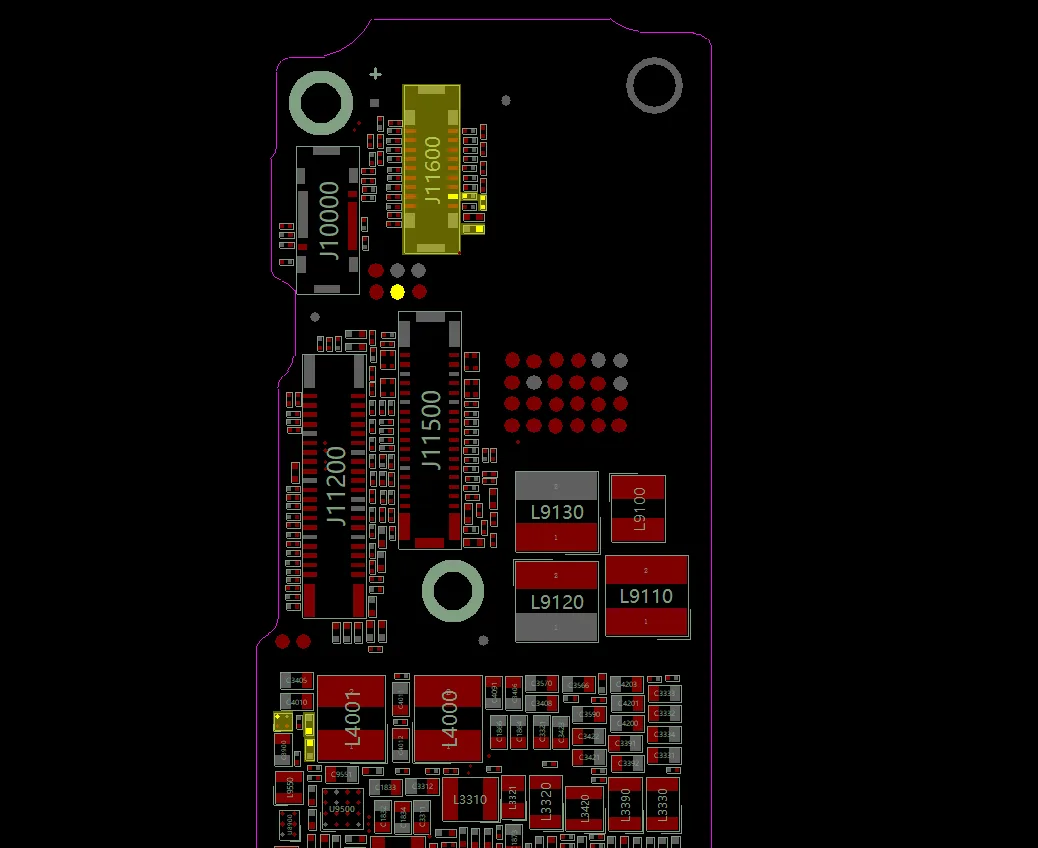
Remove Sealed Glue and Foam
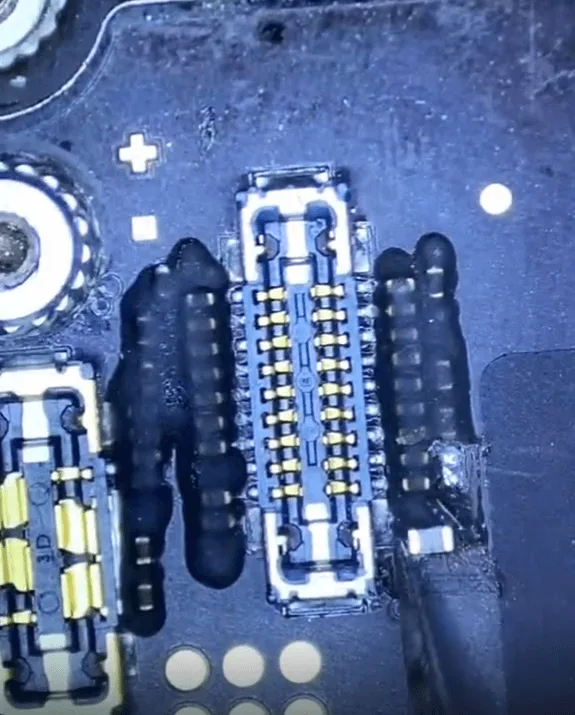
Carefully remove the waterproof foam from the touch connector area. Scratch off the black sealed glue around the small components near Pin 3.
Check for Loose Components
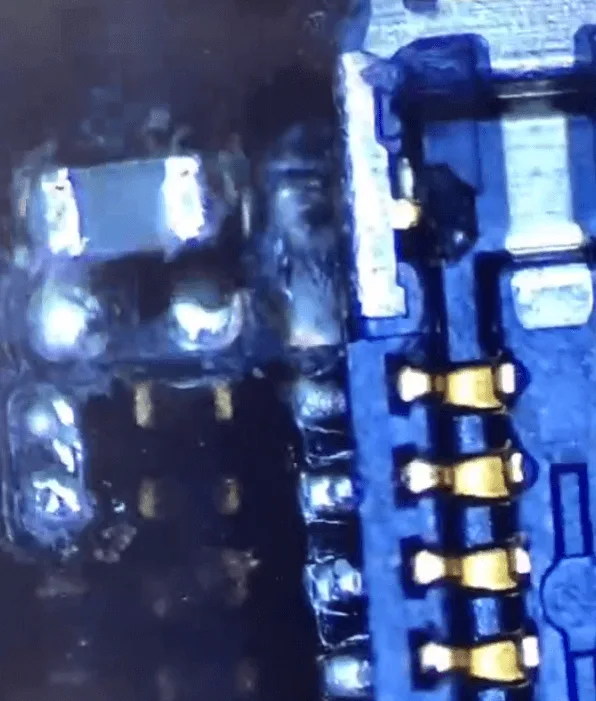
You may notice a loose filter-type capacitor, which could cause grounding issues. Remove the capacitor and re-measure the diode value. If it’s still grounded, proceed with further inspection.
Inspect Components Under Shielding
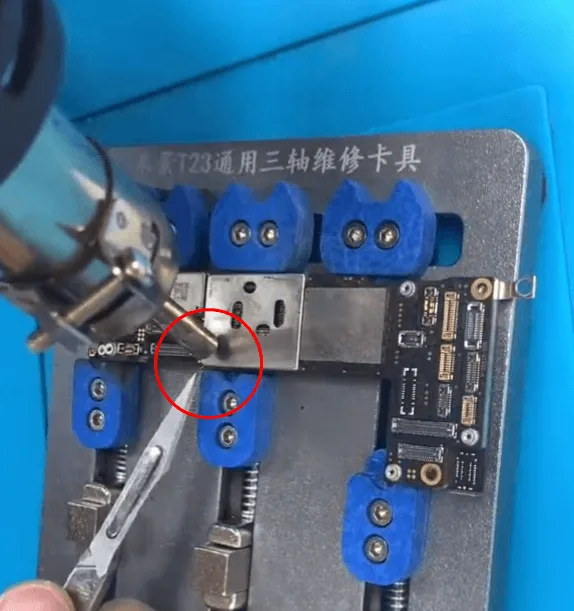
Use a hot air gun to remove the shielding cover on the motherboard. This will allow you to inspect the hidden components.
Rosin Inspection Technique
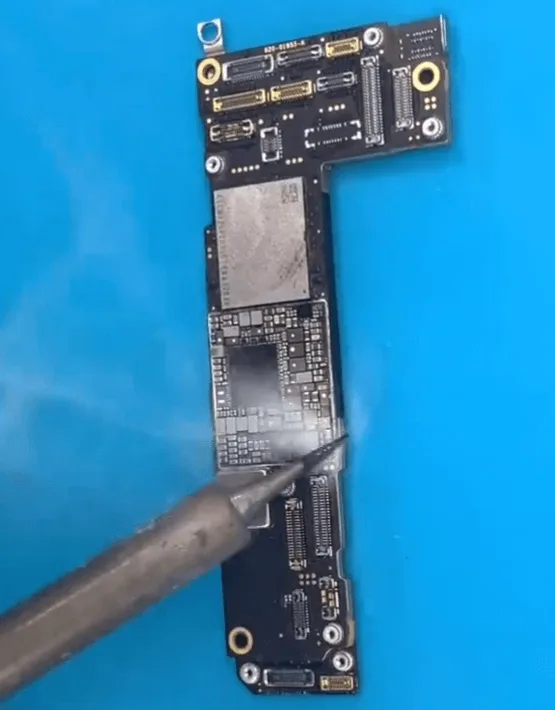
Apply rosin smoke over the small components and apply 1.8V from the DC power supply to the relevant rail. Watch for any changes in the rosin to help identify the shorted component.
Identify and Remove the Faulty Capacitor
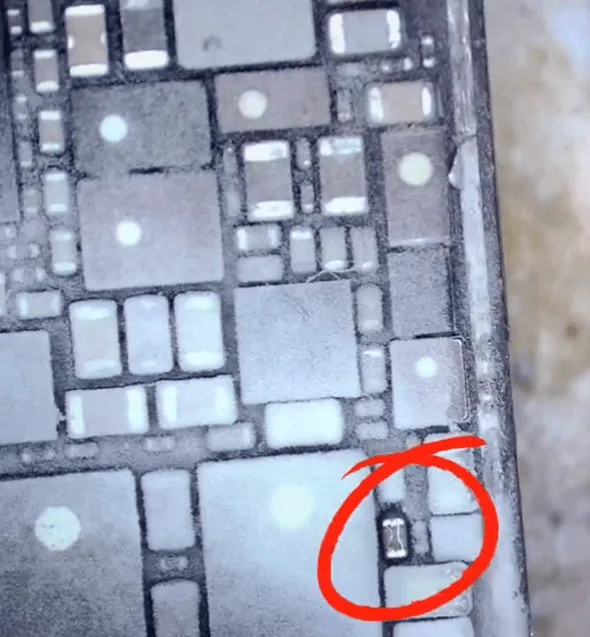
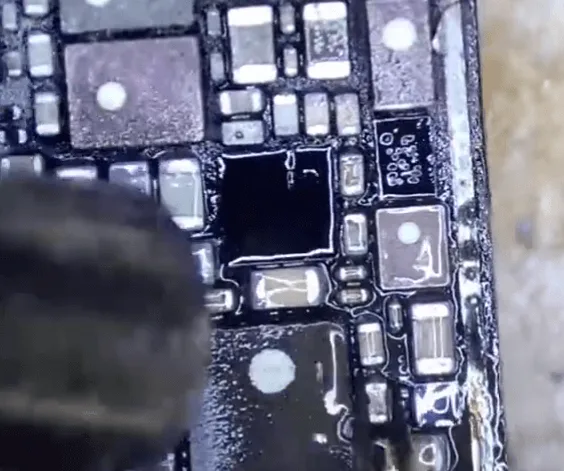
Once identified, use a hot air gun to remove the shorted capacitor. Allow the board to cool and clean the area with PCB cleaner.
Testing and Assembly
Verify Diode Value
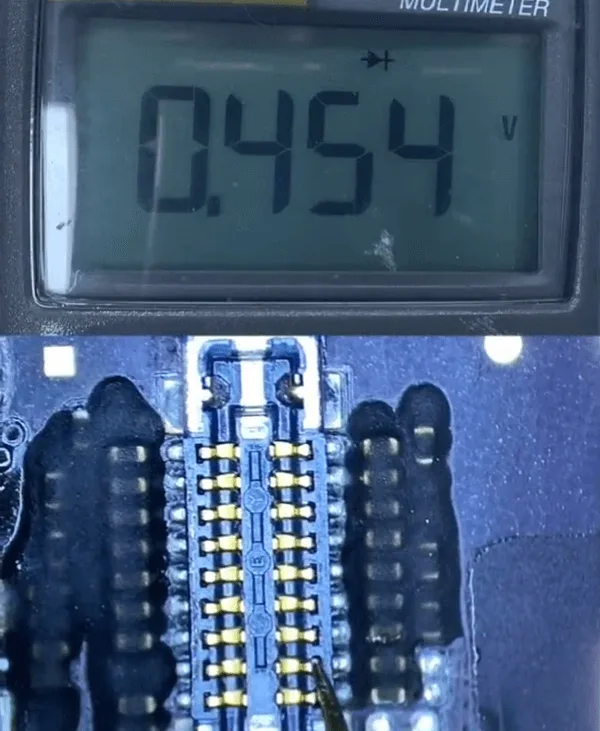
Measure the diode value on the touch connector. If it now reads in the expected range, the repair is likely successful.
Reassemble and Test the Device
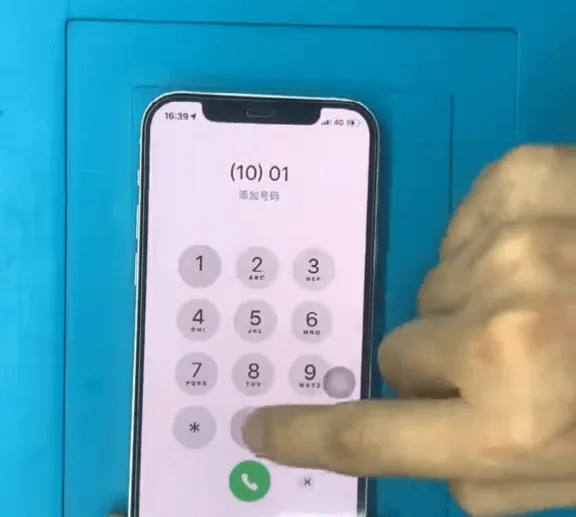
Reassemble the phone and perform a final test. Ensure the touch function works and that other functionalities are unaffected.
Conclusion
By following this guide, you’ve resolved an iPhone 12 touch screen not working issue caused by a shorted capacitor. This step-by-step repair ensures the device functions smoothly, and you’ve extended its usability. With a little patience and precision, you can tackle even intricate motherboard repairs effectively.
Tools & Parts List
- Microscope
- Replacement screen (for testing)
- DC power supply machine
- Rosin and rosin smoke application tool
- Hot air gun
- PCB cleaner
- Soldering tools (for resoldering or removing components)
 English
 Español
 Français
 Deutsch
 Italiano