Tag: samsung s10

  • Samsung S10 Data Recovery from Cracked Board

    Samsung S10 Data Recovery from Cracked Board

    Today we will take SAMSUNG S10 to show how to recover data by board swap.

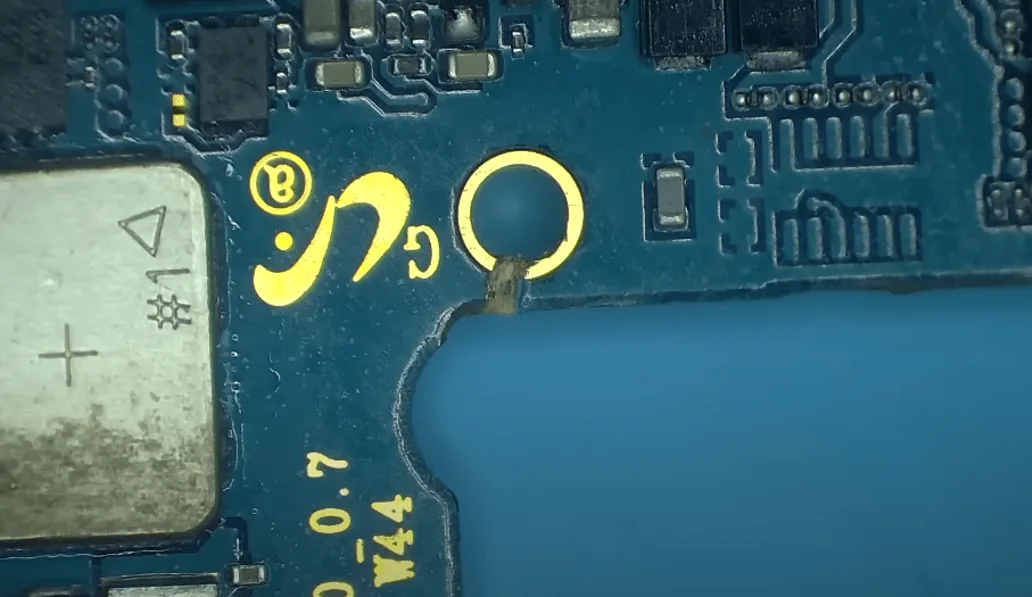
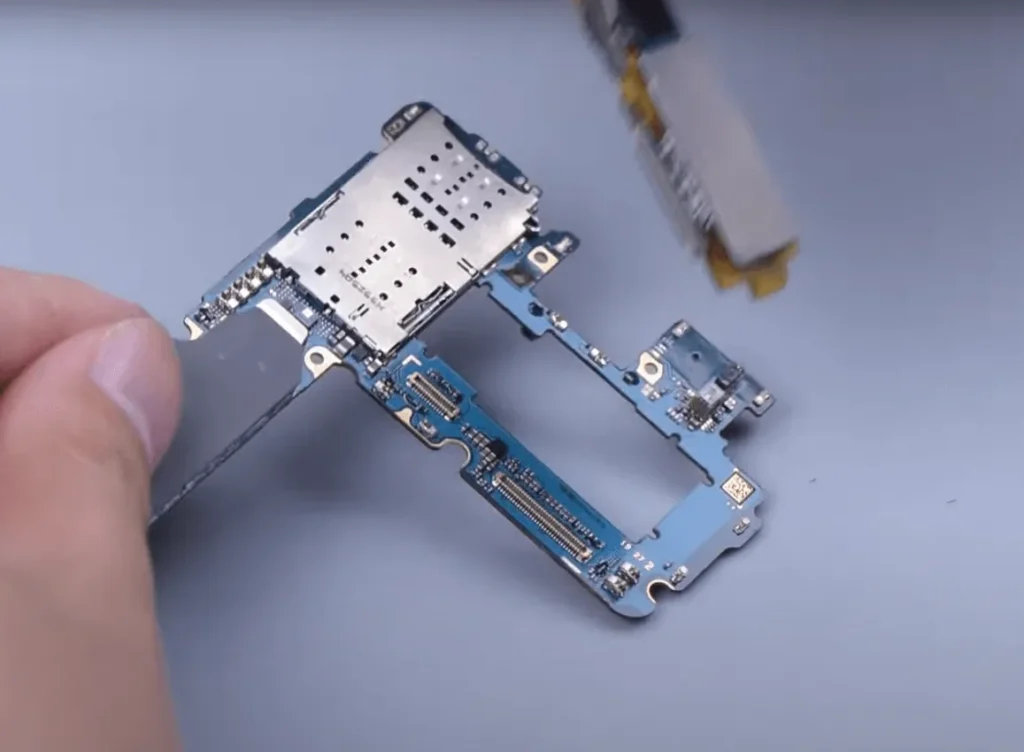
    First, we can see that the motherboard is seriously deformed with obvious crack.
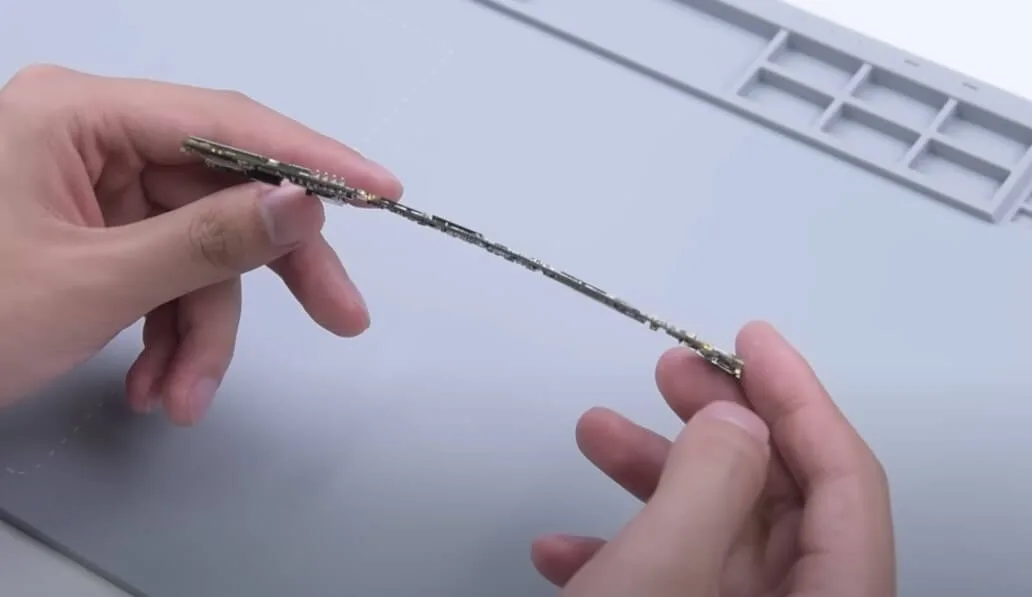
    samsung s10 data recovery cracked board motherboard is seriously
    samsung s10 data recovery cracked board galaxy with obvious crack

    One thing to mention here is that, compare to iPhone which bound to NAND, CPU, Baseband, EEPROM, Wi-Fi, etc..
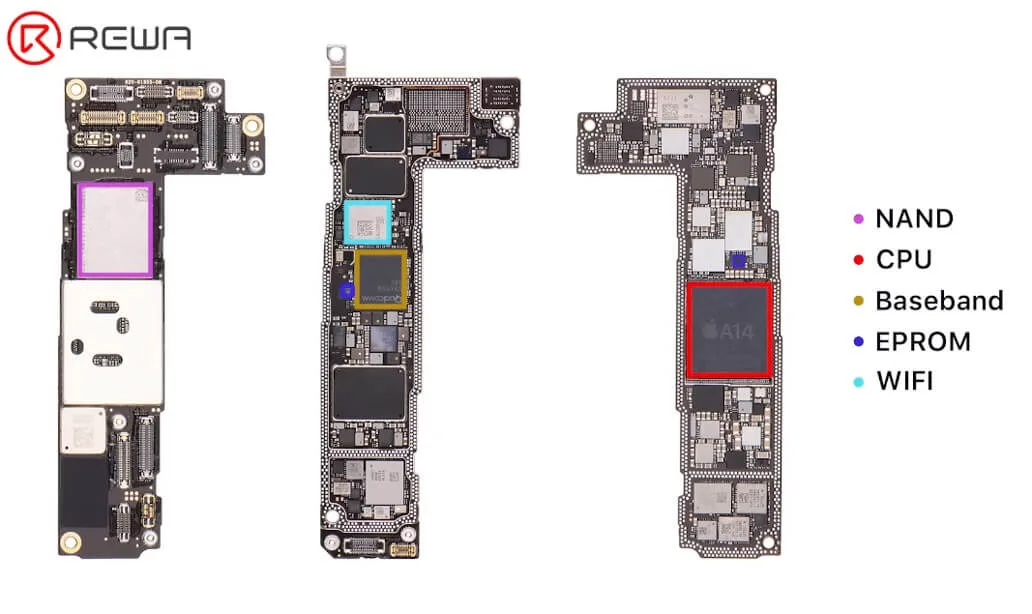
    samsung s10 data recovery cracked board rewa training cell phone repair

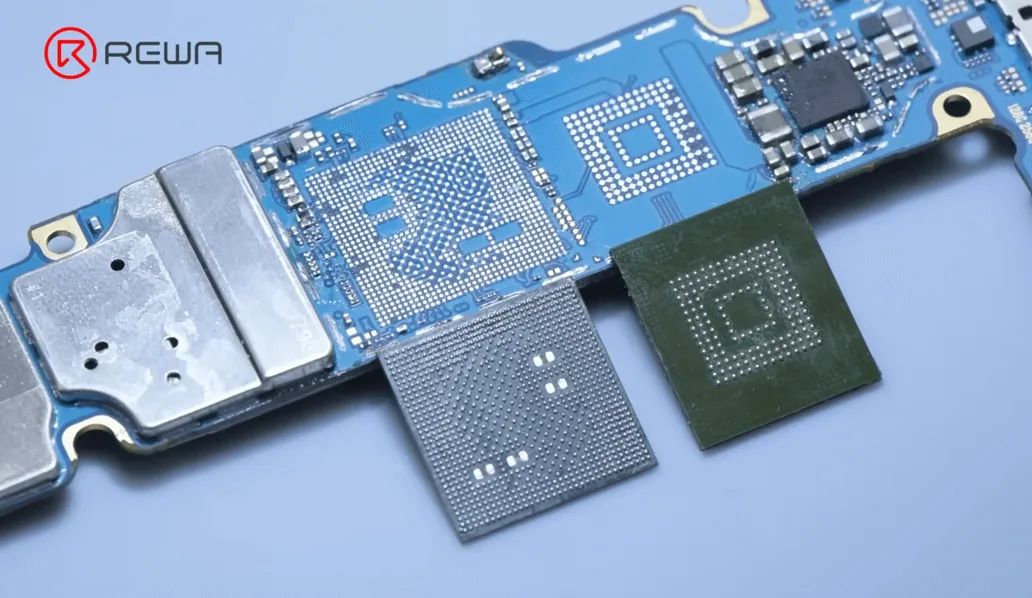
    For the Samsung S10 Data Recovery, it only needs to move the CPU and flash memory.
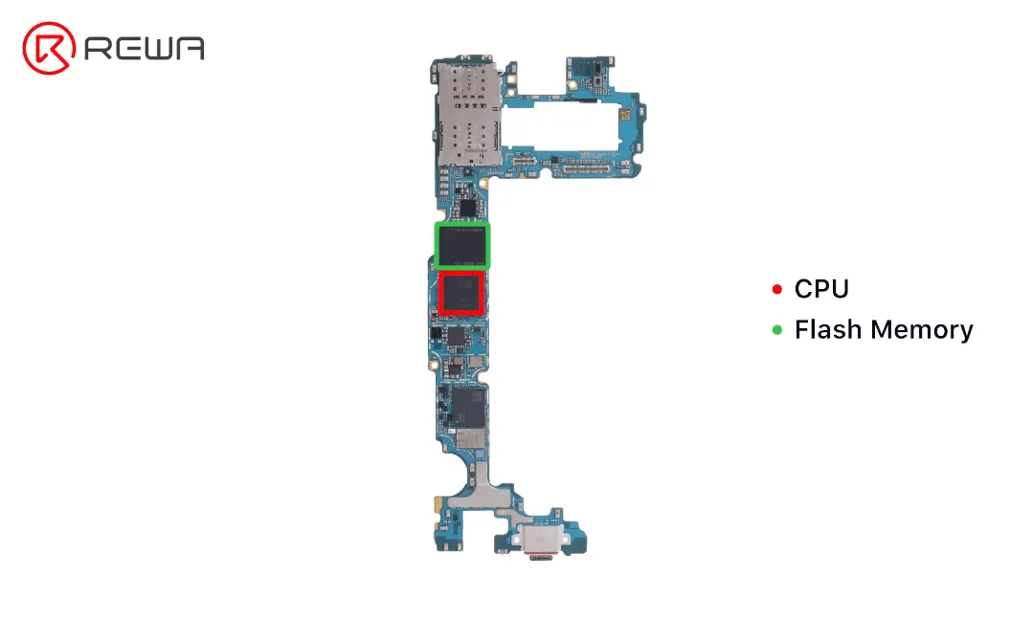
    samsung s10 data recovery cracked board cpu and flash memory

    Let’s start the operation.

    Turn the hot air gun to 420℃, airflow 80 to desolder RAM.

    Heating around the RAM. Be careful to move the hot air gun to disperse the temperature, do not point directly to the RAM.
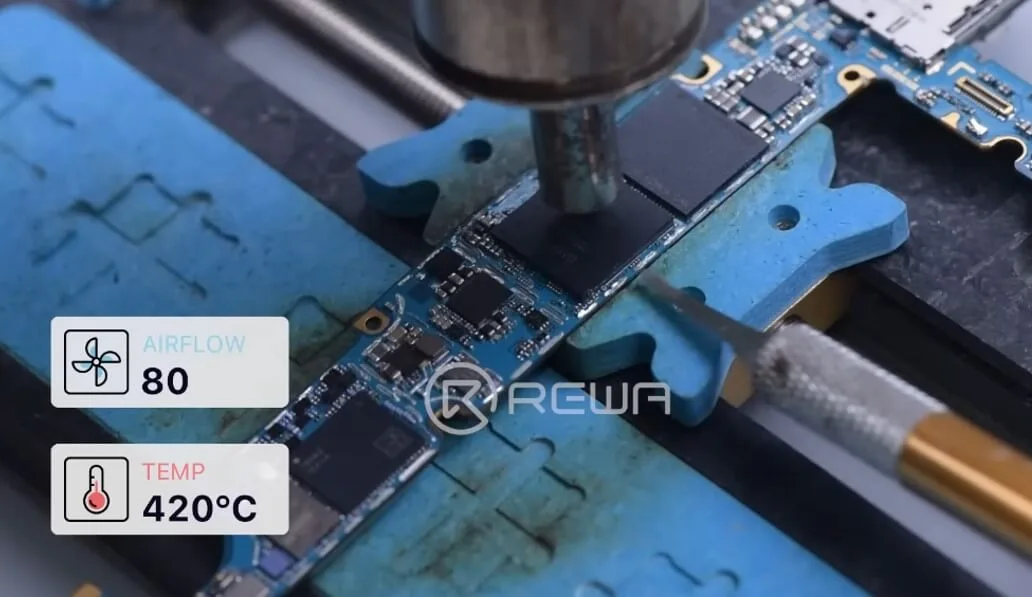
    samsung s10 data recovery cracked board heating around the ram

    Continue to use the hot air gun at 420℃, airflow 80, use the residual heat to remove the CPU faster.
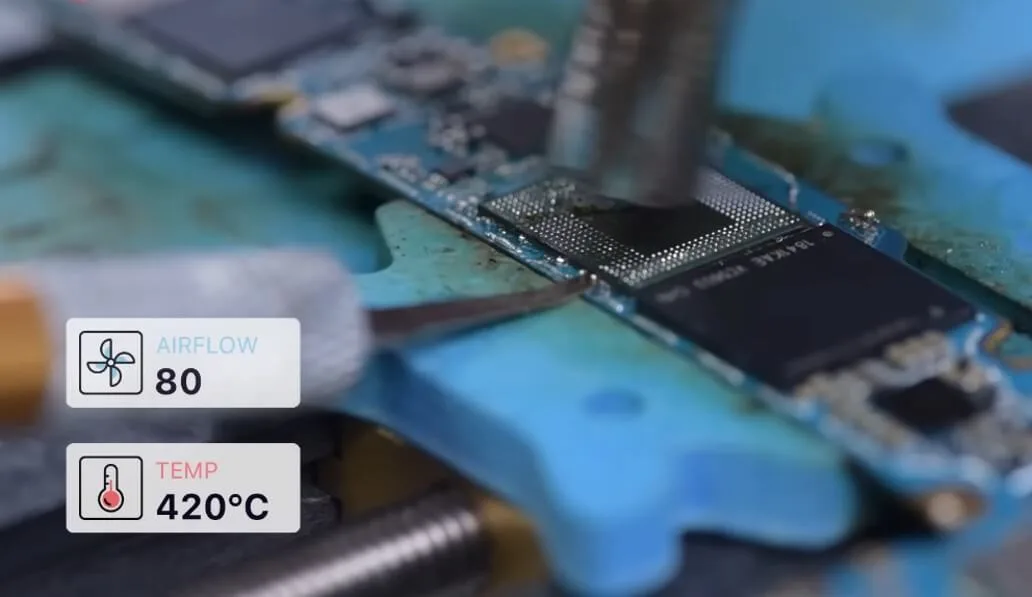
    samsung s10 data recovery cracked board remove the cpu faster

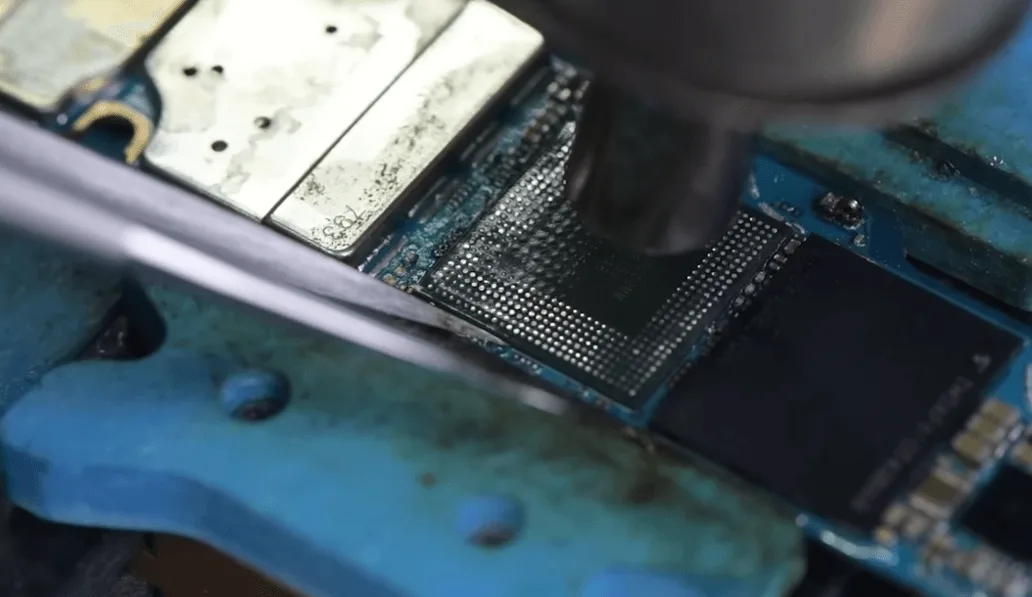
    Next, let’s desolder the flash memory.

    Hot air gun temperature is still 420℃, airflow 80. Gently penetrate the blade while heating.

    Do not stab in all at once, or turn the inserted blade. Instead, use a gentle push-up to remove it.
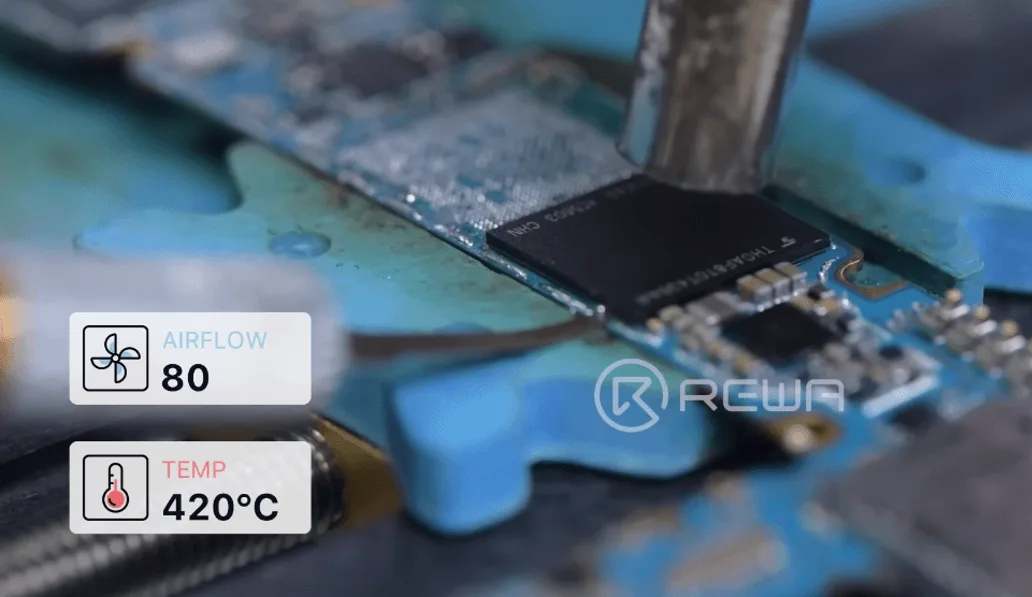
    samsung s10 data recovery cracked board desolder the flash memory

    After taking off the flash memory chip, we will need to reball it.

    Add some flux paste and medium-temperature solder to the bonding pad. Set soldering iron 380℃ to heat and remove the solder and glue on the bonding pad.
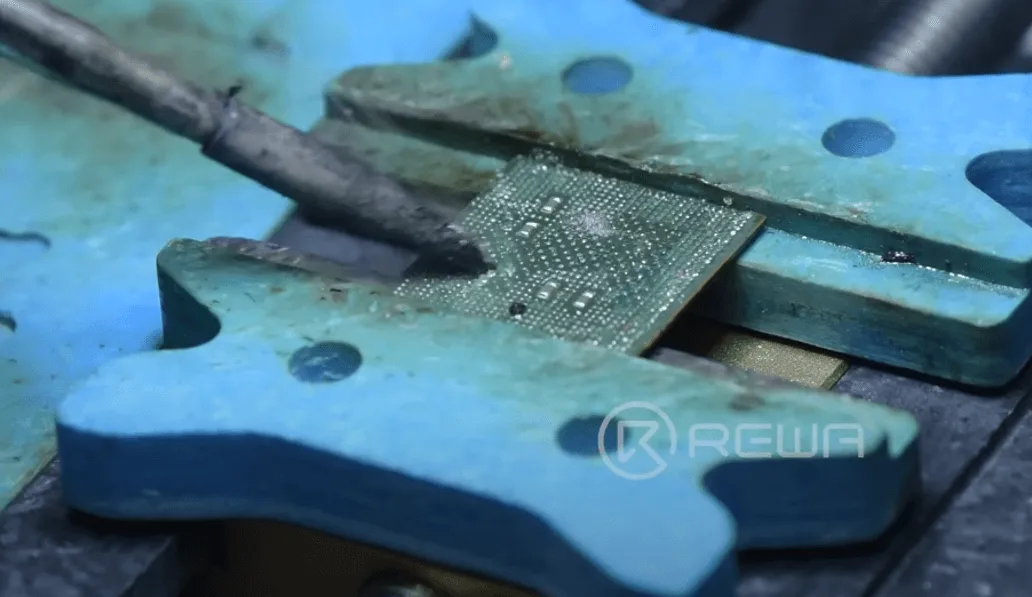
    samsung s10 data recovery cracked board solder and glue on the bonding

    Use the solder wick to clean the residual tin on the bonding pads. 
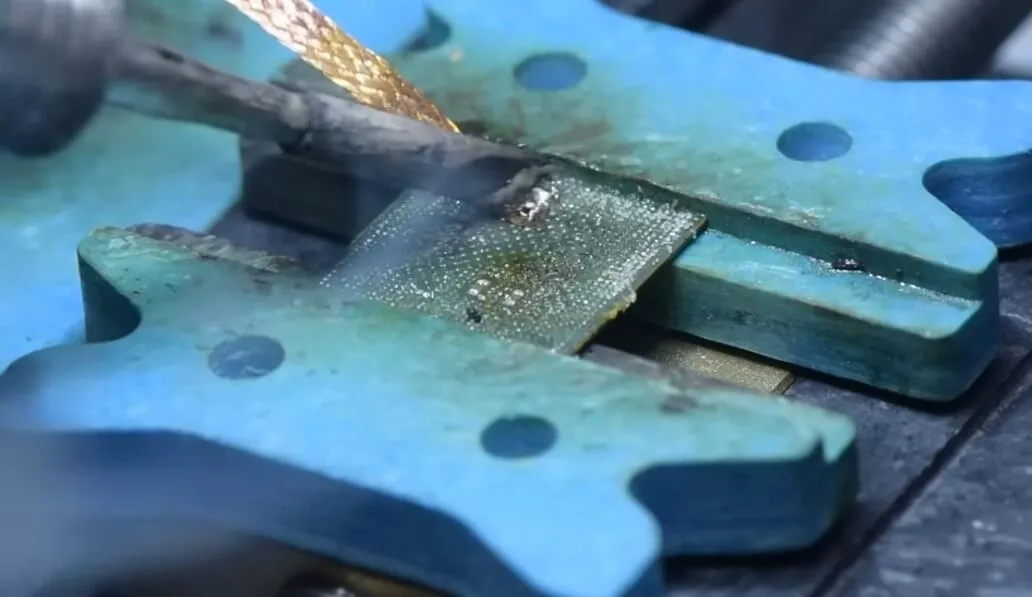
    samsung s10 data recovery cracked board solder wick to clean the

    And then clean it with PCB cleaner.

    Turn hot air gun to 300℃, airflow 60 to clean up the glue.
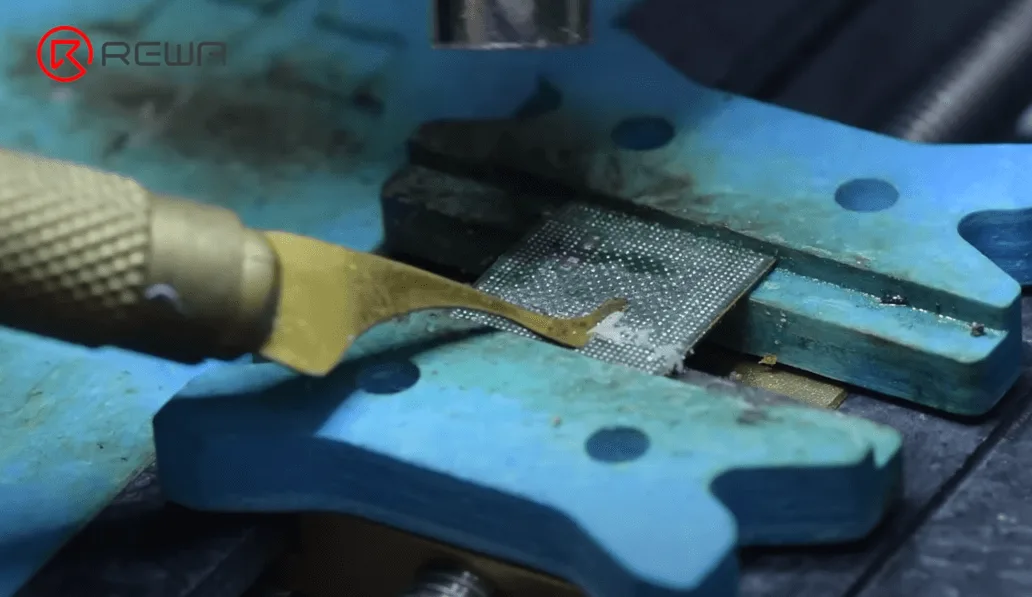
    samsung s10 data recovery cracked board remove the glue on ram

    Use the same way to clean the back of the CPU bonding pads.

    After completing the above steps, we need to clean the flash memory and the RAM.

    After cleaning, reball the CPU.

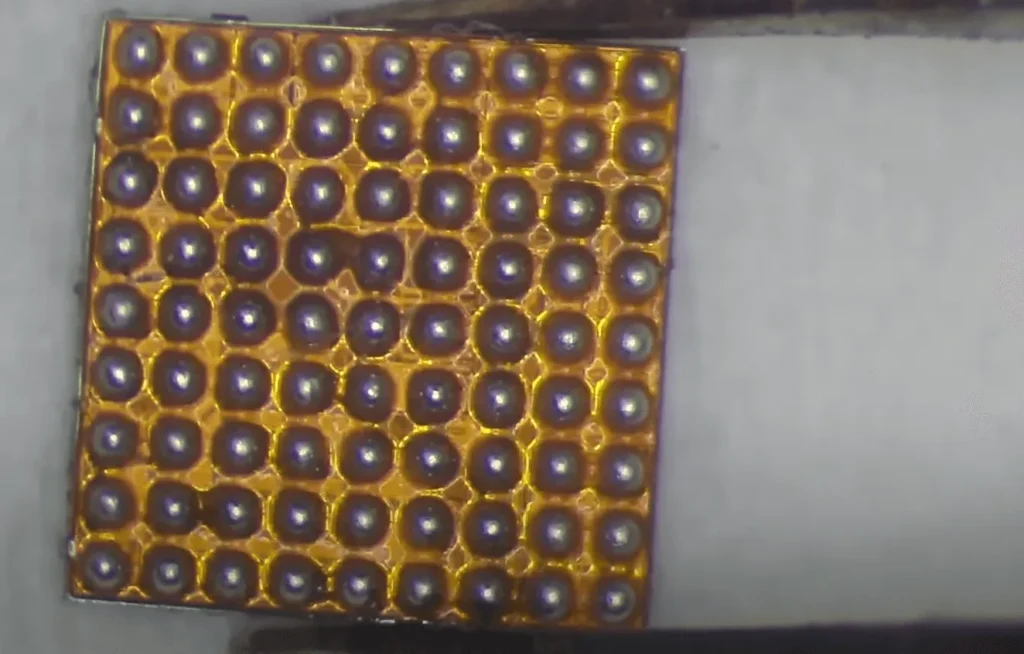
    Apply a layer of medium-temperature solder paste to the CPU. Hot air gun 320℃, airflow 60 to form the solder balls.
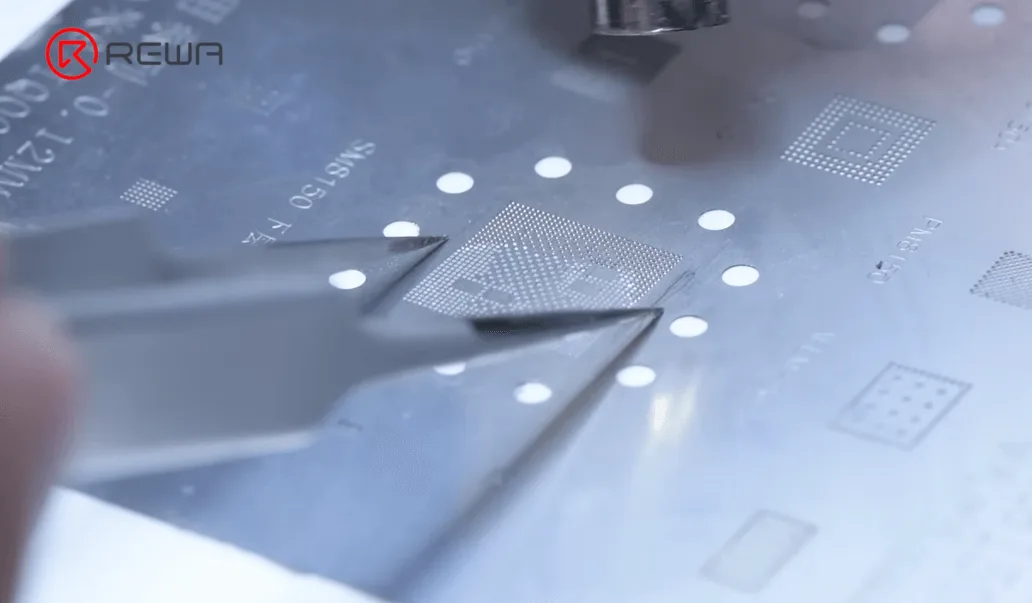
    samsung s10 data recovery cracked board reball the cpu chip

    Continue heating with hot air gun to reset it.
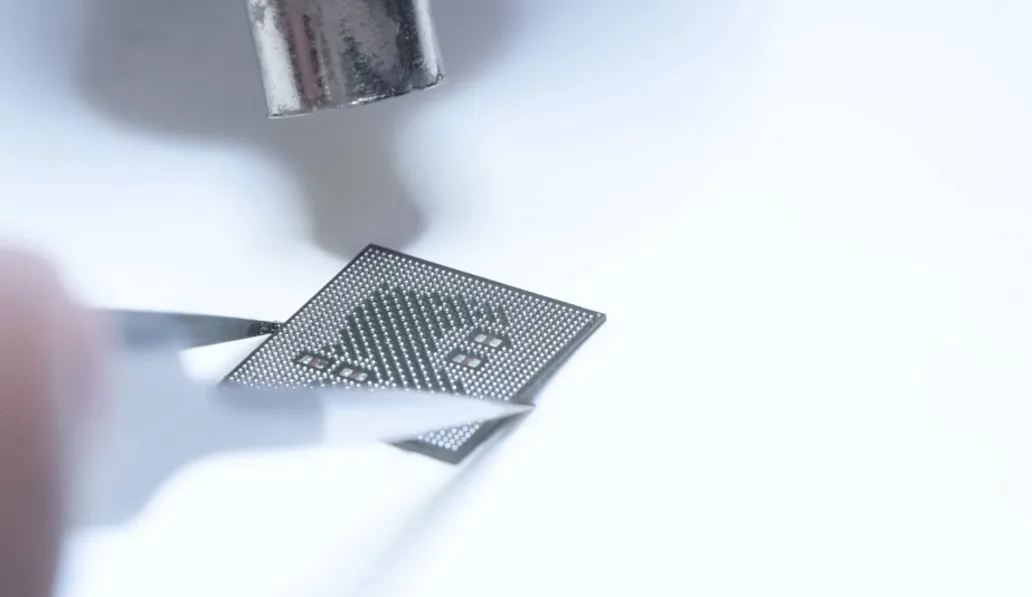
    samsung s10 data recovery cracked board form the tin balls again

    Solder the RAM and flash memory in the same way.

    Next, let’s swap the CPU and UFS chip to a functional motherboard.

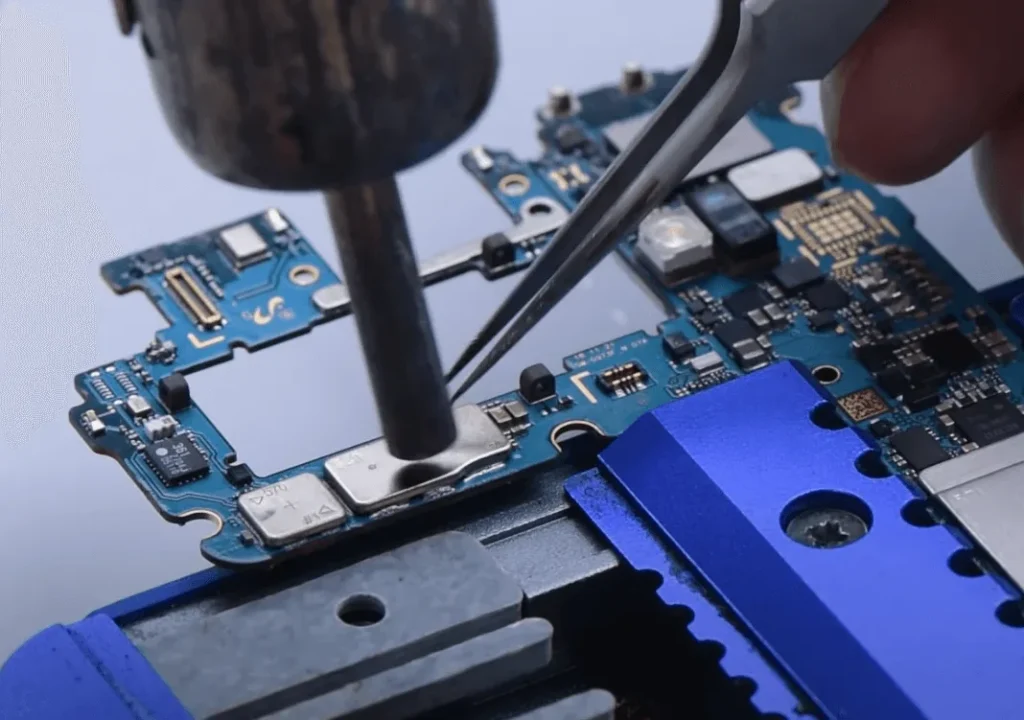
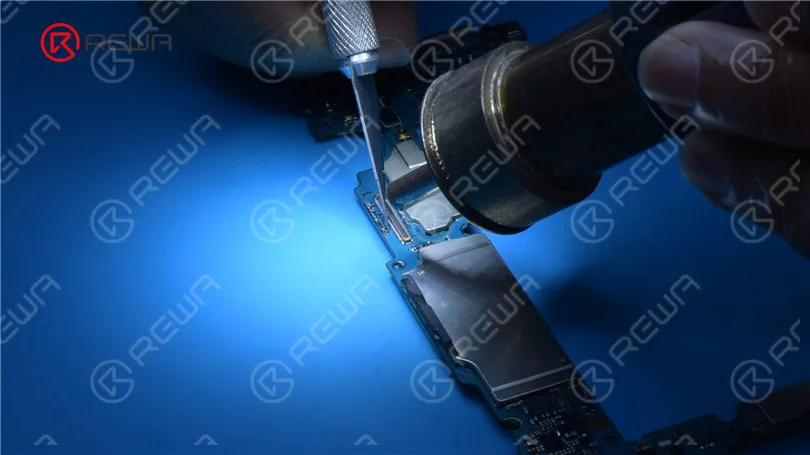
    First thing is to remove the shield, with hot air gun 420℃, airflow 40.
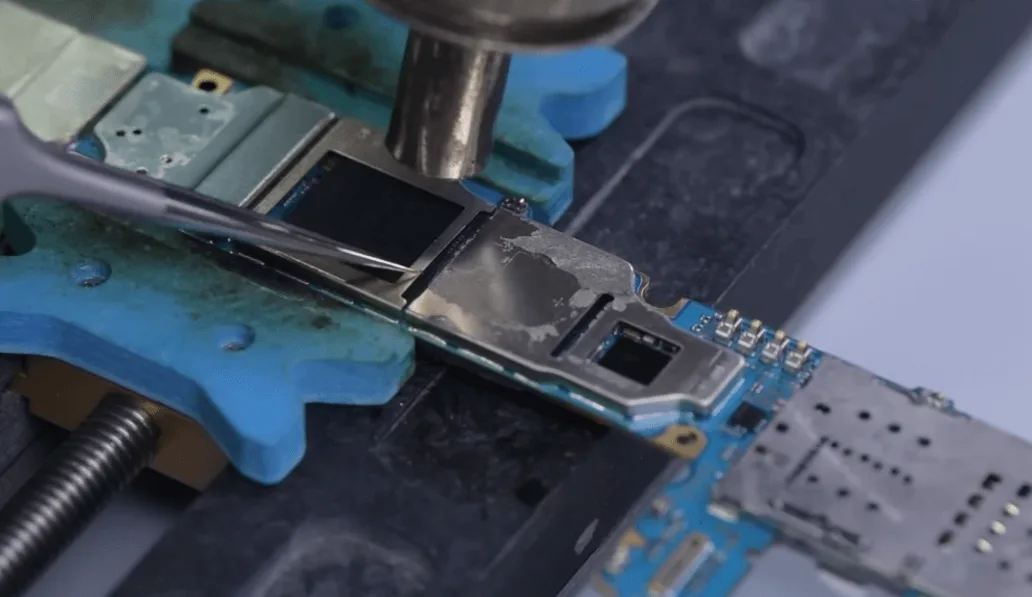
    Samsung S10 Data Recovery

    If you are not skilled enough, we recommend using the cutter to cut it off.

    Remove the CPU and flash memory.

    Then de-gluing and remove the solder of the motherboard bonding pad.
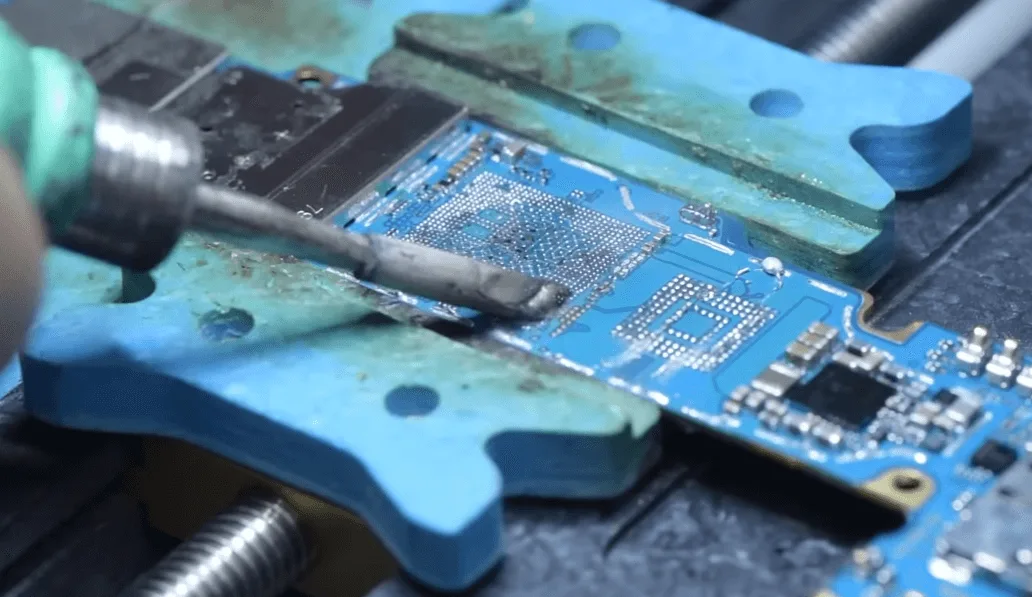
    samsung s10 data recovery cracked board remove glue and tin paste on the
    samsung s10 data recovery cracked board clean the glue and tin on

    Add some flux paste to the motherboard bonding pads, align the RAM with the motherboard, hot air gun 350℃, airflow 80 to solder.
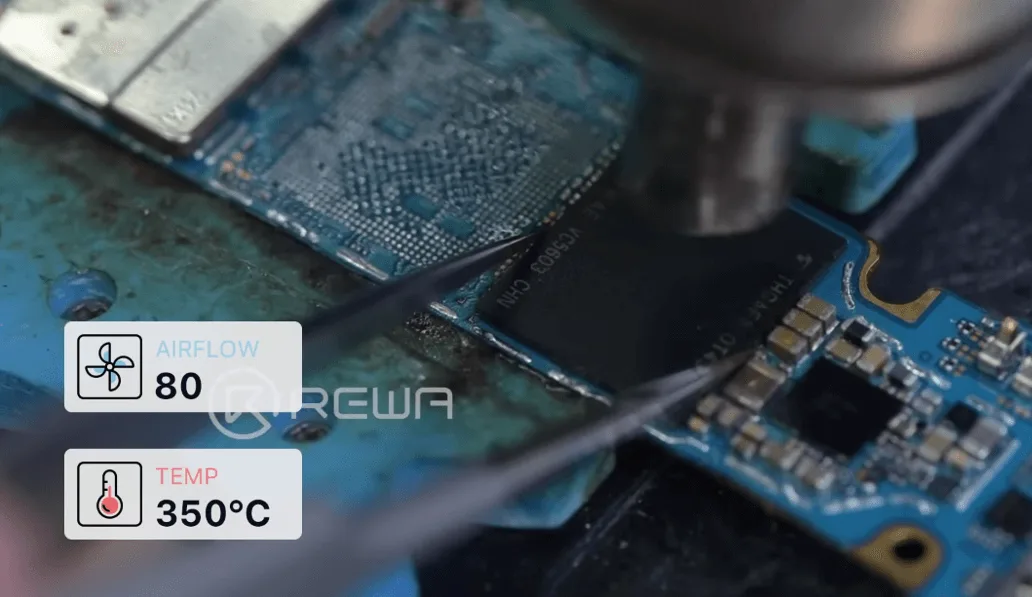
    samsung s10 data recovery cracked board solder back the ufs

    Solder the CPU and RAM in the same way.
    samsung s10 data recovery cracked board solder back the cpu and ram

    After that cool down the motherboard and clean with PCB cleaner.
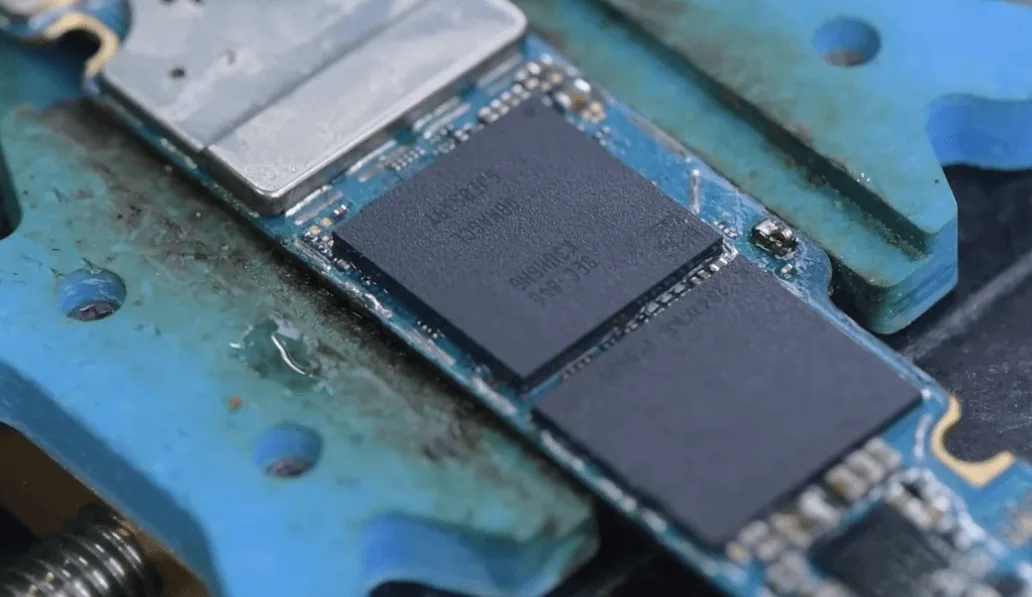
    Samsung S10 Data Recovery

    Install the motherboard to the phone, the phone turns on normally.
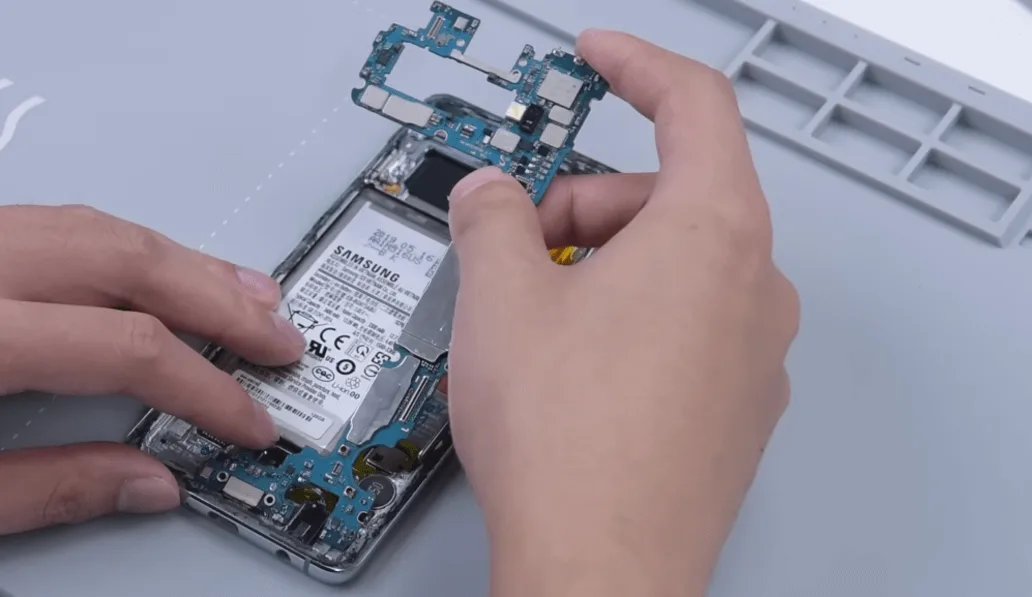
    samsung s10 data recovery cracked board assemble the phone

    Data recovery perfectly!

    If you want to learn mobile phone repair, please feel free to visit REWA Academy

    Frequently Asked Questions

    Q:  What repair tools you use for the data recovery process?

    A: The tools list as below for your reference

    REFOX RS30 ESD Phone Repair Heating Pad

    Reballing Stencils For Samsung (S/Note/A Series)

    SUGON T36 SMD Soldering Iron Station

    QUICK 861DW Hot Air Gun Rework Station

    MaAnt Soldering Wick

    AMTECH NC-559 Needles BGA Flux Paste

    Q:  Do you offer personal repair services?

    A: REWA currently does not offer personal repair services, if you want to learn mobile repair please feel free to visit REWA Academy.
  • Samsung S10 Camera Not Working Issue Repair

    Samsung S10 Camera Not Working Issue Repair

    Dealing with camera issues on your Samsung S10 can be frustrating, especially when your device has been previously repaired by another shop. In this step-by-step guide, we’ll walk you through the process of diagnosing and repairing a common camera failure issue on the Samsung S10. Whether you’re a professional technician or a DIY enthusiast, this guide will equip you with the knowledge needed to get your camera back in working order. Let’s dive into the repair process and resolve this issue once and for all.

    samsung s10 camera not working issue repair 2

    Phone Details

    Model: SAMSUNG S10

    Announced: 2019, February 20

    Defect Phenomenon

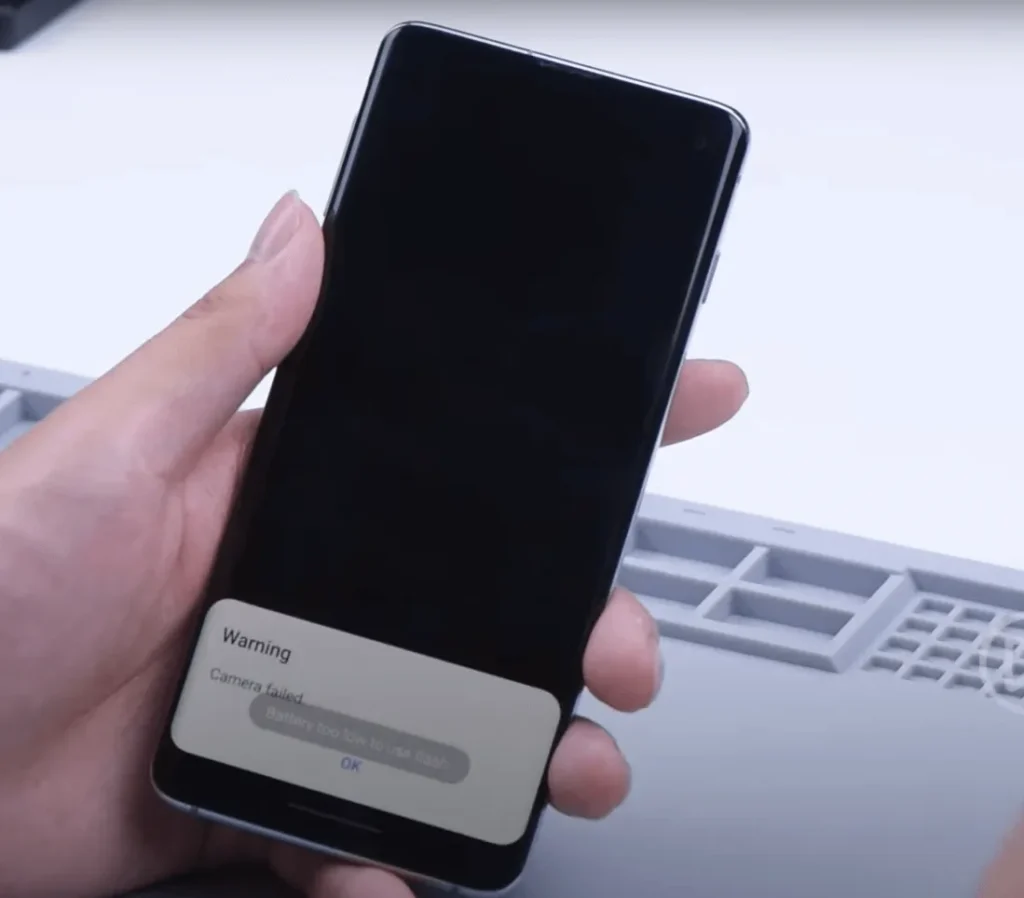
    When opening the camera app, you receive a “Camera failed” error. After confirming with the customer, it was revealed that the phone had been repaired by another shop previously.
    samsung s10 camera not working issue repair the failed

    Troubleshooting

    To properly diagnose the issue, the motherboard must be carefully examined.

    Power off the phone to ensure safety.

    samsung s10 camera not working issue repair heat the soften glue on

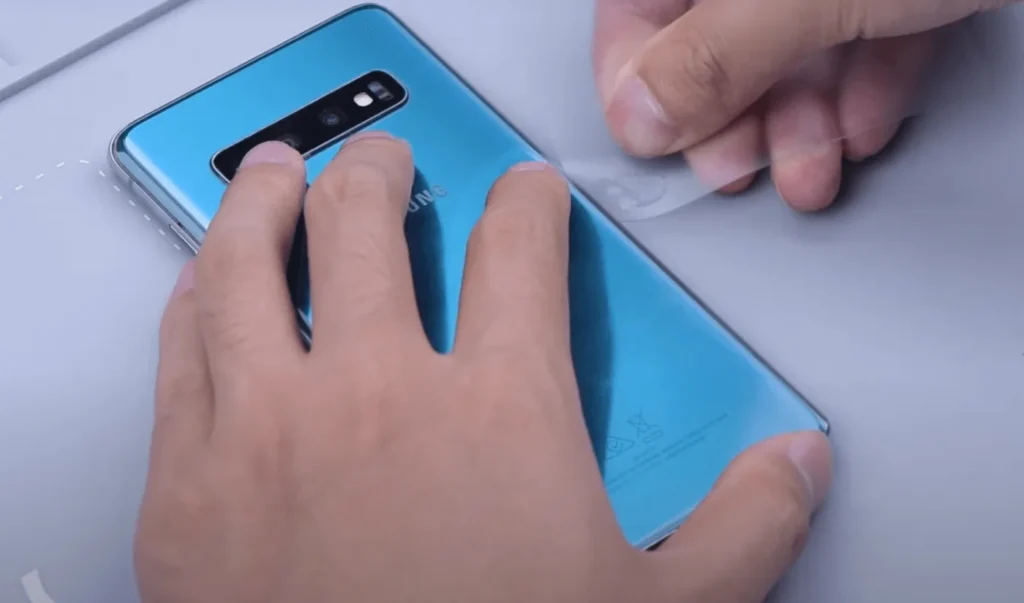
    Place the phone on a heating pad set to 120°C for 2 minutes. This will soften the adhesive securing the back cover.

    Once the adhesive is soft, use a slim plastic card to gently separate the back cover from the phone. Applying a small amount of alcohol can help slide the card through gradually until the housing is separated.

    samsung s10 camera not working issue repair apply alcohol until the
    samsung s10 camera not working issue repair disconnect the flex cables

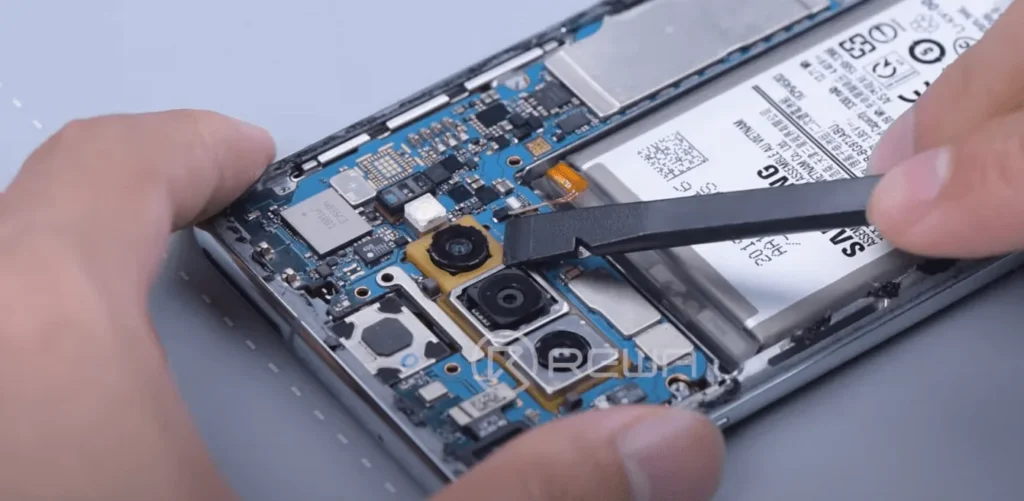
    After removing the back cover, disconnect the flex cables using an anti-static pry bar.

    Disconnect the rear camera module to gain full access to the camera connectors.

    samsung s10 camera not working issue repair disconnect the rear module

    Repair Process

    Upon inspection, the camera connector appears undamaged. However, further testing is required:

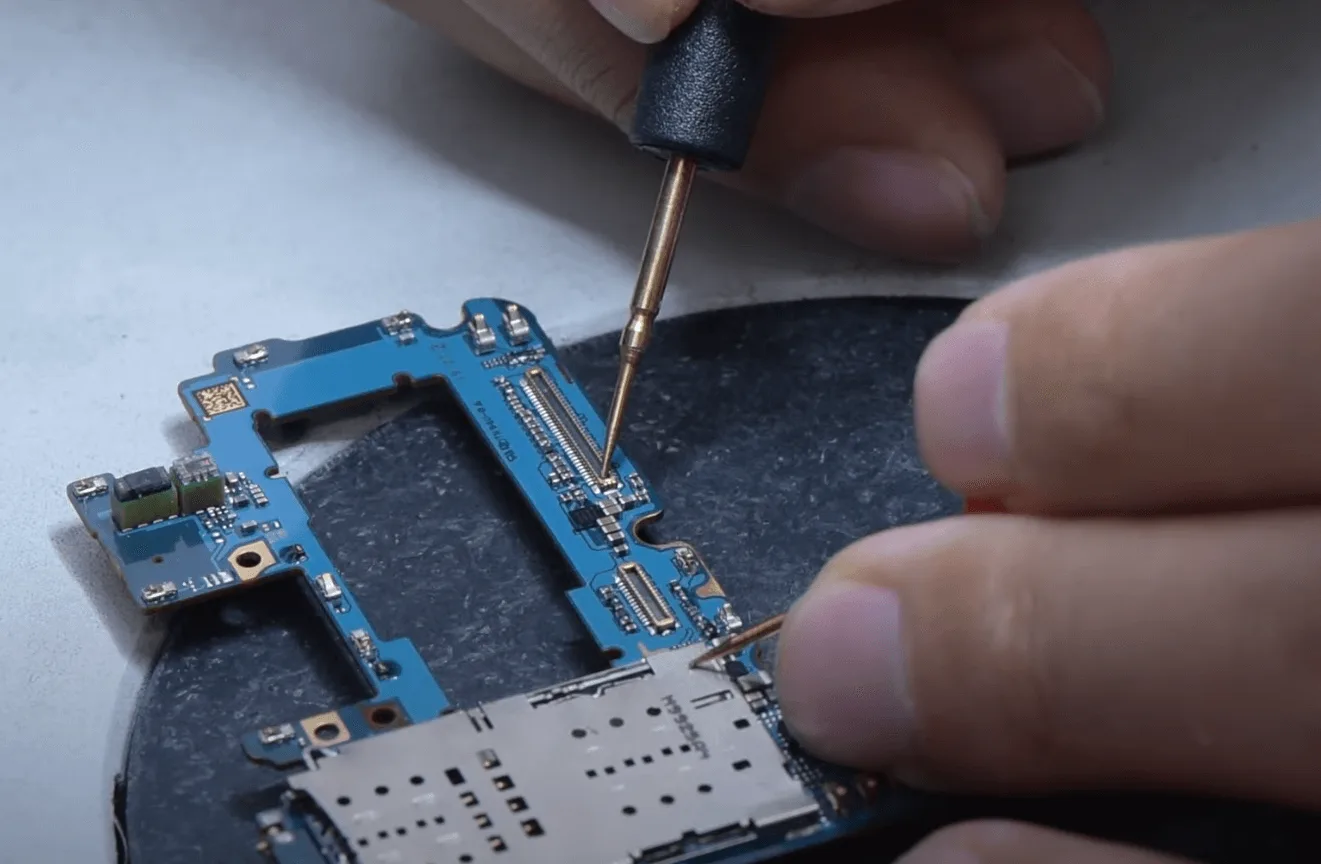
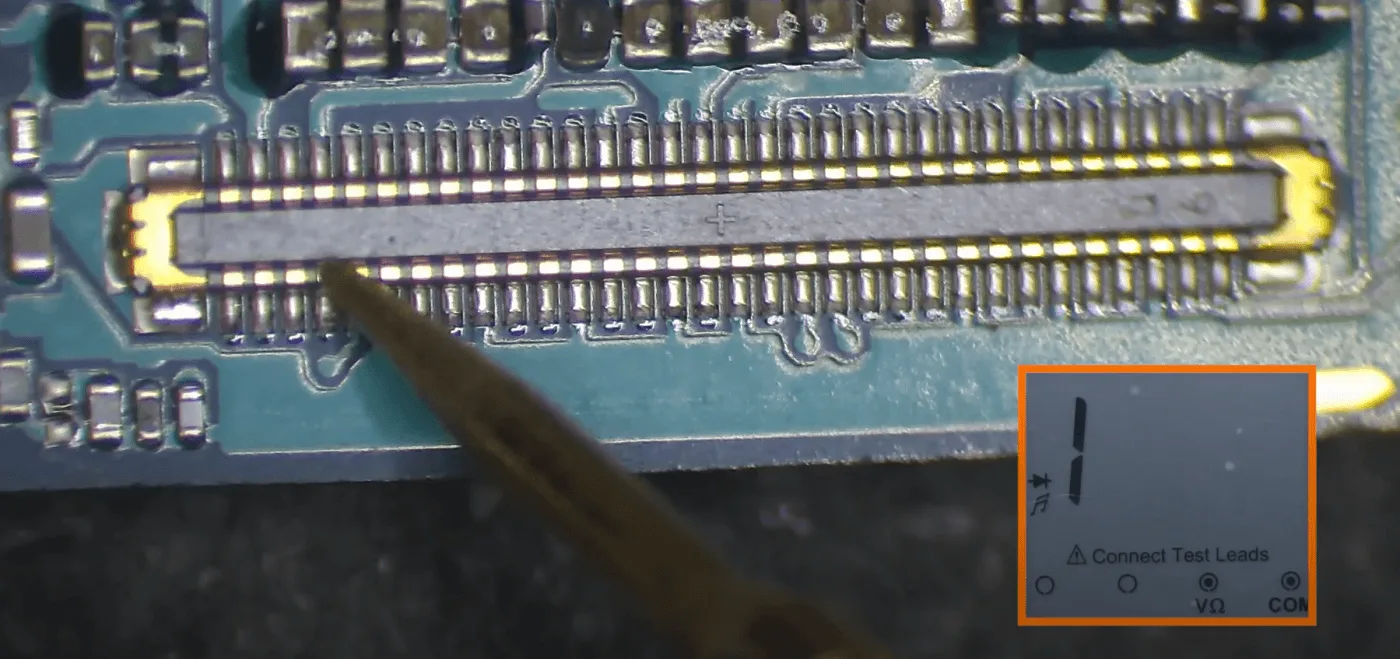
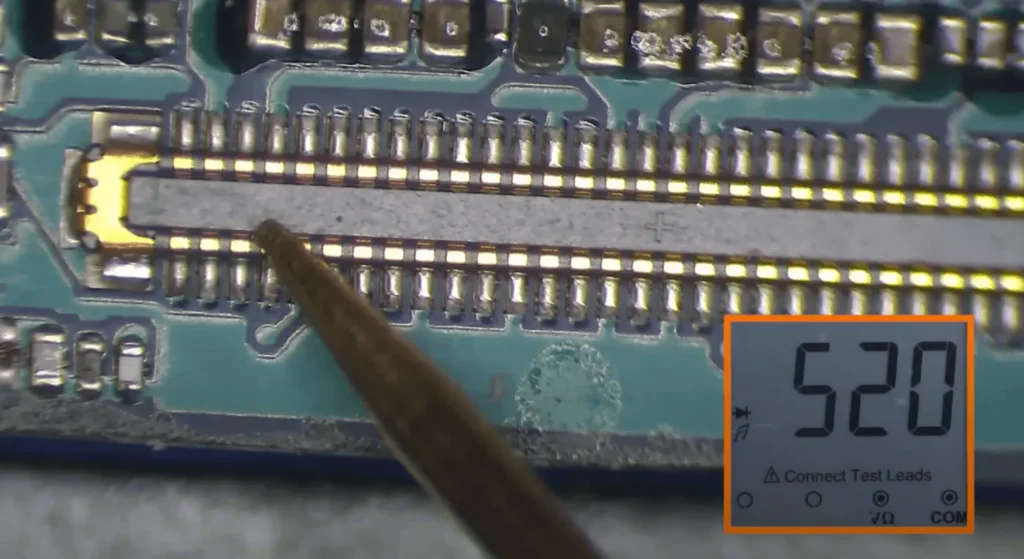
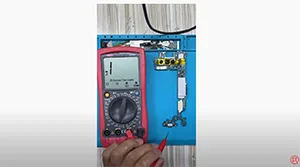
    Measure the diode value on the camera connector. Connect the red probe of a multimeter to the GND and the black probe to each pin of the connector. When measuring pin 58, an infinite diode value is observed, indicating an abnormality.

    samsung s10 camera not working issue repair the power ic which connected

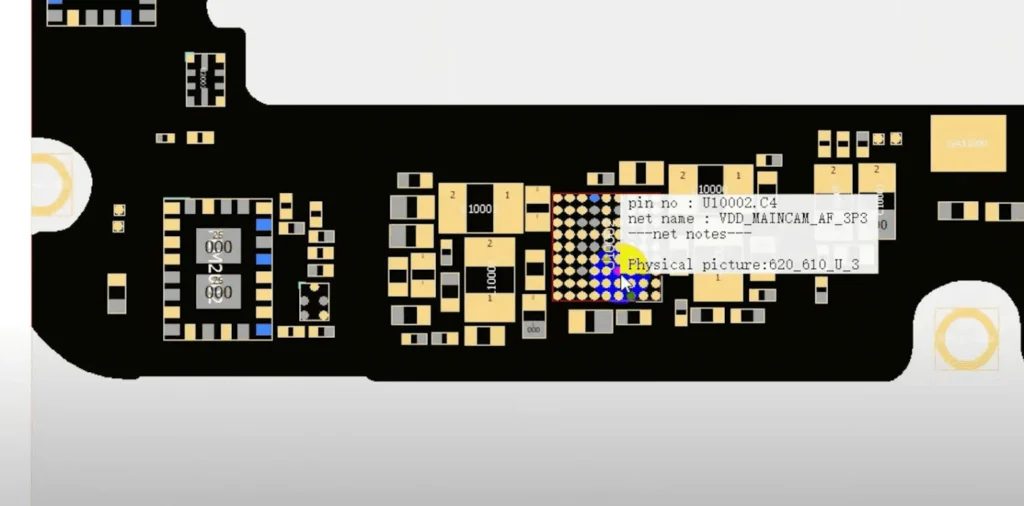
    Check the schematic diagram to trace the issue. Pin 58 is connected to two small components and the power IC (U10002), suggesting that the power IC may be the cause of the defect.

    Replace the power IC:

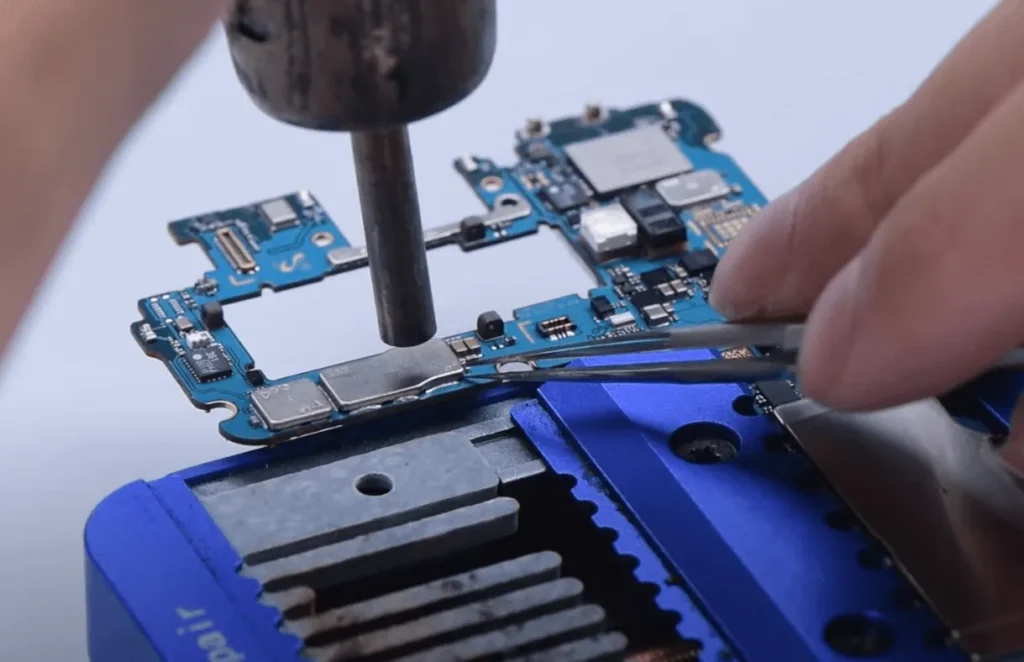
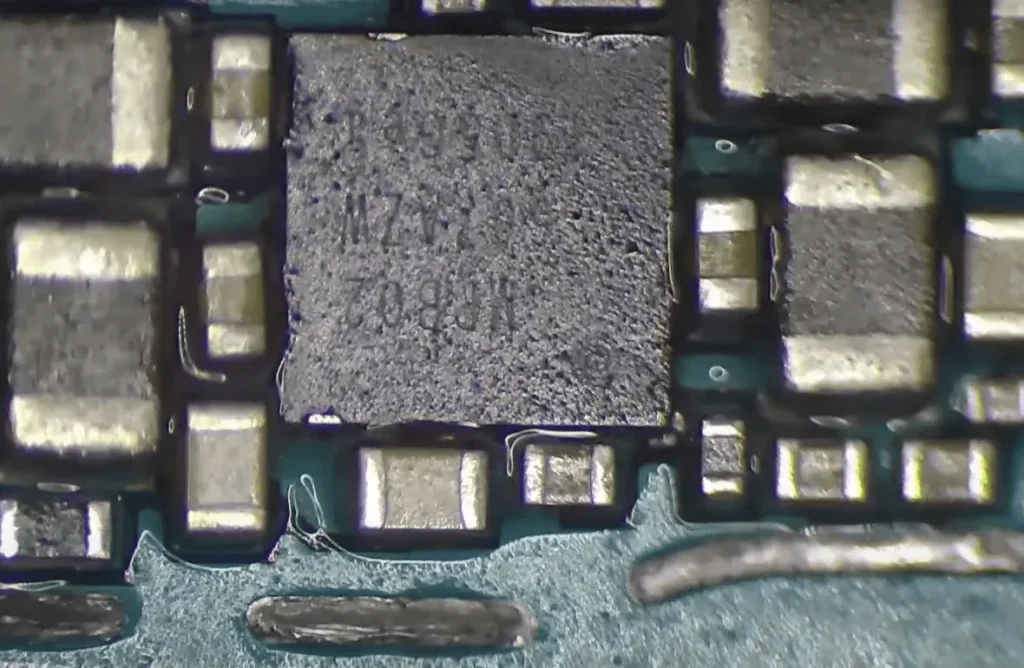
    Remove the shielding cover using a hot air gun (set to 380°C, airflow 3).

    samsung s10 camera not working issue repair remove the shielding cover
    samsung s10 camera not working issue repair degree

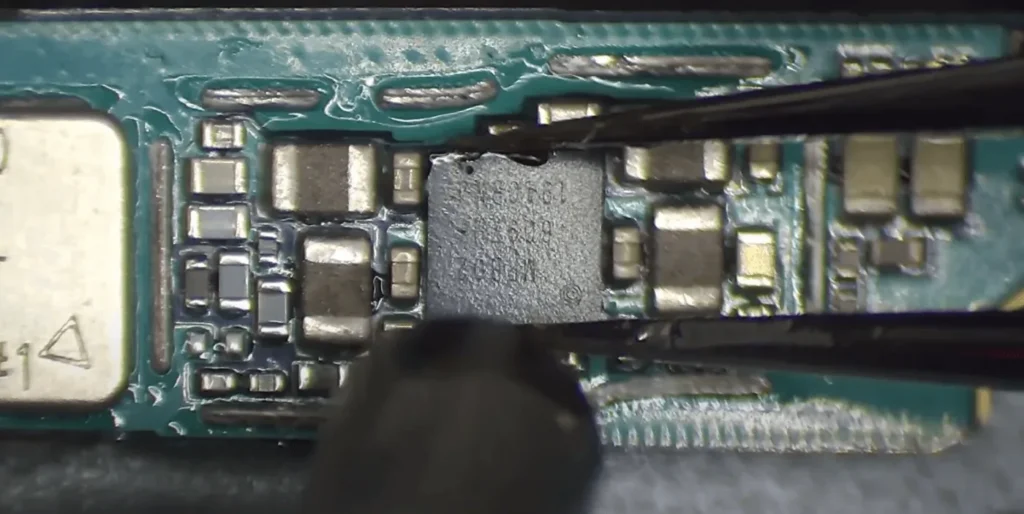
    Apply solder paste to the power IC and remove it with the hot air gun at 380°C and airflow 3.

    Clean the bonding pads using solder wick and a PCB cleaner.

    Prepare a new power IC by reballing the chip. Before reballing, remove the original bonding pads on the IC using solder paste flux and a soldering iron at 380°C. Clean with PCB cleaner.

    samsung s10 camera not working issue repair heat again to reform the tin

    Align the chip with a stencil and apply medium-temperature solder paste with a scraper knife. Heat to form solder balls with a hot air gun at 320°C. After removing the chip from the stencil, reheat to ensure smooth and round tin balls.

    Apply solder paste to the PCB and align the re-balled chip to the correct location. Heat with a hot air gun at 320°C to secure the chip.

    samsung s10 camera not working issue repair the chip is well soldered on
    samsung s10 camera not working issue repair diode value come back to

    Re-measure the diode value on the camera connector after the motherboard has cooled. The diode value should now return to normal (around 500).

    Reattach the shielding cover using a hot air gun.

    samsung s10 camera not working issue repair put back the shielding cover
    samsung s10 camera not working issue repair 3

    Reassemble the phone, reconnecting the camera, screen, battery, and other components.

    Power on the phone and test the camera function. The issue should be resolved.

    Conclusion

    Successfully repairing the camera on a Samsung S10 requires careful diagnosis and a precise repair process, particularly when dealing with components like the power IC. By following the steps outlined in this guide, you can restore your phone’s camera functionality and avoid the hassle of additional repairs. For those interested in mastering phone repair techniques, consider enrolling in courses at REWA Academy to enhance your skills and knowledge.

  • How to Fix Samsung S10 Touch Screen Not Working

    How to Fix Samsung S10 Touch Screen Not Working

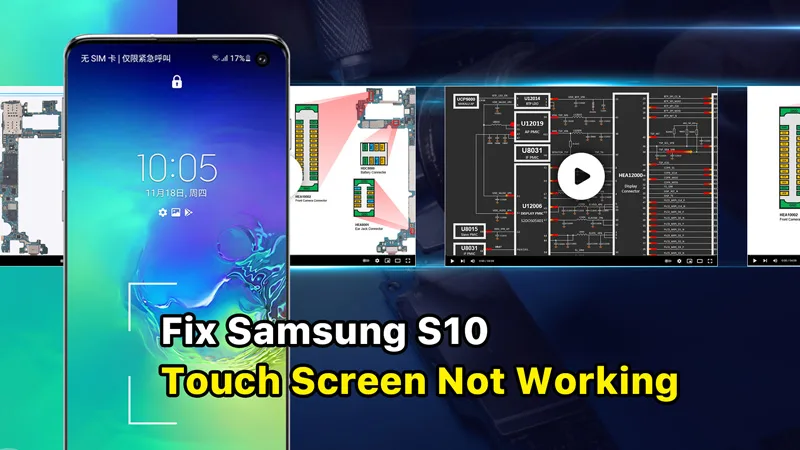
    REWA Academy recently launched online Android Phone Motherboard Repair Courses. For $129 a year, you can learn the workflow and troubleshooting process for different Android phone motherboards like Samsung, Huawei, Xiaomi, etc. The workflow and troubleshooting process learned can be effectively applied to solve problems in real repair circumstances. Today we will make use of Android course content from REWA Academy to deal with a real repair case of Samsung S10 touch screen not working.

  • Troubleshooting Samsung S10 Touch Issues: A Step-by-Step Guide

    Troubleshooting Samsung S10 Touch Issues: A Step-by-Step Guide

    Are you having trouble with your Samsung S10’s touchscreen? You’re not the only one. Although it’s one of the most sought-after smartphones on the market, some users have reported issues with the touchscreen. But fret not, we have you covered. This guide includes detailed step-by-step instructions on how to troubleshoot the issue.

    The new online courses offered by REWA Academy focus on repairing Android phone motherboards. These courses cover various brands such as Samsung, Huawei, Xiaomi, and more. Students will learn the step-by-step workflow and troubleshooting techniques that can be directly applied to real repair scenarios. In this instance, we will utilize the Android course content from REWA Academy to address a specific repair case involving the Samsung S10 model.

    Diagnosing the Problem

    Samsung S10 Touch Screen Not Working

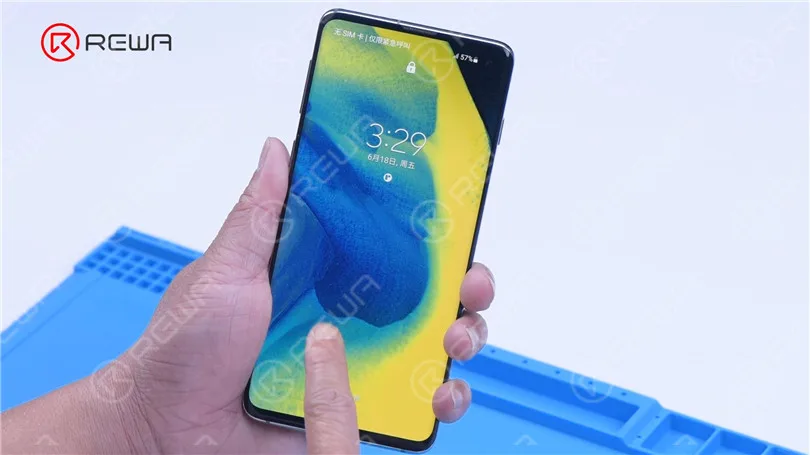
    Upon turning on the Samsung S10, it becomes evident that the touch screen isn’t functioning. Even after replacing the screen, the issue persists, pointing to a possible motherboard fault as the culprit.

    Samsung S10 Touch Screen

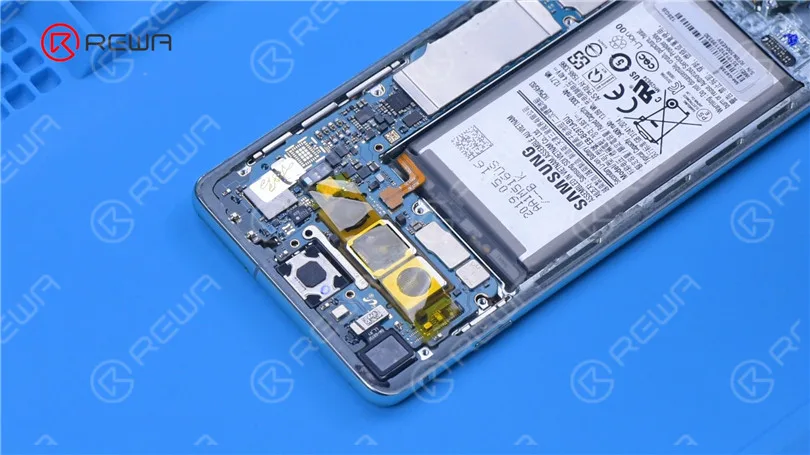
    To get to the root of the problem, we need to remove the motherboard for further testing. Here’s a breakdown of the steps.

    1. Detach the Back Cover: Start by gently removing the back cover of the phone.

    3. Protect the Camera: To safeguard the camera during the repair, apply high-temperature tape over it.

    motherboard out for further testing

    2. Remove Screws and Cover: Carefully take out the screws securing the motherboard and the cover that holds it in place.

    4. Disconnect Components: Begin by disconnecting the battery flex cable and removing the front camera.

    5. Disconnect the Display: Next, disconnect the display flex cable.

    6. Remove the Motherboard: Carefully extract the motherboard from the phone.

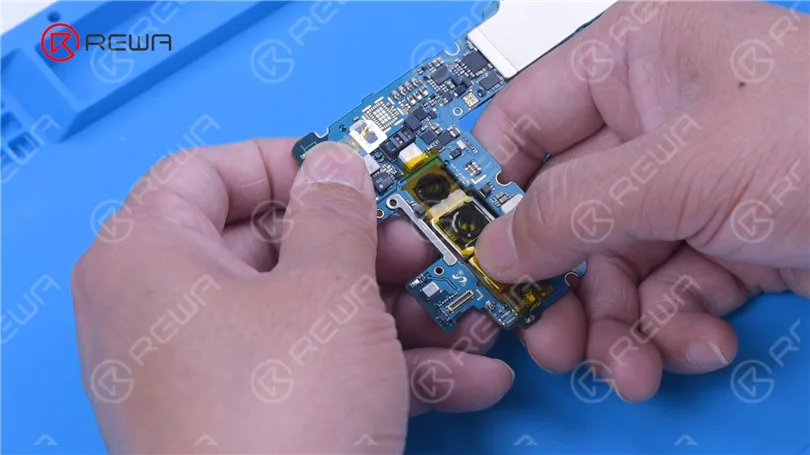
    7. Yank the Rear Camera Module: Lastly, remove the rear camera module to avoid any damage during the repair process.

    Disconnect the battery flex cable

    Understanding the Components

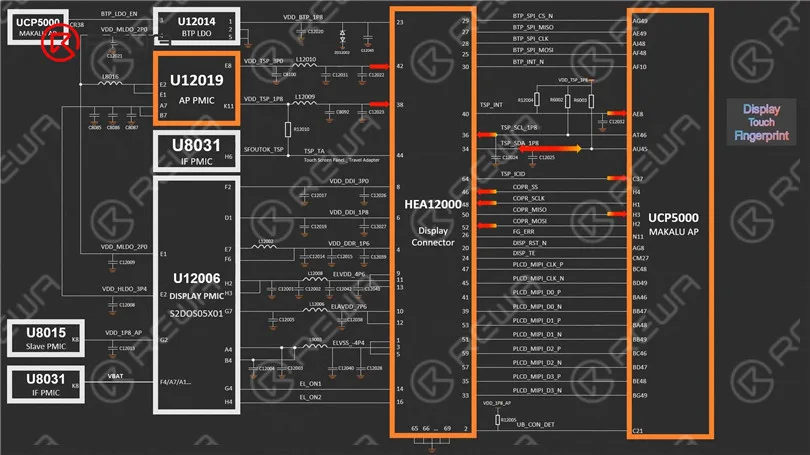
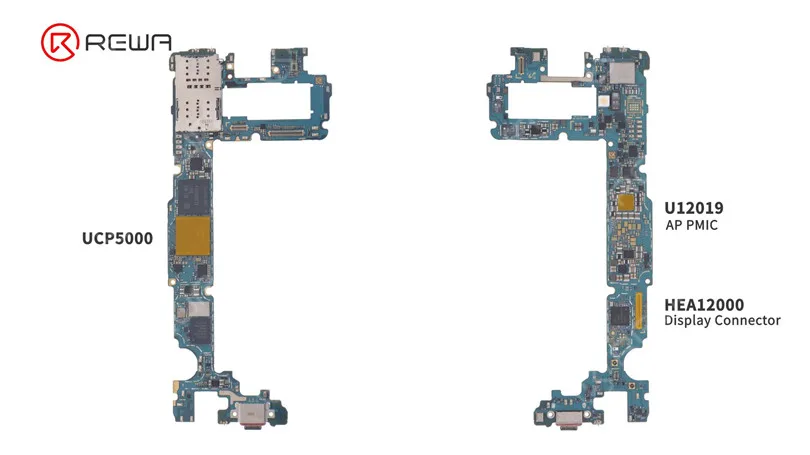
    Before diving into the repair, it’s essential to understand the key components related to the touch functionality of the Samsung S10. As per the REWA Academy course, these components include:

    – HEA12000: The display and touch connector that links the screen to the motherboard.

    – U12019: Supplies touch with 3.3 V and 1.8 V voltages.

    – UCP5000: Responsible for communication between the screen and touch.

    communication between the screen and touch
    S10 include HEA12000

    Troubleshooting the Faulty Component

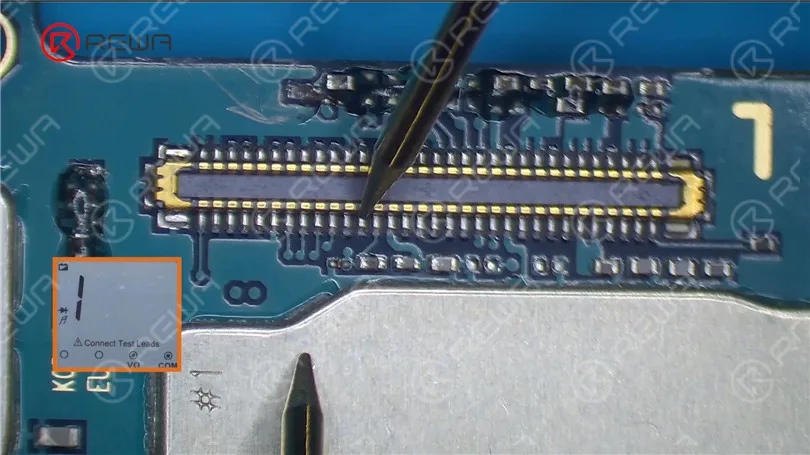
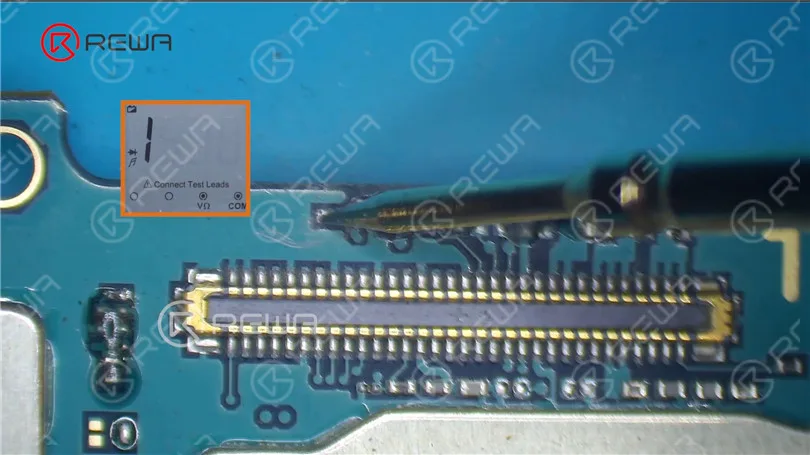
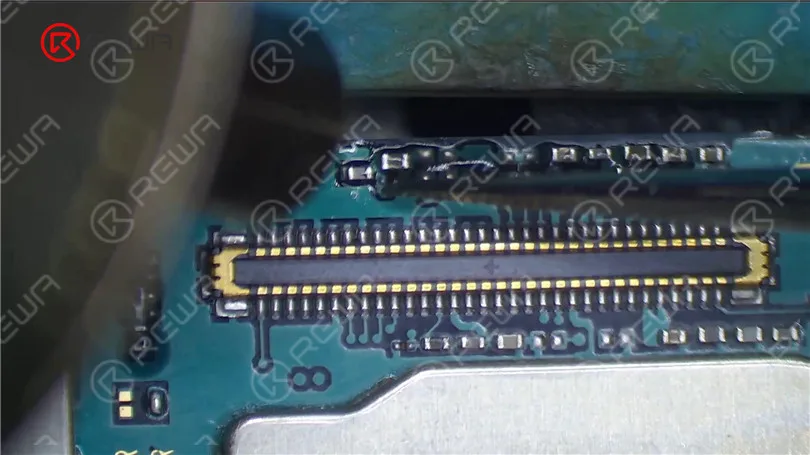
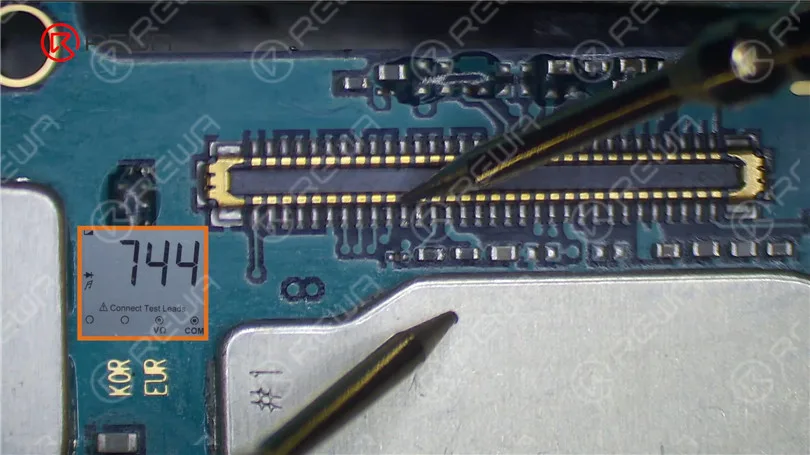
    To isolate the issue, we first measured the diode value of HEA12000. Normally, it should read around 600, but in this case, it shows 1 (infinite).

    measure the diode value of HEA12000

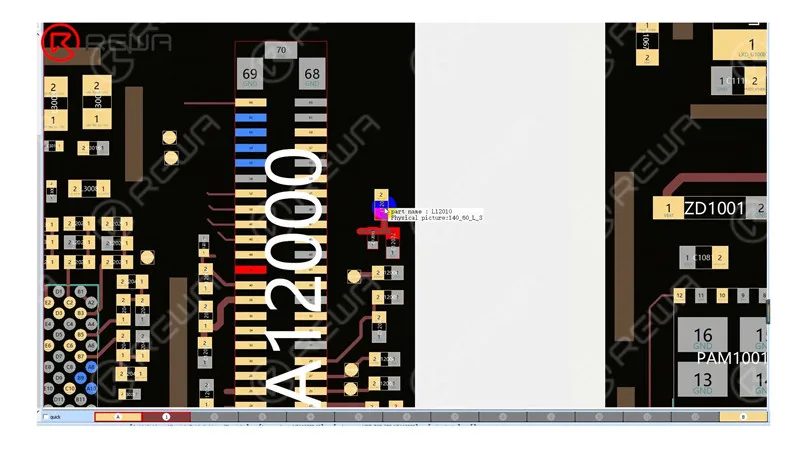
    Upon inspection, we find that pin 42 of HEA12000 connects to C12022 and L12010, eventually leading to U12019.

    connected to C12022 and L12010
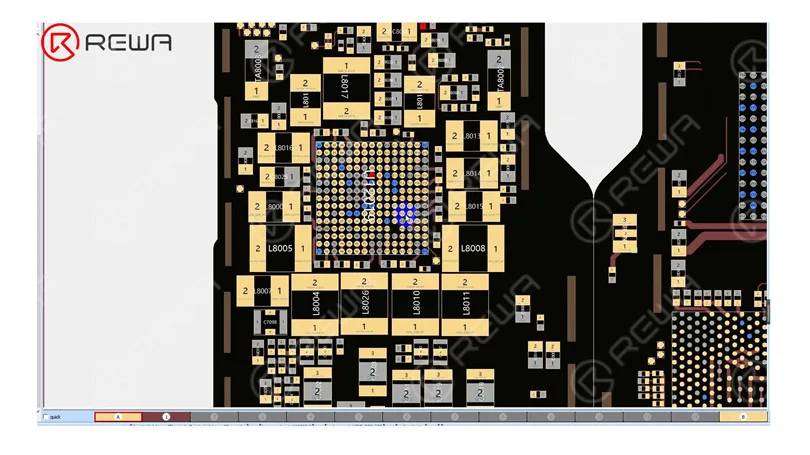
    connected to U12019

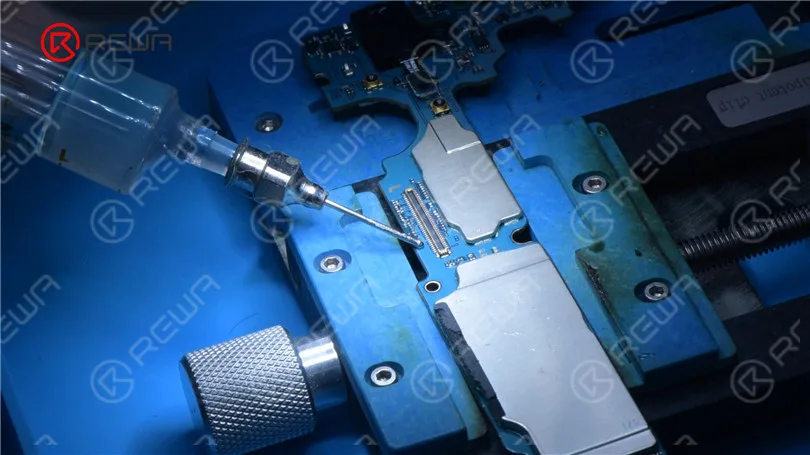
    After measurement by the multimeter, The diode value of L12010 is also 1 (infinite), indicating a problem with the inductor or related circuits. Then we remove corner adhesive with Hot Air Gun at 250 °C and airflow 3. We can see that the inductor is completely damaged.

    measurement by the multimeter

    Confirmation of the Issue

    diode value of the inductor

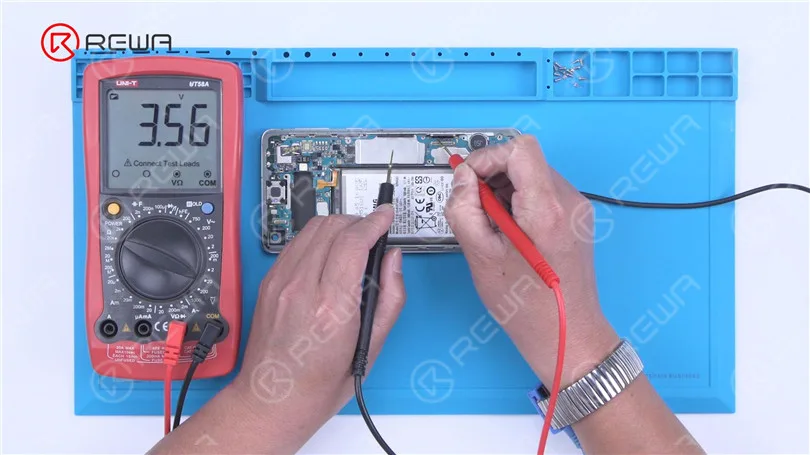
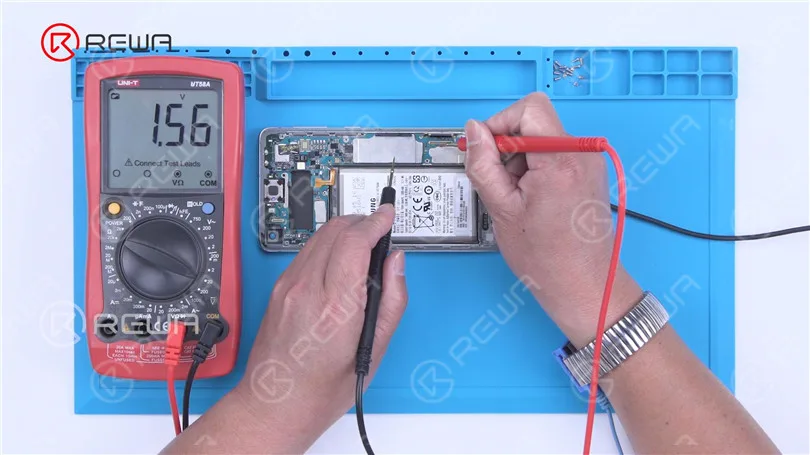
    To verify that the power IC’s output voltage is normal, we connect the battery and turn on the phone. We measure one end of the inductor and find a voltage of about 3.3 V instantly. We also check the 1.8 V power supply of pin 38, which jumps to 1.5 V instantaneously. This confirms that both output voltages of U12019 are functioning correctly, affirming that the open-circuited inductor is the cause of the touch issue.

    output voltage of the power IC

    Then measure the 1.8 V power supply of pin 38 to see if it is normal. The startup voltage jumps to 1.5 V instantaneously. It indicates the two output voltages of U12019 are working fine. We can confirm now that the open-circuited inductor has resulted in the touch not working.

    1.8 V power supply

    Repair and Testing

    After identifying the problem, we replaced the defective inductor with a fresh one. Add Paste Flux to the bonding pads, then use a Soldering Iron at 380 °C to clean them. Continuously clean the bonding pads with PCB Cleaner.

    Fix Samsung Screen Not Working

    Use a Hot Air Gun to solder a new inductor at 330 °C with airflow 3. After soldering, clean the bonding pads with PCB Cleaner. Proceed to measure the diode values of both the inductor and capacitor, which are found to be normal. Finally, measure the diode value of the connector, which is also normal.

    Solder a new inductor with Hot Air Gun
    Samsung Touch Screen Not Working

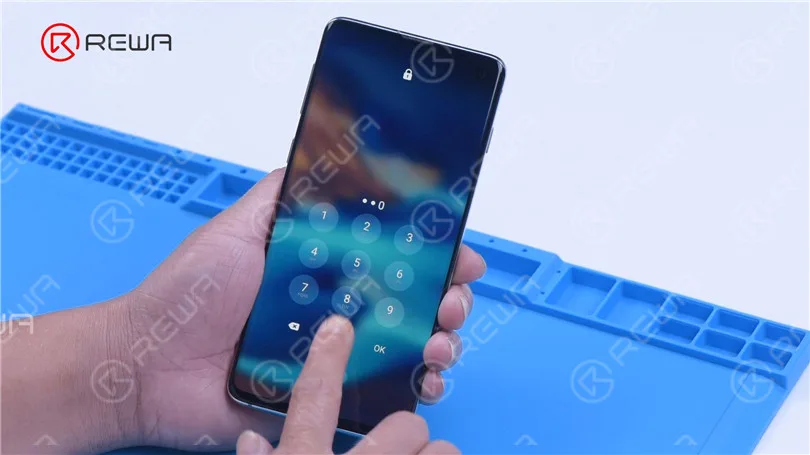
    After reassembling the phone, touch functionality is restored, bringing the Samsung S10 back to life.

    touch function returns to normal

    Conclusion

    Keeping up with the latest advancements and information in the ever-evolving sphere of smartphone repair is vital. At REWA Academy, we offer advanced courses for various Android phone models, providing you with the essential abilities and proficiency to tackle any repair job. Furthermore, when you subscribe to REWA Academy, you will receive complimentary access to newly added tutorials for the duration of your subscription.

  • Replace the Charging Port of Samsung S10

    Replace the Charging Port of Samsung S10

    The Type-C port of the Samsung S10 is damaged. Check out this video to see how we replaced the charging port of the Samsung S10.

  • How to Fix Samsung Galaxy S10 Plus Won’t Turn On/Power On Issue

    How to Fix Samsung Galaxy S10 Plus Won’t Turn On/Power On Issue

    Today we will share a repair case of a Samsung Galaxy S10+ that won’t turn on. During repair, it was found that the motherboard had been repaired before. After troubleshooting, the power IC was found to be faulty. Let’s check it out!