Is your Samsung Z Flip 4 shutting down automatically when folded? This issue could be caused by a faulty hinge flex cable. In this video, REWA lab will walk you through a step-by-step guide on how to replace the hinge flex cable to fix this annoying problem. We will cover everything from diagnosing the issue to disassembling the phone and replacing the defective hing flex cable.
For Android parts, you can visit website:
https://rewawp.iamtareq.com/small-parts/
Contact us for more details: +852 5167 5273 / sales@rewa.tech
Tag: samsung phone repair
-
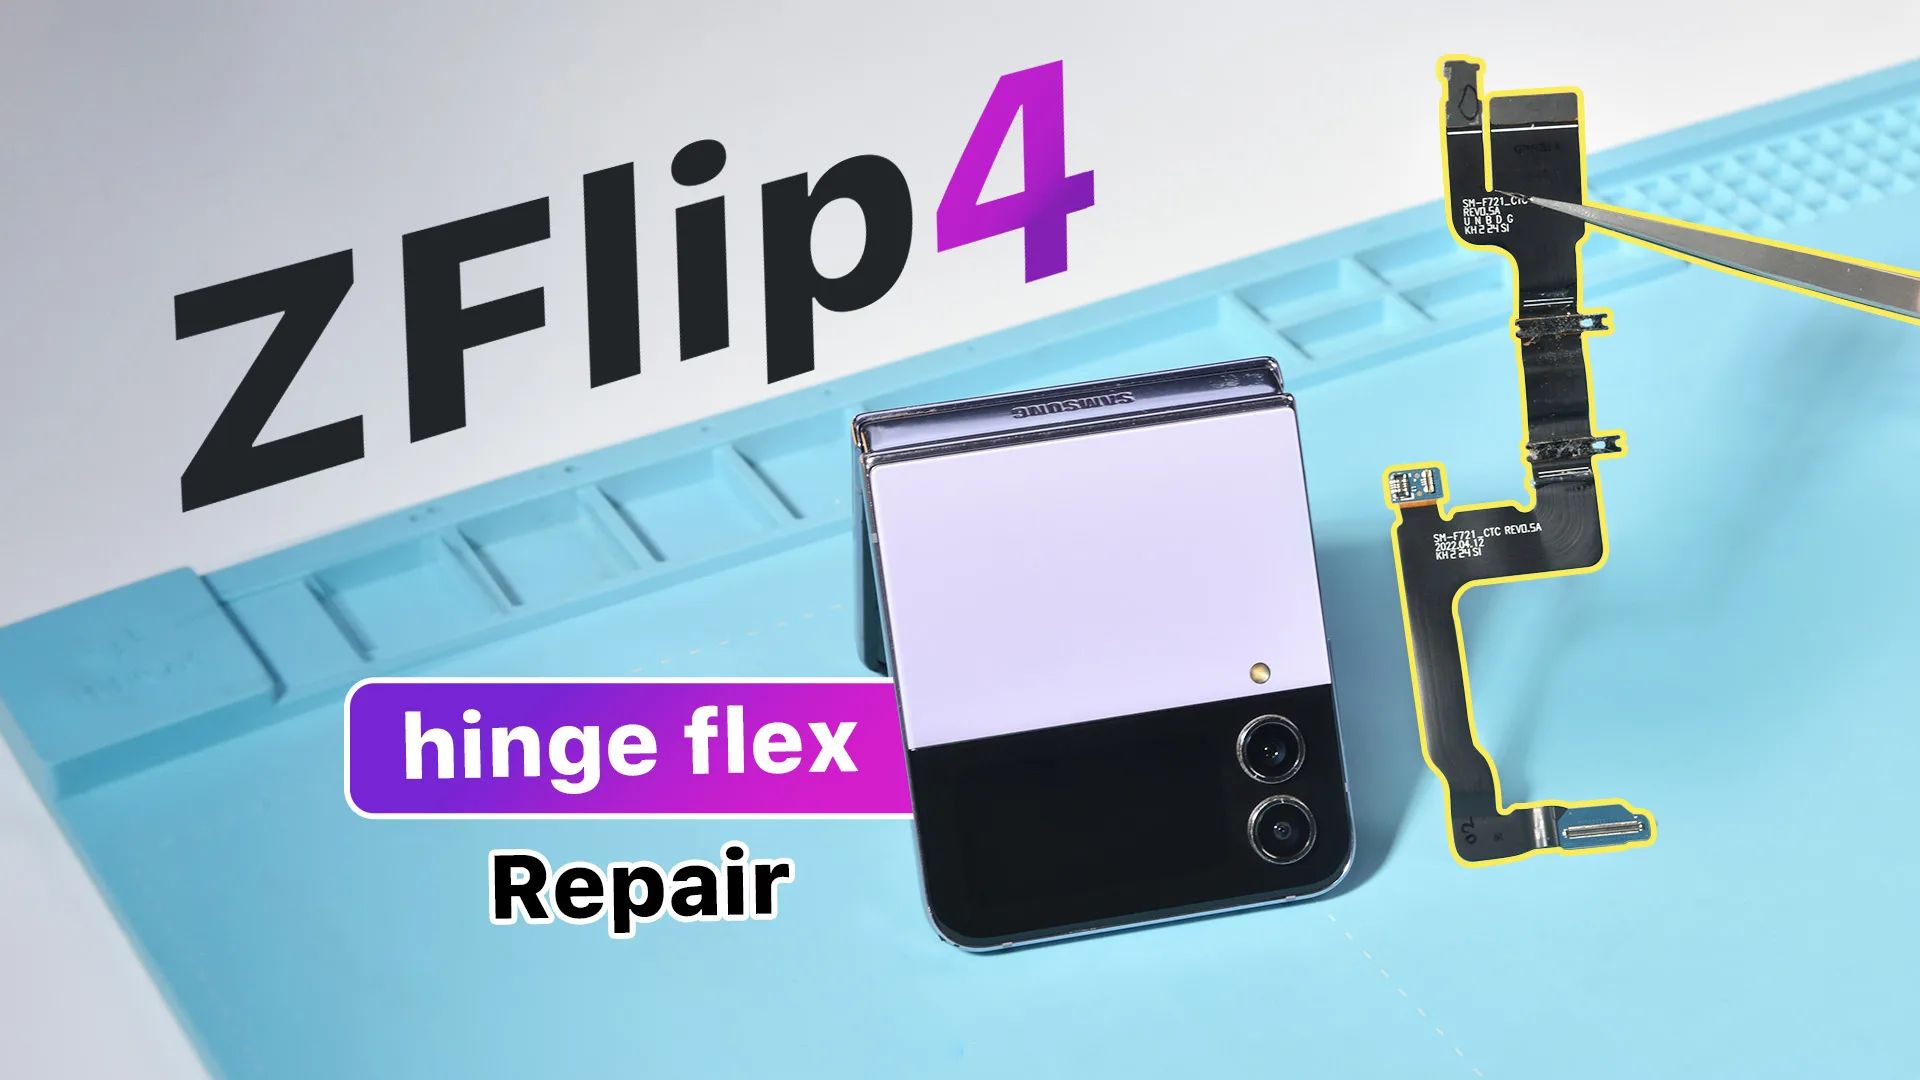
Samsung Z Flip 4 Turns Off When Folded – Hinge Flex Cable Replacement Tutorial
-
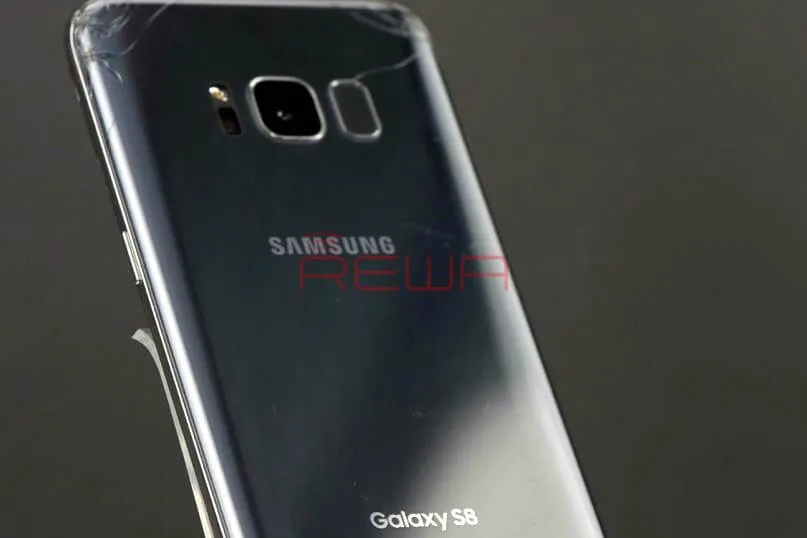
Tips And Tricks For Samsung Phone Repair
Today REWA LAB will share tips and tricks for Samsung phone repair by demonstrating basic steps for Samsung S8 repair. When repairing Samsung series, we need to pay special attention to similarities in different Samsung series and choose the right tools to improve repair efficiency.Please be noted that these repair techniques can also be applied to complex repair needs, such as broken back cover refurbishing, screen replacement, battery replacement, etc..
Part 1 Function Test
Before repairing, we can test Samsung phones by using secret codes. This can help us narrow down the fault possibility: software problem or hardware problem.
Turn on the phone and enter the dial pad. Different secret codes can perform different tests.
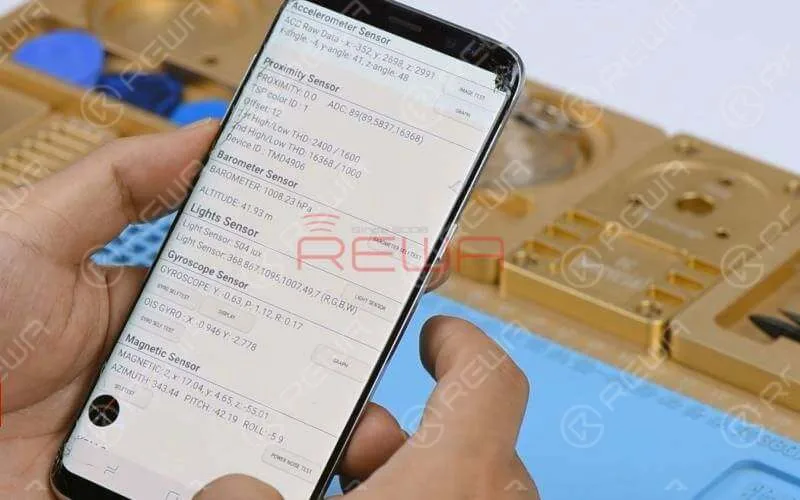
*#0*#: test MEGA CAM, SENSOR, TOUCH, etc..
*#7353#: test Light Sensor, Bluetooth, Proximity Sensor, etc..
*#0283#: for loopback test
*#1234#: check software and firmware version of the phone
Part 2 Flashing The Stock Firmware Of Samsung S8
Most system or software problems can be solved by flashing the stock firmware and therefore it is a must have skill for repair technicians. Follow our tutorial and see how we flash the stock firmware of Samsung S8.Power off the phone. Hold Power + Volume Down + Bixby until it launches into a warning screen. Press the Volume up button to continue and we will be in download mode.
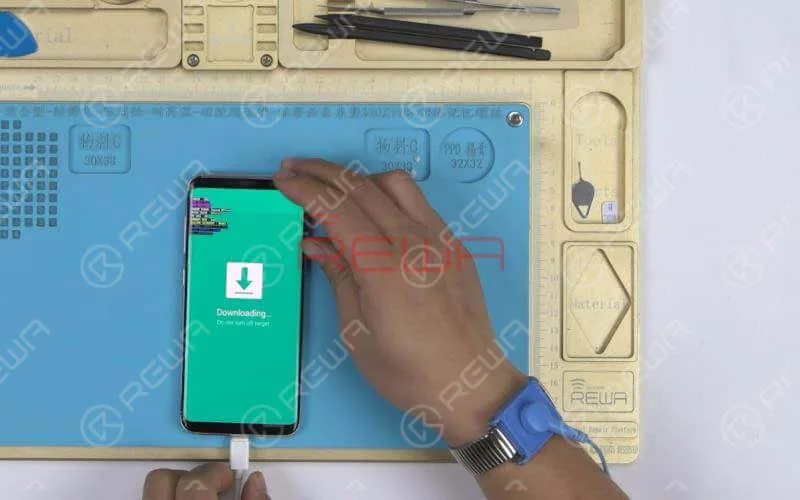
Open Odin on the computer. Connect the phone to the computer via USB cable. The ID: COM boxes turn blue, and we can also see a message ‘Added’ in the Log.Click on buttons and select the file that starts with the button name one by one. Click Start and wait for the process to complete.
Tips
If you failed to complete the stock firmware flashing process, just follow the error message and correct your mistakes in the previous process.
Part 3 Samsung S8 Teardown
Once we have confirmed that it is a hardware problem, we need to take apart the phone for further analyzing.The teardown process of Samsung phones varies from series to series. For Samsung A series, we need to separate the screen from the mid-frame at the very beginning. While for Samsung S series and Note series, we need to separate the back cover from the mid-frame at first.Now we will take Samsung S8 as an example and walk you through teardown tricks for Samsung S series.
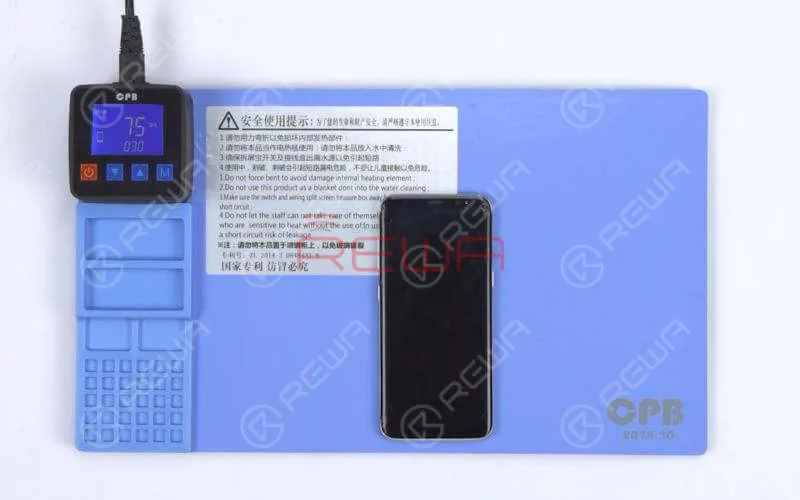
Tips: the Pre-heating Pad is a must for the teardown process.
First we need to heat the back glass with the pre-heating pad. Then apply a suction cup to the back glass. Lift on the suction cup carefully. There should be a tiny gap between the back glass and the mid-frame. Insert a blade into the gap. Then insert the plastic pry piece into the gap.Slide back and forth along edges of the screen to slice through the adhesive holding the back glass in place. If the slicing becomes difficult, you can also apply some alcohol to the gap for smooth operation.
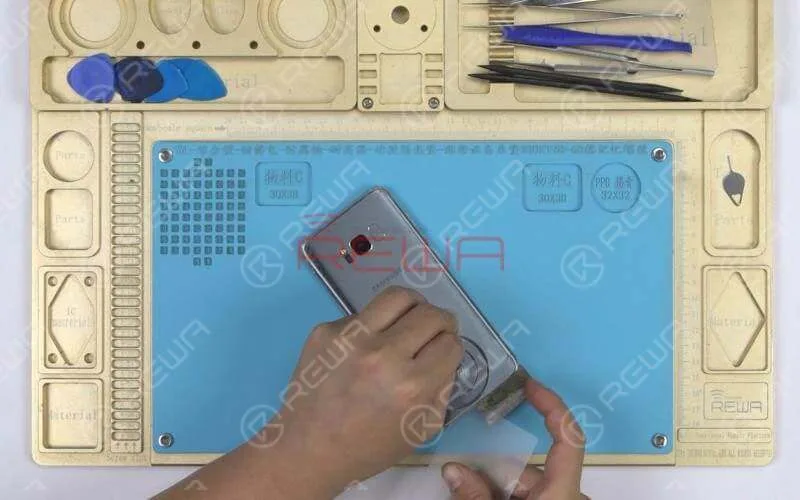
Tips: the plastic pry piece shouldn’t go too deep. You might damage the fingerprint sensor cable or the charging coil.To protect the fingerprint sensor cable, we need to open the phone carefully by swinging the back glass up from the side near the fingerprint sensor socket. Continue to disconnect the fingerprint sensor cable with the pry bar and remove the back glass.
Teardown Difficulties
We can see that the waterproof adhesive of Samsung S series and Note series are mainly applied on edges of the back cover and much more on top edges and bottom edges. So we need to heat evenly and control the heating temperature and time applied during the teardown.
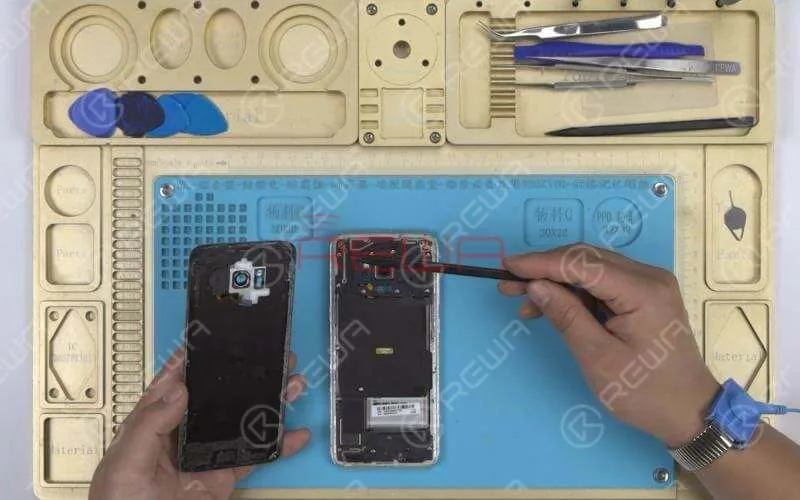
Then remove the antenna/NFC coil assembly and the speaker/antenna array.We can see that the motherboard is connected to the daughterboard by FPC, which is commonly seen in Android phones. Let’s see what’s special about Samsung motherboards.
Motherboard
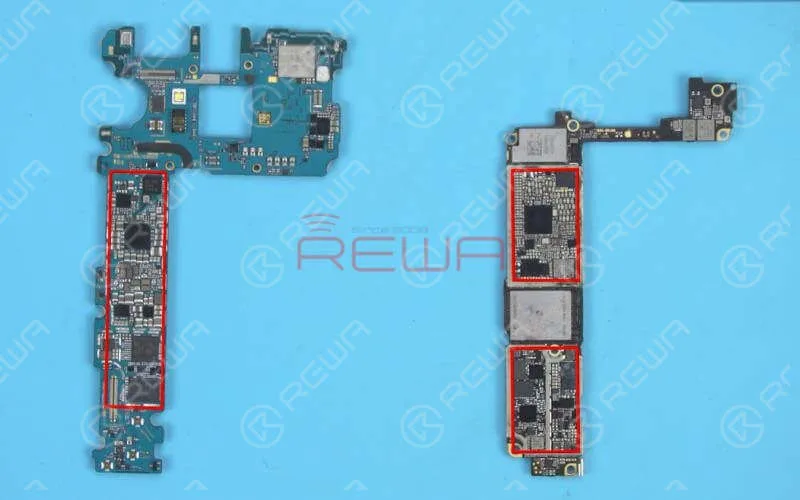
Compared with iPhone logic boards, Samsung motherboards feature relatively few components scattered across the board with high integration.
Most ICs on Samsung motherboards come with underfill.
Samsung motherboards are relatively thin and feature fast heat dissipation, adding to the difficulty of chip soldering and repairing.
Battery Replacement
Battery replacement of Samsung is also a step we should pay special attention to. Not like Apple, who equips iPhones with special designed battery adhesive strips for easy battery replacement, Samsung phones come with a different battery adhesive strip design.
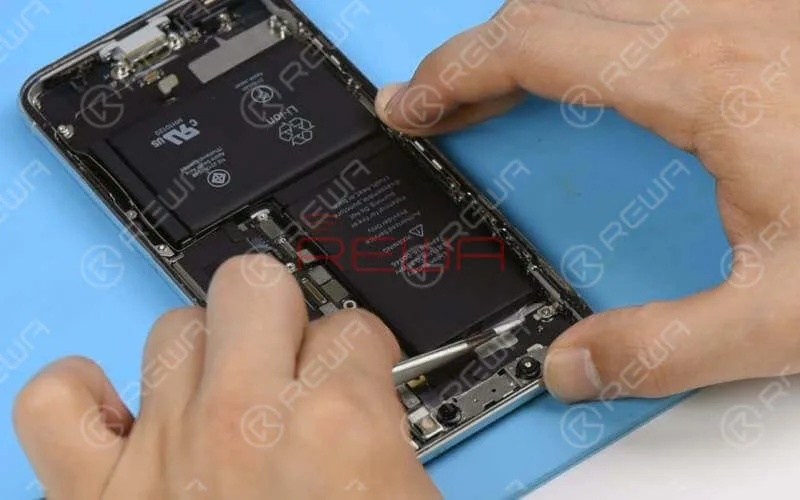
To remove the battery, we need to heat at the very beginning. During the heating, apply some alcohol to the gap to soften the adhesive. Then get a pry piece inserted into the gap and pry up the battery carefully from the bottom.REWA will launch Samsung phone repair courses(for Level 1 – Level 3) in 2020, which include Samsung phone disassembling/reassembling, unlock, data recovery and troubleshooting of other hardware issues. For more Samsung repair cases, please stay tuned to our YouTube channel.
You can also visit REWA social media platforms to share your repair thoughts with repair enthusiasts around the world.
For online cell phone repair training course, please go to REWA Academy to get, which is available now.
Tools & Parts Needed
- Integrated Mobile Phone Repair Platform
- Heating Pad Suction Cup Plastic Card Spudger
- Phillips Screwdriver Steel Straight Tweezer
You can also visit REWA YouTube Channel to check our video for more detailed explanation.
-
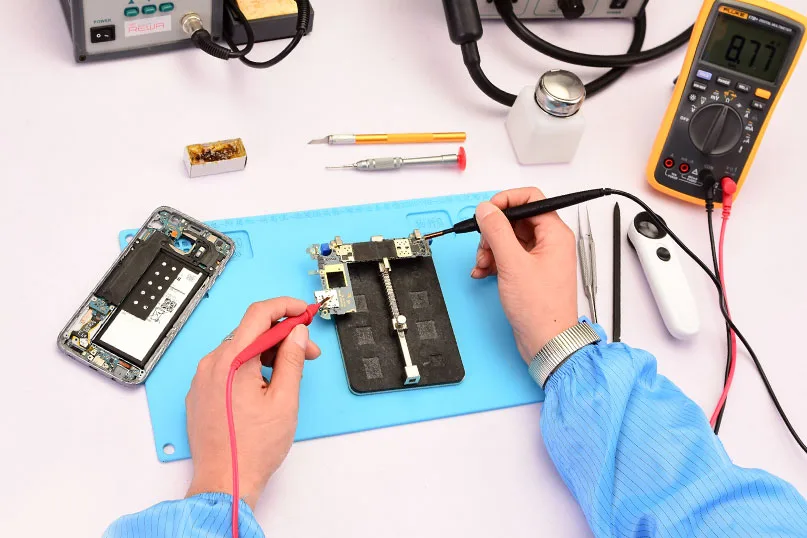
Expert Service – Samsung Chip Level Logic Board Repair
Have you got tough Samsung chip level logic board repair work? Ask REWA for support and we got a solution for you. Our network of repair services are positioned to offer efficient logic board repair and cracked screen repair services for all in need. We have a Samsung S7 edge glass replacement guide sometimes ago, now we provide Samsung chip level logic board repair with a wonderful price. Check it now!
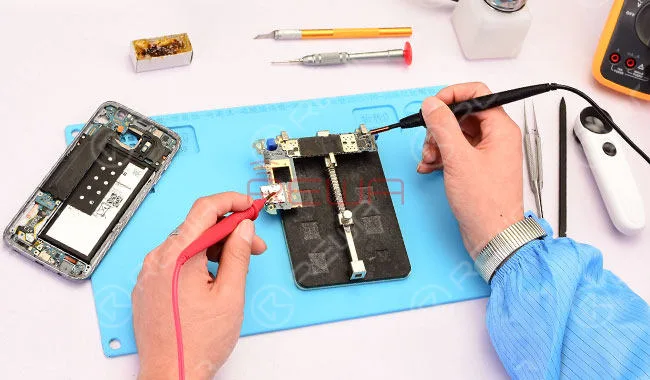
Advantages of Repair With REWA

One-stop Meets All
REWA is capable of supplying all of our customer’s needs within our services. Whatever your problem, no matter how big or small, our dedicated sales and customer service team will provide a competitive and reliable solution.
Prompt And Efficient
Don’t get into a spin with your unsolved problem, REWA offers prompt and efficient service for your emergency. Contact us now to solve your problem quickly and cheaply.
Leading Technology
Faced with a problem your experts may have a question with? Turn to REWA for support. Our experts and engineers are highly skilled and equipped to deal with a broad range of products like iPhone, Samsung, Huawei etc.(Such as our S7 edge glass replacement guide)
Transparent Service
Transparency creates trust! REWA believes that the best approach is to step outside of the business realm and into the human realm. Our customers are kept informed of all information they need from repair process to price details and so on.
How Samsung Chip Level Logic Board Repair Works
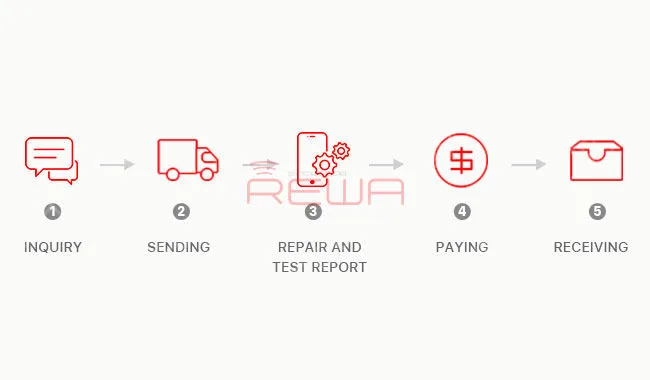
Samsung Chip Level Logic Board Repair Includes
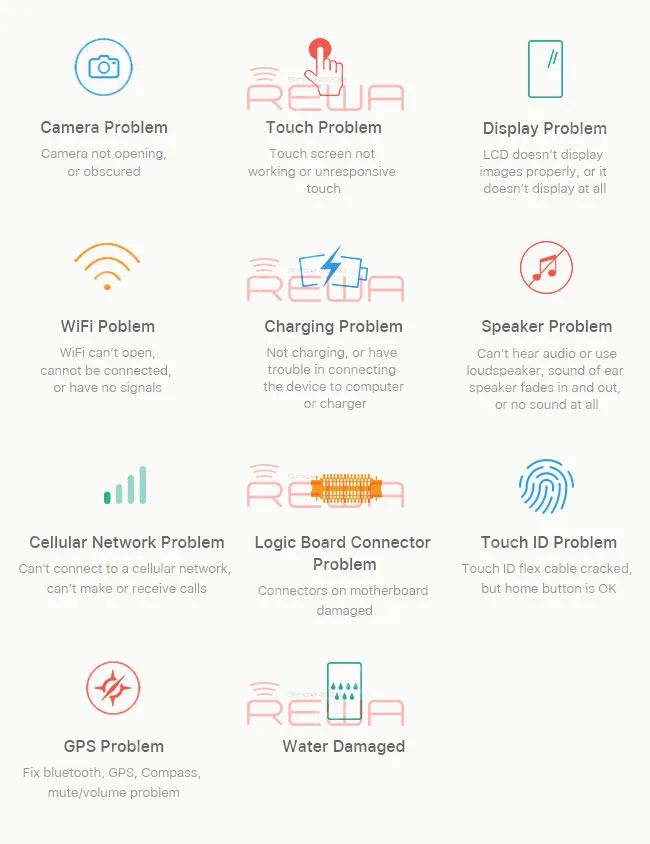
Samsung Chip Level Logic Board Repair – Models
S3, S4, S5, S6, S7, S8, Note 2, Note 3, Note 4, Note 5, Note 7
Customer Notification
Here are some details we would like you to know before sending out
1. All the replacement materials during the maintenance are original materials.
2. No repeat charges for the logic board with more than one fault (for CPU issue, the price of NAND flash and power IC should be borne by the client).
3. We don’t offer NAND flash replacing service for S3/S4/S5/Note2/Note3.
4. MOQ: 10PCS.
5. Customers shall be aware that repairing has a failure rate.
6. If you don’t accept our test report and decide to give up the repair service. You should bear the return shipping.
7. The repair charge depends on the exact damage and amount of damage to your device. We can only offer you an estimated repair price before repair completed.
Warranty policy
1. Please test all logic boards once you received the package. If you find any problem, please feedback to us immediately.
2. All repair service is covered by a 3-month warranty. For a quality issue that is related to us during this period, we will repair for free or refund your money.
REWA is one of the biggest cell phone repair supplier basic in China. In REWA, everything comes after quality. Here we have kinds of Samsung replacement parts, like LCD screen and touch digitizer assembly, flex cable, housing and etc.. Please feel free to contact us if you are interested.
-
How To Insert Two Nano SIM Cards And A Micro SD Card In Samsung
Warm Prompt:
1. Attention that you may break your SIM card, Micro SD card and/or Galaxy S7 Edge by these instructions.
2. Skilled technician is required for the operations.
3. This video is only for technique sharing.
4. The device in the video is dual-SIM card version Samsung S7 edge
Those who need the dual SIM cards on their device might have been disappointed with the Samsung Galaxy S7 Edge.Because you can either choose Extra Space; or Dual Sim with internal space.
How to insert two Nano SIM cards and a Micro SD Card in Samsung Galaxy S7 edge? Here we have the solution for you.
Tools & Materials list:
- Thermostatic LCD Hot Air Gun – Type 3
- Anti-static Plastic Tip Tweezer – ESD00
- Razor Blade
- Anti – static Glass Wiper
 English
 Español
 Français
 Deutsch
 Italiano