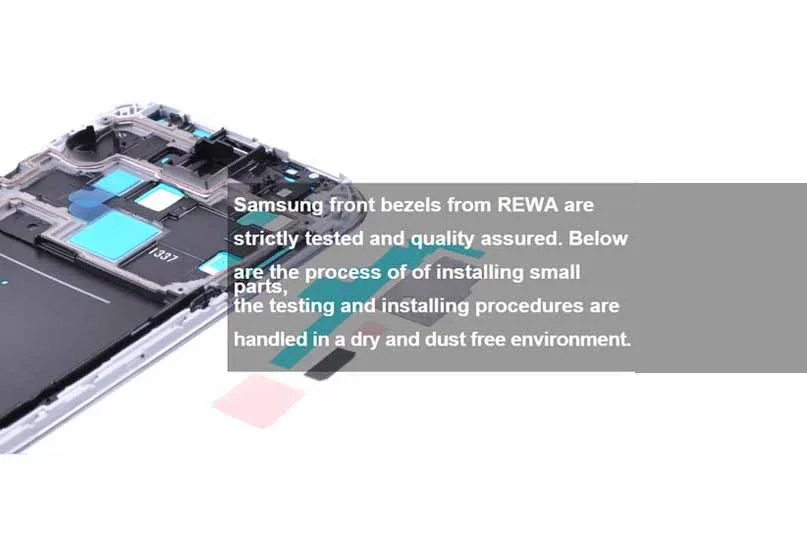
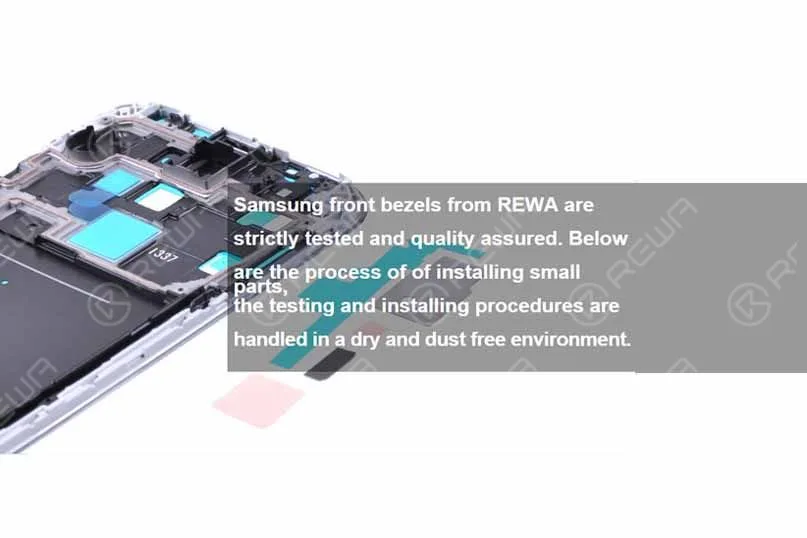
For many DIY enthusiasts, the thrill of disassembling and repairing cell phones goes beyond just replacing screens or malfunctioning components like ear speakers and cameras. But one often-overlooked aspect of these repairs is restoring the small parts to their original condition. Ensuring that these components are reinstalled correctly is crucial for maintaining the device’s functionality and longevity. In this guide, we’ll walk you through the professional process of installing small parts onto a Samsung front cover housing. Remember, all testing and installation should be performed in a dry, dust-free environment to avoid contamination.
Tools Needed
- Anti-static Rubber Finger Cots
- Anti-static Plastic Tip Tweezers (PS)-ESD259A
Small Parts Included
- Signal Light Plug
- Small Sponge
- Small Heat Sink
- Big Heat Sink
- Heat Sink Film
- Charging Port Adhesive
- Camera Plate
- Thermal Emission Paster
- Ear Speaker Mesh
- Front Bezel Adhesive
All these and more repair parts are available on our website REWA Shop
Operation Procedures
1: Install the Signal Light Plug
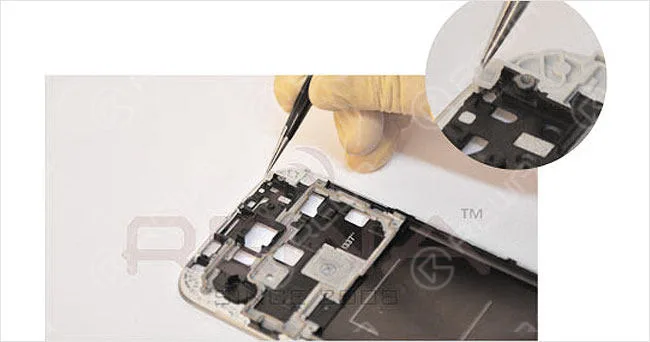
Place the Signal Light Plug on the top right corner of the cell phone’s front frame, on the rear side of the LCD screen.
2: Add the Small Sponge
Fill the top right corner of the front plate with the Small Sponge, ensuring it fits snugly.
3: Install the Small Heat Sink
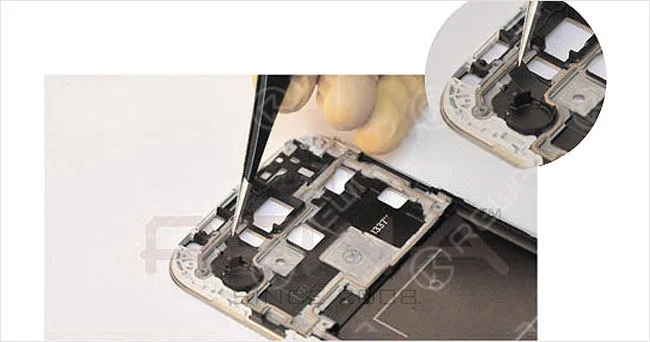
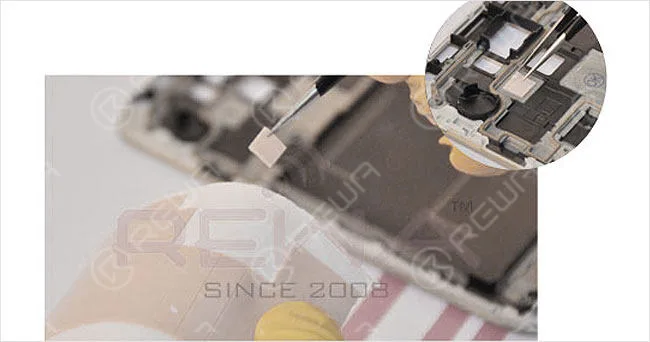
Position the Small Heat Sink at its designated location. The heat sink is essential for conducting and radiating heat from electrical components.
4: Install the Big Heat Sink
Similarly, install the Big Heat Sink in the corresponding location, ensuring it aligns perfectly.
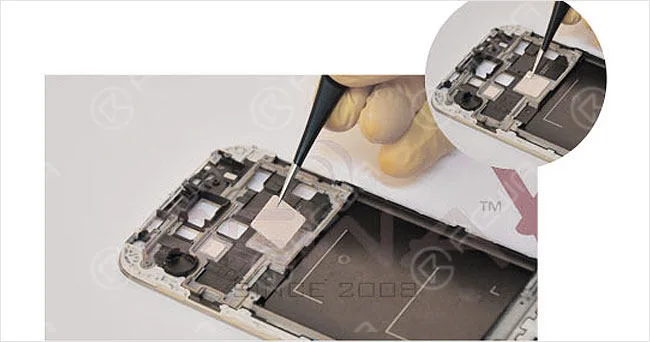
5: Laminate the Heat Sink Film
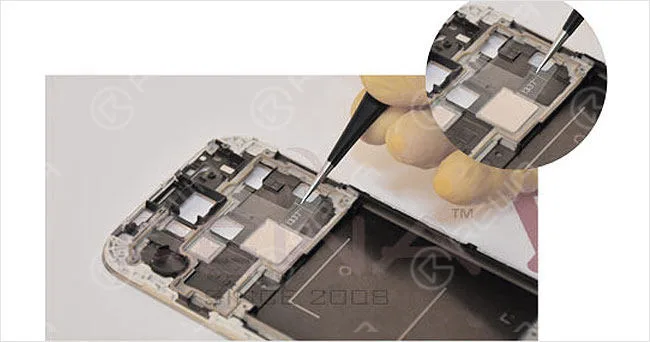
Place the Heat Sink Film directly above the big heat sink, ensuring it covers the entire area.
6: Apply the Charging Port Adhesive
Before applying the adhesive, clean the surface thoroughly to remove any dust, dirt, or grease. Use a lint-free cloth with alcohol or a silicone-free cleanser. Then, remove the protective foil and apply the Charging Port Adhesive Tape over the corresponding position on the front cover. Press firmly for at least 5 seconds to ensure a secure bond.
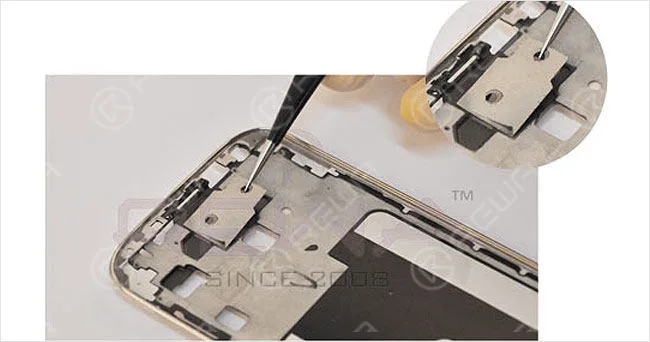
Note: During steps 1-6, the side where the small parts are fitted should be opposite the screen assembly side.
7: Install the Camera Plate
Using anti-static plastic tip tweezers, position the Camera Plate in the correct location.
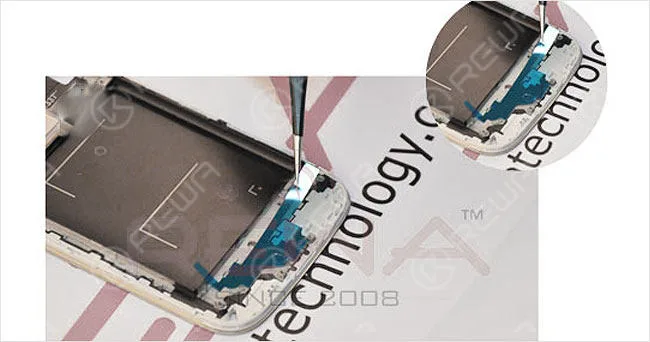
8: Apply the Thermal Emission Paster:
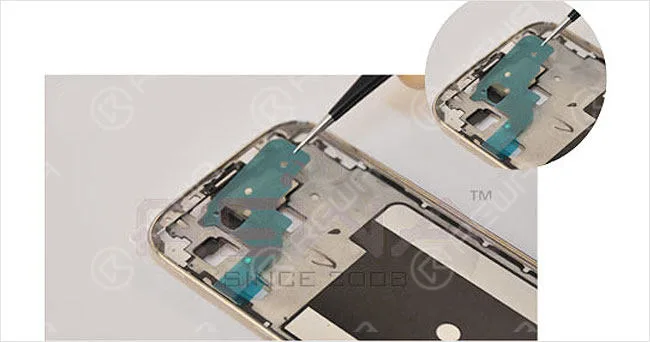
Just like the previous steps, install the Thermal Emission Paster on the front housing to manage heat distribution effectively.
9: Install the Ear Speaker Mesh
Carefully tuck the Ear Speaker Mesh into the tiny space using plastic tip tweezers to ensure it stays in place.
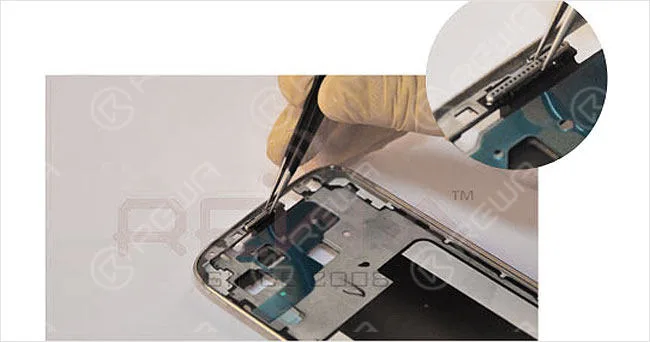
10: Apply the Front Bezel Adhesive Sticker Tape
For better adhesion between the LCD and digitizer touch screen assembly, apply the Front Bezel Adhesive Sticker Tape to the LCD supporting frame.
Reminder: The small parts in steps 7-10 are installed on the frontal side, where the screen is assembled.
Final Result
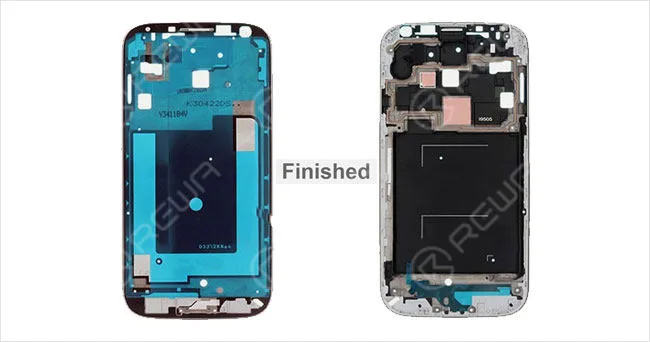
The finished Samsung front bezel with all small parts installed will function like new, with all components securely in place.
Conclusion
Successfully installing small parts onto a Samsung front cover housing requires precision and attention to detail. By following these steps, you can ensure that all components are correctly placed, leading to a professional-quality repair that restores your device to its original condition. Whether you’re a seasoned technician or an eager DIYer, mastering these techniques will help you achieve the best results in your phone repairs.
 English
 Español
 Français
 Deutsch
 Italiano