Tag: refurbishment

  • How to Refurbish Samsung Galaxy Z Flip4: Complete Screen & Mid-Frame Restoration Guide

    How to Refurbish Samsung Galaxy Z Flip4: Complete Screen & Mid-Frame Restoration Guide

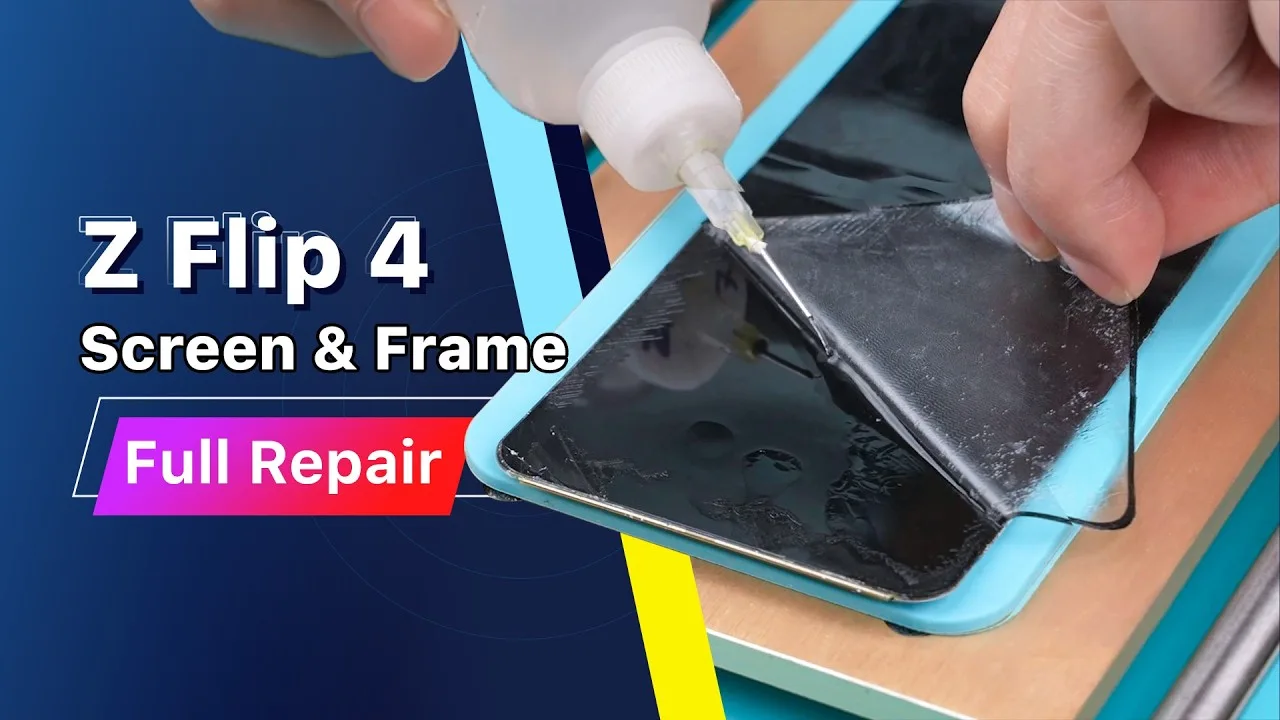
    Foldable smartphones like the Samsung Galaxy Z Flip4 are revolutionary — but also delicate. A cracked back cover, hinge damage, or screen issues like yellow tinting can ruin both functionality and appearance. Fortunately, these issues don’t mean you need a new device.

    In this comprehensive refurbishment guide, we’ll walk you through the step-by-step process to restore a damaged Samsung Z Flip4, addressing a yellow-tinted screen, replacing the back cover, and repairing the mid-frame. Whether you’re a repair technician, DIY enthusiast, or running a repair shop, this tutorial will help you transform a broken foldable into a like-new device.

    Step-by-Step Samsung Z Flip4 Refurbishment Process

    1. Initial Screen Testing

    • Turn on the device. Dial *#0*#
    • Check touch response and display functionality.
    • If both work normally despite screen tint, proceed with refurbishment.

    2. Remove the Back Cover

    1. Power off the phone.
    2. Place the phone on a heating pad set to 90°C (194°F) for 5 minutes.
    3. Insert an entry pick along the back cover gap and apply isopropyl alcohol.
    4. Slide toward the center hinge area using an opening card.
    5. Repeat the process for the upper back cover.

    3. Internal Disassembly

    • Apply a camera lens protective sticker.
    • Unscrew all metal plates.
    • Disconnect:
      • Battery flex cable
      • Hinge flex cable
      • Wireless charging coil
      • Bridge flex cable
    • Remove:
      • Front camera
      • SIM card tray
      • Motherboard
      • Charging port
      • Speaker assembly

    4. Screen Disassembly

    • Reheat the screen area.
    • Use IPA and spudger to lift the support frame and remove clips.
    • Insert an opening card — avoid cutting the display flex cable at the bottom.
    • Peel off adhesive and proceed carefully.

    5. Clean Screen Components

    • Place the screen on a separator and use electronic glue remover.
    • Clean with isopropyl alcohol, sponge, and lint-free cloth.

    6. Replace the Damaged Polarizer

    1. Insert 0.028mm cutting wire to remove the outer CPI film.
    2. Clean again.
    3. Use cutting wire to remove the polarizer — keep tension even and parallel.
    4. Clean surface with specialty solution and cloth.

    7. Apply New Polarizer & Laminate

    • Place screen in alignment mold.
    • Apply new inner film with polarizer layer.
    • Laminate and perform bubble removal.

    8. Reassemble the Device

    Mid-Frame Restoration

    • Pry up both batteries using IPA and blade (carefully).
    • Remove power button, speaker, hinge, waterproof strip, and hinge flex cable.
    • Clean hinge and install components onto the new mid-frame.
    • Test foldability before final connections.

    Final Assembly

    • Reinstall:
      • Motherboard
      • Front camera
      • Wireless charging coil
      • Charging port module
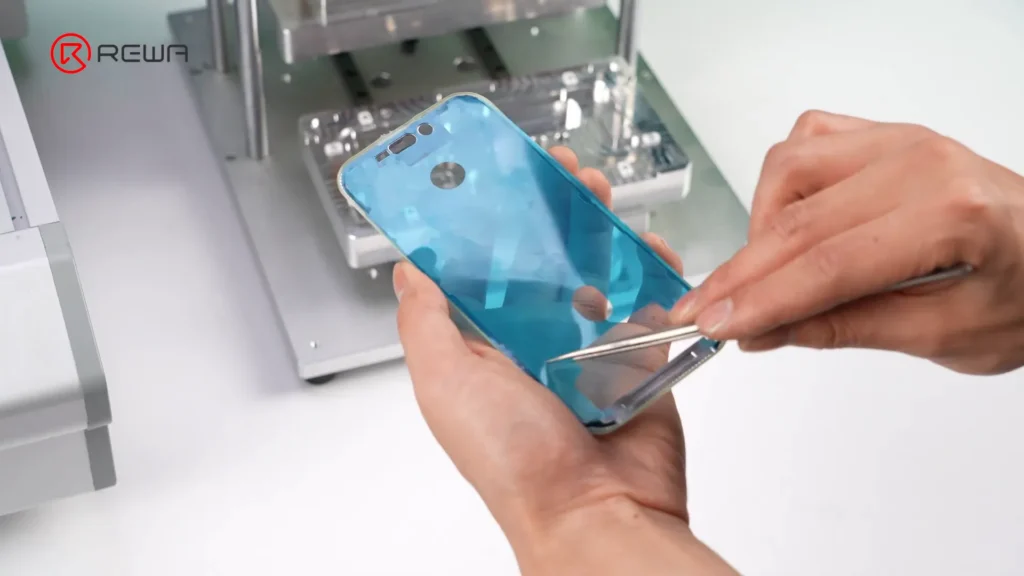
    • Apply screen adhesive, bond screen to mid-frame gently.
    • Use frame adhesive for support frame and clips.
    • Secure with tape until bonded.
    • Apply sealing tape on back cover, remove lens film, and reattach back cover.

    9. Final Testing

    Power on the phone and verify:

    • Screen works correctly
    • Touch is responsive
    • Folding mechanism functions smoothly

    The Samsung Galaxy Z Flip4 has been successfully refurbished!

    Tools & Parts List

    Tools Used:

    • Heating pad (90°C)
    • Entry pick & opening card
    • Isopropyl alcohol (IPA)
    • Spudger, tweezers, screwdrivers
    • Lint-free cloth, sponge
    • Electronic glue remover
    • Separation machine, cutting wire
    • Alignment mold, laminator, bubble remover
    • Protective stickers, adhesive tapes

    Replacement Parts:

    • New mid-frame
    • Inner film with polarizer
    • Back cover
    • Hinge flex cable
    • Waterproof strip

    Glossary of Terms

    • Polarizer: Controls light direction in the display. Damaged polarizers cause discoloration like yellow tinting.
    • CPI Film: A transparent layer protecting the flexible screen surface.
    • Lamination: Bonding display layers using pressure and heat.
    • Hinge Flex Cable: Sends signals across the folding hinge. A common failure point in foldable phones.

    Repair Key Points:

    • When separating the bottom screen, do not slide the opening card all the way down. A display flex cable lies at the bottom. Stop at the position shown on the screen.
    • When separating the inner film (polarizer with UTG) from the display layer, it is recommended to use a 0.028mm cutting wire, pulling gently to avoid damaging the display layer.
    • The hinge flex cable is fragile; handle it carefully during removal and installation to prevent irreversible damage.

    Conclusion

    Refurbish Samsung Galaxy Z Flip4 isn’t just possible — it’s practical and rewarding. By carefully replacing the polarizer and back cover, restoring the hinge, and reassembling the phone step-by-step, you can turn a damaged device into a like-new foldable phone.

    Whether you’re a repair shop technician or advanced DIYer, this guide will save costs, reduce e-waste, and improve repair confidence. Be sure to test all functions post-assembly for the best result.

    Tips & Resources

    • 🔗 Check our YouTube channel for the hinge flex cable repair video.
    • 📸 Add repair images or video snippets for better clarity.
    • 🕒 Estimated repair time: 2–3 hours | Difficulty: 🔧🔧🔧🔧 (Advanced)
  • iPhone 16 Pro Screen Refurbishment: A Step-by-Step Guide

    iPhone 16 Pro Screen Refurbishment: A Step-by-Step Guide

    iPhone 16 Pro screen refurbishment is a cost-effective and safer alternative to a full-screen replacement. While many technicians find front glass refurbishment is challenging, and time consuming. So REWA have developed a safer and more efficient method. This guide will walk you through each step of the refurbishment process, ensuring superior results.

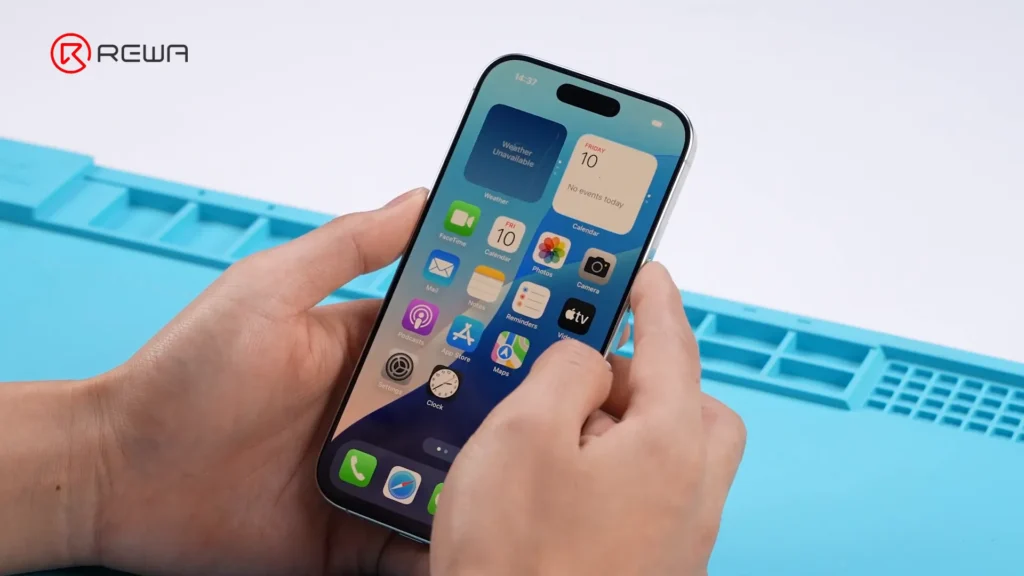
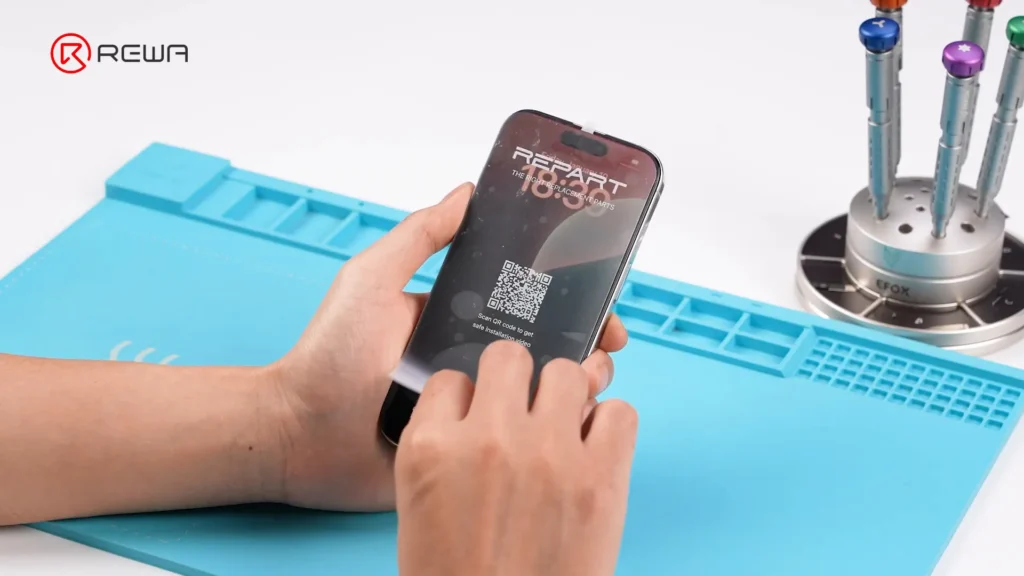
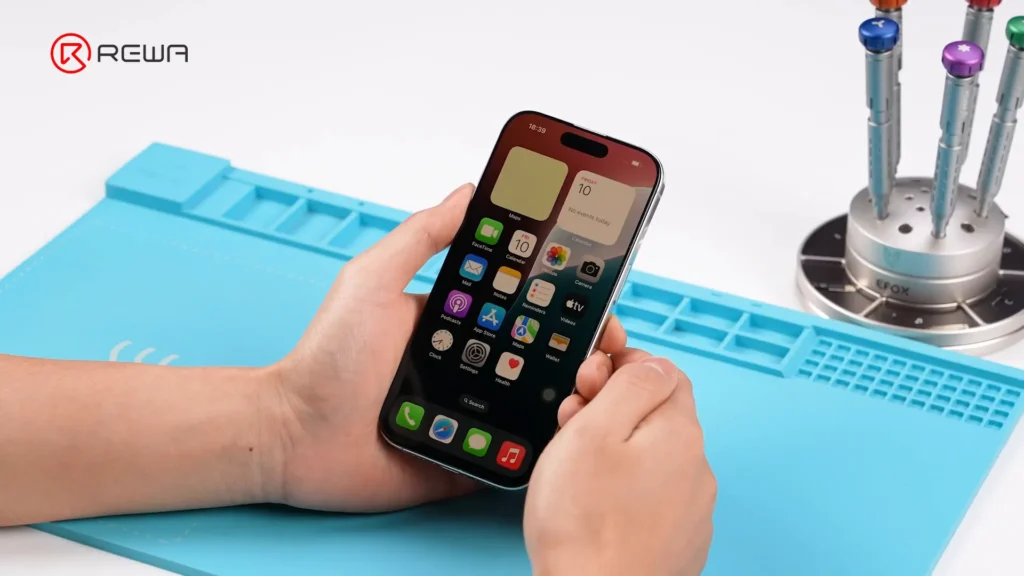
    Step 1: Verify Touch and Display Functions

    Before starting the refurbishment, it’s essential to verify your iPhone 16 Pro’s touch and display functions.
    This will help you identify any existing issues before beginning the repair.

    verify touch and display functions

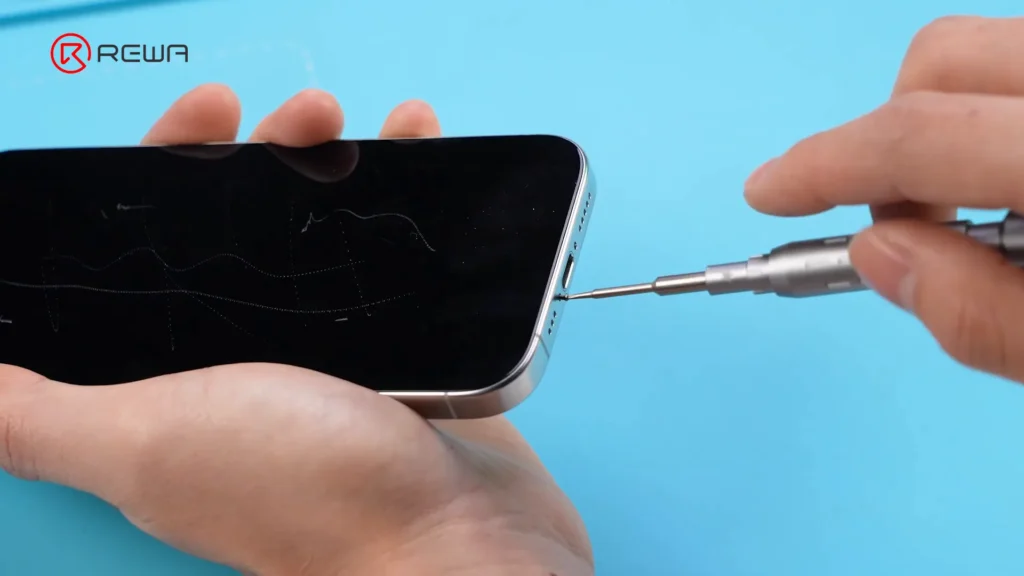
    Step 2: Disassemble the Screen

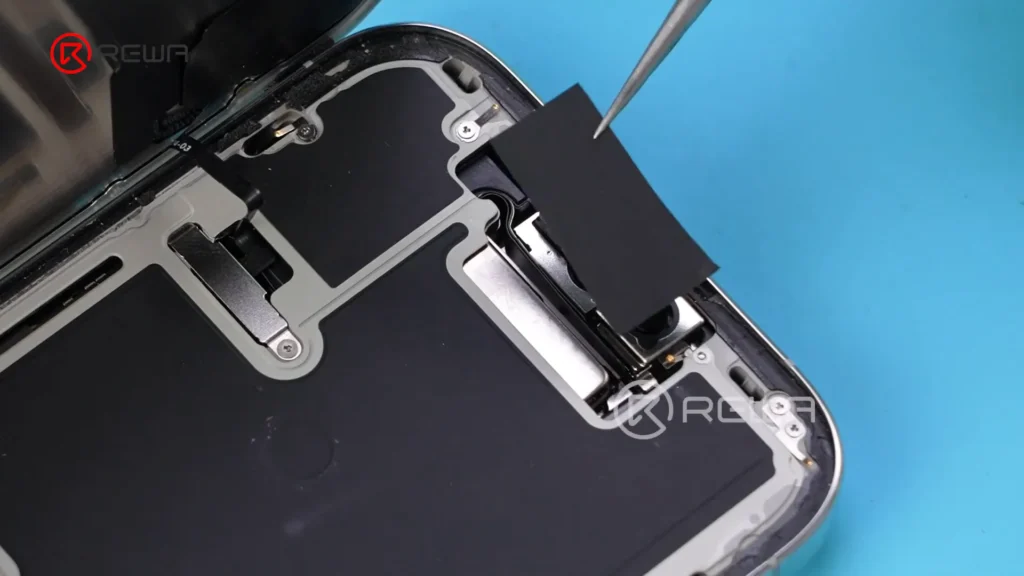
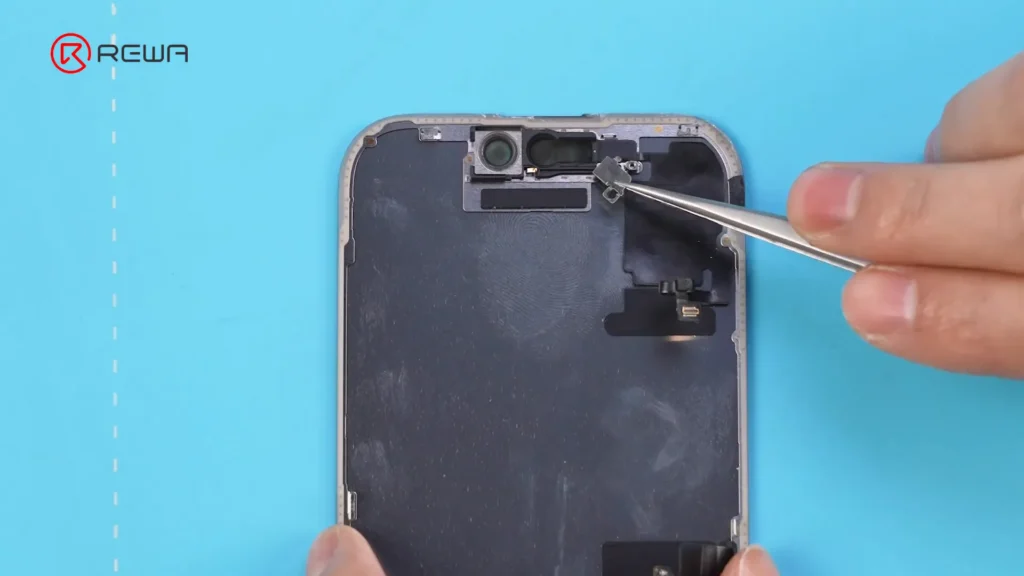
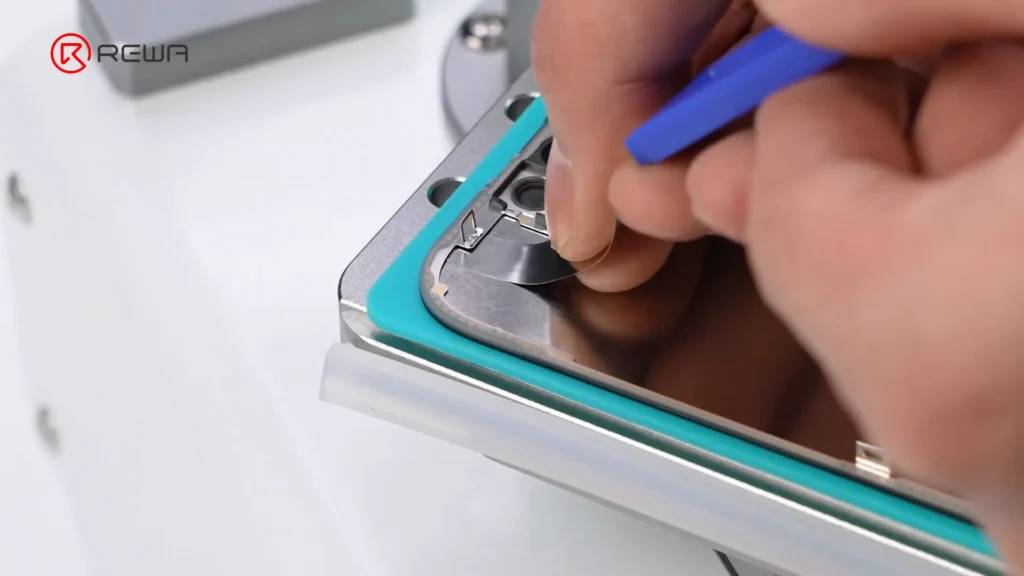
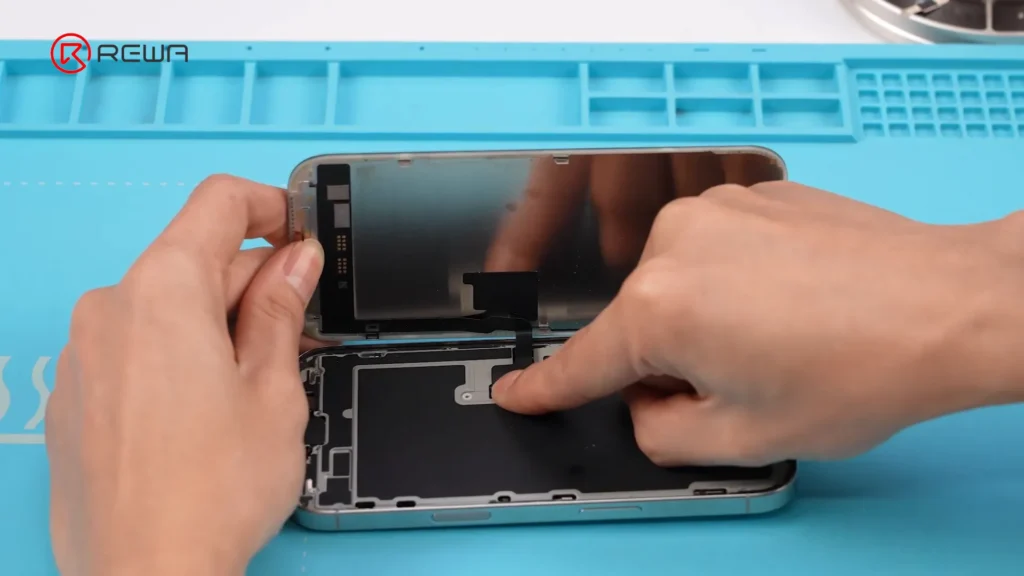
    Carefully disassemble the screen using pentalobe screwdriver while ensuring that you cover the front cameras with a sticker to protect them from laser exposure.

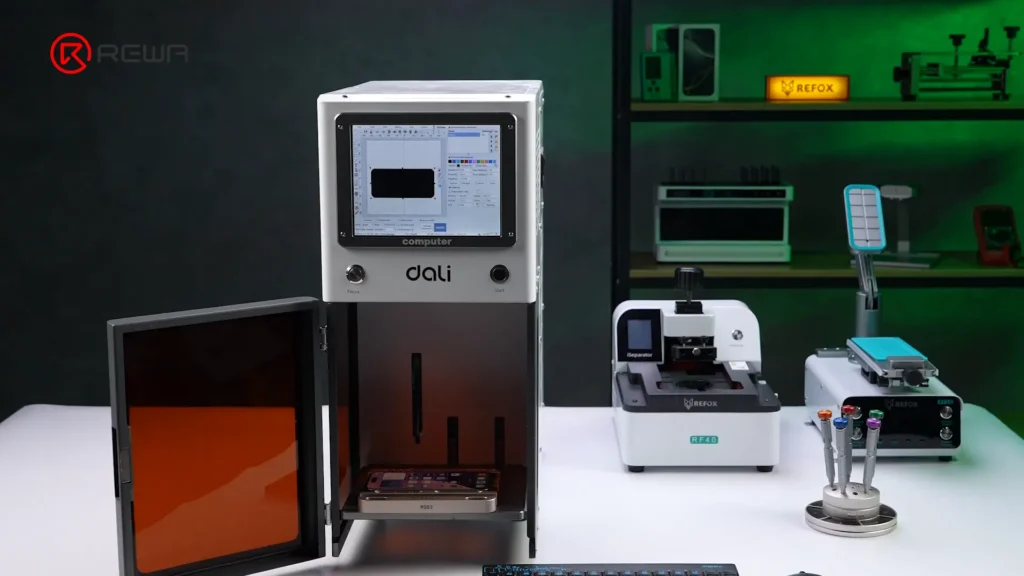
    Step 3: Use a UV Laser Machine

    Start by treating the screen with a UV laser machine. In this tutorial we used DALI K300 UV Laser machine which can be found on REWA Shop. This tool softens the OCA and silk print, making glass separation much easier. Select the appropriate diagram to treat the entire screen, and verify the screen function after the laser treatment.

    uv laser machine for phone repair

    Step 4: Remove the Front Sensor Assembly

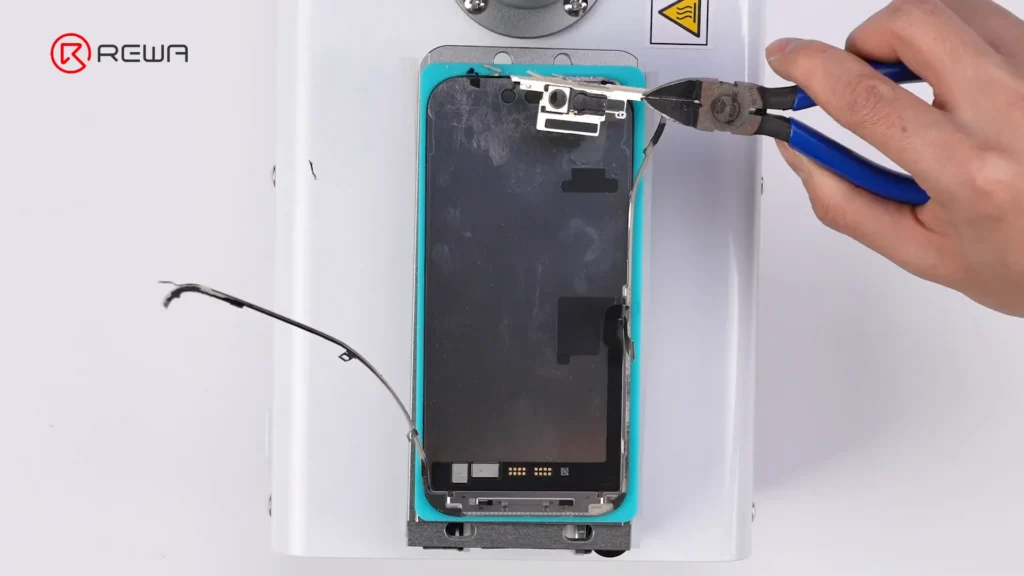
    Remove the front sensor assembly carefully. The iPhone 15 and 16 series utilize injection molding to bond the frame bezel, making traditional removal methods risky due to potential flex damage. With laser treatment, frame removal becomes safer and easier.

    remove front sensor assembly

    Step 5: Remove the Frame

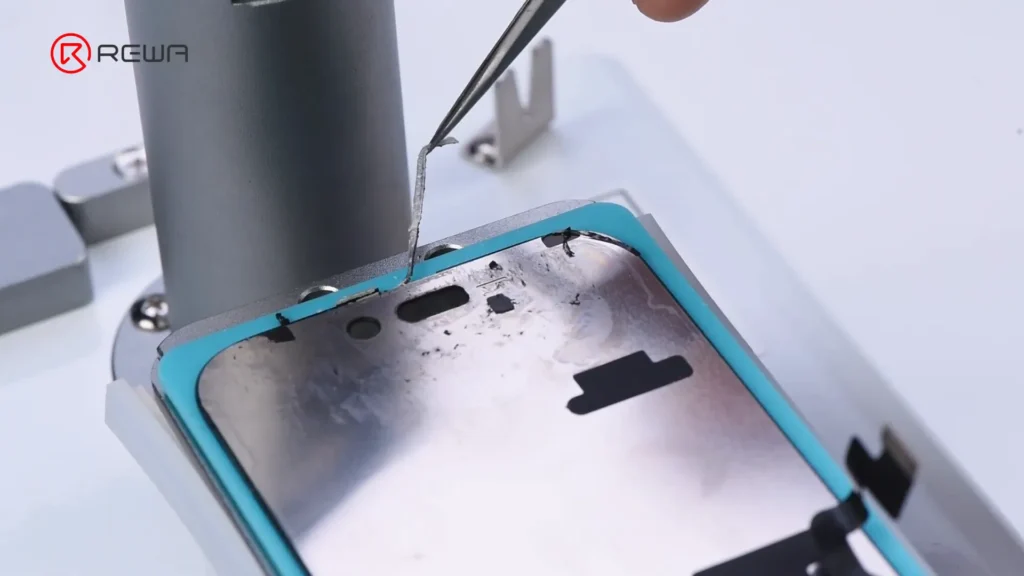
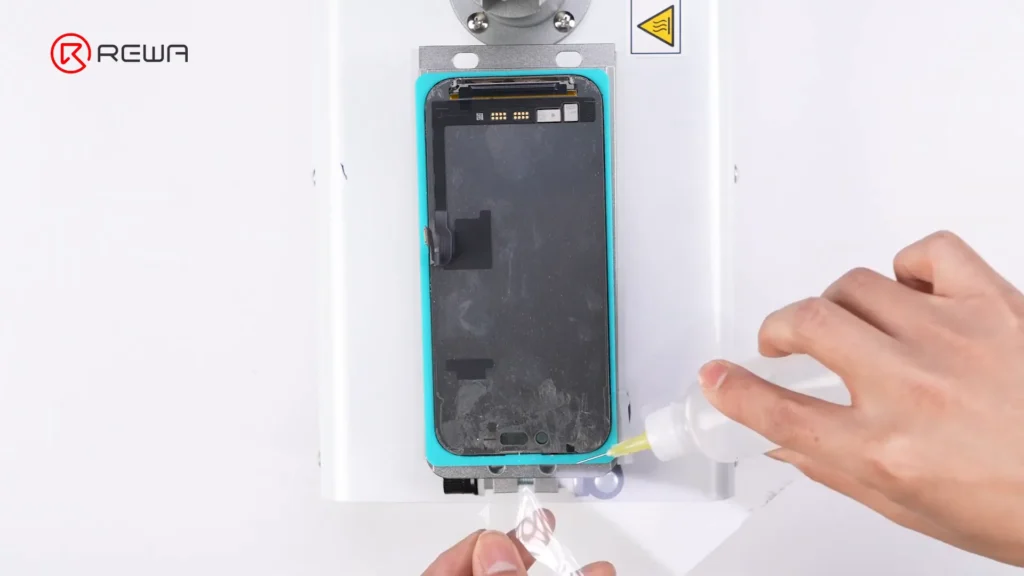
    Next, use a soft pry knife to guide around the frame bezel, adding some alcohol along the way to ease the process. The laser treatment significantly reduces the risk of damage, especially near the flex cable.

    Step 6: Clean Adhesive Residue

    After removing the frame, clean the adhesive residue thoroughly. This step is crucial for ensuring a smooth installation of the new glass.

    clean adhesive residue

    Step 7: Separate the Front Glass

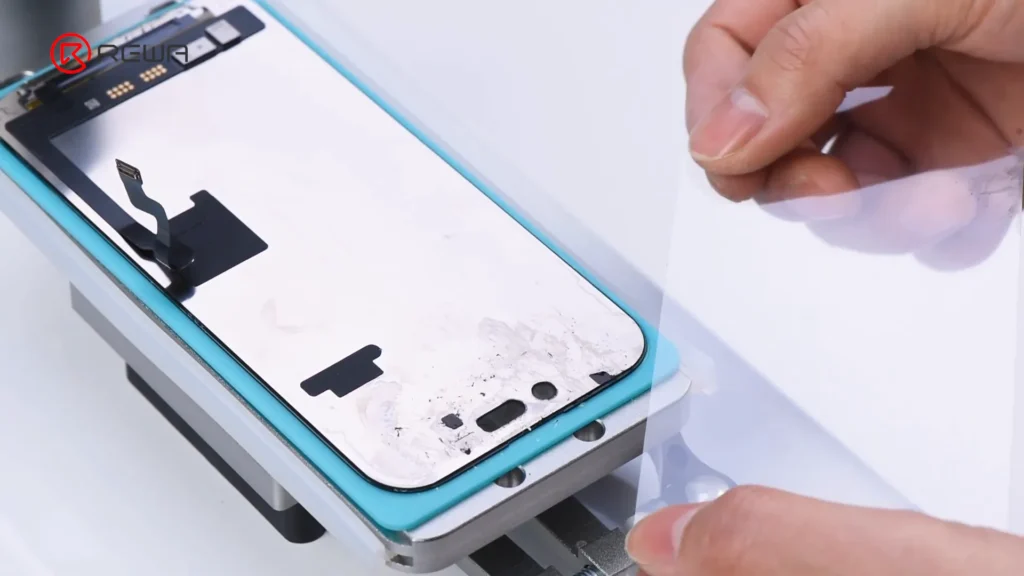
    Now, it’s time to separate the front glass. Instead of using cutting wire, we recommend using a protection film along with some alcohol. This method is not only easier but also eliminates the need for cutting wire.

    Step 8: Clean OCA Residue

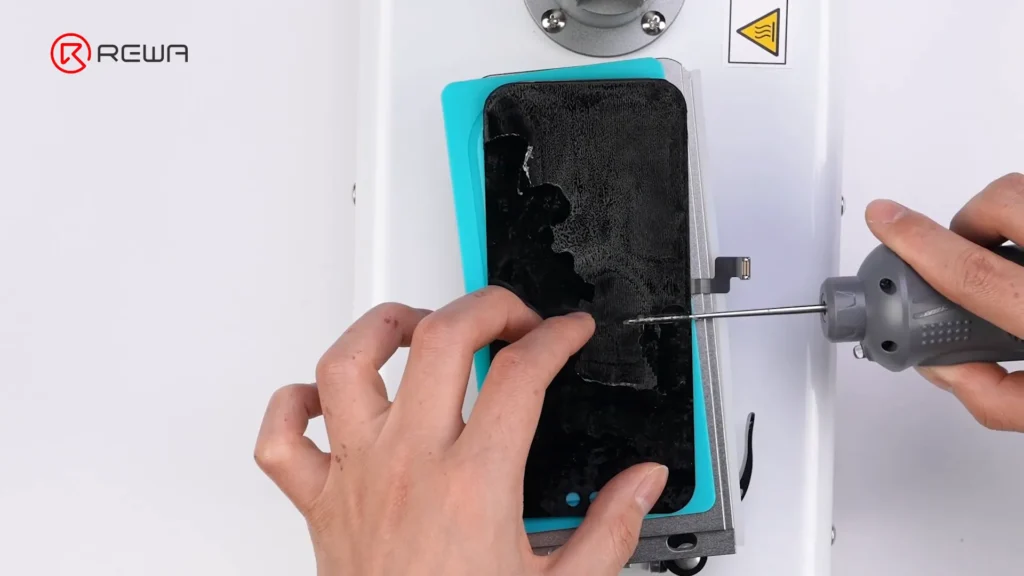
    To clean the OCA residue, use an electric glue remover. This tool provides consistent pressure and steady movements, reducing the risk of damaging the OLED display.

    Clean OCA Residue

    Step 9: Install the New Front Glass

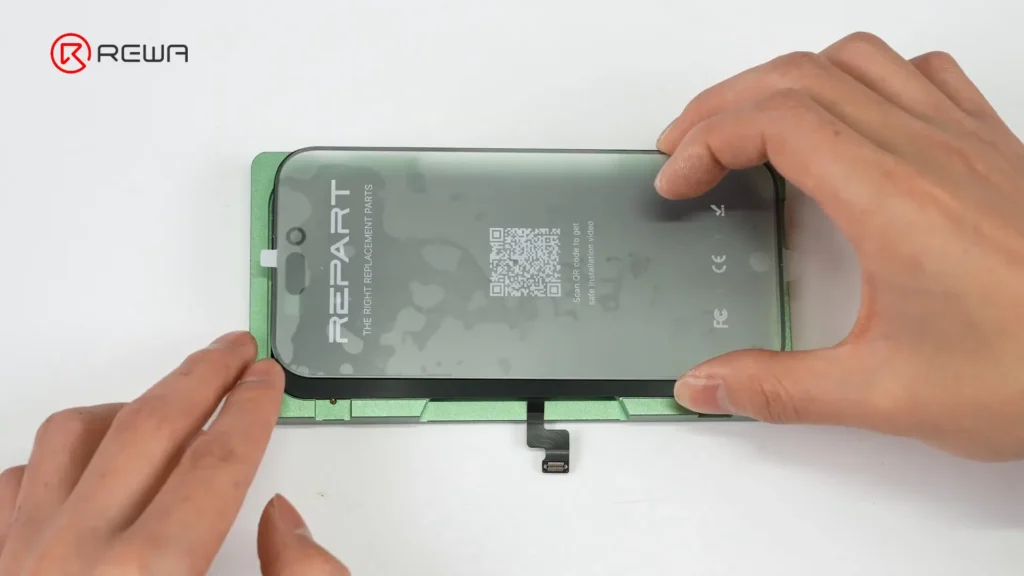
    Install the new front glass using a dust-free hood to ensure a clean, particle-free environment. An alignment mold is essential here, as it guarantees precise alignment and reduces the risk of air bubbles caused by operational errors.

    Installing the new front glass with alignment mold

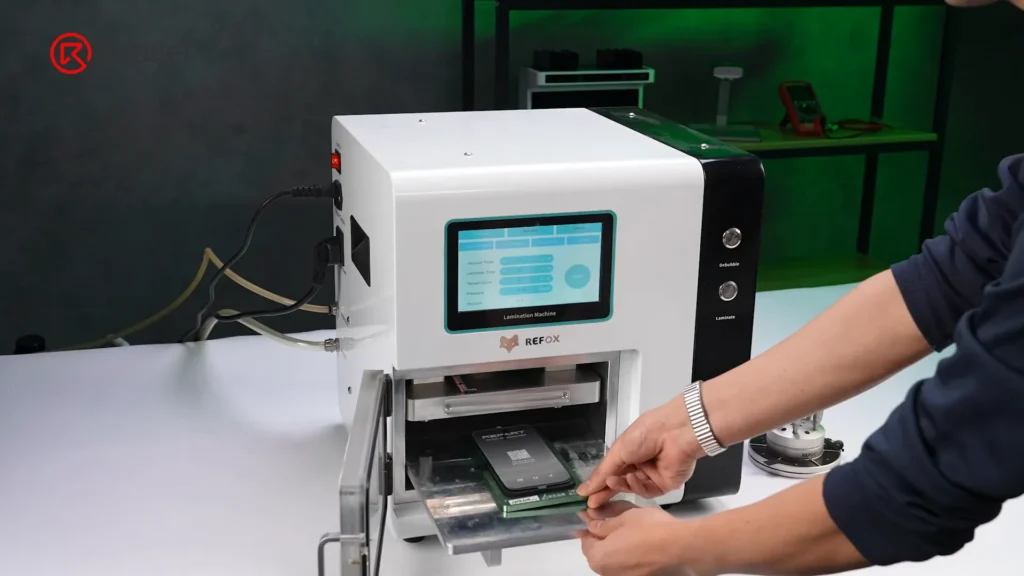
    Step 10: Laminate the Screen

    Place the screen into a laminating machine to laminate it, and then transfer it to a debubbling chamber to remove any air bubbles that may have formed during the process.

    laminate the screen

    In this tutorial, we used the REFOX FM50 Screen Laminating Machine. It is available for purchase in the REWA Shop.

    Step 11: Install the New Frame

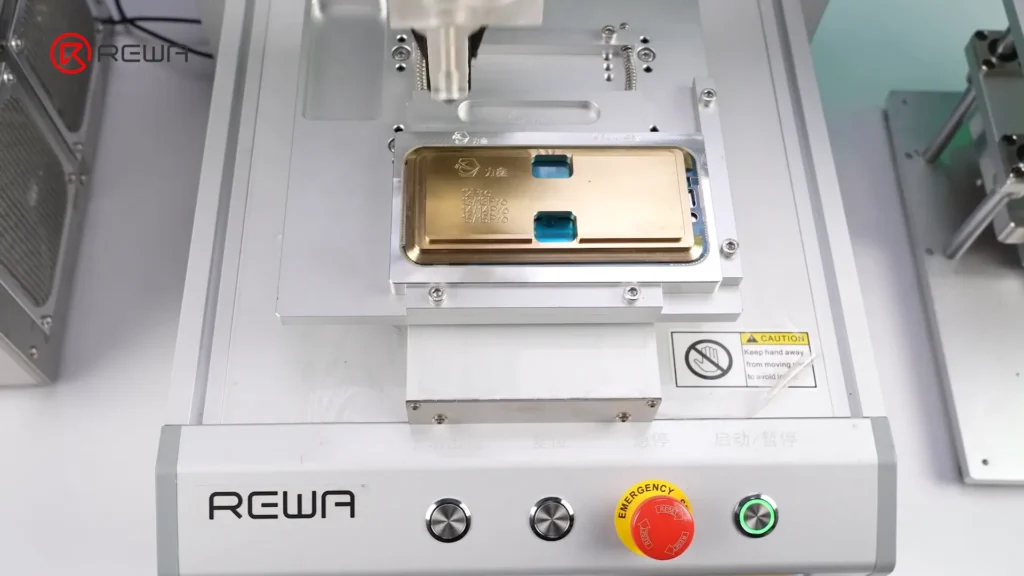
    When it comes to installing the new frame, use an automatic glue dispenser to apply adhesive precisely and evenly. This ensures consistent bonding and reduces manual errors.

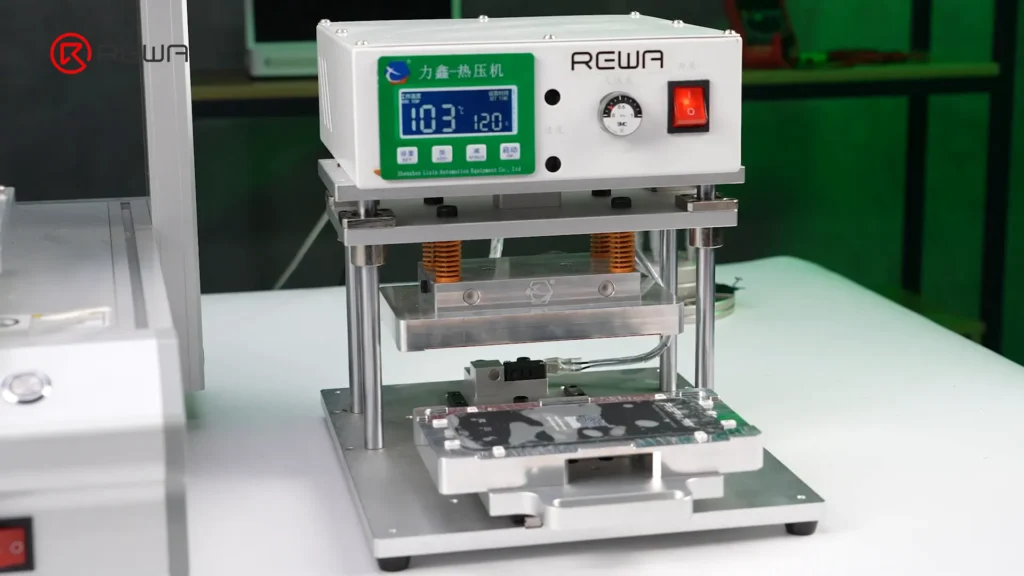
    Step 12: Heat Press the Frame

    Finally, use a heat press machine to press and secure the frame. After pressing, check if the frame installation is secure enough.

    Congratulations, your iPhone 16 Pro screen is fully restored!

    Tips and Tricks

    • Always verify the touch and display functions before starting the repair.
    • Cover sensitive areas with stickers to prevent damage during the laser treatment.
    • Using a UV laser machine can significantly ease the glass separation process.
    • Utilize an alignment mold to ensure perfect alignment and reduce mistakes.
    • Practice and skill are essential, but the right tools can greatly improve efficiency and quality.

    By following these steps and using the right tools, you can refurbish your iPhone 16 Pro screen effectively and safely. For those who want to dive deeper into the screen refurbishment, consider enrolling in the Screen and Back Glass Refurbishing Course.

  • Higher Efficient Back Glass Refurbishment

    Higher Efficient Back Glass Refurbishment

    Since the beginning of 2018, REWA has launched three back glass refurbishing solutions, including the application of our hot selling Laser Machine. Actually, we have been frequently consulted these days by clients. What’s the difference between the three solutions?” Well, check our video today and you will find the answer!