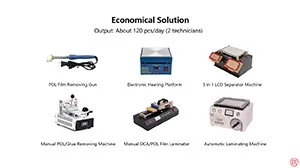
With 7 machines in total, this economical broken LCD screen refurbishing solution features high cost performance, offering an output of 120 pieces per day, which is specially for small factories. Please check the video for the more efficient and economical mobile phone glass-only repair solution.
Tag: refurbishing
-
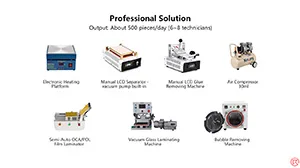
Professional Solution – REWA Mobile Phone Broken LCD Screen Refurbishing Solution V4.0
With 9 machines in total, this professional broken LCD screen refurbishing solution features high efficiency, offering an output of 500 pieces per day, which is specially for mass production factories. Please check the video for the professional cell phone broken screen glass-only repair solution with high efficiency.
-
REWA Broken LCD Screen Refurbishing Training – Front & Back Glass Replacement
Broken screen/glass back is the most frequent issue encountered by mobile phone repair technicians. According to incomplete statistics, broken screen/glass back repair accounts for 60% of a repair shop’s business. Now with the continuous upgrading of the manufacturing technology of screen&glass back, together with the fast growing of 5G networks, mastering the glass refurbishing technology will definitely become a strong guarantee for you to maintain competitiveness and increase income. Enroll our June front&back glass refurbishing training course here now.
-
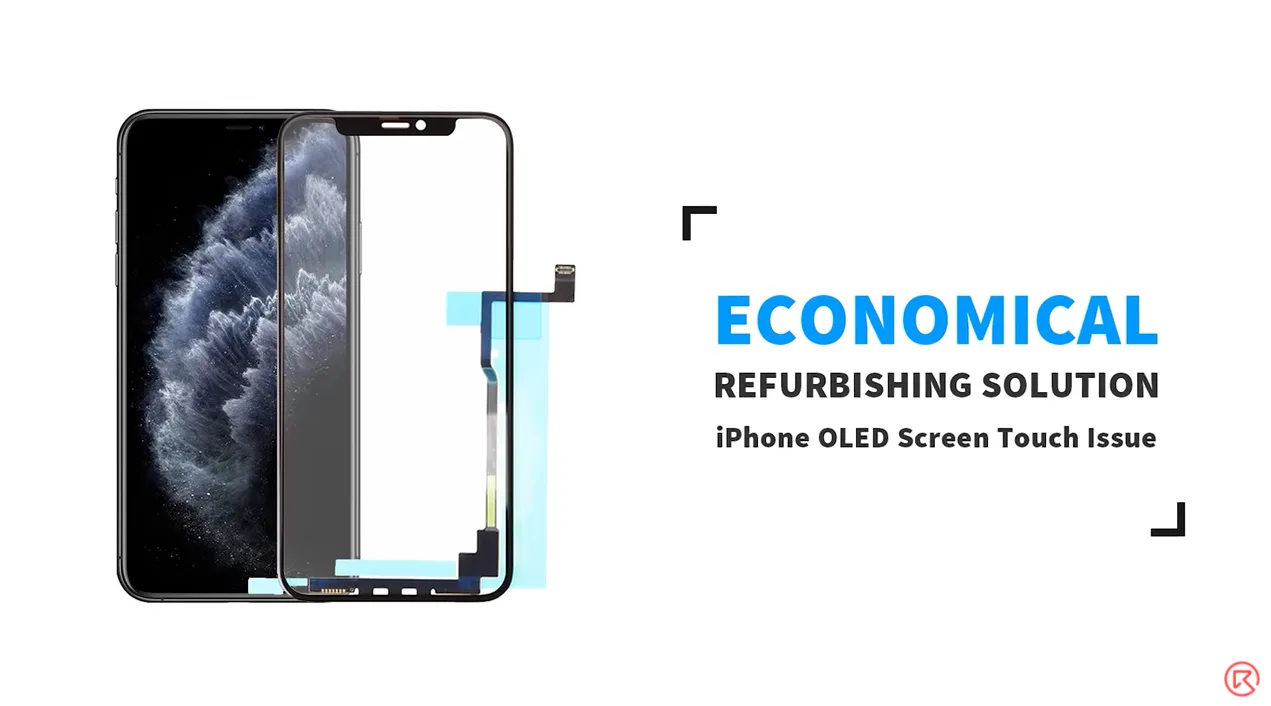
The Cost-effective Refurbishing Solution for iPhone Screen Touch Issue (iPhone 11 Pro Max Demo)
Most of the time the touch issue of iPhone X and above is a screen/motherboard issue. For touch issues caused by screen malfunction, a screen replacement is usually the solution adopted by repair shops. The operation of screen replacement is simple but the price of a new screen is high. It’s time for you to make a change and stand out from competitors in your city with this brand new and cost-effective refurbishing solution – touch panel replacement.
- 00:00 Intro
- 01:11 Bezel Removing
- 03:15 TP Separating
- 05:10 Glue Removing
- 07:00 Laminating
- 13:03 Test
-
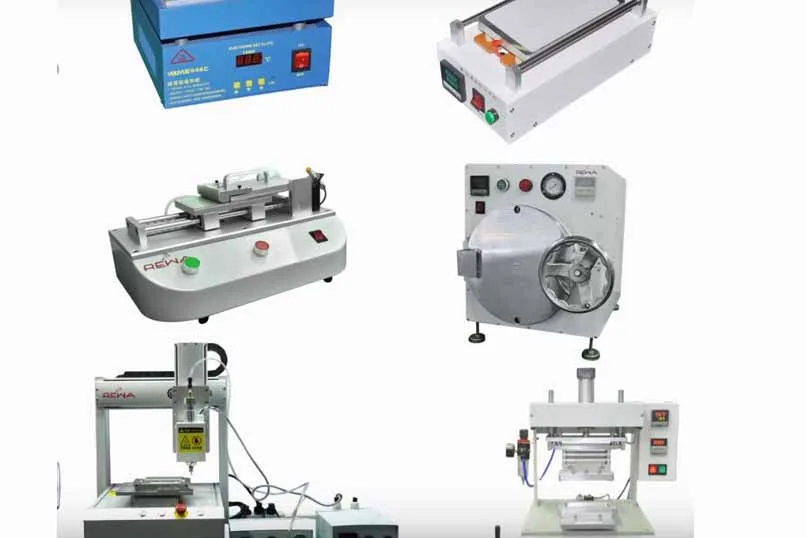
REWA Mobile Phone LCD Refurbish Solution v2.0 – Professional Solution
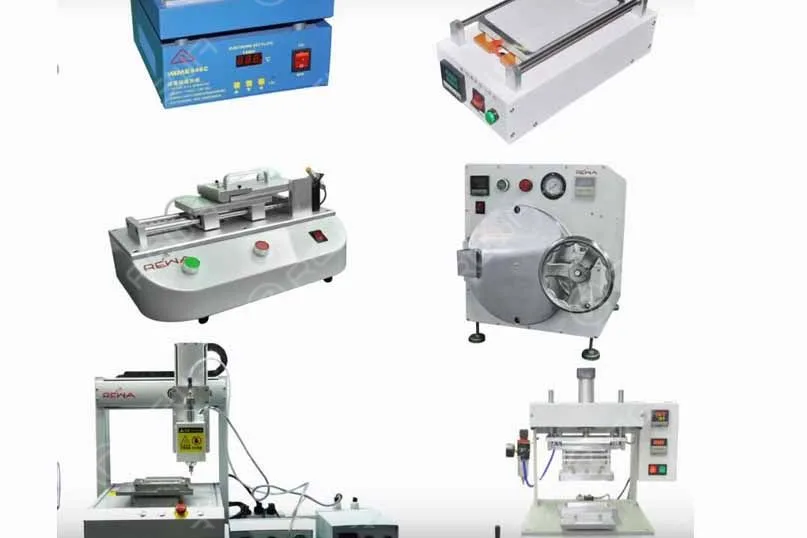 In the early days, mobile phones were still using the capacitive touchscreen and were refurbished by replacing the damaged touch screen with a new one. But now it is impracticable with the popularization of integrated in-cell technology applied into cell phone screens in recent years. On the other hand, because of the vast expense of repair with original LCD display , customers and service suppliers try the best to lower cost by making the most of existing resources, the trend of cell phone display refurbishing gets clearer and clearer. And innovative methods are required urgently whether in the economic side or environmental aspect.
As the advocator and practitioner of the idea that maximizing the use of mobile phone in after-sale industry, REWA has developed three solutions for clients with different requirements through long-term exploration and optimization. Therefore, we are striving to provide the top-level solutions to meet different requirements of the parts distributors, wholesalers, refurbishing factories, repair facilities as well as online resellers.
What’s more, we are also upgrading our solutions when necessary, to maintain the efficiency and competitiveness of each solution.
-
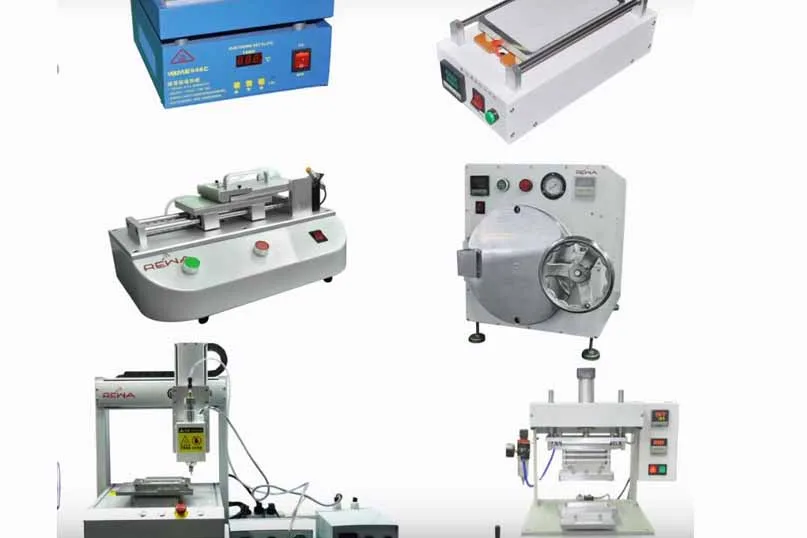
REWA Mobile Phone LCD Refurbish Solution v2.0 – Economical Solution
REWA Technology launched Mobile Phone LCD Refurbish Solution V2.0 which considerately designed to include THREE independent solutions: Primary, Economical and Professional which cover the complete processes of broken screen recovery. Today let’s have a good knowledge of the first one.
The economical solution is the upgraded version of the primary one, which is designed for small factories. As a transition solution, it makes up for the low efficiency and productivity in the former solution, the economical is with 8 machines in total.
-
The Cost-effective Refurbishing Solution for iPhone Screen Touch Issue
Most of the time the touch issue of iPhone X and above is a screen/motherboard issue. For touch issues caused by screen malfunction, a screen replacement is usually the solution adopted by repair shops. The operation of screen replacement is simple but the price of a new screen is high. It’s time for you to make a change and stand out from competitors in your city with this brand new and cost-effective refurbishing solution – touch panel replacement. Before we introduce the new solution, let’s check out the difference between screen replacement and touch panel replacement.
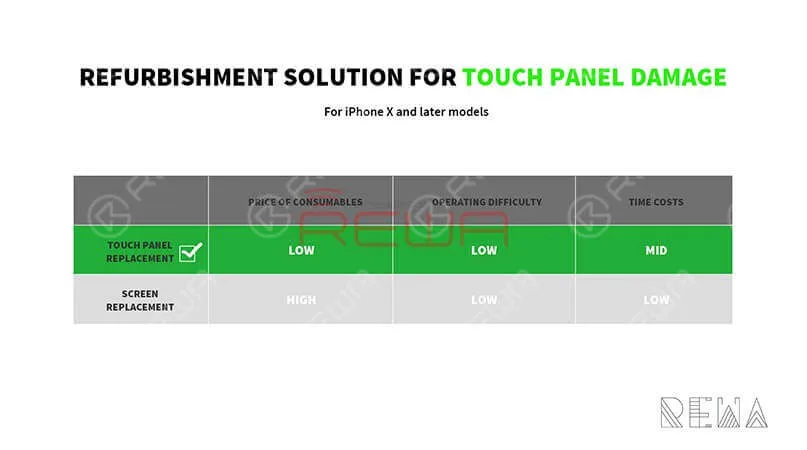
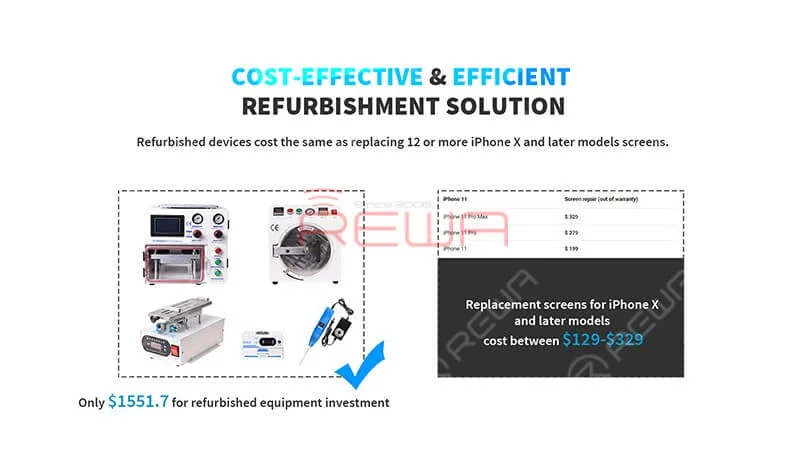
We can see from the figure above that the touch panel replacement solution helps repair shops save more money than the other one. This Refurbishing Solution mainly uses the following equipment:
Rotatable Curved Screen LCD Separating Machine
Curved Screen Laminating Machine
iPhone 11 PRO MAX Touch Screen Digitizer
Refurbishing Guide
Bezel Removing
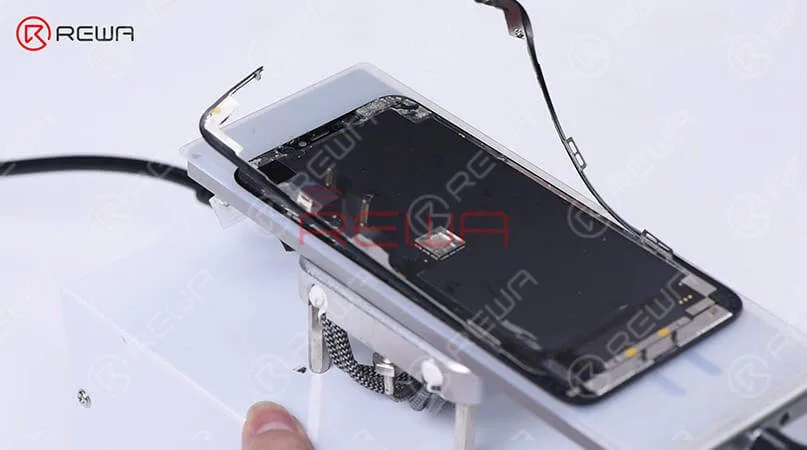
Slice through adhesive sealing the top edge of the bezel, and then cut the top bezel open with the Cutting Nipper.
TP Separating
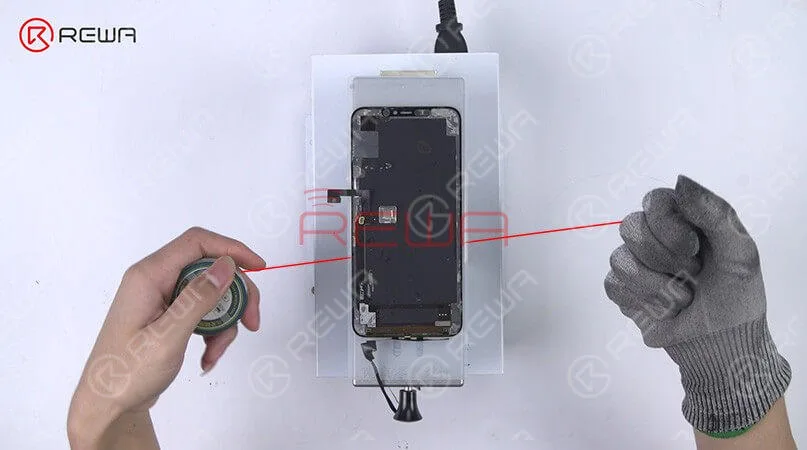
separate the TP flex cable and the display flex cable first. Set the LCD Cutting Wire to the gap between TP and OLED. Keep pulling the wire back and forth to separate OLED from TP and the glass lens.
Glue Removing
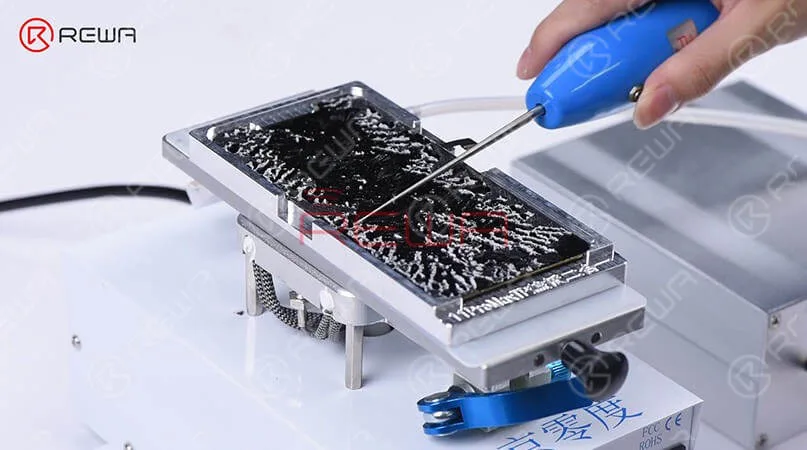
Place the OLED into the adsorption mold and remove residual glue with the Electric Glue Removing Device.
Laminating
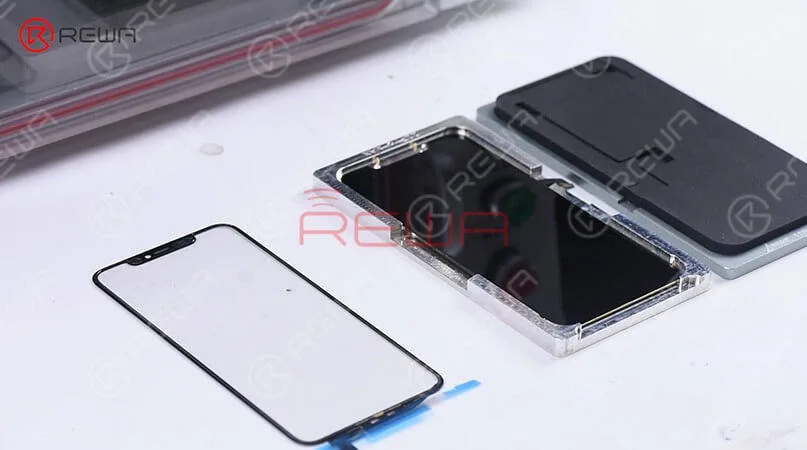
Put the OCA+TP laminated glass lens into the bubble removing machine. Take it out and make sure there is no bubble inside. Attach the OCA+TP laminated glass lens to the OLED, and then adhere the TP flex cable to the right position. Place the OLED screen assembly into the laminating mold. Next, put it into the laminating machine. Once finished, solidify the OLED screen assembly in the High Power UV Lamp for 3 minutes.
Test
Get the OLED screen assembly connected. Run function test.
Get Free Gift From SHOP.REWA.TECH. Buy any of the products below and get a free refurbishment course. For more information about this Promo, please contact your account manager.
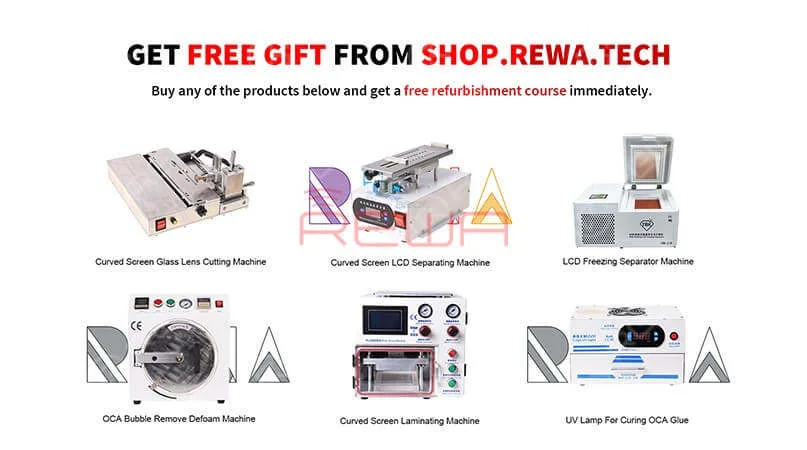
For more details on this Refurbishing solution, please go to REWA YouTube channel.
-
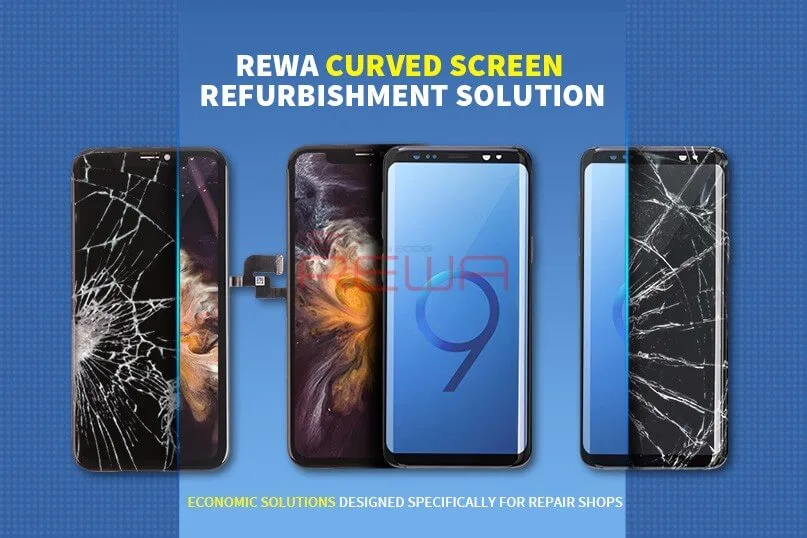
Samsung Galaxy S9/S9+ Cracked Screen Glass Only Repair – Refurbishing Solution V5.0
With the emergence of more and more curved-screen mobile phones on the market, curved-screen technology becomes more and more complicated, adding the difficulty of curved-screen refurbishing. The release of the Samsung S9 series also brings a new challenge since traditional curved-screen refurbishing solutions with freeze assistance cannot meet its need. That’s why we bring you this latest curved-screen refurbishing solution with heat assistance, which can meet the refurbishing needs of most curved-screen and flexible-screen mobile phones.
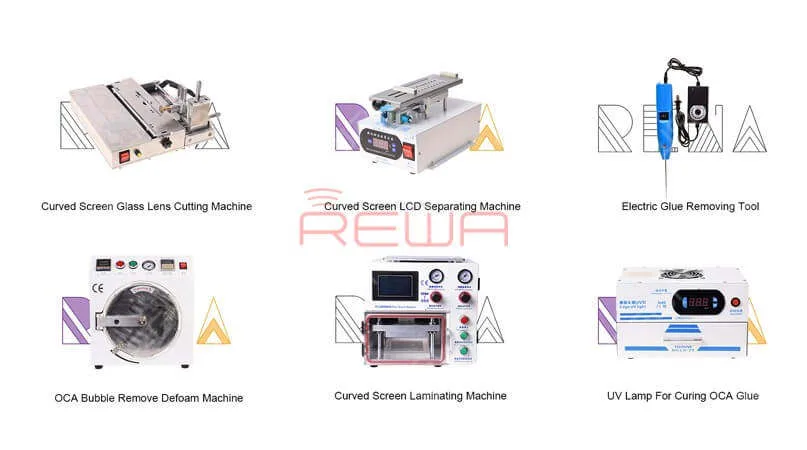
This Refurbishing Solution V5.0 mainly uses the following equipment:
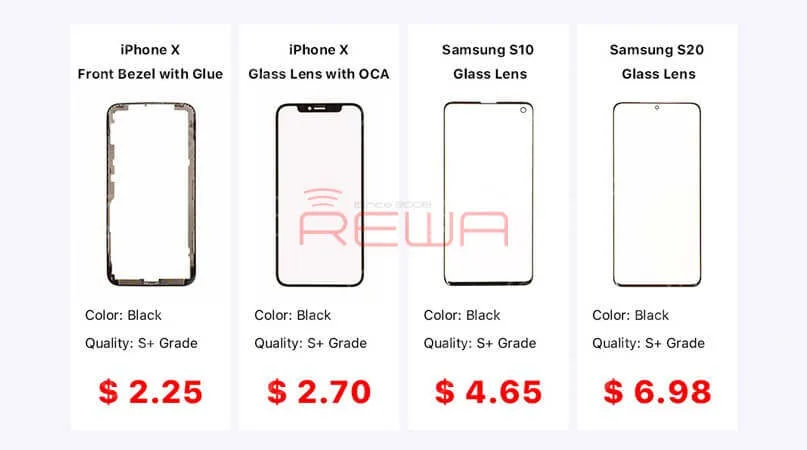
Glass Lens For Samsung & iPhone
Curved Screen Glass Lens Cutting Machine
Rotatable Curved Screen LCD Separating Machine
Curved Screen Laminating Machine
For more detailed info on each product, contact us at sales@rewatechnology.com, or go to the shop.rewa.tech to learn more!
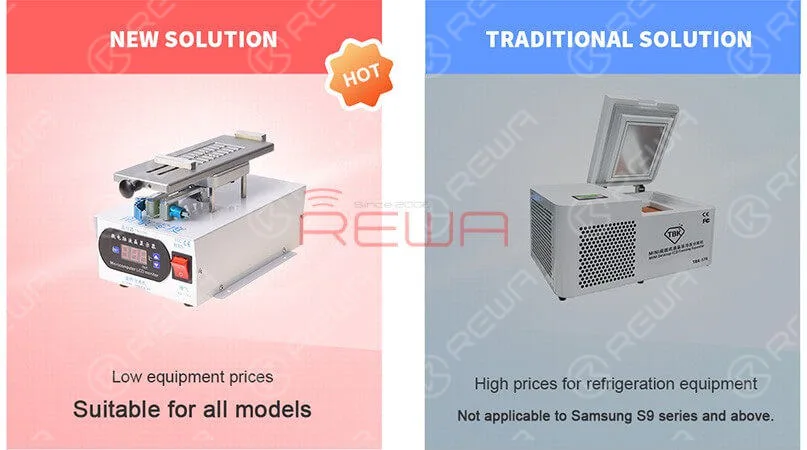
Compared to a traditional solution, the Refurbishing Solution V5.0 is suitable for all models. Especially suitable for the Samsung S9 series and above. The new solution can solve the problem of LCD layering, avoiding cold damage to the LCD. Also, the overall equipment price is lower than traditional solutions. Better than any other solution on the market, we provide the best technical support which includes online customer service and a full range of instructional video services.
Better than any other solution on the market, we provide the best technical support which includes online customer service and a full range of instructional video services.
For more details on the operation, watch the video below:
-
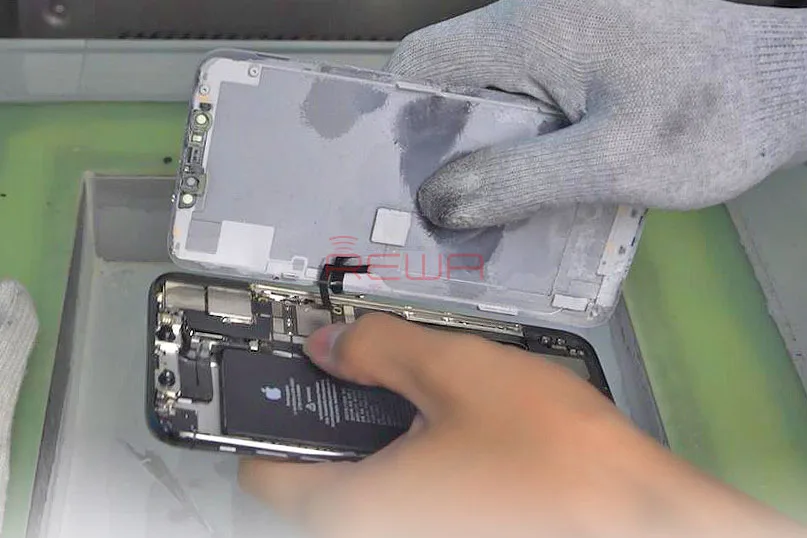
iPhone 11 Pro Max Screen Refurbishing – Detailed Operation
For iPhone X and later iPhone models, the bracket covering the bottom flex cable bonding area is adhered by cold adhesive. The traditional method with heating assistance when removing bezel might damage the screen. After several attempts, REWA LAB found that the new method with cold assistance can improve the success rate and efficiency of screen refurbishing. Check our blog today for detailed operation process of iPhone 11 Pro Max screen refurbishing.
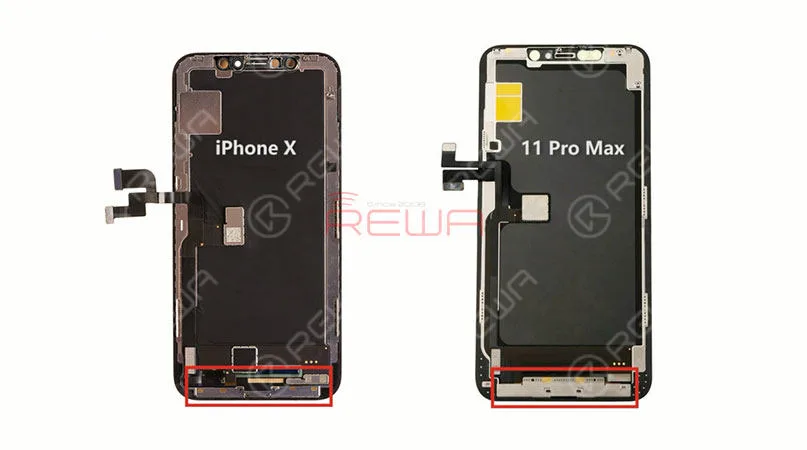
The screen structure of iPhone 11 Pro Max is the same as that of iPhone X series. Therefore, the screen refurbishing process is also similar. Different from iPhone X series, the bracket covering the bottom flex cable bonding area of iPhone 11 Pro Max is relatively wide, which increases the difficulty of screen refurbishing. Therefore, we need to be extremely careful when removing the bezel.
iPhone 11 Pro Max Screen Refurbishing
Step 1 Screen Testing
The first thing we do is to test the screen. Test the display, touch functionality and Haptic Touch of the screen. All going well.
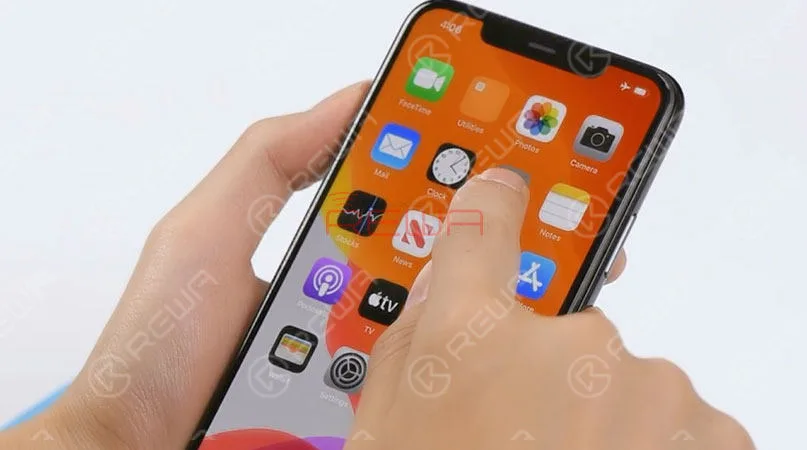
Please be noted that when testing iPhone 11 Pro Max’s screen, the default brightness of the screen is set at the lowest level. To adjust brightness of the screen during the testing, we need to get the front panel sensor assembly flex cable connected. Disconnect the front panel sensor assembly flex cable and remove the OLED screen assembly. Then remove the front panel sensor assembly flex cable.
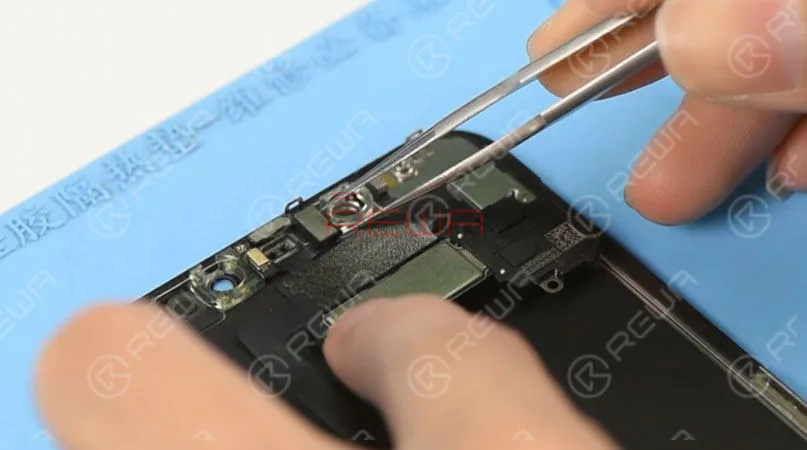
Tips: it is not easy to remove the front panel sensor assembly flex cable, which can be easily damaged during the operation. And the damage can also affect the function of Face ID. So we need to be extremely careful when operating
Step 2 Bezel Removing
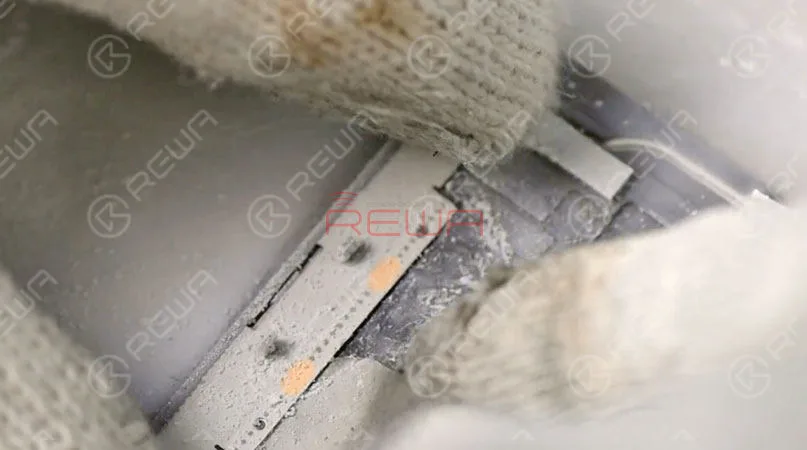
Place the OLED screen assembly upside down into the -180℃ Frozen LCD Screen Separator. Insert a 0.06mm metal pry piece under the bracket covering the bottom flex cable bonding area. Slide back and forth to slice through the cold adhesive here. Once done, connect the screen and test. All going well.
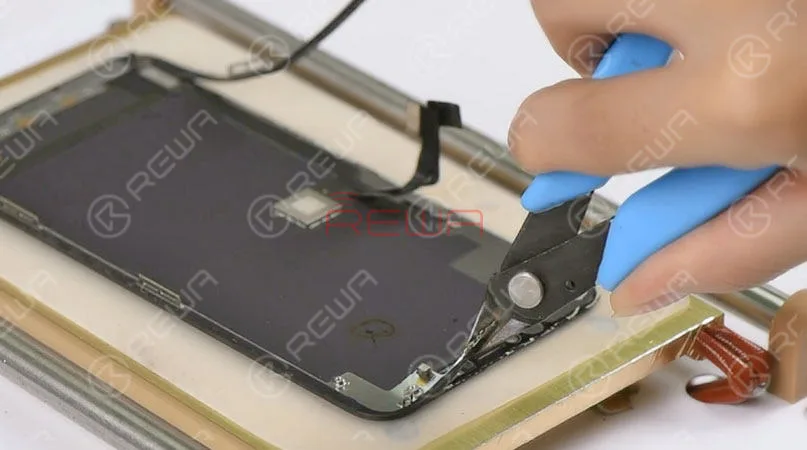
Tips: since the front panel sensor assembly flex cable is not connected, the default brightness of the screen is set at the lowest level. Set temperature of the Heat Platform at 100℃. Then put the OLED Screen Assembly on the preheated platform. Press the ‘Start’ button to suck the screen. 1 minute later, remove the front camera and sensor holder. Cut out the top bracket with the Cutting Nipper. Then separate the bezel from the OLED with the Cutting Nipper.
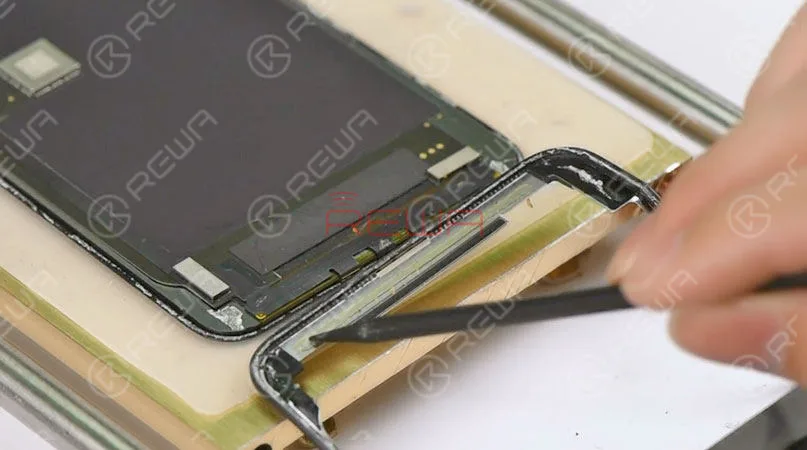
Tips: when detaching the bezel at the bottom area of the phone, we need to insert the metal pry piece under the bracket covering the bottom flex cable bonding area and slide back and forth. This is to confirm that the cold adhesive here has been sliced open. The bezel has been removed completely. As you can see, the area here is adhered by cold adhesive in large amounts. To protect the OLED from damage, we’d better freeze the screen during the operation.
Again, let’s test the OLED Screen Assembly. All going well.
Step 3 Glass Lens Separating
Now, let’s move to the glass lens separating process.
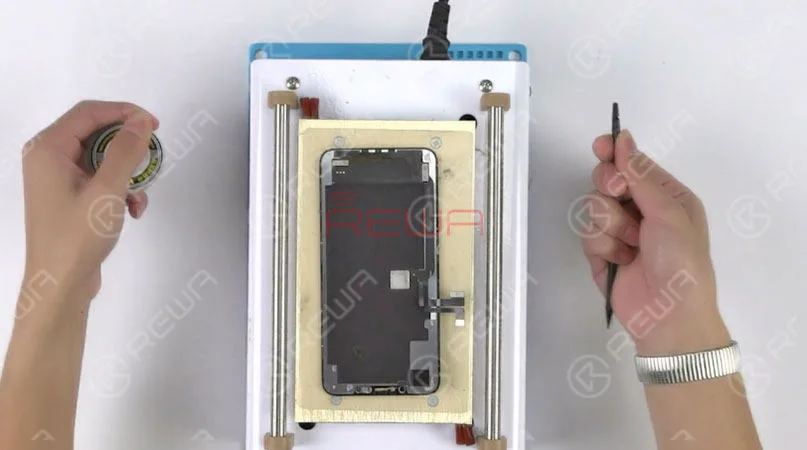
Place the OLED Screen Assembly upside down on the Heat Platform. Remove residual glue on the earpiece speaker area with a blade. So that the Touch Panel will not be damaged when operating with the Cutting Wire. Next, separate the glass lens from OLED with Cutting Wire. Test again after separating. All going well.
Step 4 OCA Glue Removing
Let’s continue with OCA glue removing.
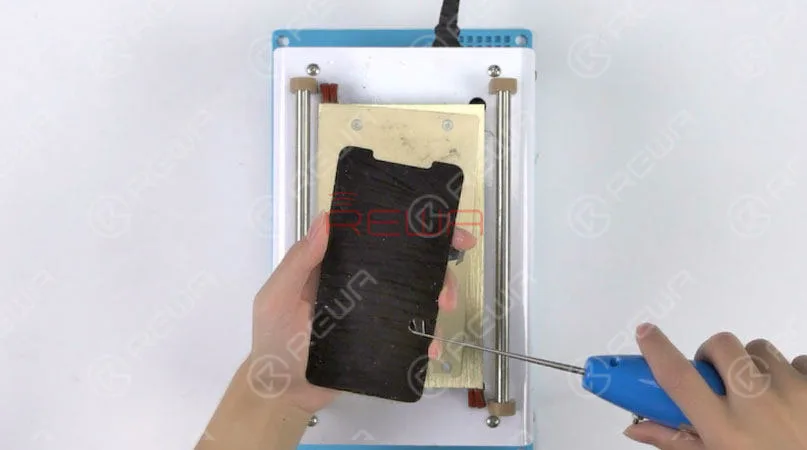
Put the OLED screen upside down on the Heat Platform for 3 minutes. Make an incision with the Electric Glue Removing Device. Then continue to tear off the OCA Glue with one hand. Also, be careful with force applied. This is to avoid damaging the OLED screen. Once done, test the OLED Screen. All going well.
Step 5 Laminating
Tear off the protective film on the backside of the glass lens and attach the OCA to the right position of the glass lens. Then put the OCA attached glass lens into the bubble removing machine for 5 minutes. Once finished, take out the OCA attached glass lens.
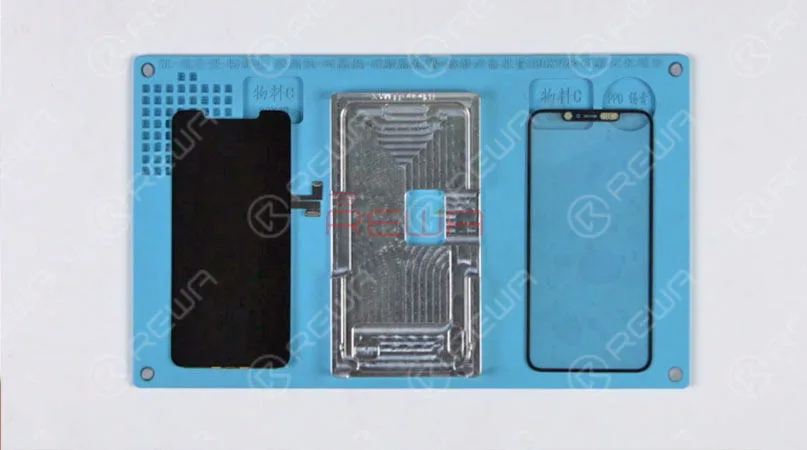
Now we need to laminate the OCA attached glass lens to the OLED Screen. Place the OLED screen into the OLED aligning mold. Clean the screen with the lint-free wiper. Tear off another layer of the OCA protective film and attach the OCA attached glass lens to the right position of the screen. Press gently to fit the glass lens with the screen. Place the mold upside down and take out the OLED Screen Assembly. Tear off the protective film on the glass lens. Cover the backside of the OLED Screen Assembly with a laminating sponge and then place the OLED Screen Assembly into the laminating machine. Choose ‘start’ on the LED panel. The machine starts to work. Laminating finished after several minutes. Again, let’s test the OLED Screen Assembly. All going well.
Step 6 Bubble Removing
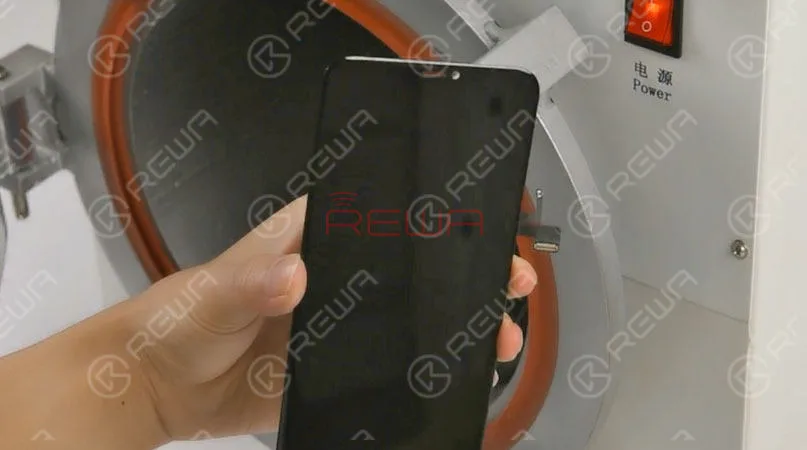
Put the OLED Screen Assembly into Bubble Removing Machine for 10 minutes. Once finished, take out the OLED Screen Assembly.
Step 7 Bezel Attaching
Prepare a new piece of iPhone 11 Pro Max bezel. Tear off the protective film on the bezel. Apply the specialized glue to the bezel. Then apply pressure to fit the OLED Screen Assembly with the bezel.
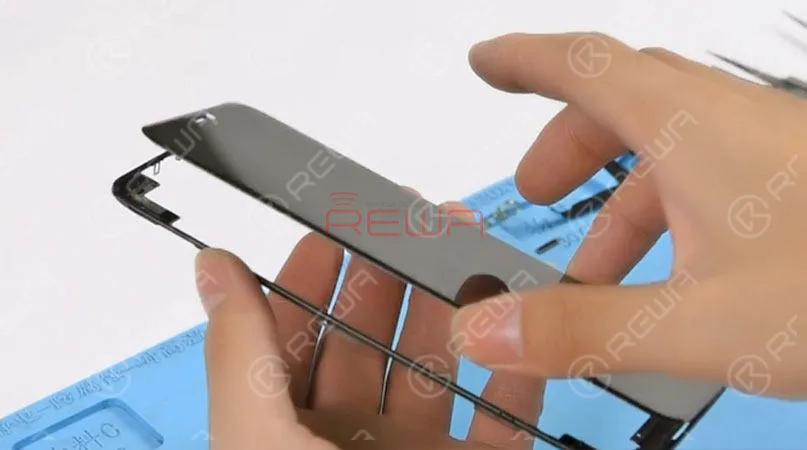
Please be noted the FPC area on the bottom is very fragile. Be careful when operating. Otherwise, you might damage the OLED screen.
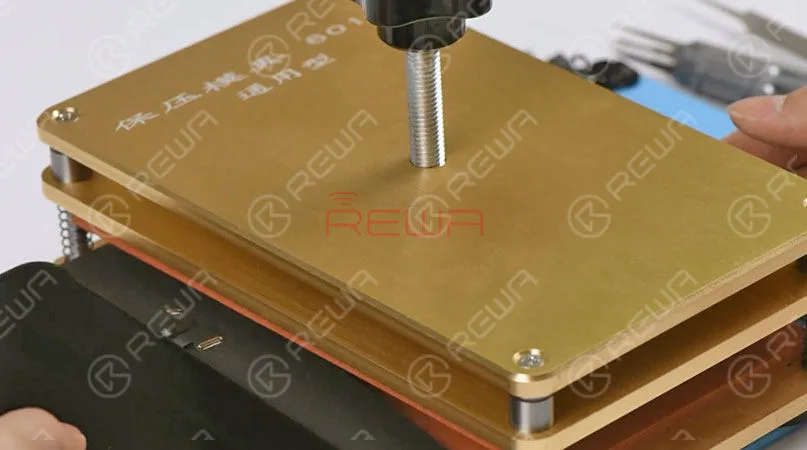
Cover the backside of the OLED Screen Assembly with a laminating sponge. Then place the OLED Screen Assembly into the bezel laminating mold and fix it. Tighten the screw and wait for 10 minutes. Take out the OLED Screen Assembly afterwards.
Step 8 Screen Testing
Get the front camera and sensor holder installed, and then the earpiece speaker mesh. Get the front panel sensor assembly flex cable and the OLED Screen Assembly installed. Run function test – Display; Touch; Haptic Touch. Display, Touch, and Haptic Touch work normally.
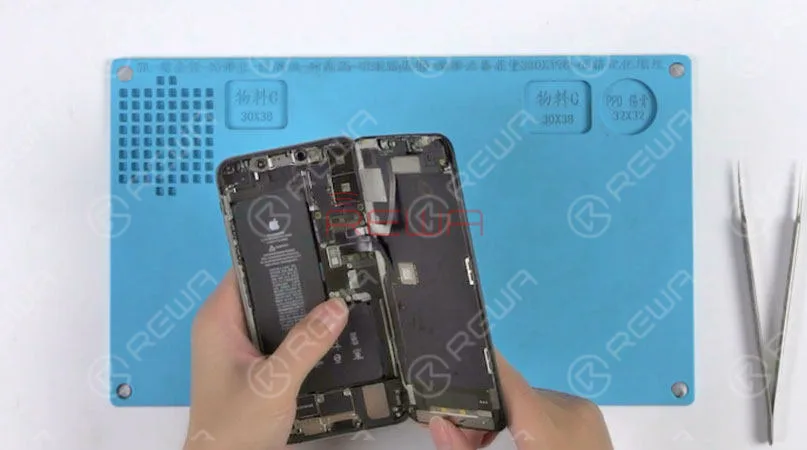
iPhone 11 Pro Max screen refurbishing has been completed perfectly.
Tools & Parts Used
- LCD Cutting Wire
- Refurbishing Machines
- Hot Air Gun Rework Station
- Straight Tweezers
- Screwdrivers
- Integrated Mobile Phone Repair Platform
- Anti-static Pry Bar
- Bubble Removing Machine
- Bezel Laminating Mold
You can also visit REWA Youtube Channel to check our video of iPhone 11 pro max refurbishing.
-
Economical Solution – REWA Broken LCD Refurbishing Solution
With 7 machines in total, this economical broken LCD screen refurbishing solution features high cost performance, offering an output of 120 pieces per day, which is specially for small factories. Please check the video for the more efficient and economical mobile phone glass-only repair solution.
Refurbishing Machines included:
- Electronic Heating Platform
- 3 in 1 Heating, LCD Separator and Frame Disassemble Machine
- Manual POL/LCD Glue Removing Machine
- Manual OCA/POL Film Laminator (Vacuum pump built-in)
- Automatic Glass Laminating and Bubble Removing Machine
- Bezel Assemble Machine
- Air Compressor – 30L
-
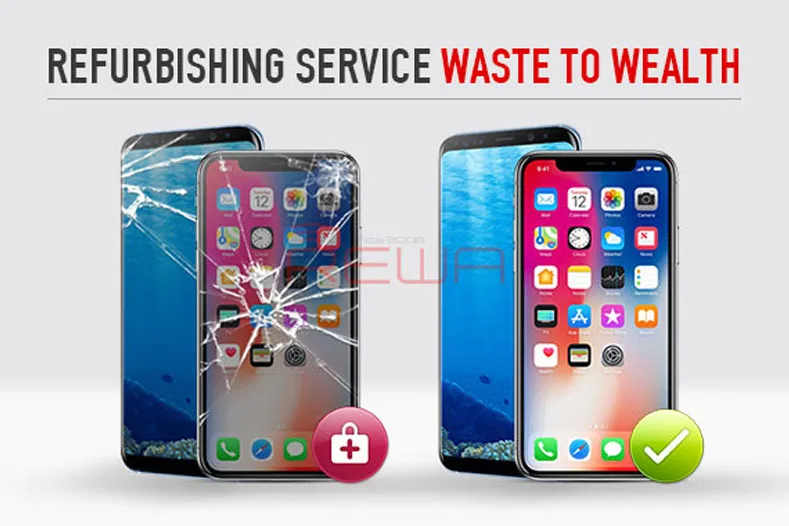
REWA Refurbishing Service – Waste to Wealth
So, you have many broken screens left in the storehouse? Just a pity to throw them away or sell them at a low price? Collect all your broken screens, send to REWA and make them re-alive! Check out REWA Broken LCD and OLED Refurbishing Service now.Why Choose Us.
1. We have started refurbishing service for more than 5 years. With the rich experience, we have greatly improved our refurbishing success rate to nearly 100%.
2. Instead of purchasing a new screen, you can get a cheaper screen with the same quality by refurbishing it. Send all broken screens to REWA and let us do the refurbishing work for you to save your time and labor cost.
3. REWA has good warranty policy for all our products. As to refurbished screens with quality problem occur within three months, we can provide a second refurbishing for free or credit for next purchasing.
For now, we provide refurbishing service for the following models:
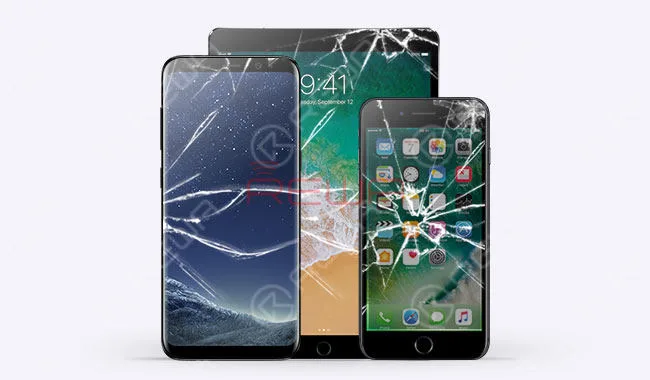
1. iPhone 5 / 5c / 5s / 6 / 6 Plus / 6s / 6s Plus / 7 / 7 Plus / 8 / 8 Plus / X
2. iPad mini 4 / Air 2 / 9.7 / 12.9
3. Galaxy S III / S III Mini / S4 / S4 Mini / S5 / S5 Mini / S6(G920) / S6 edge(G925) / S6 edge+(G928) / S7(G930) / S7 edge(G935) / S8(G950) / S8 edge(G955) / Note 1 / Note 2 / Note 3 / Note 4 / Note 4 Mini / Note 4 edge(N915) / Note 5
Notice
1. If the backlight of broken screen need to be replaced because of damages like water damage, deformation, light leakage, dust damage or other backlight defects, the backlight replacement shall be charged accordingly. The same goes for middle frame replacing of Samsung.
2. Broken screens with damaged display and touch function are unworthy of refurbishing.
How REWA Refurbishing Service Works
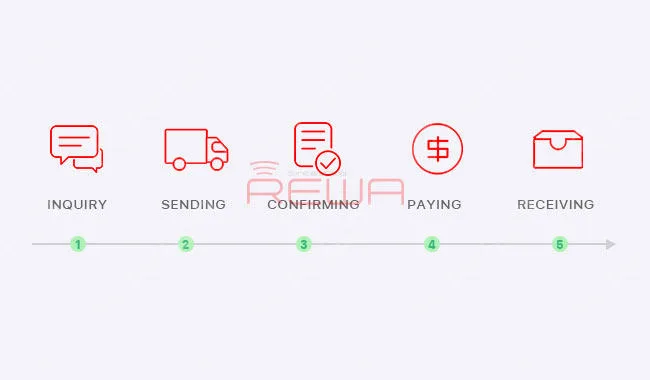
Inquiry
-Contact our sales and describe the problems to get the preliminary quoted price
-We will assist you on the broken screen test, package and logistics
Sending
-Send off your broken screens
-Please send REWA sales your e-packing list, the picture of package and tracking number
Confirming
-Confirm the quantity of broken screens need to be refurbished
-After the broken screen test, we will issue a Testing Report
-Once the testing report has been confirmed by the client, we will then get started with refurbishing process
Paying
-Confirm the quantity of refurbished screens, backlights and middle frames that has been replaced
-We will send PI to you and get started with repair once payment is completed
Receiving
-For broken screens unworthy of refurbishing or screens with unsuccessful refurbishing, we will confirm if you want them back. If YES, you should bear the return shipping.
-We will send back the package after payment has been confirmed
After-sale Service
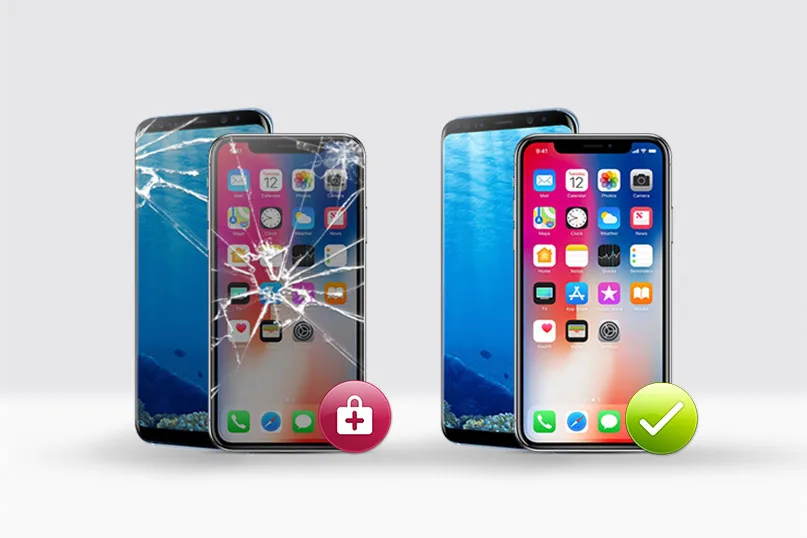
All refurbished screens are covered by a 3-month warranty. For some individual cases, we will negotiate with you immediately.
The warranty does not cover the following situations:
1. Damages due to personal error (improper installing) and environmental changing (high pressure, lighting stroke, water damage and so on).
2. Damage of warranty label.
Customer Notification
Here are some details we would like you to know before delivery
1. The refurbishing process(not including delivery time) typically takes about 3-7 days(10–100 PCS).If the quantity of logic board you sent is more than 100 PCS, then you need to negotiate with us about the refurbishing time.
2. The client shall bear the freight to China.
3. The client needs to bear the risk of failure in the refurbishing.
4. The client needs to fully test broken screens before sending off. For broken screens with damaged display and touch function that are unworthy of refurbishing, we will confirm if you want them back. If YES, you should bear the return shipping.
-
iPhone 8 Broken LCD Screen Refurbishing – Glass Only Repair
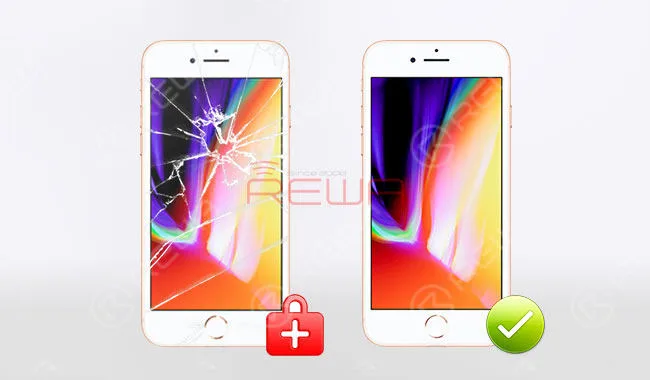
For a long time, REWA has been dealt with broken screen refurbishing of some flag-ship models like iPhone X Screen Refurbishing – Glass Only Repair and Samsung Galaxy S7 edge glass replacement. And this time, with the iPhone 8 being the subject of intense social debate, we also come up with an exclusive iPhone repair solution that shall definitely surprise you. Latest iPhone 8 broken LCD screen glass-only refurbishing technique, supported by REWA LAB, cost-effective and efficient for all iPhone repair professionals and enthusiasts. Don’t miss it!
iPhone 8 Broken LCD Screen Refurbishing – Glass Only Repair
Broken Screen Testing
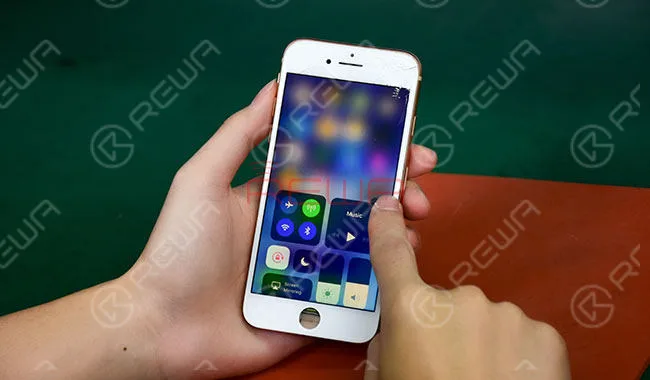
Here comes one iPhone 8 LCD display assembly with broken glass lens. The first thing we need to do is to test if the display, touch and 3D touch functionality is OK.
Bezel Removing
Detach flex cables and remove the display assembly.
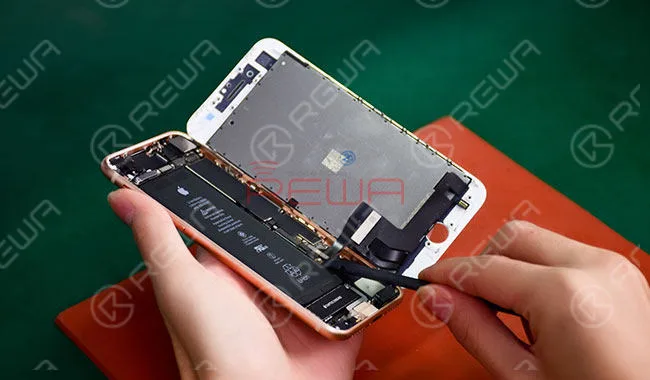
Then heat and remove bezel with Bezel Removing Machine at 230℃.
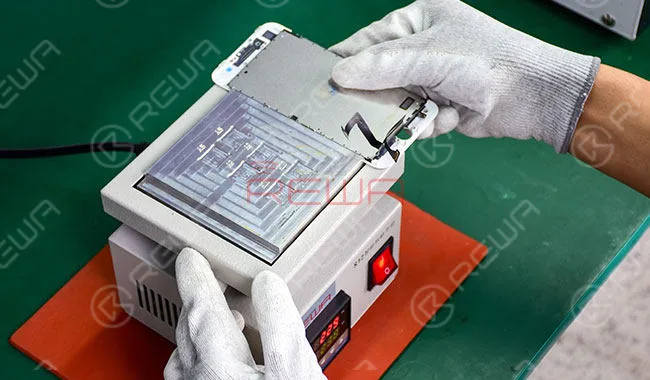
Glass Lens Separating
Stick adhesive tape on broken glass to prevent further damage. Then place the display assembly onto the Manual Separating Machine. Heat up at 69℃ for 30s.
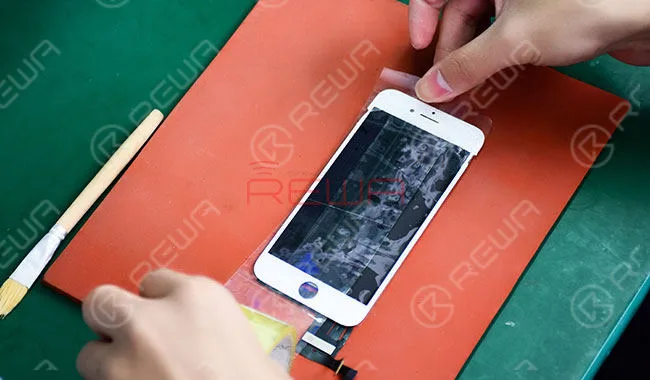
Press the ‘Start’ button and separate the glass lens from LCD with LCD cutting wire.
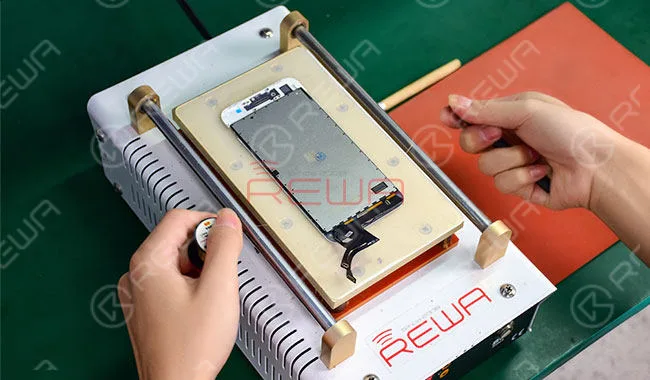
POL Removing
Remove the POL Film evenly with Glue Removing Machine. After that, remove the glue residue with LCM Cleaner. (Remove the residual POL film with razor blade if necessary. Once finished, remove the glue residue with LCM Cleaner.) Once done, clean again with N-hexane.
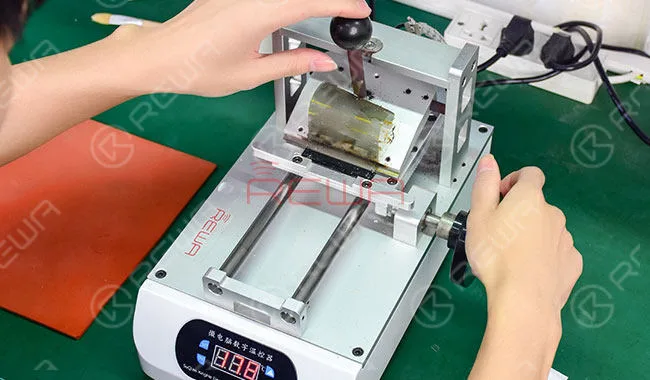
OCA & POL Laminating
Place the LCD onto the POL Laminating Machine. Do remember to clean completely with N-hexane at first. Align the POL Film with LCD correspondingly. Then press ‘Pump Down’ button to help stick the POL film to the top panel.
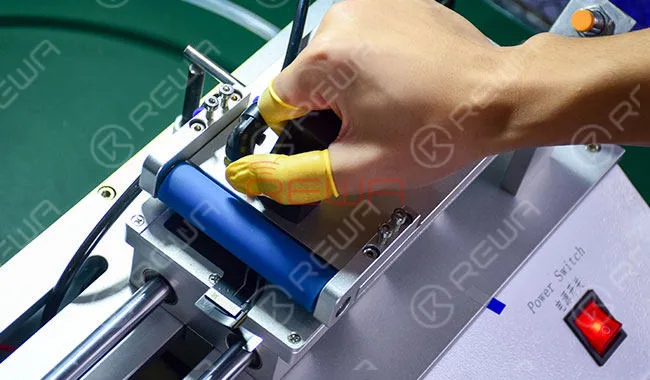
Tear off the first layer of POL protective film with Easy Tear Sticker. Force down the top panel with activating button to finish POL laminating.
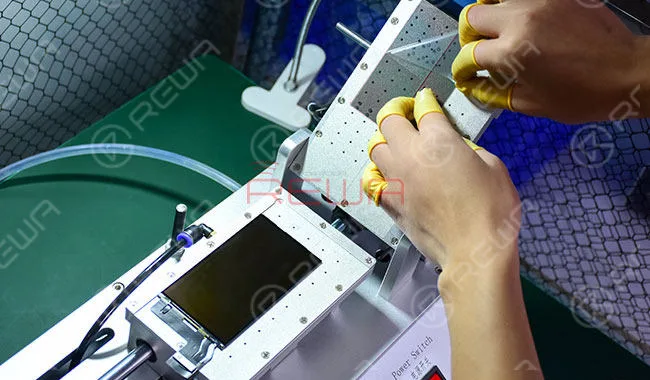
Tear off the first layer of OCA protective film. Align the OCA Sheet with LCD correspondingly. Then press ‘Pump Down’ button to help stick the OCA to the top panel.
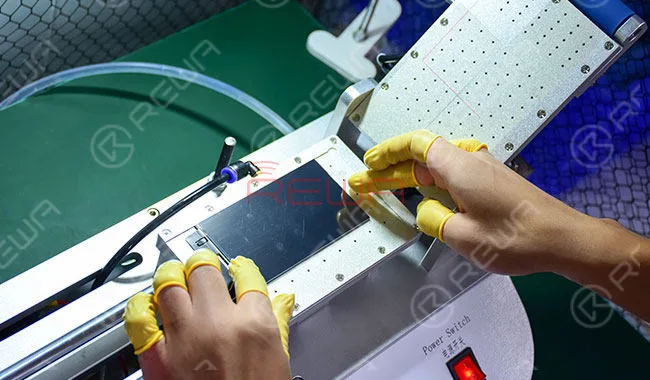
Tear off the second layer of POL protective film with Easy Tear Sticker. Tear off the second layer of OCA protective film with Easy Tear Sticker. Force down the top panel with activating button to finish OCA laminating.
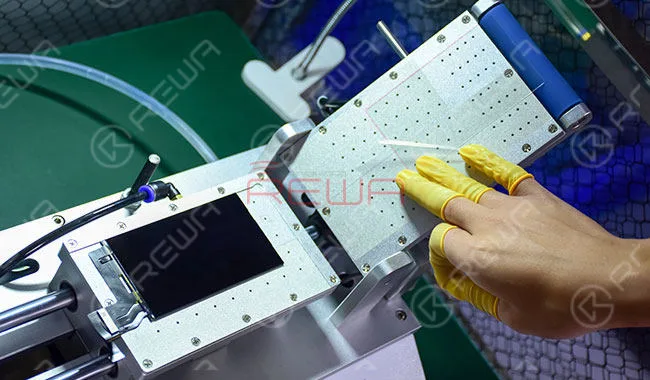
Glass Lens Laminating
Stick an Easy Tear Sticker to the top right corner of the LCD. Then put the LCD into the align mold.
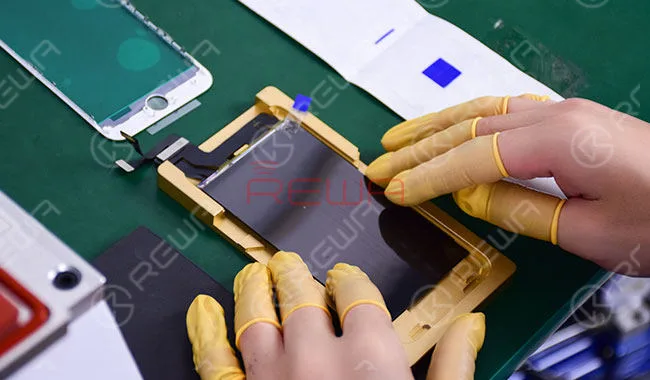
Tear off the back cover protective film of the Integrated iPhone 8 Glass Lens with Front Bezel with Easy Tear Sticker and tear off the last layer of OCA protective film with Easy Tear Sticker.
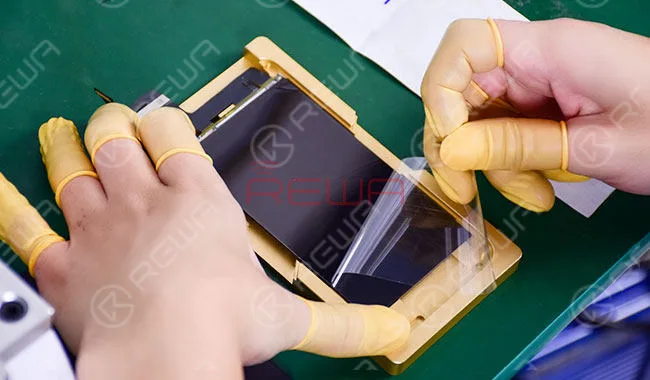
Align the Integrated iPhone 8 Glass Lens with Front Bezel with LCD in the align mold correspondingly. Place upside down the align mold and take out the LCD display assembly.
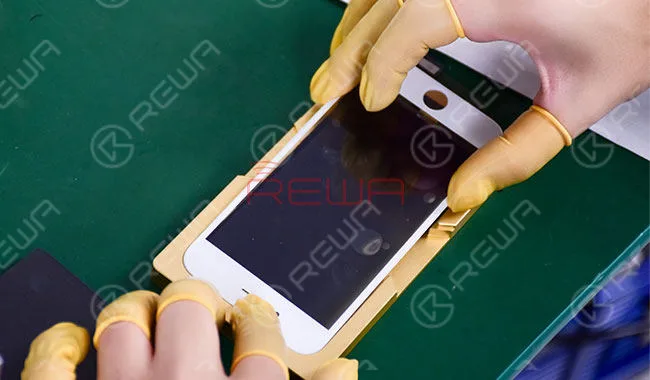
Cover the back side of the LCD display assembly with a laminating sponge. Put the LCD display assembly into the Glass Laminating Machine.
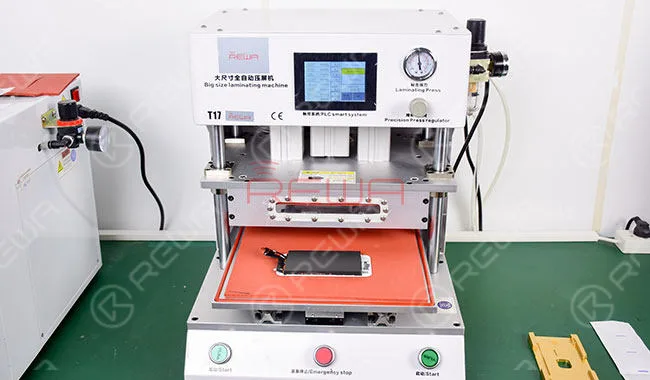
Take out the LCD display assembly and evaluate the effect.
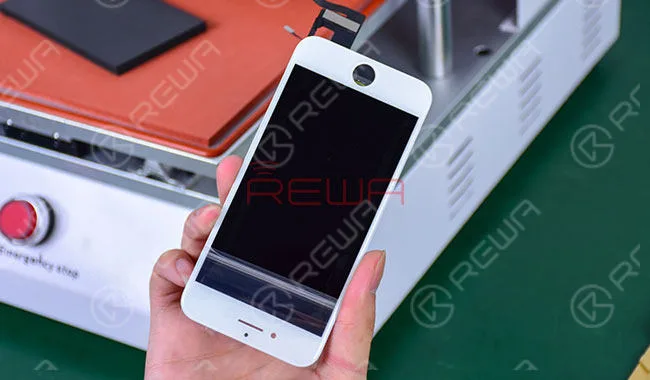
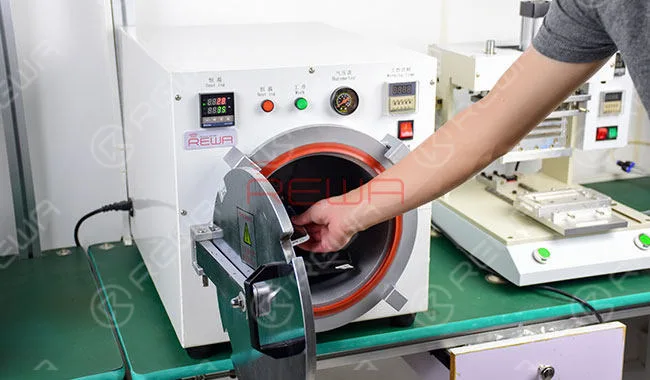
Bubble Removing
Put the LCD display assembly into the Bubble Removing Machine for 10 minutes.
Take out the LCD display assembly and evaluate the effect.
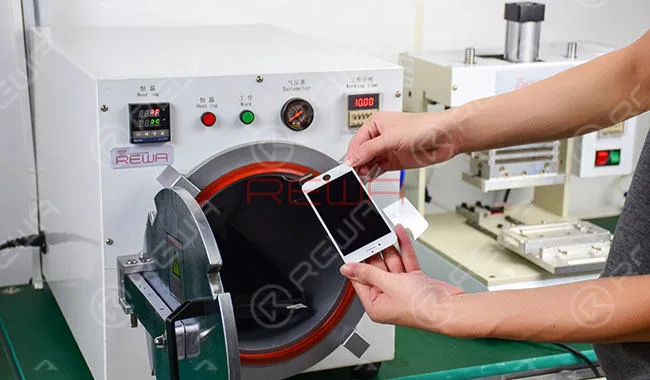
Refurbished Screen Testing
Connect the LCD display assembly to the logic board and run function test on a refurbished screen. Test the display, 3D touch and touch functionality again.
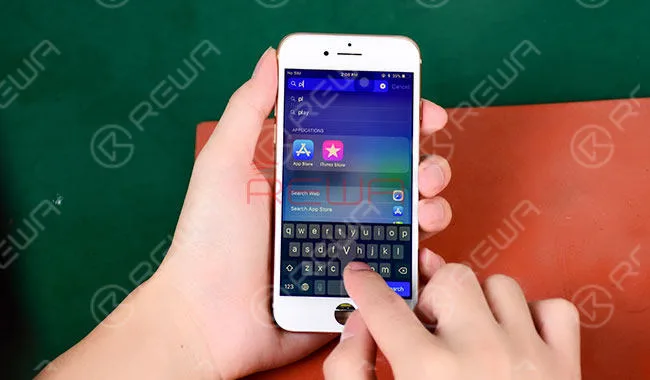
For more details on iPhone 8 Broken LCD Screen Refurbishing, please go to REWA YouTube channel.
Necessary Parts and Tools
- Apple iPhone 8 Glass Lens with Front Bezel Replacement
- Apple iPhone 8 OCA Glue Sheet
- Apple iPhone 8 Top Polarizer Film
- LCD Cutting Wire
- Glass Lens with Bezel Frame Alignment Mold for iPhone 8
- Bezel Removing Machine
- Manual Separating Machine
- Glue Removing Machine
- OCA & POL Laminating Machine
- Glass Laminating Machine
 English
 Español
 Français
 Deutsch
 Italiano