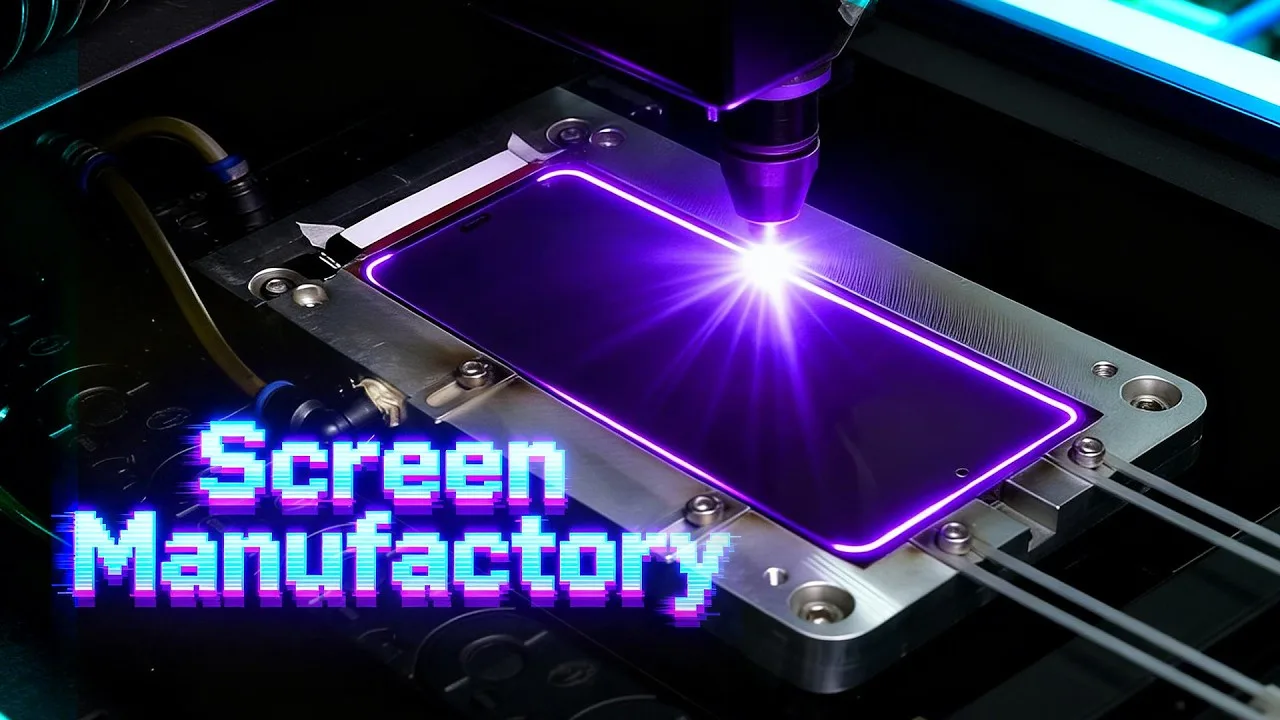
When you’re planning a Samsung screen replacement, aftermarket OLED screens often stand out as the most cost-effective solution. But critical questions remain: how are these screens actually manufactured—and can their quality be trusted?
In this guide, REWA Tech takes you inside a professional production workflow to break down the full process of a Samsung aftermarket OLED screen step by step. This article will help you understand how high-quality aftermarket OLED screens are built—and what separates reliable products from low-grade ones.
What Is an OLED Screen?
Before diving into manufacturing, it’s essential to understand what an OLED screen consists of and how each component contributes to performance.
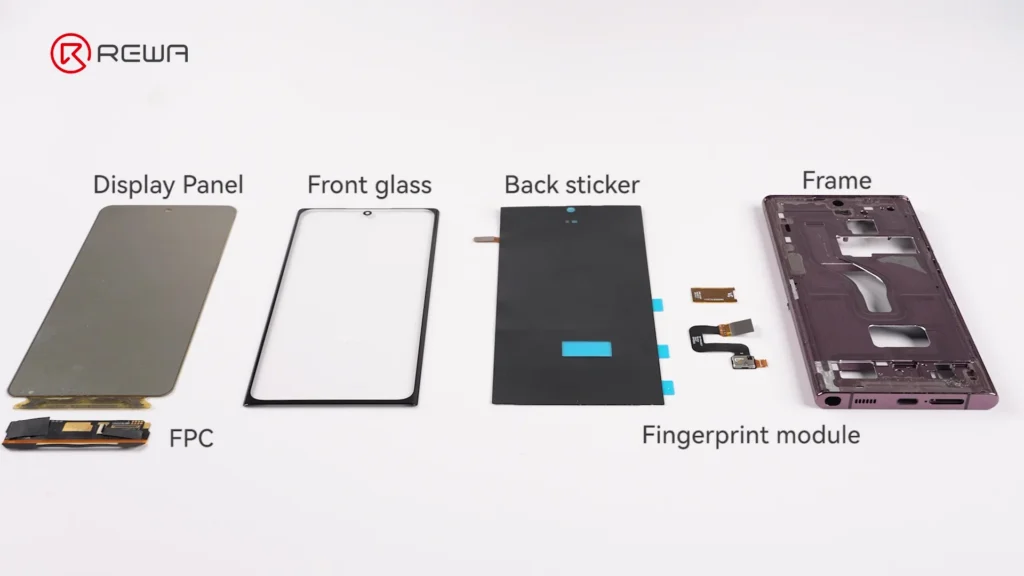
An OLED (Organic Light-Emitting Diode) screen is a complex module made up of multiple layers and precision components working together. Key parts include:
- Display Panel: The core light-emitting layer that produces light and images
- FPC (Flexible Printed Circuit): Connects the screen to the motherboard
- Driver IC: Controls display signals and image rendering
- Front Glass: The top protective layer protects the display and enables touch
- OCA (Optically Clear Adhesive): Bonds glass to the panel without affecting clarity
- Back Sticker: Secures the screen into the phone frame
- Fingerprint Module: Enables under-display fingerprint recognition
- Frame: Provides structural support and ensures proper installation
Simply put:
- Driver IC = “the brain” of the screen
- FPC = “the signal cable”
- OCA = “invisible glue for display clarity”
1. Driver IC Bonding and FPC Bonding: The Core Electrical Assembly
This stage is the foundation of screen functionality. Any error here directly affects display performance and touch response.
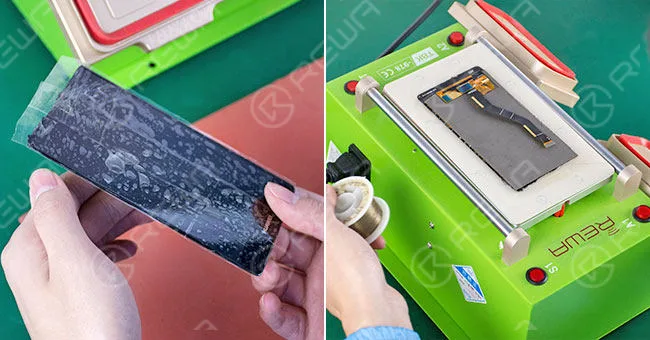
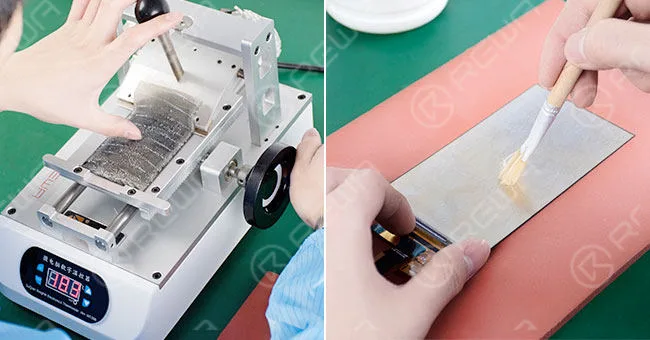
The process begins with polarizer lamination, where a polarizing layer is applied to the glass with precision tolerance controlled within 0.1mm. Then comes Driver IC bonding, a critical step where the chip is attached to the display panel using ACF (Anisotropic Conductive Film).
To ensure reliability:
- Plasma cleaning removes contaminants from bonding surfaces
- Automated dispensers apply ACF with high precision
- HD vision systems align components accurately
- Controlled heat and pressure secure the bond
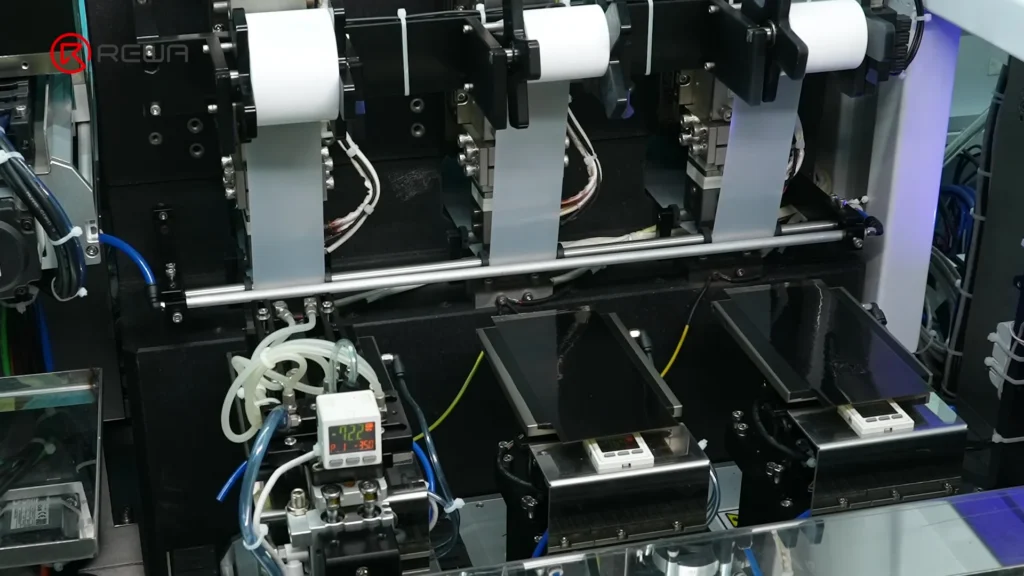
Next is FPC bonding, which connects the display to the device motherboard. Similar cleaning, alignment, and bonding processes are applied to ensure a stable electrical connection.
After bonding:
- Anti-oxidation adhesive protects connection points
- Manual inspection ensures no defects
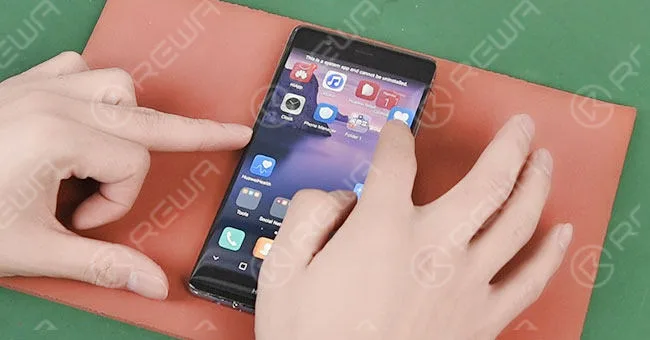
- Power-on testing verifies touch responsiveness
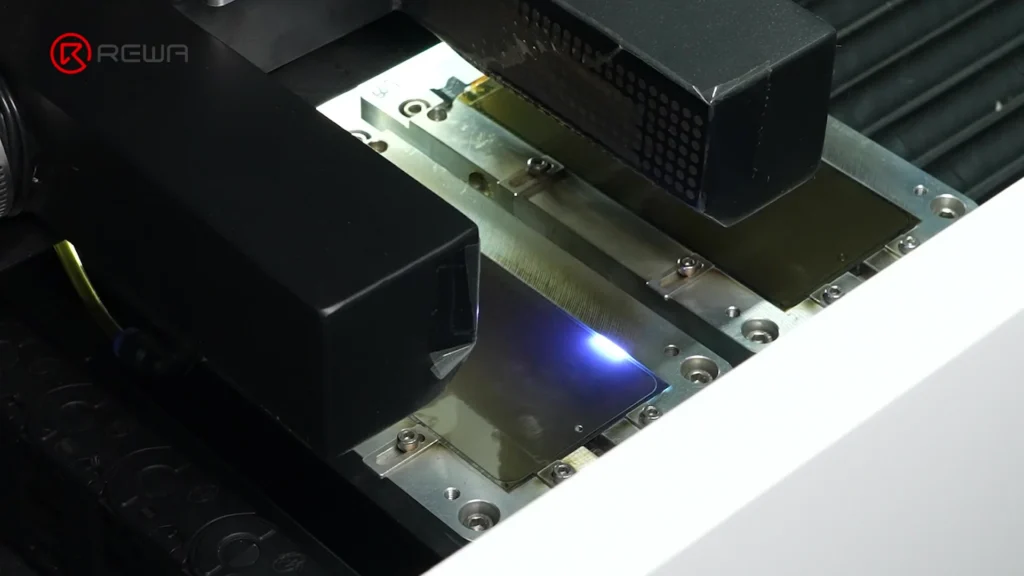
Finally, laser cutting shapes the display with 1:1 accuracy, ensuring:
- Perfect camera hole alignment
- Correct corner curvature
- Seamless fit into the phone frame
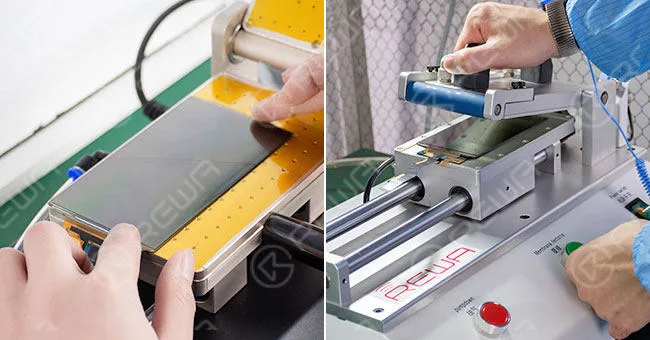
2. Glass–OCA–Display Lamination: Achieving Visual Clarity
This lamination part determines the visual quality of the screen—clarity, brightness, and absence of defects.
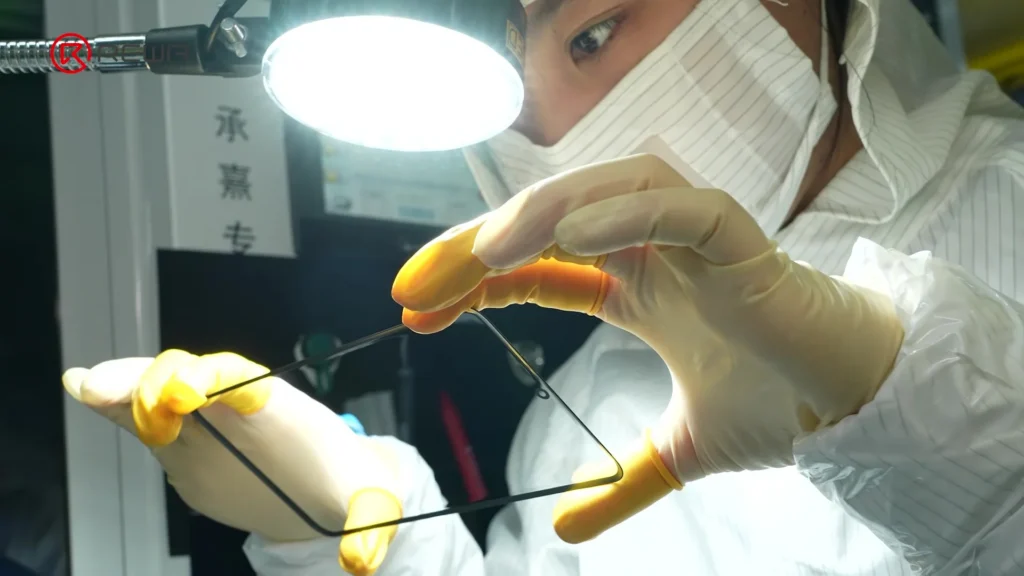
The process takes place in a dust-free cleanroom, because even microscopic particles can cause display issues.
Steps include:
- Glass inspection under high-intensity light to detect scratches or contamination
- OCA application to ensure optical transparency
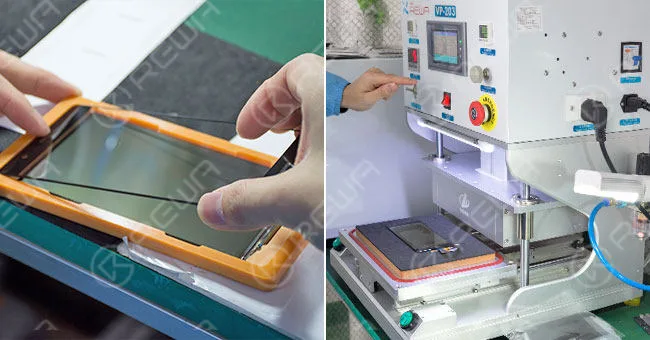
- Vacuum lamination, aligning glass and panel precisely
After lamination:
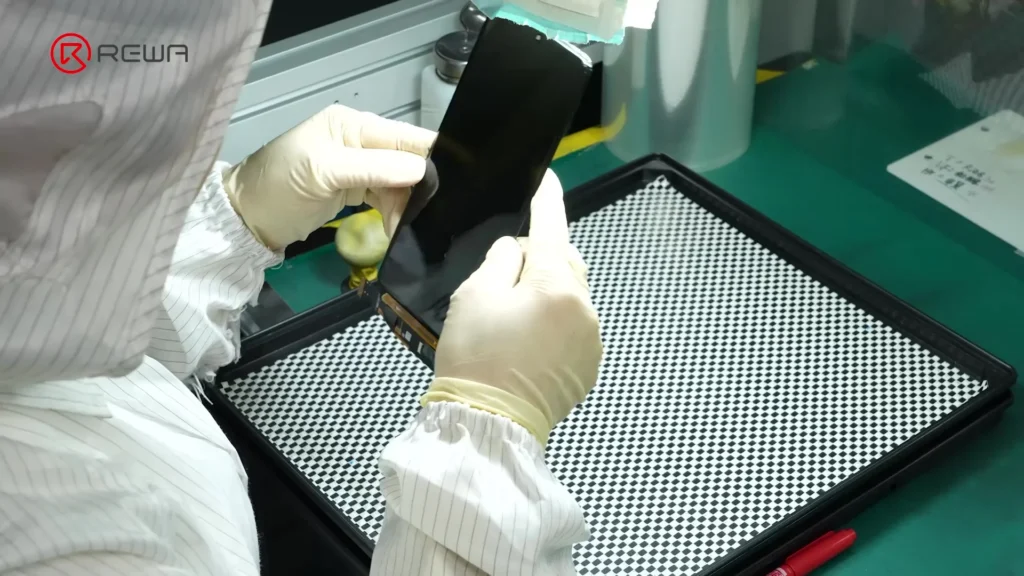
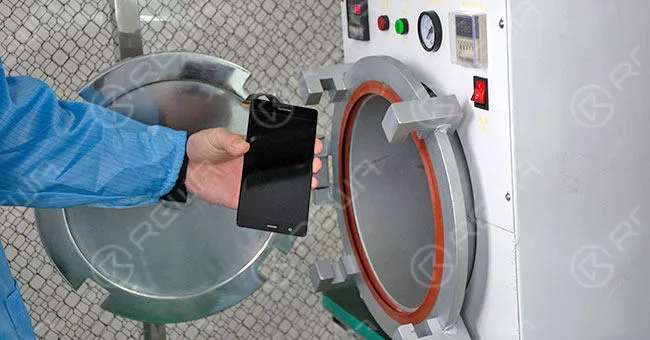
- Screens undergo autoclaving (high pressure + heat) to eliminate micro-bubbles
- Manual inspection ensures zero bubbles and perfect adhesion
Important note:
“Bubbles” are not just cosmetic—they can affect touch sensitivity and display uniformity.
Next steps:
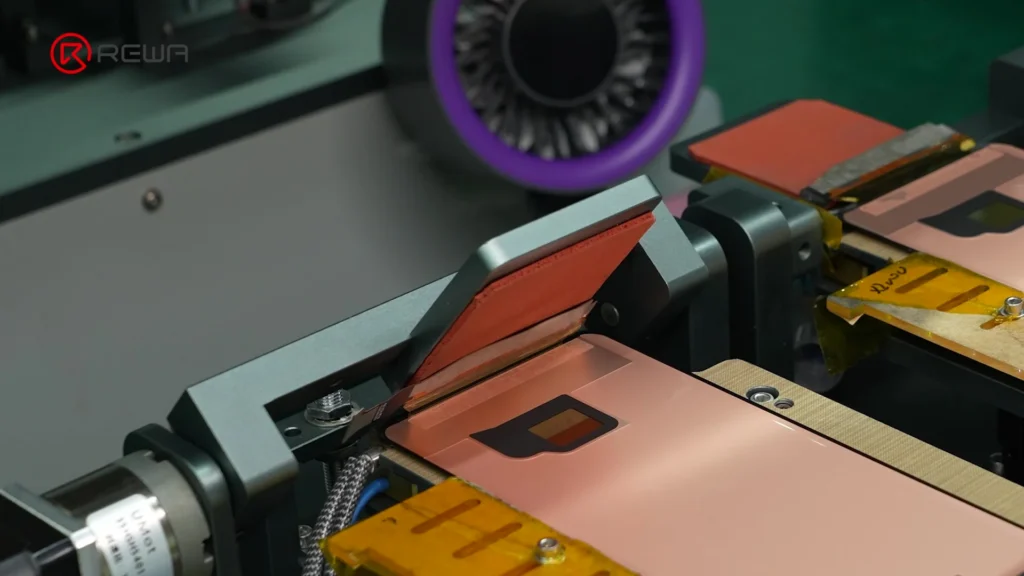
- Back sticker is applied using robotic arms
- FPC is secured and routed to avoid stress damage
- Protective films are added
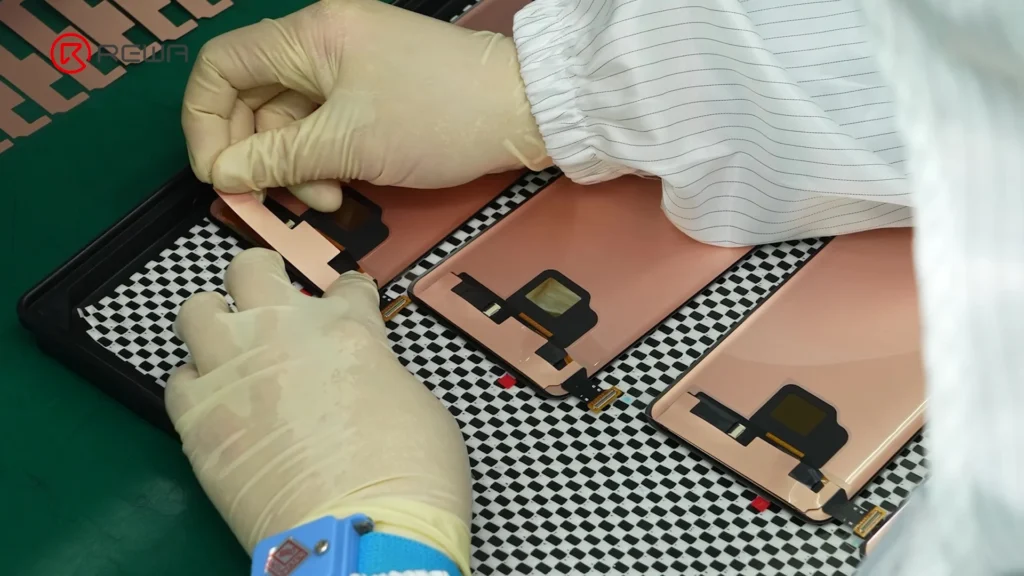
A full touch-function test ensures: No dead zones + No “ghost touches”, setting the baseline for REWA’s high-quality screens. At this stage, only fully functional, bubble-free displays move forward.
3. Module & Frame Assembly: Completing the Screen Structure
This stage focuses on integrating functional modules and finalizing the physical structure.
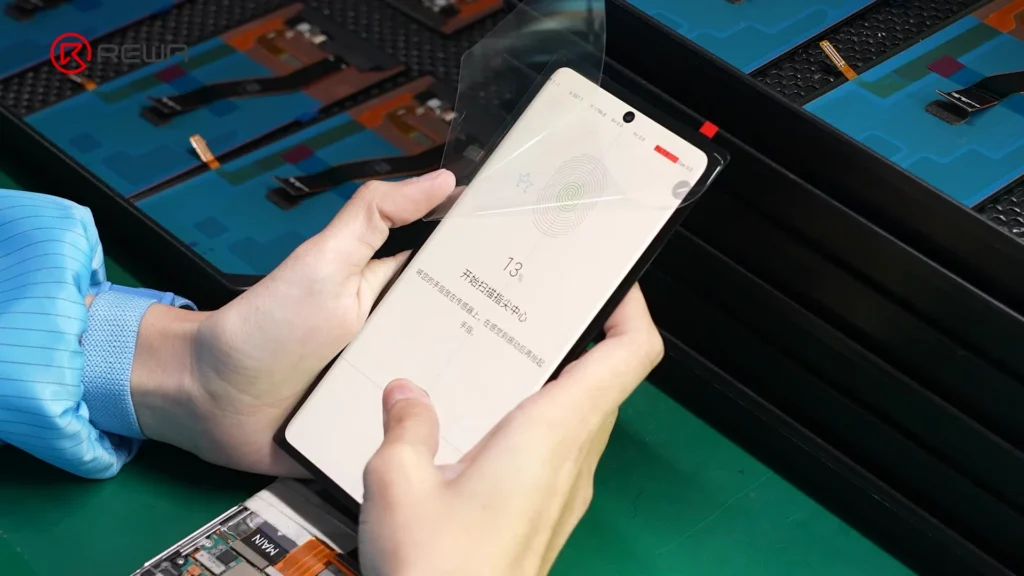
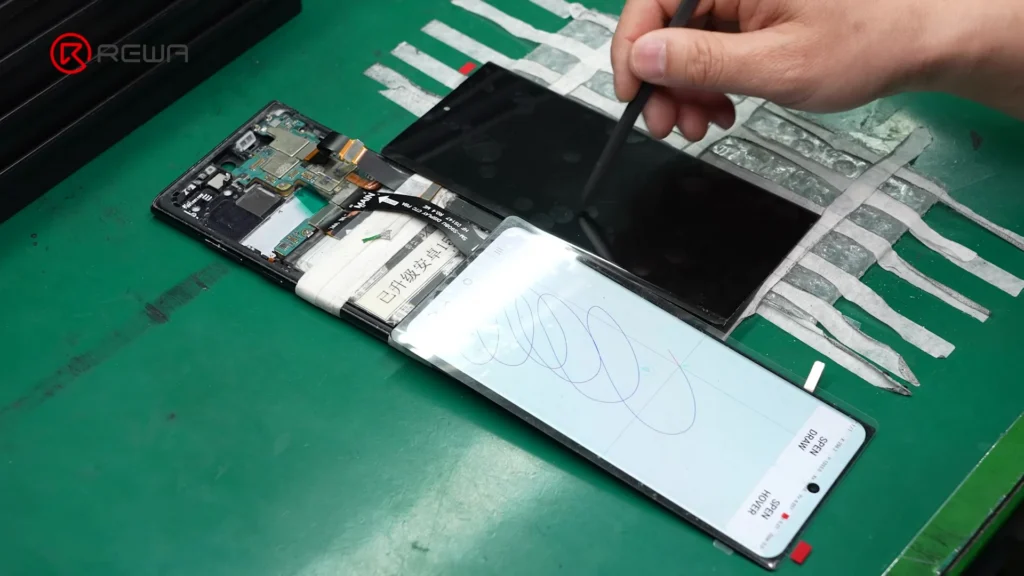
Samsung Galaxy S Series & Samsung Note Series and selected models of A Series feature intelligent under-display fingerprint sensor, thus biometric security is paramount. The fingerprint module is installed:
- Optical adhesive ensures proper signal transmission
- Precise OLED alignment guarantees accurate recognition
Next comes fingerprint recognition and S Pen response test.
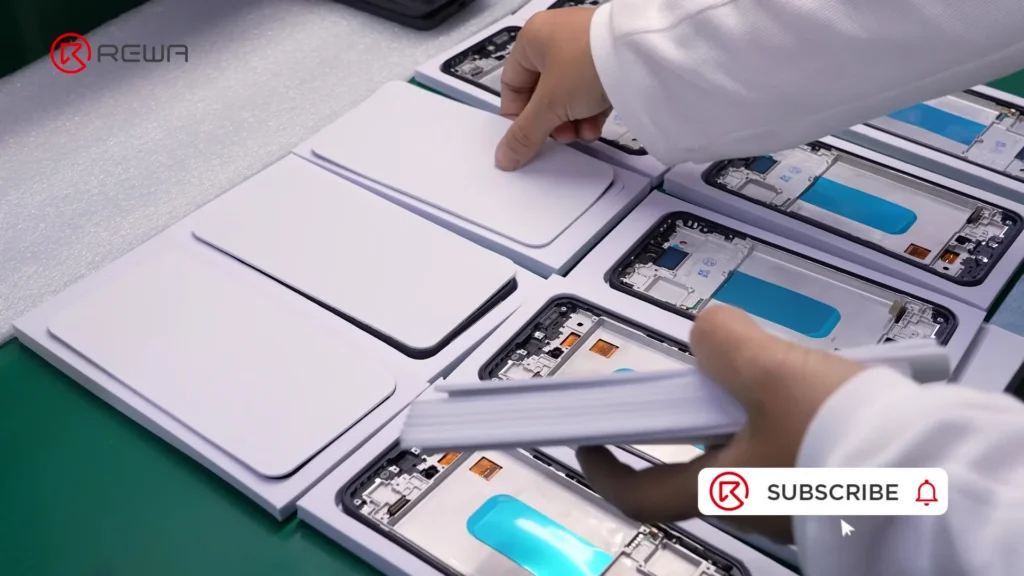
Next is frame assembly:
- Automated dispensing applies adhesive along original design paths
- Ensures proper sealing and structural integrity
- Guarantees a flush fit with the phone body
The final protective film is applied to complete assembly, creating a fully finished, durable screen.
4. Independent Quality Verification: What Makes REWA Selected Screens Different
Production alone does not guarantee quality. This is where independent verification in REWA laboratory becomes critical.
Each batch undergoes:
- Secondary full-scale testing
- Functional validation (display + touch + biometrics)
- Strict defect screening
Only screens that pass this rigorous verification can earn the REWA seal of approval.
Key insight:
The difference between “average” and “premium” third-party screens often lies in post-production quality control, not just manufacturing.
Frequently Asked Questions
Are aftermarket OLED screens as good as original ones?
What is ACF and why is it important?
Why is dust control important during lamination?
What causes “ghost touch” problems?
How can I identify a high-quality Samsung aftermarket screen?
Stable touch performance
No bubbles or display defects
Accurate fit (1:1 with original)
Under-display fingerprint recognition
Verified testing or certification
Why is the Driver IC bonding process critical?
Do Samsung third-party screens support fingerprint functionality?
Conclusion
Understanding how Samsung aftermarket OLED screens are made reveals an important truth: quality depends on process precision and testing standards—not just cost.
From IC bonding and cleanroom lamination to final assembly and independent verification, every step plays a role in determining performance and reliability.
At REWA, there is a strict Quality Control Line to block products that do not meet 4S standards. Over the 18 years, we are committed to powering your repair business with reliable and premium products and tailored customer solutions. If you have any questions, feel free to contact us.
 English
 Español
 Français
 Deutsch
 Italiano