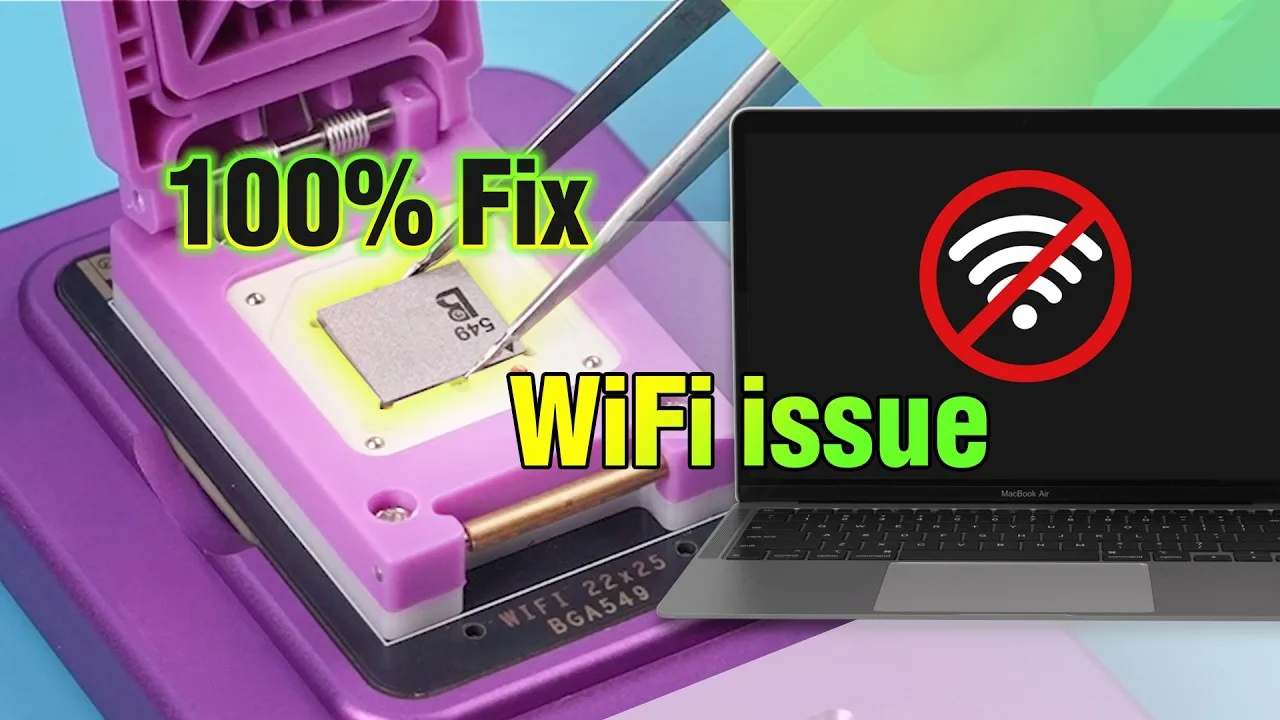
Tag: MacBook repair

  • MacBook WiFi Won’t Turn On? Professional Guide to Replacing the Wi-Fi Chip on M-Series MacBooks

    MacBook WiFi Won’t Turn On? Professional Guide to Replacing the Wi-Fi Chip on M-Series MacBooks

    Apple introduced MacBooks with M-series chips (such as the M1 and M2), which feature a more compact and integrated internal architecture. A key change is the combination of Wi-Fi and Bluetooth functions into a single chip. While this integration enhances performance and efficiency, it presents a significant challenge for repair technicians: when the Wi-Fi chip fails or WiFi won’t turn on, the traditional Apple-authorized solution is to replace the entire motherboard (logic board).

    Fortunately, REWA Tech has developed a new Wi-Fi chip replacement method for MacBooks, enabling repair professionals and advanced DIYers to resolve the issue without replacing the entire board. This guide provides a step-by-step process for diagnosing and replacing a failed Wi-Fi chip on a MacBook Air with an M-series chip, restoring full wireless functionality.

    Why Your MacBook Wi-Fi Won’t Turn On

    When Wi-Fi on a MacBook refuses to enable, possible causes include:

    • Wi-Fi chip failure due to overheating, physical impact, or manufacturing defects.
    • Corruption of Wi-Fi chip firmware.
    • Liquid damage affecting the chip’s surrounding circuits.
    • ECID mismatch when replacing components without proper reprogramming.

    On M-series MacBooks, Wi-Fi and Bluetooth are combined into one chip, meaning if one function fails, both can stop working. This guide focuses on hardware-level Wi-Fi chip replacement.
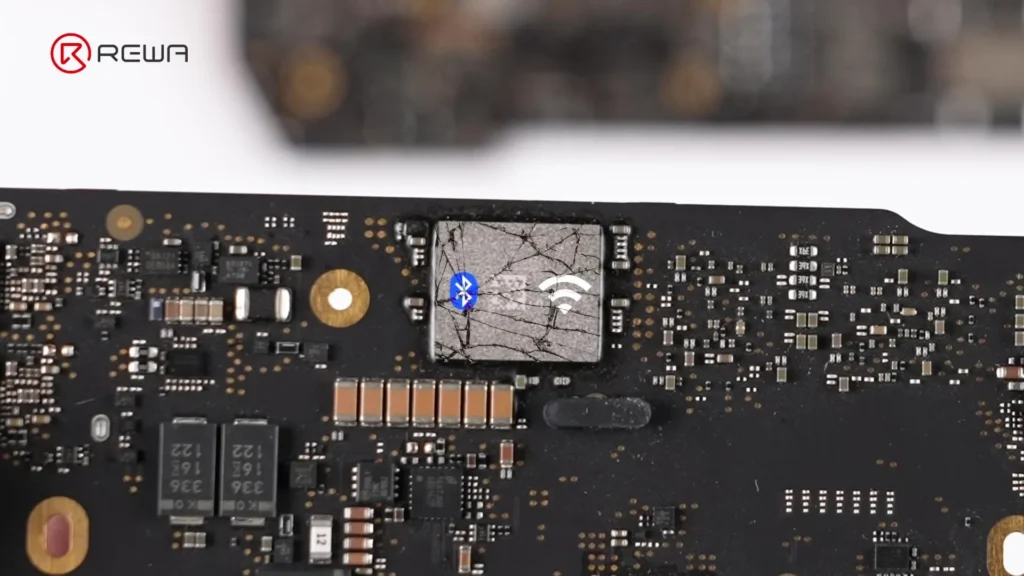
    macbook broken chip

    Step-by-Step Guide: Fixing “MacBook Wi-Fi Won’t Turn On” by Replacing the Wi-Fi Chip

    Step 1: Initial Diagnosis

    1. Confirm that the Wi-Fi option is greyed out or cannot be toggled on in macOS Settings.
    2. Rule out software issues by:
      • Restarting the MacBook.
      • Resetting NVRAM/PRAM (for Intel models; not applicable for M-series).
      • Updating macOS to the latest version.
    3. If Wi-Fi still does not enable, diagnose with repair software or known-good replacement parts to confirm Wi-Fi chip failure.
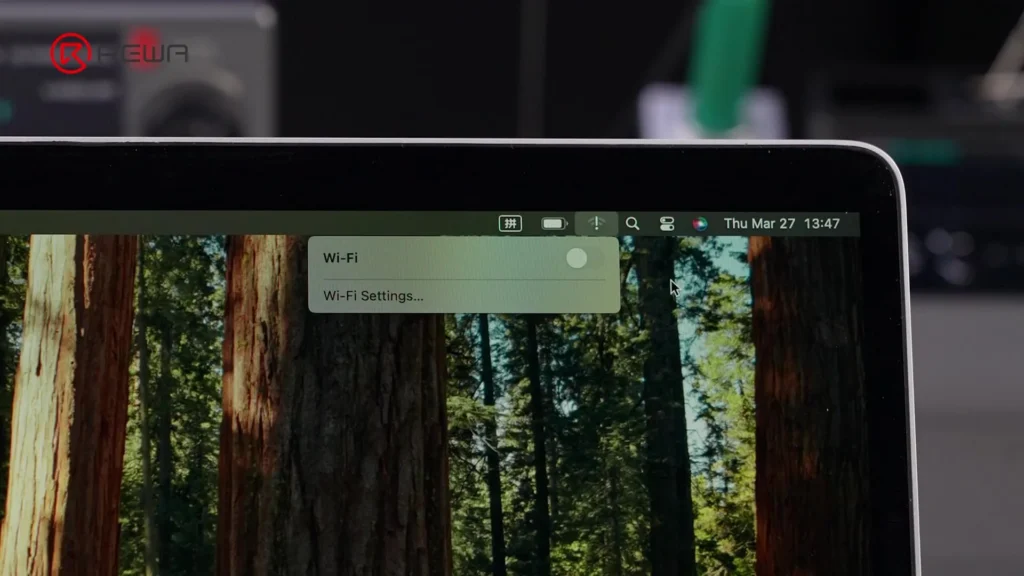
    macbook wifi won't turn on

    Step 2: Read the MacBook’s ECID and Unbind the Wi-Fi Chip
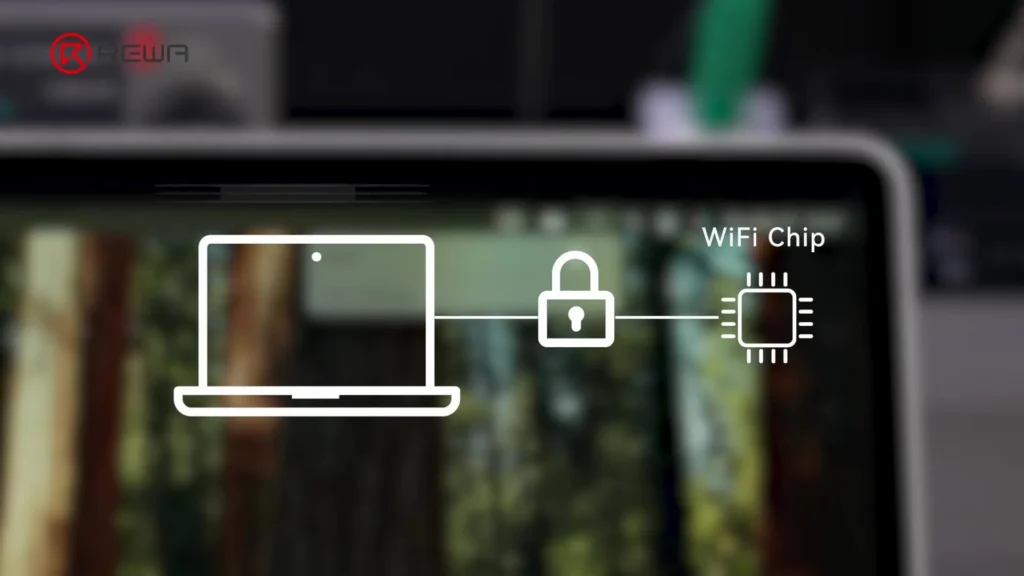
    macbook wifi won't turn on repair

    ECID (Exclusive Chip ID) is a unique serial number tied to the MacBook’s components, including the Wi-Fi chip. To install a replacement chip, you must unbind the old chip from the motherboard.

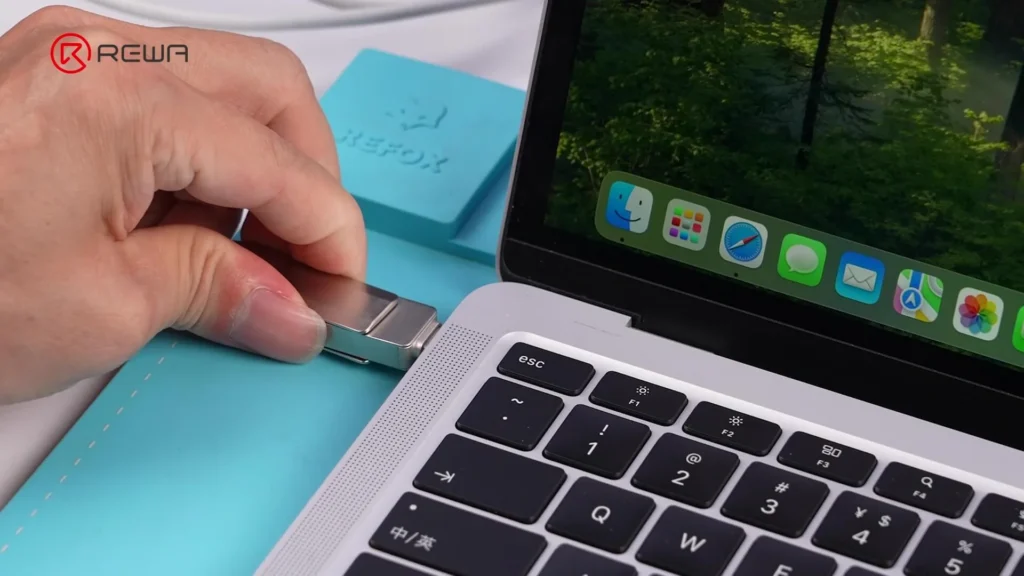
    1. Install LuBan software from a flash drive.
    2. Launch LuBan — it requires internet access.
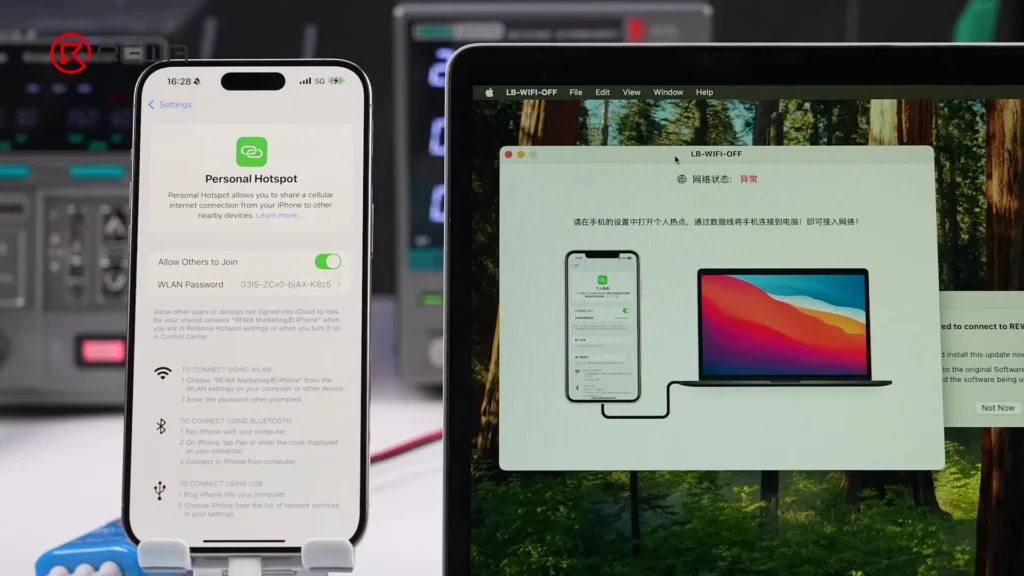
    3. Connect the MacBook to the internet:
      • Use a phone hotspot via USB cable (trust the MacBook on the phone when prompted),
        or
      • Use an Ethernet adapter.
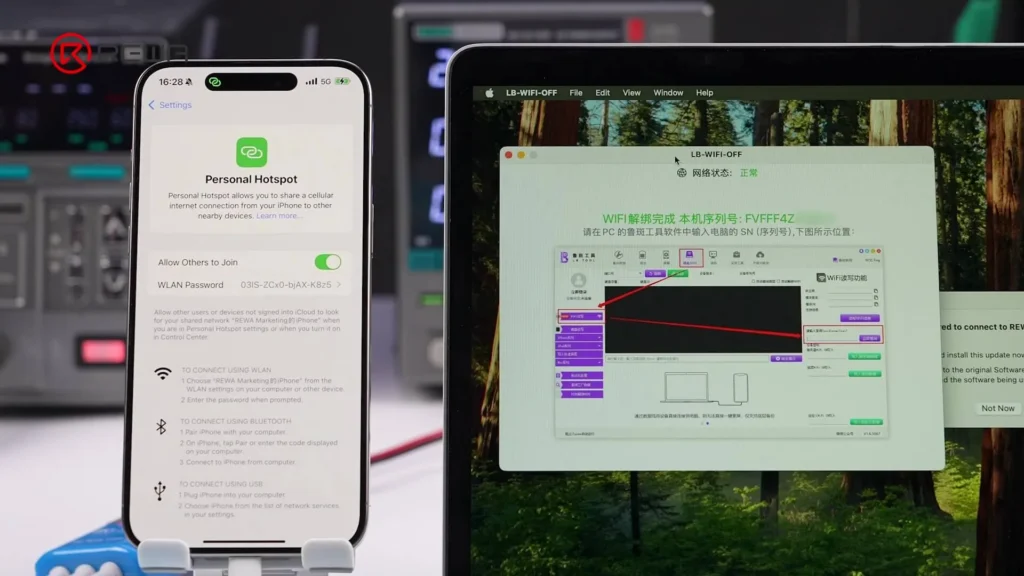
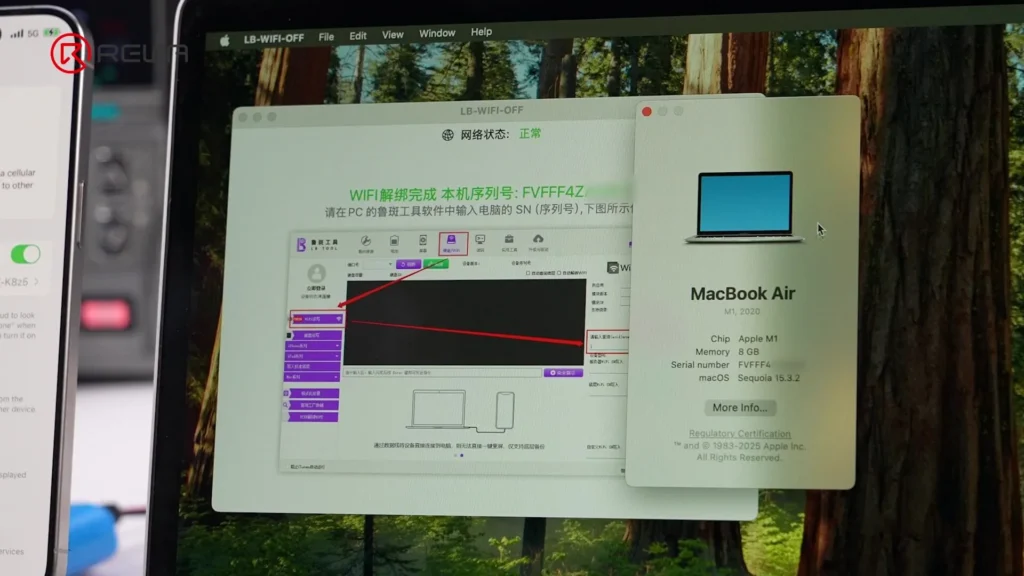
    4. Once connected, LuBan automatically unbinds the existing Wi-Fi chip and reads the ECID.
    5. Verify the ECID in macOS Settings to ensure it matches.
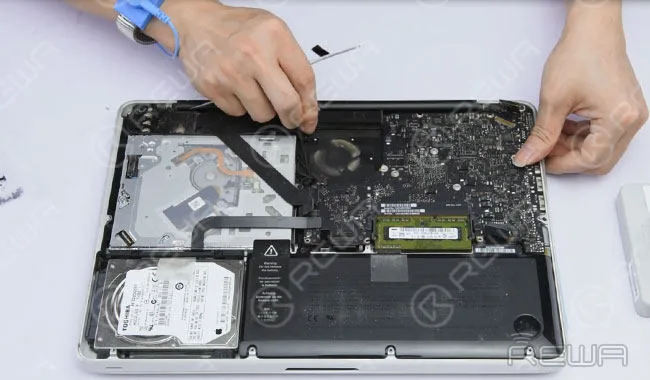
    Step 3: Disassemble the MacBook

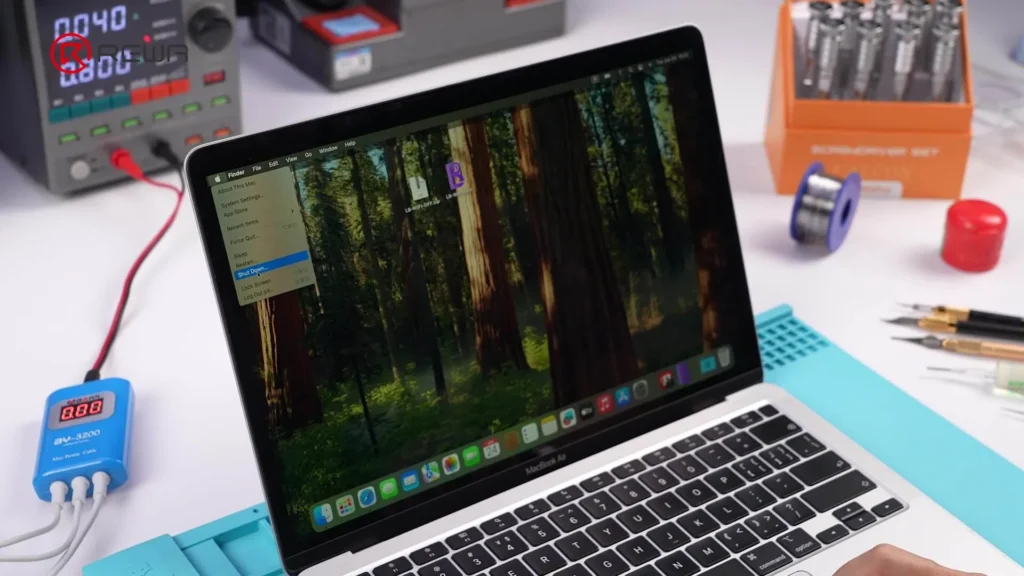
    1. Power off the MacBook.
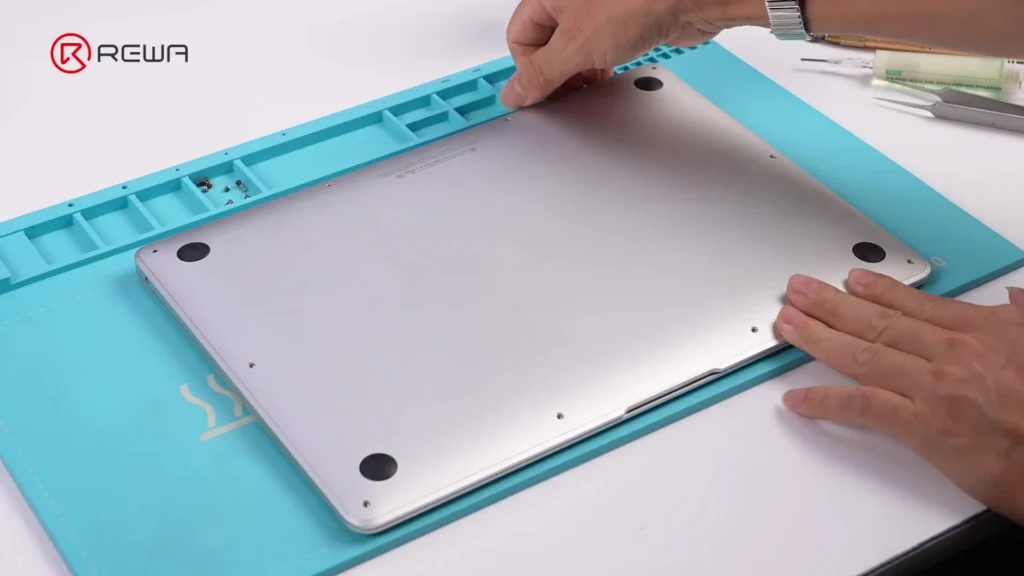
    2. Remove the lower case screws and casing.
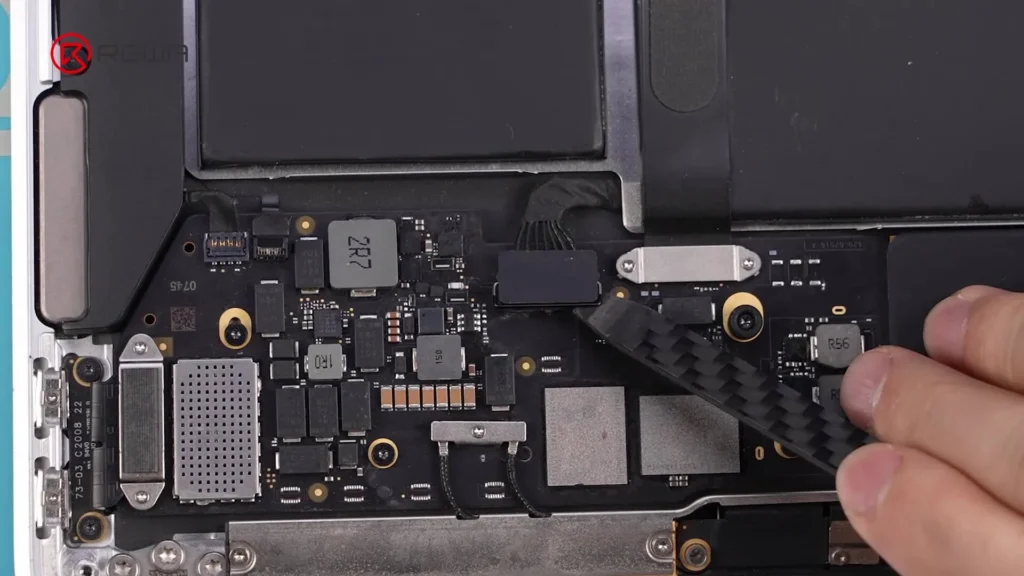
    3. Disconnect the battery cable.
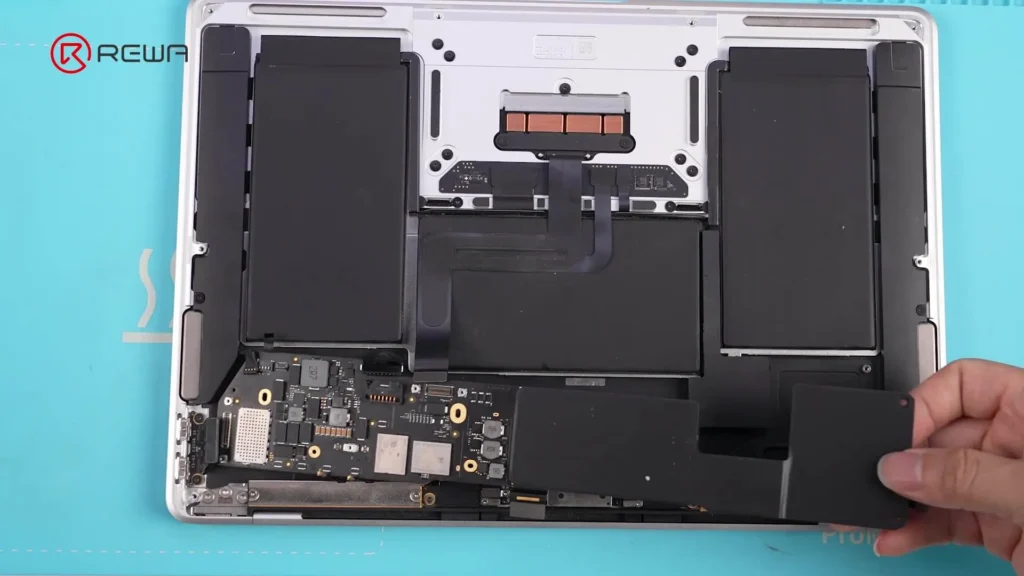
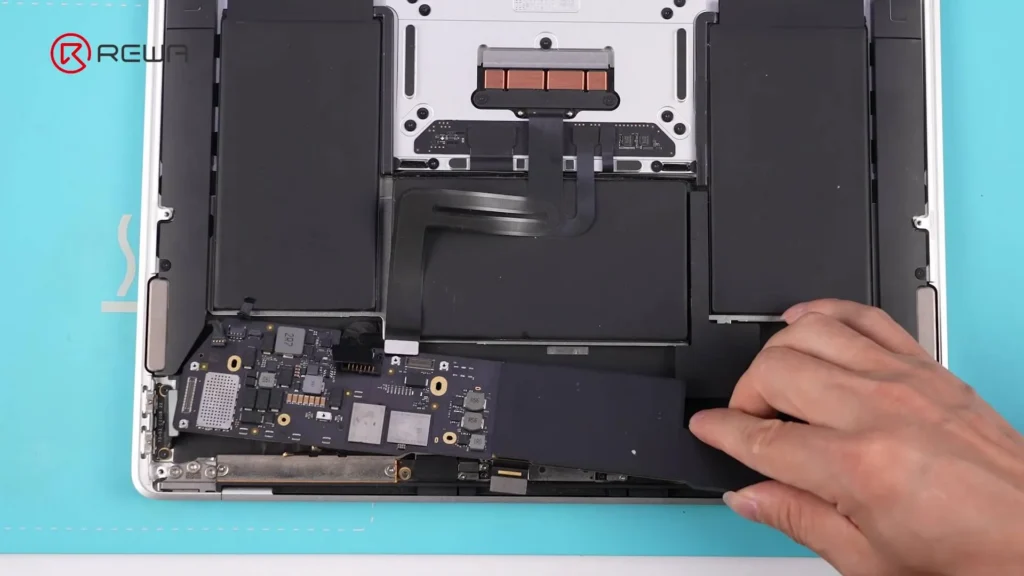
    4. Remove the motherboard:
      • Unscrew all mounting screws.
      • Remove the heat sink.

    Step 4: Remove the Faulty Wi-Fi Chip

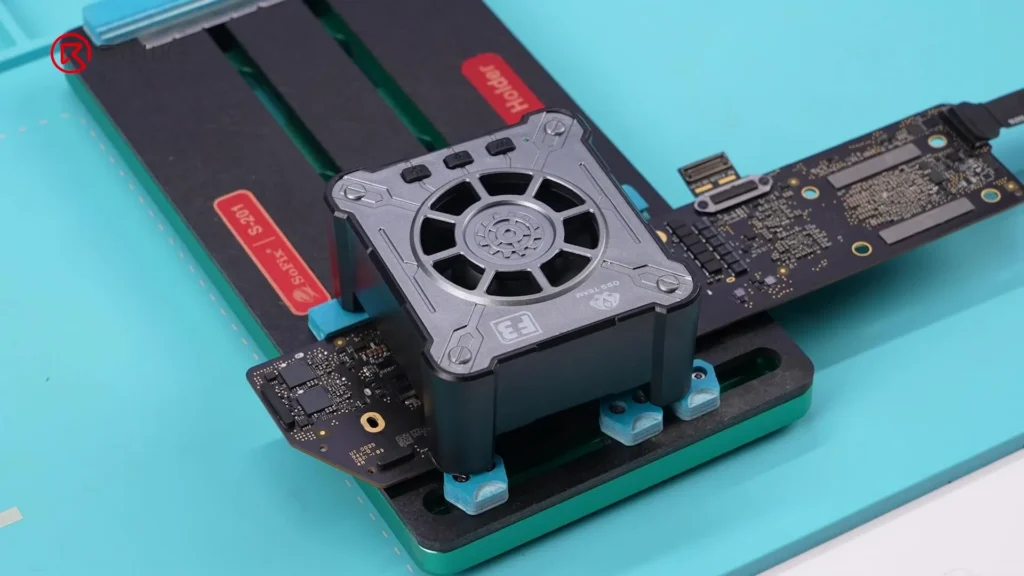
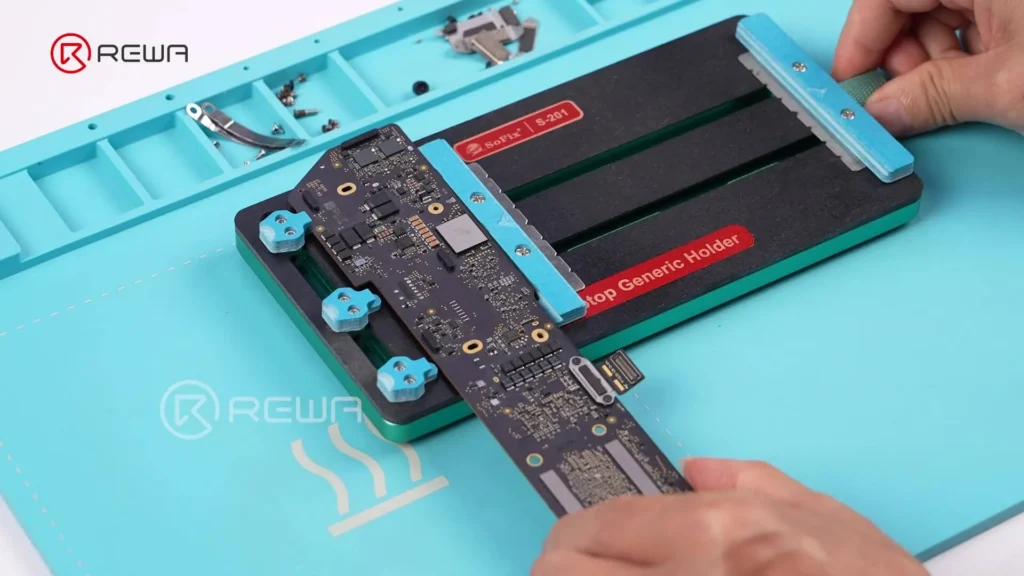
    1. Secure the motherboard using a PCB fixture.
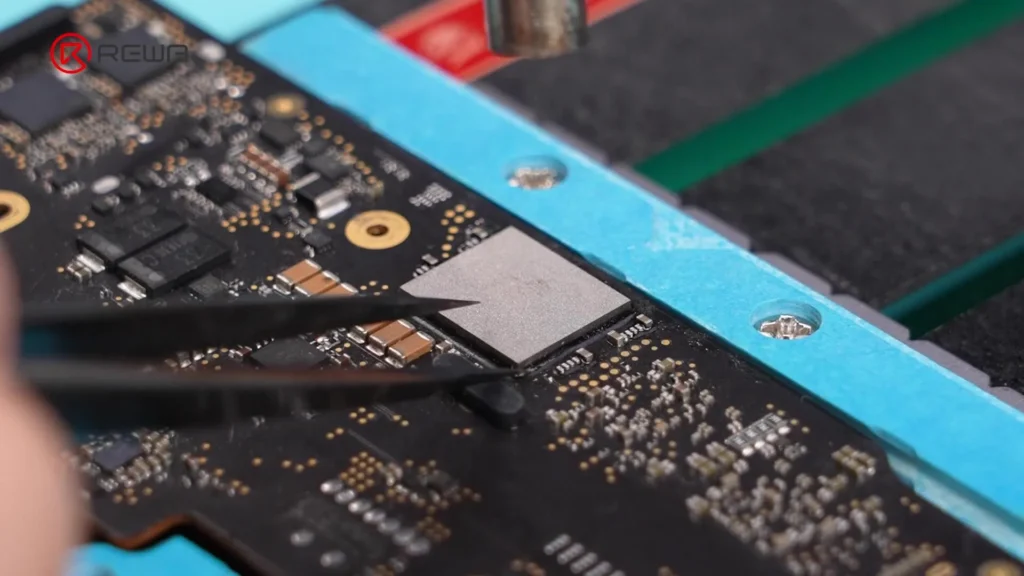
    2. Use a hot air gun to soften the adhesive around the chip.
    3. Gently remove the adhesive with tweezers — do not directly heat the chip yet.
    4. Apply heat evenly by moving the hot air gun in a clockwise motion over the chip.
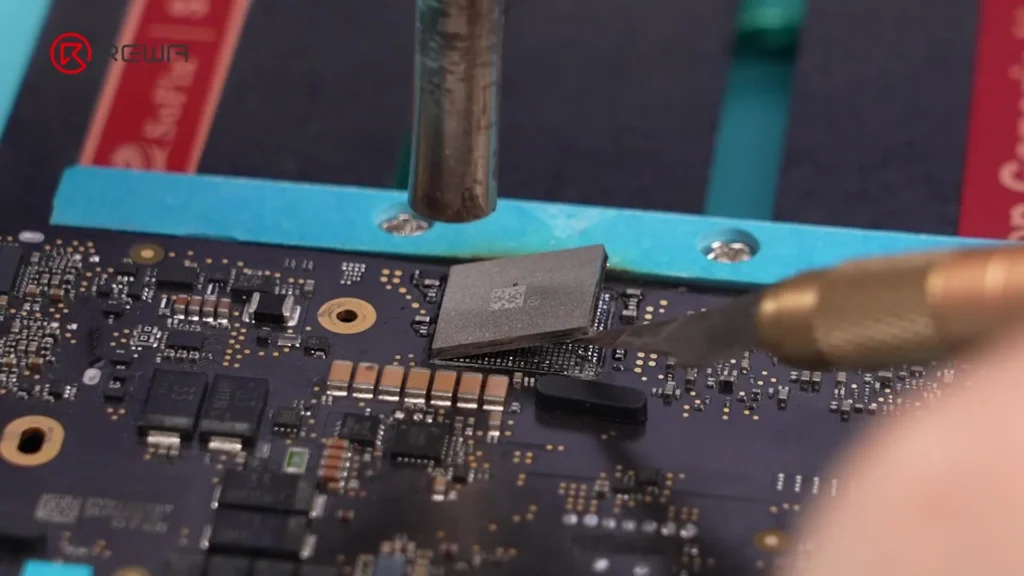
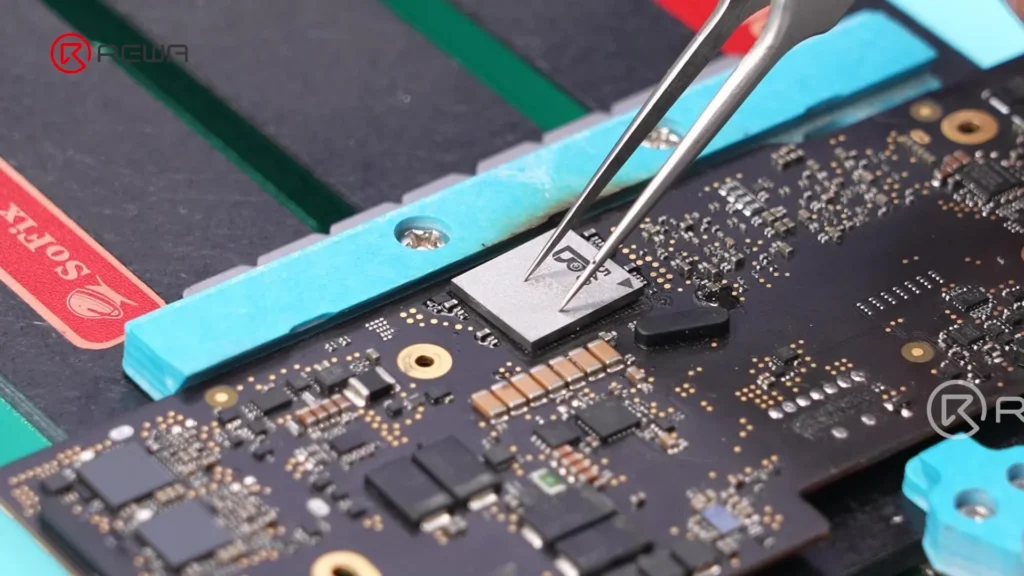
    5. Insert a pry tool under the chip and lift it gently.
    Step 5: Prepare the Solder Pads

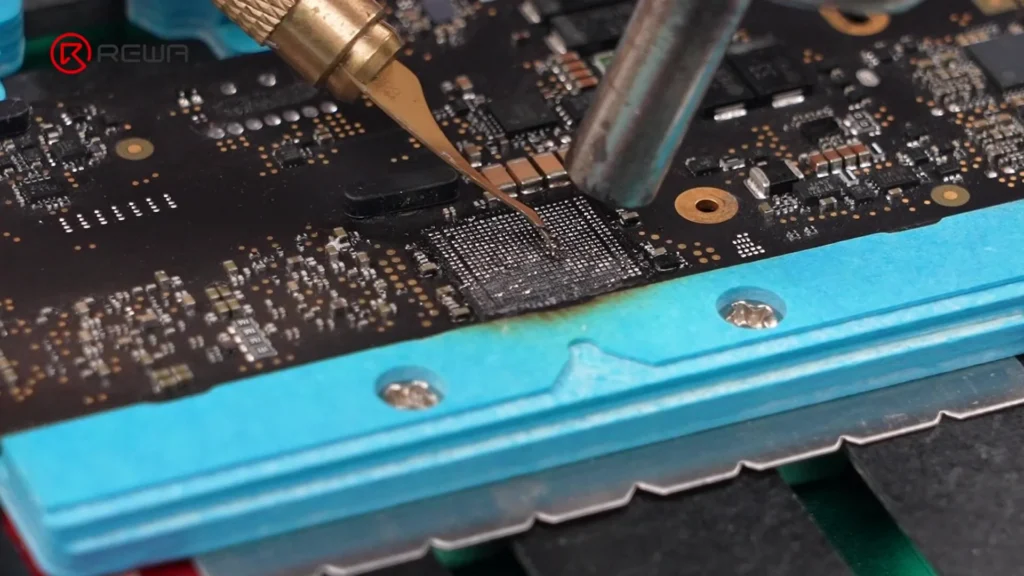
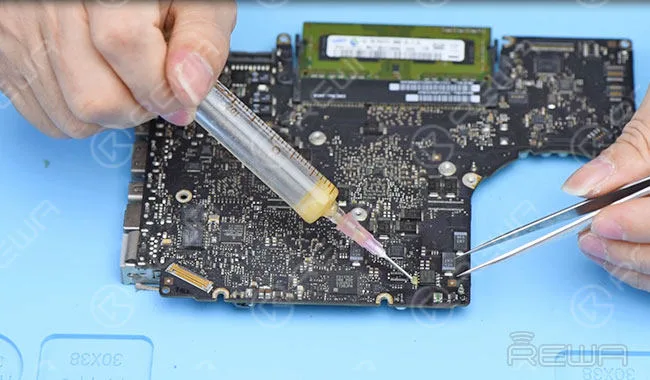
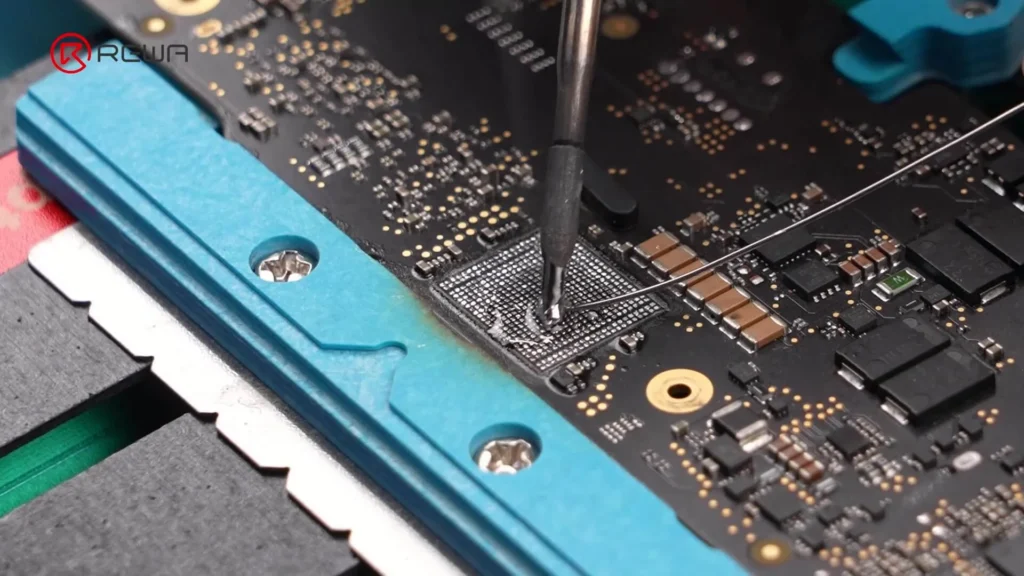
    1. Apply flux and medium-temperature solder to neutralize the high-temperature solder on the pads — this lowers reinstallation risk.
    2. Heat around the pads and remove black adhesive with a scraper.
    3. Clean pads with PCB cleaner.
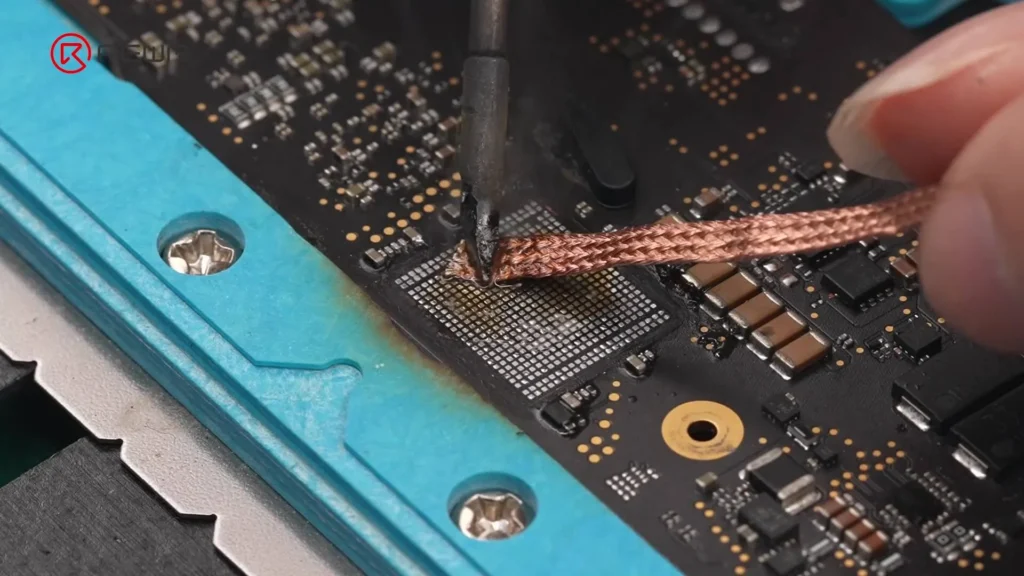
    4. Apply flux again and use solder wick to remove all remaining solder.
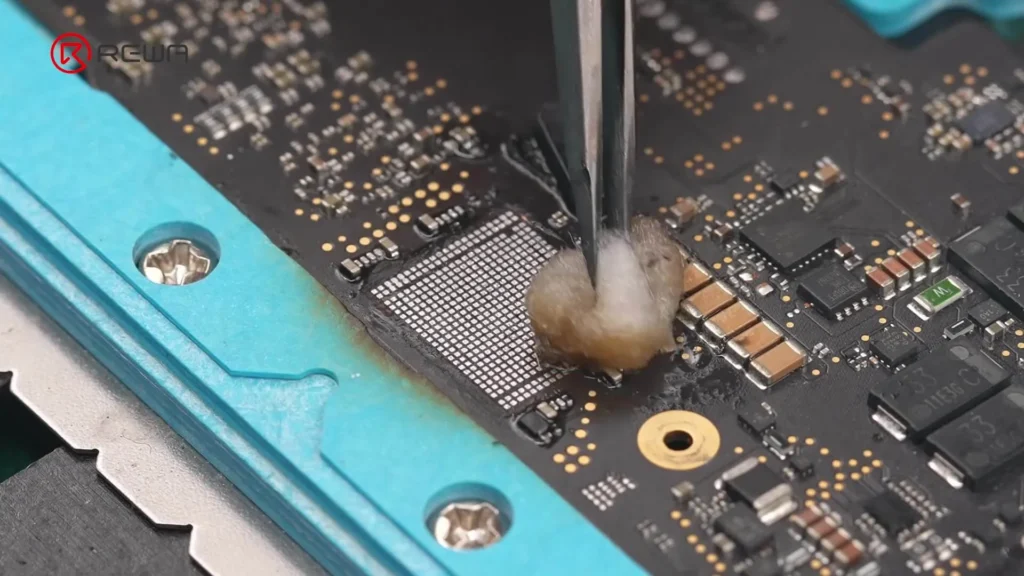
    5. Wipe pads clean with PCB cleaner-dampened cotton.
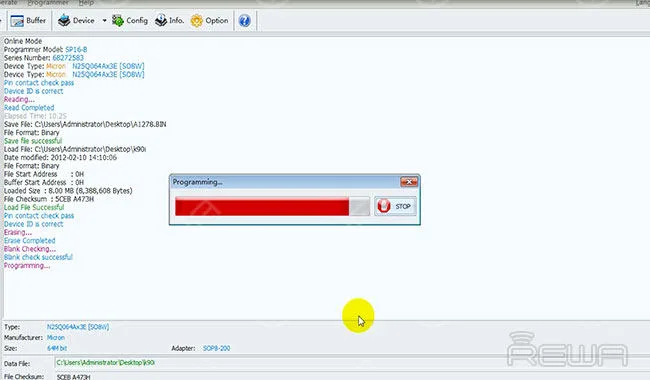
    Step 6: Program the New Wi-Fi Chip

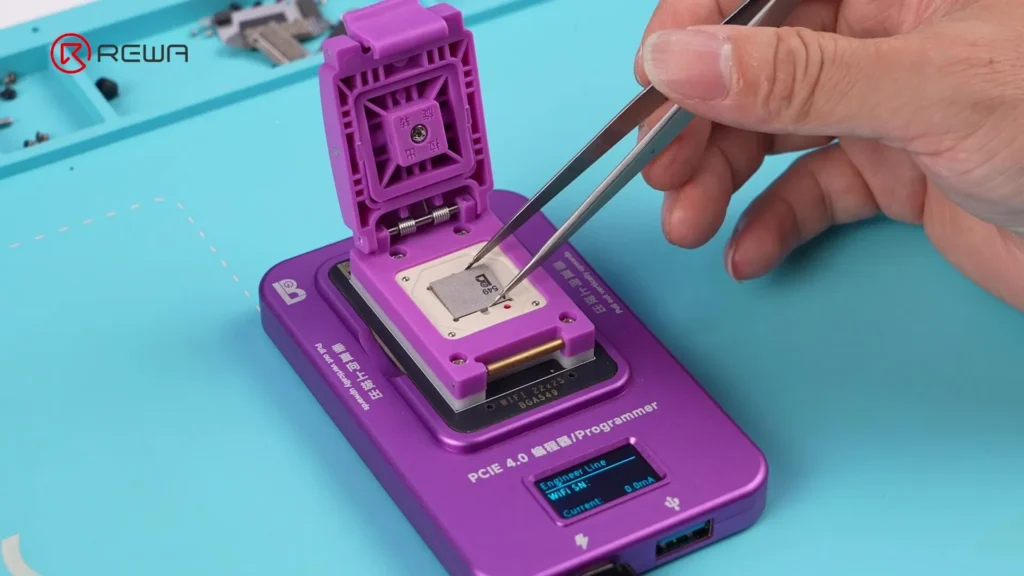
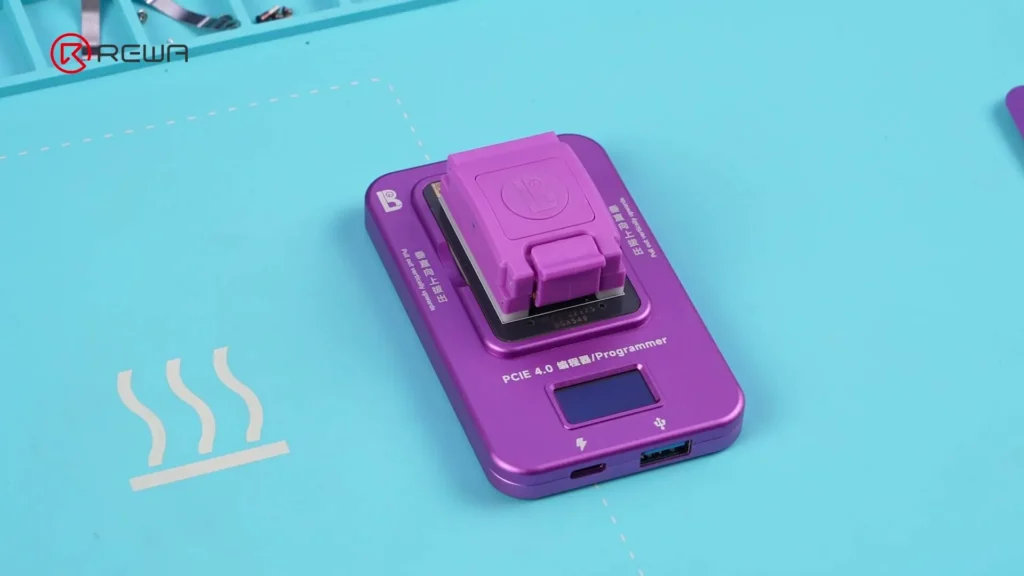
    1. Install the MacBook Wi-Fi repair module into a programmer.
    2. Insert the new Wi-Fi chip into the module.
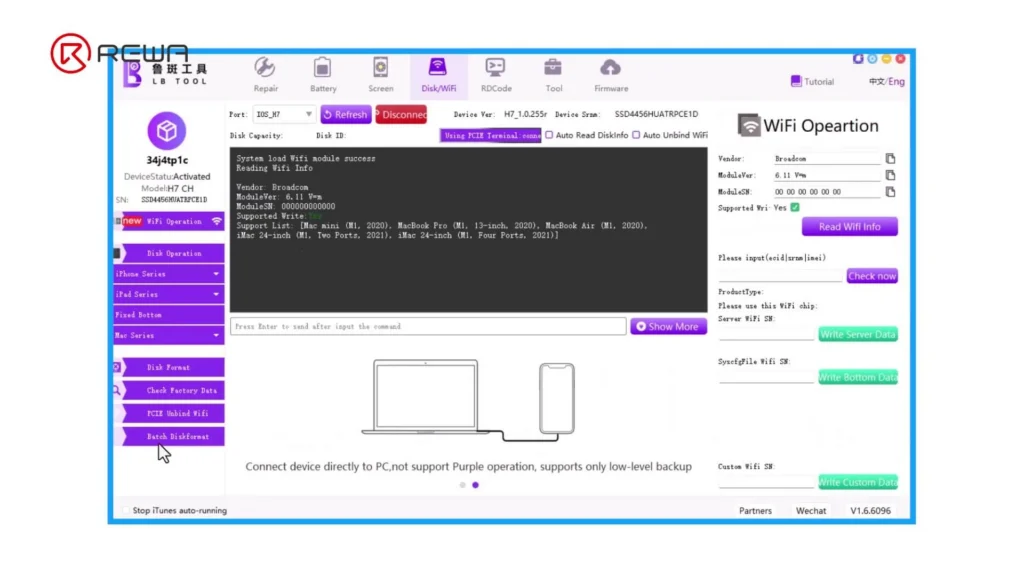
    3. Connect the programmer to a computer running LB Tool software.
    4. Wait for the software to read the new chip.
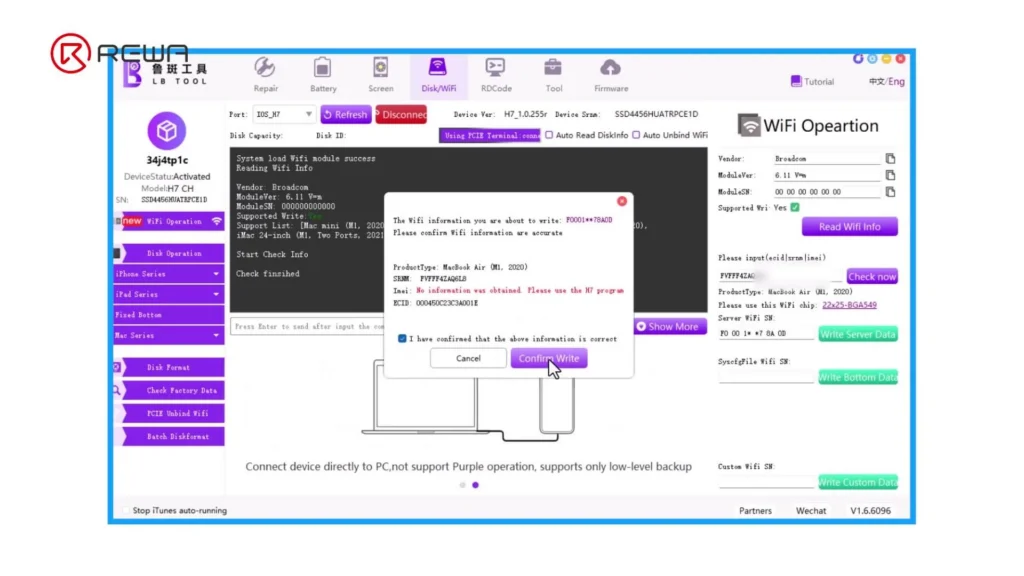
    5. Enter the ECID recorded earlier.
    6. Click Check Now — the required data fields will auto-populate.
    7. Click Write Server Data → confirm → Confirm Write.
    8. Wait for the write to complete — success is shown when “PASS” appears.
    Step 7: Reball and Install the New Chip

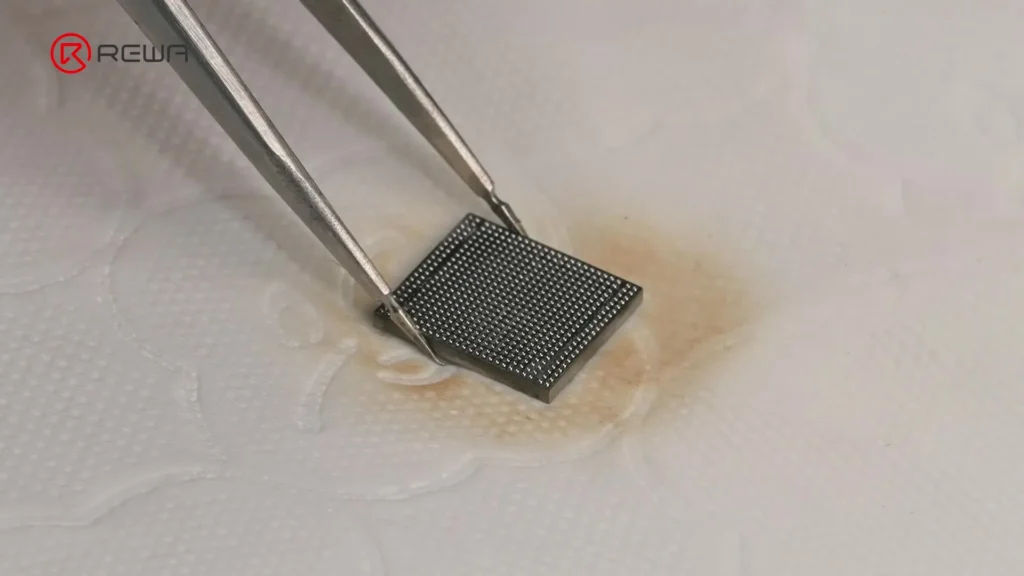
    Reballing ensures the chip has fresh, evenly-spaced solder balls for a secure connection.

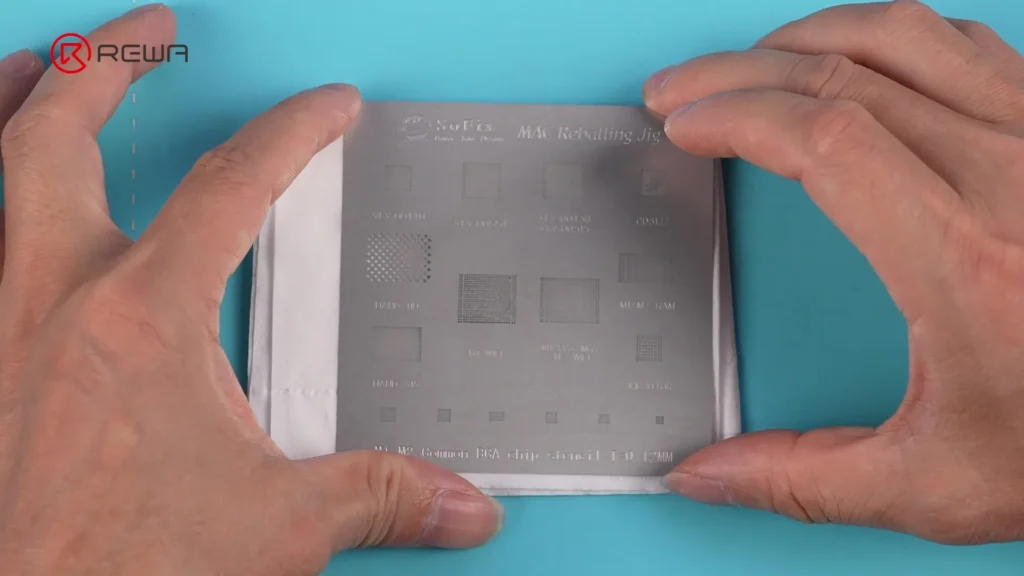
    1. Align a solder stencil with the chip pads.
    2. Spread medium-temp solder paste over the stencil.
    3. Heat with a hot air gun until solder forms balls.
    4. Apply flux to the chip pads.
    5. Heat the pads briefly to smooth solder balls.
    6. Apply flux to the motherboard pads.
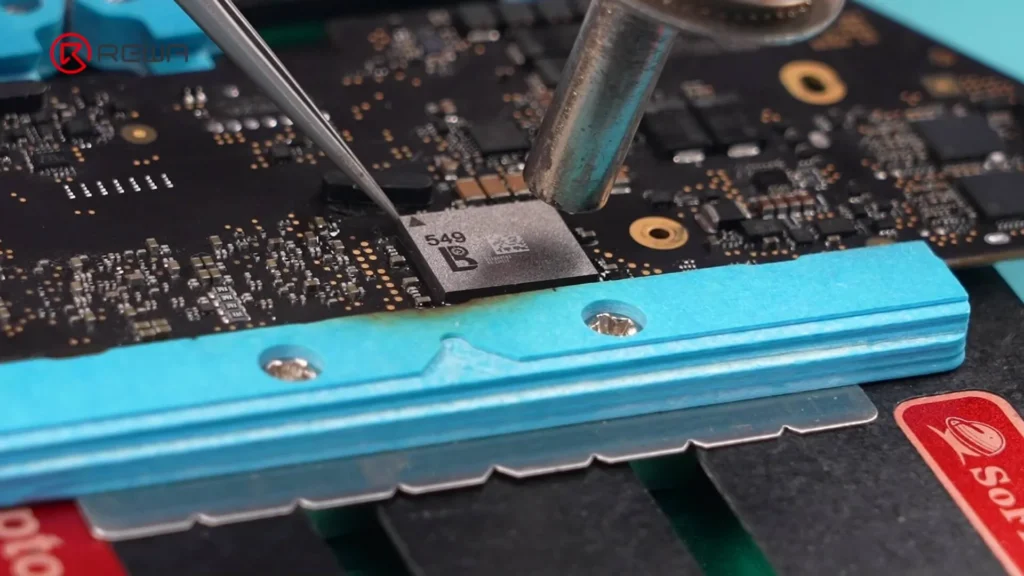
    7. Position the chip precisely using tweezers.
    8. Heat in a clockwise motion to secure solder joints.
    9. Tap gently with tweezers to confirm stability.
    10. Cool quickly using a fan.

    Step 8: Test and Reassemble

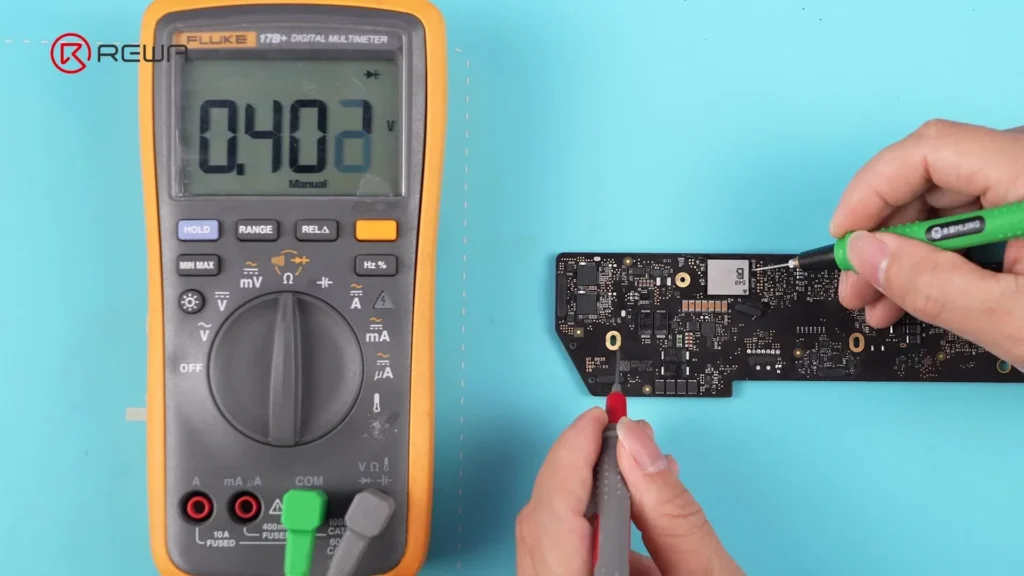
    1. Use a multimeter to test capacitors around the chip — readings should be normal.
    2. Reinstall the heat sink.
    3. Reinstall the motherboard.
    4. Reconnect the battery cable.
    5. Reattach the lower case.
    6. Connect a charger to re-activate the battery.
    7. Boot the MacBook and check Wi-Fi — it should now work.
    8. Verify ECID remains unchanged.

    Tools & Parts List

    Tools:

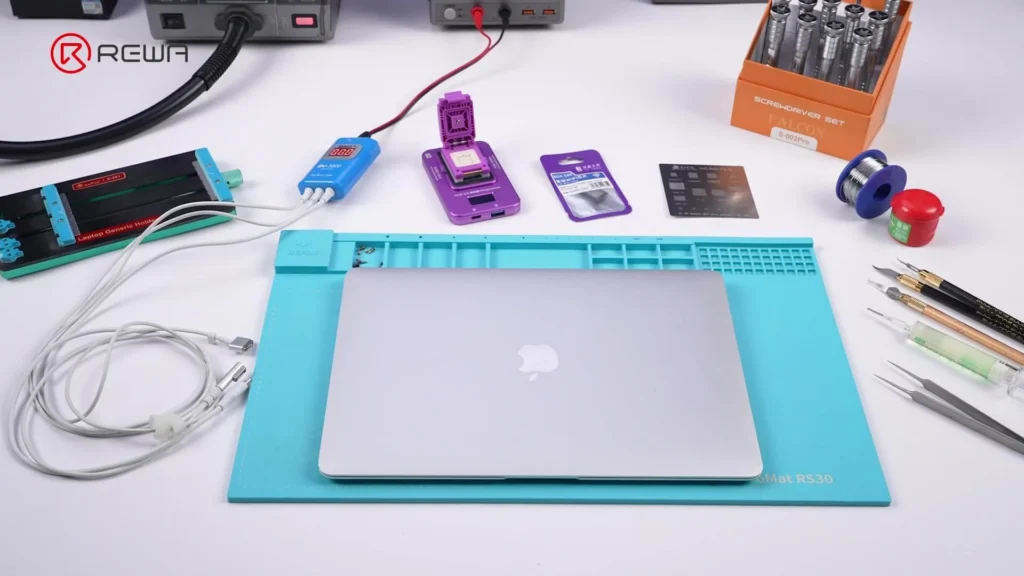
    macbook wifi not working repair

    Materials:

    • Flux
    • Medium-temp solder
    • Solder paste
    • PCB cleaner
    • Cotton swabs

    Parts:

    • New Wi-Fi chip (compatible with MacBook model)
    • MacBook Wi-Fi repair module
    • Programmer device (LB Tool compatible)

    Software:

    • LuBan Software

    FAQs

    What is ECID and why is it important?

    The ECID (Exclusive Chip ID) is a unique identifier for your MacBook’s components. When replacing the Wi-Fi chip, the ECID must be rewritten to the new chip to ensure compatibility with the motherboard.

    Can I perform this repair without professional tools?

    No — this procedure requires precision tools, soldering skills, and specific software. Attempting it without the proper equipment risks damaging the motherboard.

    Is replacing the Wi-Fi chip cheaper than replacing the motherboard?

    Yes, Wi-Fi chip replacement is significantly cheaper and more eco-friendly, as it avoids replacing the entire logic board.

    Will this fix also restore Bluetooth?

    Yes, since Wi-Fi and Bluetooth share the same chip, replacing it restores both functions.

    How long does the repair take?

    With the right tools and experience, it typically takes around 1–2 hours.

    Conclusion

    For years, MacBook Wi-Fi chip failure meant replacing the entire logic board — a costly and wasteful approach. Thanks to REWA Tech’s breakthrough method, it is now possible to replace the integrated Wi-Fi/Bluetooth chip on M-series MacBooks, preserving the original board and saving significant repair costs.

    With the correct tools, software, and skill, professional technicians and advanced DIYers can successfully restore full wireless functionality. Always take ESD precautions, use quality flux and solder, and ensure accurate ECID programming for a lasting repair.
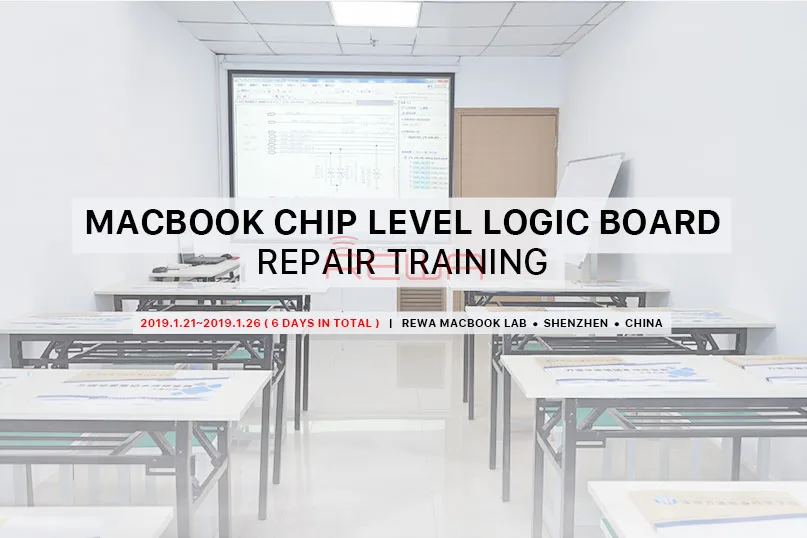

  • Master MacBook Logic Board Repair with REWA

    Master MacBook Logic Board Repair with REWA

    Apple continued to grow its overall MacBook market-share in recent years as a leading Windows PC maker.

    According to the latest data, the MacBook now accounts for nearly 10 percent of all PCs currently in use.

    Meanwhile, the market for repairing these devices has also grown rapidly over the years.

    However, one can hardly get access to MacBook repair training courses due to a lack of repair engineers and schools.

    That’s why we carried out this MacBook training project to help you stand out among your competitors and double your profit.

    Course Description:

    The courses are designed to help new and experienced technicians master all levels of MacBook repairs and walk away with the knowledge and practical skills to immediately use in their business.

    REWA MacBook Logic Board Repair Training Course

    Course Schedule:

    Day 1: MacBook models and its logic board configuration introduction.

    Screen disassembly and assembly. MacBook spare parts replacement.

    Day 2: MacBook Pro A1502 booting sequence introduction.

    SMC chip disassembling and assembling. Liquid-damaged IC repair.
    Day 3: MacBook A1706, A1707 booting sequence introduction.

    BGA chip replacement with BGA Rework Station.

    Day 4: MacBook Air, MacBook Pro RAM & SDRAM upgrade.

    Change the graphics card settings on A1286. Chip soldering & desoldering. Logic board circuit Modification.

    Day 5: MacBook Air & Pro all models firmware unlocking and PIN code unlocking.

    On-site MacBook troubleshooting. Oscilloscope usage.

    Day 6: Common issues and fixes of MacBook. MacBook troubleshooting by current measurement.

    Course Duration:

    21st, January 2019 – 26th, January 2019 (6 days in total)

    Training Location:

    REWA MacBook Lab, Shenzhen, China

    Training fee: Only USD 1499

    This price includes courses, materials, and translation.

    Costs like food, accommodation, and transportation are not included.

    Application Deadline:

    Jan. 12th, 2018 (Limited seats available.)

    Anybody who intends to improve their MacBook repair skills can take this course.

    The course will equip you with the advanced on how to repair the MacBook.

    Apply and get started on becoming a MacBook Repair Expert today.

    Everything is ready, just your actions ENROLL NOW

    Any further questions please feel free to contact us at: training@rewatechnology.com

  • Power ON All MacBook with 1 Cable – MacBook Power Cable (BY-3200)

    Power ON All MacBook with 1 Cable – MacBook Power Cable (BY-3200)

    Today, REWA Lab will introduce the MAC Power Cable (BY-3200), a boot cable product for MacBook repair. The BY-3200 features 3 interfaces (Type-C, T-style, and L-style) for the whole series 2008-2021 MacBook, providing power for different MacBook by simply connecting to a DC power supply. The BY-3200 mainly supports different power of fast charging, start-up and system entry with a single motherboard, boot current reading, etc.
    Recommended Items:

  • An Efficient Way to Diagnose MacBook Faults and Fix Serial Number (EBC-820)

    An Efficient Way to Diagnose MacBook Faults and Fix Serial Number (EBC-820)

    In daily MacBook repair, motherboard component failure is the most common problem. For repair technicians, the most complicated process is not repairing, but finding the fault. In response to this situation, we introduce a MacBook repair assistant EBC-820 that can help repair technicians pinpoint the fault before repair. Check out this video and see how EBC-820 works!
    Products recommended in this video:

  • MacBook LCD Only Repair – Easy Fix with Air Slice Tool

    MacBook LCD Only Repair – Easy Fix with Air Slice Tool

    The MacBook LCD repair is obviously more cost-effective than the replacement of the entire MacBook display assembly. However, single MacBook display replacement can be really difficult. It requires professional skills of technicians. Well, check our video today and you can see how the technician removes the display with just two pieces of Air Slice instead of the use of a Hot Air Gun. Which can greatly reduce the difficulty of MacBook screen replacement. 

  • Unlock Any MacBook(2010-2017) with This Awesome Tool

    Unlock Any MacBook(2010-2017) with This Awesome Tool

    We have introduced a fantastic MacBook unlock tool in our previous video. With the help of this MacBook Unlocking Tool, you can unlock all MacBook series (2010-2017). Moreover, all data remain the same after unlocking and there is no need for OS reinstallation. Still, some customers have got questions about how it works. Check our video today and you will find out how this MacBook unlock tool is applied to different MacBook models. 

  • MacBook Pro 2017 Wont Turn On Troubleshooting Guide

    MacBook Pro 2017 Wont Turn On Troubleshooting Guide

    Different from previous models in exterior design and interior logic board circuit construction, MacBook Pro 2017 A1708 is further difficult to be repaired. This time we will show you a complex MacBook won’t turn on repair case caused by multiple faulty components like capacitors, inductors etc.. If you are facing MacBook won’t power on problem, please check the video for MacBook pro fault troubleshooting guide.

  • MacBook Air 2015 No Backlight Repair

    MacBook Air 2015 No Backlight Repair

    MacBook Air no backlight and all you see is black screen? Typically, MacBook backlight not working issue is caused by the damage of backlight IC. However, the situation is much more complicated in this video. The damage of booster diode leads to the no backlight issue of MacBook Air. Check the video for the detailed diagnosis&troubleshooting process and bring your MacBook back to life.
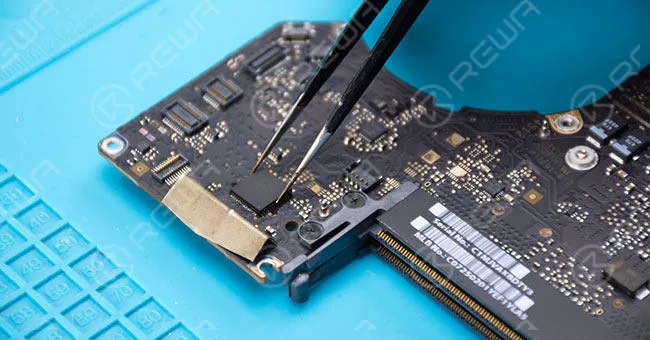
  • EFI Chip Solution For MacBook Unlock Repair

    EFI Chip Solution For MacBook Unlock Repair

    Recently, REWA has received a batch of MacBook locked by hackers. Users might be confused by the definition of PIN lock and EFI firmware lock. And the way they might have affected the Macbook. With this blog we will share an EFI chip solution regarding to the MacBook unlock issue. please stay tuned for the next two chapters of MacBook unlock.

    EFI Chip Solution For MacBook Unlock Repair

    EFI Chip Solution For MacBook Unlock Repair

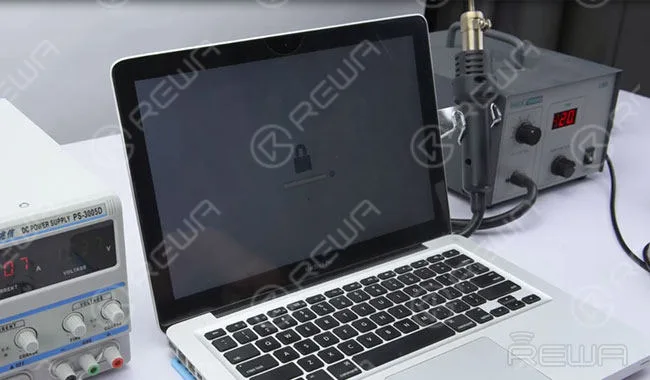
    The MacBook Pro requires PIN to login. Give the PIN a try, yet PIN failed.

    EFI Chip Solution For MacBook Unlock Repair

    Power off. Then hold Option Key and power on. Another LOCK appears on the pop up window. We can draw the conclusion that the MacBook has been Locked by Hackers, since both two passwords failed.

    Power off. Then hold Option Key and power on. Another LOCK appears on the pop up window. We can draw the conclusion that the MacBook has been Locked by Hackers, since both two passwords failed.

    Confirm the MacBook SN first.

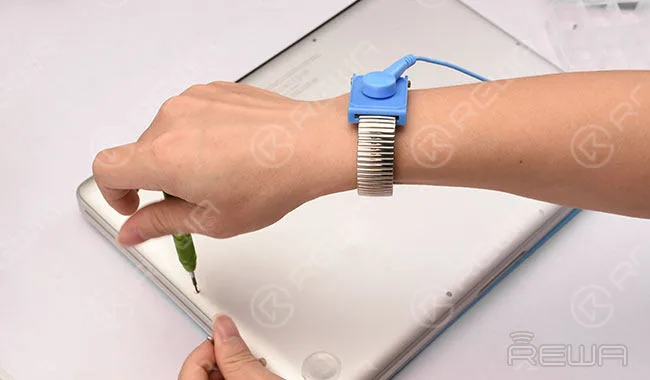
    Remove the lower case and disconnect the primary battery.

    Remove the lower case and disconnect the primary battery.

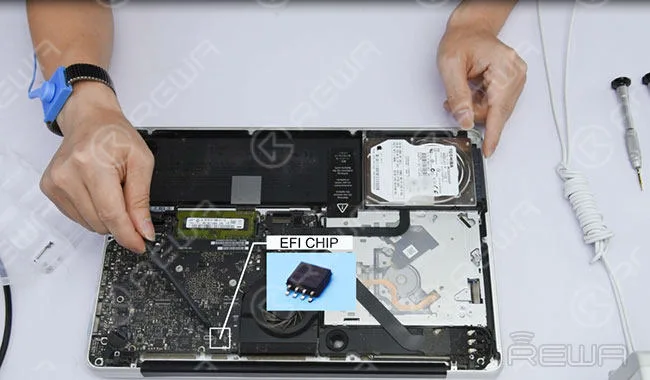
    Locate the EFI chip that stores information. This chip is the key to the unlocking process.

    Locate the EFI chip that stores information. This chip is the key to the unlocking process.

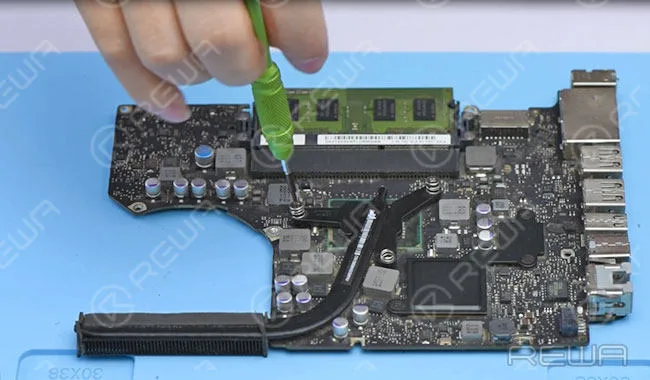
    Then take out the logic board and remove heat sink afterwards. (Logic board is removed from the MacBook to avoid damage to other components during the repairing process.)

    Then take out the logic board and remove heat sink afterwards. (Logic board is removed from the MacBook to avoid damage to other components during the repairing process.)

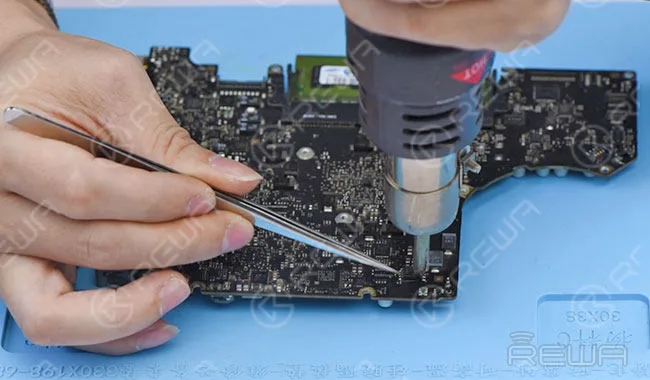
    Detach the EFI chip from the logic board and then clean the chip.

    Detach the EFI chip from the logic board and then clean the chip.

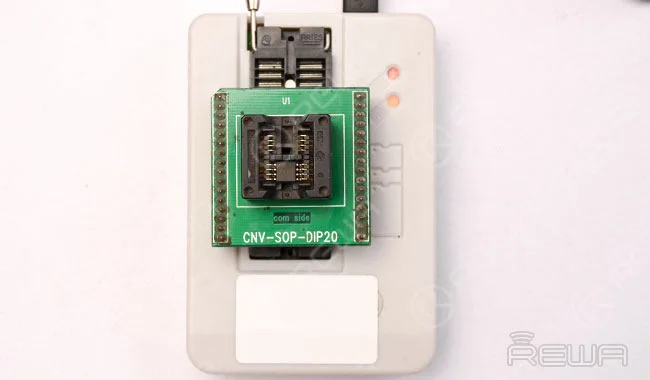
    Install the chip onto the unlock tool.

    Install the chip onto the unlock tool.

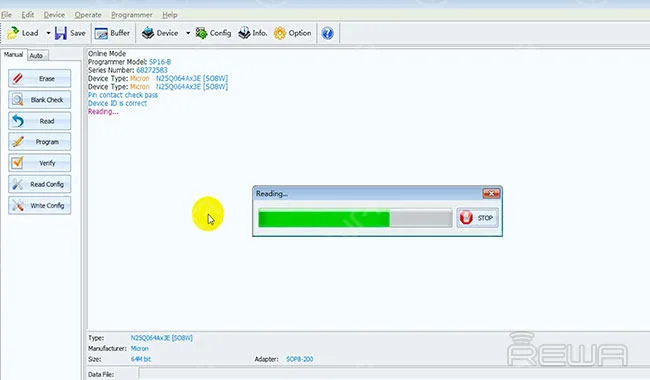
    Connect with the unlock software. Input the chip model number, then Read and backup chip data.

    Connect with the unlock software. Input the chip model number, then Read and backup chip data.

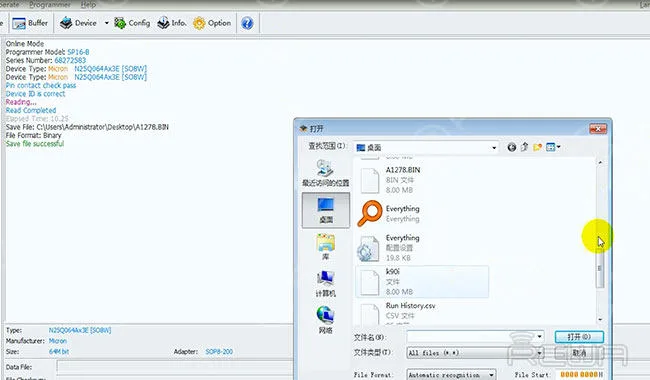
    Load a specific firmware data. Improper firmware may result in unsuccessful unlocking or slow system after successful unlocking.

    Load a specific firmware data. Improper firmware may result in unsuccessful unlocking or slow system after successful unlocking.

    Clear raw data, and write new data. Once finished, take down the EFI chip.

    Clear raw data, and write new data. Once finished, take down the EFI chip.

    Solder the chip to the logic board, then clean with PCB cleaner.
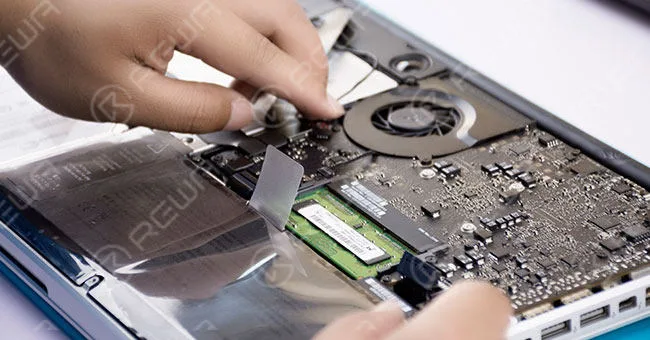
    Solder the chip to the logic board, then clean with PCB cleaner.
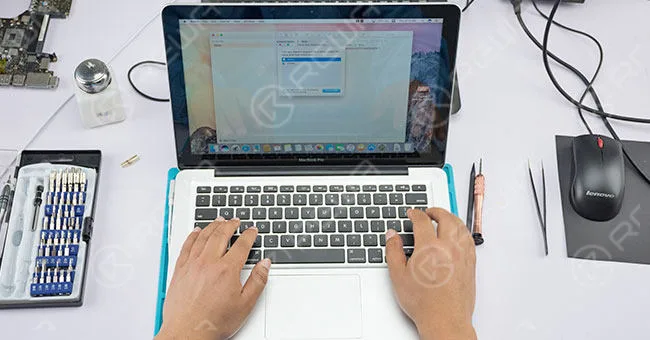
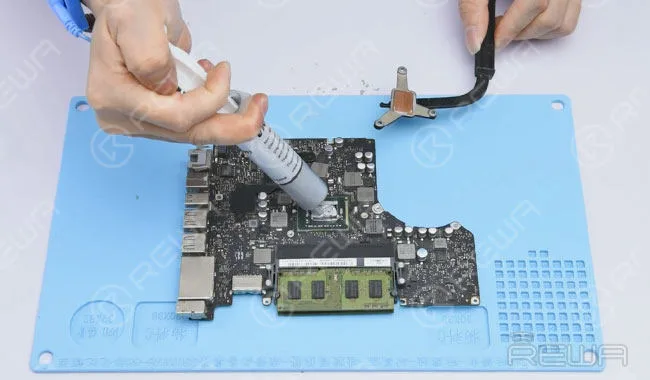
    Apply some thermal paste and install heat sink.

    Apply some thermal paste and install heat sink.

    Get the logic board installed.

    Get the logic board installed.

    Press DC Power button to power up.

    Press DC Power button to power up.

    Erase NVRAM and power up (press option+command+R+P+power button). MacBook unlocked successfully. OS X can be re-installed now.

    Erase NVRAM and power up (press option+command+R+P+power button). MacBook unlocked successfully. OS X can be re-installed now.

    Notice:

    Load the specific EFI firmware that matches the MacBook model for unlocking process;

    There are two types of lock for MacBook, PIN and EFI firmware lock;

    Unlock MacBook does not affect the local data;Once locked, if the data hasn’t been erased, then the data remains the same after unlocking;

    Once locked, if the data has been erased, then you need to reinstall the system after unlocking.

    For more details on Macbook unlock Repair guide, please go to REWA YouTube channel.

    You can check out Macbook air ram upgrade guide.

  • MacBook No Display Repair

    MacBook No Display Repair

    Recently we noticed some complaints about MacBook air stuck in some peculiar issue during system boot. When your MacBook air is booting to a completely black screen, don’t be panic. REWA here presents you a quick fix for MacBook no display problem with some troubleshooting steps. This solution diagnosed the cause of MacBook black screen step by step and solve the issue by replacing the chip U7701. For more videos related to chip level motherboard repair tutorials, please subscribe our channel.

    Tools Used: 

    • MacBook Spare Parts
    • Multimeter
    • Heat Resistant Insulation Pad
    • Hot Air Gun
    • Soldering Iron
    • BGA Strip Flux Soldering Paste
    • Screwdrivers
    • Plastic Pry Bar
    • Anti-static Wrist Strap
  • How To Fix MacBook Pro Won’t Turn On

    How To Fix MacBook Pro Won’t Turn On

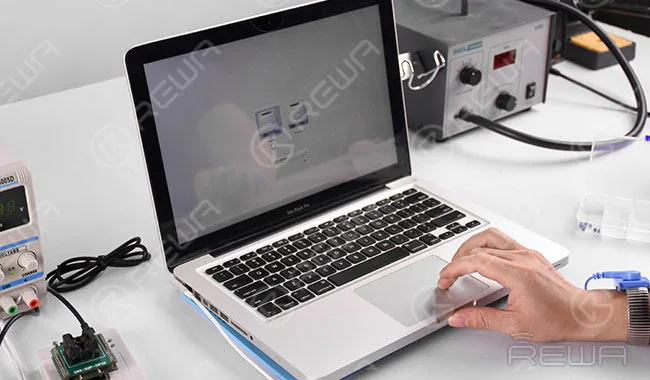
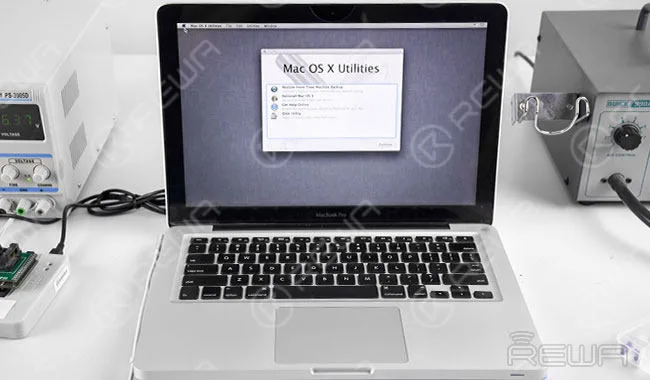
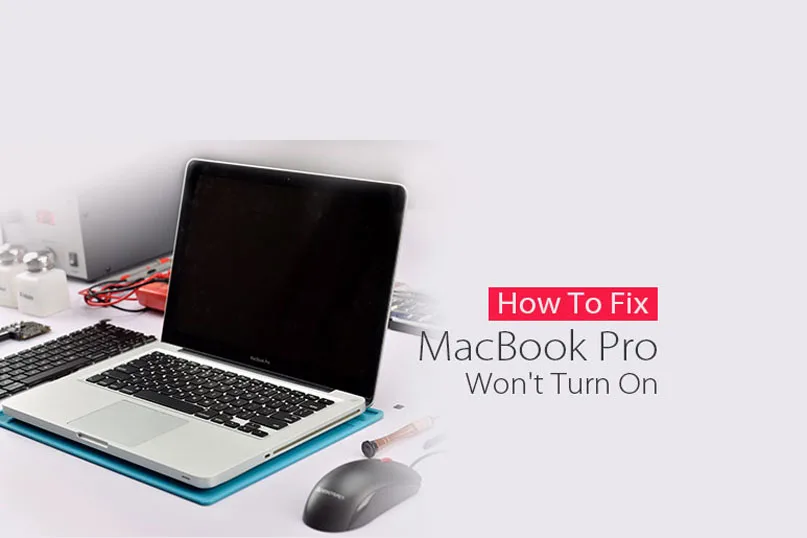
    When your Macbook doesn’t turn on, your first guess should be your Mac has run out of battery. If it’s not the case, you need to search more other reasons. We might have browsed a series of posts or threads like MacBook Pro No Power on; MacBook Power Key Not Working; MacBook won’t turn on etc.. This problem usually relates to one of two things. Either the display is malfunctioning, which means the computer is on, and you just can’t see that it is, or there is some kind of power-related issue that is preventing it from turning on as expected. REWA LAB has been working on MacBook repair these days, and in this tutorial we look at the steps you need to take to fix your MacBook Pro 13” A1278 if it won’t turn on when pressing the power button. 

    Detail steps to teach you How to fix your MacBook Pro or Air won’t turn on :

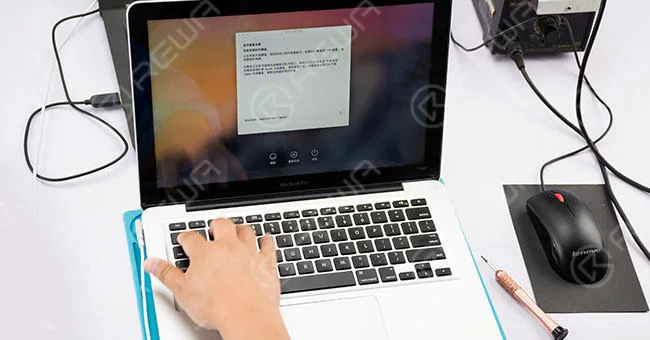
    1. Power Button Power Up Testing

    Power button power up-failed. Plug in AC adapter to power up- successful.

    2. Keyboard And Trackpad Testing

    Keyboard and Trackpad no function.

    Preliminary Diagnosis

    Trackpad and keyboard module broke down.

    3. MacBook Disassembling

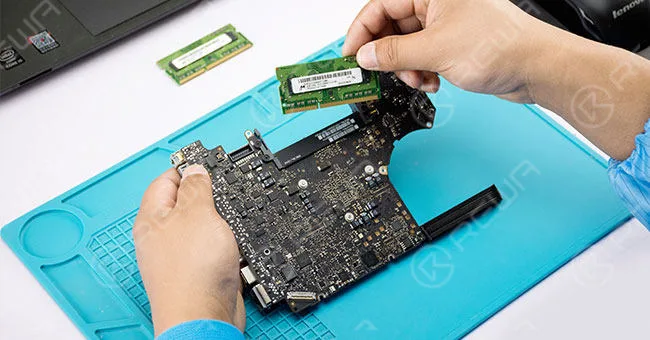
    Disassemble the MacBook and disconnect flex cables. Remove screws and detach the motherboard. Then remove the memory.

    4. Motherboard Superficial Inspection

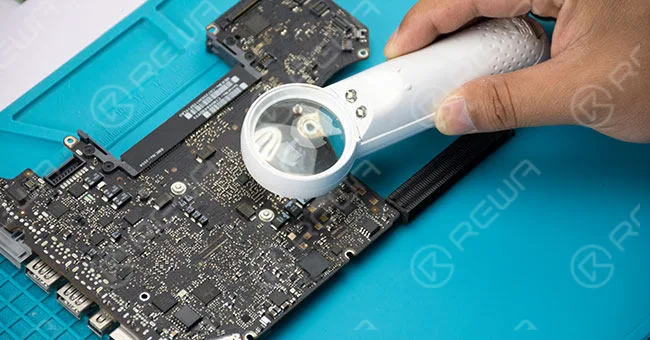
    Motherboard superficial inspection with the help of a handhold magnifier.

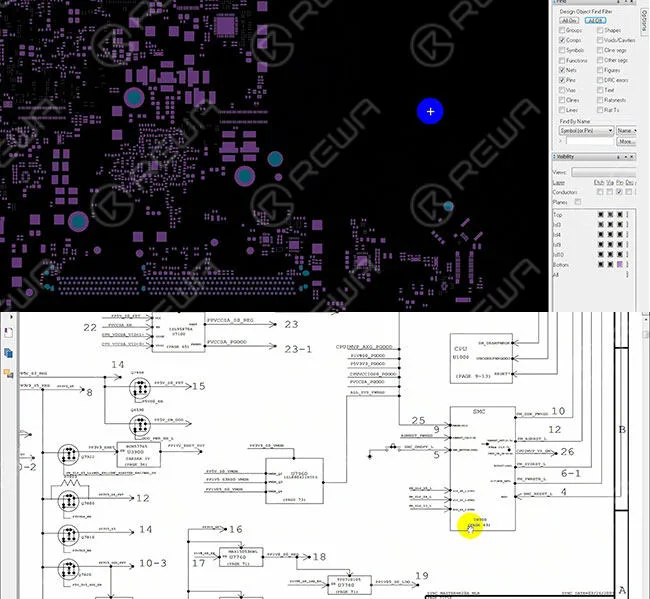
    5. Maintenance Drawing Referring

    Roll out the maintenance bitmap and the circuit diagram for reference. Roll out Motherboard framework drawing and motherboard power system architecture afterwards.

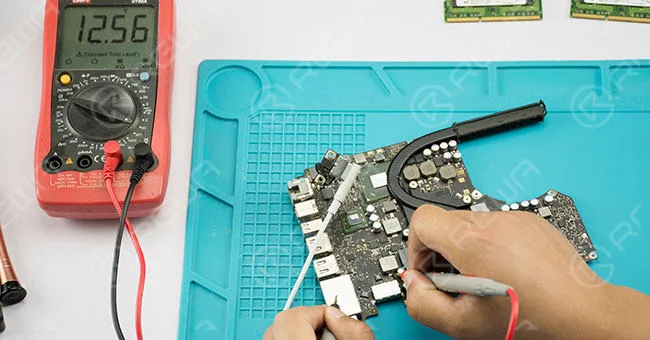
    6. Motherboard Voltage Testing

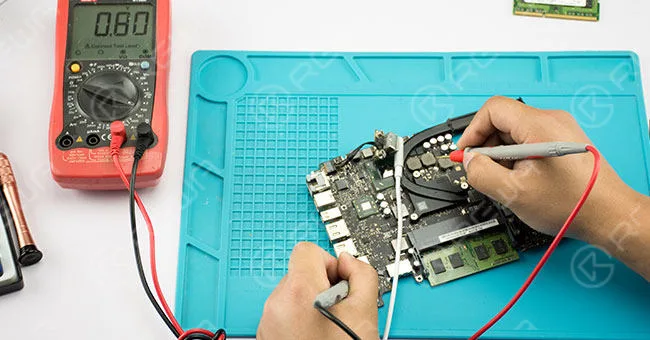
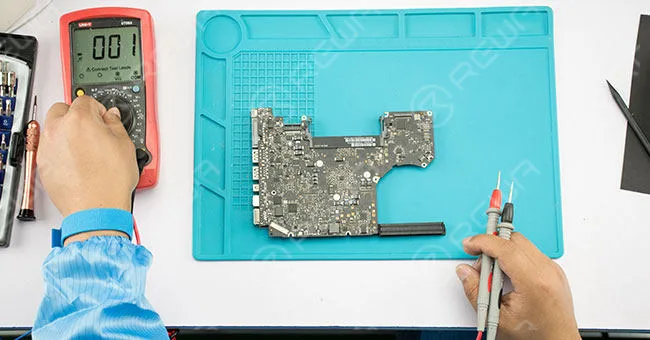
    Locate voltage 12.56 V, common point voltage 3.42V, voltage 5V, voltage 3.3V, voltage 1.5V, voltage 1.0V, voltage 0.9V, voltage 1.1V. Connect AC adapter and test them with digital multimeter – all display normal value.

    Disconnect AC adapter and install the memory. Then connect AC adapter and test, voltage value jumps from 1.1V to 0.8V- normal circuit.

    7. Resistance Testing

    Test keyboard port pins and peripheral component value with diode mode. Then connect AC adapter and test keyboard port power supply voltage with digital multimeter. Resistor R5704.1 displays no voltage (3.3V under normal circumstances).

    Diagnosis

    Analyze with the help of maintenance bitmap and circuit diagram – U5701 broke down.

    8. U5701 IC Replacing

    Use a metal plate to protect keyboard port from high temperature, then take down the damaged U5701 IC with hot air gun. Apply some BGA paste flux to the bonding pad and align the new IC with hot air gun.

    After that, test R5704.1 with digital multimeter again – 3.3V (normal value).

    9. Assembling and Testing

    Assemble the MacBook. Power button power up-failed. Plug in AC adapter to power up- successful.

    Keyboard and Trackpad work normally.

    Diagnosis

    Keyboard power button no response  – keyboard need to be replaced.

    10. Keyboard Replacing

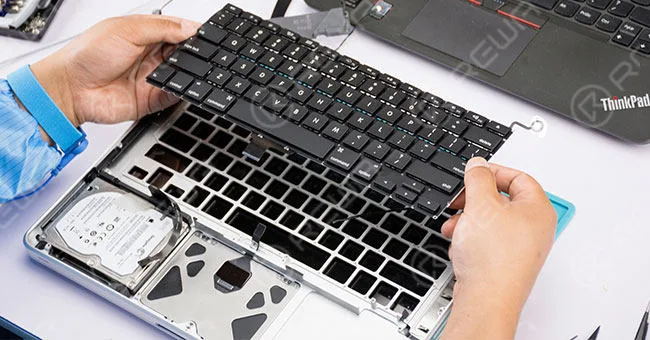
    Disconnect flex cables and detach the motherboard. Then detach the old keyboard and install a new keyboard.

    11. Assembling and Testing

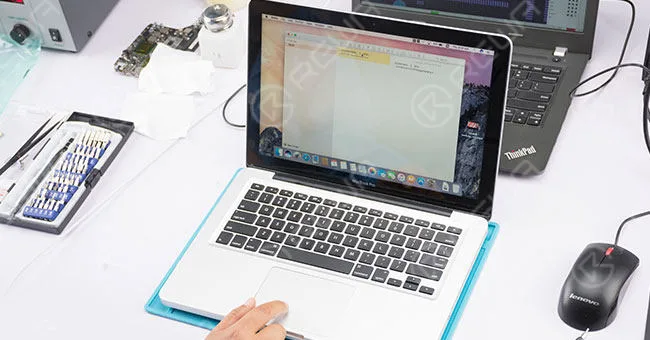
    Assemble the MacBook. Power button power up-successful. Keyboard and Trackpad work normally.

    12. Final Fault Diagnosis

    Keyboard and motherboard IC broke down resulted in the “not turning on” problem.

    Tools Used:

    • Multimeter
    • Screw Driver
    • Tweezers
    • Hot Air Gun
    • Soldering Iron
    • BGA Paste Flux
    • Anti – static Glass Wiper
    • Solder Wire
  • How To Fix MacBook Pro Won’t Turn On

    How To Fix MacBook Pro Won’t Turn On

    “Every day starts, my eyes open and I reload the program of misery.

    I open my eyes, remember who I am, what I’m like, and I just go, ‘Ugh’.”

    You may have heard this famous sentence from a popular TV show or read it in a daily newspaper.

    We human beings start a day from opening our eyes, whereas computers start their day with the power button on their body.

    It is well known that Macs are well built and for the most part reliable.

    Still, they are computers and computers need to wake up before getting to work.

    However, we’ve noticed a number of “My MacBook Pro won’t turn on” posts, and solutions are not so easy to be found.

    Theoretically speaking, ‘MacBook Pro won’t turn on’ problem usually relates to one of two things.

    Either the display is malfunctioning, which means the computer is on, and you just can’t see that it is.

    Or there is some kind of power-related issue that is preventing it from turning on as expected.

    REWA LAB has been working on MacBook repair these days, and in this tutorial, we look at the steps you need to take to fix your MacBook Pro 13″ A1278  if it won’t turn on when pressing the power button.

    Power Button Power Up

    TestingPower button power up-failed. Plug in AC power adapter to power up- successful.

    Fix MacBook Pro

    Keyboard And Trackpad TestingKeyboard and Trackpad no function.

    Fix MacBook Pro Won't Turn On

    Preliminary  DiagnosisTrackpad and keyboard module broke down.

    MacBook Disassembling

    Disassemble the MacBook and disconnect flex cables. Remove screws and detach the motherboard. Then remove the memory.

    DiagnosisTrackpad and keyboard module broke down

    Motherboard Superficial Inspection

    Motherboard superficial inspection with the help of a handheld magnifier.

    Motherboard Superficial InspectionMotherboard

    Maintenance Drawing

    ReferringRoll out the maintenance bitmap and the circuit diagram for reference.

    Roll out Motherboard framework drawing and motherboard power system architecture afterward.

    Maintenance Drawing ReferringRoll out

    Motherboard Voltage Testing

    Locate voltage 12.56 V, common point voltage 3.42V, voltage 5V, voltage 3.3V, voltage 1.5V, voltage 1.0V, voltage 0.9V, voltage 1.1V.

    Connect AC adapter and test them with a digital multimeter – all display normal value.

    Motherboard Voltage TestingLocate voltage 12.56 V

    Disconnect AC adapter and install the memory. Then connect AC adapter and test, voltage value jumps from 1.1V to 0.8V- normal circuit.

    Disconnect AC adapter and install the memory

    Resistance Testing

    Test keyboard port pins and peripheral component value with diode mode.

    Then connect AC adapter and test keyboard port power supply voltage with a digital multimeter.

    Resistor R5704.1 displays no voltage (3.3V under normal circumstances).
    Resistance TestingTest keyboard port pins and peripheral component

    Diagnosis

    Analyze with the help of maintenance bitmap and circuit diagram – U5701 broke down.

    U5701 IC Replacing

    Use a metal plate to protect keyboard port from high temperature, then take down the damaged U5701 IC with hot air gun.

    Apply some BGA paste flux to the bonding pad and align the new IC with a hot air gun.

    DiagnosisAnalyze with the help of maintenance bitmap and circuit diagram

    After that, test R5704.1 with digital multimeter again – 3.3V (normal value).

    Assembling and Testing

    Assemble the MacBook. Power button power up-failed. Plug in AC adapter to power up- successful.

    After that, test R5704.1

    Keyboard and Trackpad work normally.

    Keyboard and Trackpad work normally

    Diagnosis

    Keyboard power button no response – keyboard need to be replaced.

    Keyboard Replacing

    Disconnect flex cables and detach the motherboard.

    Then detach the old keyboard and install a new keyboard.

    DiagnosisKeyboard power button no response

    Assembling and Testing

    Assemble the MacBook. Power button power up-successful. Keyboard and Trackpad work normally.

    Assembling and TestingAssemble the MacBook

    Final Fault Diagnosis

    Keyboard and motherboard IC broke down resulting in the ‘not turning on’ problem.

    Click to watch the video of MacBook Pro Won’t Turn on:

    • Tools & Parts Used:
    • Handheld Magnifier
    • Replacement Keyboard for MacBook Pro 13″ A1278
    • Digital Multimeter
    • Heat Resistant Insulation Pad
    • Hot Air Gun
    • BGA Paste Flux

    If you want to order the tools used in the video please go to  https://shop.rewa.tech/ For more details on repairing guide, please go to REWA YouTube channel .

    REWA LAB provides screen repair services as well as motherboard repair services for those in need.

    As for LCD refurbish machines, materials, demo videos and technical support, please feel free to contact us via service@rewa.tech or comment below.