Tag: macbook air

  • MacBook Air A1466 Not Charging Issue Repair

    MacBook Air A1466 Not Charging Issue Repair

    MacBook Air A1466 Not Charging Issue Repair

    Defect Phenomenon

    The MacBook cannot charge after not using for a few days.

    Troubleshooting

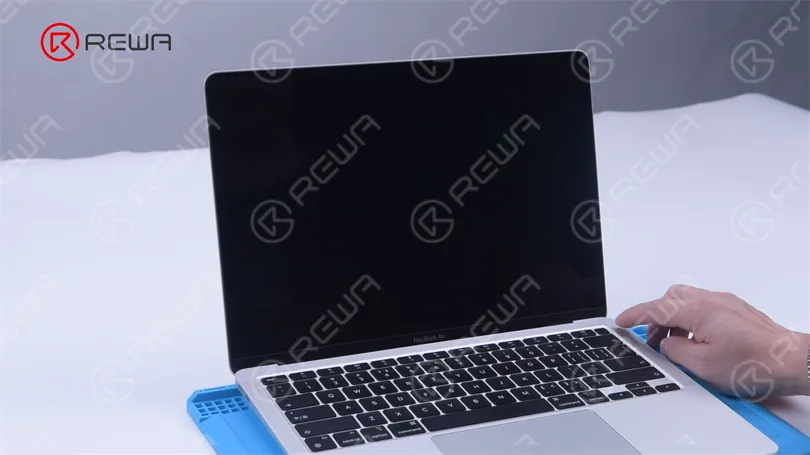
    First, let’s check the cosmetic of the MacBook. Everything looks fine, there are no obvious drop or water damage traces.
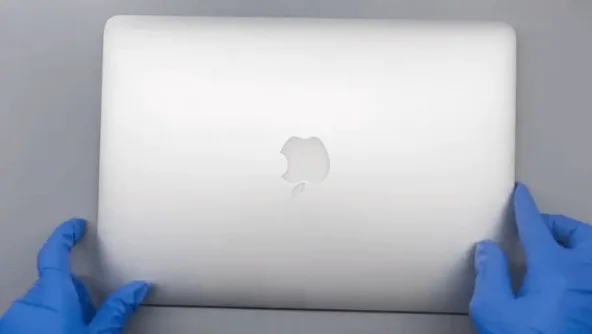
    macbook air a1466 not charging issue repair the

    Then let’s remove the screws on the bottom with a screwdriver.
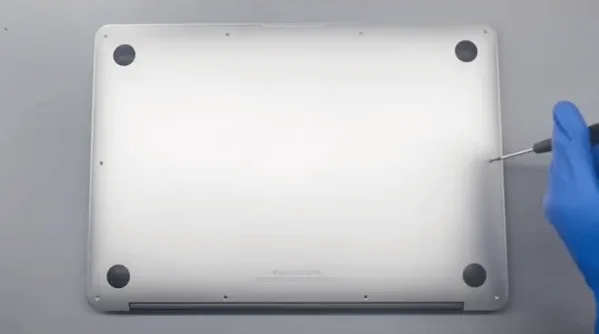
    macbook air a1466 not charging issue repair remove the screws on bottom

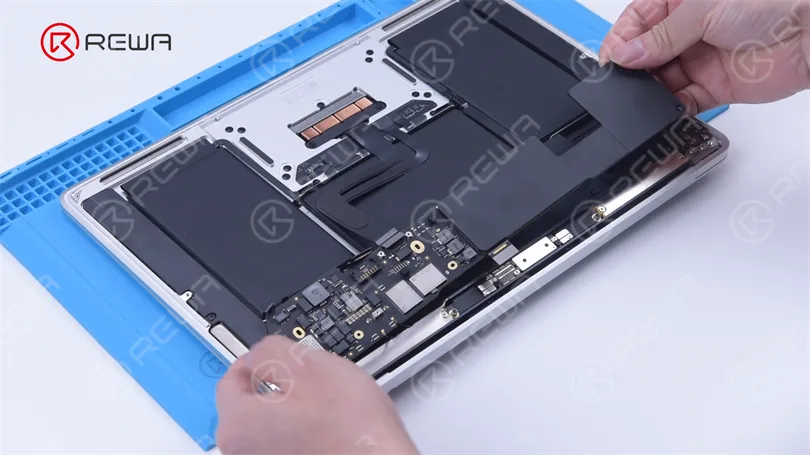
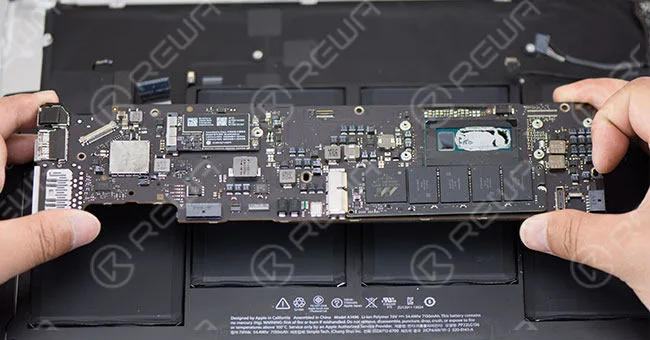
    Open the D cover (or bottom cover), and we can see the motherboard also looks good from the cosmetics.
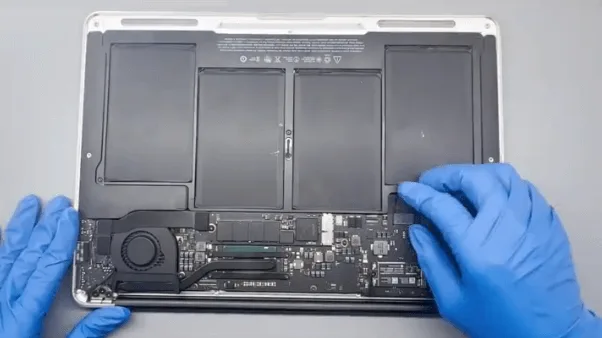
    macbook air a1466 not charging issue repair the motherboard also looks

    Detach all the flex cables and take out the motherboard, since it’s cannot charge issue let’s carefully check the large inductors’ diode values first.
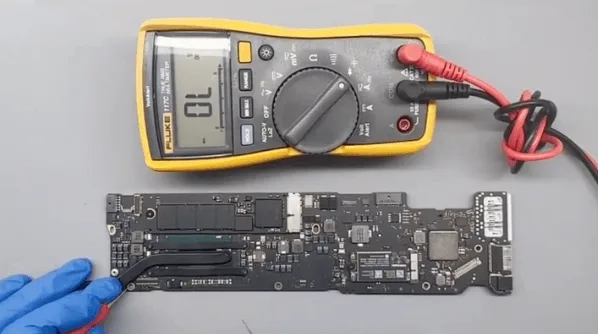
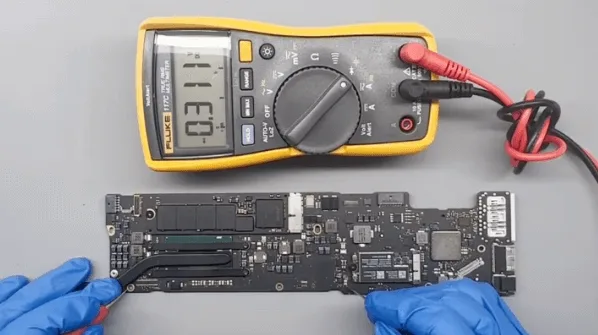
    macbook air a1466 not charging issue repair large inductors

    macbook air a1466 not charging issue repair measure all the diode values

    To do this, we can confirm whether there is a short on the inductors or not, to avoid damage to the CPU later when connecting with the DC power supply.

    After checking, there’s no shortage of inductors. Then let’s power the motherboard with the DC power supply machine.
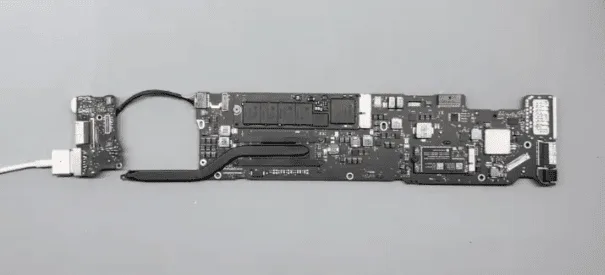
    macbook air a1466 not charging issue repair power the motherboard

    The boot current was fixed at 30mA, which means the CPU is not working.
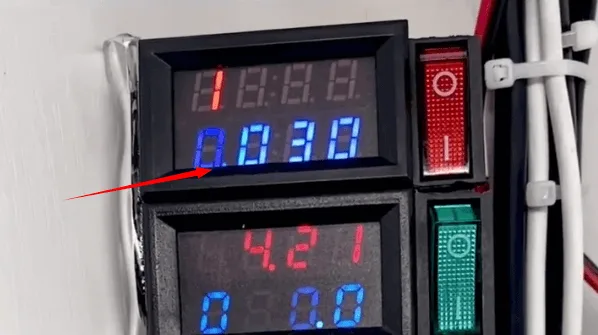
    macbook air a1466 not charging issue repair the boot current fixed at

    Based on the standby sequence, let’s measure the voltage on the relative rails first
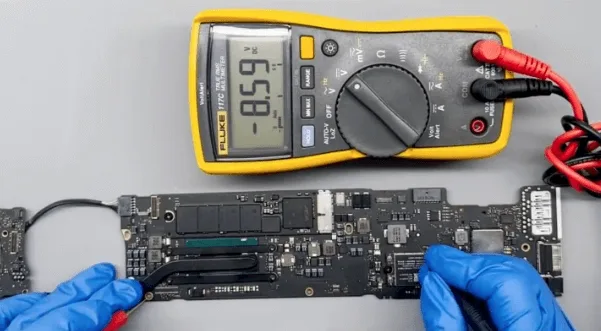
    macbook air a1466 not charging issue repair the standby sequence

    (the main power supply is around 8.6V, OK!)

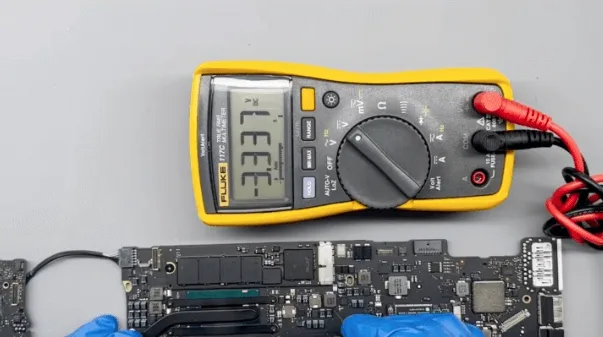
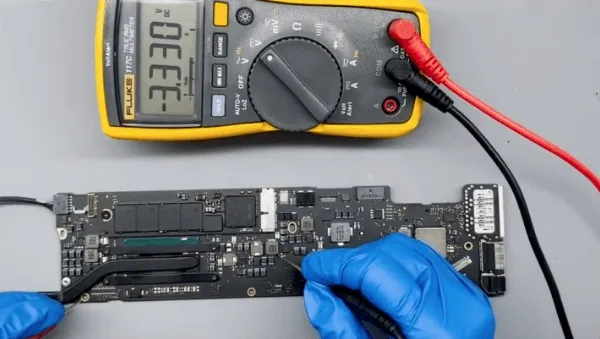
    Then measure the 35V standby chip voltage, normally the voltage should be fixed at 3.3V.

    But the voltage value keeps jumping from 3.3V to 0V during the measuring.
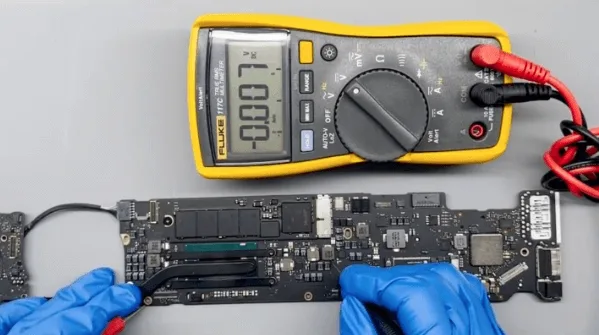
    macbook air a1466 not charging issue repair 3v to ov voltage

    macbook air a1466 not charging issue repair 3v voltage

    Based on the repair experience, this chip is a common defective chip, is it possible the 35V standby chip is damaged?

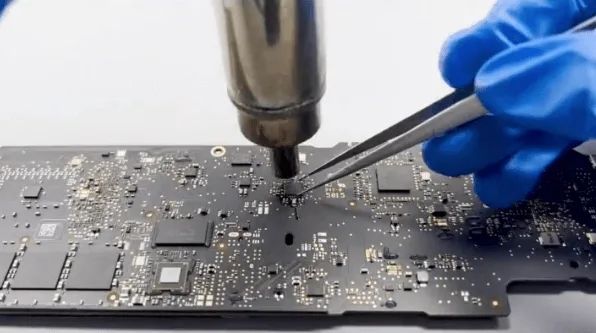
    Let’s find it on the motherboard and replace it with a new one directly to have a try.
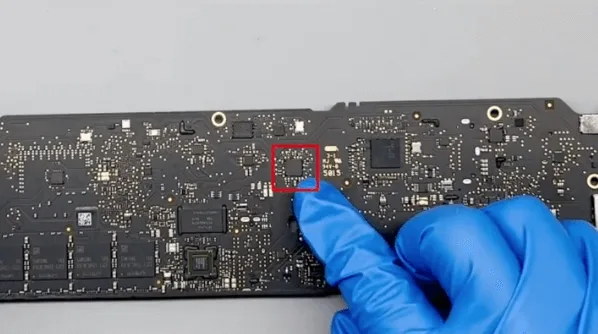
    macbook air a1466 not charging issue repair the 35v standby chip

    macbook air a1466 not charging issue repair remove the standby chip

    After the standby chip replacement, let’s connect with the DC power supply machine to test again.

    This time the standby voltage is fixed at 3.3V, but the boot current is still fixed at 30mA.
     A1466 Not Charging

    This means there’s still another problem with the motherboard.

    • There’s no working voltage on the CPU
    • the 3.3V voltage on the PCH is OK
    • based on the working sequence, measuring the voltage on the power button is also OK
    • There’s no voltage from PCH to Power Management IC
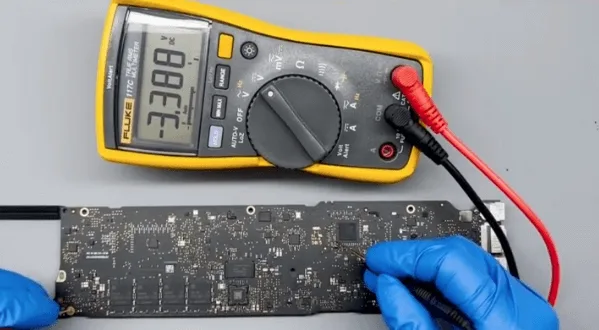
    macbook air a1466 not charging issue repair the voltage on power button

    Based on the above measurement results, we can make the preliminary judgment that the issue is caused by the PCH. In the model with the integrated graphic card, the PCH and CPU are also integrated into a chip.
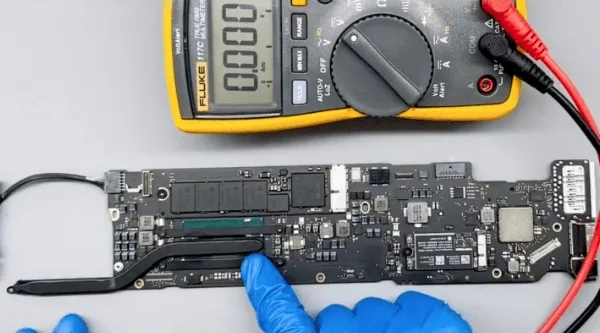
    macbook air a1466 not charging issue repair pch damage

    So we can only replace the CPU chip

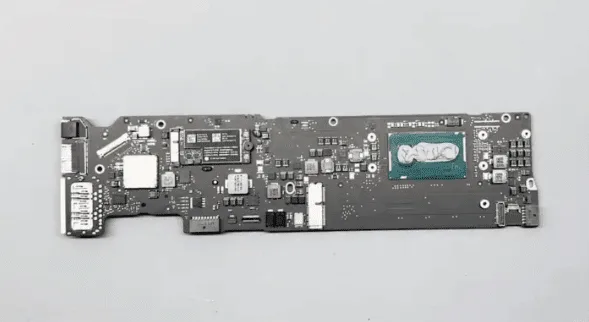
    1. remove the NAND flash memory board and heat sink
    2. remove the thermal grease on the chip

    macbook air a1466 not charging issue repair remove nand and heat sink

    3. then use the sculpture knife to scratch on the PCB surface slightly to mark the location/layout of the CPU chip. Later when we solder back the CPU, this mark can be used for alignment reference
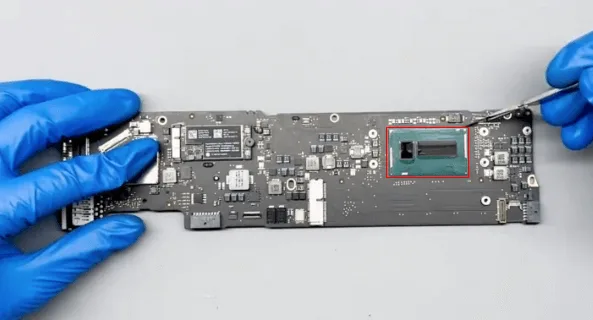
    macbook air a1466 not charging issue repair cpu location mark

    The motherboard of the MacBook is much larger than iPhones, to avoid deformation we should use the specified PCB heating station machine for chip replacement.

    Another method, if you are experienced enough, is the PCB heating pad + the hot air gun also works fine.
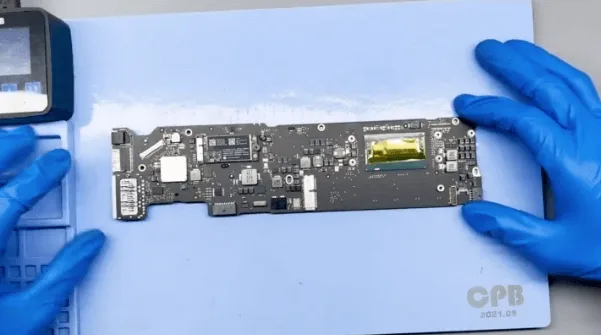
    macbook air a1466 not charging issue repair work fine

    CPU replacement process

    1. Apply with solder paste flux
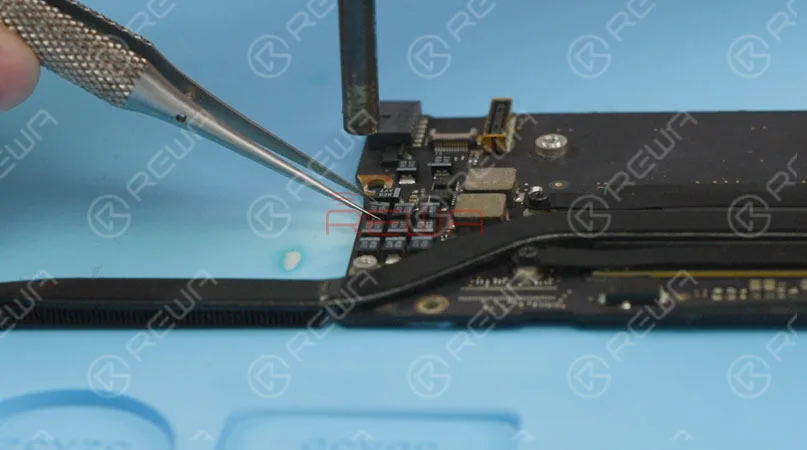
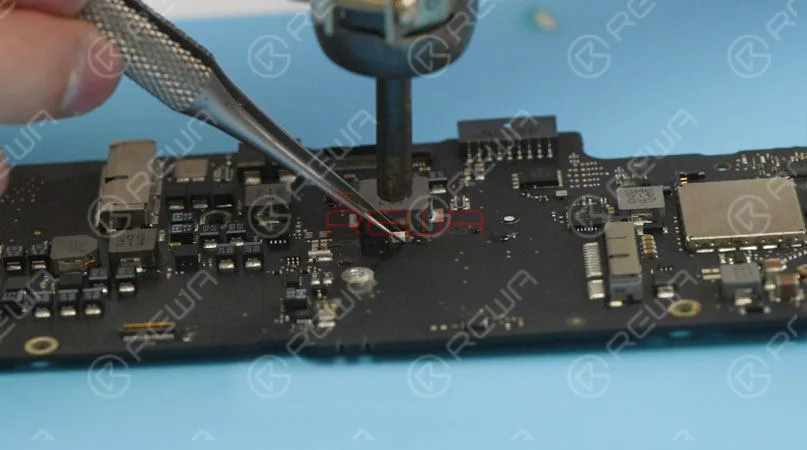
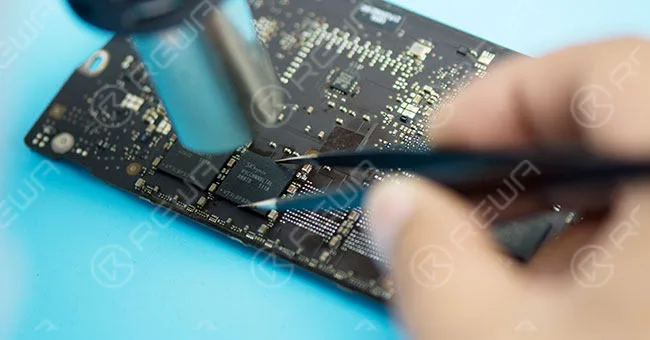
    2. heat with the hot air gun evenly till the tins are melted, then pick up the CPU with the tweezer slightly
    3. Clean the pads on the PCB with solder wick and soldering iron
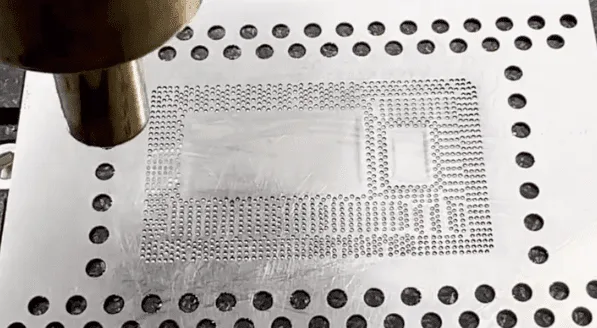
    4. Reball the good CPU with the stencil and soldering tin balls or solder paste
    5. Then apply solder paste on the PCB, align the CPU chip, and heat with the hot air gun to solder the CPU
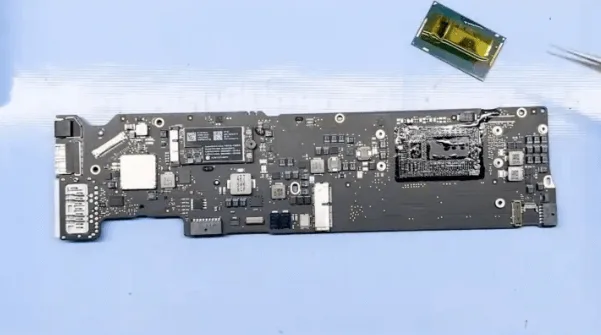
    macbook air a1466 not charging issue repair remove the cpu

    macbook air a1466 not charging issue repair reball the cpu

    macbook air a1466 not charging issue repair pay attention to the

    Finally, the CPU chip is well soldered, then we can add some thermal grease then install the heat sink and the NAND flash card.
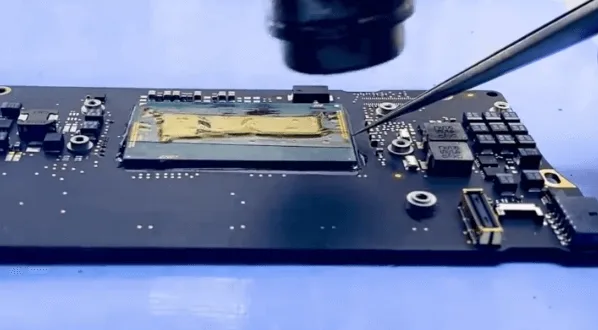
    macbook air a1466 not charging issue repair cpu is well sodered

    Connect with the DC power supply to boot again, the current is normal this time.
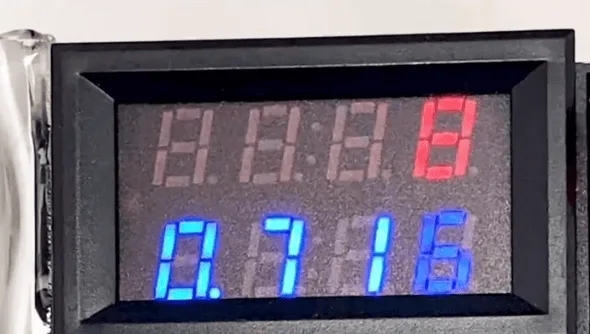
    macbook air a1466 not charging issue repair normal boot current

    Assemble the MacBook to have a test, the MacBook can be booted normally and all the functions are also OK
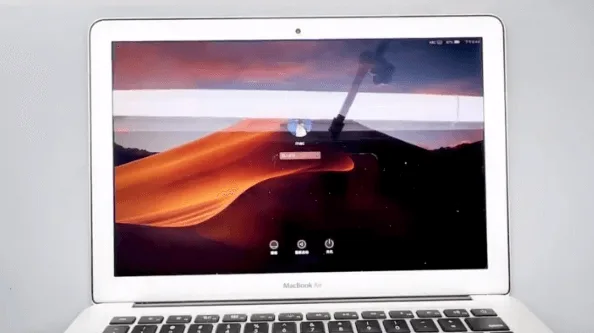
    macbook air a1466 not charging issue repair the can be booted normally

    Summary

    The cannot charge issue gets fixed by the 35V standby chip and CPU chip replacement.
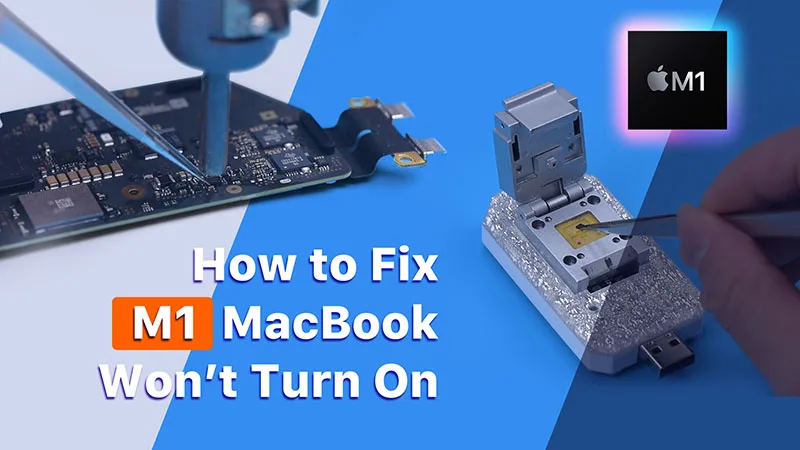
  • How to Fix M1 MacBook Air Won’t Turn On

    How to Fix M1 MacBook Air Won’t Turn On

    U301 is a tool that helps resolve the issue of an unresponsive M1 MacBook Air. It enables the reading and writing of data on the USB C ROM chip. Compatible with all MacBooks that have a Type C port from 2016 to 2020, U301 comes with the original ROM data for these devices. Today, we will explain how to utilize U301 for fixing the problem of a non-booting M1 MacBook Air.

    Initially, upon attempting to power on the MacBook Air, we encounter the issue where the device fails to turn on.

    How to Fix M1 MacBook Air Won't Turn On

    The MacBook Air is disassembled to conduct additional tests. The back cover is removed and the battery is disconnected. Next, the screws and motherboard are taken out, and the battery flex cable is detached. Finally, the heatsink on the motherboard is removed.

     MacBook Air for further testing

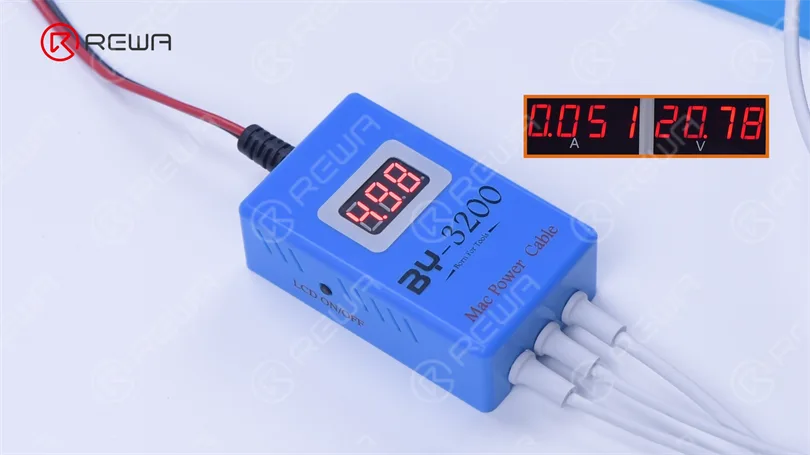
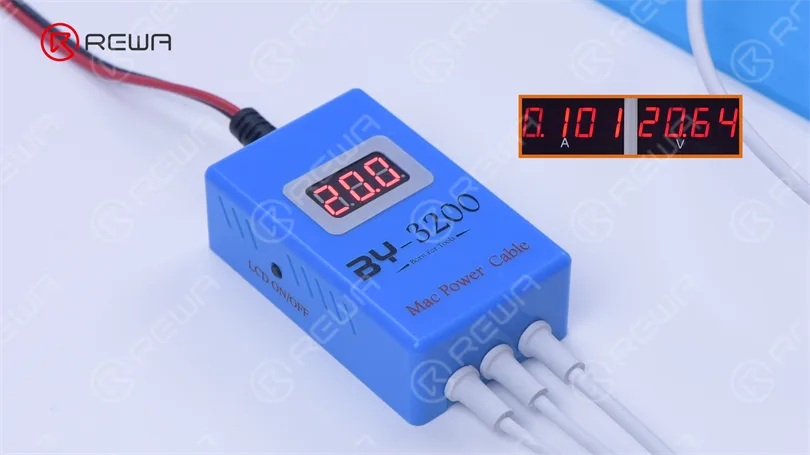
    Connect the BY3200 to the DC power supply and provide power to the motherboard. Observe erratic fluctuations in current and voltage, with the voltage oscillating between 0 volts and 5 volts. This indicates an unstable boost in the power supply line of the motherboard, leading to the issue of it not turning on.

    BY3200 to the Direct Current Supply

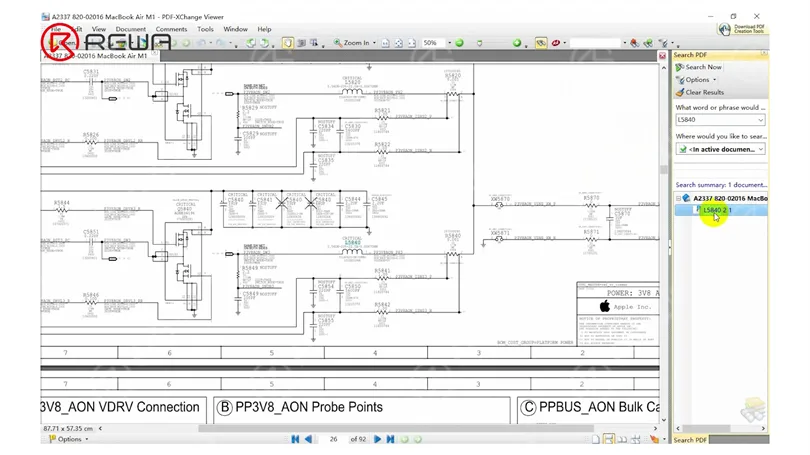
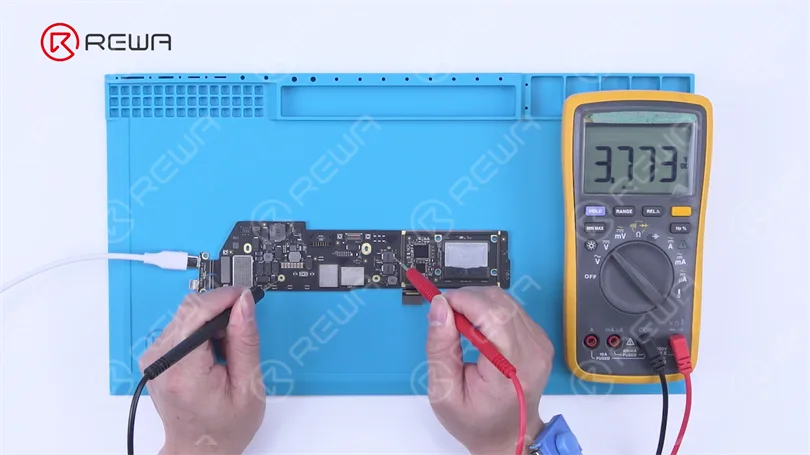
    After examining the bitmap, we locate L5840 along the primary power supply line. By referring to the drawing, we search for L5840 and discover that it corresponds to the output voltage of PP3V8 AON VDDMAIN. Subsequently, we proceed to measure the voltage of L5840, which is confirmed to be within the normal range.

    check the bitmap and find L5840
    L5840 is PP3V8 AON VDDMAIN

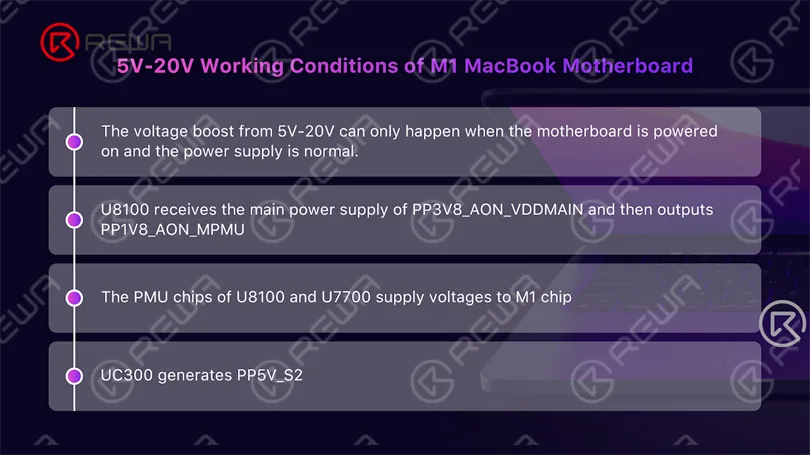
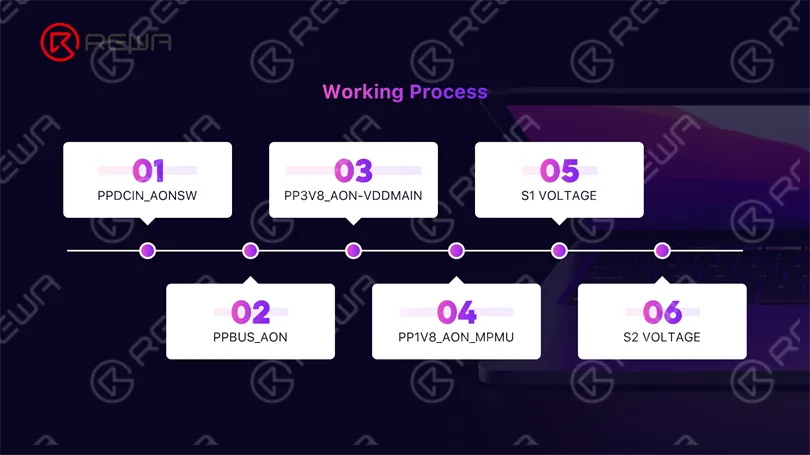
    Next, we assess the operational environment for voltage amplification ranging from 5 volts to 20 volts.

    5 volt to 20 volts
    working conditions

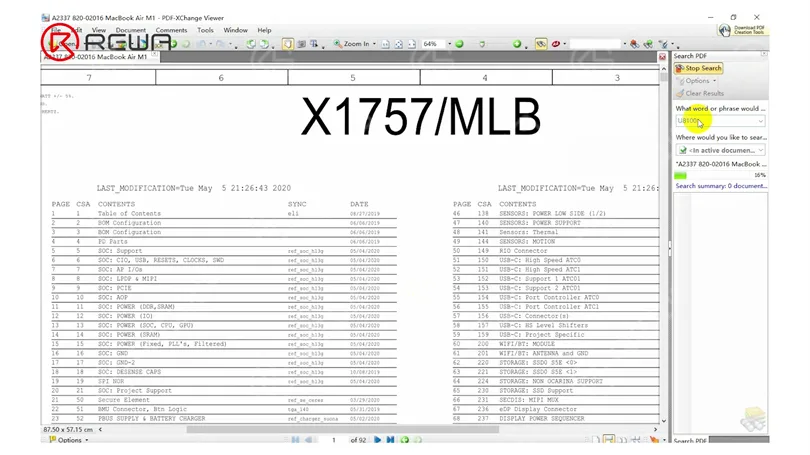
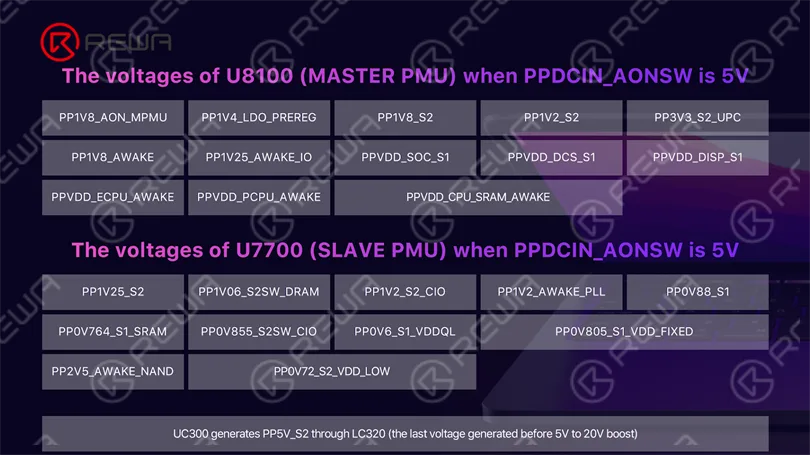
    Locate U8100 on the bitmap, and then search for U8100 on the drawing to find the listed output voltages.

    U8100 on the bitmap
    output voltages of U8100

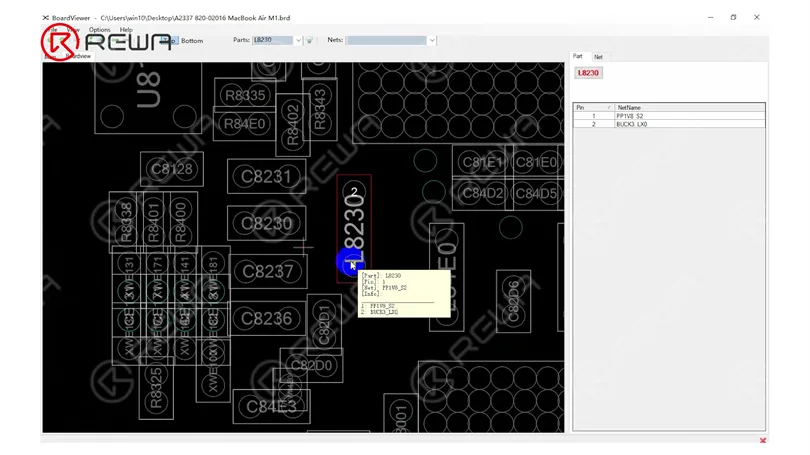
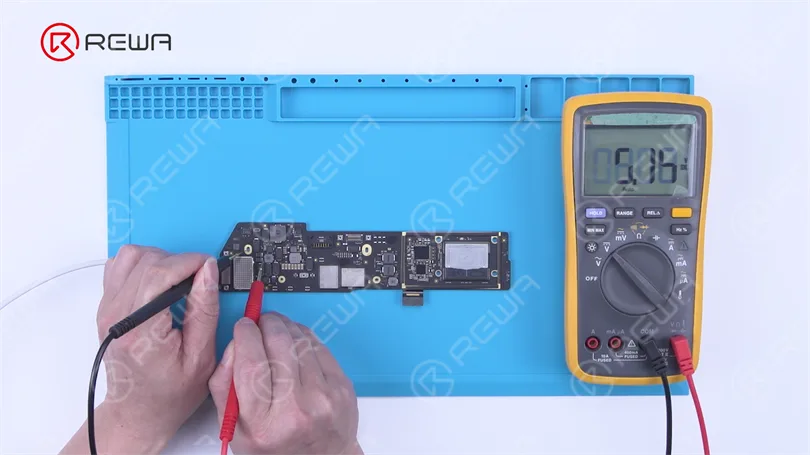
    The voltage in standby mode usually requires measurement. Consider L8230 as a case in point. Locate L8230 on the bitmap and verify that the voltage is within the normal range.
    take L8230 as an example

    Continuously measure additional inductors and confirm normal voltages. Proceed with the measurement of LC320 and locate its corresponding position on the drawing. The output voltage for LC320 is PP5V S2, which is within the expected range.

    measuring other inductors
    Search LC320

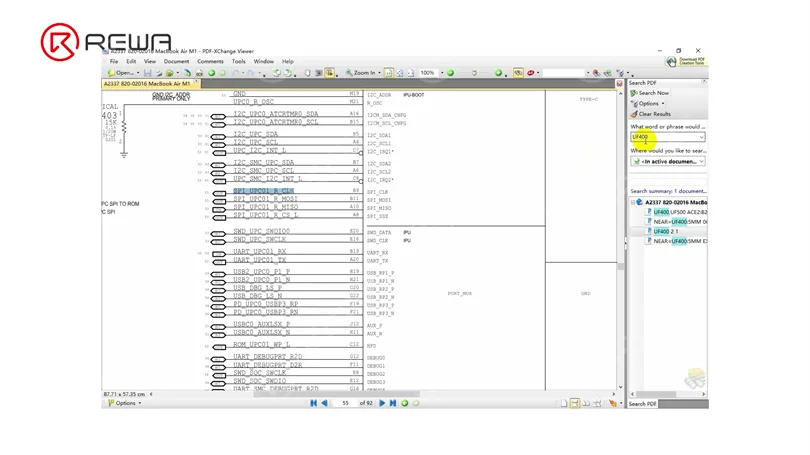
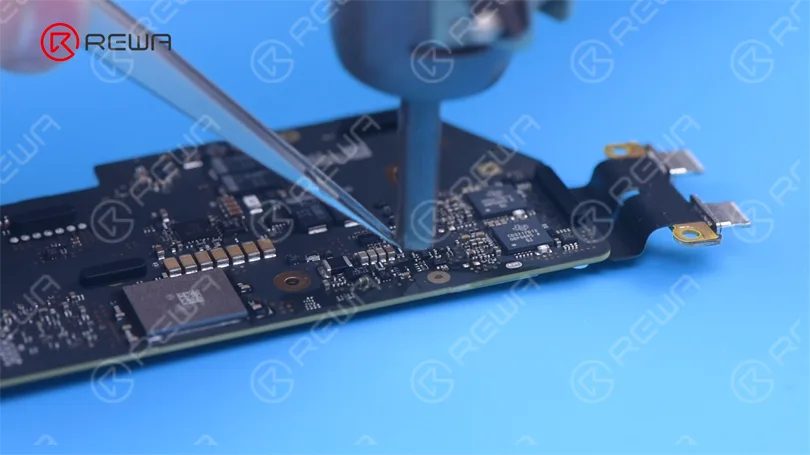
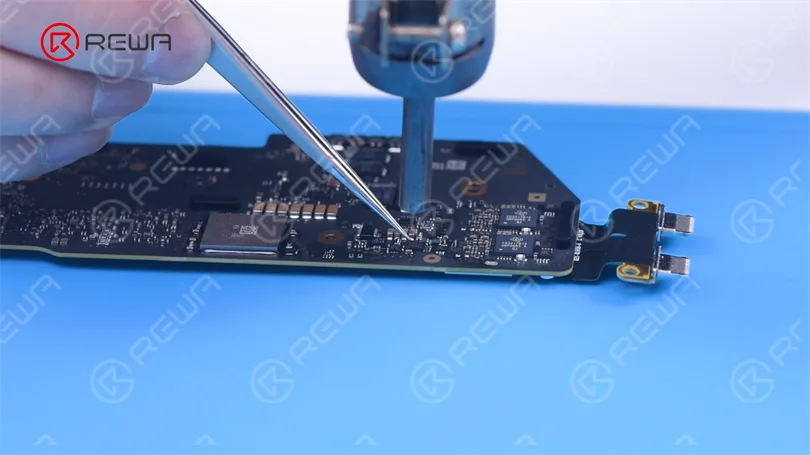
    The voltage boost from 5 volts to 20 volts has been determined to have favorable working conditions. Consequently, it is necessary to rewrite the ROM data of CD3217. Locate the ROM chip labeled UF400 on the provided drawing and identify the SPI CLK signal. Proceed to locate the UF260 ROM chip on the bitmap and proceed with its removal. Begin by applying Paste Flux, and then use a Hot Air Gun at 420 °C and airflow 4 to remove the chip.

    Hot Air Gun at 420 °C and airflow 4

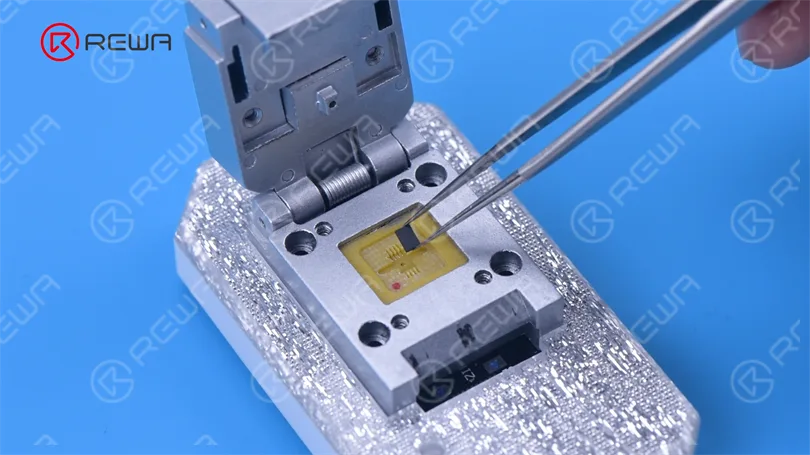
    Attach the chip to U301, ensuring that the pin of the chip is properly aligned. Proceed to connect U301 with a Windows computer.

    chip to U301

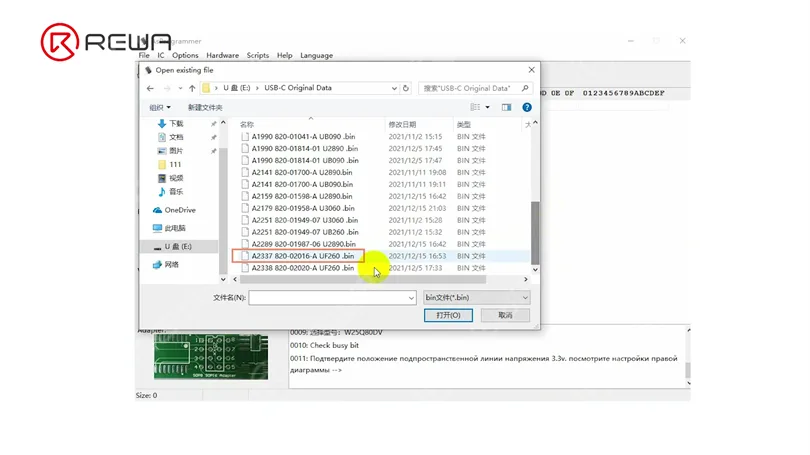
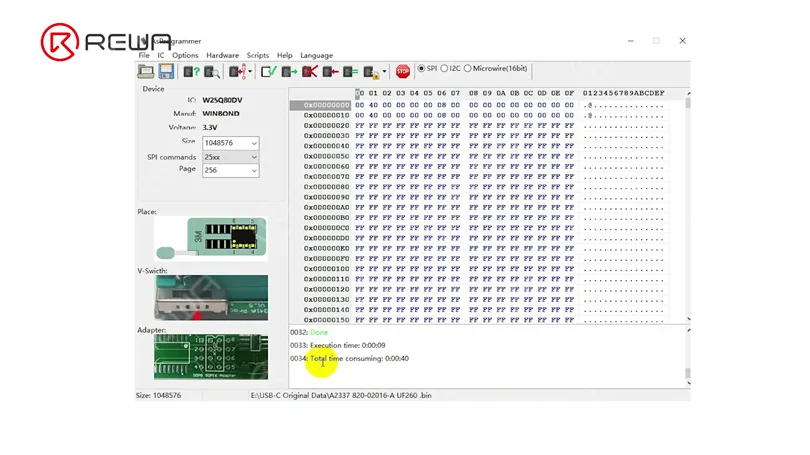
    Start by opening the software, then click on “Read ID”. Choose the appropriate file and click “Open file”. Next, select “USB C Original Data” and locate the matching model.

    Clicking on “Auto Program” will result in the successful writing of the data.

    Auto Program
    How to Fix M1 MacBook Air Won't Turn On

    Detach the chip. Reinstall the chip back into the motherboard. Connect the motherboard to power. The voltage, which has been boosted from 5 volts to 20 volts, returns to normal. The current jump is also good, indicating that the motherboard is powered on.

    How to Fix M1 MacBook Air Won't Turn On
    How to Fix M1 MacBook Air Won't Turn On

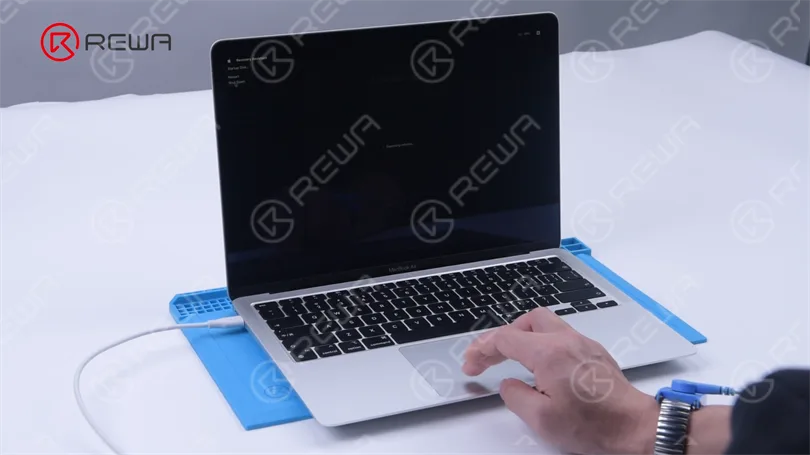
    After disconnecting, activate the battery to ensure the MacBook can turn on. Once activated, proceed with installing the motherboard for testing. The MacBook now powers on without any issues, indicating that the fault has been resolved.

    How to Fix M1 MacBook Air Won't Turn On

    U301 is available for purchase on REWA Shop. For further information, you can reach out to our sales team. More M1 MacBook repair content will be shared by REWA in the future. If you have any specific topics related to M1 MacBook repair that interest you, please feel free to leave a comment.
  • MacBook Air Won’t Turn On – Logic Board Troubleshooting

    MacBook Air Won’t Turn On – Logic Board Troubleshooting

    For repair technicians, their repair work usually goes differently, since the problem can be fixed and solutions may be flexible.

    For our MacBook Air won’t turn on repair case today, in order to demonstrate a complete repair process, we started from main power supply inductor in this video.

    The fault is finally confirmed as to be caused by fuse damage due to short-circuited capacitor on the main power supply circuit.
    Actually, you can find the problem directly based on experience if you are an old hand.
    REWA never lets you down and always has an EFI chip solution for MacBook unlock repair for you.

    Now, following to see how to troubleshoot MacBook won’t power on issue.

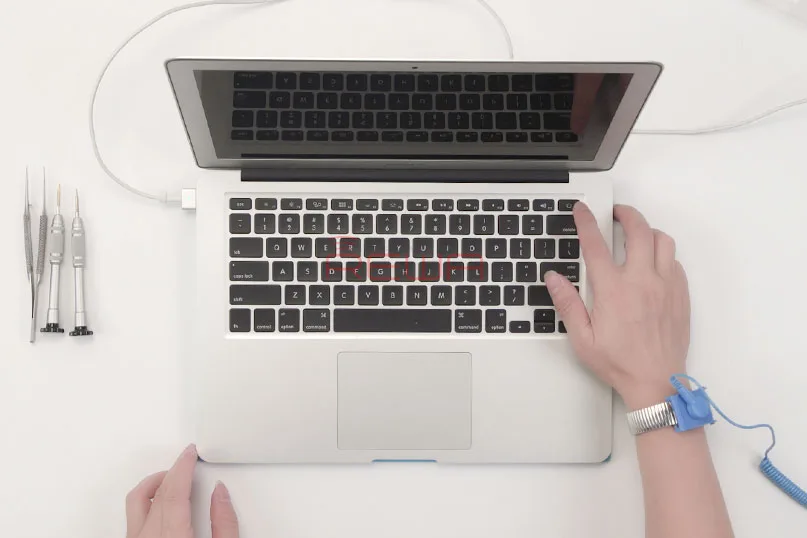
    Press power button, the MacBook won’t turn on.

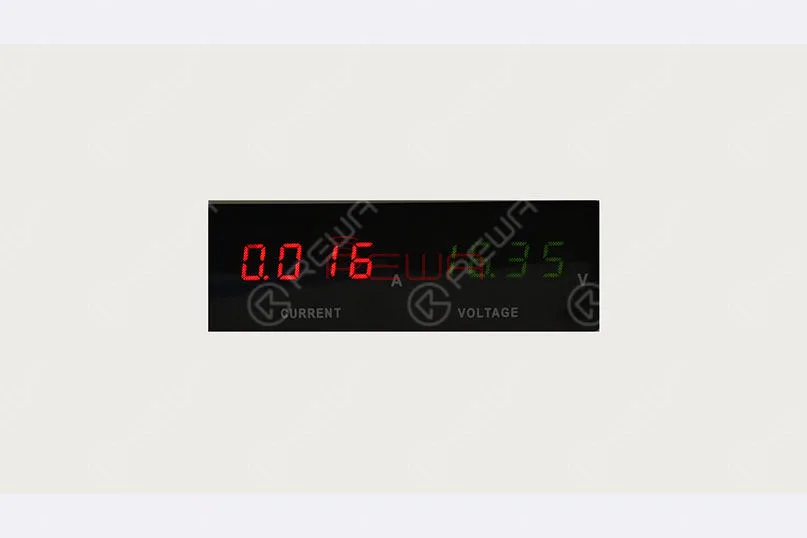
    Then plug in the power source and press power button, it current displays as 0.013A-0.016A. which indicates that the MacBook features not charging and not turning on issue.

    MacBook Air Won't Turn On

    First, confirm the serial number on the lower case. then remove the lower case and disconnect the battery.

    Next, detach the logic board and I/O Board from the enclosure, and connect the I/O Board to the logic board.

    Remove the SSD and WiFi module, confirm the board number of the logic board.

    Check the DDR RAM and CPU frequency from the label, roll out the circuit diagram and bitmap.

    Locate L7130 of PPBUS_G3H on the bitmap.

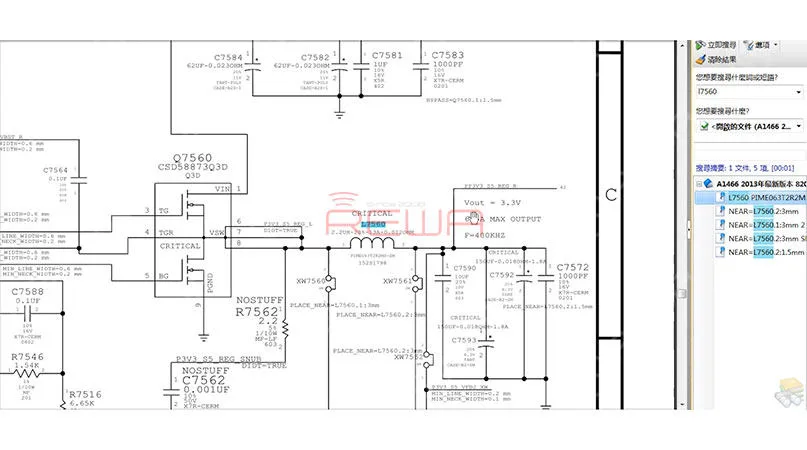
    Then run voltage measurement of L7130, the measured value is 8.5V, which is normal. continue to locate L7560 of PP3V3_S5_REG on the bitmap, run voltage measurement of L7560, the measured value is 0.637V, which is abnormal. (The normal value should be around 3.3V)MacBook Air Won't Turn On

    According to the circuit diagram, Voltage of PP3V3_S5_REG is outputted by U7501 DC-DC power converter.

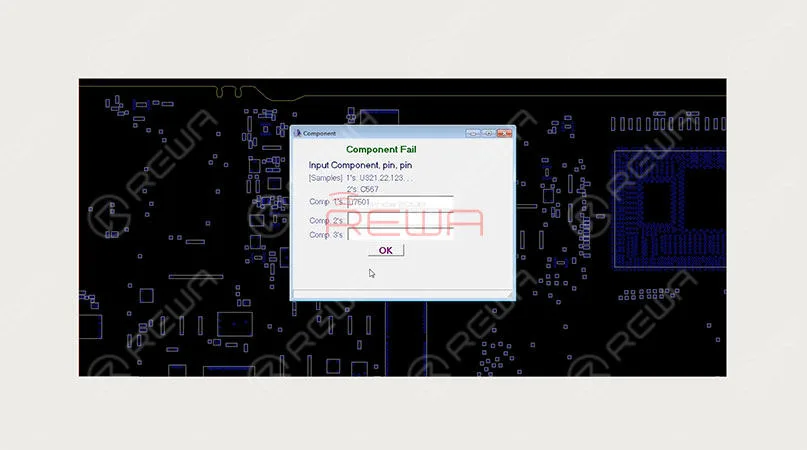
    Locate the exact position of U7501 on the board with bitmap.

    Then check the working condition of U7501 with the circuit diagram.

    MacBook Air Won't Turn On

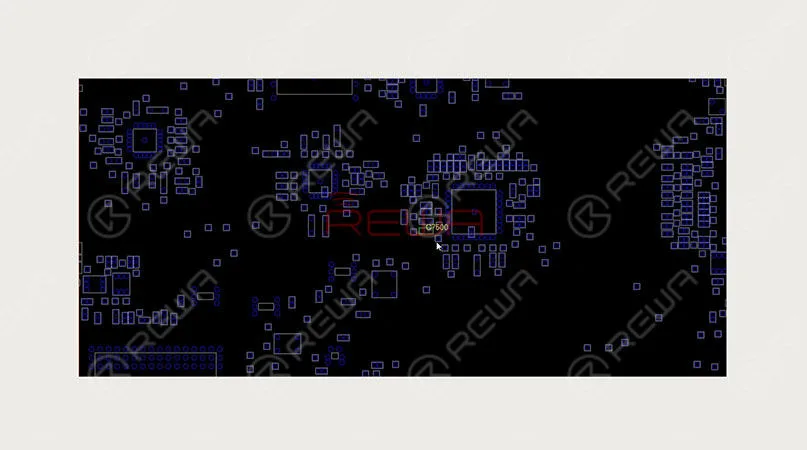
    First, check whether the input voltage of Pin VIN on U7501 is normal. (Locate the exact position of C7500 on the board with bitmap and confirm it by running voltage measurement of Pin 1.)

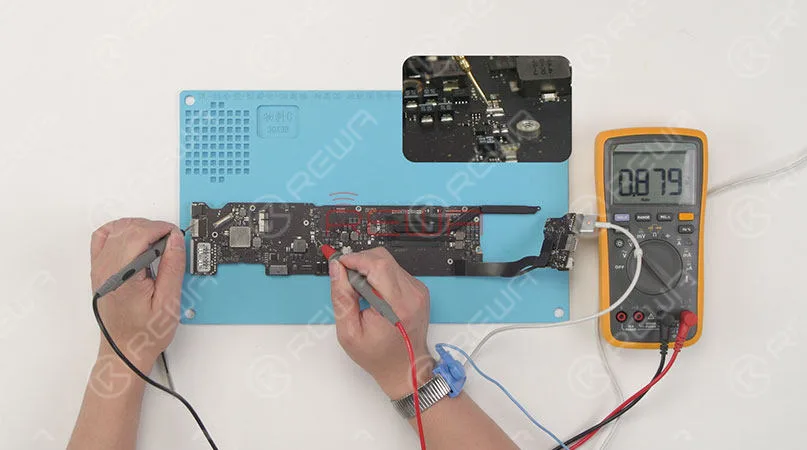
    The measured value is 0.878V, which is abnormal. (The normal value should be around 8.5V)

    MacBook Air Won't Turn On

    PPBUS_S5_HS_OTHER_ISNS, the rail-related to Pin VIN of U7501 is converted from PPBUS_G3 H with the help of R5430. Locate the exact position of R5430 on the board with bitmap, the run voltage measurement of Pin 2 on R5430, the measured value is 0.879V, which is abnormal. PPBUS_G3H is fulfilled with the help of L7130 by way of F7140.

    Continue to run diode mode measurement of Pin 1 and Pin 2 on F7140, the measured value of Pin 1 is 131, which is normal; the measured value of Pin 2 is 2, which is abnormal.

    Judging by this, the loading of PPBUS_G3H is short for grounding.

    MacBook Air Won't Turn On

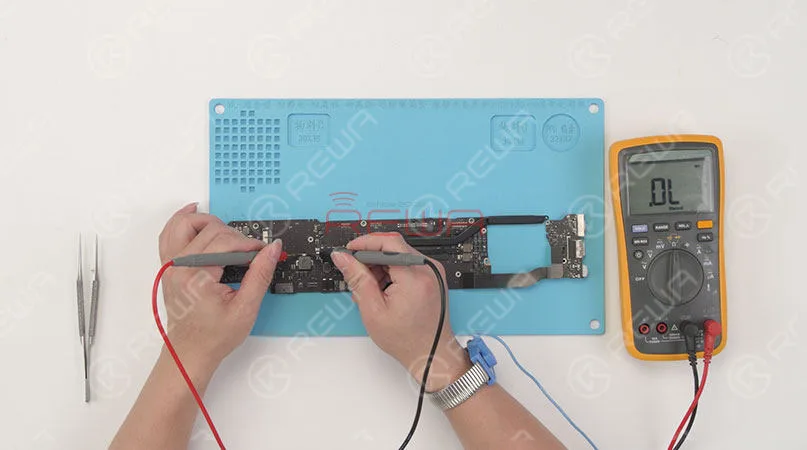
    Run diode mode measurement of F7140, it reads ‘OL’ on the Multimeter, which is infinite value. Judging by this, F7140 has been burnt out.

    MacBook Air Won't Turn On

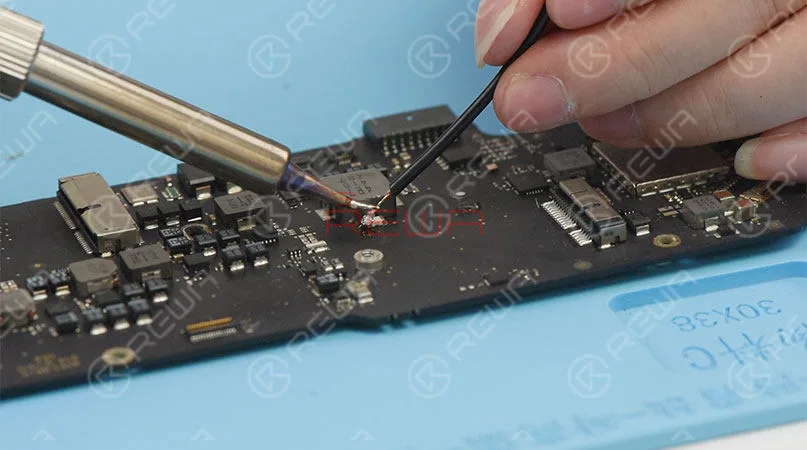
    Solder the supply wire to Pin 2 of F7140, then supply a 2V voltage with an external power source.

    Current reading on the ammeter rises to 2.622A.

    And touch the logic board with one hand, capacitor C7371 next to the CPU is hot. So the fault might be related to C7371.

    MacBook Air Won't Turn On

    Disconnect the power supply, replace C7371 and F7140 with a new one in turn.

    Run diode mode measurement of F7140, it reads ‘0’ on the Multimeter, which is normal.

    Wait for the logic board to cool for several minutes, then connect the I/O Board to the logic board.

    Plug in the power source, current reading on the ammeter is normal this time.

    MacBook Air Won't Turn On
    MacBook Air Won't Turn On

    Run voltage measurement of Pin 2 on F7140, the measured value is 8.5V, which is normal.

    Continue to run voltage measurement of L7560,

    The measured value is 3.3V, which also is normal.

    Disconnect the power supply and get the logic board installed, plug in the power source and press Option key. the screen displays normally, and the touch panel also works normally.

    Next, let’s assemble the MacBook and test.

    Press the power button, then the Option key, the screen displays normally.

    The MacBook turns on and accesses the system normally, the Keyboard also works normally.

    Plug in the power source, the MacBook is charging normally.

    Repair completed successfully.

    Now, check our video for more detail about MacBook Air Won’t Power On

    Attaching the list of the tools used in the video. Welcome customers in need of inquiries. We will help you with whatever you need.

    • *Hot Air Gun Rework Station
    • *Soldering Iron Rework Station
    • *Digital Multimeter
    • *DC Regulated Power Supply
    • *Straight Tweezer
    • *Paste Flux
    • *Solder Wire
    • *Anti-static Plastic Pry Bar
    • *Soft Brush
  • Upgrade MacBook Air RAM: Boost Performance Efficiently

    Upgrade MacBook Air RAM: Boost Performance Efficiently

    Do you spend more and more time waiting for the response of your MacBook?

    As long as laptop exists, “running too slow” seems to be an everlasting topic for the users.

    MacBook, as one of the mainstream laptops, has also encountered this issue.

    If you are a regular Macbook user and just browse some websites, you may feel satisfied with 4GB or even 2GB of RAM installed.

    Upgrade RAM On MacBook Air

    If you are a power user who always processes with large software like video editing, image editing etc., or you are a crazy gamer who is roaring “Glory To The Sin’Dorei!”, you may consider upgrading as much RAM as you can.

    This is a common problem for common people with MacBook in this information explosion era – not to mention people who have an old-fashioned MacBook with one foot in the grave.

    Compared with a new purchase,  MacBook air ram upgrade solution could be a nice choice to boost your Mac’s speed since it is more cost-effective.

    MacBook air ram upgrade solution

    However, for some MacBooks launched in recent years, their RAM chips were designed to be soldered on the logic board.

    That’s why there were many How-To geeks offering tutorials of upgrading or replacing SSD, but almost no one involving MacBook air memory upgrade solution.

    Don’t be discouraged if you are reading this right now.

    REWA never lets you down and always has a Chip Level Motherboard Repair Service For iPhone & iPad for you. So, how to add ram to MacBook Pro or MacBook Air? Is it same with iPhone memory upgrade? Check iPhone 6s memory upgrade from 16G to 128G.

    Here are detailed steps for upgrade MacBook Air ram process – a quick and inexpensive way to improve your MacBook’s performance. Just 8 steps to let your MacBook Air run faster.

    1. Memory Checking

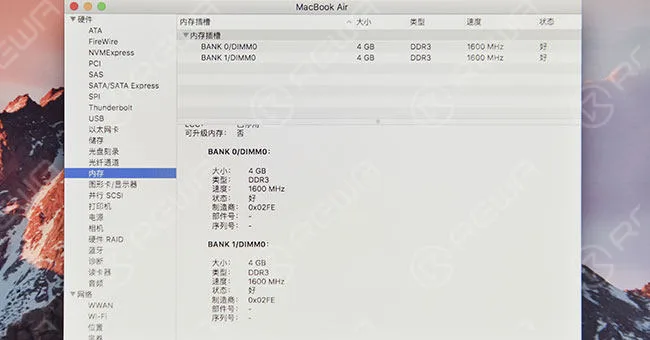
    Check the memory. It displays 4GB.

    Memory Checking

    2. MacBook Disassembling

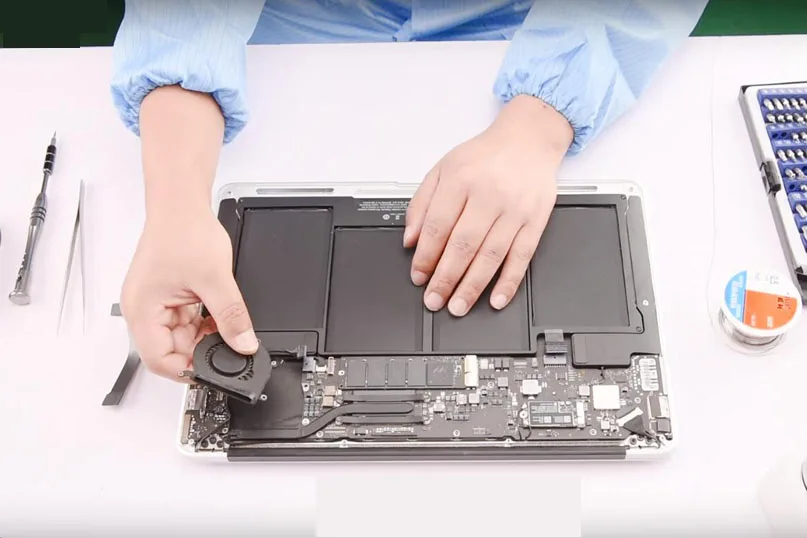
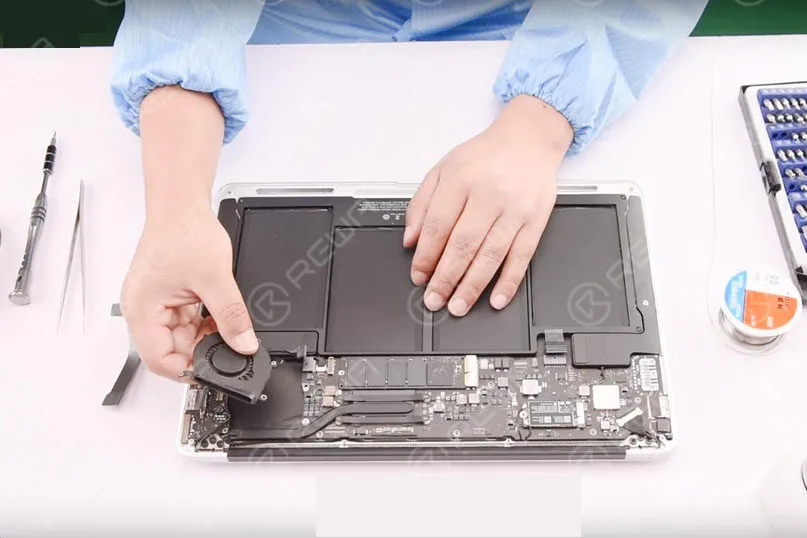
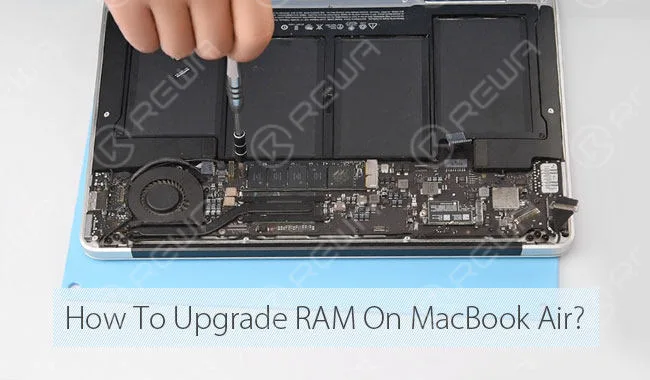
    Remove the Mackbook Lower Case, then detach the MackBook Battery and IO board flex. After that, detach the MackBook Fan, heat sink and WiFi antenna lightly.

    After the flex cables being disconnected, detach the motherboard. Remove the SSD, wireless network module, QR code and barcode on the logic board.

    MacBook Disassembling

    3. RAM Chips Removing

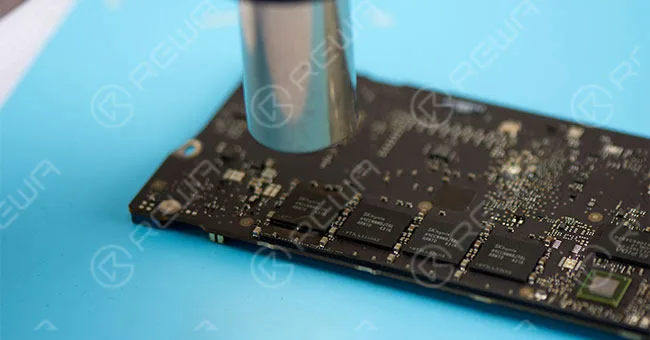
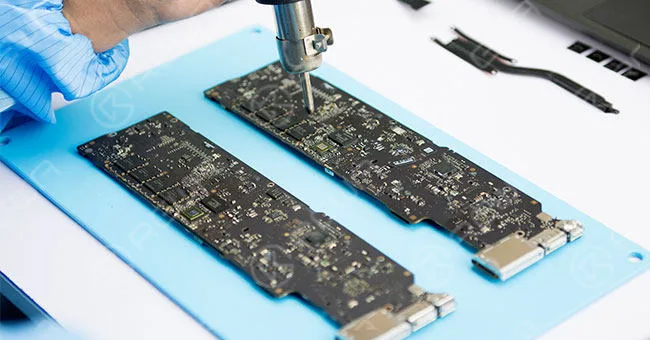
    Heat up the sealing adhesive around the RAM chips with hot air gun, then remove all the sealing adhesive. Apply some BGA paste flux around the RAM chip and blow it with a hot air gun to take it down. Remove the rest three chips in the same way.

    RAM Chips Removing

    4. Cleaning

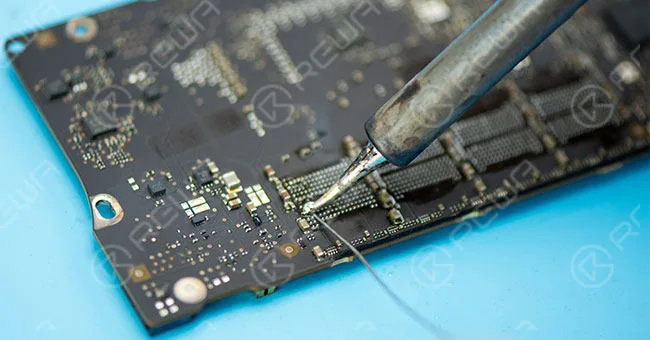
    After the bonding pads being flatted by tin added soldering iron, clean the bonding pads with alcohol applied anti-static wiper.

    macbook Cleaning

    5. RAM chips soldering

    Blow the bonding pads with a hot air gun and apply some BGA paste flux to it, then align the RAM chip to the bonding pad by tweezers. Blow and solder it with a hot air gun. The rest three chips can be processed in the same way.

    RAM chips soldering

    6. Resistance Removing and Replacing

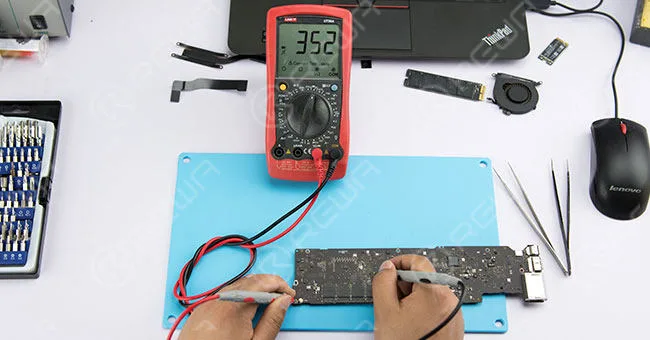
    Remove the 10K resistance R2051. Detach a 100K resistance from a broken motherboard and solder it to the R1636.

    Test both ends of the resistance with a multimeter to check if there is a short circuit or missing solder.

    Resistance Removing and Replacing

    Remove the 10K resistance R2051

    7. Change BIOS and Restore

    The RAM of MacBook is bound with BIOS, so we need to change the BIOS and restore.

    8. Installing and Testing

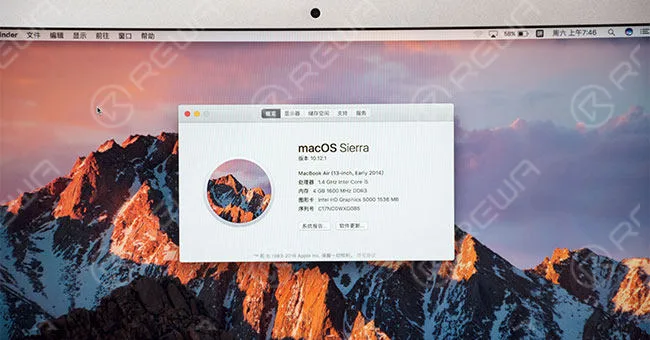
    After installing, power up the Mac and check your “About this Mac” to make sure the memory is upgraded and recognized.

    Installing and Testing

    Tips:

    1. Size and brand of RAM chips cannot be mixed.

    2. The excessive temperature will damage the RAM chips and logic board.

    Here is a tutorial video for MacBook air ram upgrade, explaining and demonstrating the detailed operations of how to replace the RAM chips soldered on the logic board.

    If you have any questions and demands, please leave us a message at below or ask a question on ASK Forums. We will try to answer your question in time.

    Tools & Parts Used: