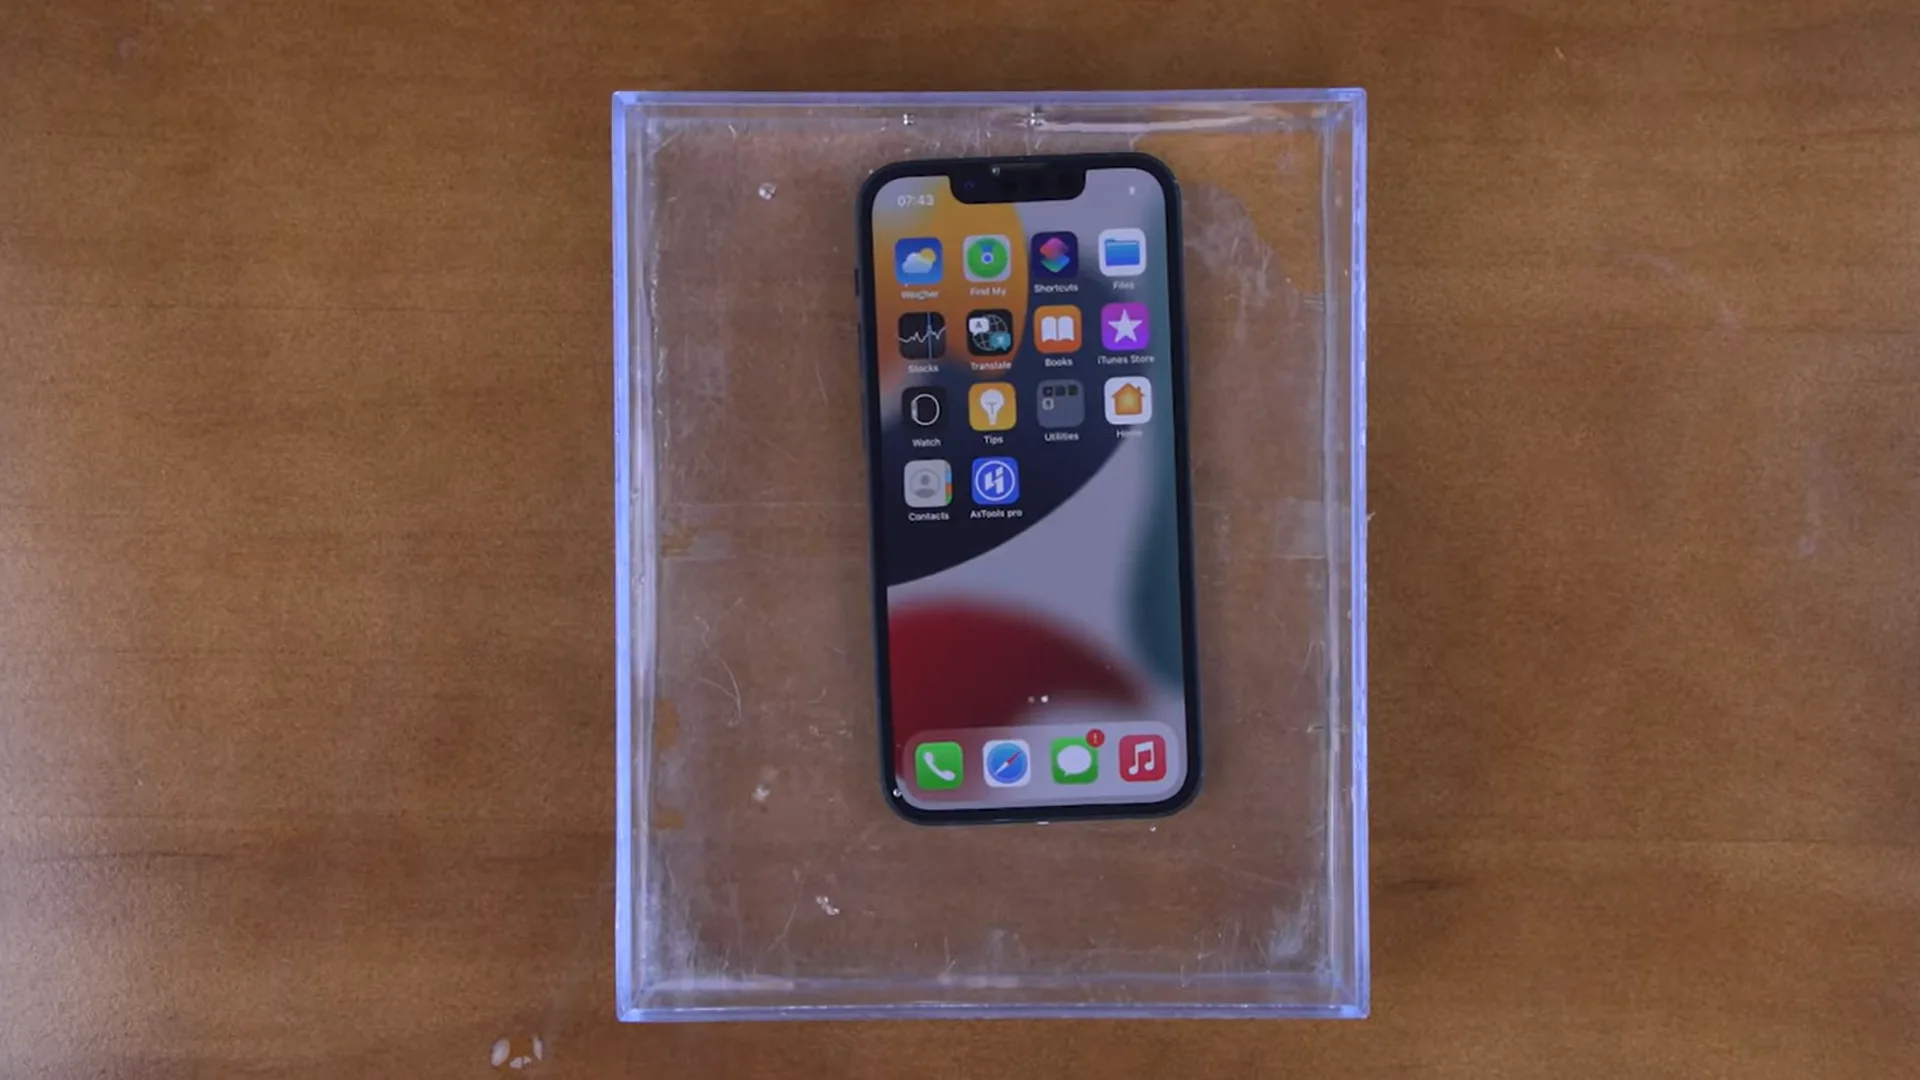
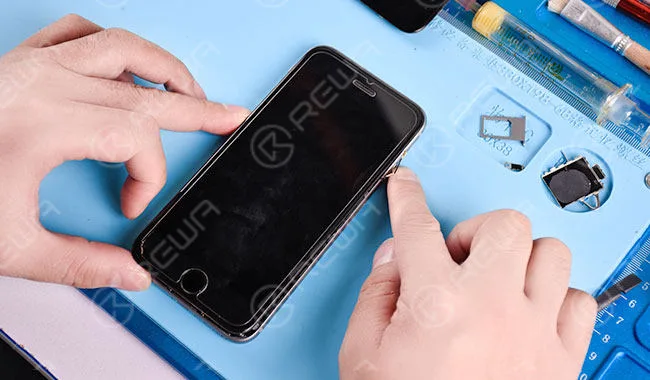
As iPhone users, we are all aware of the damage that water can cause to our devices. Even though iPhones are water-resistant to a certain extent, this feature can become compromised. Therefore, it is essential to know how to maintain your iPhone’s water resistance after a repair such as a screen or battery replacement.
REWA Technology has created a helpful video tutorial. By following this guide, you will learn how to preserve your iPhone’s water resistance after a repair. You’ll discover effective ways to keep your device protected so that you can use it worry-free. Join us in this tutorial and continue to enjoy your iPhone to the fullest.
iPhone water damage has always been a frustrating and difficult issue for repair technicians. Things can also be much more difficult when it comes with iPhone X/XS/XS Max. What you usually do with iPhone water damage repair? Got your unique repair thoughts? Well, don’t panic! Our iPhone X water damage repair video today shall definitely enlighten you.
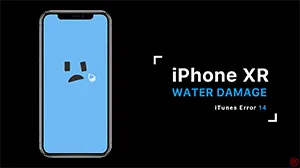
More than a week ago, we ran a poll on our YouTube community to gather suggestions for our next video and iPhone XR water damage won the highest votes. And here it comes. Check out our video today and you will learn how to pinpoint the faulty cause with the help of the error code and troubleshoot iPhone XR water damage step by step. Hope this video can enlighten you in your daily repair work.
So we all know that iPhones aren’t officially waterproof, which means iPhone water damage issue can be a real common problem for repair shops. Once got iPhone water damage, the problem may be that the iPhone won’t turn on, or begins to behave in an unusual way or lost the data. Luckily, REWA has solved the iPhone won’t power on or lost data due to water damaged and offer special cases for that issue. You can check Fix iPhone 7 Won’t Turn On With CPU Repair and How Can I Recover Data From Dead iPhone 6S. For our today course, we focus to solve How to fix iPhone water damaged issue and get the iPhone working properly again. Following to check the details steps.
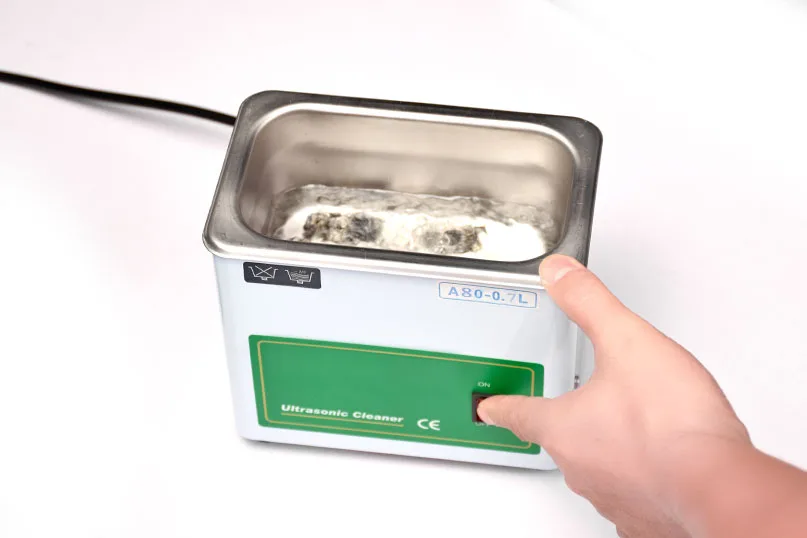
This time REWA presents a new repair with ultrasonic cleaner that 80% of repair shops have never used in their work. Take a look by yourself and you shall be amazingly surprised! iPhone Water Damage Repair With Ultrasonic Cleaner
Step 1:
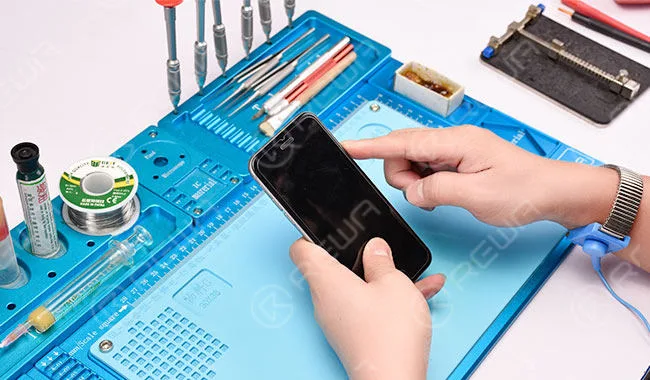
iPhone 6s got water damaged. Try to start it up, the phone can not boot normally.
Step 2:
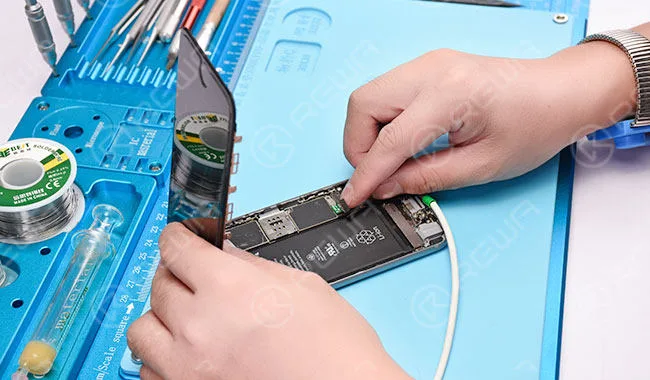
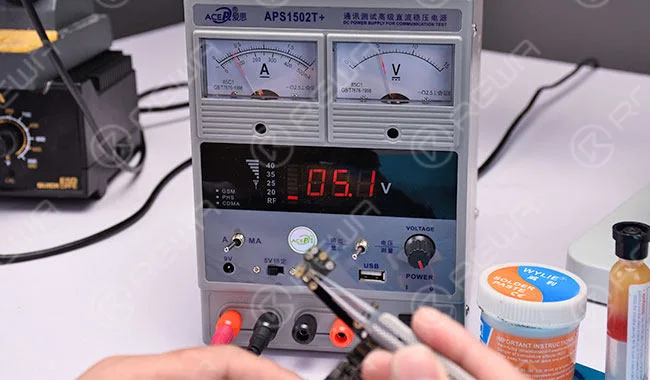
Take apart the phone and connect the phone with DC power supply, we can see that the logic board comes with heavy current.
Step 3:
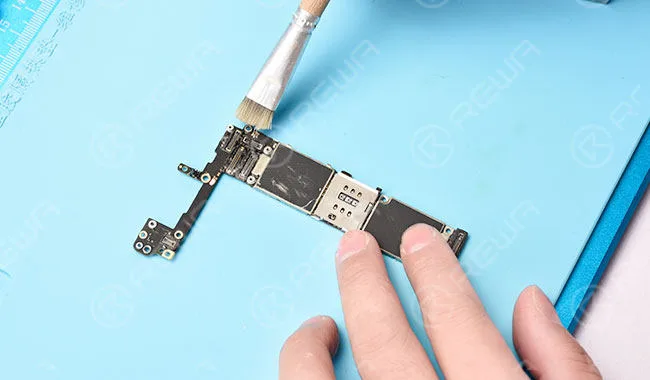
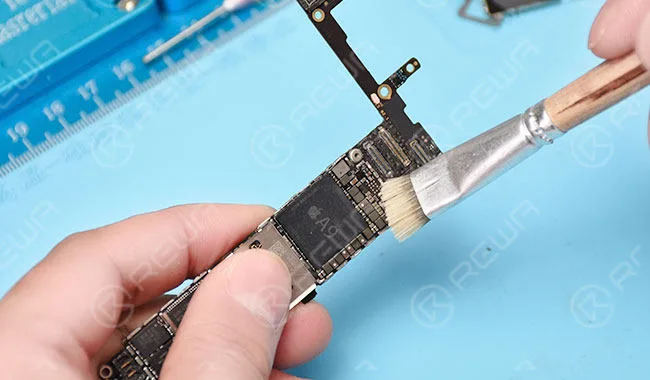
Take out the logic board. We can see with naked eyes that the logic board is mouldy. Let’s run cleaning with PCB cleaner at the beginning.
Step 4:
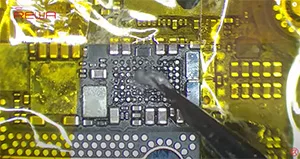
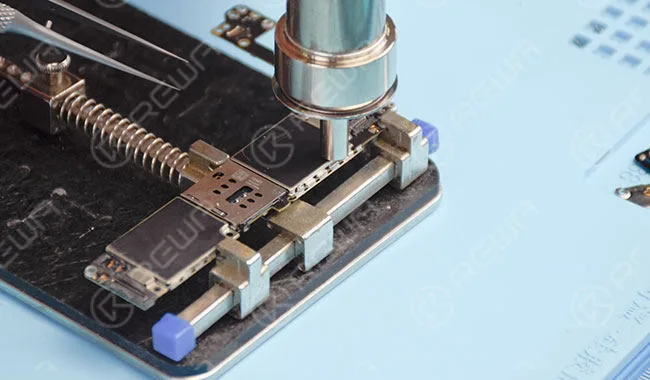
Tear off the shield sticker and remove the CPU shield plate with hot air gun.
Step 5:
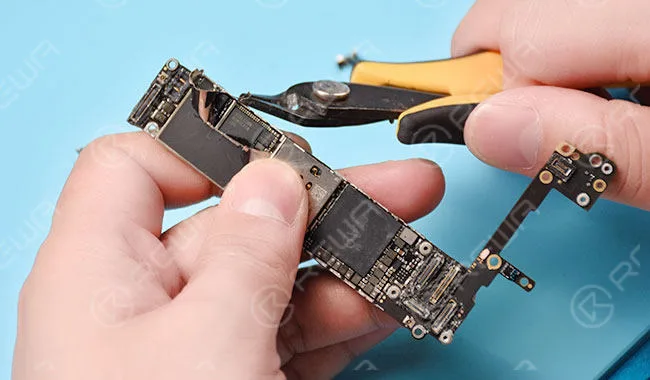
Since welded junctions of baseband shield plate come with high melting point that can not be removed by hot air gun easily. Remove the baseband shield plate with cutting nipper.
Step 6:
We can see it clearly that areas under the shield plate are also water damaged. In this case, brushes are helpless for thoroughly cleaning. So continue the cleaning process with ultrasonic cleaner.
Step 7:
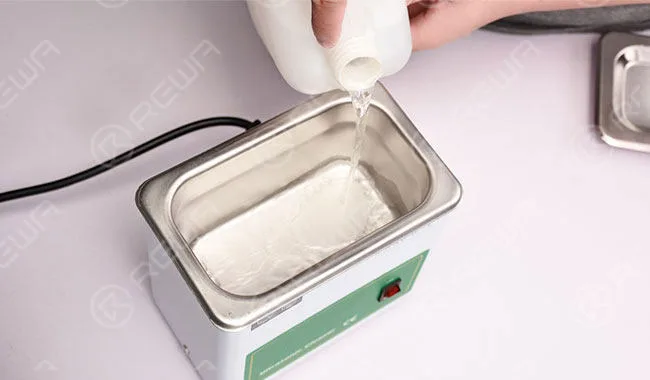
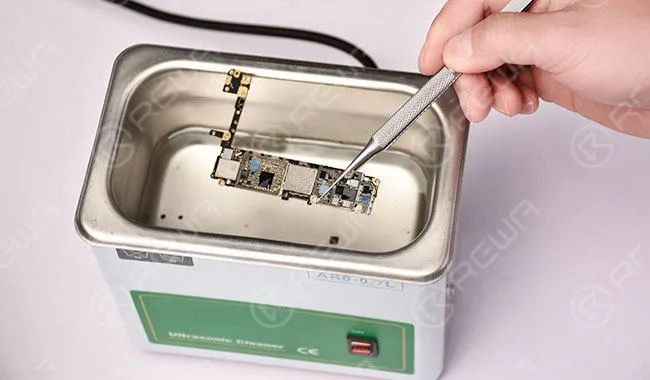
Pour adequate PCB cleaner into the ultrasonic cleaner and put the logic board in. Power on and get the lid on.
Step 8:
Five minutes later, switch off the power supply and take out the logic board. After that, Leave to rest for 5 minutes.
Step 9:
Check cleaning effect with naked eyes. Then check with microscope again. The logic board looks great after the ultrasonic cleaner process.
Step 10:
Water damage also caused corrosion of rear camera connector. So we have to replace it with a new one.
Step 11:
Apply some BGA paste flux and take down the damaged connector with hot air gun. After that, clean with PCB cleaner and apply some BGA paste flux again. Then solder the tins with soldering iron. Once finished, clean with PCB cleaner. Again we apply some BGA paste flux, align and install a new connector and then clean with PCB cleaner for the best effect.
Step 12:
Once rear camera connector replacing finished, connect the phone with DC power supply and boot with startup signal triggered by tweezer. Booting current displays normally.
Step 13:
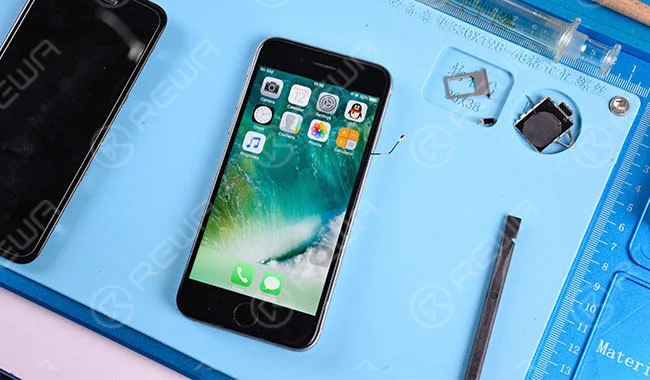
Assemble the phone. Connect with the original screen and power on, the phone go with no display.
Replace with a new screen and power up again. iPhone boots and works normally.
For more details on iPhone Water Damage Repair With Ultrasonic Cleaner guide, please go to REWA YouTube channel. You can also contact us for support: PRE-SALES Skype : rewatech Email : sales@rewatechnology.com AFTER-SALES Skype : support-rewatech Email : support@rewatechnology.com
Nearly 80% of the repair shops still use the brush to clean the water damaged iPhone motherboard. It processes very slow and sometimes ineffective. This time REWA LAB presents a new water damaged iPhone repair with ultrasonic cleaner.
We've detected you might be speaking a different language. Do you want to change to:
 English
 Español
 Français
 Deutsch
 Italiano