Tag: iphone front camera repair

  • iPhone Repair: Impact of iOS 18.1 on Aftermarket Parts

    iPhone Repair: Impact of iOS 18.1 on Aftermarket Parts

    Since Apple introduced Parts Pairing, third-party technicians have worked around these limitations with various solutions. Now, with the release of iOS 18.1, changes in repair history tracking aim to improve repair possibility. But what impact does this have on third-party iPhone repairs?

    A wide range of aftermarket parts, including iPhone screens, batteries, cameras, and face ID assemblies, were tested by REWA Tech lab to determine the real-world impact of iOs 18.1 on aftermarket parts.

    Replace Screen Replacement

    Before iOS 18

    Replacing iPhone screen will appear “Unknown Part” message and True Tone will disappear; issues resolved using IC transfer and repair programmers.

    Example: 100% Fix "Unknown Part" Message for iPhone 15 Pro After Screen Replacement

    After iOS 18.1

    No.Screen  TypeTransfer Original ICTransfer Original  Front SensorPass Repair AssistantParts &  Service HistoryTrue Tone
    1OEMNoYesNoUnable to ConfigureYes
    2OEMYesYes/NoYes
    3AftermarketNoYesNoUnable to  ConfigureYes
    4AftermarketYesYes/NoYes
    5OEM + Paired Front SensorNoNoYesUsedYes
    6Service Pack + Paired Front SensorNoNoYesGenuineYes

    Key findings

    • As long as the screen has a matching IC and sensor, there will be no repair history and no need for a repair assistant diagnosis.
    • All third-party screens support True Tone.

    Replace Battery Replacement

    Before iOS 18

    “Unknown Part” message, battery health not displayed; resolved by solutions like no welding battery, battery cell + tag-on flex, battery cell + repair board.

    Example: Aftermarket Solutions to Calibrate iPhone Battery Health on iOS 17.4

    After iOS 18.1

    No.Battery TypePass Repair AssistantParts & Service HistoryHealth Data
    1OEM NewYesGenuine100%
    2OEM UsedYesUsedOEM Used battery’s data
    3Aftermarket(TI ZY HF 
    Solutions)
    NoUnverified100%
    4Battery Cell + Native BMS Board//Native battery’s data

    Key findings

    • Third-party batteries still fail to pass Repair Assistant, and the parts history is recorded as unverified.
    • New third-party batteries replaced in iPhones all can show health data.

    We also tested third party batteries on iOS 18.0.

    Watch the video: 

    Replace Rear Camera Replacement

    Before iOS 18

    Replacing a lens alone will display an unknown part message. A repair programmer and repair flex cables are required.

    Example: How to Remove Rear Camera "Unknown Part" Message for iPhone 15 PM

    After iOS 18.1

    No.Camera ModelPass Repair AssistantCamera Calibration
    1iPhone 12YesNo
    2iPhone 13YesNo
    3iPhone 14YesNo
    4iPhone 15YesYes
    5iPhone 16YesYes

    Key findings

    The rear cameras of iPhone 12-16 can be diagnosed by the repair assistant, but the iPhone 15 and 16 series require camera calibration.

    Replace Front Camera + Face ID Assembly

    Before iOS 18

    Replacing this assembly will make Face ID function fail. A repair programmer and repair flex cables are required.

    Example: Fix Face ID (WITHOUT SOLDERING) Not Working with REFOX RP30

    After iOS 18.1

    No.Assembly ModelPass Repair AssistantFace ID
    1iPhone 12NoNo
    2iPhone 13NoNo
    3iPhone 14NoNo
    4iPhone 15NoNo
    5iPhone 16YesYes

    Key findings

    iPhone 12-15 front camera + Face ID assembly cannot be diagnosed by the repair assistant, only iPhone 16 can.

    Summary

    From iOS 18.0 to 18.1, iPhone repairs have gradually become relatively easy, but there are still some problems that need to be verified. Pay attention to the REWA channel to get more new technologies and information.

    Additionally, REWA provides a variety of repair tools and phone parts, welcome to consult or visit our online shop!

    Consult us: https://rewawp.iamtareq.com/wholesale/

    Visit the online store: https://shop.rewa.tech/
  • Troubleshooting iPhone Front Camera Issues Using Jumping Wire

    Troubleshooting iPhone Front Camera Issues Using Jumping Wire

    iPhone front camera not working? What should a repair technician start with? Follow our repair guide today and learn how to troubleshoot step by step. What’s more, REWA LAB will show you how to avoid further damaging the logic board by adopting a fresh new repair solution. Check it out now!

    Test

    Run cosmetic inspection of the logic board. The logic board is not deformed or water damaged. Now, let’s get the logic board and cameras installed. Get the iPhone display assembly installed and battery connected.

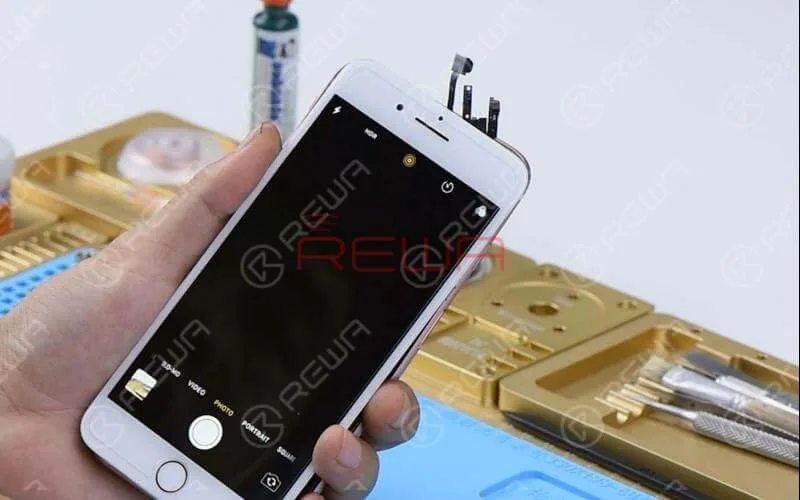
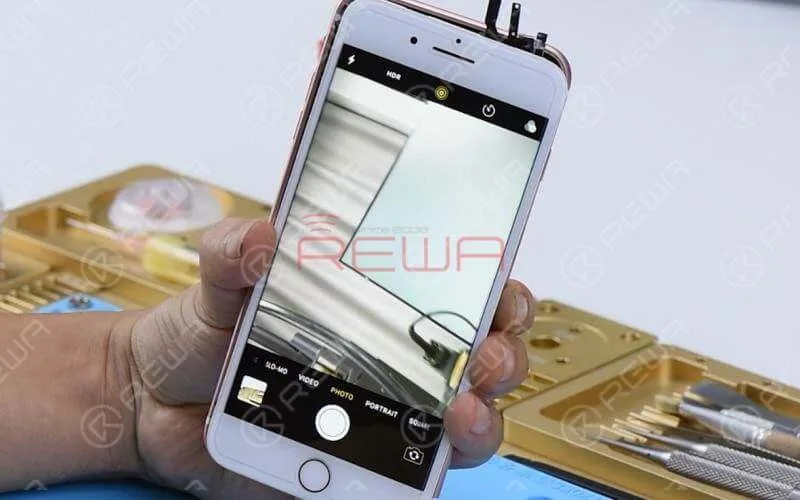
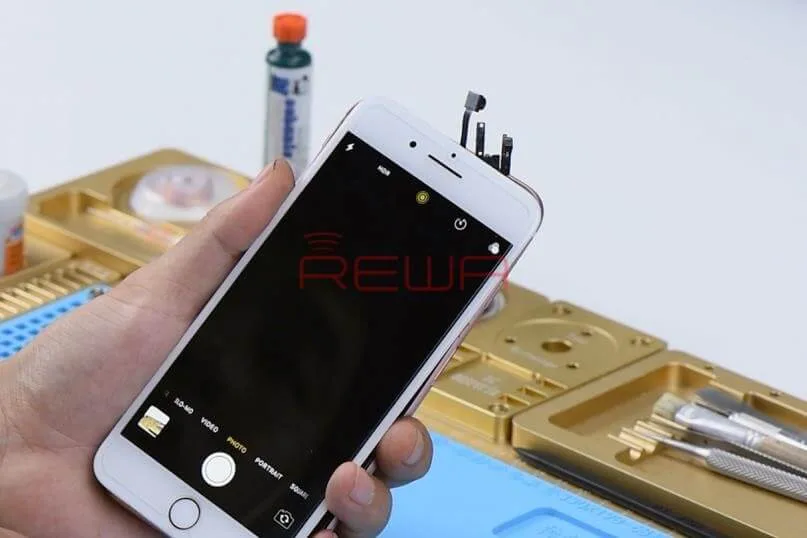
    Press power button to power on. Tap ‘Camera’ icon and enter into camera mode. The rear camera works normally. Switch to front camera. It can not be activated.

    Press power button to power on. Tap ‘Camera’ icon and enter into camera mode. The rear camera works normally. Switch to front camera. It can not be activated.

    Diagnosis

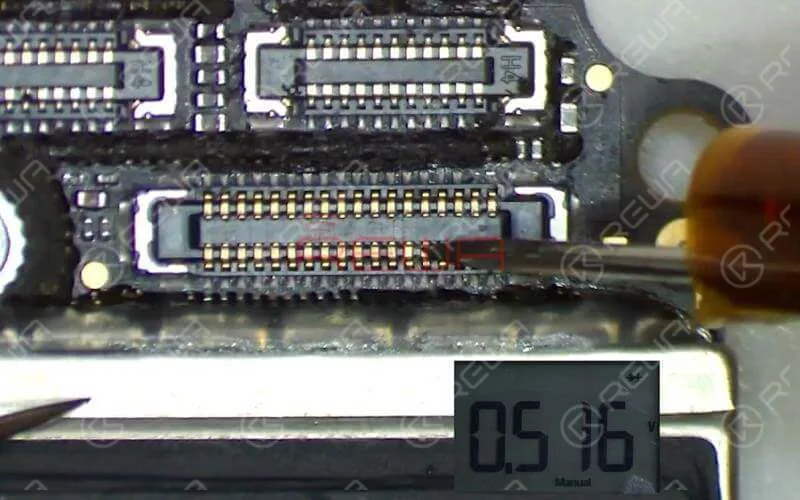
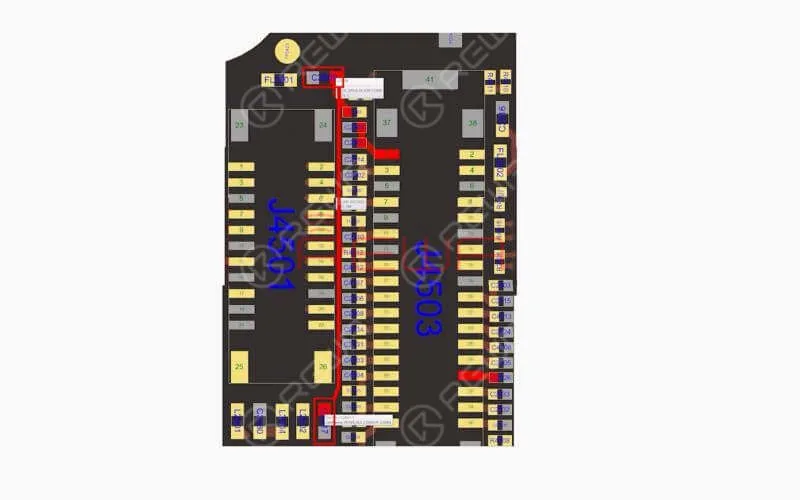
    Let’s check front camera connector J4503 and relevant circuits first. Run diode mode measurement of pins on J4503. The measured value is normal. (In this step, you need a bitmap software that provides reliable schematics and board files for motherboard repair. REWA used Refox in the video.)
    Let’s check front camera connector J4503 and relevant circuits first. Run diode mode measurement of pins on J4503. The measured value is normal. (In this step, you need a bitmap software that provides reliable schematics and board files for motherboard repair. REWA used Refox in the video.)

    Next, we need to measure working voltage of the front camera.Get the two cameras installed. Connect the logic board with the display assembly. Connect battery connector with the Power Supplier. Press ON/OFF button on the Power Supplier to get the logic board power supplied. Then press power button on the Power Supplier. The system will then detect power button press.

    Next, we need to measure working voltage of the front camera.Get the two cameras installed. Connect the logic board with the display assembly. Connect battery connector with the Power Supplier. Press ON/OFF button on the Power Supplier to get the logic board power supplied. Then press power button on the Power Supplier. The system will then detect power button press.

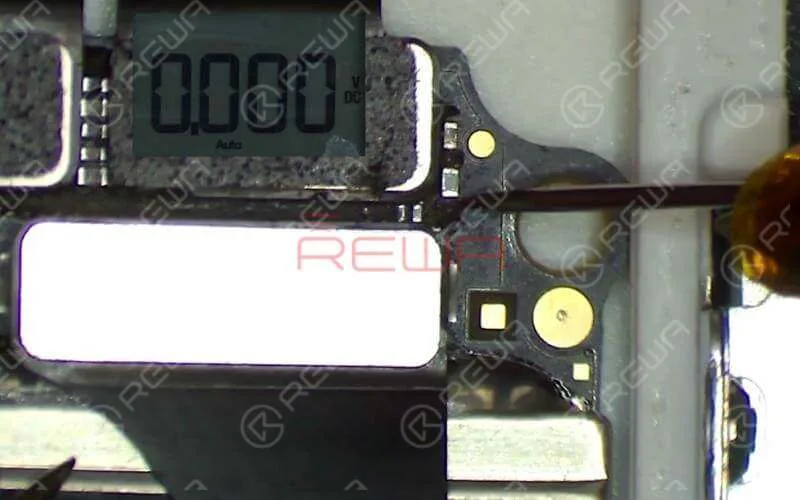
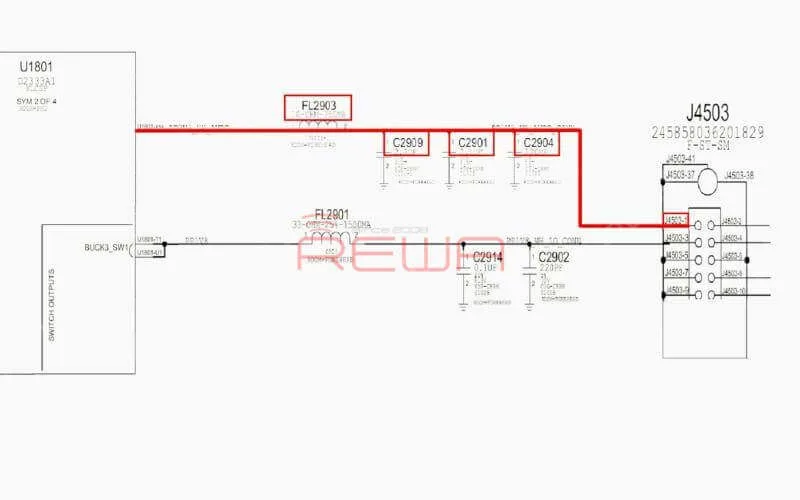
    Tap ‘Camera’ icon to enter into camera mode. Run voltage mode measurement of front camera power supply test points FL2901 and C2909. The measured value of FL2901 is normal. There is no voltage measured on C2909, which is abnormal. Normal voltage should be 2.9V.Outputted from Pin G10 of U1801, the 2.9V voltage reaches Pin 1 of J4503 by way of FL2903, C2909, C2904 and C2901.
    Tap ‘Camera’ icon to enter into camera mode. Run voltage mode measurement of front camera power supply test points FL2901 and C2909. The measured value of FL2901 is normal. There is no voltage measured on C2909, which is abnormal. Normal voltage should be 2.9V.Outputted from Pin G10 of U1801, the 2.9V voltage reaches Pin 1 of J4503 by way of FL2903, C2909, C2904 and C2901.

    Continue to run diode mode measurement of FL2903. Judging by the measured value, FL2903 is in normal status. We can confirm now that the fault is related to U1801.

    Troubleshooting

    We can fix it by replacing with a new U1801 or borrow 3V voltage from other points on the board. Since U1801 is located on the backside of CPU and replacing process can cause pseudo soldering of CPU, here we will adopt the voltage borrowing way.
    We can fix it by replacing with a new U1801 or borrow 3V voltage from other points on the board. Since U1801 is located on the backside of CPU and replacing process can cause pseudo soldering of CPU, here we will adopt the voltage borrowing way.

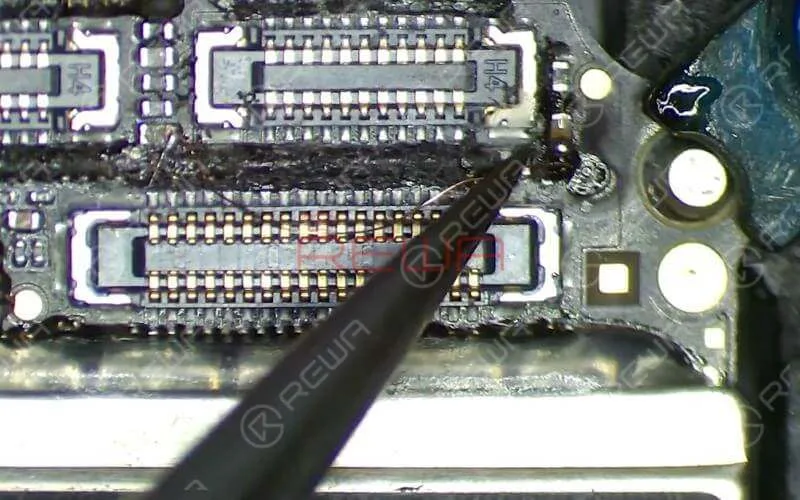
    Here we need 0.1mm solder tinned enamelled wire. With one end of the wire soldered to C2917, a 3V voltage point nearby, solder the other end to C2909.
    Here we need 0.1mm solder tinned enamelled wire. With one end of the wire soldered to C2917, a 3V voltage point nearby, solder the other end to C2909.

    Once done, clean with PCB Cleaner. Apply some UV Curable Solder Mask to the soldered area. Then solidify the logic board under UV Dryer Lamp for 5 minutes.

    Reassemble And Test

    Next, we can assemble the phone and test. Tap ‘Camera’ icon to enter into camera mode. The front camera works normally. Switch to rear camera. The rear camera works normally. Fault cleared.

    Next, we can assemble the phone and test. Tap ‘Camera’ icon to enter into camera mode. The front camera works normally. Switch to rear camera. The rear camera works normally. Fault cleared.

    Tools & Parts Needed

    You can also visit REWA YouTube Channel to check our video and learn how to fix iPhone front camera in a safe way.