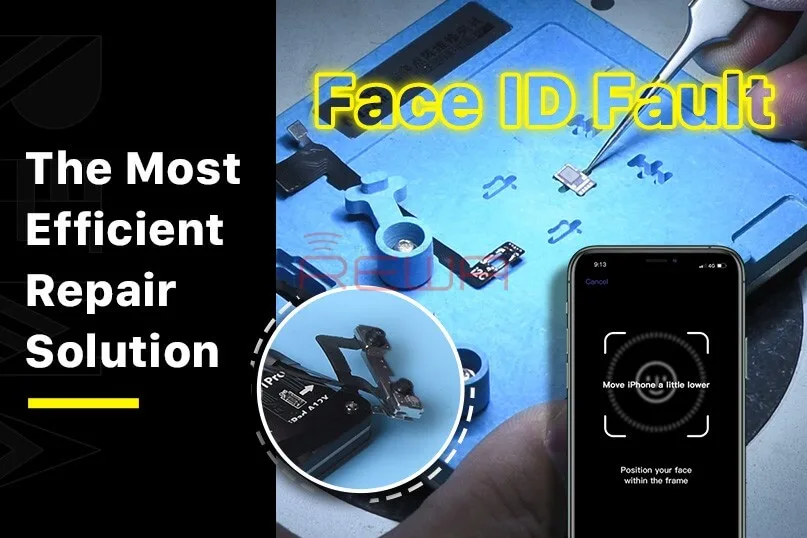
Tag: iphone face id

  • Reasons for iPhone Face ID Not Available

    Reasons for iPhone Face ID Not Available

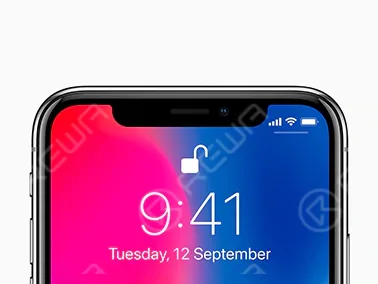
    Ahead of the launch of the iPhone 12, rumors claimed that the new model will both feature Touch ID and Face ID. Now that these myths have been dispelled, the iPhone 12 retained the Face ID function that proves to be a more secure and effective recognition technology.

    Though Face ID is handy, numerous users found that Face ID is not working sometimes, in which they have no choice but to enter the passcode to unlock.
    Face ID not working

    There are generally several reasons why Face ID is not available.

    Security Protection

    Like passcode unlock, Face ID also has a security protection system. Once the system is activated, you must enter the passcode to complete the extra security verification.

    1. The device just turns on or restarts.

    2. The device is locked for more than 48 hours.

    3. In the past six and half days, the device hasn’t been unlocked by a passcode and the device hasn’t been unlocked by Face ID in the past 4 hours.

    4. The iPhone receives remote lock instruction.

    5. Face ID unlocking has failed 5 times.

    6. Simultaneously press and hold the side button and either volume button until the “Slide to power off” and “Emergency SOS” sliders appear on the display.

    Other Conditions

    The Face ID may also fail in some conditions:

    1. Face Covered

    If you wear sunglasses or a hat, it will prevent your Face ID from working successfully.

    2. Camera Covered

    If you apply a protective film on your phone, or there is dirt near the TrueDepth camera, the sensitivity of Face ID may be affected to some extent.
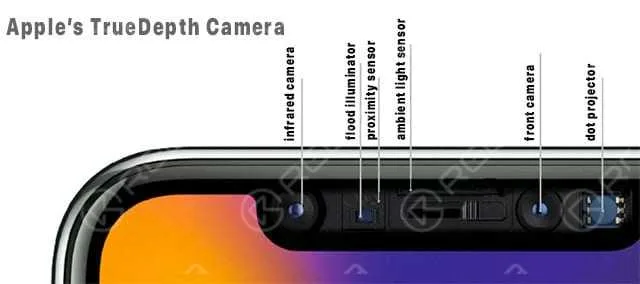
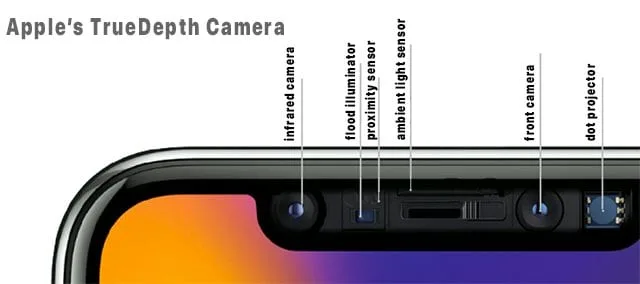
    Apple's TrueDepth camera

    3. Hardware Problem

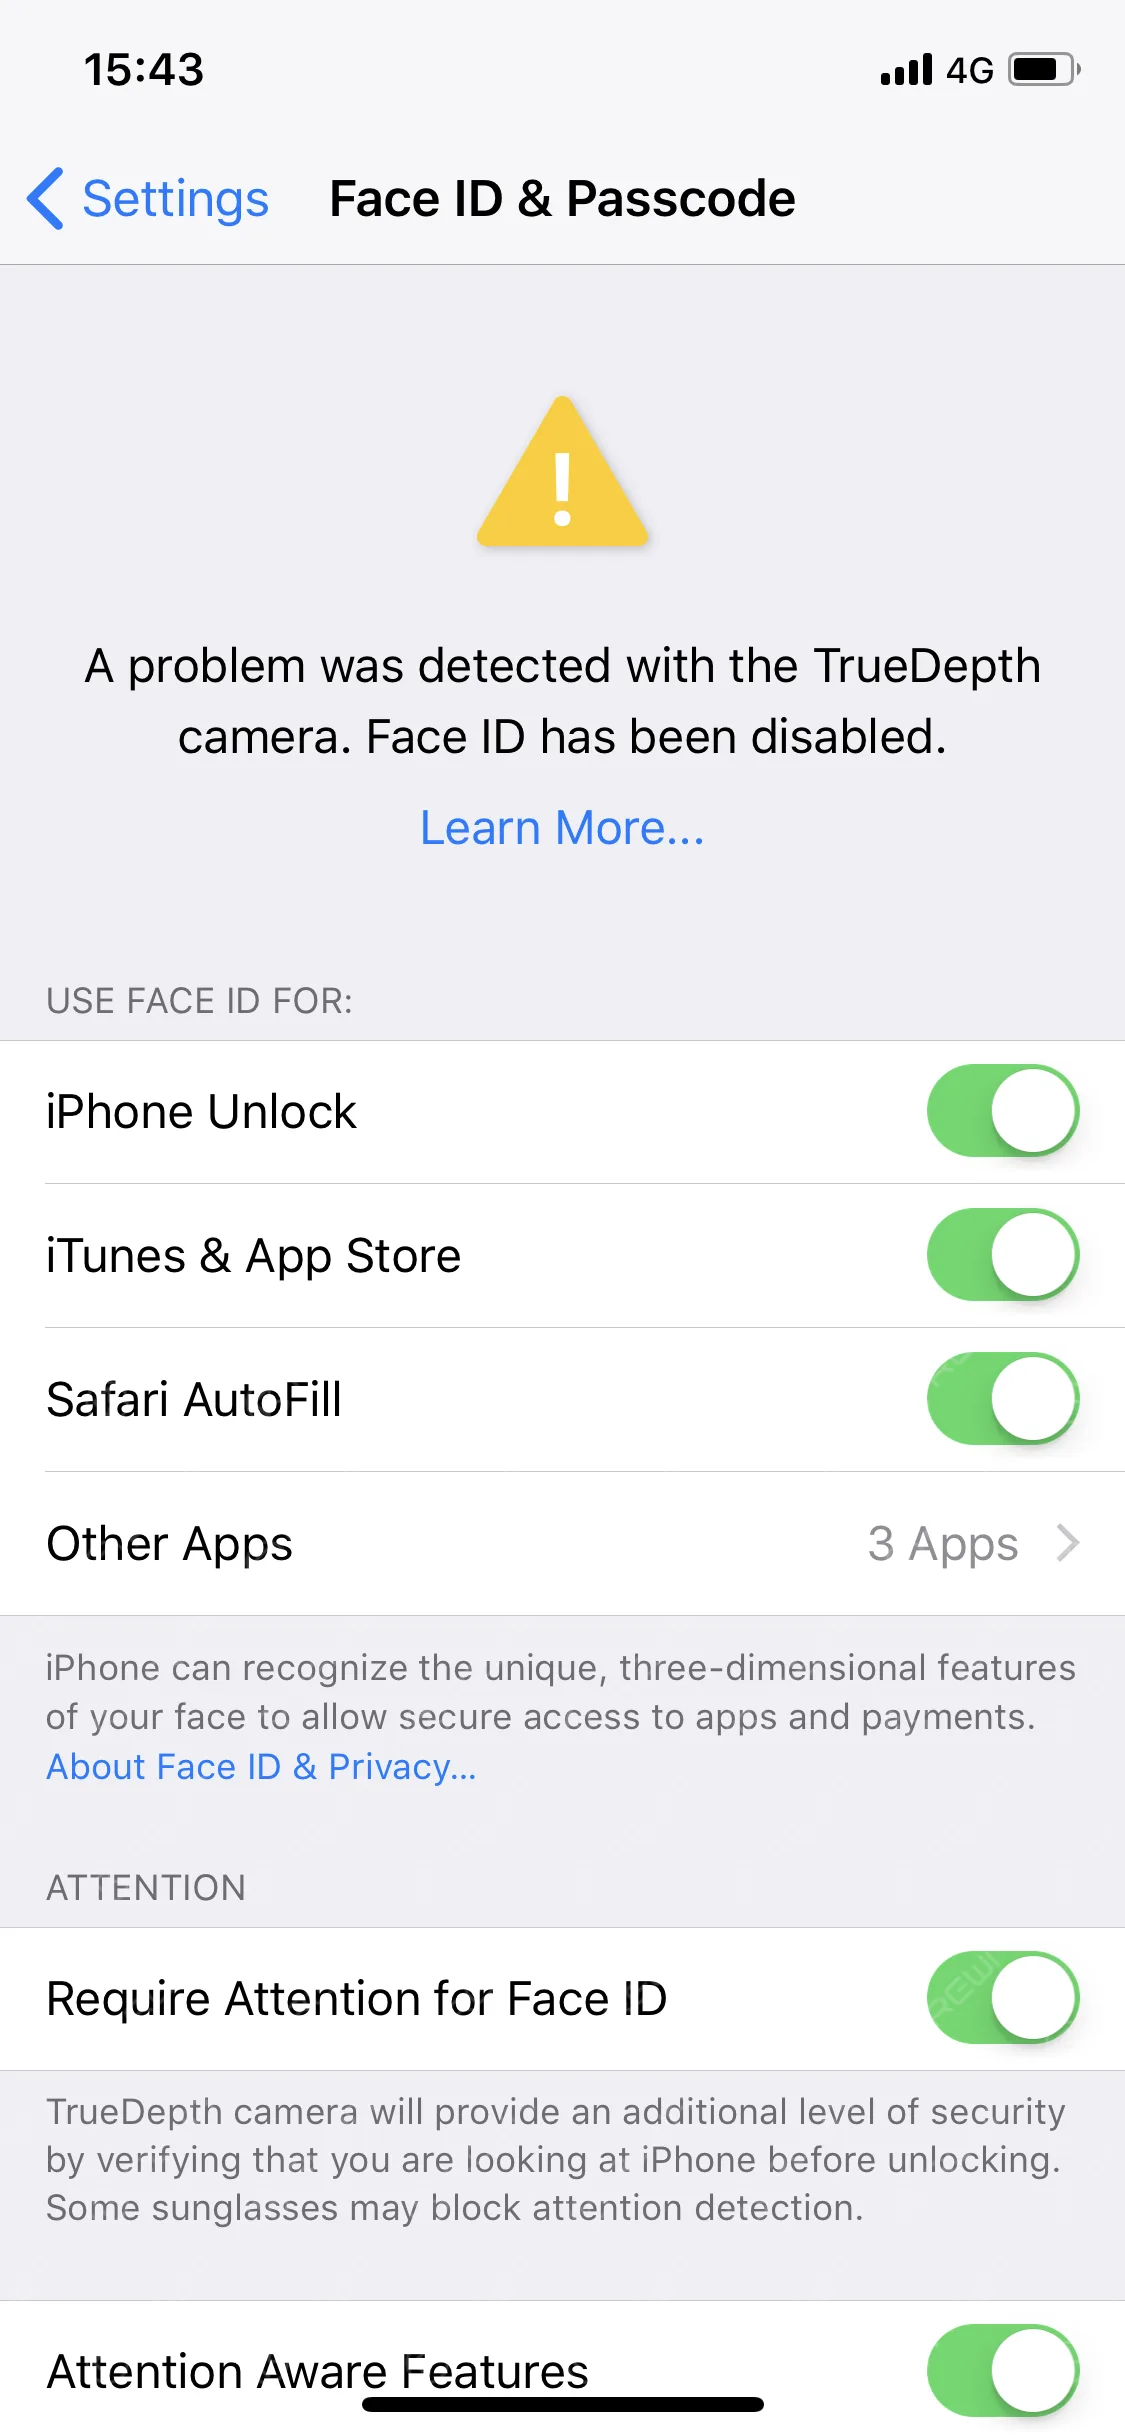
    If you see “A problem was detected with the TrueDepth camera. Face ID has been disabled”, it means that iOS has detected hardware damage of the device and it needs to be repaired.

    Although Face ID is convenient, the repair cost of hardware damage is also very high. If there is a problem with Face ID, you can first try to solve it by resetting and restoring the system.

    If it is determined to be a hardware problem, you’ll probably have to take your iPhone to your nearest Apple Store for repair.

    Feel free to leave any other questions you have about Face ID down below in the comment section.
  • How to Fix iPhone Face ID – Move iPhone a Little Lower

    How to Fix iPhone Face ID – Move iPhone a Little Lower

    Many iPhone users may encounter a frustrating problem where Face ID continues to show”Move iPhone a Little Lower/Higher,” making it impossible to reset the feature. In this article, we will explore effective methods to resolve this issue and ensure the smooth functioning of Face ID on your iPhone.

    How to Fix face ID Move iPhone a Little Lower

    We have discovered several possible solutions fixing move the iPhone a little lower. These methods have proven effective and may work for your specific needs.

    1. Restart your Device

    To address software or temporary system failures, a simple restart can often resolve the problem. Follow these steps to restart your iPhone X or later models:

    • Press and hold the side button and any volume button simultaneously until the slider appears.
    • Slide the slider to power off the device.
    • Press and hold the side button until the Apple logo appears, indicating the device is restarting.

    2. Remove Film or Check For Dirt

    Inspect the area around the front camera for any stains or obstructions that may interfere with Face ID recognition. Clean the camera lens with a microfiber cloth or a gentle lift to ensure optimal performance.

    face id problems

    3. Check for water damage

    If your iPhone has been exposed to water or liquid, it may result in Face ID malfunction. In such cases, it is recommended to seek assistance from Apple’s after-sales service. To determine if your device has suffered water damage, you can check the Liquid Contact Indicator (LCI):

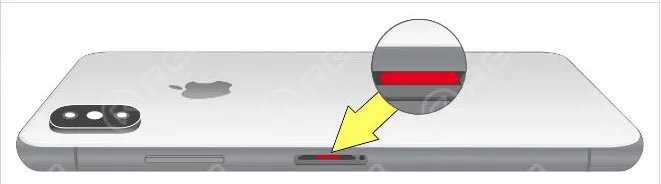
    The majority of iPhone models are equipped with an LCI that can be viewed from the outside. The LCI is capable of detecting whether the device has been exposed to liquid or aqueous liquid. In general, the indicator should be white or silver in color. However, it will become red when it comes into contact with water or aqueous liquid.

    In order to determine if the LCI of your device is touching the liquid, you can refer to the following image to help you see the LCI.

    LCI

    It is recommended that you use a lamp or magnifying glass in order to see the LCI. Make sure you adjust the angle of the light or device until you can see it.

    4. Update the system

    If the device has not suffered from any water or drop damage, it is highly recommended to update the system to the latest version available. This is because Apple frequently releases new software versions that include essential bug fixes and exciting new features that are worth exploring.

    The majority of iPhone-related software issues can be resolved through the installation of the latest iOS update. Therefore, it is always advisable to keep your device up-to-date with the newest software releases to ensure optimal performance and a seamless user experience.

    Conclusion:

    By following these troubleshooting methods, you can overcome the “Move a Little Lower/Higher” prompt and restore the functionality of Face ID on your iPhone. Remember, if the problem persists, it is advisable to seek professional assistance from Apple’s support team. Enjoy the convenience and security of Face ID on your iPhone with these helpful tips.

  • Troubleshooting iPhone 13 Face ID & Display Message Issues after Screen Replacement

    Troubleshooting iPhone 13 Face ID & Display Message Issues after Screen Replacement

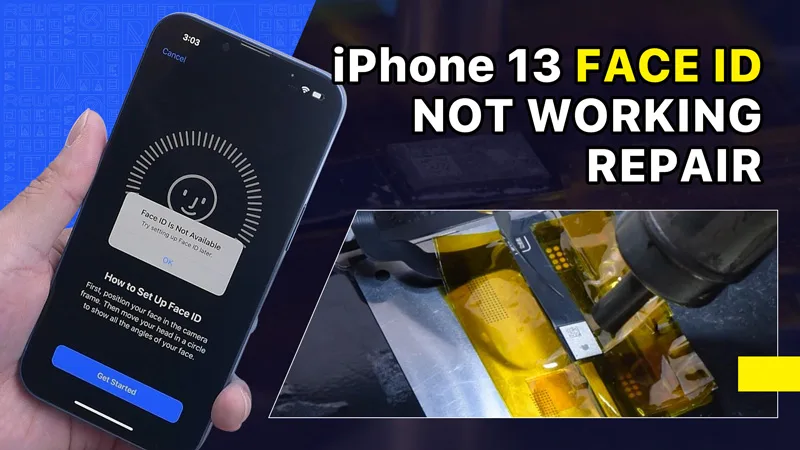
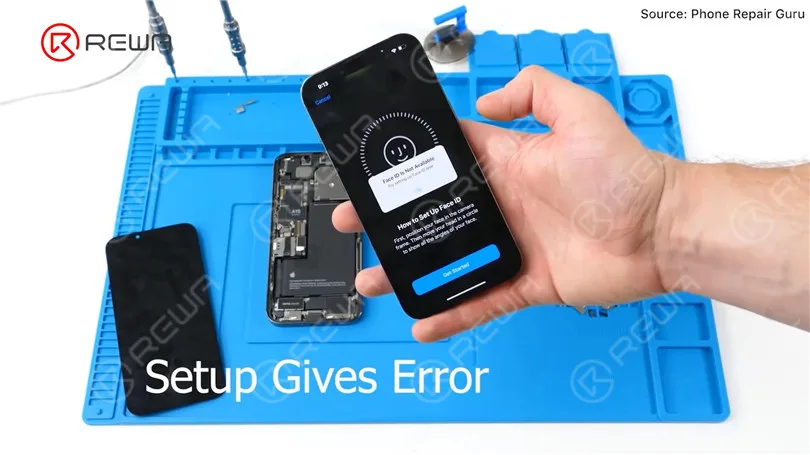
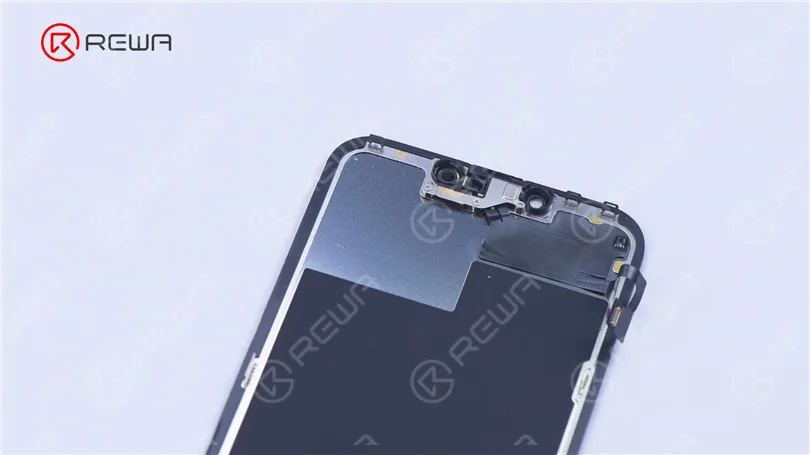
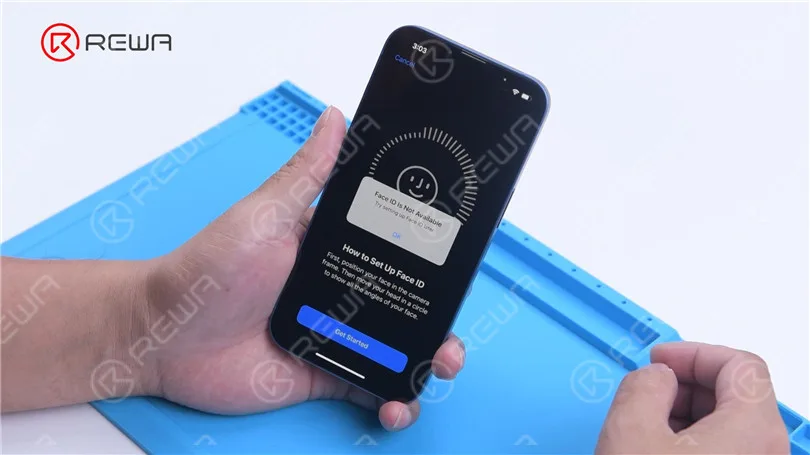
    Recently, Phone Repair Guru posted a video about iPhone 13 screen replacement. After replacement, “Important Display Message” pops up. What’s worse, Face ID is not available.

    Fix iPhone 13 Face ID Not Working & Important Display Message after Screen Replacement

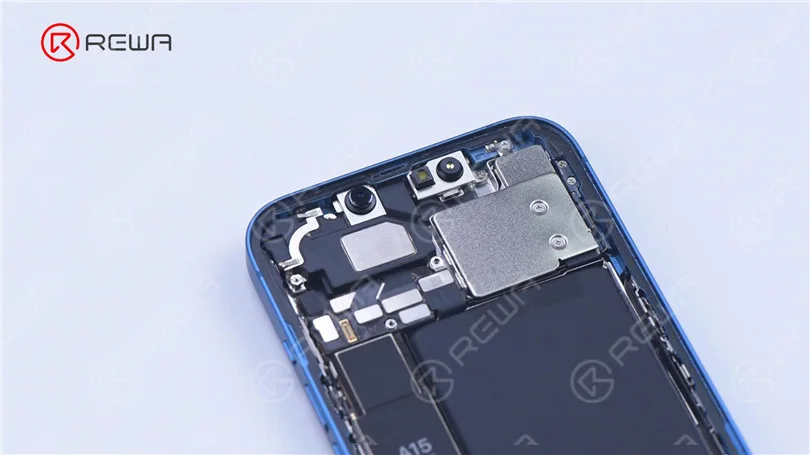
    Since the iPhone 13 screen includes no flood illuminator module and all the parts for the TrueDepth system are housed in the iPhone itself,

    Fix iPhone 13 Face ID Not Working & Important Display Message after Screen Replacement
    Fix iPhone 13 Face ID Not Working & Important Display Message after Screen Replacement

    REWA LAB speculates that the chip on the original screen has saved Face ID data. Transferring the chip to the new screen might solve the problem. Today, let’s verify this speculation.

    Fix iPhone 13 Face ID Not Working & Important Display Message after Screen Replacement

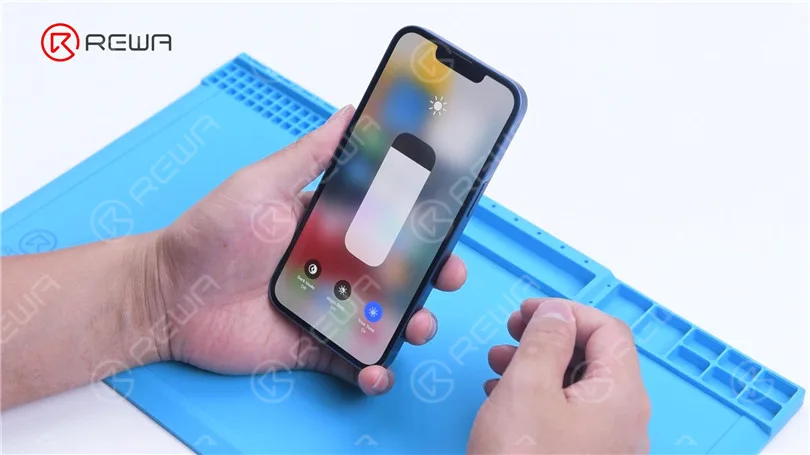
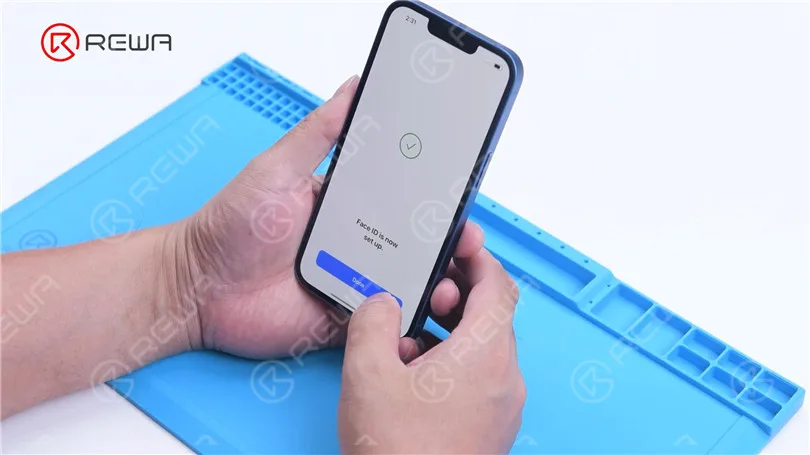
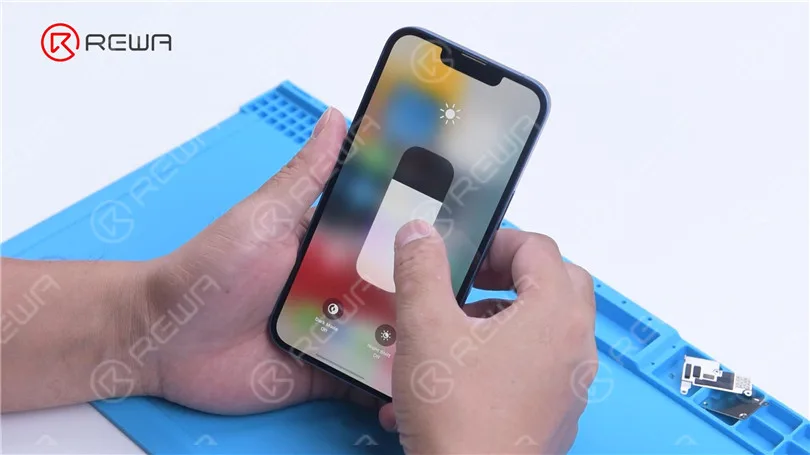
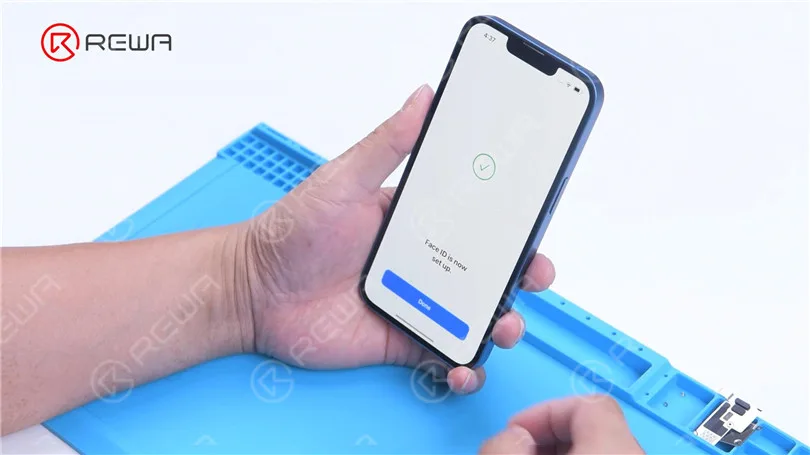
    In the first place, we test the Face ID function of iPhone 13. True Tone function is normal. Face ID can be set up and is working fine.

    Fix iPhone 13 Face ID Not Working & Important Display Message after Screen Replacement
    Fix iPhone 13 Face ID Not Working & Important Display Message after Screen Replacement

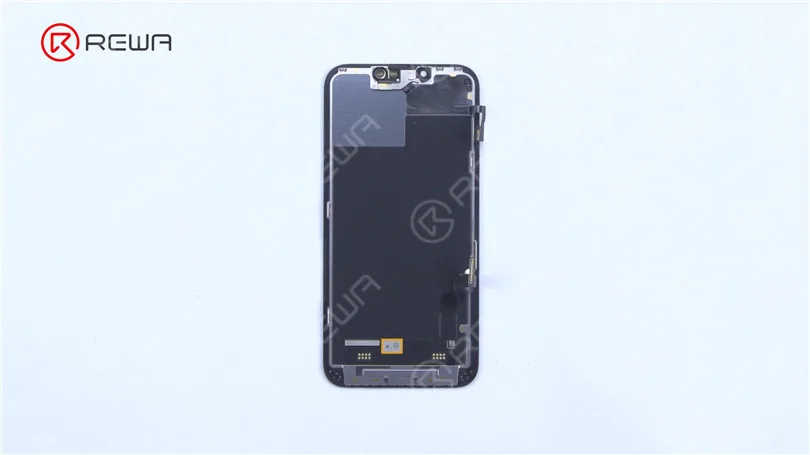
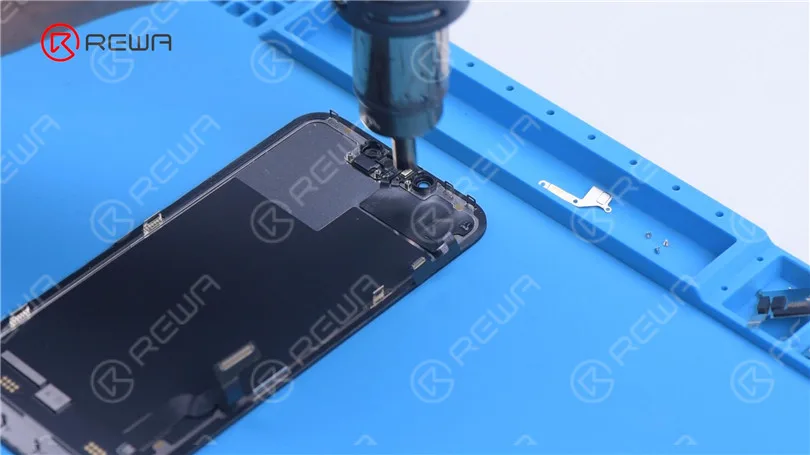
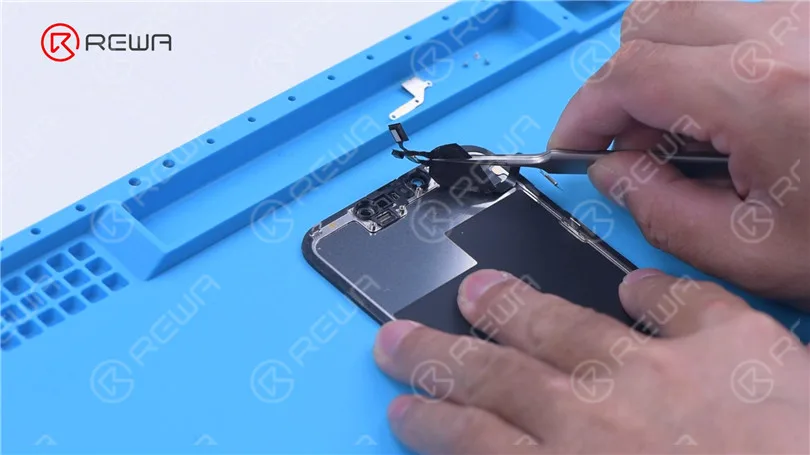
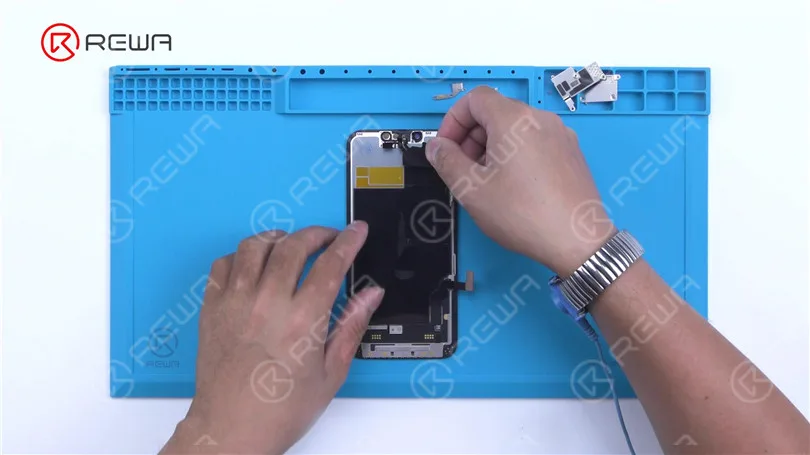
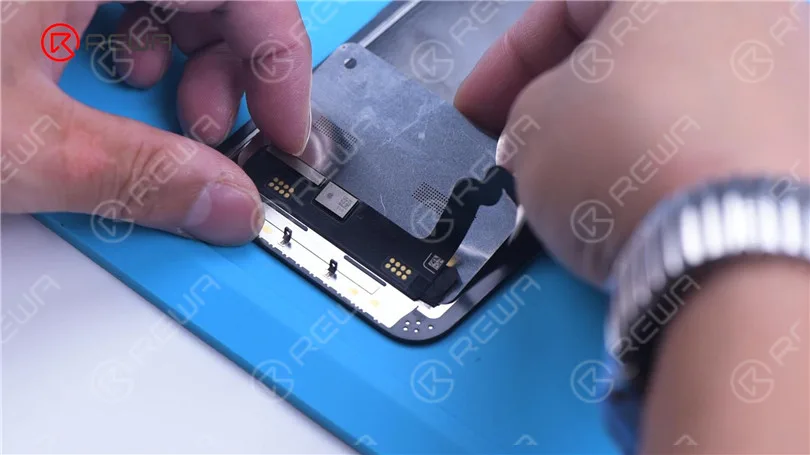
    Then we disassemble the phone and try to replace the screen with an original and genuine one. Remove the original screen. Detach the sensor flex cable with Hot Air Gun at 100 °C. Please be careful not to damage the flex cable when you remove it. 

    Fix iPhone 13 Face ID Not Working & Important Display Message after Screen Replacement
    Fix iPhone 13 Face ID Not Working & Important Display Message after Screen Replacement

    Attach the removed sensor flex cable to the new screen. Install the screws. Connect the new screen. Turn on the phone.“Important Display Message”  appears. Face ID can’t be set up. True Tone disappears.

    Fix iPhone 13 Face ID Not Working & Important Display Message after Screen Replacement
    Fix iPhone 13 Face ID Not Working & Important Display Message after Screen Replacement
    Fix iPhone 13 Face ID Not Working & Important Display Message after Screen Replacement

    Next, we try to transfer the IC on the original screen to the new screen.

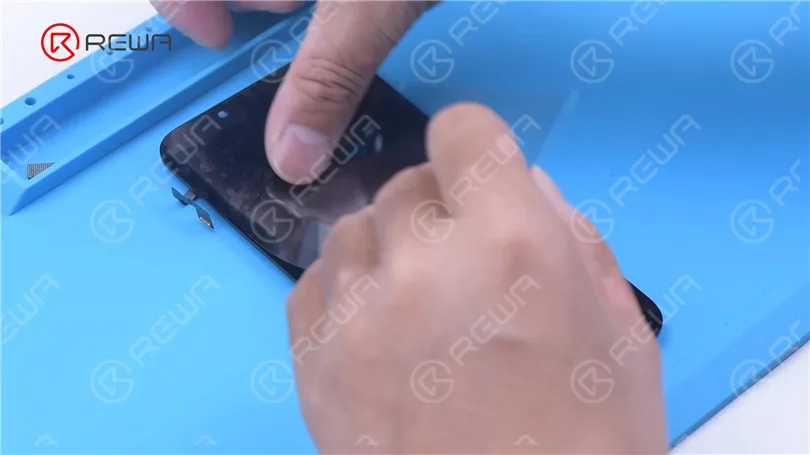
    Remove the new screen. To prevent scratches on the screen during operations,

    apply a protective film to the screen. 

    Fix iPhone 13 Face ID Not Working & Important Display Message after Screen Replacement

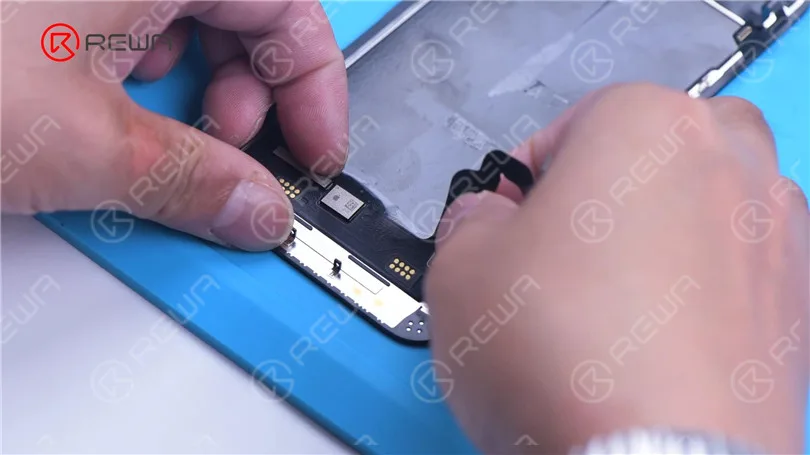
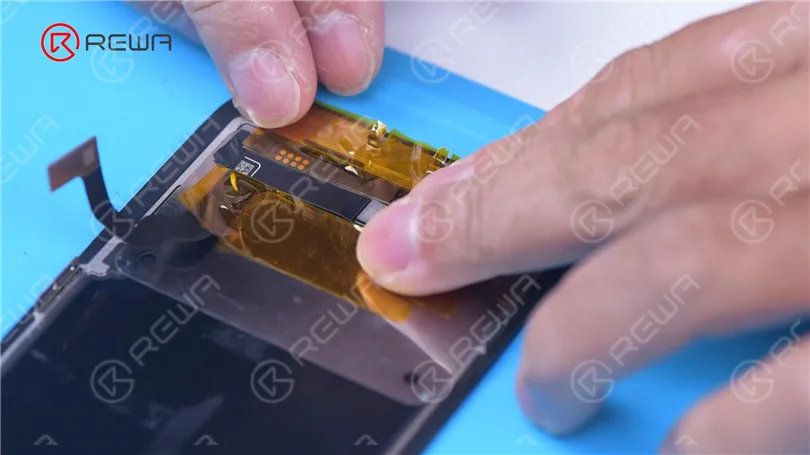
    Heat the screen flex cable with Hot Air Gun at 100 °C. Gently pull up the flex cable.

    To protect the screen, insert the reballing stencil under the flex cable for insulation. Apply high-temperature tape.

    Fix iPhone 13 Face ID Not Working & Important Display Message after Screen Replacement
    Fix iPhone 13 Face ID Not Working & Important Display Message after Screen Replacement
    Fix iPhone 13 Face ID Not Working & Important Display Message after Screen Replacement

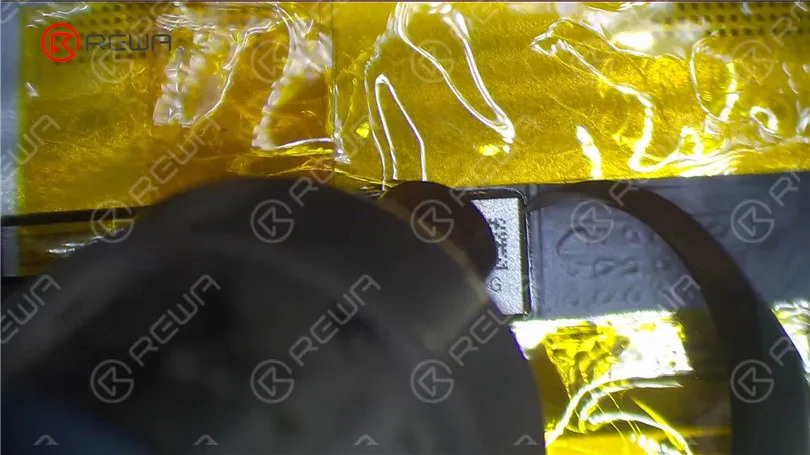
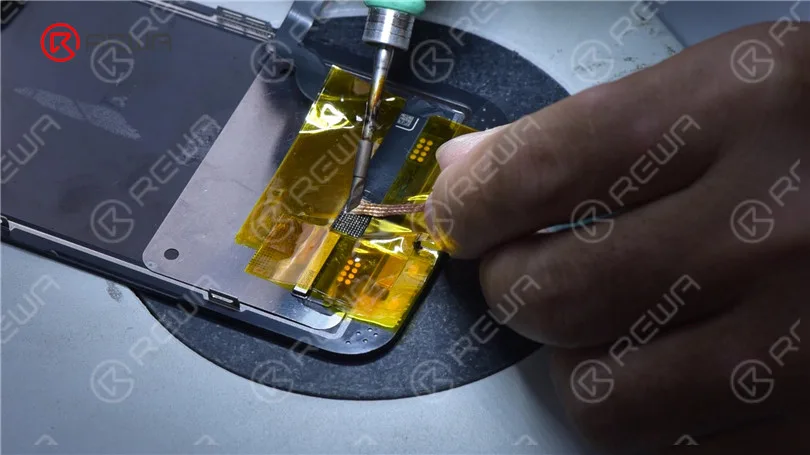
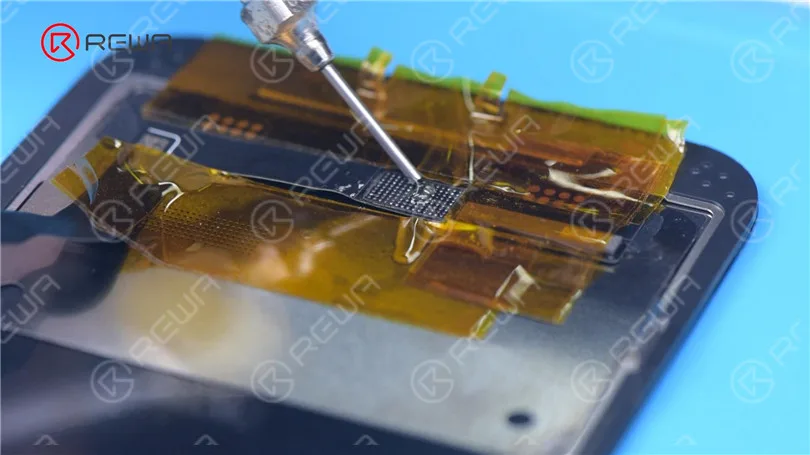
    Remove black adhesive around the chip with Hot Air Gun at 240 °C.

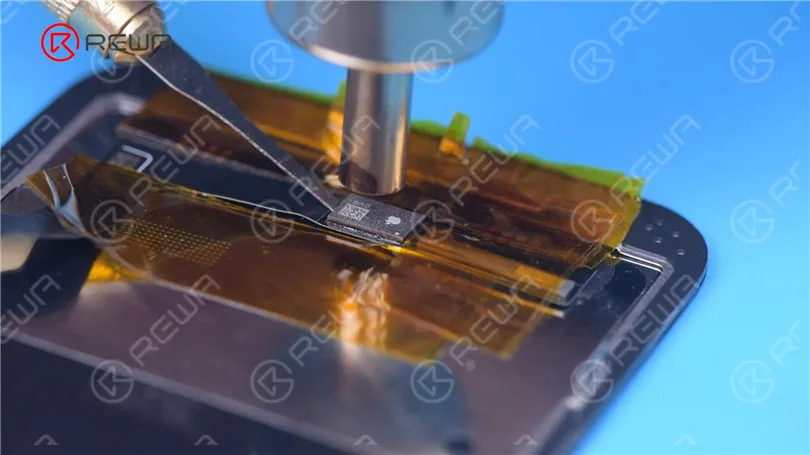
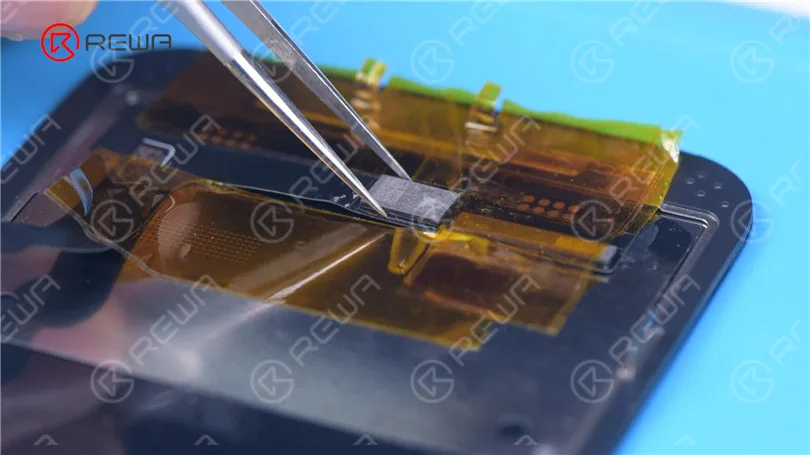
    To remove the chip, set the temperature to 300 °C and airflow to 6.

    Fix iPhone 13 Face ID Not Working & Important Display Message after Screen Replacement
    Fix iPhone 13 Face ID Not Working & Important Display Message after Screen Replacement

    Apply some middle-temperature Solder Paste.

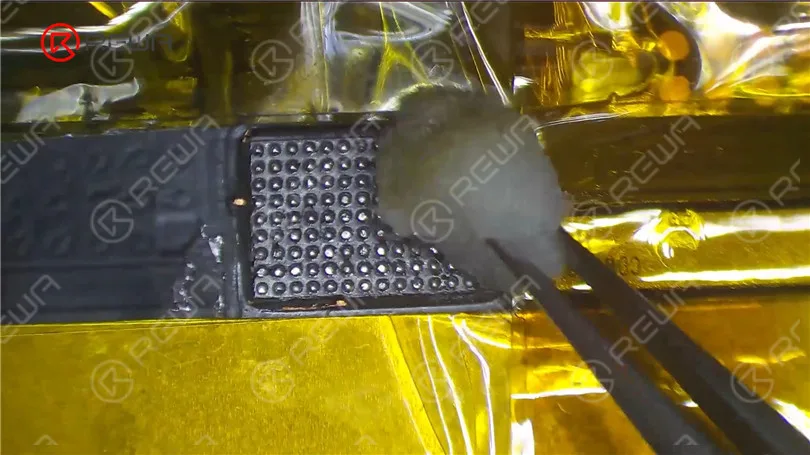
    Clean the bonding pads with Soldering Iron at 360 °C and solder wick.

    Keep cleaning the bonding pads with PCB Cleaner.

    Fix iPhone 13 Face ID Not Working & Important Display Message after Screen Replacement
    Fix iPhone 13 Face ID Not Working & Important Display Message after Screen Replacement

    Next, remove the chip on the original screen with the same method.

    Clean tin on the chip of the original screen.

    Apply some middle-temperature Solder Paste to the bonding pads.

    Clean tin and black adhesive on the bonding pads of the chip with Solder Wick.

    Keep cleaning the bonding pads with PCB Cleaner.

    Fix iPhone 13 Face ID Not Working & Important Display Message after Screen Replacement

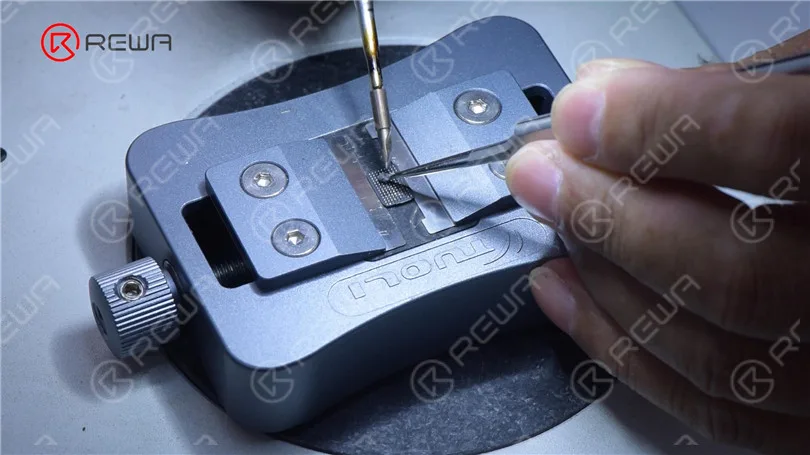
    Next, reball the chip. Put the reballing stencil in position.

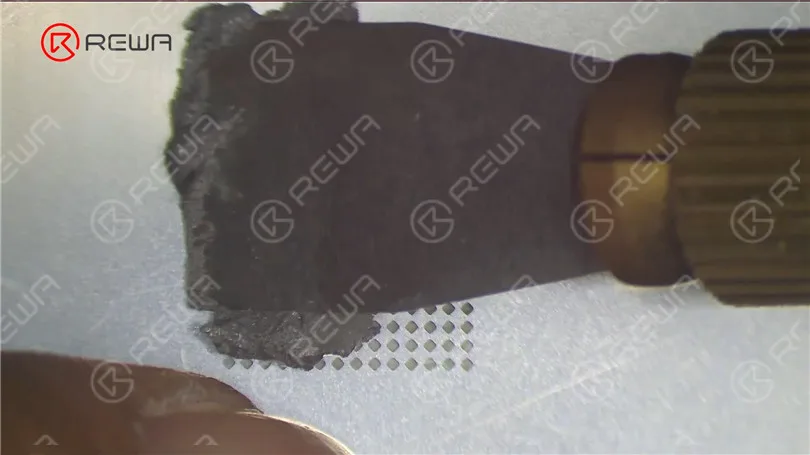
    Apply a layer of middle-temperature Solder Paste evenly.

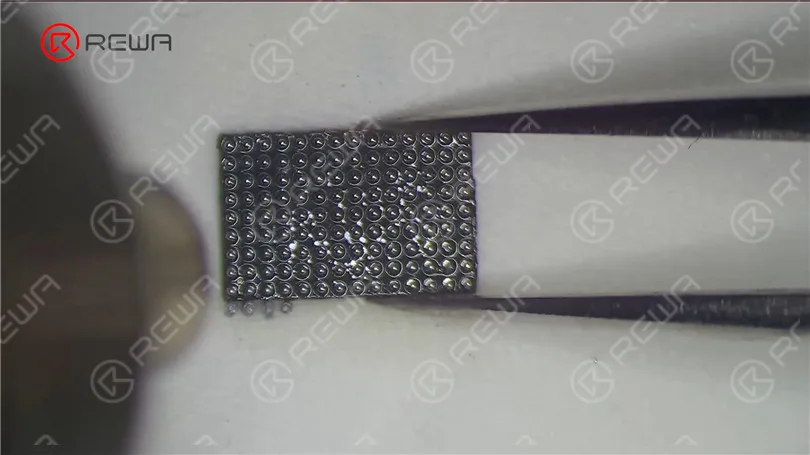
    Heat with Hot Air Gun at 300 °C to form the solder balls.

    After the solder balls are formed, clean with PCB cleaner.

    Fix iPhone 13 Face ID Not Working & Important Display Message after Screen Replacement
    Fix iPhone 13 Face ID Not Working & Important Display Message after Screen Replacement

    Apply Paste Flux to the bonding pads of the new screen.

    Align the chip of the original screen.

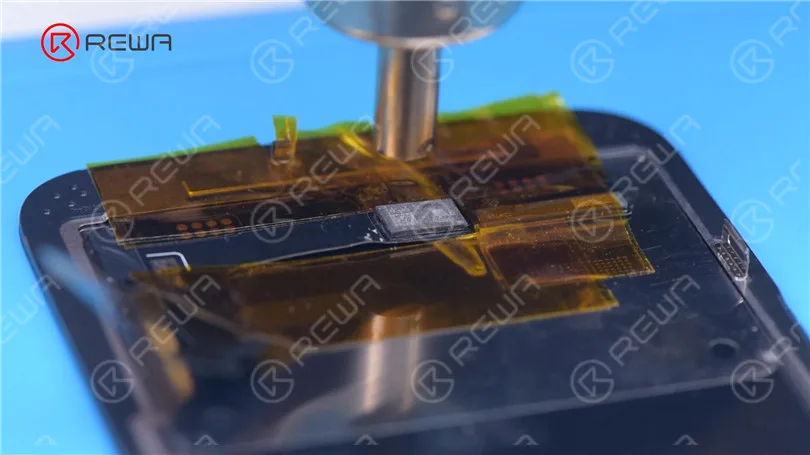
    Solder the chip with Hot Air Gun at 300 °C.

    Fix iPhone 13 Face ID Not Working & Important Display Message after Screen Replacement
    Fix iPhone 13 Face ID Not Working & Important Display Message after Screen Replacement
    Fix iPhone 13 Face ID Not Working & Important Display Message after Screen Replacement

    Remove high-temperature tape after the flex cable has cooled.

    Connect the screen. Turn on the phone.

    There is no “Important Display Message”. Face ID can be set up and is working fine.

    But True Tone hasn’t been restored.

    Fix iPhone 13 Face ID Not Working & Important Display Message after Screen Replacement

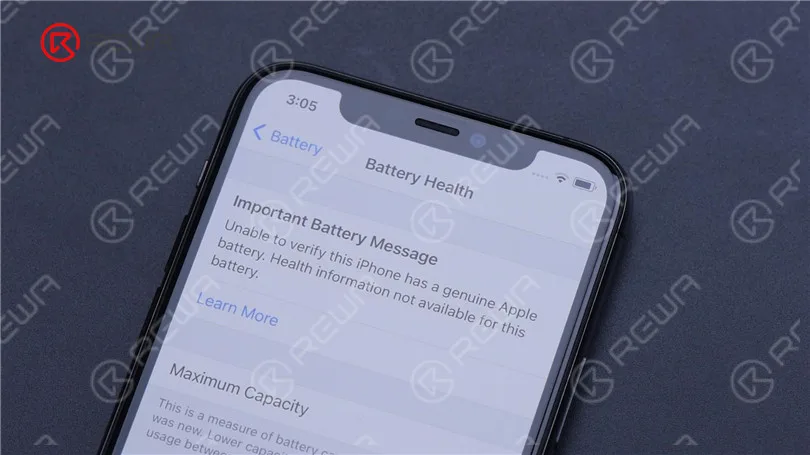
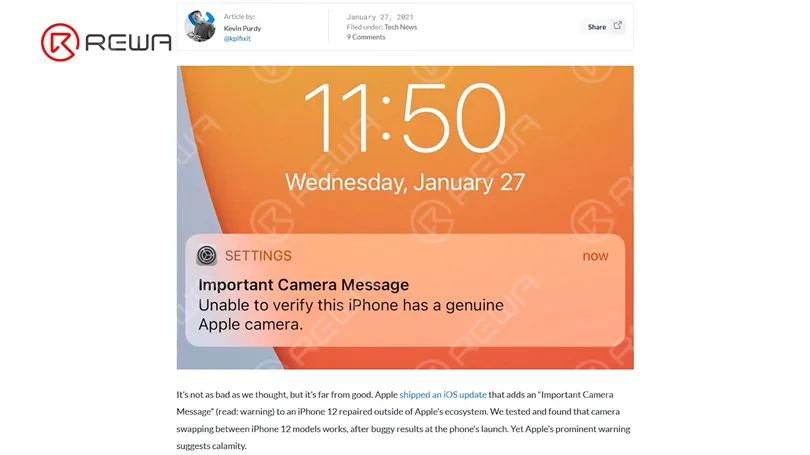
    Apple has long faced criticism for displaying prompts like “Important Battery Message” and “Important Camera Message”, which makes it difficult for third-party repair stores to fix their products.

    Fix iPhone 13 Face ID Not Working & Important Display Message after Screen Replacement
    Fix iPhone 13 Face ID Not Working & Important Display Message after Screen Replacement

    With the ‌iPhone 13‌ this year, Apple further makes it more difficult for customers to get repairs from third-party stores.

    However, it is risky to replace the chip to solve Face ID not working after iPhone 13 screen replacement. REWA LAB does not recommend that non-professionals try this method.

    Apple could patch this via an iOS update in the future.

    Let’s wait and see. Please feel free to leave your thoughts on the problem.

  • Face ID Not Working? 8 Simple Fixes to Save Your iPhone

    Face ID Not Working? 8 Simple Fixes to Save Your iPhone

    Apple’s Face ID is commended for its speed and precision. It is the most helpful approach to open your iPhone after Apple decided to dispose of the Home Button for their iPhone X and latter models.

    It’s likewise secure to the point that Apple says the likelihood of an arbitrary individual could unlock your iPhone (or iPad) utilizing Face ID is around 1 out of 1,000,000, that is with a solitary enrolled appearance.

    iPhone and iPad Face ID solely permits up to five unsuccessful attempts before the password is needed.

    Face ID is also used to validate buys and sign in to applications. Be that as it may, what occurs if your Face ID quits working?

    Follow the below steps to fix your Face ID

    1. Check Your Face ID Settings

    Apple educates you to go to Settings > Face ID and Passcode.

    See that your Face ID is set ready for action, with the vital features flipped on.

    In case there are a few features off, feel free to flip the settings you need to utilize Face ID for while you’re there: Apple Pay, opening your iPhone, Password AutoFill, and the iTunes and App Store,

    In case it’s not set up, tap “Set Up Face ID.” Your cell phone will walk you through the means which includes shifting and pivoting your head for the face examines.

    If you can’t move your head, Apple’s Accessibility Options button is additionally there for you to tap.

    A password will be needed on the off chance that you’ve had five unsuccessful Face ID attempts and need to get to your phone.

    2. Ensure Nothing is Covering Your Face

    The TrueDepth camera needs to see your eyes, nose, and mouth completely noticeable for the Face ID to work.

    That implies you can’t utilize it while wearing a face veil.

    Face ID can work with numerous shades, however.

    In any case, Apple cautions that a few sunglasses that are intended to hinder particular kinds of light can impede the infrared light utilized by the TrueDepth camera and thus Face ID can’t remember you.

    If that is the case, take your shades off when expecting to utilize Face ID.

    3. Reset Face ID

    If none of the past ways work, reset Face ID. Just head to Settings > Face ID and Passcode and tap “Reset Face ID”. It’s underneath “Set Up and Alternate Appearance.”

    Whenever that is done, go ahead and set up Face ID once more.

    4. Restart Your iPhone (or iPad)

    This might sound senseless but now and then software can glitch and a straightforward restart can assist with getting things back altogether.

    Go ahead to restart your cell phone by either going to Settings > General > Shut Down or squeezing your Side Button and either one of the Volume Buttons together.

    5. Set up an Alternate Appearance

    In the event that you have an appearance that can appear to be endlessly unique from the first enrolled appearance, you can set up a substitute appearance so Face ID can in any case remember you and let you access your iPhone.

    Note that this doesn’t work in case you’re wearing a face veil, Apple says.

    To add an alternate appearance, go to Settings > Face ID and Passcode. You may be needed to enter your password. Tap “Set Up an Alternate Appearance” and begin.

    It’s fundamentally the same way you set up your first enrolled appearance. Once more, if you are unable to move your head, the Accessibility Option button can help you with that.

    6. Make Sure that the TrueDepth Camera is Free of Barrier

    Apple advised ensuring nothing is covering the TrueDepth camera, which includes your phone case or the protector. Make sure no dirt or buildup is covering the TrueDepth camera.

    7. Ensure You’re Facing the Camera The Right Way

    For iPhone users, hold your iPhone in a portrait direction when utilizing Face ID. Those who use iPad can utilize it in any direction.
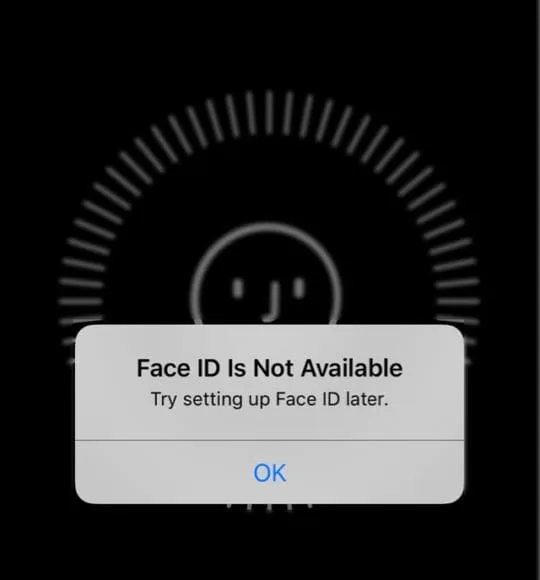
    Additionally, ensure you are confronting the camera straightforwardly.

    Apple says the TrueDepth camera has a comparable scope of view as when you take a selfie or make a video call. So ensure that your phone is at a safe distance or 10-20 inches away from your face.

    8. Contact Apple Support

    In the event that all these steps have been conducted, Face ID is as yet not working and you accept that this is a result of a new iOS update.

    Feel free to contact Apple Support and report the issue.

    In case there are different reasons you suspect like you can’t enroll your appearance or different issues, Apple Support ought to have the option to help you with that.

  • Why Face ID Can Be So Easily Damaged And Hardly Repaired?

    Why Face ID Can Be So Easily Damaged And Hardly Repaired?

    Face ID is a new feature introduced to iPhone X/XS/XR/XS Max. While it is a most powerful component allow biometric authentication for unlocking a device, there are quite a lot of instances when Face ID will not work.

  • Troubleshooting Face ID Issues on iPhone: Solutions and Tips

    Troubleshooting Face ID Issues on iPhone: Solutions and Tips

    Using Face ID on your iPhone can be a convenient and secure way to unlock your device and authenticate various actions. However, like any technology, it may encounter issues that hinder its functionality. In this article, we will explore common problems with Face ID and provide effective solutions to resolve them. Whether you are experiencing the “Move a Little Lower/Higher” prompt or other Face ID-related difficulties, we’ve got you covered.

    Please check if there

    Section 1: Restart Your Device

    One of the simplest yet effective solutions to fix Face ID problems is to restart your iPhone. To do this, press and hold the side button and any volume button until the slider appears. Slide the slider to power off your device. Once it is off, press and hold the side button until the Apple logo appears, indicating that your device is restarting. Rebooting your iPhone can often resolve software or temporary system failures that may be affecting Face ID.

    Section 2: Check for Obstructions

    Ensure that there is nothing covering the front-facing TrueDepth camera on your iPhone. Sometimes, a film or dirt can obstruct the camera, causing Face ID to malfunction. Carefully inspect the area around the camera and clean it with a gentle cloth or lift if necessary. Removing any obstructions can significantly improve the performance of Face ID.

    Section 3: Assess Water Damage

    If your iPhone has been exposed to water or liquid, it may lead to Face ID not working properly. In such cases, it is recommended to visit an authorized Apple service center. To check for water damage, look for the Liquid Contact Indicator (LCI) on your device. The LCI is usually located externally and changes color (from white or silver to red) when it comes into contact with liquid. Use a lamp magnifying glass to locate and inspect the LCI for any signs of water damage.

    LCI

    Section 4: Update Your System

    Keeping your iPhone’s operating system up to date is crucial for maintaining optimal performance. If Face ID issues persist even after trying the previous solutions, it is advisable to update your device to the latest iOS version. Apple regularly releases software updates that address bugs and improve system stability. Navigate to Settings > General > Software Update and follow the prompts to install any available updates.

    Conclusion:

    Face ID is a remarkable feature that enhances the security and convenience of using your iPhone. However, occasional issues may arise that require troubleshooting. By following the steps outlined in this article, you can effectively resolve Face ID problems such as the “Move a Little Lower/Higher” prompt or other related difficulties. Remember to restart your device, check for obstructions, assess water damage, and update your system regularly. These measures will help ensure a seamless Face ID experience on your iPhone.

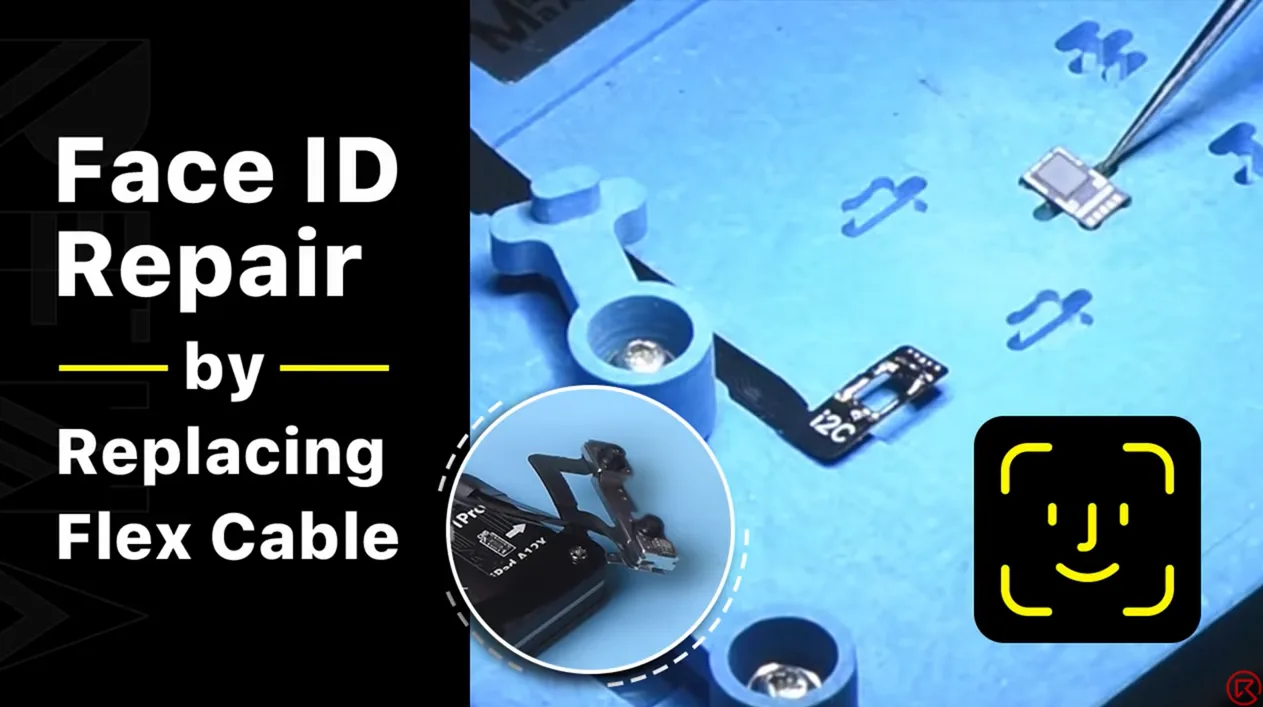
  • iPhone Face ID Dot Projector Repair (By Replacing Flex Cable)

    iPhone Face ID Dot Projector Repair (By Replacing Flex Cable)

    Dot projector parts are extremely fragile. A fall or water damage may harm dot projector parts, inducing Face ID malfunction. Since the dot projector IC is encrypted and replacement requires data encryption bonding for the new IC, repair technicians find it a challenge to repair the Face ID. The good news is that REWA LAB has developed a simple and efficient method to repair the Face ID. Let’s check it out!
    Products recommended in this video:

  • Can iPhone have 2 Face ID?

    Can iPhone have 2 Face ID?

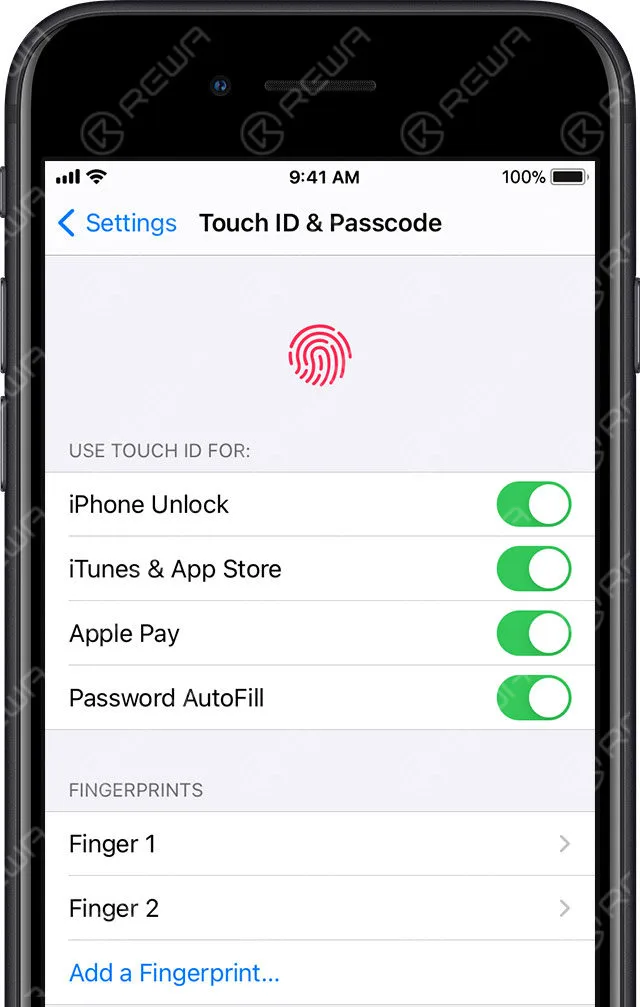
    iPhone 8 and older models with Touch ID can add multiple fingerprints to unlock, so you can add other people’s fingerprints to unlock your iPhone. For the iPhone X and later models, it uses facial recognition to unlock. In fact, this unlocking method can have 2 facial information.
    Touch ID

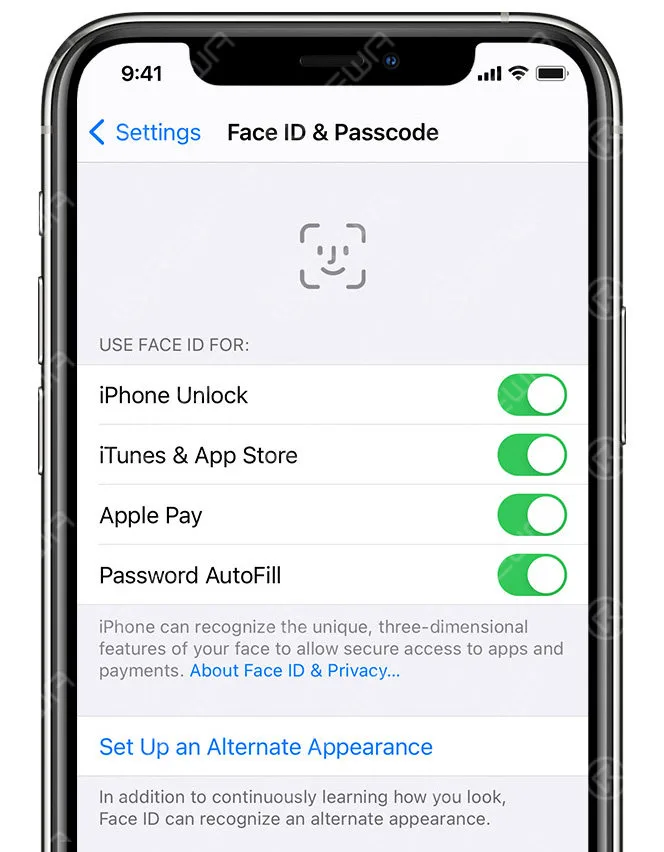
    To set up an alternative appearance, follow these steps:

    1. Go to “Settings” – “Face ID & Passcode“.
    2. Tap “Set up an Alternate Appearance“.
    face information

    The next step is to enter the face information: directly look straight to the iPhone or IPAD and place the face in the view box, slowly turn the head to complete the full-scale collection, complete the first face ID scan, tap “Continue”, then turn slowly The head is completed for the second all-round acquisition. After completing the face ID setting, tap “complete”.
    After the entry is completed, both faces can unlock the iPhone.

  • Unveiling Apple’s Revolutionary Face ID

    Unveiling Apple’s Revolutionary Face ID

    Face ID is a face-to-face ID, a face recognition system for Apple’s design and release, is first used in iPhone X; it allows users to unlock Apple devices, purchase in each Apple Digital Media Store, and as Apple Pay or Applications The authentication method pays within.
    Apple’s Security Commitment

    Apple boasts that Face ID offers a one-in-a-million chance of being unlocked by an unauthorized user. Face ID stands apart is its approach to data security. Unlike some systems that store sensitive data in the cloud, Apple’s Face ID stores your facial recognition information in a secure enclave within the Apple A11 Bionic chip. This ensures that your personal data remains on your device and in the cloud.
    Compatible devices

    Initially introduced with the iPhone X, Face ID has been part of various Apple devices, including:

    • iPhone X, Xʀ, Xs/Max, 11, 11 Pro/Max, 12/Mini, and 12 Pro/Pro Max
    • iPad Pro (third and fourth generation)

    How Face ID Works

    Face ID relies on a multi-step process to accurately identify the user:

    1. Illumination and Infrared Imaging: Face ID first illuminates the user’s face with infrared light and captures a 2D infrared image using a floodlight sensor.
    2. Infrared Camera Recognition: An infrared camera then scans the user’s face to capture distinct features.
    3. Dot Array Projection: Over 30,000 unique encoded infrared points are projected onto the user’s face. These points reflect back to the infrared camera, creating a 3D map of the face’s surface.
    4. Data Processing: The offset between the original infrared image and the reflected infrared points is analyzed, constructing a precise 3D model of the user’s face.
    5. Mathematical Transformation: The infrared image and the 3D model are sent to the device’s processor, where they are transformed into a mathematical expression.
    6. Face Comparison: The device compares the mathematical expression with previously registered facial data, determining whether to grant access.

    Additional features

    Face ID incorporates several features to enhance security and accuracy:

    • Floodlight: Invisible infrared light aids face identification, even in low-light conditions. This ensures that the system can discern if the user’s eyes are open and facing the device.
    • Dot Matrix Projector: More than 30,000 invisible dots are projected onto the user’s face to construct an accurate, 3D facial model. The arrangement of these dots is distinct for each individual.
    • Infrared Camera: This camera captures a 2D infrared image while reading the unique dot matrix pattern. The data is then analyzed and sent to the secure enclave within the A11 Bionic chip for comparison.

    Technical Provider: Face ID incorporates technology from Sensomotoric INSTRUMENTS, utilizing PrimeSense Structural Light Technology and Faceshift for facial capture technology.

    Conclusion

    Apple’s Face ID is not just a convenient way to unlock your device; it’s a sophisticated and highly secure facial recognition system that leverages cutting-edge technology to ensure your privacy and security. With features like floodlighting, dot matrix projection, and infrared imaging, it’s no wonder that Face ID has become a benchmark for secure biometric authentication in the tech world. As Apple continues to innovate, we can expect even more exciting developments in this space.

  • How to Fix iPhone 11 Pro Max Face ID not working

    How to Fix iPhone 11 Pro Max Face ID not working

    Dot projector parts are extremely fragile. A fall or water damage may harm dot projector parts, inducing Face ID not working.

    This article explores a breakthrough method developed by REWA LAB for repairing Face ID, making it accessible and effective.

    The Problem

    The heart of Face ID lies in the dot projector integrated circuit (IC), a critical and encrypted component. Replacing this IC necessitates a complex process involving data encryption bonding, which repair technicians typically find daunting.

    The Solution

    Fortunately, REWA LAB has devised a streamlined and efficient approach to resolve Face ID issues.

    The step-by-step guide presented here will help you understand and perform the repair procedure.

    Step 1: Initial Diagnosis

    • Begin by navigating to your device’s Settings, then select “Face ID & Passcode” and “Set Up Face ID.”
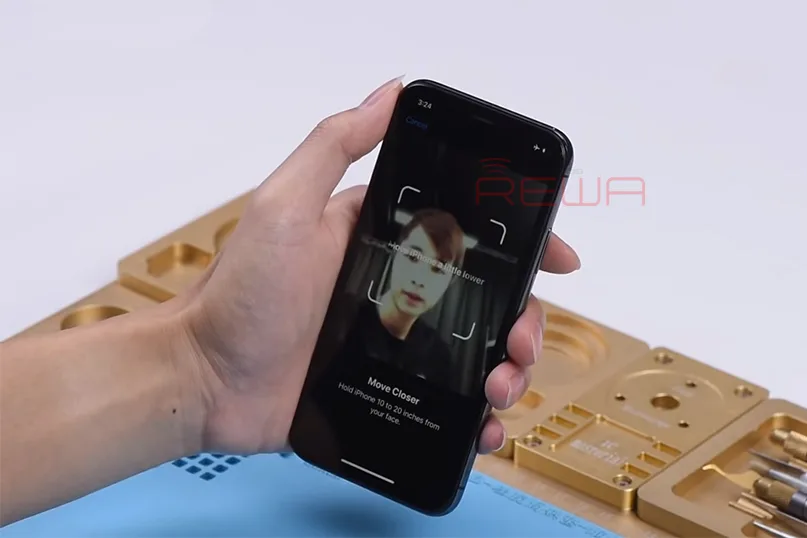
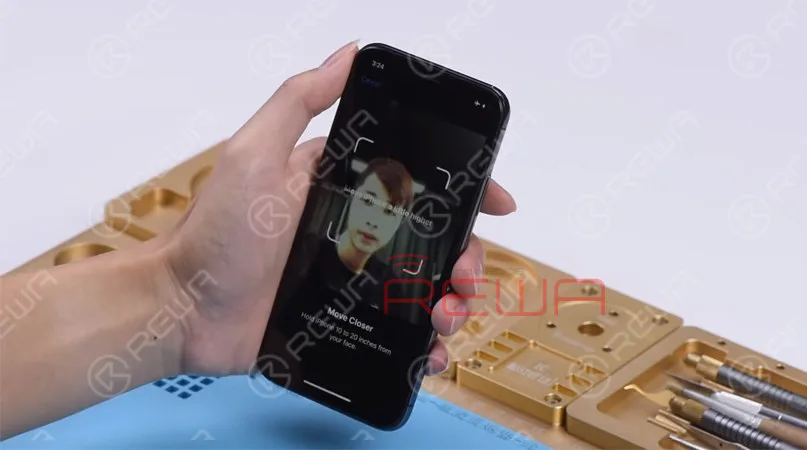
    • During the setup process, you may encounter the message “Move iPhone a little lower/higher.” This indicates a malfunction in the dot projector.

    Step 2: Disassembly

    • To access the dot projector, remove the device’s display.
    • If you observe a red mark, it suggests that the phone has experienced water damage.
    • Connect the dot projector flex cable to the I2C Repair Programmer and perform a diagnostic test, confirming a malfunction.

    Step 3: Data Transfer and Crystal Fix

    • Use the programmer to read data from the malfunctioning flex cable.
    • Replace the flex cable with a new one and transfer the previously read data.
    • Apply a small amount of UV adhesive to secure the crystal of the dot projector flex cable using a UV lamp.

    Step 4: Removing the Dot Projector

    • Remove the foam covering the back of the dot projector.
    • For precise alignment during reassembly, mark the module with a Sculpture Knife.
    • Lift the metal plate to access the dot projector flex cable beneath.

    Step 5: Precision Work

    • Utilize a Holding Fixture for precise handling of the Face ID module.
    • Grind the welding position of the metal plate to access the dot projector.
    • Carefully detach the dot projector module using a Hot Air Gun.
    • Remove the MOSFET by heating at 320°C.

    Step 6: Soldering and Reassembly

    • Apply Solder Paste to the bonding pad with a Soldering Iron and jump wire between pins 2 and 3 of the MOSFET using 0.02mm copper wire.
    • Clean the dot projector module with rosin and solder-wick, followed by PCB Cleaner.
    • Reball the new flex cable, apply Paste Flux, and solder it to the dot projector module.

    Step 7: Testing and Final Assembly

    • Connect the soldered flex cable to the I2C programmer and run a test.
    • If the test passes, attach the flex cable to the Holding Fixture and align it with the dot projector module.
    • Apply 460 Adhesive to secure the components.
    • Install the flex cable in the phone.
    • Power up the device and configure Face ID settings.

    Conclusion

    By following these meticulous steps, you can successfully restore your device’s Face ID functionality. The fault will be cleared, and your phone will regain its secure and convenient authentication feature. 

    Please feel free to visit our online shop for repair parts and tools.

    Watch the video below to get a more detailed iPhone 11 Pro Max Face ID repair.

  • iPhone X Face ID Not Working Repair

    iPhone X Face ID Not Working Repair

    With the diffused application of Face ID on iPhone X – 11 series, Face ID failure also appears at a high frequency.

    As our previous Face ID teardown video has introduced, Face ID can be easily damaged and hardly repaired. If the problem is related to the flex cable, then it’s simple.

    However, based on statistics of REWA chip-level motherboard repair service, Face ID failure is caused by damage of the Flood illuminator/Dot Projector in most cases, which can not be repaired.

    face id setup not working

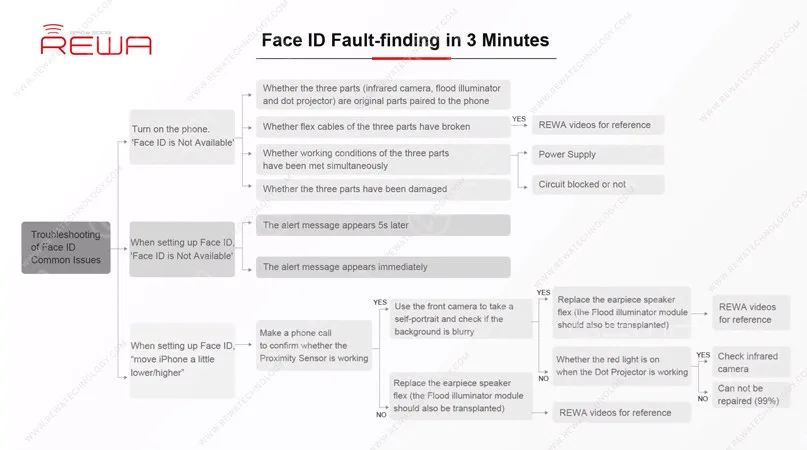
    Today, we want to share a case about ‘move iPhone a little lower/higher when setting up Face ID’ and show you how our technicians find out the fault in 3 minutes with the help of REWA exclusive repair tricks on Face ID troubleshooting. Let’s get started!

    Face ID Not Working Malfunction

    The phone keeps sending messages: ‘move iPhone a little lower/higher’ during the setting up process of Face ID. It means that Face ID cannot be set up successfully on the phone.

    face id is not available

    Face id not available troubleshooting

    Now, let’s find out the fault step by step.

    Step 1 Test The Flood Illuminator

    Based on REWA exclusive repair tricks, let’s start with the Flood Illuminator. There are two important Face ID parts whose behavior relies on the support of the Flood Illuminator. In our daily repair work, we can test the Proximity Sensor and the Ambient Light Sensor to confirm whether the Flood Illunmunator is working normally.

    why is my face id not working

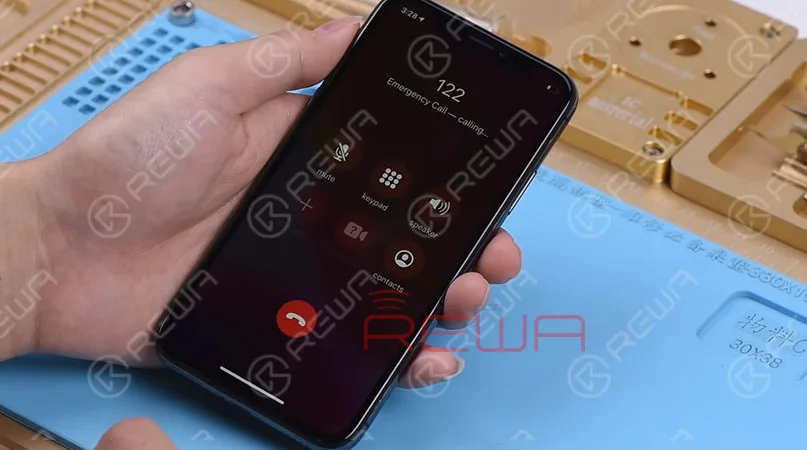
    Let’s make a phone call to confirm whether the Proximity Sensor is working.

    During the phone call, cover the top of the screen with one hand.

    We can see that the screen turns black immediately.

    Judging by this, the Proximity Sensor is working normally.

    how to fix face id

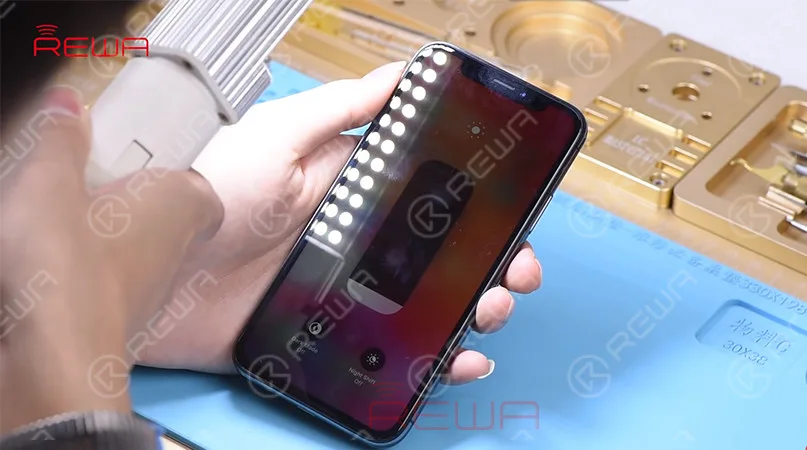
    Next, test the Ambient Light Sensor. Set the screen brightness to the lowest and then hold the phone under a bright light.

    With the screen getting brighter, we can confirm that the Ambient Light Sensor is also working normally. Judging by this, the Face ID failure is not caused by Flood Illuminator.

    my face id wont work

    Step 2 Test The Front Camera Parts

    Let’s move on to the next step of face id not working – test the front camera parts.

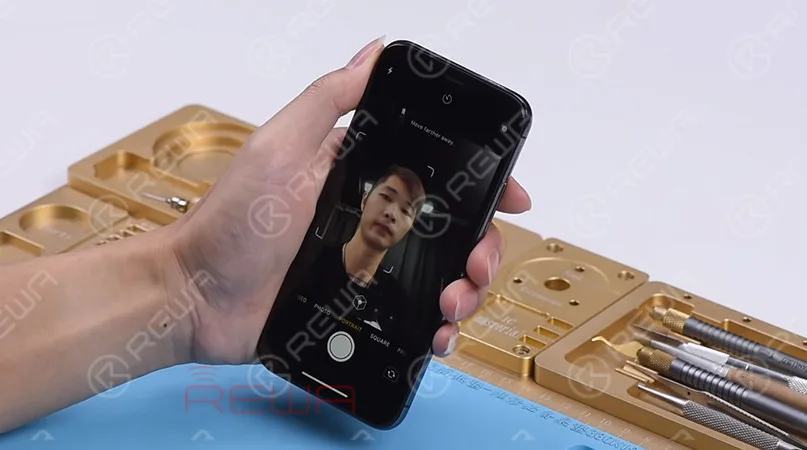
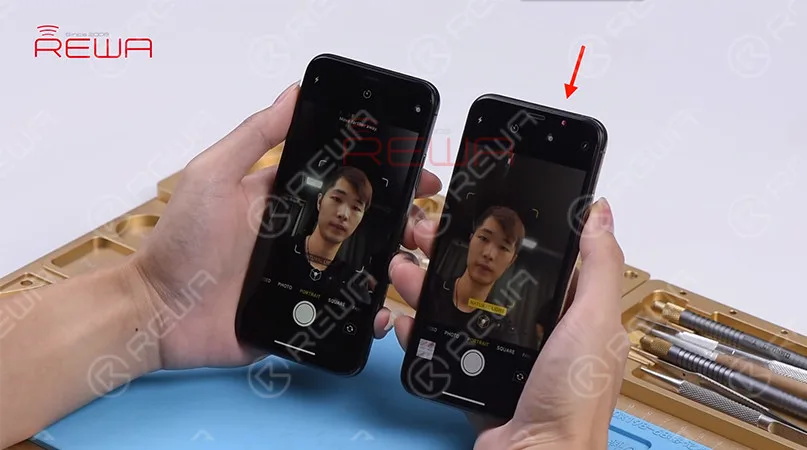
    Open the camera app and swipe to Portrait Mode. The background is not blurred, which is abnormal.

    why is face id not working

    Step 3 Observing The Dot Projector

    At the Portrait Mode, there is no flashing red light from the Dot Projector.

    But the Dot Projector should emit flashing red light in normal status.

    We can confirm now that the Dot Projector has malfunctioned.

    This is the fault that causes the Face ID to set up failure. And the problem cannot be fixed.

    why wont my face id work

    Tips:

    The three parts ( infrared camera, flood illuminator and dot projector) are paired to the phone. Damage of any one of them can cause Face ID failure and such an issue is irreparable.

    Right now, Face ID failure has become a common problem in our daily repair work.

    Whether the problem you are dealing with can be repaired or not is really an important thing for repair technicians.

    Don’t worry! REWA exclusive repair tricks on face id not working can be a great reference for repair technicians to find out faulty positions and improve repair efficiency.

    For details of this case, please check out the YouTube Video below.

    Wanna learn basic knowledge about iPhone motherboard, master iPhone micro-soldering techniques, understand the work-flow of different iPhone circuits, master troubleshooting processes of different iPhone issues, and learn detailed screen/back glass refurbishing steps?

    REWA Academy is a platform that provides repair technique learning, practical demonstration, and idea-sharing for practitioners in the electronic repair industry.

    You can also click the course link below to know more!

  • The Vulnerabilities of Face ID: Why Face ID Can Be Easily Damaged and Hardly Repaired?

    The Vulnerabilities of Face ID: Why Face ID Can Be Easily Damaged and Hardly Repaired?

    As a facial-recognition technology initially launched on iPhone X, Face ID has been applied to latest iPhones, including iPhone XS,XS Max and XR. With this amazing Face ID system, users can unlock their devices by scanning and confirming facial identity. Whether you are wearing a hat, putting on glasses or you are in the dark.

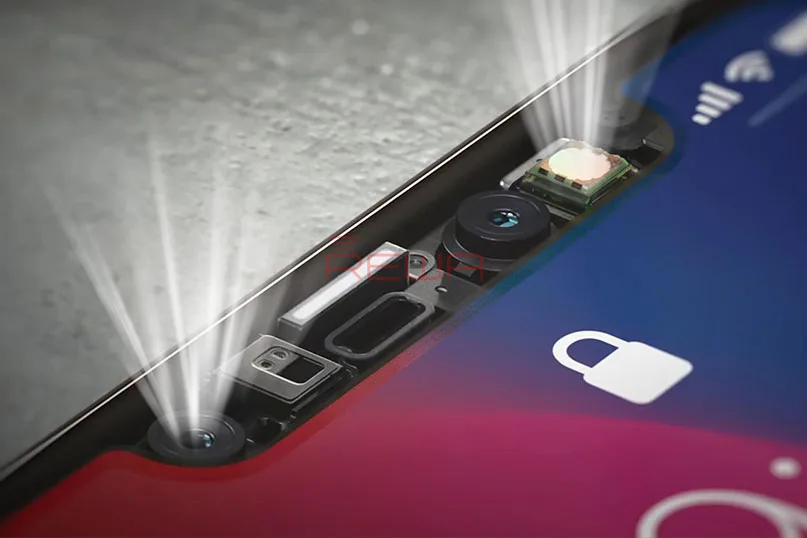
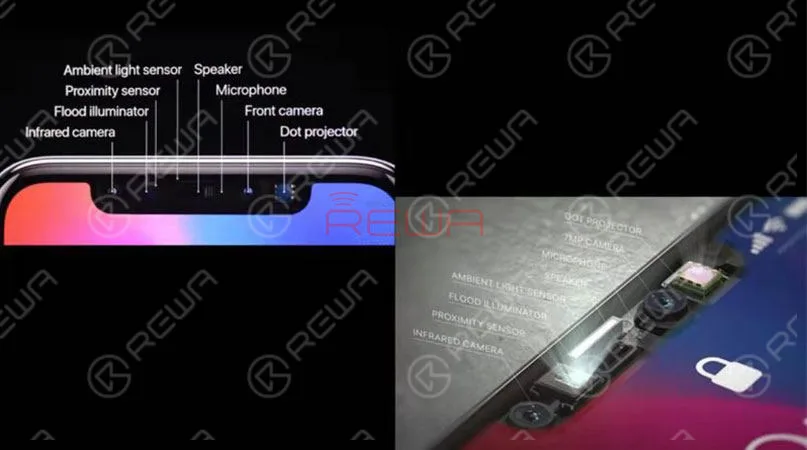
     There are 8 components packed into the front of the phone.   Infrared Camera   Flood Illuminator   Proximity Sensor   Ambient Light Sensor   Speaker   Microphone   Front Camera

    There are 8 components packed into the front of the phone.

    • Infrared Camera
    • Flood Illuminator
    • Proximity Sensor
    • Ambient Light Sensor
    • Speaker
    • Microphone
    • Front Camera

    Dot ProjectorThe infrared camera, the dot projector and the front camera are located on the back glass assembly. The flood illuminator, the proximity sensor, the ambient light sensor, the speaker and the microphone are located on the display assembly. Please be careful when disassembling or repairing the phone. Damage of any component will cause Face ID failure.

    Next, we will disassemble the flood illuminator module and the dot projector and find out the reason why Face ID can be so easily damaged.

     Next, we will disassemble the flood illuminator module and the dot projector and find out the reason why Face ID can be so easily damaged.

    Let’s disassemble the flood illuminator module first. Pry open the glass cover with a blade. We can see that there are many holes on the flood illuminator that are arranged in a matrix of 11×11. The chip is connected to the circuit board with the help of gold wires. Once water damaged, these holes can be blocked. And you will be faced up with Face ID failure.

    Let’s continue!

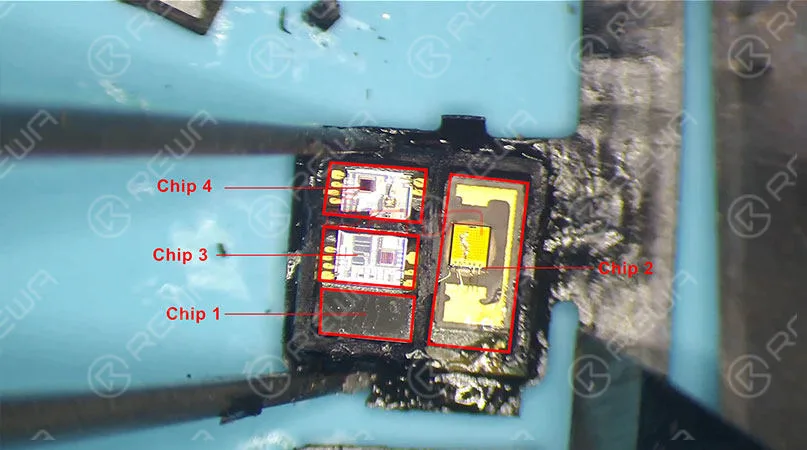
     Chip 1 is an unencrypted chip. Since some repair technicians have replaced it before, our guess is that chip 1 might be a boost chip or an EEPROM chip. So chip 2, chip 3, or chip 4 might be the encrypted chip. Still, due to the difficulty of replacing, no one has verified that. As you can see, with thousands of components integrated, the composition of the flood illuminator module is very precise.   Chip 2 is the flood illuminator.   Chip 3 and Chip 4 are proximity sensors that are responsible for receiving and transmitting respectively. The infrared light emitted from the two proximity sensors could be a single dot or a single set of dots. Independent of each other, the three chips are indispensable. And this is what you should know about the flood illuminator module.

    Chip 1 is an unencrypted chip. Since some repair technicians have replaced it before, our guess is that chip 1 might be a boost chip or an EEPROM chip. So chip 2, chip 3, or chip 4 might be the encrypted chip. Still, due to the difficulty of replacing, no one has verified that. As you can see, with thousands of components integrated, the composition of the flood illuminator module is very precise.

    Chip 2 is the flood illuminator

    Chip 3 and Chip 4 are proximity sensors that are responsible for receiving and transmitting respectively. The infrared light emitted from the two proximity sensors could be a single dot or a single set of dots. Independent of each other, the three chips are indispensable. And this is what you should know about the flood illuminator module. Let’s move on to the dot projector.

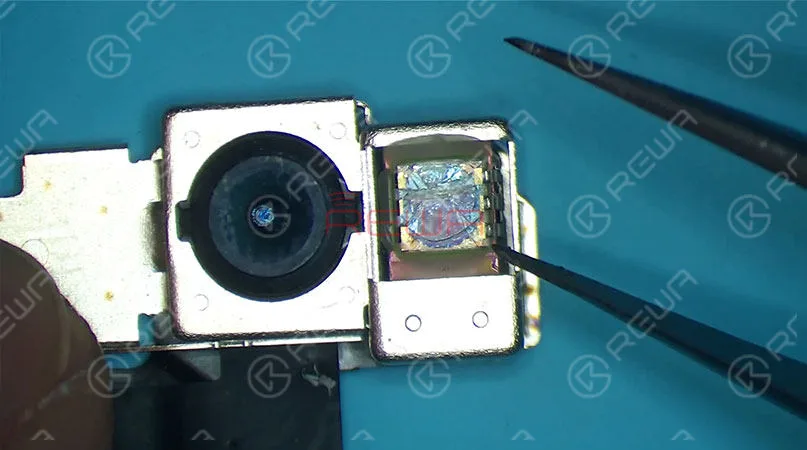
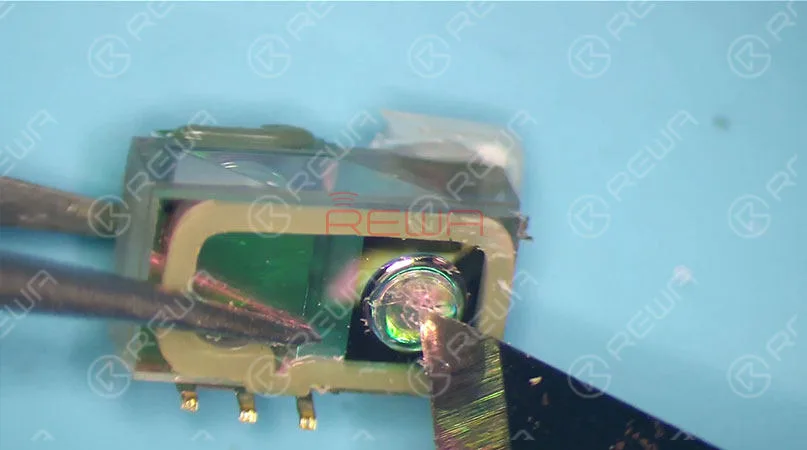
    The camera parts of iPhone X work in the same way as front cameras of other iPhone series. Now we will focus on the dot projector. The outer layer of the dot projector is sealed with resin and protected by metal welding techniques. Pay attention to these welding points.

    Easily Damaged And Hardly Repaired

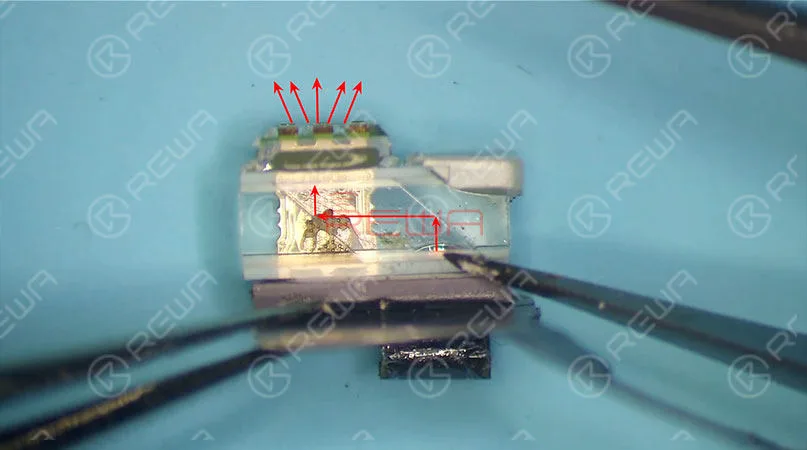
    They can easily fall off once the phone is dropped. And once off, they cannot be restored. When disassembling, we need to cut open the outer metal cover at first. Then heat with the Hot Air Gun and remove the resin with tweezers. Once the dot projector has been detached, we can see a crystal that looks just like a diamond lens. The infrared light is emitted from here. Then reflected by the crystal. Its projection range is determined by the lens afterwards.

     They can easily fall off once the phone is dropped. And once off, they cannot be restored. When disassembling, we need to cut open the outer metal cover at first. Then heat with the Hot Air Gun and remove the resin with tweezers. Once the dot projector has been detached, we can see a crystal that looks just like a diamond lens. The infrared light is emitted from here. Then reflected by the crystal. Its projection range is determined by the lens afterwards.

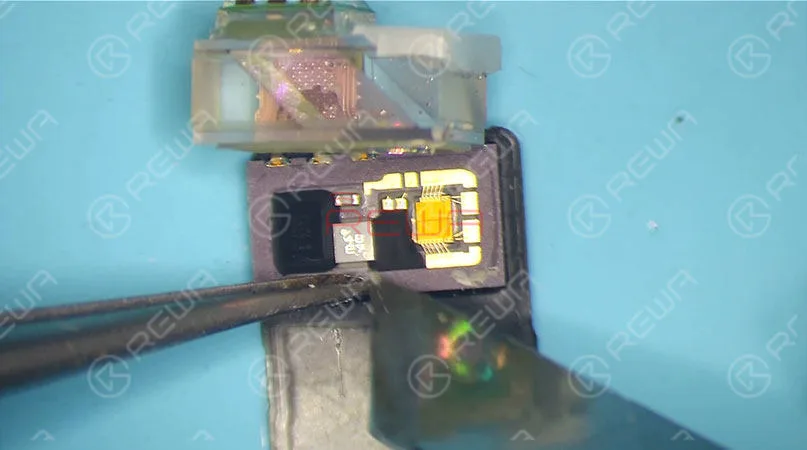
    Pry open the crystal, here we can see the complete internal structure of the dot projector.

    Pry open the crystal, here we can see the complete internal structure of the dot projector.

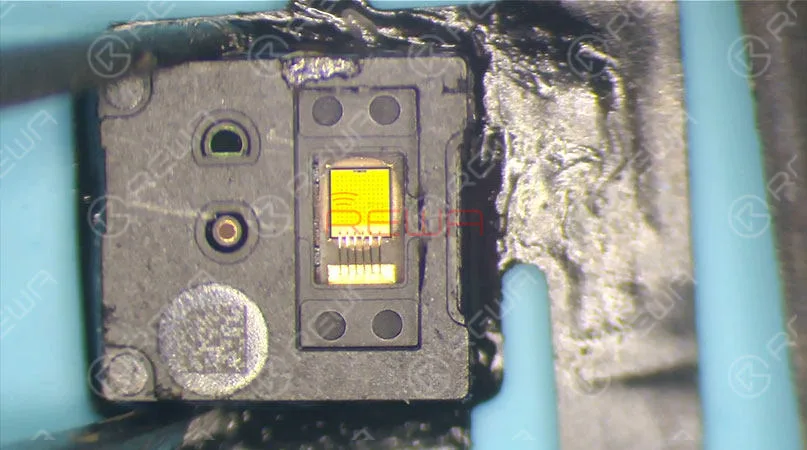
    The chip on the left is used to store data, whereas the chip on the right side acts just like a projector. We can see that there are thousands of dots arranged here. The infrared light is emitted from here. Since necessary power supply is needed for chip on the right side to work normally, once water damaged, circuits here are most likely to get short. Which can also result in Face ID not working. And please be noted that the chip is exposed without black adhesive seal. So it can be easily damaged once water-damaged or dropped. What’s more, it also can not be restored once damaged. And this is the internal structure of the dot projector. Let’s continue with the crystal part of the dot projector.

    The chip on the left is used to store data, whereas the chip on the right side acts just like a projector. We can see that there are thousands of dots arranged here. The infrared light is emitted from here. Since necessary power supply is needed for chip on the right side to work normally, once water damaged, circuits here are most likely to get short. Which can also result in Face ID not working. And please be noted that the chip is exposed without black adhesive seal. So it can be easily damaged once water-damaged or dropped. What’s more, it also can not be restored once damaged. And this is the internal structure of the dot projector. Let’s continue with the crystal part of the dot projector.

    We can see that there is a concave lens and a convex lens on the crystal. And the two are made of glass. Once dropped, Face ID can also be affected.

    Judging by what we have learned during the disassembling, main circuits of the Face ID are exposed. Once water damaged or exposed to a relatively humid environment, there might be electricity leakage or short-circuit problem that can result in Face ID failure. What’s more, most of the Face ID parts are made of glass. Once dropped, Face ID is most likely to be unavailable.

     We can see that there is a concave lens and a convex lens on the crystal. And the two are made of glass. Once dropped, Face ID can also be affected.  Judging by what we have learned during the disassembling, main circuits of the Face ID are exposed. Once water damaged or exposed to a relatively humid environment, there might be electricity leakage or short-circuit problem that can result in Face ID failure. What’s more, most of the Face ID parts are made of glass. Once dropped, Face ID is most likely to be unavailable.

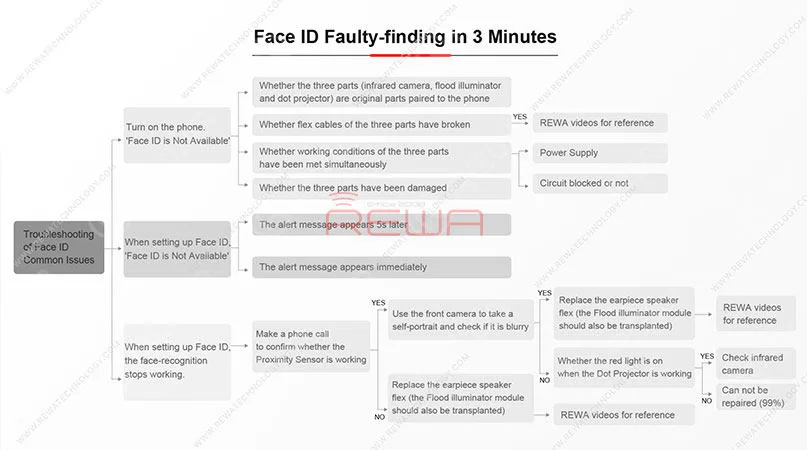
    In summary, Face ID can be easily damaged and hard to be restored. Therefore, please be very careful in daily use. Make sure the phone is protected from water-damage or heavy falling. Repair technicians must exercise caution when repairing the logic board or replacing the display assembly. Also, for those in need, we have summarized repair experience of REWA repair technicians and hereby present you the following troubleshooting guide on common Face ID failure.

    Here is the detailed video for your reference.

    When repairing iPhone logic boards, we identify the issue first, find out why it occurred next, and figure out how to fix it in the end. This is a general process adopted by professional repair technicians around the world.

    Wanna be a professional repair technician and handle iPhone tough repair? You need systematic training courses on REWA Academy.