Tag: iphone 7 repair

  • Tips For iPhone 7 No Service Issue Troubleshooting

    Tips For iPhone 7 No Service Issue Troubleshooting

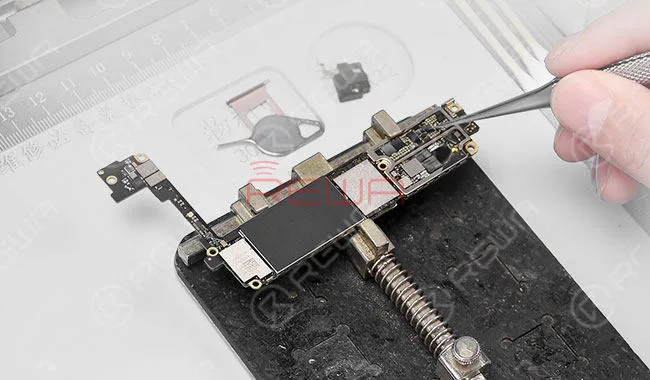
    Apple announced its iPhone 7 Repair Program for “No Service” Issues last year. And REWA repair technicians have confirmed that the No Service problem is caused by a PCB defect. The general repair thought is to find out the faulty component by ruling out possible causes one by one. However, an experienced repair technician confirms the version of the logic board at the very beginning. Therefore, the faulty component can be located quickly and the repair time saved.

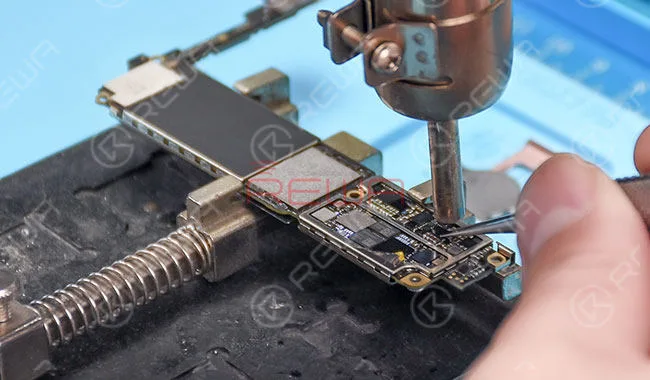
    iPhone 7 No Service is mainly caused by two reasons. The baseband PMU has been pseudo soldered. Or, the baseband CPU has shorted. For pseudo soldering problem, we can fix it by re-soldering the baseband PMU. As for the shorted problem, since the baseband CPU cannot be replaced alone, we need to replace CPU, baseband CPU, and baseband PMU at the same time or directly replace the logic board.

    Follow our iPhone 7 No Service due to the shorted baseband CPU repair case today and learn how to locate the faulty component quickly by analyzing the fault at the very beginning to save your time.

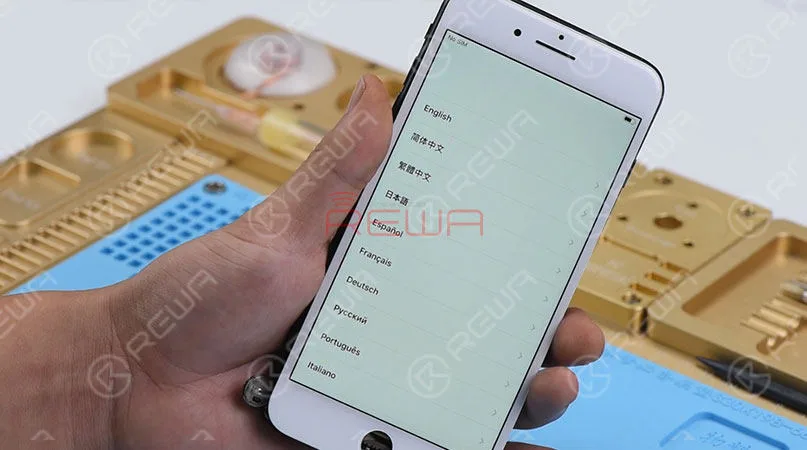
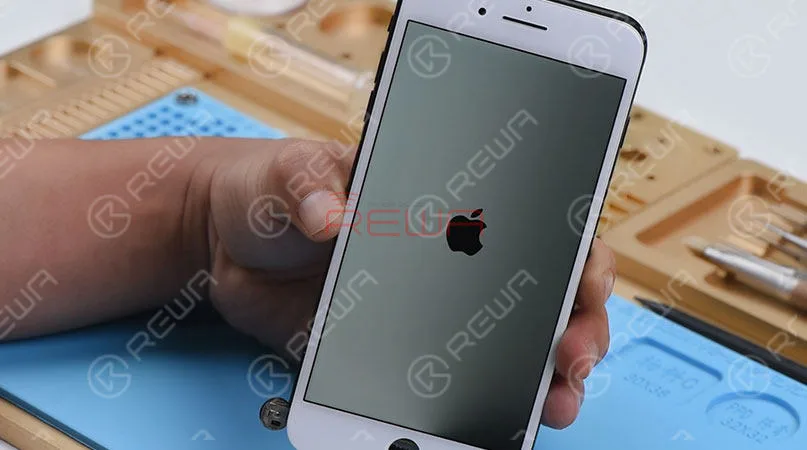
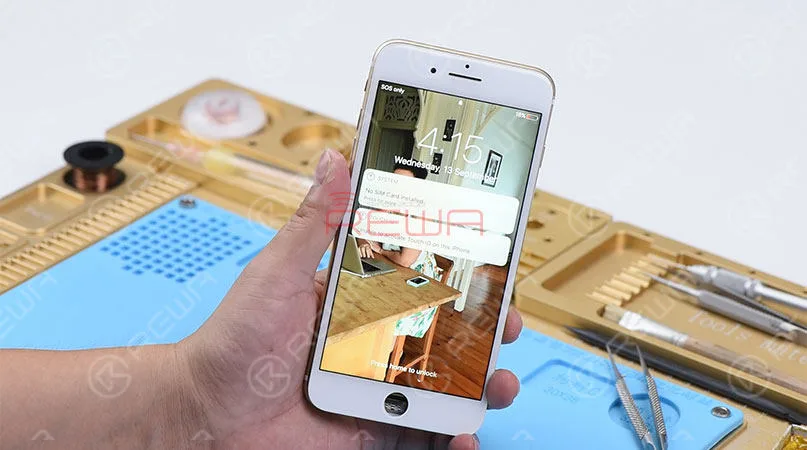
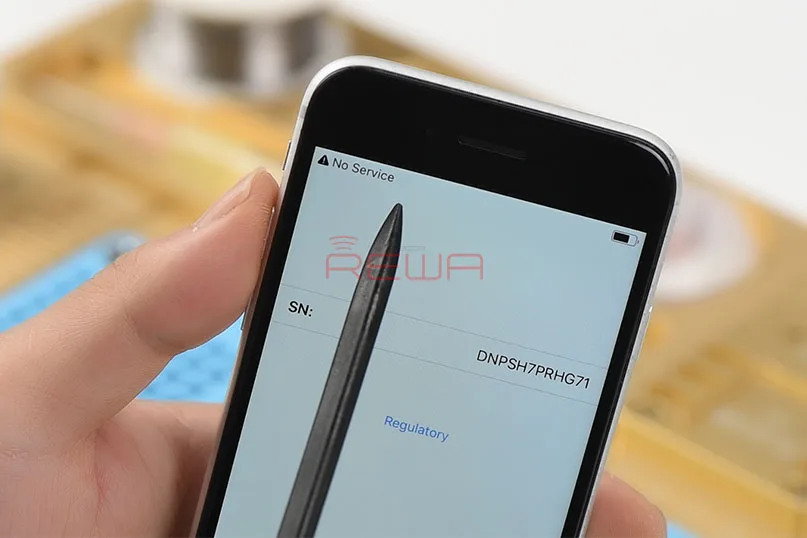
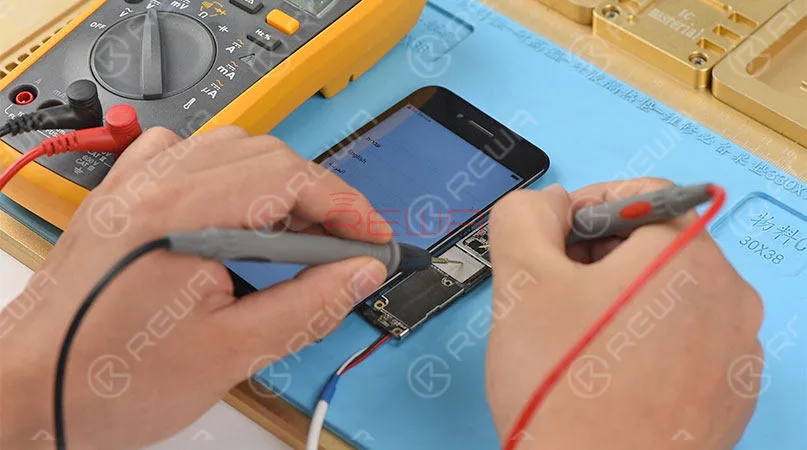
    Hold the power button to turn on the phone. We can see that the serial number displays normally on the screen while there is no IMEI number on the screen. The phone shows a No Service error in the upper-left corner. Judging by this, the baseband circuit has malfunctioned. Next, we will show you two different repair thoughts on this issue.
    Tips For iPhone 7 No Service Issue Troubleshooting

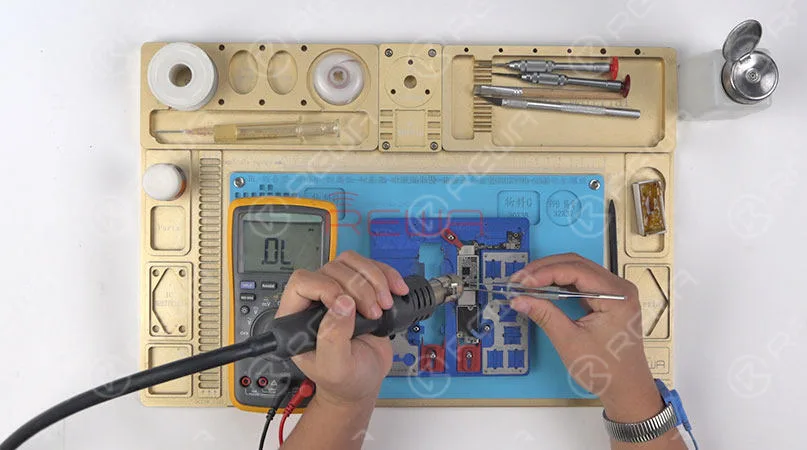
    The traditional thought is to measure the power supply of baseband PMU first to locate the defect – faulty area. There is no voltage value measured on C5630 and C5730. Which indicates that the power supply of baseband PMU is abnormal. Continue to run diode mode measurement of C5630 and C5703. The result states that C5630 and C5703 have shorted to ground.

    AS the circuit related to C5630 and C5703 consists of the baseband PMU, the baseband CPU and multiple filter capacitors. To find out the faulty component, we need to rule out one by one.
    Tips For iPhone 7 No Service Issue Troubleshooting

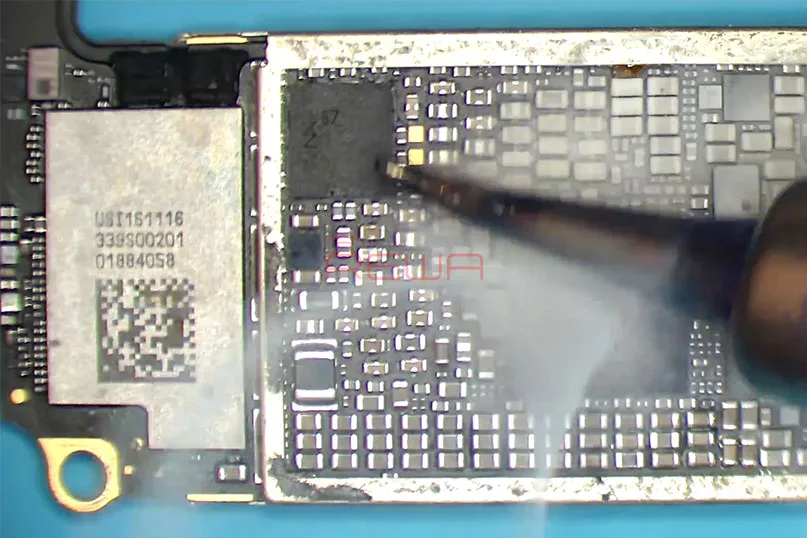
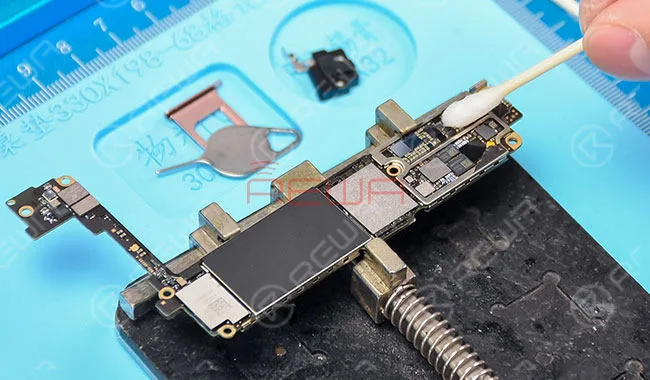
    Remove the baseband PMU. Run diode mode measurement of C5630 again and we find that C5630 has shorted to ground. Which indicates that the baseband PMU is not the faulty component. Continue to remove filter capacitors on the circuit with Hot Air Gun and run diode mode measurement of C5630’s bonding pad. The measured value indicates a shorted condition. So these filter capacitors also have nothing to do with the fault. Remove the baseband CPU and run diode mode measurement of the detached chip. The baseband CPU has shorted. Since the baseband CPU cannot be replaced once damaged, there is no need to proceed with the repair.

    Costing technicians 35 minutes or so, steps above end up with an unrepairable result. Which is unworthy for a technician. So next we will introduce you with a new way to locate the defect within 2 minutes according to our REWA experienced technician. So next, we will introduce a new way, which is presented by REWA experienced technicians, to locate the faulty component within 2 minutes.
    Tips For iPhone 7 No Service Issue Troubleshooting

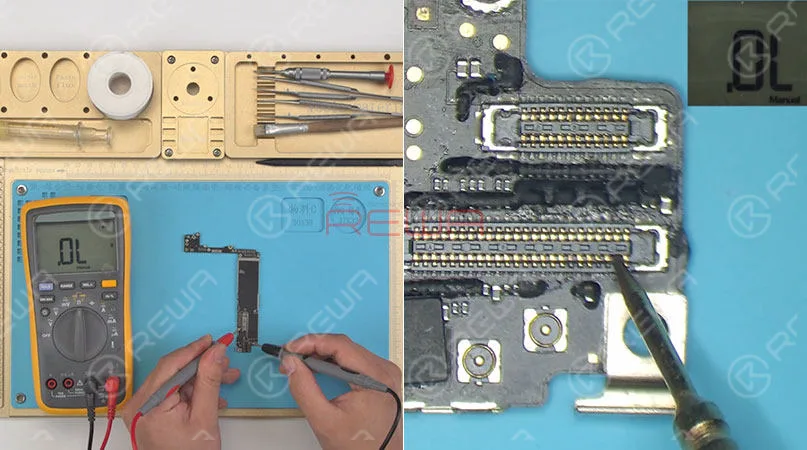
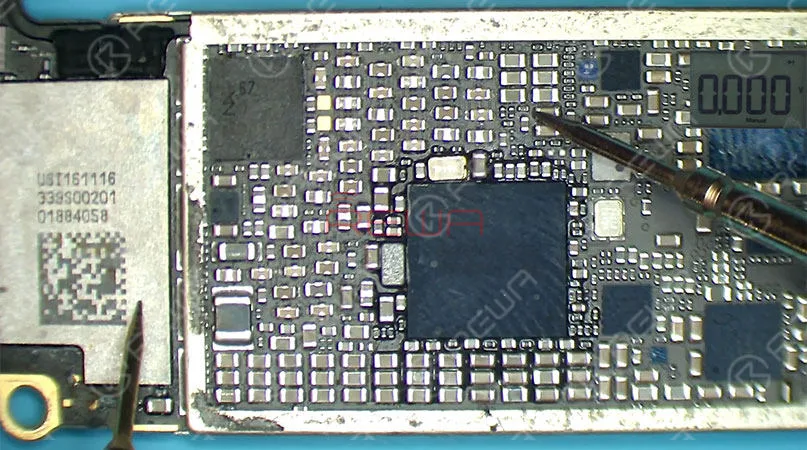
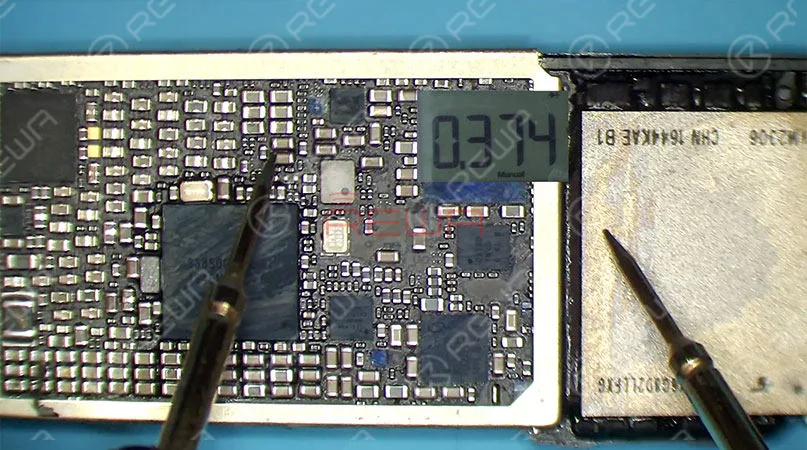
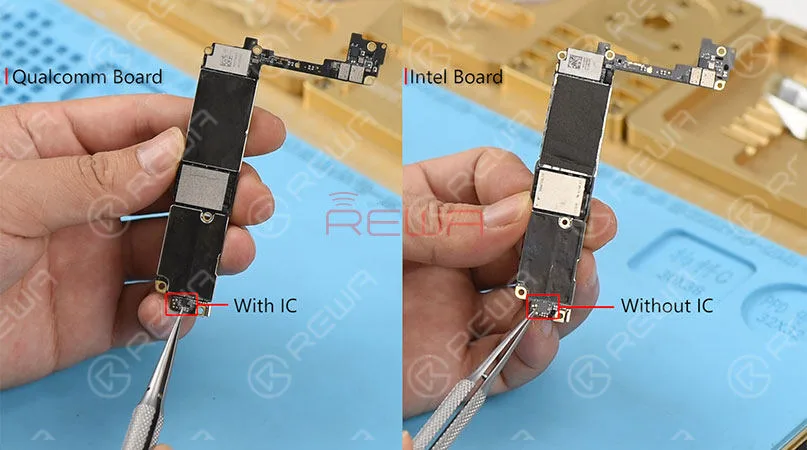
    First, confirm the version of the logic board. This is a Qualcomm version logic board. Run diode mode measurement of C5630 or C5703, The measured value is 0, which indicates that the baseband CPU has shorted. In this case, there is no need to proceed with the repair.

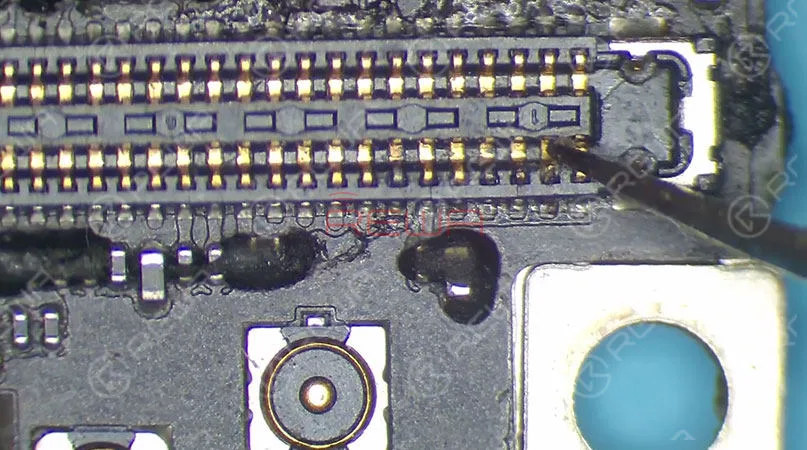
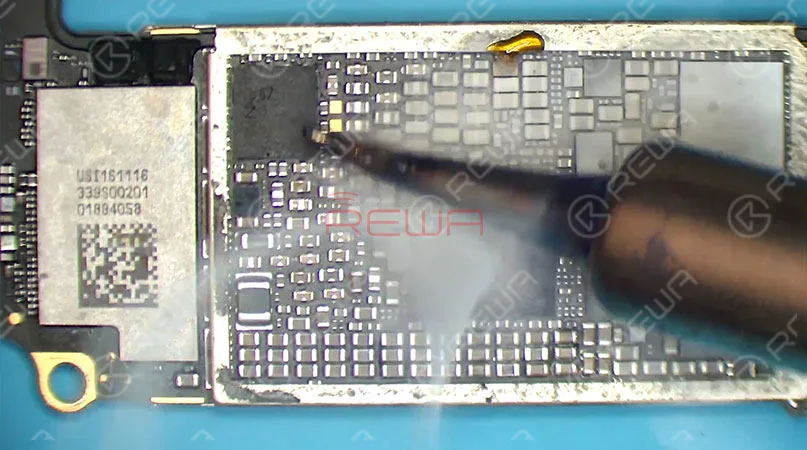
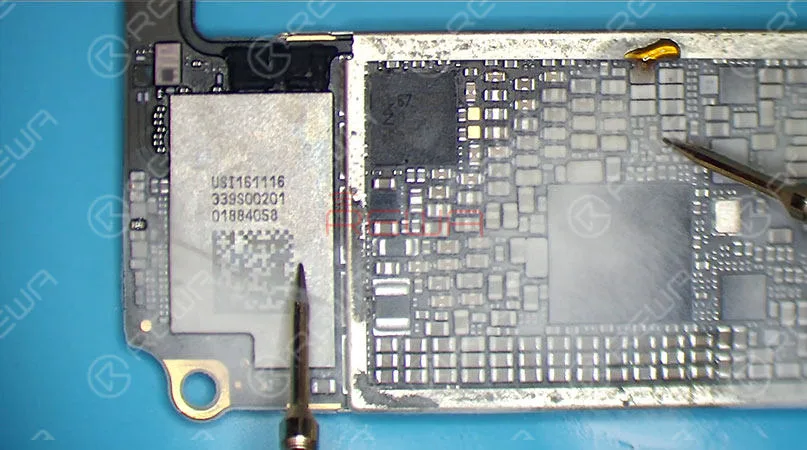
    Here is the question you may wonder about. “How do you know that the baseband CPU has shorted based on the measured value?” As we mentioned above, Apple announced its iPhone 7 repair program for “No Service” issue last year. And REWA repair technicians have confirmed that the No service problem is caused by a PCB defect. Due to the PCB design defect of iPhone 7 Qualcomm logic board, bonding pads of Pin 93 and Pin 98 of baseband PMU are easy to fall off. Which results in the abnormal voltage and large current folwing outputted from the baseband PMU to the baseband CPU. In this case, there is no need to proceed with the repair. You can just replace the logic board. For details, please visit:

    For the tools used in video please go to REWA store to order if you need it.
  • iPhone 7 Plus Half Backlight/Dim Screen Repair

    iPhone 7 Plus Half Backlight/Dim Screen Repair

    Backlight issues, including no backlight, dim backlight, half backlight, or iPhone won’t turn on etc., are commonly seen in iPhone repair for a repairman. Here we will introduce the repair case of iPhone 7 Plus half backlight issue due to pseudo soldering of the display connector and the related backlight circuit. Hope to enlighten you on this subject.

    For mobile phone logic board repair, cosmetic inspection always comes to the first. Check the logic board carefully, there is no deformation nor signs of water damage.

    iPhone 7 Plus Half Backlight/Dim Screen Repair

    Next, let’s assemble the phone and test. Get the logic board and display assembly installed. Connect the battery and press power button. The screen lights up and Apple logo appears. We can see with naked eyes that the right side of the screen is darker than the left side. Judging by this, the fault might be related to the backlight circuit.

    the fault might be related to the backlight circuit

    Take apart the phone and remove the display assembly. Take out the logic board. Run diode mode measurement of backlight relevant pins on the display connector J4502. The measured value of Pin 45 is OL, which is abnormal. A normal value should be around 450.

    Take out the logic board

    Check with schematics, you will see the voltage outputted from the backlight IC U4601 reaches Pin 45 of J4502 by way of C4602, FL4601 and C4605. So continue to run diode mode measurement of C4602. The measured value is normal. Judging by this, the abnormal value of Pin 45 is probably caused by open-circuited condition of its relevant circuit or malfunction of the display connector J4502. Check J4502 carefully and we find that Pin 45 has been pseudo soldered.

    Pin 45 has been pseudo soldered

    To further confirm the faulty position, desolder the J4502 from the logic board. To desolder the connector, first stick High-Temperature Tape on components around for protection. Then apply some Paste Flux to J4502 and remove J4502 with 858D Hot Air Gun afterward.

    J4502 from the logic board

    After the removing of connector, we get access to measure the diode value of Pin 45 on the bonding pad. The measured value is normal.

    The measured value is normal.

    As of now, we can confirm that the fault is related to J4502. We can fix the problem by replacing with a new display connector. Next, heat with 858D Hot Air Gun. Clean the bonding pad with rosin soaked Solder Wick. And clean with PCB Cleaner afterwards. Apply some Paste Flux to the bonding pad. Get a new display connector in position and solder with 858D Hot Air Gun. Next, secure the four sides with Solder Paste for successful soldering. Once done, clean with PCB Cleaner.

     Once done, clean with PCB Cleaner.

    Now we can assemble the phone and test. Get the logic board and display assembly installed. Connect the battery and press power button to power on. The phone turns on normally. The screen is also back to normal. Fault cleared.

     Connect the battery and press power button to power on

    Warm tips: get the phone full assembled after confirmation of fault clearance.

    Tools used in the video. You can also find more great buys on the REWA Online Store.

  • Find The Faulty Component With Rosin – iPhone 7 Plus Won’t Turn On

    Find The Faulty Component With Rosin – iPhone 7 Plus Won’t Turn On

    As we all know, when supplying the short-circuited logic board with power, faulty components on it will get hot. For logic board bearing significant fever, we can locate the faulty component quickly and precisely with ‘rosin detecting’ method.For more detailed application, check our video today and we will show you how to fix iPhone 7 Plus won’t turn on after water damage issue with ‘rosin detecting’.

    First, run cosmetic inspection of the logic board, the logic board is not deformed. Yet areas around the WiFi module bear obvious signs of water damage, and we can see clearly that the water damage indicator is red.

    iPhone 7 Plus Won't Turn On

    First, let’s clean moldy area on the logic board with PCB Cleaner

    iPhone 7 Plus Won't Turn On

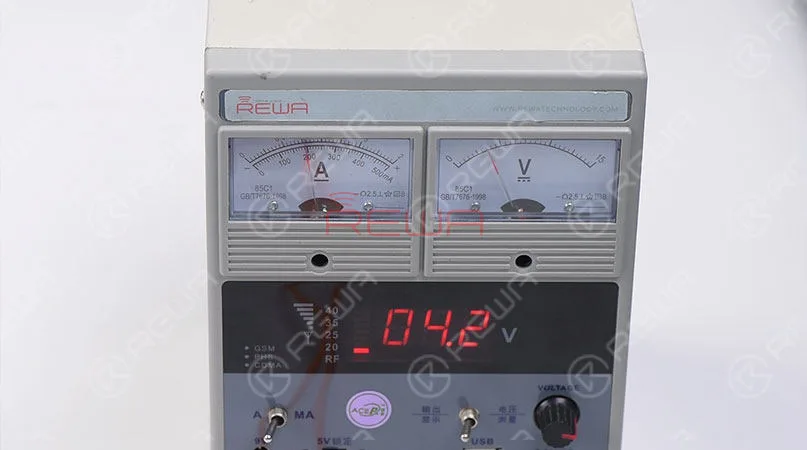
    Then, connect the logic board with the Power Supplier, and press power button on the Power Supplier to power on. Current reading on the ammeter is larger than normal value, Judging by the current reading on the ammeter, one rail of power supply of the logic board might have been short-circuited.

    iPhone 7 Plus Won't Turn On

    Run diode mode measurement of the two rails of main power supply PP_BATT_VCC and PP_VDD_MAIN first. Judging by the measured value, the two are in normal condition.

    Next, we need to check several rails of power supply outputted from PMU, run diode mode measurement of capacitors on these power supply circuits. The measured value of C2302 and C2308 on PP_VDD_BOOST is 0, which is abnormal. So PP_VDD_BOOST has been short-circuited to ground. There are multiple associated components on PP_VDD_BOOST, PMU U1801, U3101, U2501, U3001, U3702 and several filter capacitors.

    iPhone 7 Plus Won't Turn On

    Since there are so many components on the circuit, we can confirm the fault component with ‘rosin detecting’. Dip some rosin with Soldering Iron, and smoke rosin on relevant components.

    iPhone 7 Plus Won't Turn On

    Then, connect the two test leads of the Multimeter with DC Power Supply, set voltage of the DC Power Supply to 3V, get the black lead grounded, meanwhile, get the red lead touched with Pin 1 of C2308, rosin on C3002 melts immediately.

    Judging by this, the short-circuited condition is caused by damage of C3002. Since C3002 is a filter capacitor, we can fix the problem by detaching it from the board.

    iPhone 7 Plus Won't Turn On

    Remove C3002 with Hot Air Gun, wait for the logic board to cool for 5 minutes, then clean with PCB Cleaner afterward. Continue to run diode mode measurement of C2308, the measured value is normal.

    iPhone 7 Plus Won't Turn On

    Then connect the logic board with the Power Supplier and press power button on the Power Supplier to power on. Current reading on the ammeter is normal this time.

    iPhone 7 Plus Won't Turn On

    Now we can assemble the phone and test, get the logic board and display assembly installed, connect the battery and press power button, the phone turns on normally, fault cleared.

    Warm tips: get the phone full assembled after confirmation of fault clearance.

    iPhone 7 Plus Won't Turn On

    The above is the detailed steps of iPhone 7 Plus won’t turn on repair – find the faulty component with rosin. Is it hard to understand or feel not clearly? Don’t worry, we also have the video for it. Click to watch the video below. Any questions or suggestions please don’t hesitate to tell us by comment below. REWA will try to answer you in time.
    Attaching the tools list used in the video, welcome to inquire sales@rewatechnology.com. More replacement parts and repair tools please go our online shop to get.

  • A New Way to Repair iPhone 7/7Plus Home Button

    A New Way to Repair iPhone 7/7Plus Home Button

    The iPhone 7 home button will only work with the original home button that it was shipped with; if it breaks and needs to be replaced, it means that replaced home button would be a non-functional home button. No Touch ID and no return-to-home functionality. Don’t worry. Use our customized charging port flex cable to restore the return-to-home function of your home button. Also, if you have met the issue about iPhone 7 touch ID, please check our iPhone 7 Broken Touch ID Hardware Fixed tutorial.

    Let’s see how it works

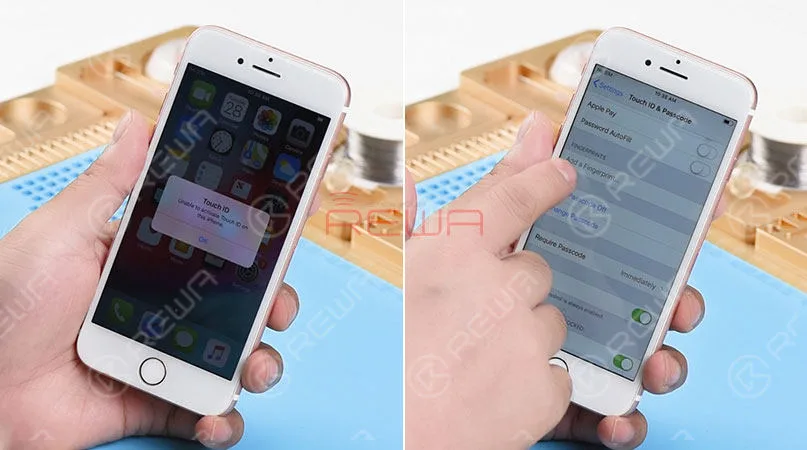
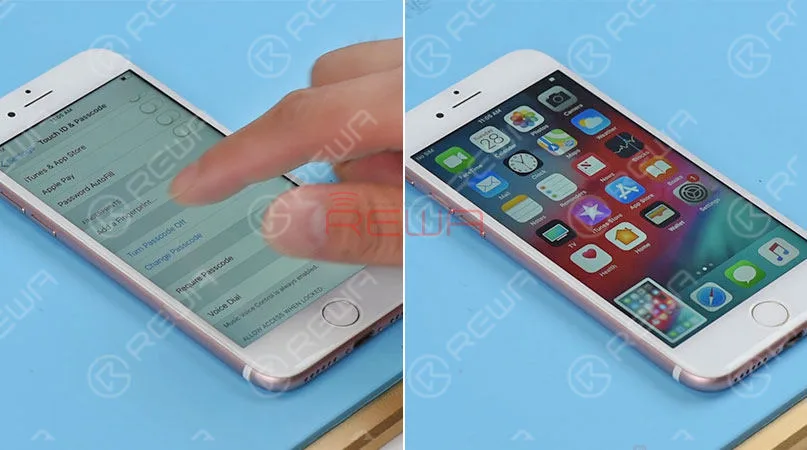
    We got an iPhone 7 that powers on with “Unable to activate Touch ID on this iPhone” alert. Press the home button. And no Return-to-home functionality either. Go to Settings>Touch ID & Passcode. The“Add a fingerprint’ is grayed out. The home button of this iPhone 7 is totally damaged.

    A New Way to Repair iPhone 7/7Plus Home Button

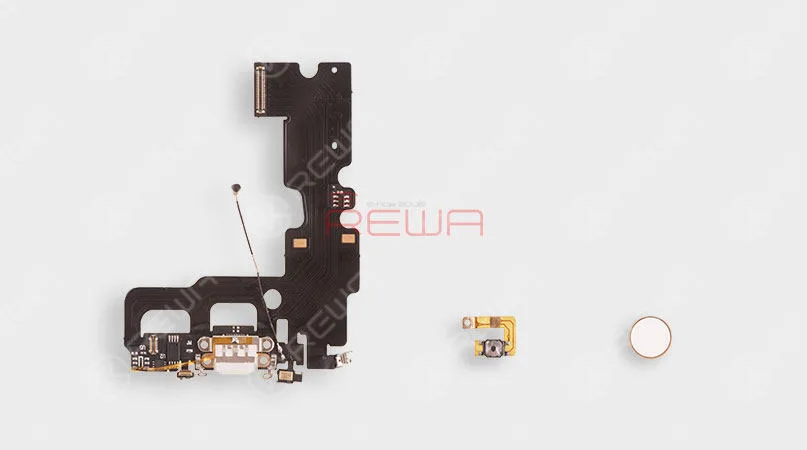
    Here comes our customized charging port flex cable that can restore return-to-home functionality of the home button.

    A New Way to Repair iPhone 7/7Plus Home Button

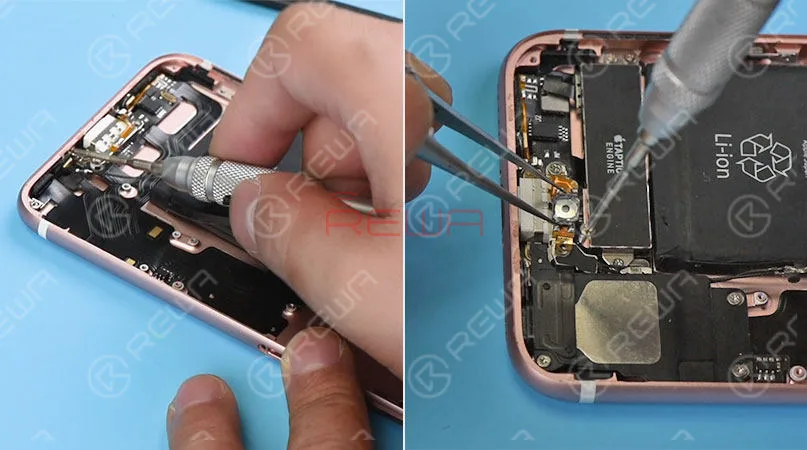
    To get the home button repaired, we need to disassemble the phone. First, remove the display assembly and take out the logic board. Then remove the Vibrator, Loudspeaker, and charging port flex cable.

    Replaced it with our new customized charging port flex cable. And then install the Vibrator and Loudspeaker. Here comes the second part – the customized Home Button Flex cable. Folded it in half and get it installed. Then get the logic board in the place and installed.

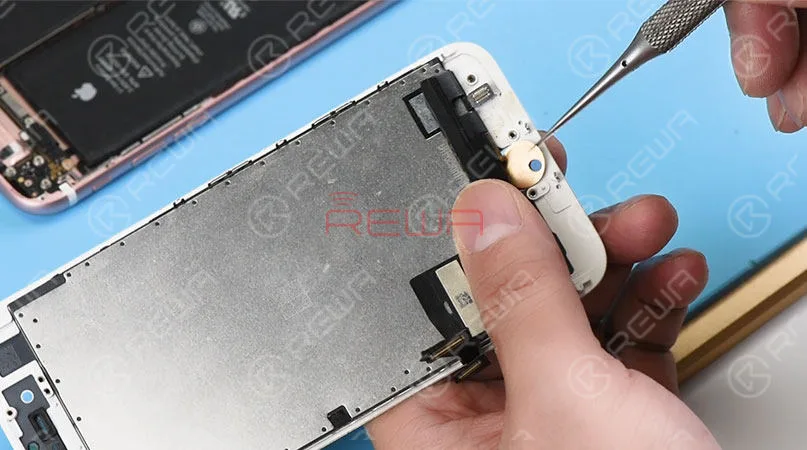
    The last part of our customized return-to-home group is the home button face. Therefore, the next thing we do is to install it in the home button hole. Then connect the logic board with display assembly.

    A New Way to Repair iPhone 7/7Plus Home Button
    A New Way to Repair iPhone 7/7Plus Home Button

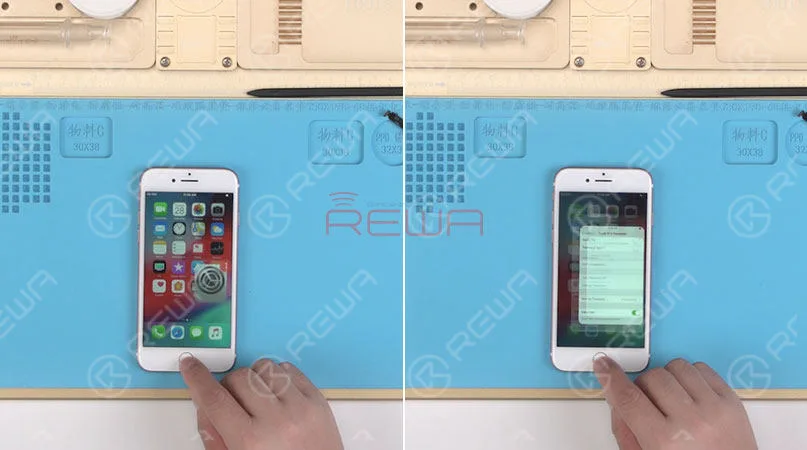
    Connect the battery connector to the logic board. And turn on the phone. Press the home button, The Return-to-home functionality is back to normal. Fully install the phone. And the Home button matches perfectly with the phone. Press the Power button and the home button at the same time. A screenshot can be taken successfully. As we test the functions, our engineers find out some defects of this customized charging port flex cable.

    1. The lightning earphone is not available. We can’t here voice with the earphone plugged-in.

    2. The hand feel of the home button is not so comfortable as the original.

    3.  No vibrate alert when returning to home.

    4. Touch ID function is not available.All these shortages cannot offer enough motivations for you to use it. However, we believe this technology would perfect as you expected in the near future. Let’s be patient and wait for it to be maturer.
    A New Way to Repair iPhone 7/7Plus Home Button
    A New Way to Repair iPhone 7/7Plus Home Button

    Attaching the iPhone 7 Home Button Broken Repair video for you for more details. As well as the tools listing used in the video. You can go to our online store shop.rewa.tech to order or need assistance placing your order, email sales@rewatechnology.com and we will help you with whatever you need.

    Tools & Parts Used

    *Charging Port Flex Cable Replacement

    *Integrated Mobile Phone Repair Platform

    *Anti-static Plastic Pry Bar

    *Straight Tweezer

    Visit our online shop for more parts and tools.

    Now the upgraded version is coming with the following features:

    Restore return-to-home function

    Support PD fast charging

    Support different type of charger adapters from 0.5A-2.4A

    Be able to take screenshots on all iOS versions

    More comfortable touch feeling

    Though the headphone function is still unsolved, a wireless Bluetooth headset can be an alternative. So will you replace your broken home button with these upgraded parts?

    When repairing iPhone logic boards, we identify the issue first, find out why it occurred next, and figure out how to fix it in the end. This is a general process adopted by professional repair technicians around the world.

    Wanna be a professional repair technician and handle iPhone tough repair? You need systematic training courses on REWA Academy

  • Cool Gadget: Repair Your iPhone 7 Home Button Return Function

    Cool Gadget: Repair Your iPhone 7 Home Button Return Function

    Home button of iPhone 7 can be paired only with one specific logic board,which means that home button replacement will result in a non-functional home button. No Touch ID and no return-to-home functionality.Thus, most of the iPhone 7 home button not working issue can not be repaired properly for a long time. Don’t worry. With our customized charging flex cable, return-to-home functionality of the home button can be successfully restored. Let’s check the video to see how to fix your iPhone 7 home button.

    Tools & Parts:

    • Customized Charging Port Flex Cable
    • Integrated Mobile Phone Repair Platform
    • Anti-static Plastic Pry Bar
    • Straight Tweezer
  • iPhone 7 Black Screen Repair – Logic Board Solution

    iPhone 7 Black Screen Repair – Logic Board Solution

    iPhone 7 starts up with a black screen or no display, yet the boot current is normal. Screen replacing also cannot solve the problem. We can draw the conclusion that the logic board backlight circuit broke down. REWA offers a logic board solution regarding the iPhone 7 black screen issue (iPhone 7 home button not working).

    iPhone 7 Black Screen Repair - Logic Board Solution

    iPhone 7 Black Screen Repair – Logic Board Solution Power key power up, the phone shows no response.

    iPhone 7 Black Screen Repair - Logic Board Solution Power key power up, the phone shows no response.

    Take apart the phone and disconnect the battery. Connect the phone with the DC Power Supply. Booting current displays normally, yet the phone goes with no display.

     Take apart the phone and disconnect the battery. Connect the phone with the DC Power Supply. Booting current displays normally, yet the phone goes with no display.

    Disconnect the power supply and detach the display assembly. Replace with a new display assembly. Connect the phone with the DC Power Supply and power up. The phone still goes with no display

    Disconnect the power supply and detach the display assembly. Replace with a new display assembly. Connect the phone with the DC Power Supply and power up. The phone still goes with no display

    Preliminary judgment – backlight circuit of the logic board broke down

    Take out the logic board. The test grounding resistance value of J4502 – normal value. Which shows that backlight circuit is also normal. Yet backlight signal is connected directly with backlight IC U3701.

    Take out the logic board. The test grounding resistance value of J4502 - normal value. Which shows that backlight circuit is also normal. Yet backlight signal is connected directly with backlight IC U3701.

    Preliminary judgment – backlight IC U3701 broke down

    Apply some BGA Paste Flux, take down the backlight IC with Hot Air Gun at 320 degrees.

    Apply some BGA Paste Flux, take down the backlight IC with Hot Air Gun at 320 degrees.

    Clean the tins with Soldering Iron and then clean again with PCB Cleaner.

    Clean the tins with Soldering Iron and then clean again with PCB Cleaner

    Apply some BGA Paste Flux. Align the backlight IC to the right place and solder it with Hot Air Gun at 320 degrees.

    Apply some BGA Paste Flux. Align the backlight IC to the right place and solder it with Hot Air Gun at 320 degrees.

    Once the logic board is cooling enough, clean it with PCB Cleaner.

    Once the logic board is cooling enough, clean it with PCB Cleaner.

    Assemble the phone and test. The phone boots normally with screen display—fault cleared.
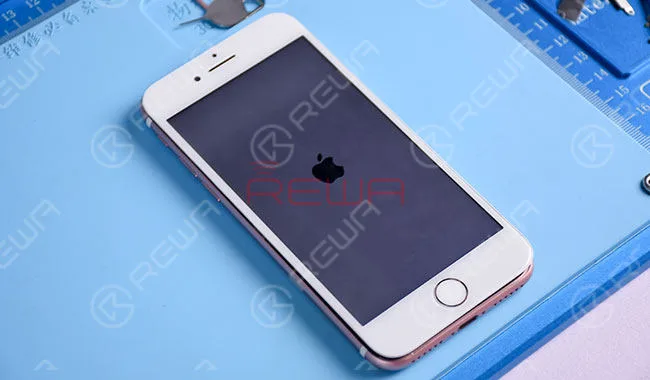
    Assemble the phone and test. The phone boots normally with screen display—fault cleared

    For more details on iPhone 7 Black Screen Repair guide, please go to REWA YouTube channel.

    Necessary Parts and Tools

    • PCIE NAND Flash Memory Chip Programmer
    • 256 GB NAND Flash Memory Chip – iPhone 7 Plus
    • Soldering Iron Hot Air Gun
    • BGA Paste Flux
    • PCB Holder
    • Anti-static Wrist Strap
    • Screw Drivers
    • LCD Opening Pliers (M)
    • Tweezers (ESD – 10 / ESD – 15)
  • How To Repair iPhone 7 Touch Screen Not Working

    How To Repair iPhone 7 Touch Screen Not Working

    It’s natural to feel frustrated when your iPhone 7 touch screen is not working. You can’t use your iPhone for many things such as making calls, through pictures, read news or chat by social networks…iPhone (especially iPhone 6/6S/7/7 Plus) touch screen not working is a common repair issue for Apple users,and there are many reasons for the iPhone screen unresponsive to touch and iPhone screen not responding. REWA here presents a chip level repair solution video steps to fix your iPhone screen not responding, that can be fixed at home, and recommend some great repair options, if it comes to that.

    Why is my iPhone Touch screen not responding?

    There are a lot of reasons why your iPhone touch screen unresponsive to touch. Thankfully, there are also a lot of ways to fix those problems. The first thing we need to do is figure out why your iPhone touch screen. Usually, the problem is caused when the physical part of your iPhone’s display that processes touch stops working correctly or when your iPhone’s software stops “talking” to the hardware the way it should. In other words, it could be a hardware or a software problem. Troubleshooting iPhone software problems typically doesn’t cost anything. It’s also easier than prying off your screen with suction cups (please don’t do this). But Rewa is focused on hardware fixes.

    There are steps to teach you How to repair iPhone 7 touch screen not working:

    1. Phone Disassembling

    Turn on the phone, the touch function is incapacitated. Remove charging port screws and detach the display assembly. Disconnect flex cables and remove logic board screws. Then take out the logic board.

    2. Malfunction Diagnosing

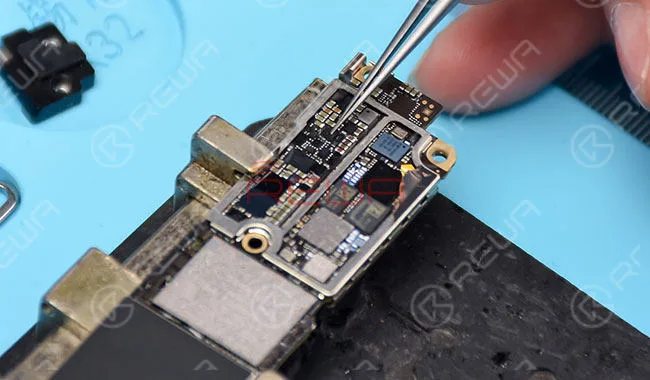
    Test resistance of the display assembly connector with digital multimeter. Resistance of pin 10 displays abnormal value (470 under normal circumstances).

    Roll out the maintenance drawing for reference.

    Pin 10 worked as AP_TO _TOUCH _MAMBA _CONN _L signal. The signal was connected with CPU AT2 pin via inductor FL3904.

    Circuit between pin 10 and inductor FL3904 displays normally.

    Test resistance from inductor FL3904 to CPU, the device displays normal value. Then we can draw the conclusion that inductor FL3904 was damaged.

    3. Malfunction Repairing

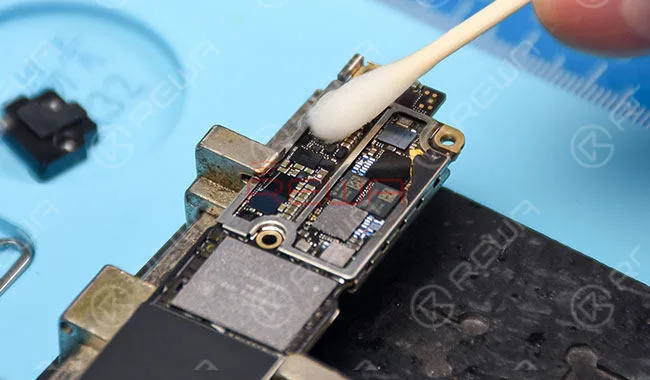
    Take down the inductor with soldering iron.

    Solder tins on the copper wire. After that, connect the two bonding pads of the inductor with the copper wire. Then cut off the rest of it with a sculpture knife.

    Test pin 10 resistance with digital multimeter again, this time we get a normal value, which means the problem has been fixed.

    4. Function Testing

    Clean the bonding pad with PCB cleaner.

    Assemble the phone and test. Touch function is back to normal.

    For more details on iPhone 7 touch screen not working repair guide, please go to REWA YouTube channel. 

    Tools Used:

    • Maintenance Platform
    • Tweezers (ESD–10 / ESD–15)
    • LCD Opening Pliers (M)
    • Digital Multimeter
    • Electron Microscope
    • Soldering Iron
    • Sculpture Knife
    • Anti-static Wrist Strap
  • How to repair iPhone 7 Touch ID or home button not working

    How to repair iPhone 7 Touch ID or home button not working

    We often heard many iPhone users asked this question: “My iPhone 7’s Touch ID and home button doesn’t work anymore. I have to press the Home button really hard to get it to respond and the Touch ID function can’t work, is it permanently broken? Is there a fix?”

    iPhone Home button or Touch ID not working(also appear on iPhone 5S, iPhone 6/6 Plus, iPhone 6S/6S Plus, iPhone 7/7 Plus, iPhone8 and iPhone X)? For certain models of iPhone (particularly the old iPhone 4, although some more recent iPhones have been affected too) this is a common complaint, but we may be able to offer some advice on getting it fixed. We’ve also got a handy software workaround that may make life bearable if your iPhone is out of warranty or it’s otherwise impossible to repair the hardware problem.

    Here’s how to fix a broken iPhone Home button and Touch ID detail video and pictures step by step to teach you “How to fix iPhone Touch ID not working or home button not working”. When your iPhone 6 or iPhone 7 Touch ID Not Working, you will be unable to activate touch id on this iPhone, there is a detail iPhone 6 touch ID or home button replacement solution help you repair your iPhone.

    iPhone 7 Touch ID fix detail teach steps:

    It is well known that Touch ID chip is exclusively matched with the motherboard. If change a new home button only, the Touch ID function disappears as the unique chip is also changed. So if the home button is unfortunately broken, How to fix iPhone Touch ID not working? Here is the solution!

    The steps

    1. Turn on the phone, unable to activate its Touch ID.

    2.Go to settings – Touch ID & passcode – enter your passcode, the fingerprint is grayed out.

    3.Take down the home button flex cable.

    4.Check the home button flex cable under the microscope, we found that the ribbon cable is broken.

    5.Scrape the coating off the wire on the ribbon cable with a knife.

    6.Apply some BGA paste flux and solder the tins with the soldering station.

    7.Scrape the coating off the wire on the reverse side.

    8.Apply some BGA paste flux, then solder the tins with the soldering station.

    9.Cut the wires then align them correctly, heat it up with hot air gun and weld.

    10.Turn the flex cable to the reverse side, weld it with the wire.

    11.Test if it is a short circuit with a digital multimeter.

    12.Install the home button and test.

    13.Apply some UV curable solder mast on the wire to fix the welding joint.

    14.Install the LCD screen assembly and test, fingerprint works well.

    About fix iPhone 7 home button, we used the following tools, if you don’t have them, you can check the links and buy them, to become a professional iPhone fixer.

    iPhone touch id not working

    Since the iPhone 7 and iPhone 7 Plus iPhones haven’t had a physical Home button, but there is still a chance of the button malfunctioning – as it did for Dwayne on the MacRumors Forums. Thankfully, Apple has integrated a fail-safe option, which brings up a notification informing you to use an ‘onscreen Home button’ before taking it in for a service.

    This new feature by Apple went unnoticed – mainly because most didn’t notice any problems with their new phone purchase. We find the feature fantastic for iPhone 7 and iPhone 7 Plus users – as it provides a default secondary option. If you do not have the new iPhone, read on to see our solutions.

    If you want to learn more about how to fix your iPhones, you can collect our site or subscribe our Youtube, we will update quality instructional video regularly.