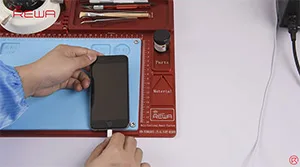
iTunes Error 9 often appears when processing firmware update or system restores by iTunes. Several reasons are attributed towards the problem, and we have already posted a solution for iPhone error 9 fixes related to the NAND Flash error before. Here this video shows a different solution regarding iPhone 6 error 9 without removing CPU. With the help of our newly developed CNC chip grinding machine, this job can be done even safer and quicker without damaging the logic board and nearby chips.
Tag: iphone 6 repair
-
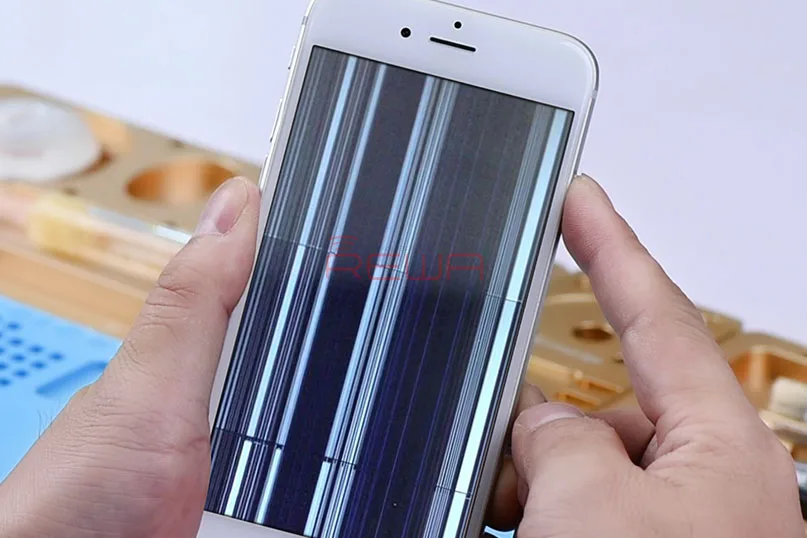
How To Fix iPhone 6 Screen Flickering
Customer says, his iPhone 6 began to scroll pages, open up Apps on its own, and the screen flickers after repairing, during which the screen is replaced, as well as the touchscreen controller IC and the touchscreen processor IC. And this happens randomly.
Power on the iPhone 6 and test. The screen flickers as described. The iPhone multi-touch issue usually stems from disturbed signal or unstable power supply of touchscreen IC. Therefore, measure the power supply of PN5V7_SAGE_AVDDN, PP5V7_SAGE_AVDDH, PP5V1_GRAPE_VDDH, PP1V8_GRAPE on touchscreen controller IC and touchscreen processor IC with Oscilloscope. All normal power supply voltage.
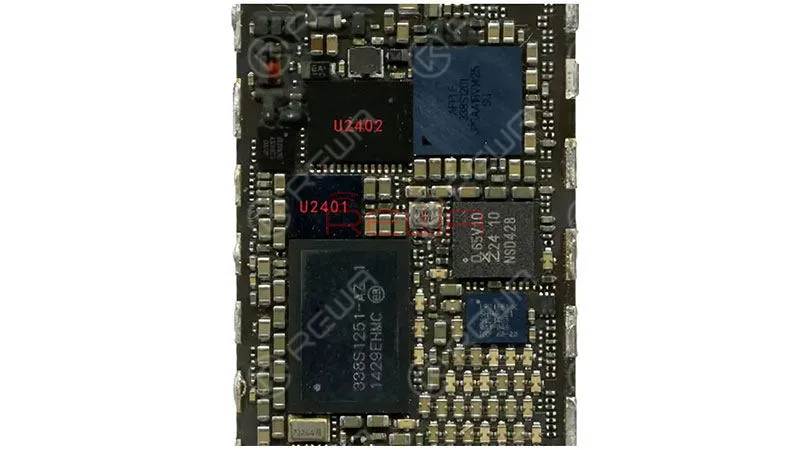
Continue to measure the diode value between touchscreen connector and U2402. Normal value again. Then we measure the diode value between the coupling capacitors of touchscreen controller U2401 and touchscreen processor U2402. It’s still a normal value.
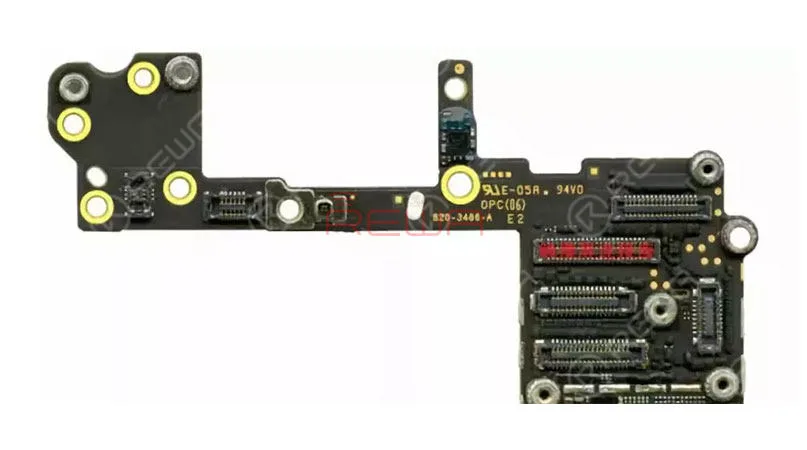
Judging by this and the description of customer, we draw a conclusion that the fault may be related to the replacement touchscreen ICs itself. According to our experiences, the touch disease caused by touchscreen controller IC will result in touch screen not working at all. While the malfunction touchscreen processor IC will only result in partially or randomly unresponsive touch. So the touch processor may be the faulty part. And we resort to replacing the touchscreen processor IC with soldering iron. To our surprise, the malfunction still exists when we test the iPhone 6 after the replacing. We guess there is only one possibility that causes the touch disease – The interference of a certain high-frequency signal. And the NFC chip next to touchscreen processor is the most probable one, for the high-frequency signals it output would interrupt the normal working conditions of touchscreen ICs.
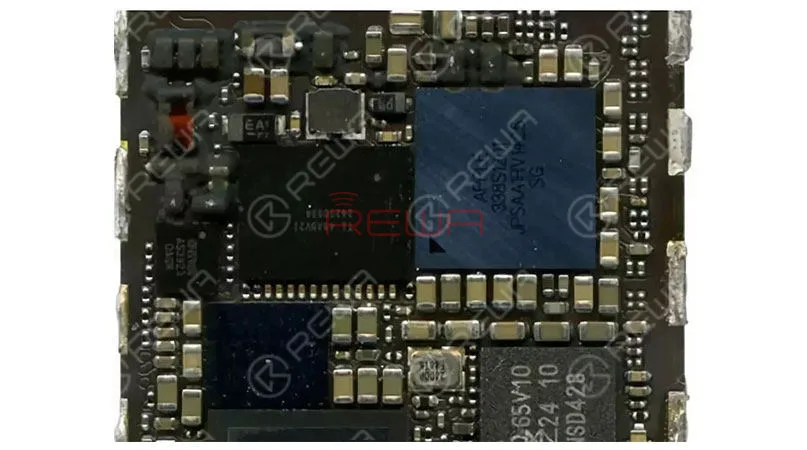
Our next step, to replace with a new NFC chip and test. And finally, fault cleared.
Conclusion:
iPhone 6/6 Plus touch issue is a widespread problem for the design fault of its logic board. This problem will result in iPhone loss of touch and combined with a strange flickering gray bar at the top of the screen. For troubleshooting, it usually needs to replace the touch controller circuits with new ones. For this repair, the touchscreen related ICs were replaced before. So the fault is located at the NFC chip. Replace with a new one, and the problem is solved. If you have further questions or other concerns with your iPhone 6 or other devices, feel free to connect with us.
REWA offers cell phone replacement parts for 10 years, our mission is providing good-quality mobile phone repair tools&parts with affordable prices. Save your money and tell you how to start a repair business, improve competitiveness – rewa iPhone logic board repair training. For wholesale/retail cell phone parts and tools: shop.rewa.tech. As for the cell phone repair training welcome to contact training@rewatechnology.com at any time.
-
How To Fix A Water Damaged iPhone 6
Have you ever dropped your iPhone in the bath, the sea or even worse, the toilet? Did you go swimming but forgetting putting your iPhone 6 in the pocket aside? Water damage is commonly seen with iPhone series, which can result in different issues. You are likely to lose the data in your iPhone after the liquid damage, too. Then, take the following cases to recover your iPhone data.
For our iPhone 6 water damage case today, we start the repair work from moldy components. As it is often suggested that we should always begin with simple, then complex. However, the problem remains unresolved. Run further measurement and the faulty position is finally confirmed. We can complete the repair work by replacing faulty components. Also, we have posted iPhone Water Damage Repair – Ultrasonic Applied, worth to take a look.
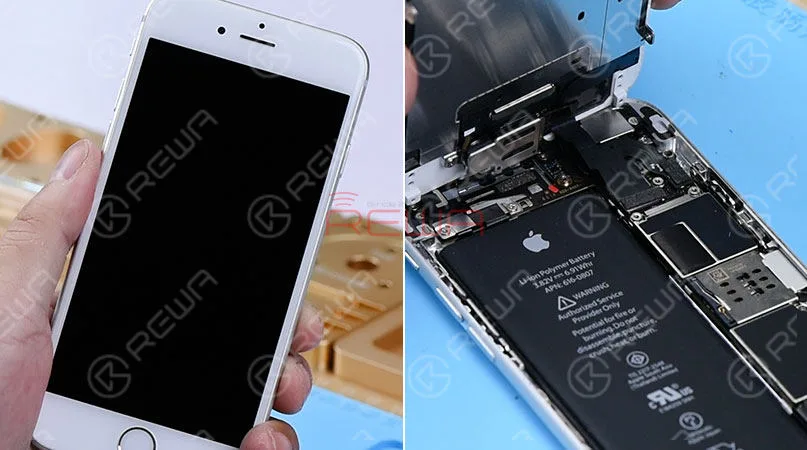
iPhone 6 Won’t Turn On – Water Damaged Repair Press power button. It shows the phone won’t turn on. Then we take apart the phone and see clearly that the water damage indicator is red. Which indicates that the phone has been water damaged. Continue to disconnect the battery, and connect the battery connector with DC Power Supply. Press power button, the phone turns on with Apple logo. However, the screen goes black after 15 seconds and cannot access the system normally.
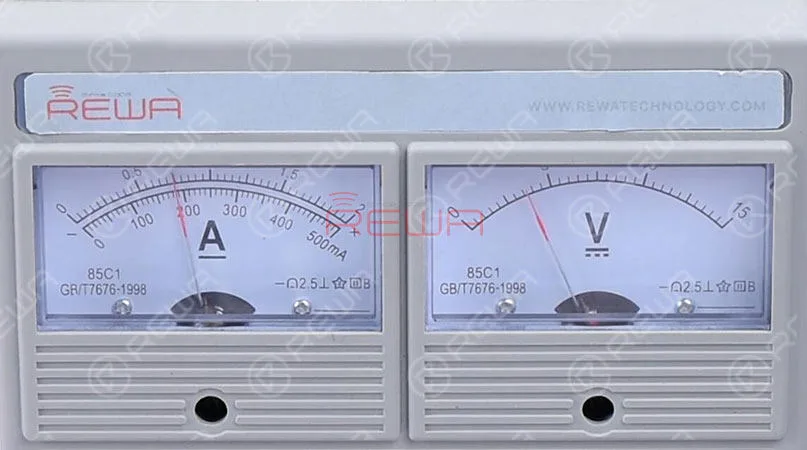
Current reading on the ammeter jumps to 510mA and then stay still. Which is abnormal? Normally, iPhone won’t turn on after water damage and accompanied with abnormal boot current issue is caused by short-circuited traces due to water damage of the board. So we need to further check the logic board. Since parts of the logic board bear obvious signs of water damage.
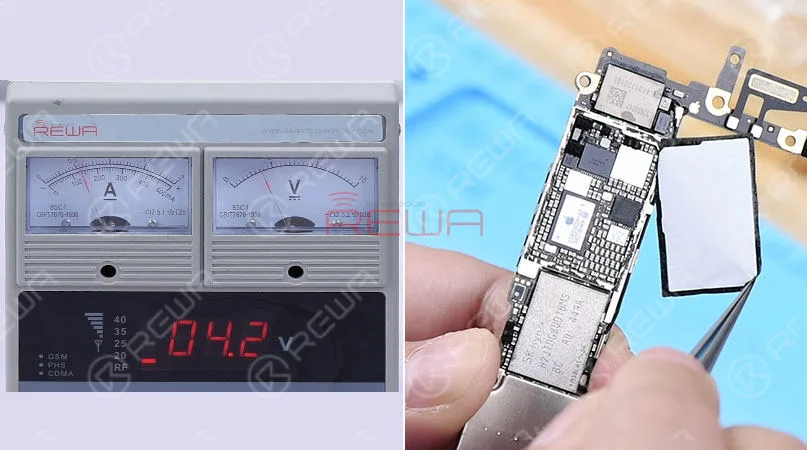
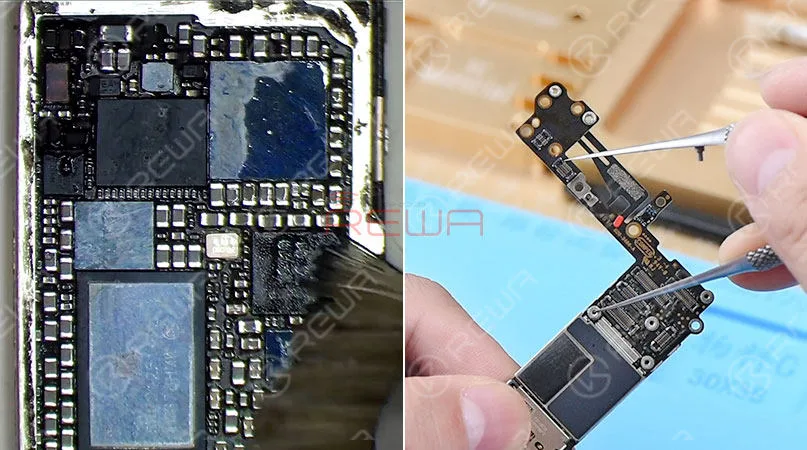
The first thing we do is to clean the logic board with PCB Cleaner. Once done, connect the battery connector with DC Power Supply and power up with trigger signal.
Current reading on the ammeter jumps to 220mA and then stay still. Which is still abnormal? So our previous cleaning of the logic board is not thorough enough. And we need to detach those moldy ICs and run thorough cleaning.
First, remove the shielding plate with Hot Air Gun. We can see clearly that U1501 and U1503 bear obvious moldy signs.
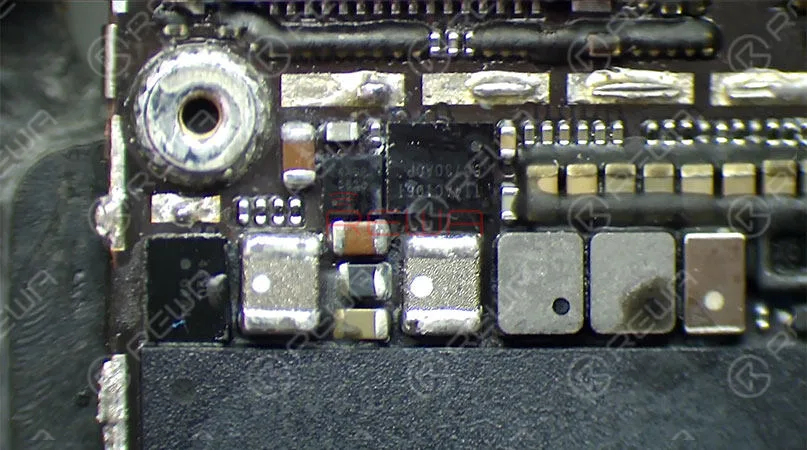
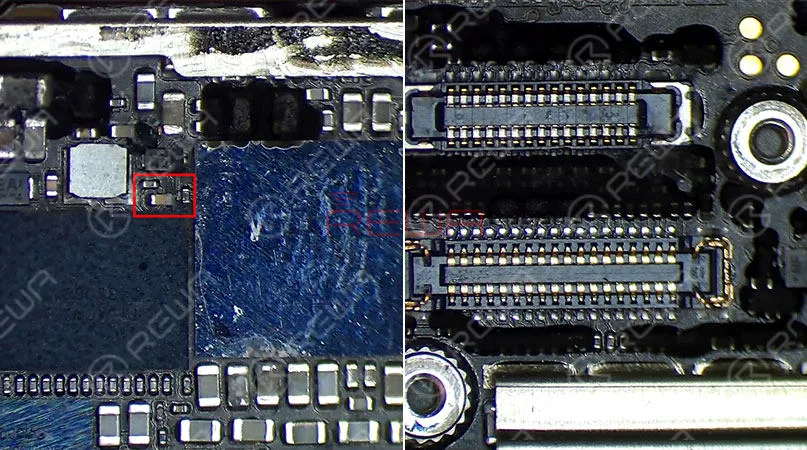
Heat with Hot Air Gun, and detach U1501 and U1503 from the board. Then apply some Paste Flux and remove tins. On the bonding pad with Soldering Iron. Once done, turn the logic board over. Heat with Hot Air Gun, detach the two moldy components, U2402 and U0900 from the board. We can see clearly that area under U2402 has got seriously mildewed. Our initial judgment is that the fault is related to the seriously moldy area.
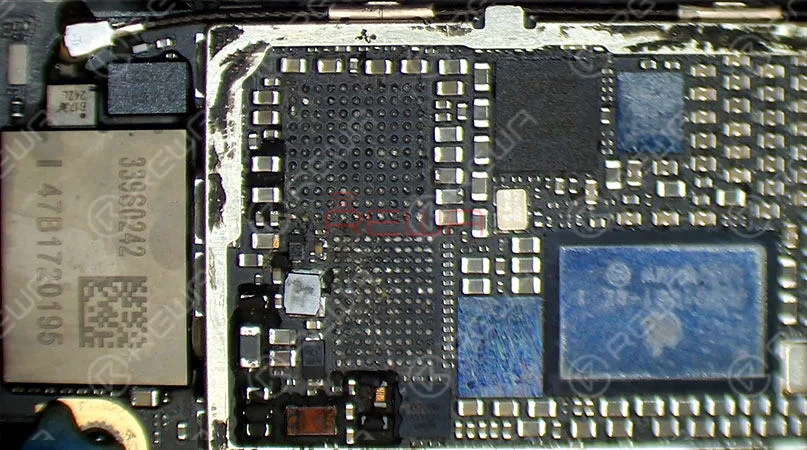
Apply some Paste Flux to the bonding pad. Then remove tins on the pad with Soldering Iron. Be careful with the components around when operating. If any of them got dislocated, we need to solder it promptly.
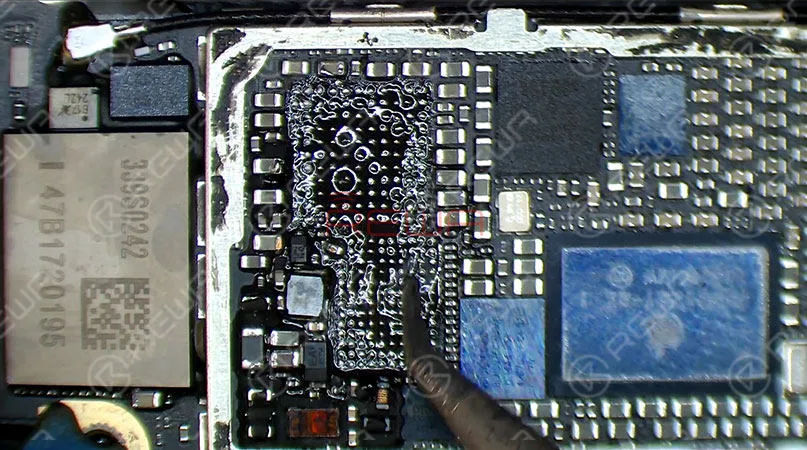
Continue to remove tins with resin-soaked Solder Wick. And clean with PCB Cleaner afterward.
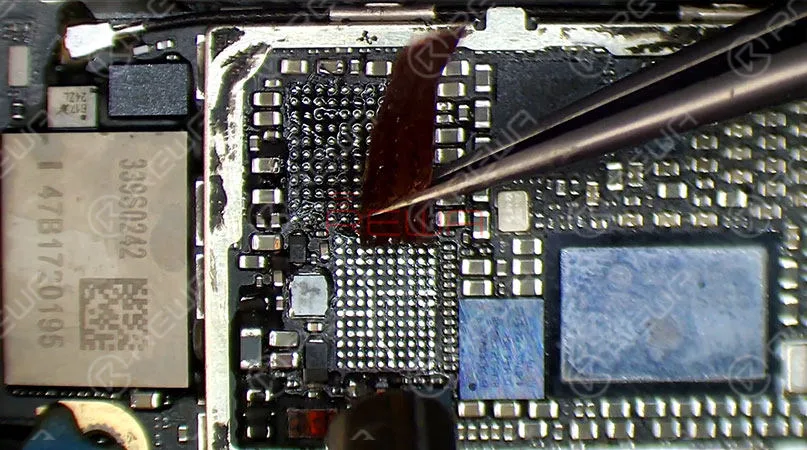
Apply some Paste Flux to the bonding pad, and align new ICs to the right place respectively. Then solder with Hot Air Gun.
Tips: put it in the right direction
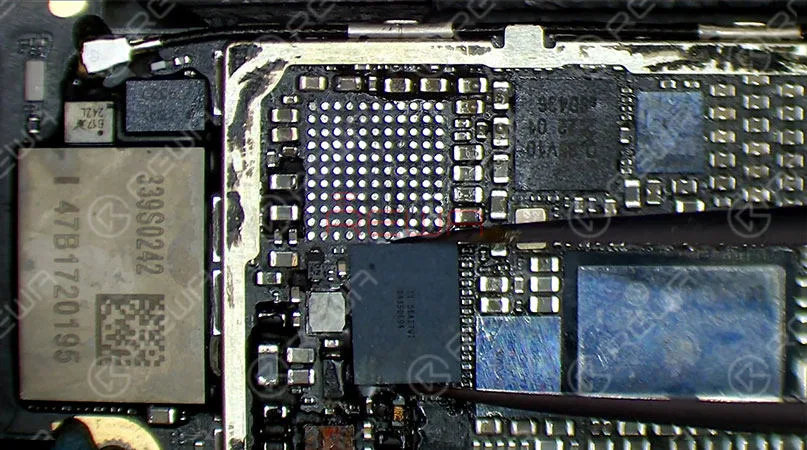
With Paste Flux overflowing and IC sinking continue heating for 5s. Also, treat U1501 and U1503 with the same steps. Once finished, clean with PCB Cleaner.
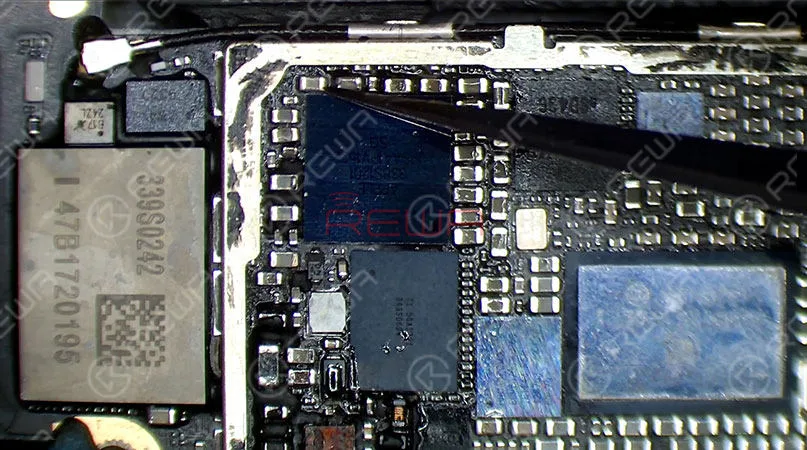
Now we can assemble the phone and test. Get the logic board and display assembly installed. Connect the battery connector with DC Power Supply. And press power button to power on, the phone turns on normally. iPhone 6 Won’t Turn On Caused by Water Damage issue fixed perfectly.
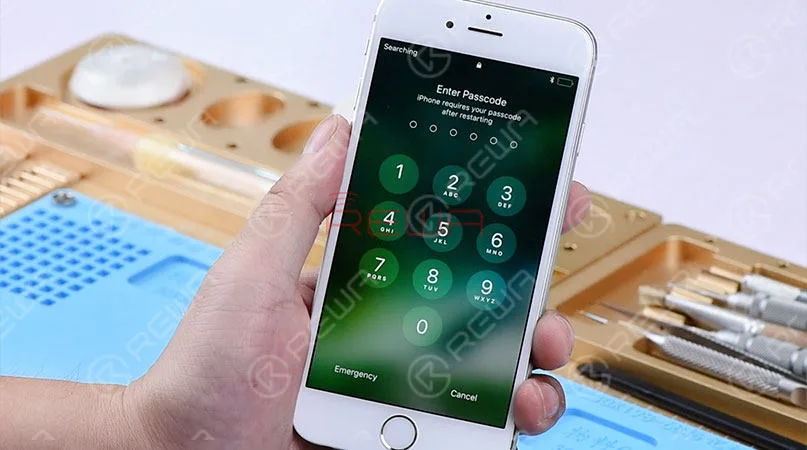
Warm tips: get the phone full assembled after confirmation of fault clearance
Now, check our video for more details about Fix a Water Damaged iPhone 6. Any questions please comment below or click “Ask a question” button to show your mind.
Last but not least, attaching a quick list of what you should and should not do when your iPhone has water damaged. Hopefully, these bullet points will get you on the right track in those precious first few moments.
What to Do If You Drop Your iPhone in Water
Turn it off immediately.
Remove the case to allow air to circulate.
Remove any accessories (headphones, card readers, etc.).
Blot away as much excess water as possible using paper towels.
Put it in a warm, dry, non-humid place.
Wait at least 48 hours before trying to turn it on again.
Back up your data immediately if it starts working.
What NOT to Do If You Drop Your iPhone in Water
Plug it into a wall socket or your computer.
Put it in the oven.
Blow a hair dryer on it.
Place it on top of a radiator.
Use rice.Rice is not a drying agent. It might even make the situation worse; the fine powder can get into your phone and turn the water into goop.
Shake it or rotate it. If your phone only took a brief bath, you don’t want water to get into parts that are still dry.
Press the Home button.
Any of these steps could cause further damage to your wet iPhone.
Maybe you have noted the repair tools that we have used in the video, want to get them? Just come to our online store. iPhone replacement parts and cell phone repair tools with wholesale price.
-
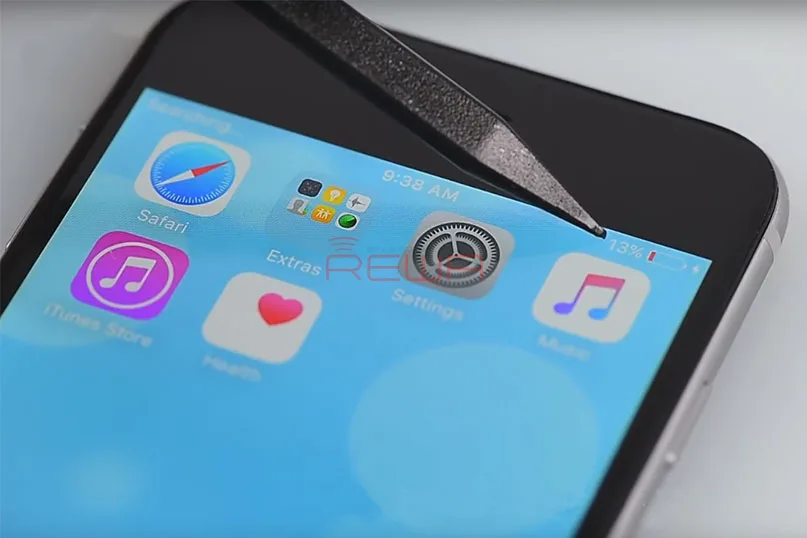
What To Do When Your iPhone 6 Won’t Charge
Have you met this situation that the battery power becomes less after charged one hour? This is something quite a few users complained about. While you may think that have to replace a new battery, that usually isn’t the case. So, what is causing this problem? Maybe the charging port is full of dirt or the cables may be damaged. Also, a software or hardware issue can cause this problem. Now, we have listing four common ways and a professional solution. As following.
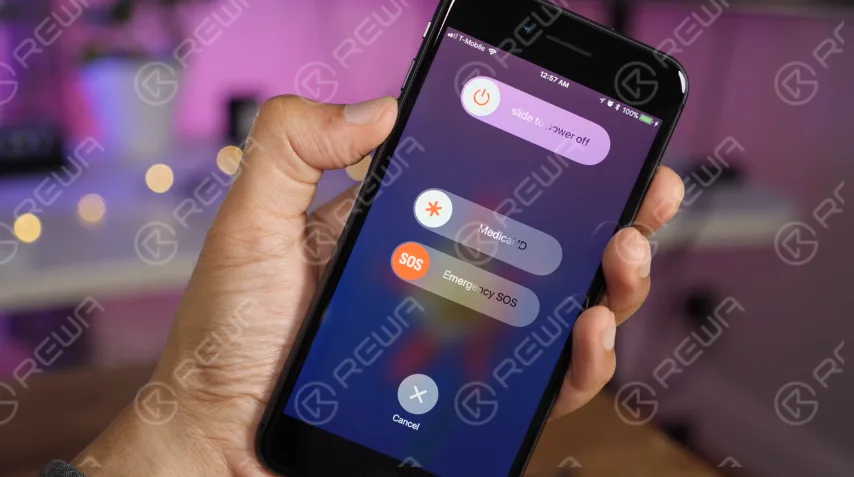
Restart iPhone
For most non-professionals, the most common fix for issues on any computer/phone has always been to restart the device. Sometimes a program can be stuck or could be causing another issue or bug and cause kinds of types of frustration and confusion. Try restarting your iPhone first before going on to more intensive fixes.
Update iOS
When you upgrade your device, the issue will probably be gone. So if there is upgrade software, make sure you have been got. Come with following to do this.
- Go to Settings
- Tap General
- Tap Software Update
- Tap Download and Install
Clean the iPhone’s charging port
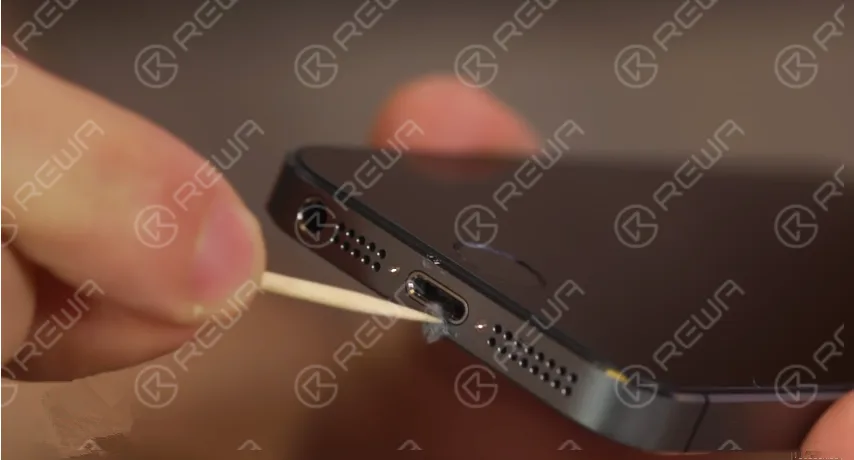
If there are any obstructions, the cable won’t be properly placed into the charging port, thus, the device won’t charge. In this case, you need to clean the charging port. In order to do this, you will need some suitable tools, such as a toothpick or a small needle. Remove all the obstructions, but make sure to do it carefully to avoid any damage.
Try another charging and USB port
If the issue still can’t be solved after cleaned the charging port, then you can try another wall charger or use another USB cable. Plug the cable into the USB port in your computer. Maybe that will make a difference.
With these ways to fix iPhone 6 won’t charge, you will probably solve the issue. If not, then it may be a hardware issue. Let’s follow REWA step by step video recording to fix iPhone 6 not charging with logic board.
Charging fault analysis
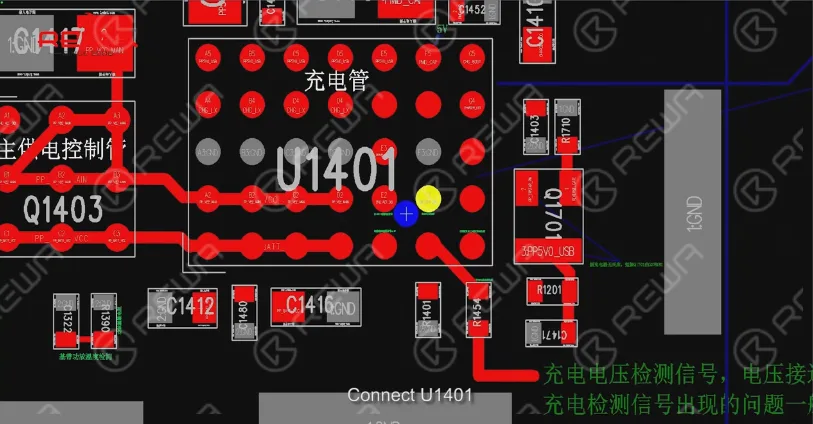
Connect ZXW to a computer, open PCB diagram software, Charging voltage input PP5V0_USB, battery voltage PP_BATT_VCC, Battery electric quantity detection BATTERY_SWI_CONN
Connect U1401, Tigris charger, USB control IC, overvoltage protection signal, U1700 damage can result in not charging, reboot and connect computer failure etc.
Charging fault detection
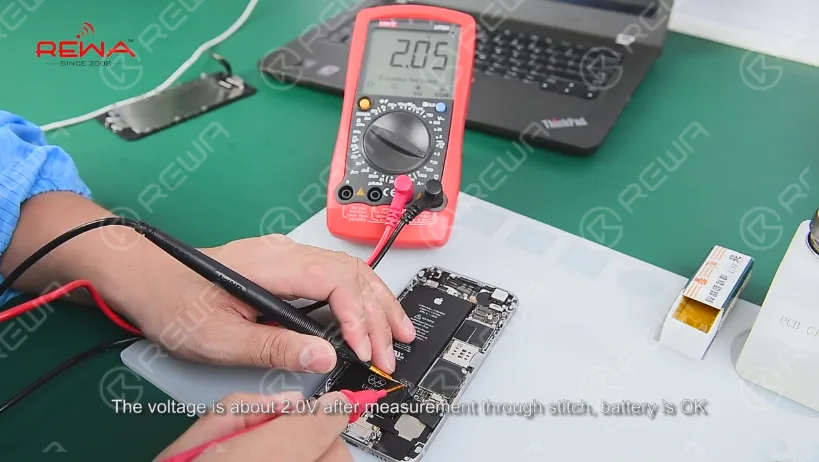
Open iPhone 6 screen , take down the screen, pull up the battery connector from logic board. The voltage is about 2.0V after measurement through stitch battery is ok.
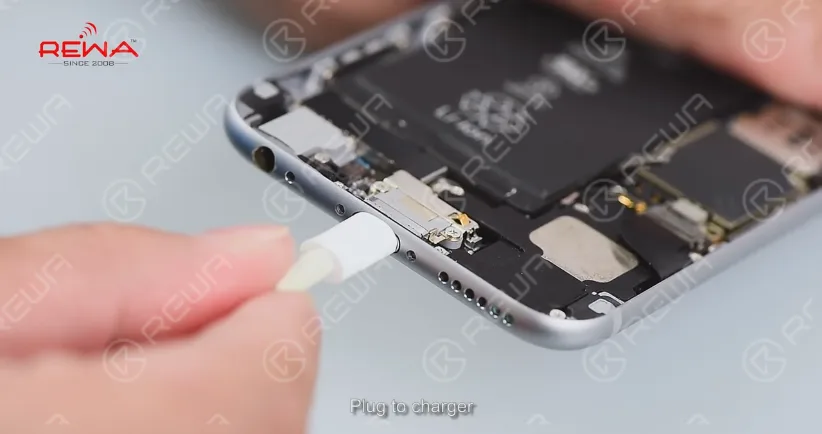
Plug to charger, the voltage is 0.5V(normal 1.8V – 4.2V) after measurement through FPC connector, the logic board can’t charge.
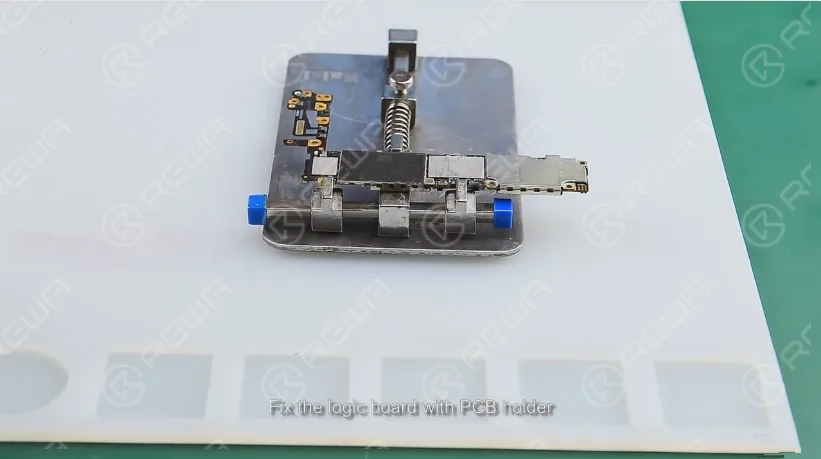
Repair: Take out the logic board, fix the logic board with PCB holder. Blow the shield cover with 320℃ air hot gun and take off it.
After blowing for 1 minute at 240℃, scrape off the black adhesive.
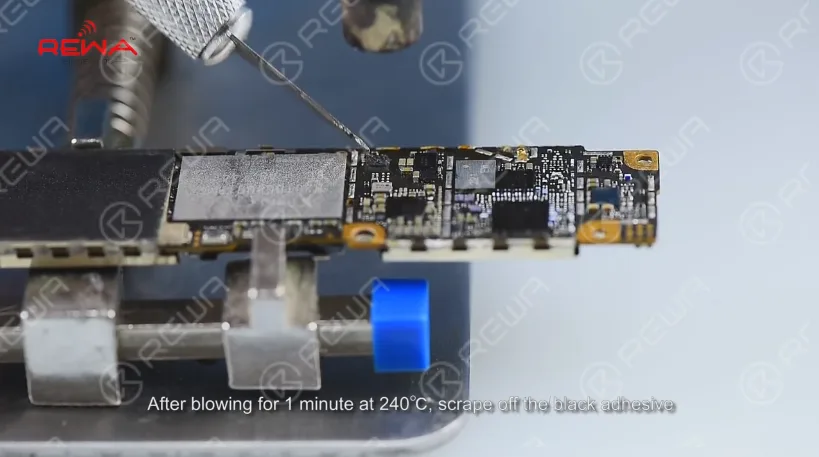
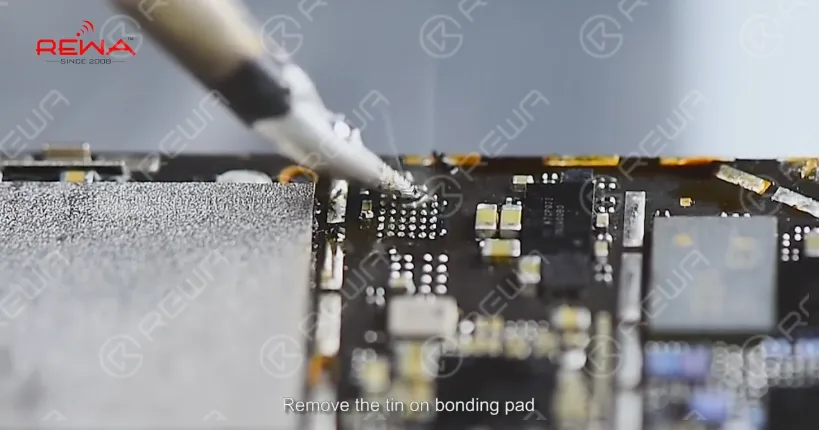
Blow the Bonding Pad for 1 minute at 300℃ until the tin melts. Pry the chip with sculpture knife, apply some Paste Flux, remove the tin on bonding pad, apply some rosin on the Solder Wick and slick Bonding Pad.
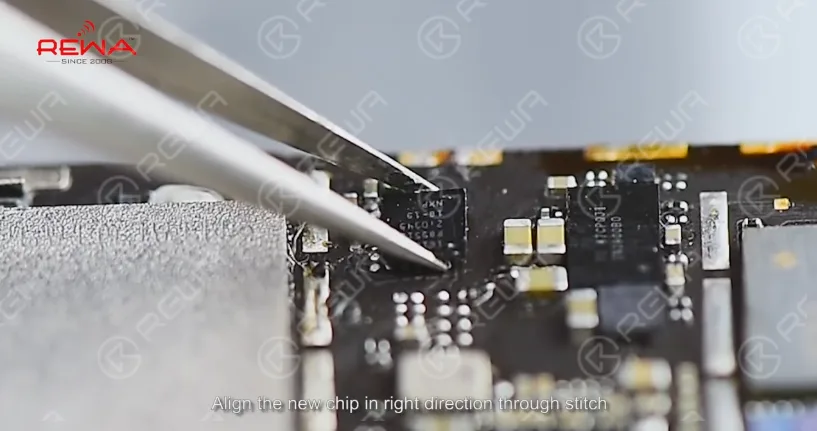
Clean the Bonding Pad with PCB Cleaner, align the new chip in right direction through stitch.
Blow the chip with hot gun for 1 minute at 280℃. Install the logic board after cool down
Detection and troubleshoot
Plug in charge, the voltage ranges between 1.8V and 4.2V indicating charging IC works properly, install the LCD and charge, after 1 hour the battery can charge properly.
Make sure you bookmark this page so it will be easier for you to find it in the future when you need help. If you have any problems please comment at below or directly email to service@rewa.tech . We will try to reply in time.
Click to watch the video and repair your iPhone 6 not charging by DIY
If you are interested in the tools used in the video, please go to our online store to order. Each replacement part has gone with REWA’s strict tests and systematic packing process, so each cell phone spare part is of guaranteed performance and low price.
-
iPhone 6 Keeps Searching For Signal – Logic Board Repair
iPhone 6 keeps searching for signal? There are many possibilities for the causes of iPhone showing “searching” issue. As soon as they see “Searching”, a lot of people assume the built-in antenna on their iPhone is broken and head straight for the Apple Store. While it’s true that a defective internal antenna can cause the iPhone searching problem, it is by no means the only cause. You may try to figure it out by replacing a new SIM card, restarting the phone or resetting the network.
What if these do not work? This video introduced a logic board solution to fix iPhone 6 constantly searching for network. Let’s check the video for the detailed tutorial.
How To Fix An iPhone That Says Searching
We’ll walk you through the process of troubleshooting an iPhone that says iPhone searching for network, and help you fix the problem, if it can be fixed.
We structure our articles with the simple fixes first, and then we move on to the more complicated fixes if and when they become necessary. If we discover there really is a hardware problem with your iPhone, you can watch our video and we will steps to teach you how to repair your iPhone keeps searching for service.
1.Turn your iPhone off turn on again
This is a simple and necessary steps, when you turn on your iPhone again and then you need to check if your iPhone can search the signal?
2. Update your carrier settings
Sometimes wireless carriers release software updates that change the way your iPhone interacts with the cellular network. Sometimes, these updates fix problems that can cause your iPhone to say “Searching…” all the time.
3. Reset Network Settings
Reset Network Settings restores your iPhone’s cellular data configuration back to factory defaults. It’s an easy way to eliminate the possibility that an accidental change in the Settings app is preventing your iPhone from connecting to the network.
4.Fix Problems With Your SIM Card
All iPhones have a tiny SIM card that wireless carriers use to identify specific iPhones on their network. Your SIM card gives your iPhone your phone number – it’s what tells your carrier you’re you. SIM card problems are a common reason why iPhones say “Searching for service”.
If these steps are not solve your iPhone keeps searching for service, so it means your hardware is broken, you can watch our video to help you solve this question.
Tools we have used
-
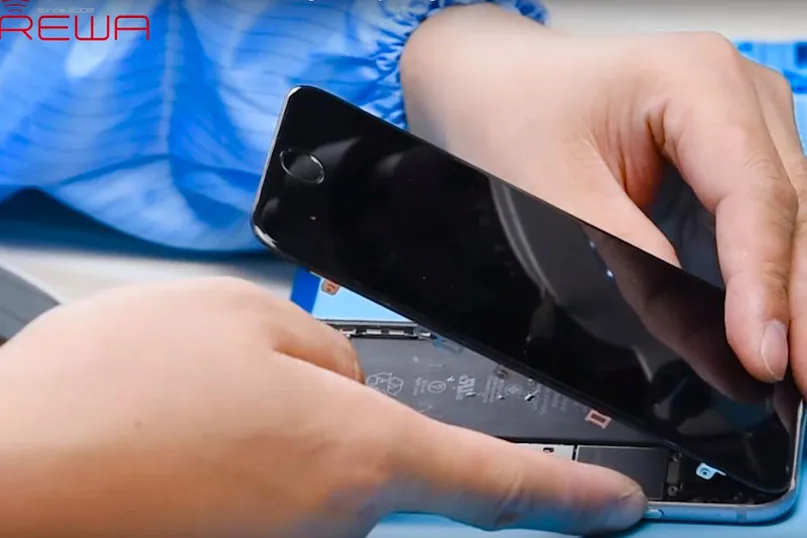
iPhone 6 Won’t Turn On Repair – PMIC Grinding and Replacing
Generally speaking, the normal booting process of iPhone goes like this. Power key goes first, then the Apple logo appears between ten and twenty seconds. After the Apple logo appears, the iPhone will boot back up normally. Recently, some clients complained about the iPhone won’t turn on issue after holding the power key – no Apple logo, just black screen.
It is possible to find different causes and to find different solutions. In this blog, REWA offers a logic board repair solution regarding the iPhone 6/6S won’t turn on issue. Please feel free to leave a comment below if you have a different opinion.
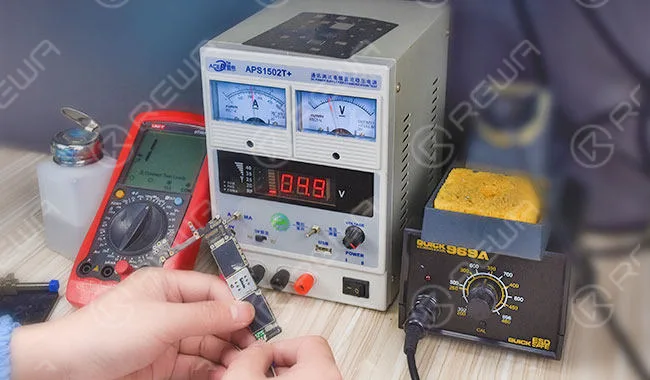
iPhone 6 Won’t Turn On Brief IntroductionThe iPhone 6 won’t turn on normally after holding the power key. Run detection process and we find that the logic board comes with leak current as 900mA and the PMIC is over-heated. Whereas capacitance around the PMIC shows no short-circuit. Therefore we can draw the conclusion that the PMIC is damaged and need to be replaced with a new one.
Diagnosing
Power key power up, the phone cannot boot normally
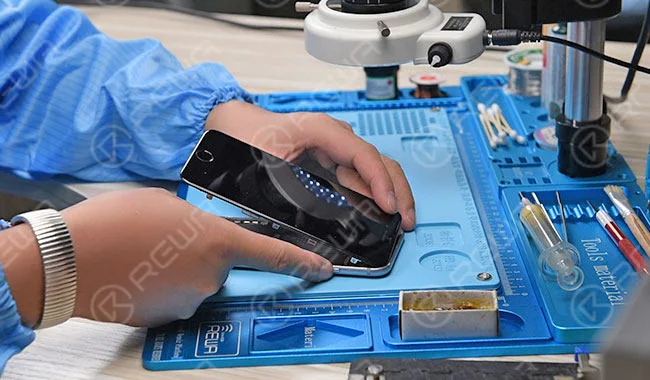
Connect the phone with the DC power supply, the booting current jumps to 900mA, which is an abnormal value.
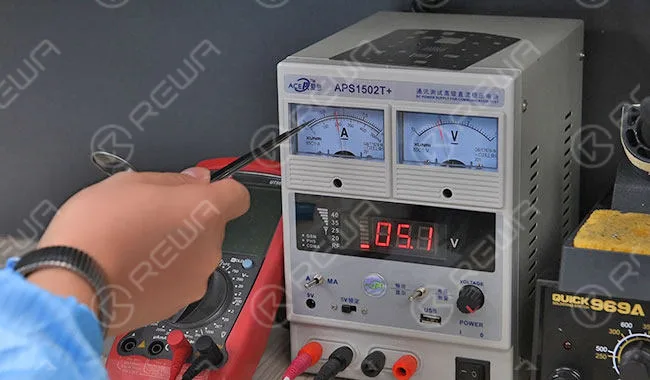
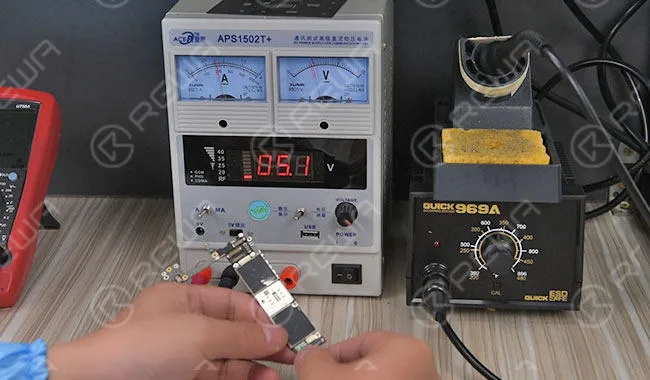
Take out the logic board and connect the logic board with the DC power supply. The logic board displays with leak current as 900mA.
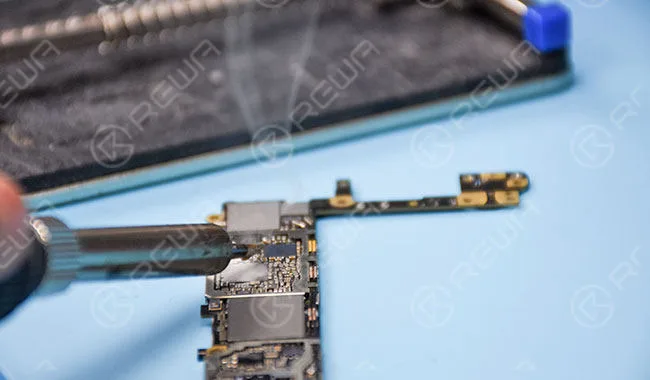
Dip some rosin with soldering iron to smoke the logic board power IC and components around. After that, connect the logic board with the DC power supply. The rosin starts to melt quickly, which indicate that the power IC is being over-heated.
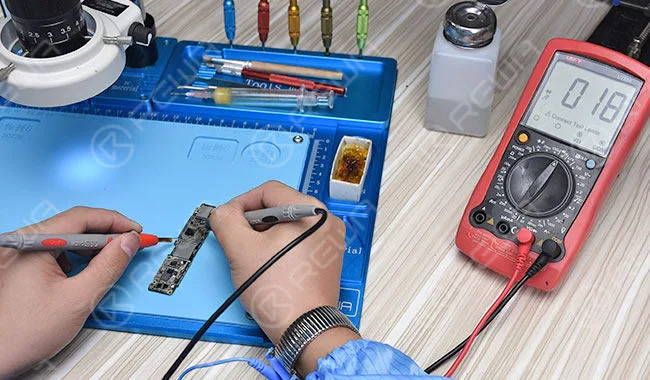
Test
capacitance around power IC – No short-circuit. We can draw the conclusion that power IC is leaking away electricity.
Notes
Remove 6s power IC with hot air gun can be a real risk, that’s why we recommend CNC chip grinding machine here.
Grinding
Put the iPhone 6s logic board on the corresponding iPhone 6s mold and set grinding program.
Click and clear numerical value of x-axis and y-axis. Move the milling cutter of the grinding machine to the corresponding power IC grinding area. Adjust the numerical value of z-axis and move the milling cutter until it touches the surface of power IC. Then clear numerical value of z-axis.
Start grinding. Once the bonding pad coming out evenly, the grinding process is finished.
Take out the logic board and use a sculpture knife to clear up black adhesive residue.
Reballing
Since tins of the new power IC come with a high melting point, we need to clean the tins with soldering iron at first.
Then reball the power IC with BGA reballing stencil.
Soldering
Apply some BGA paste flux to the bonding pad and align the power IC to the right place, mind the direction. Blow it with a hot air gun at 260 degrees.
Testing
Once the logic board is cooling enough, connect the logic board with the DC power supply. Boot with the startup signal triggered by the tweezer. Booting current displays normally, fault cleared.
Assemble the phone and test. iPhone boots and works normally.
For more details on iPhone 6s Won’t Turn On Repair guide, please go to REWA YouTube channel . Or watch iPhone 6S won’t turn on fix video . You can also contact us for support:
PRE-SALES Skype : rewatech Email : service@rewa.tech
AFTER-SALES Skype : support-rewatech Email : support@rewatechnology.com
Tools Used
-
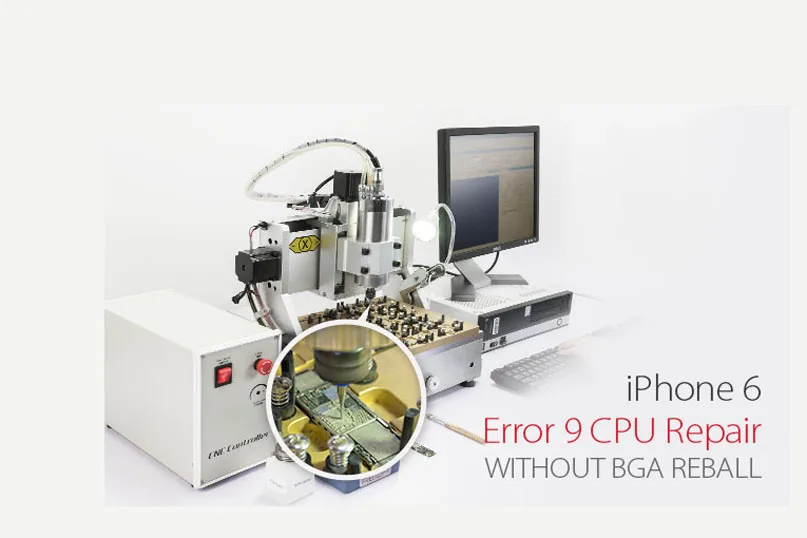
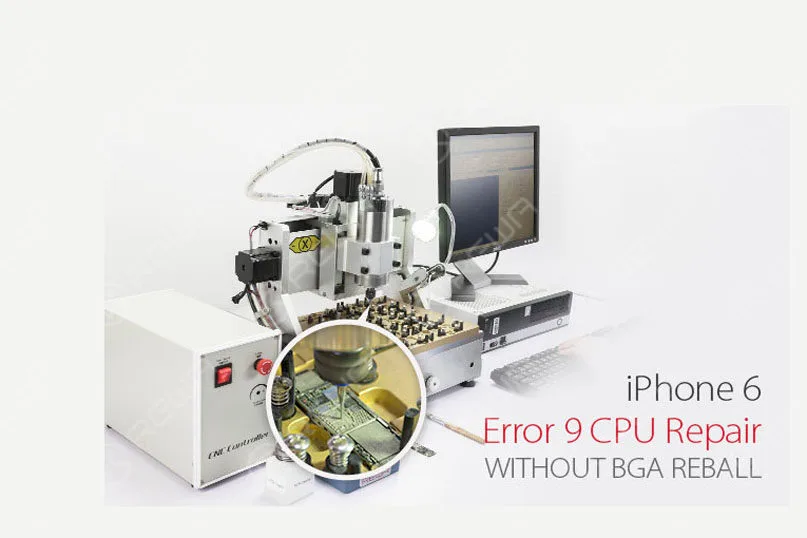
iPhone 6 Error 9 CPU Repair Without BGA Reball
Have you ever come across with iPhone 6 error 9 issues? (check this post to know: What Do All These iPhone Error Codes Mean) It is well known that once iPhone 6 error 9 appears while performing firmware update or system restores via iTunes, the normal function becomes disrupted. And if this occurs frequently, that will be hard to handle. Several reasons are attributed towards the problem, and primary suspicion relates to the NAND Flash error as our previous blog iPhone 6 Keeps Restarting? – Fix Error 9 14 40 has illustrated. This time REWA comes with a totally different solution regarding iPhone 6 error 9 CPU repair caused by insufficient soldering within CPU BGA. With the help of our newly developed CNC chip grinding machine, chip removing can be safe and quick without damaging the logic board and nearby chips. If you have different opinions and solutions, please leave a comment below.iPhone 6 Error 9 CPU Repair Without BGA Reball1. Phone DisassemblingThe phone is stuck in Recovery Mode when trying to start up. Connect it to a computer and start system restore via iTunes.
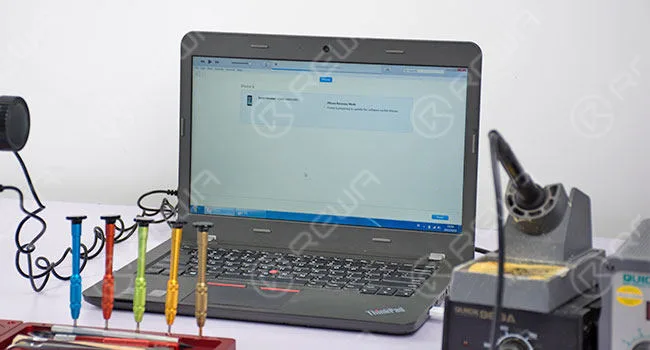
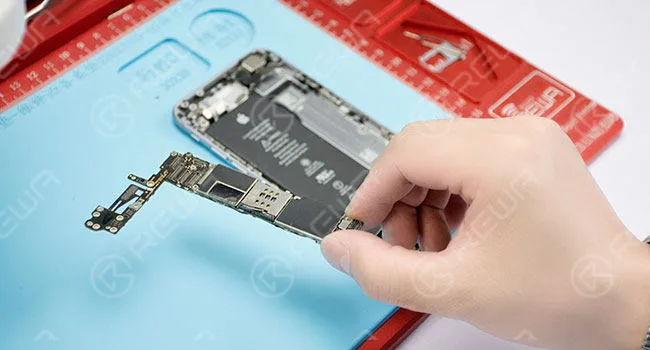
Error 9 appears. Disassemble the phone and take out the logic board. Remove a part of the shield plate with cutting nipper.
2. Malfunction Diagnosing
The test grounding resistance value of resistor R0317 and R0316 with diode mode-Abnormal value (480 under normal circumstances). R0317 and R0316 are connected with CPU pin AP31-SDA and pin AR31-SCL directly.
3. Malfunction Repairing
Take down the shield plate of CPU with a hot air gun. Then put the logic board on the corresponding position of the CNC mold and fix it tightly. Load iPhone 6 corresponding logic board chip grinding program and start grinding.
Once finished, take out the logic board and use a sculpture knife to scrape carefully until the CPU sublayer circuit comes out. After that, clean with PCB cleaner.
Apply some UV curable solder mask to the exposed area, apart from the two bonding pads (SDA, SCL). Once it has been done, put the logic board under the UV dryer lamp for 10 minutes and then take out the logic board.
Solder tins on the two bonding pads with soldering iron. Then solder the 0.02mm copper wire to the two bonding pads respectively. The two soldered wires connect R0317-corresponding pad SDA and R0317-corresponding pad SCL respectively.
The test grounding resistance value of R0317, R0316 with the diode mode again-Normal value this time.
4. Phone Testing
Assemble the phone and restore via iTunes. Then activate the phone and test, malfunction fixed.
Once test finished, take out the logic board. Then apply some UV curable solder mask to the soldered place again. Put the logic board under the UV dryer lamp for 10 minutes.
Assemble the phone and test again, all work normally.
For more details on iPhone 6 error 9 CPU repair guide, please go to REWA YouTube channel.
-

How To Fix No Service On iPhone 6
Have you came through “no service” on your iPhone 5/5S, iPhone 6/6Plus, iPhone 6S/6S Plus, iPhone 7/7 Plus? What does it mean when your iphone says no service? it means you can’t use it for the basic things, such as texting, calling, and using mobile data. You won’t be able to use the mobile internet until you get rid of the error. The same thing goes for messages and calls. The issue will appear in the areas with no network coverage, or in the areas where network coverage is poor when you can also see a message “searching for service”.
There are external and internal causes for ‘no service’ problem, which means no one-size-fits-all solution. REWA here presents you a professional iPhone 6 no service solution video and steps with pictures that deals with hardware failure with the help of our newly developed maintenance drawing.
How to fix no service on iPhone 6:
1. Turn on the phone, searching for the signal – no service. Spread out the dialer board, enter ‘*#06#’ for IMEI code – no results. We can draw the preliminary cause as signal failure.
2. Go to Settings – General – About, IMEI code displays right, SIM card readable, and Modem Firmware functions normally.
3. Disassemble the phone, detach phone battery, take down the LCD screen assembly, then take out the motherboard.
4. Remove the shield plate on motherboard with cutting nipper(Hot air gun is not recommended here because the shield plate is hard to remove and high temperature might cause damage to components nearby). Attach motherboard to PCB holder.
5. Apply some BGA paste flux to the baseband CPU, blow it with hot air gun at 300 degrees centigrade. After a while, take down the baseband CPU.
6. Clean the tins on the bonding pad with soldering iron, then dip some rosin with Goot wick for secondary cleaning. After that, clean it again with PCB cleaner.
7. Roll out the maintenance drawing for reference. Point out the U1 Y1 pin as data signal failure. Test the U1 Y1 pin of the baseband CPU with digital multimeter, no resistance. We can conclude that the pin has been disconnected.
8. Scrape the insulation varnish off the U1 Y1 pin circuit, solder the tins on the circuit with soldering iron for cable welding afterwards. Then align a solder added copper wire with a diameter of 0.02 millimeter to the exposed circuit with soldering iron. Clean it with PCB cleaner.
9. Apply some UV curable solder mask to the aligned copper wire, then put it under the UV dryer lamp for 10 minutes.
10. Apply some rosin with soldering iron for cleaning, PCB cleaner afterwards. Once finished,reball the baseband CPU with BGA reballing stencil.
11. Apply some soldering paste with BGA scraper and smear evenly on the right place. Blow it with hot air gun for formation, take it down and blow it with hot air gun again.
12. Apply some BGA paste flux to the bonding pad, align the CPU to the right place, blow it with hot air gun at 280 degrees centigrade.
13. Once the motherboard is cooling enough, clean it with PCB cleaner. Afterwards, install the motherboard to the phone and test – IMEI code functions well.
-
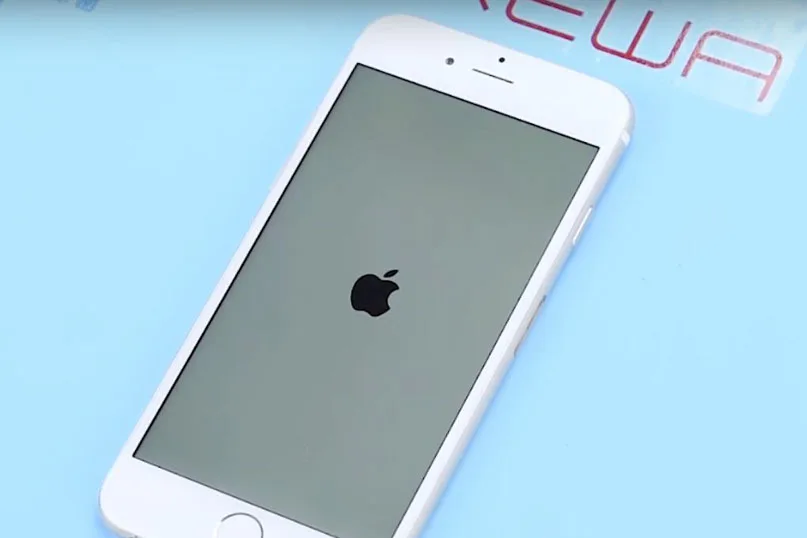
iPhone 6 Keeps Restarting? – Fix Error 9 14 40
More and more people reported that their iPhone stuck in a restart loop. The phone continuously restarts and became totally unusable, the Apple logo appears and disappear, over and over again.
Does your phone ever meet this common problem which drives you crazy? Now read our post to get some practical tips to fix this issue by motherboard repairing. 1. Take down the LCD screen assembly
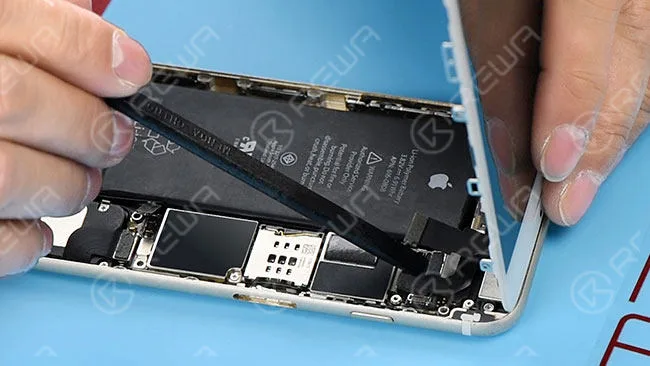
2. Test voltage of the battery with the digital multimeter. Battery voltage is 4.21V, battery test signal voltage is 2.02V. The battery is normal, so we install the LCD screen assembly to check other malfunctions.
3. Failure detection: connect the phone to computer, it could not be restored by iTunes, an unknown error occurred (9) so that we can draw a conclusion that NAND flash or CPU is cracked.
4. Detach the motherboard from the phone, and fix it on PCB holder.
5. Remove the NAND flash chip from motherboard carefully.
6. Clean the bonding pad with the soldering iron , knife, BGA paste flux , rosin , solder wick and PCB cleaner.
7. Connect the NAND flash programmer with the computer, transfer the data from the old NAND flash to a new one.
8. New NAND flash chip BGA rebelling.
9. Install the new NAND flash chip to the motherboard.
10. Install the motherboard to the phone.
11. Connect the phone to computer, it can be restored by iTunes successfully.
12. Test if it works well.
Tips:
1. Prepare a new 64GB NAND flash memory chip. 2
. Error 21, 9, 2009, 4005, 14, 40 indicate NAND flash or CPU malfunction. (You can read our What Do All These iPhone Error Codes Mean to learn more)
3. You may need to repair the CPU if the phone still keeps restarting after the NAND flash chip is replaced.
Tools Used: 64 Bit NAND Flash Programmer Mobile Phone Repair Platform Digital Multimeter Soldering Iron Station Hot Air Gun PCB Holder Screw Drivers Tweezers If you want to know more about these tools, you can check out our online store . The price of each product has displayed, shipping fees as well. If you meet any question during shopping progress, feel free to contact service@rewa.tech.
 English
 Español
 Français
 Deutsch
 Italiano