Tag: iphone 13 pro

  • iPhone 13 Pro Face ID Not Available Repair

    iPhone 13 Pro Face ID Not Available Repair

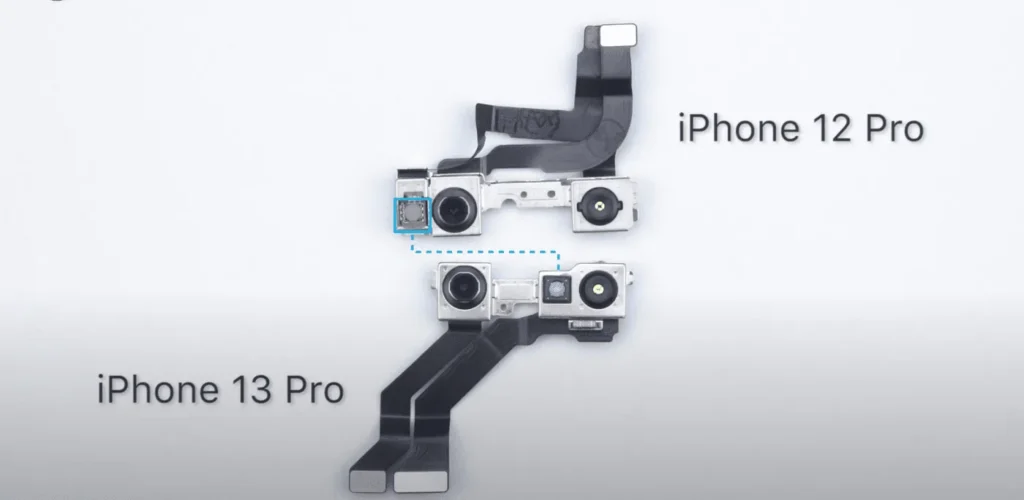
    The iPhone 13 Pro introduces several hardware changes, particularly in its Face ID module, which sets it apart from its predecessor, the iPhone 12 Pro. One significant difference is the integration of the flood illuminator with the dot projector, resulting in a smaller TrueDepth camera module and a different component layout. This design change, while improving the device’s aesthetics and functionality, presents new challenges for repair technicians. In this guide, we’ll walk through the process of repairing the Face ID module on the iPhone 13 Pro when it becomes unavailable, highlighting the tools and techniques needed for this intricate repair.

    Introduction of the iPhone 13 Pro Face ID Module

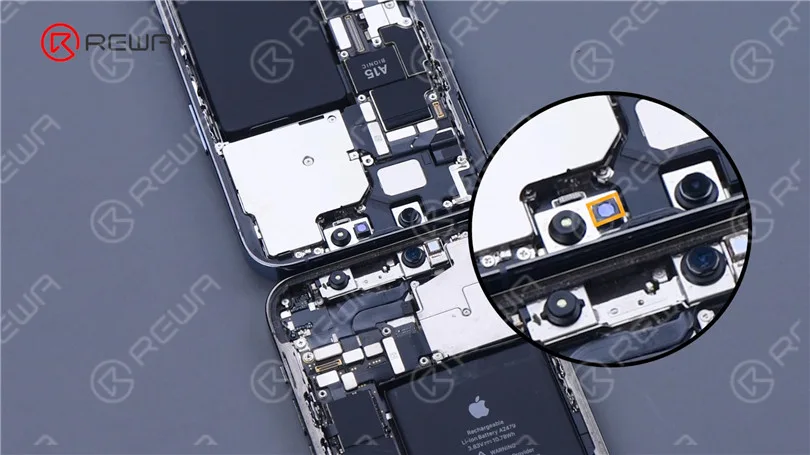
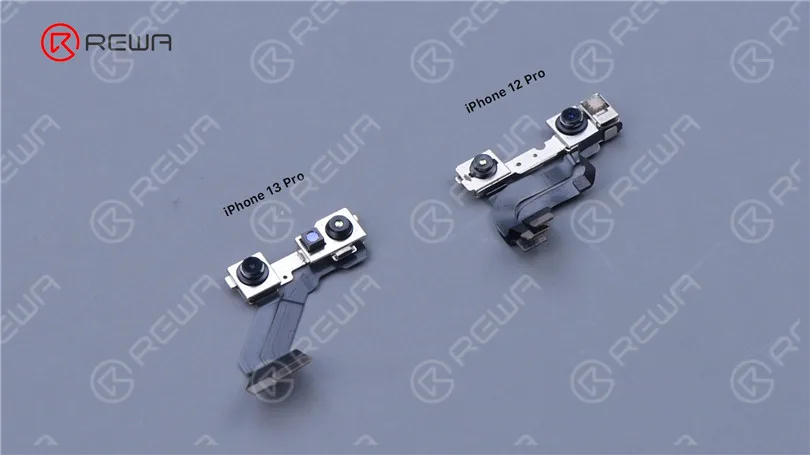
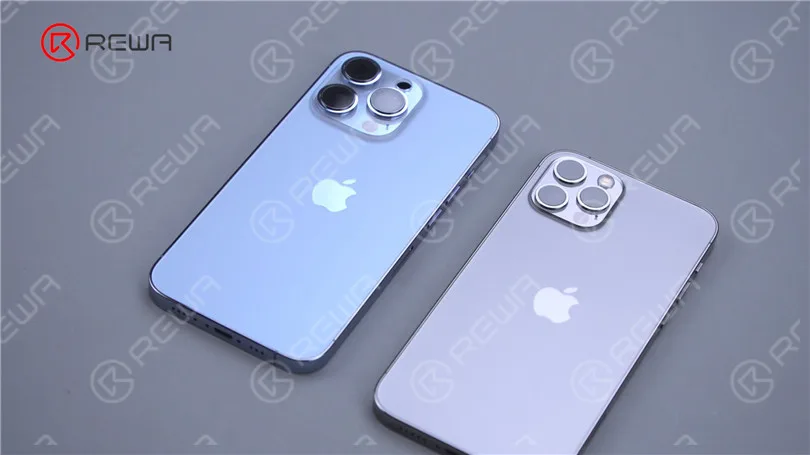
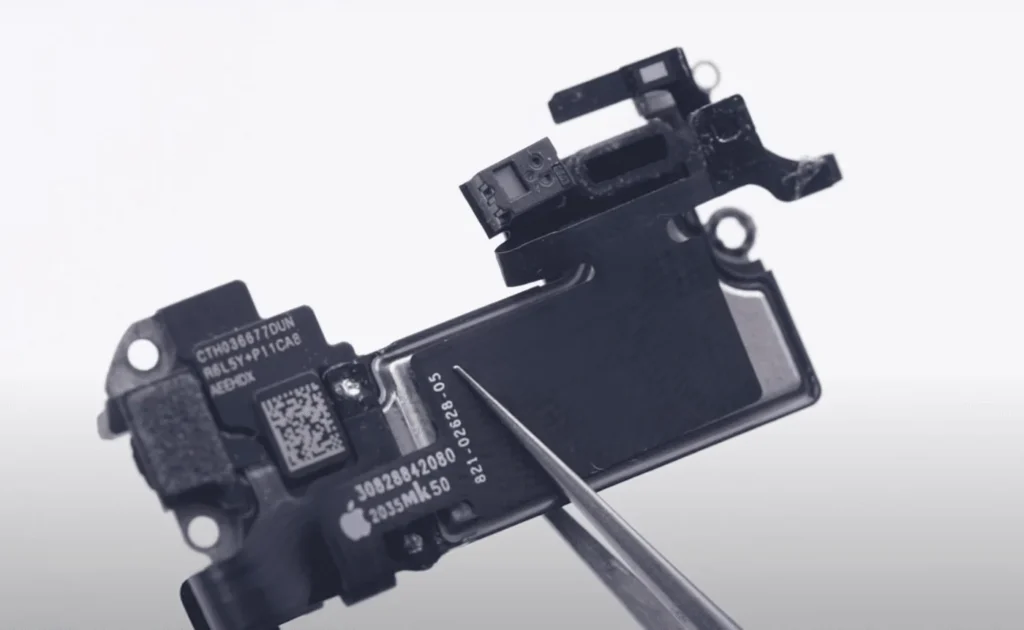
    The iPhone 13 Pro differs from the iPhone 12 Pro in several key ways, particularly in the Face ID system. Notably, the iPhone 13 Pro no longer has a separate flood illuminator on the earpiece module; it has been integrated with the dot projector. This integration allows for a smaller TrueDepth camera module, with the dot projector now centrally located. These changes make the Face ID system more compact but also more challenging to repair.
    Repair Tools Required for the Face ID Issue

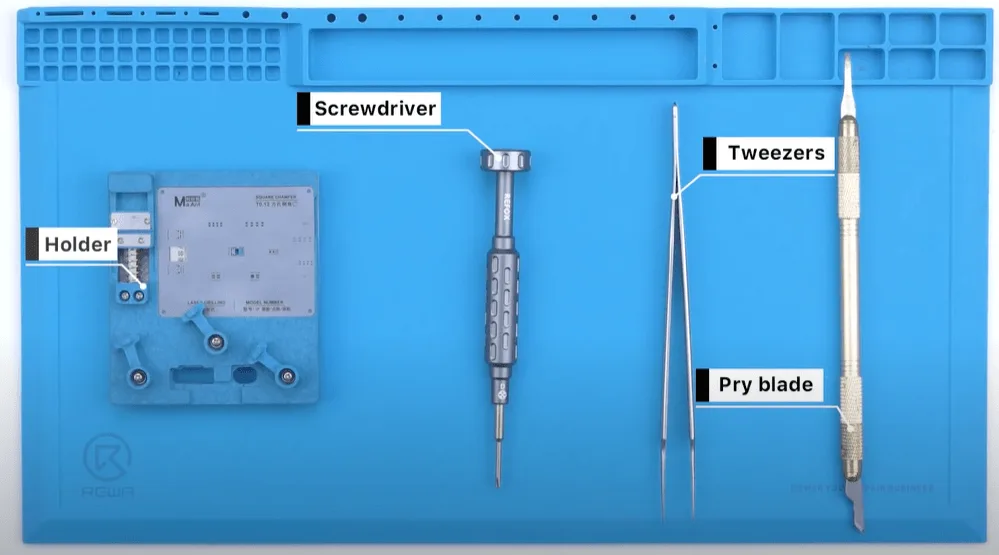
    1. Face ID Lattice Repair Hold Fixture
    2. Screwdriver, tweezers, pry blade
    3. Face ID programmer and computer

    Face ID Issue Repair Process

    Initial Diagnosis:

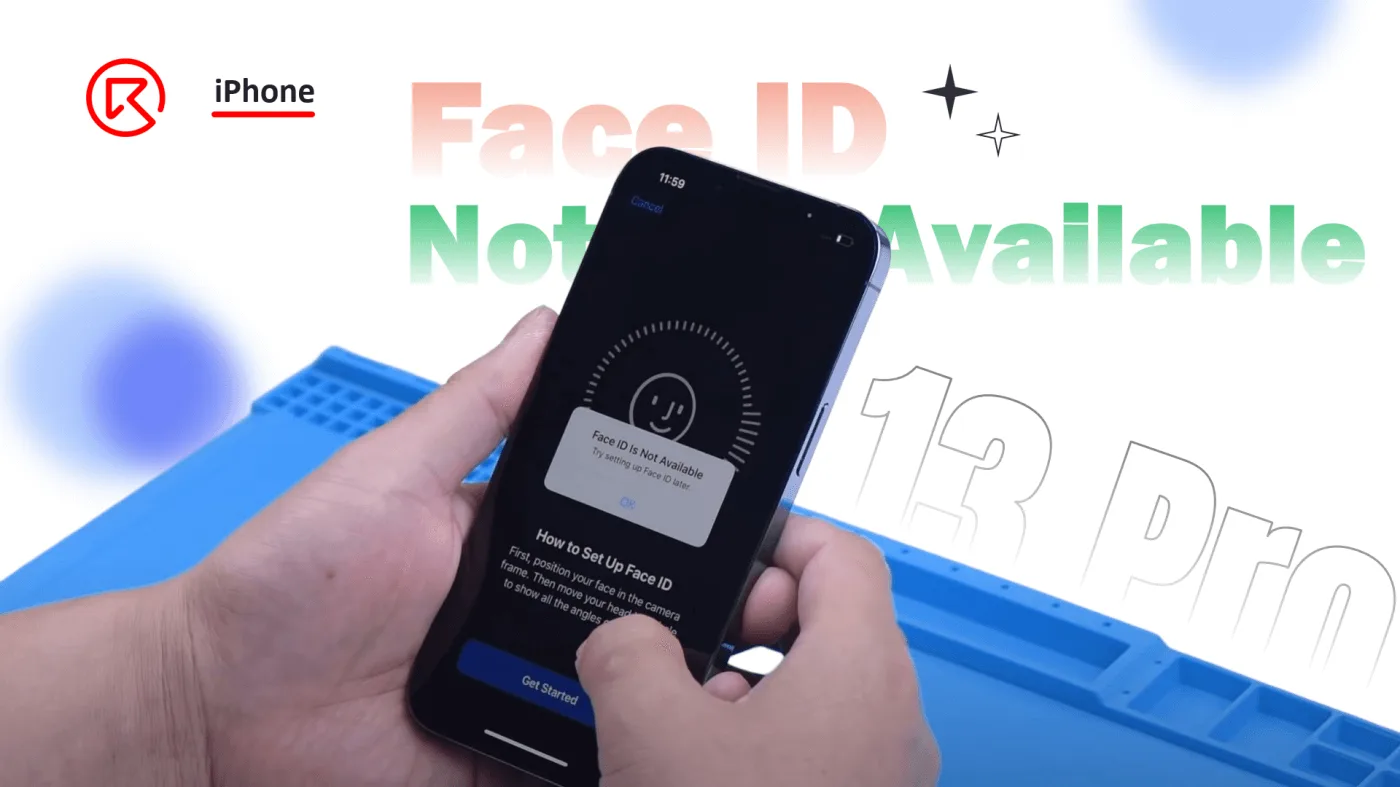
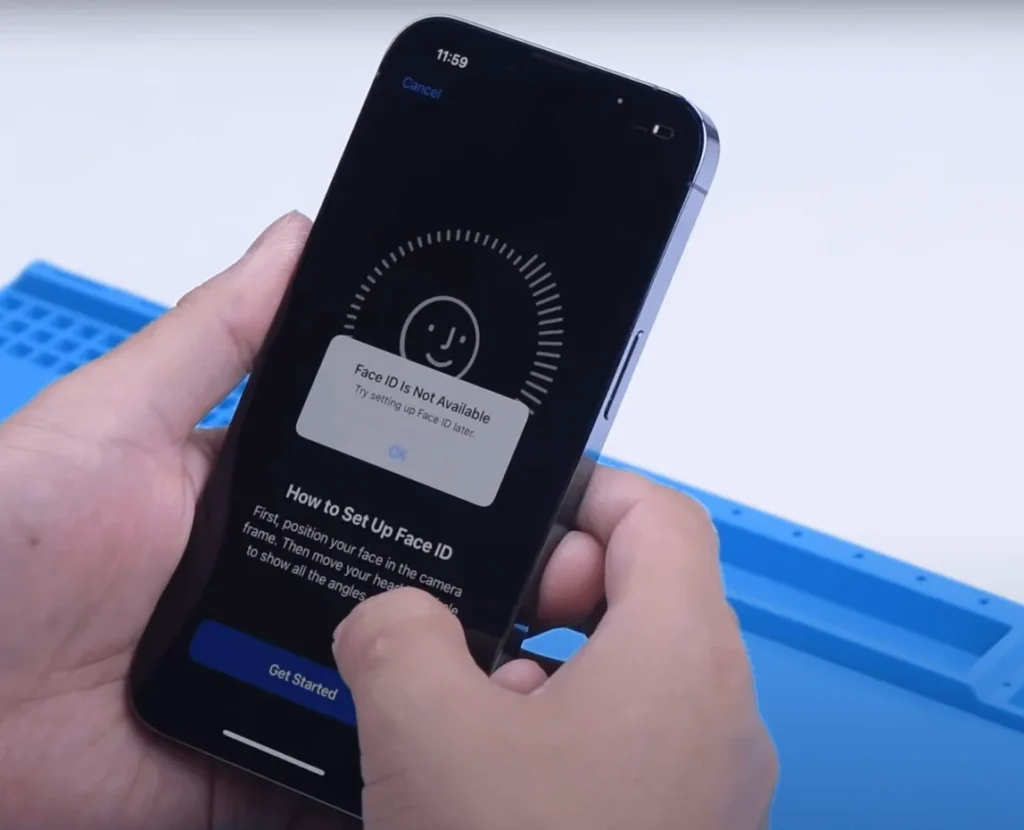
    • When your iPhone 13 Pro displays the message “Face ID is not available, try setting up Face ID later,” it’s a sign that the Face ID module might be malfunctioning.
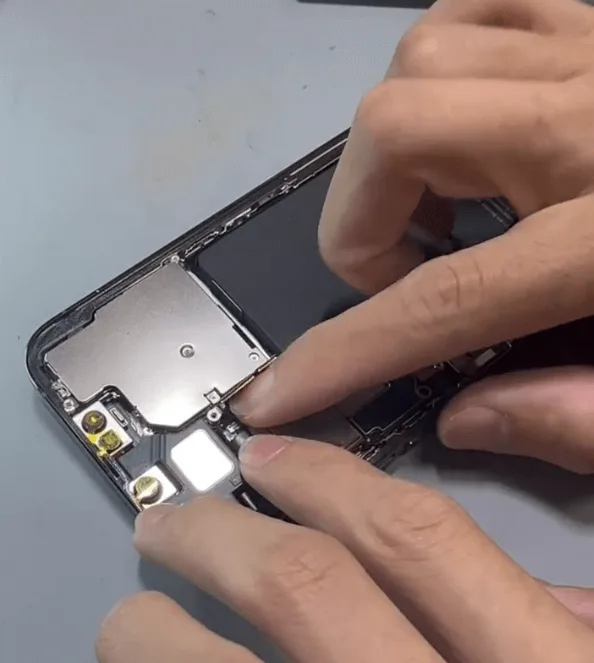
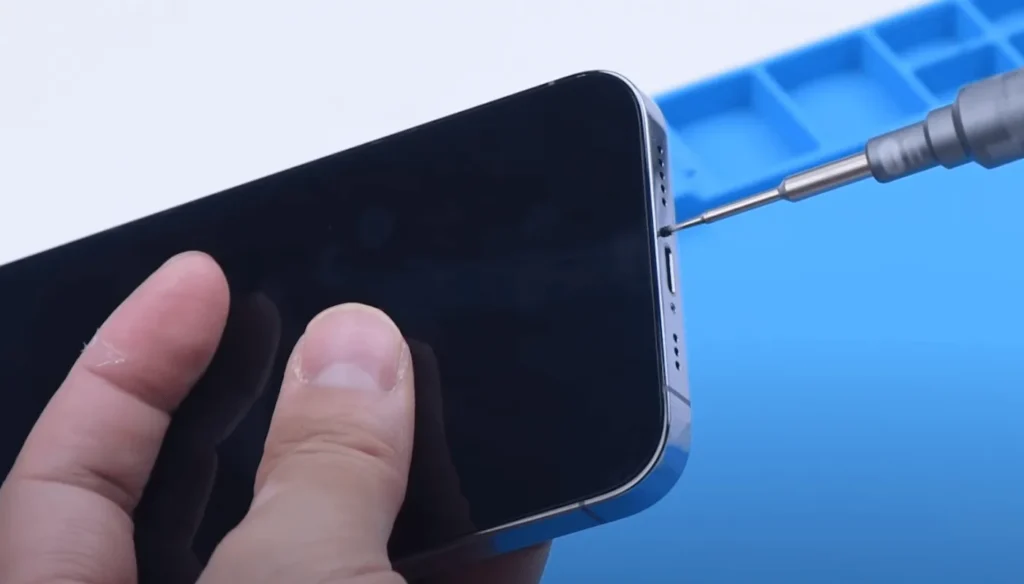
    • Begin by shutting down the phone and removing the bottom screws to carefully take apart the phone.
    Disassemble the Phone:

    • Disconnect the screen flex cable to remove the display.
    • To prevent damage, apply protective stickers on the front camera module before proceeding with the repair.
    • Next, remove the front camera, infrared camera, and dot projector module.

    Data Backup:

    • Connect the Face ID module to the programmer and the camera to the computer.
    • Open the specified Face ID software and click the “Pearl Unbind” button to back up the necessary data.

    Then disconnect the screen flex cable to remove the display.

    To avoid the potential damage, we should also apply some stickers on the front camera module before repairing.
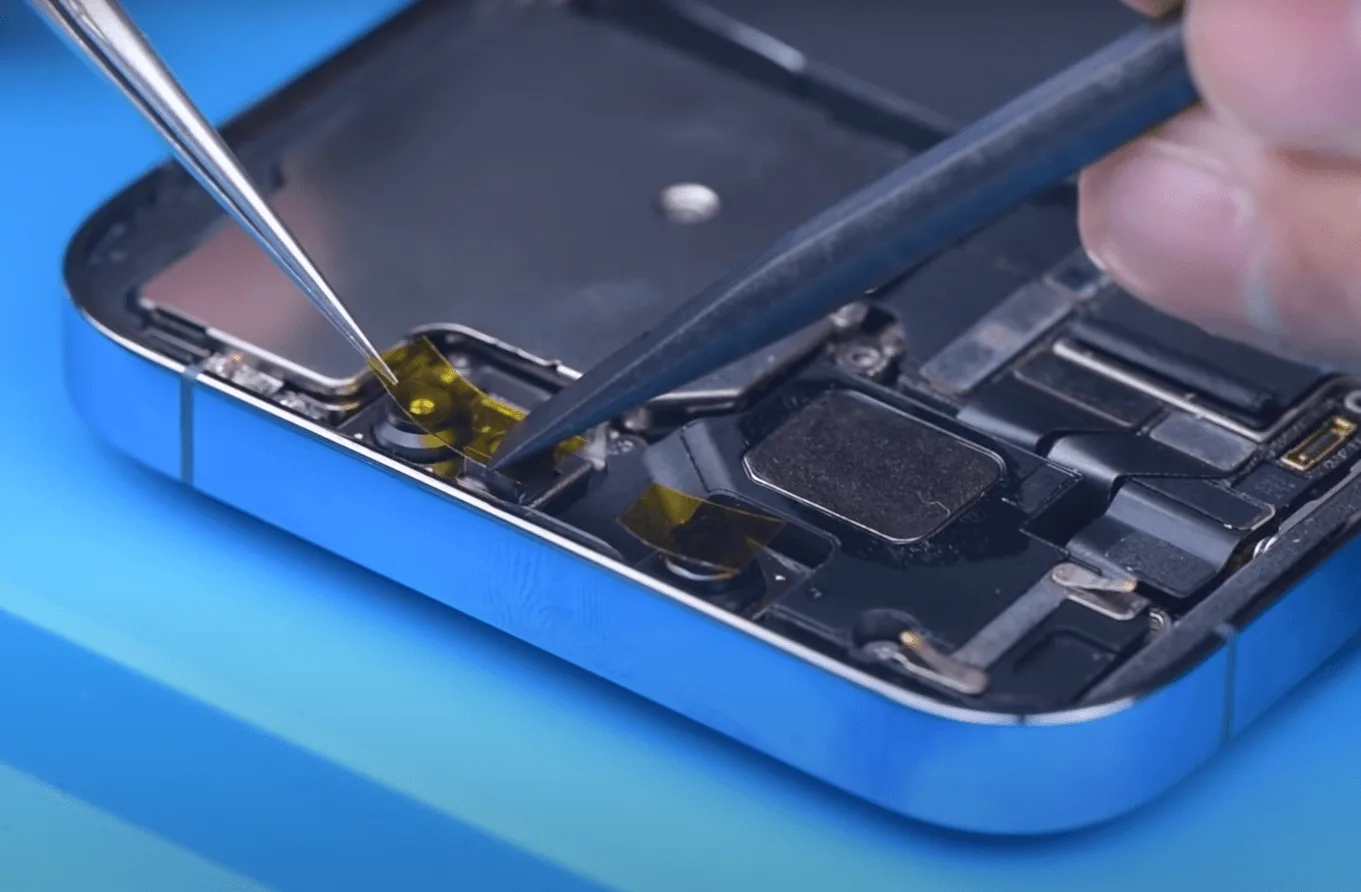
    Next, take out the front camera, infrared camera and dot projector module out.
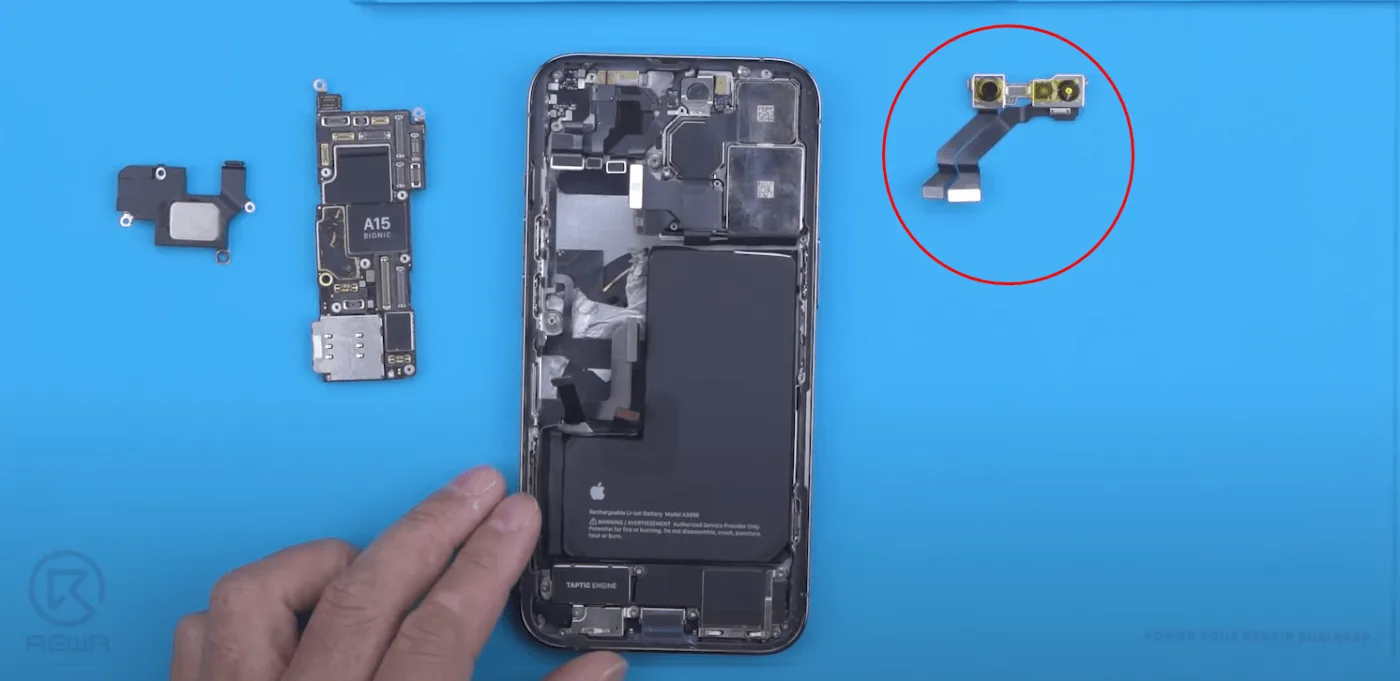
    In the first place, let’s connect the Face ID module with the programmer, and the camera to connect with the computer.
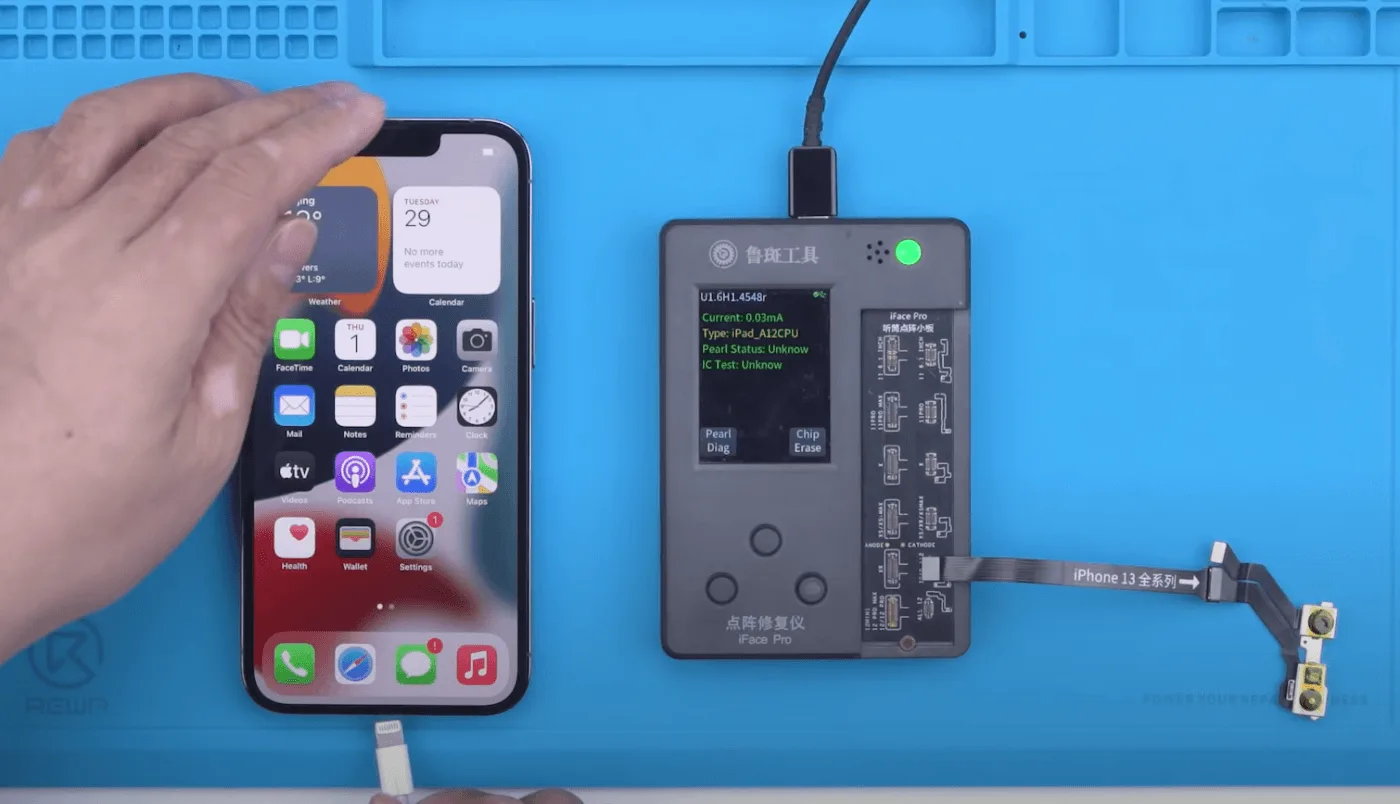
    Then open the specified Face ID software and click the “Pearl Unbind” button to back up the data.
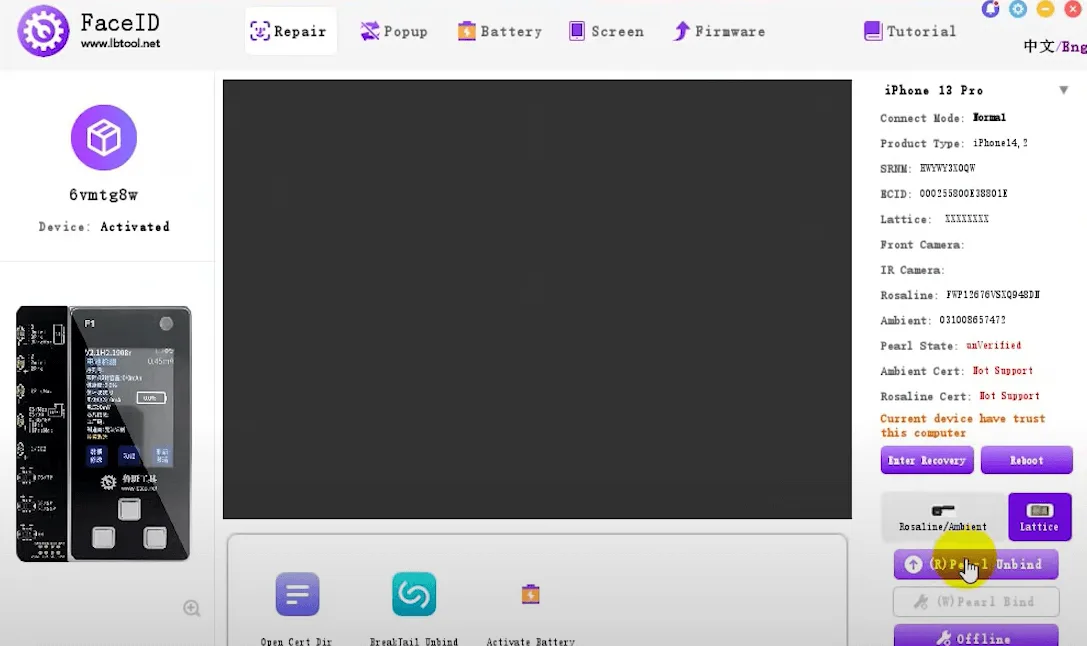
    iphone 13 pro face id not available repair backup the data

    After unbinding, attach the Face ID module to the holder and carefully remove the metal plate with the grinding pen.
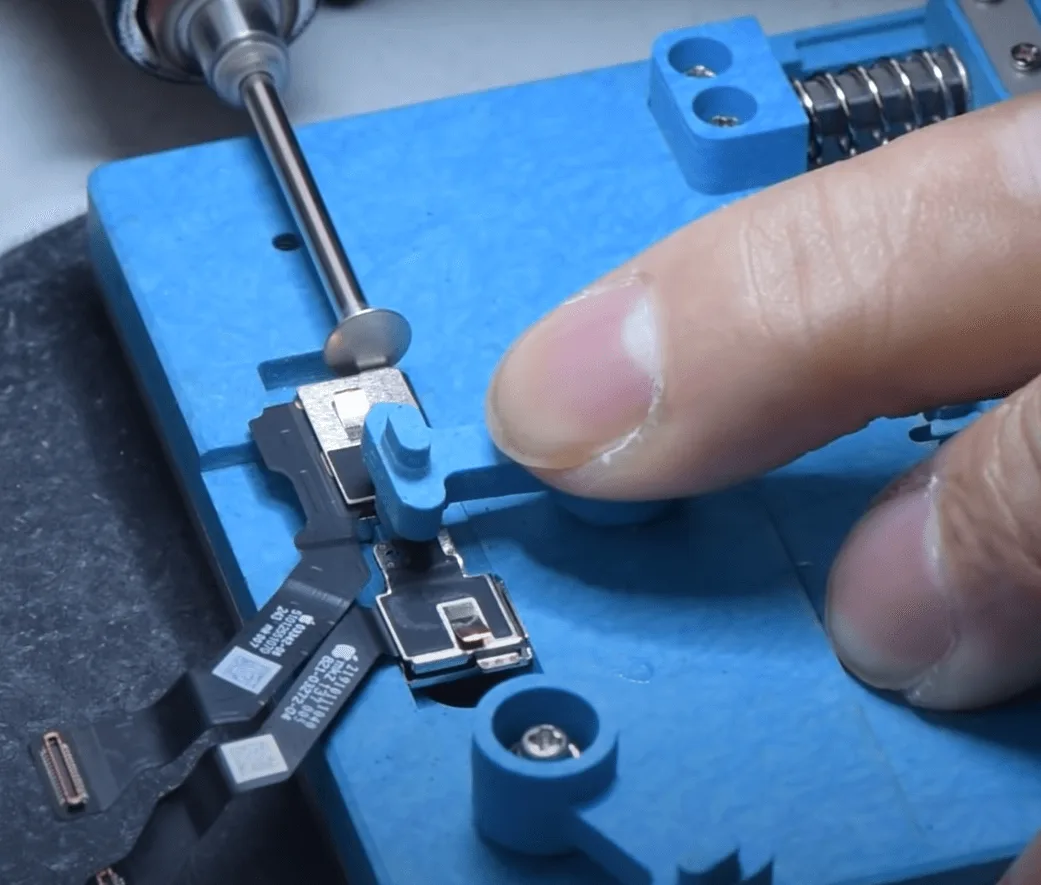
    Pry up the shielding cover with a sculpture knife
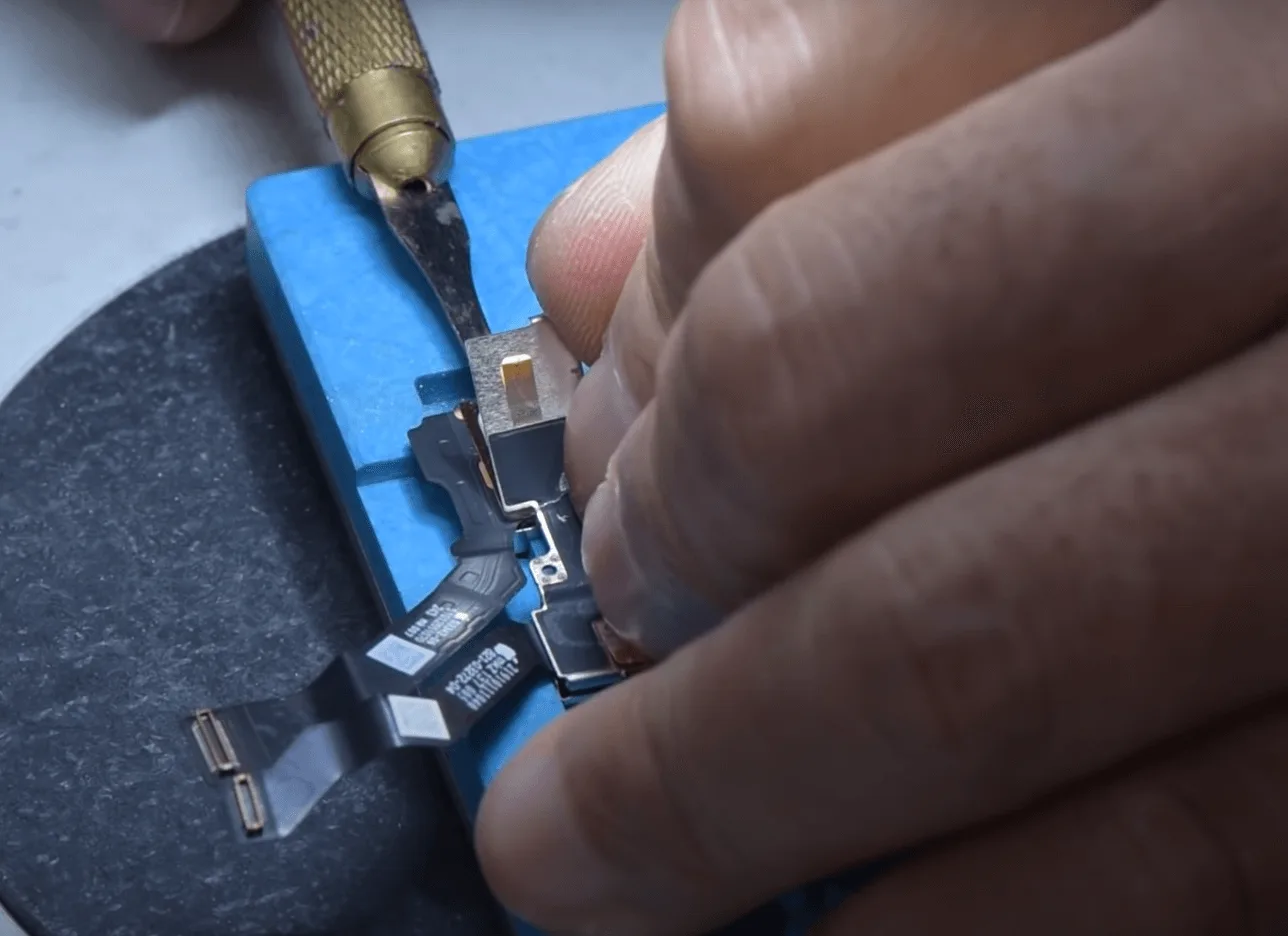
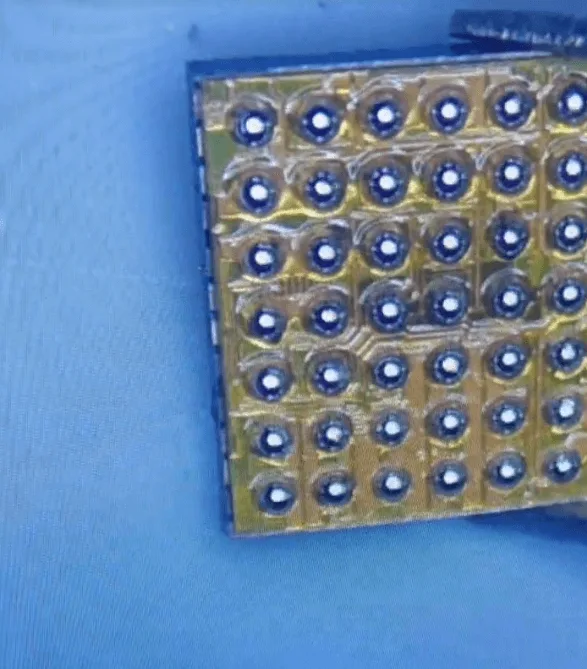
    Then remove the dot projector with the hot air gun at 120℃, during heating pry with a blade to separate. Below is how the dot projector inner board looks like
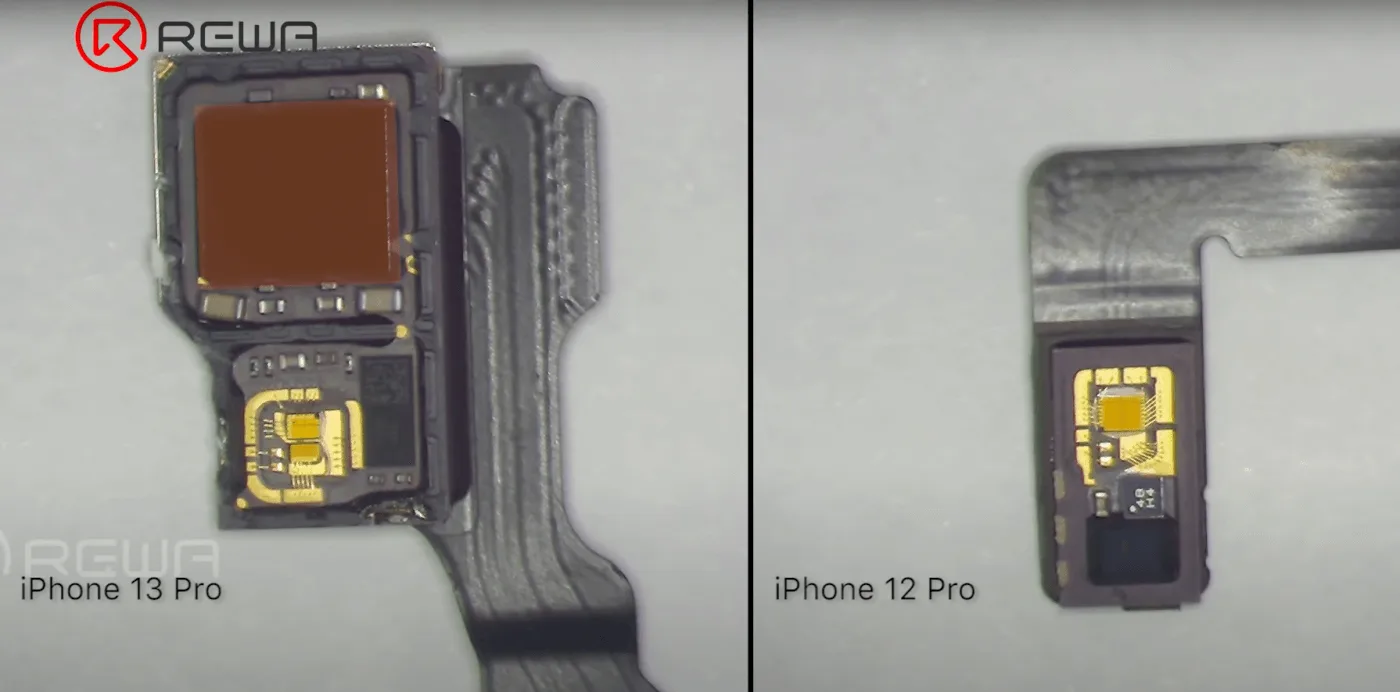
    iphone 13 pro face id not available repair compare with obviously the

    Compare with iPhone 12 Pro, obviously, the dot projector of the iPhone 13 Pro with flood illuminator integrated.

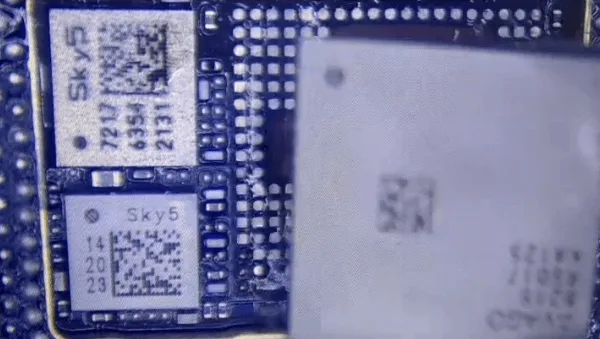
    Then let’s remove the chip with the hot air gun at 330℃ carefully
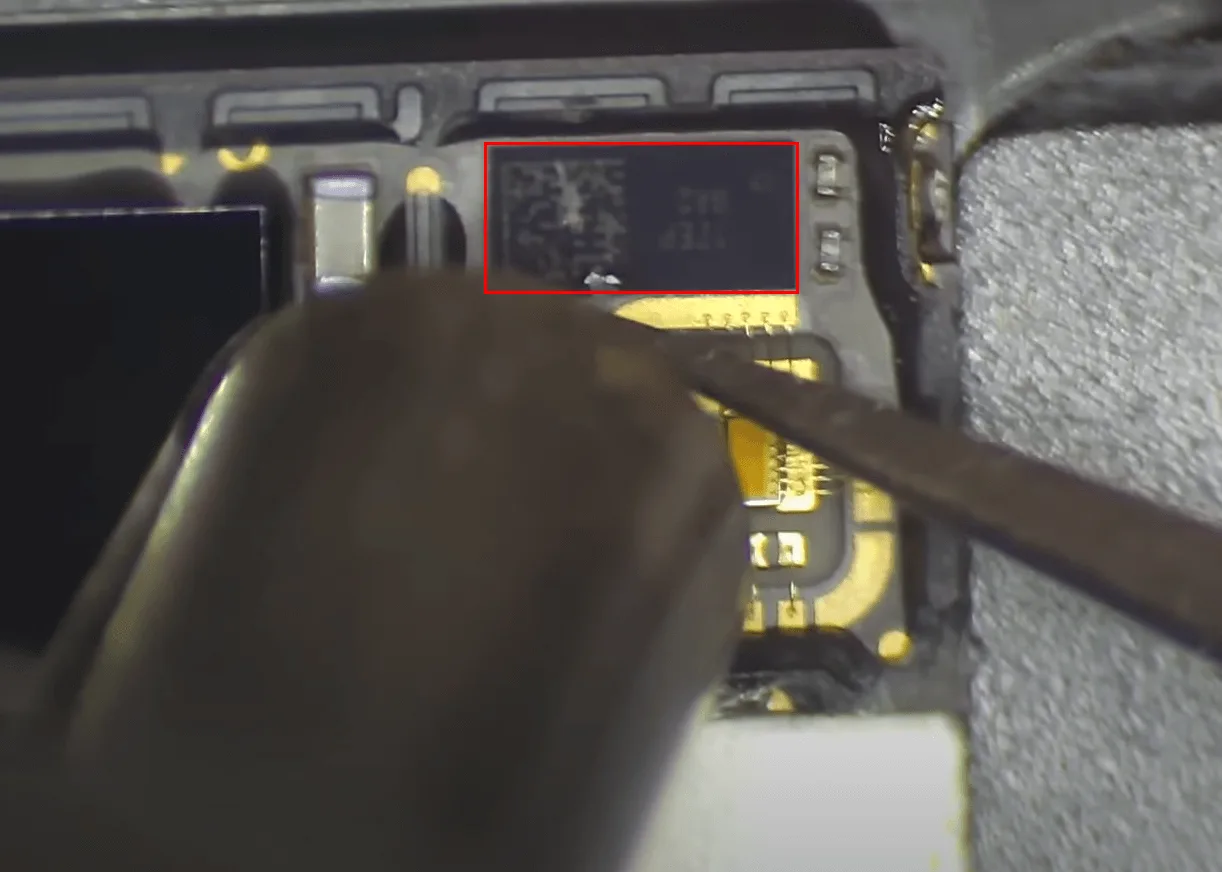
    iphone 13 pro face id not available repair the chip that need to be

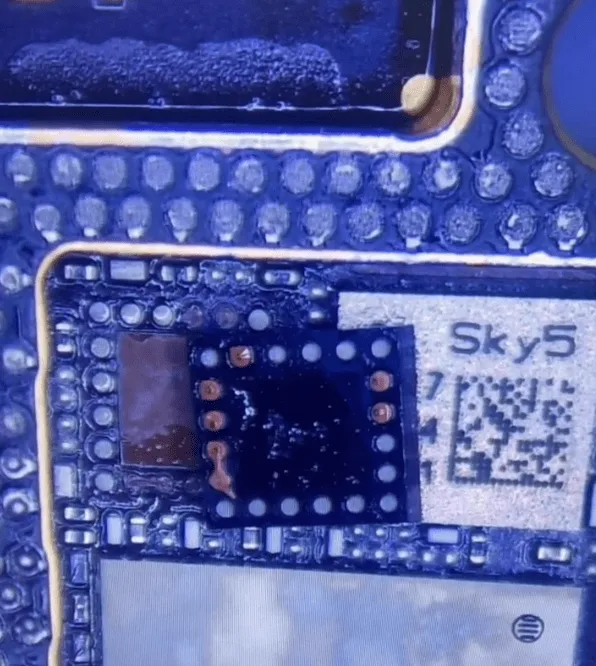
    Then clean the bonding pads on the tiny PCB board with the hot air gun + soldering iron at 360℃.
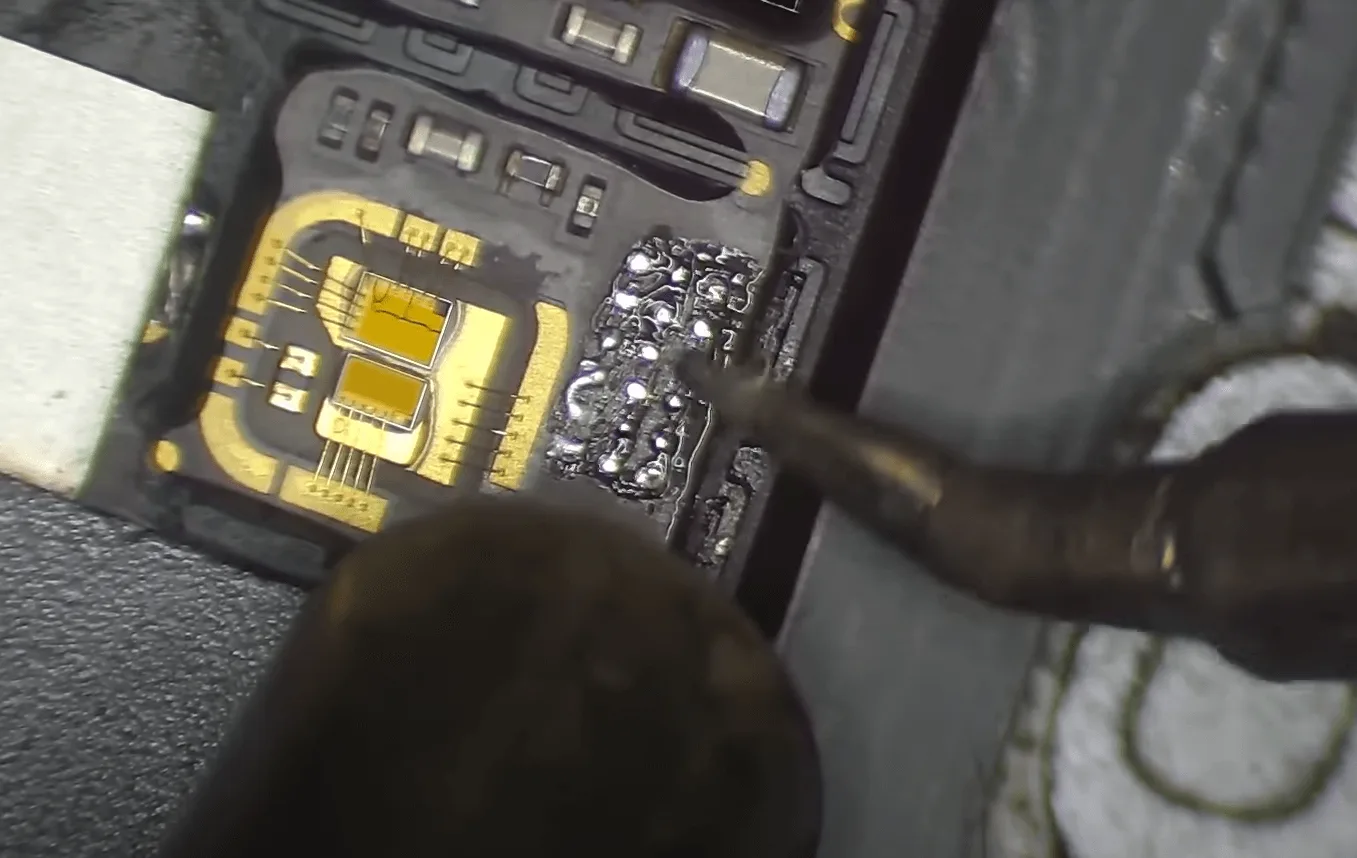
    iphone 13 pro face id not available repair clean the pads on pcb with

    Keep cleaning the bonding pads with solder wick till the pads are clean and flat

    Pay attention to not damaging the golden wire during operation
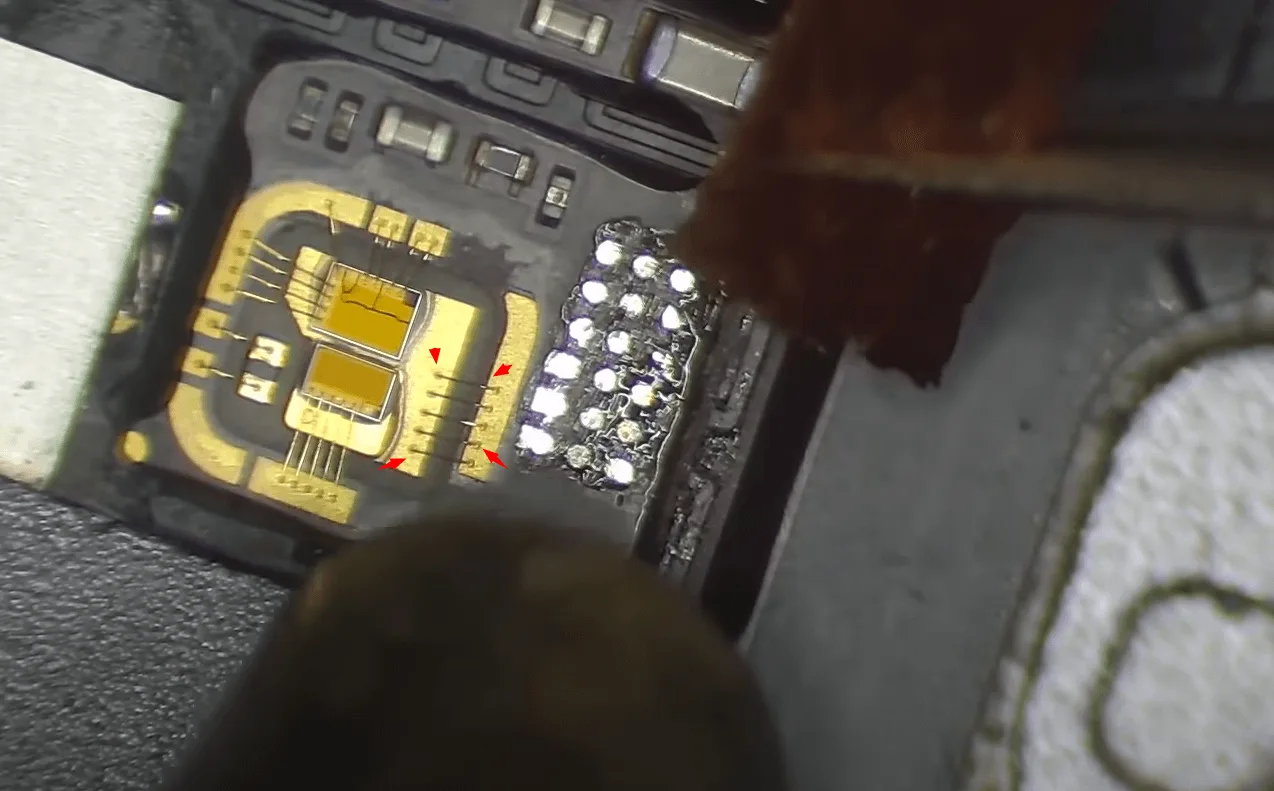
    iphone 13 pro face id not available repair pay attention to damage the

    Clean the pads again with the PCB cleaner
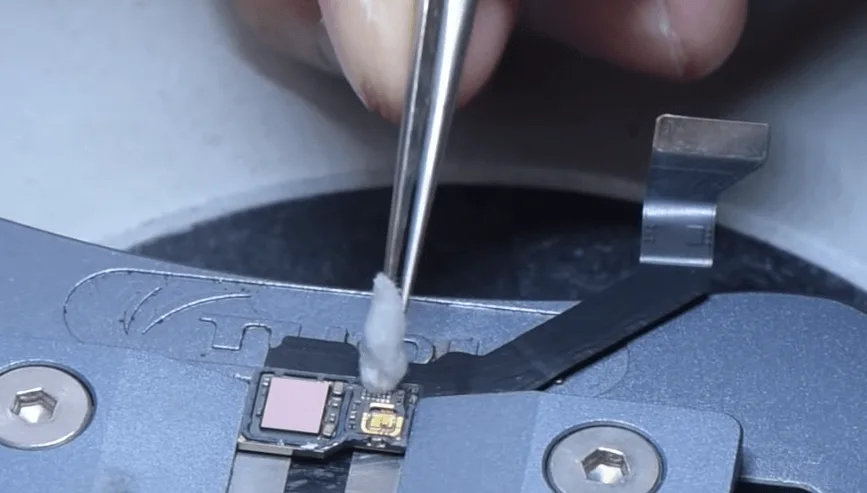
    iphone 13 pro face id not available repair clean the pads with pcb

    Apply some solder paste to the bonding pads
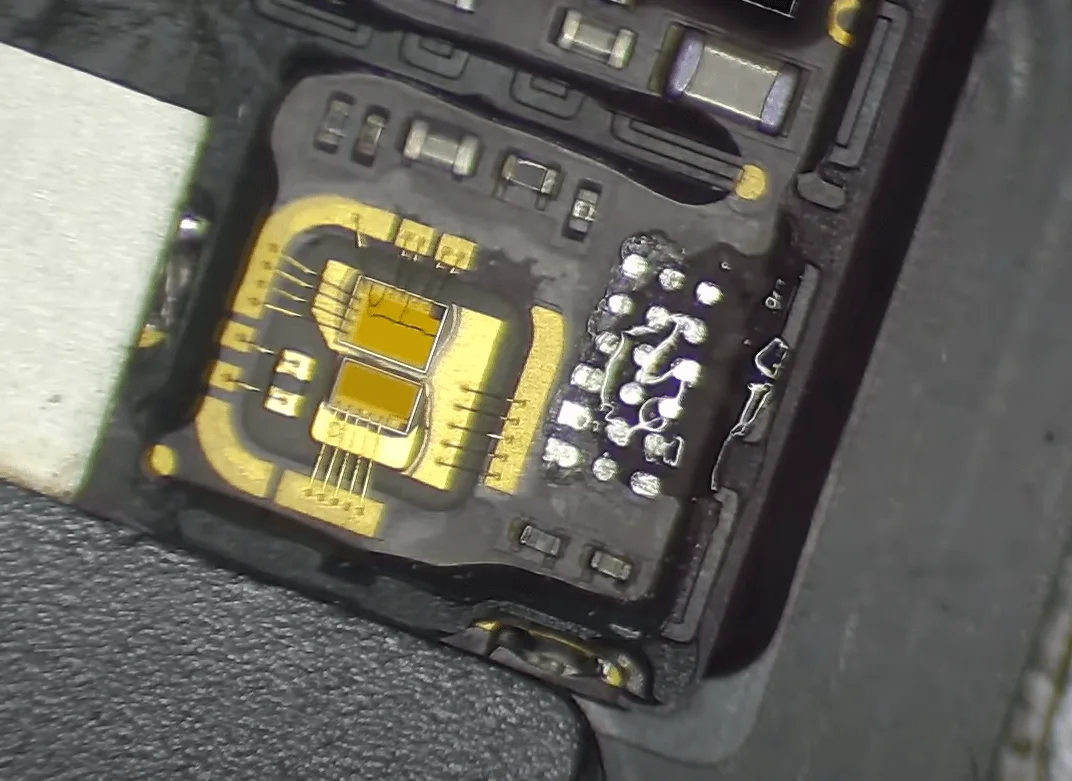
    iphone 13 pro face id not available repair apply paste to the bonding

    Align and solder a tiny transfer PCB board with the hot air gun at 330℃. (the new chip pads quantity is smaller, so we need to solder a PCB transfer board first)
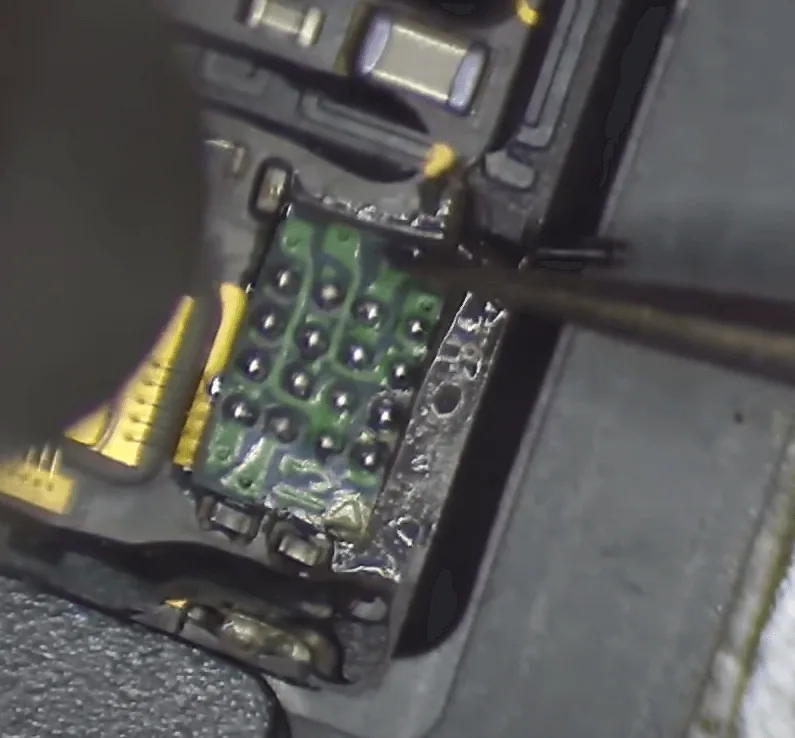
    iphone 13 pro face id not available repair transfer pcb board

    Then flatten the bonding pads on the little board with solder wick first, then align and put the new IC in position.

    Heat with the hot air gun to solder it on the surface of the little PCB, the heating temperature is also around 330℃.
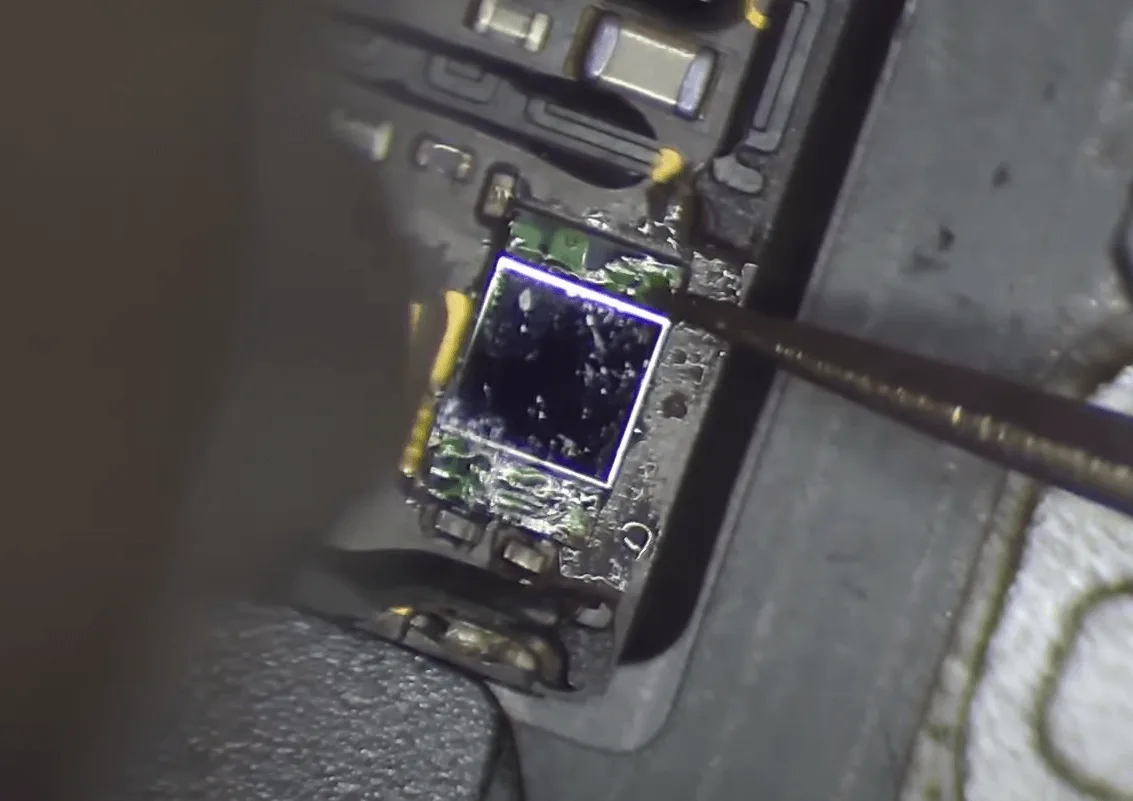
    iphone 13 pro face id not available repair heat with the hot air gun to

    After that, connect the cable with the pearl programmer to write the data by pressing the “Pearl bind” button on the software.
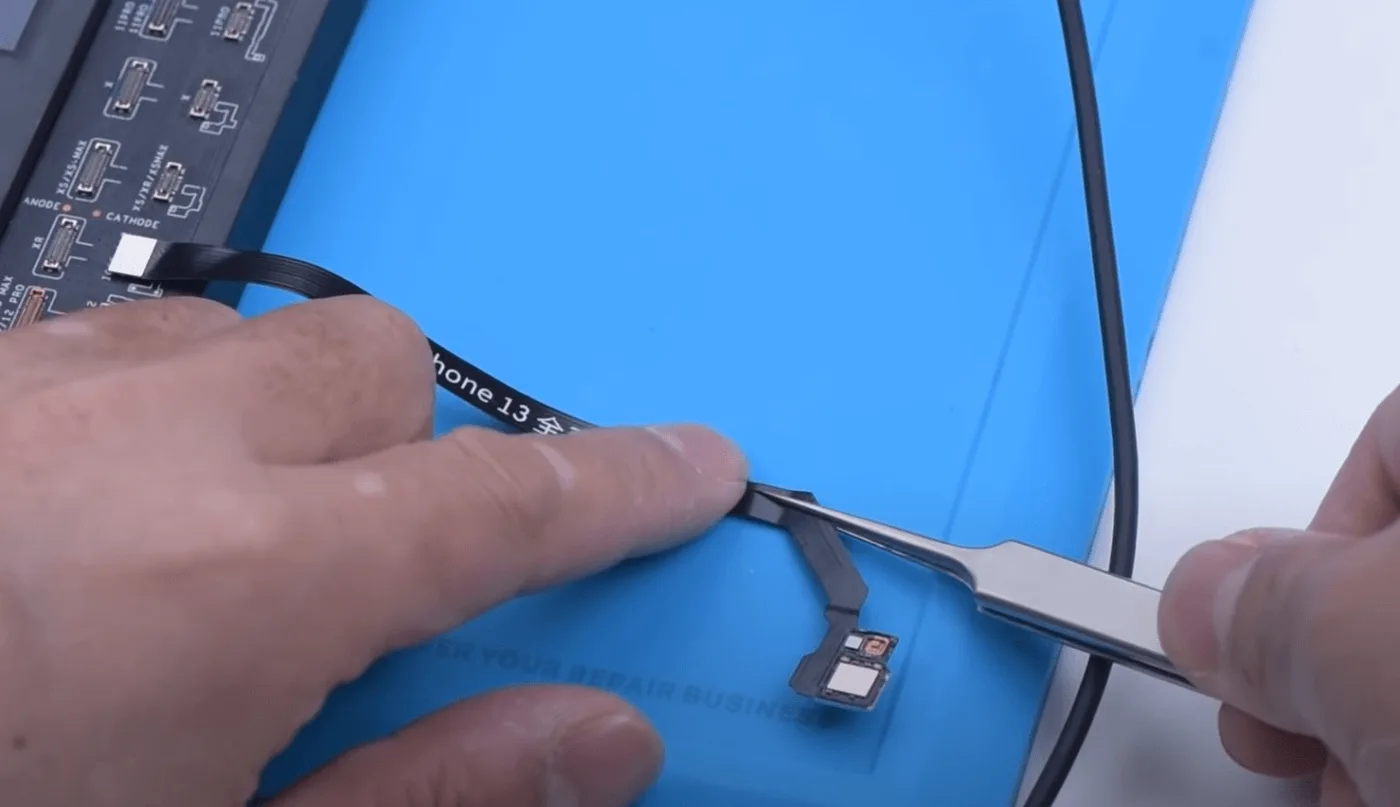
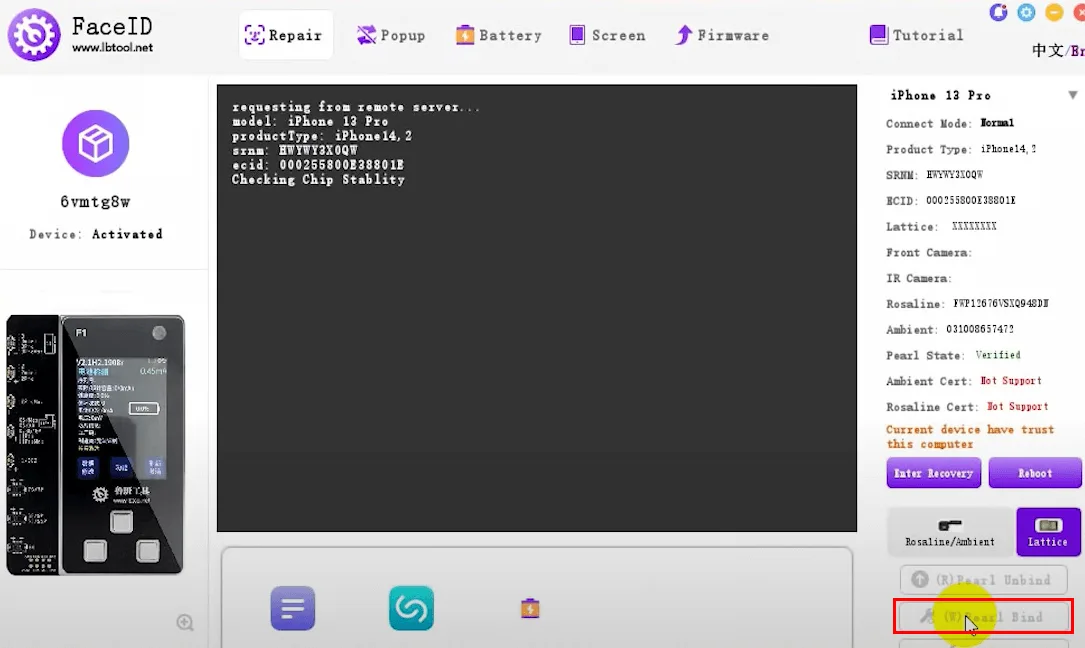
    iphone 13 pro face id not available repair connect with programmer
    iphone 13 pro face id not available repair pearl bind

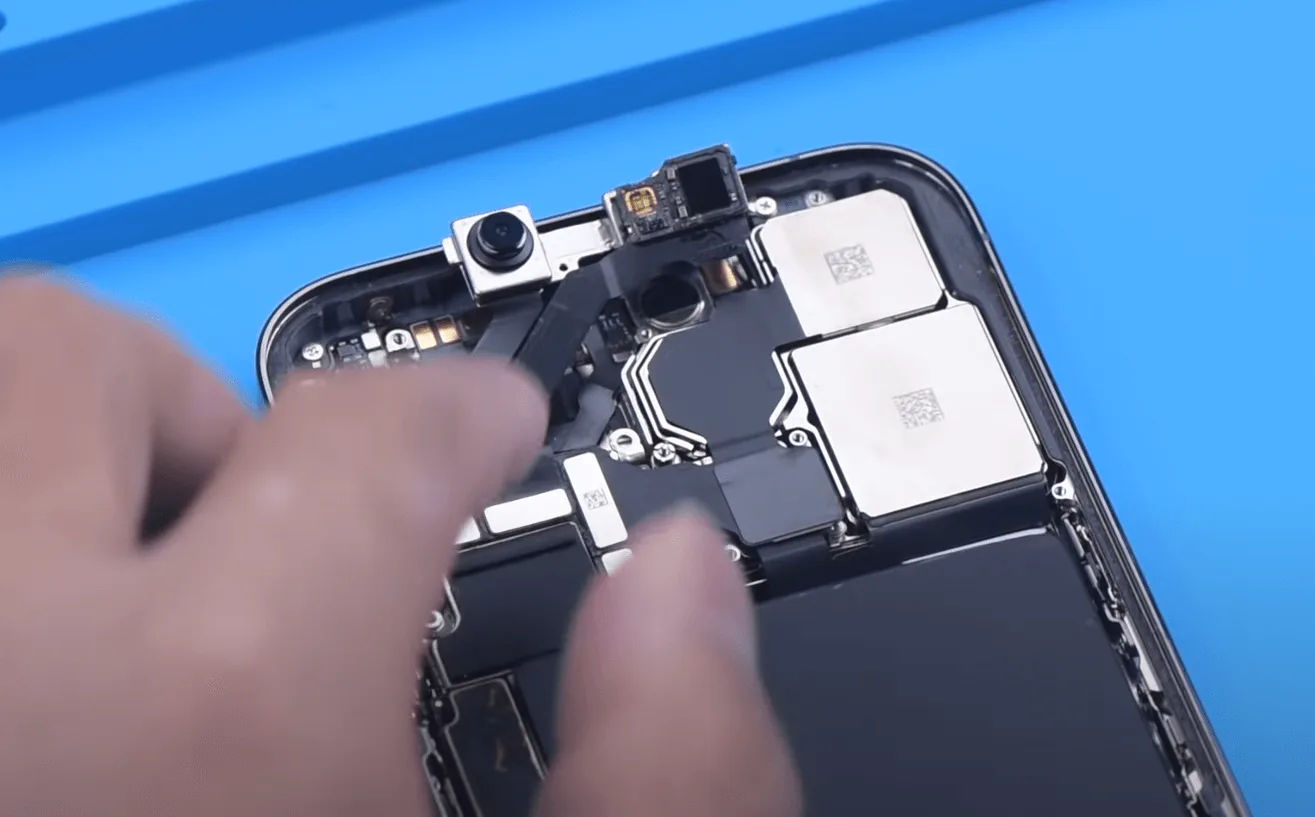
    Next, we install the flex cable on the phone for testing
    iphone 13 pro face id not available repair connect the flex cable on

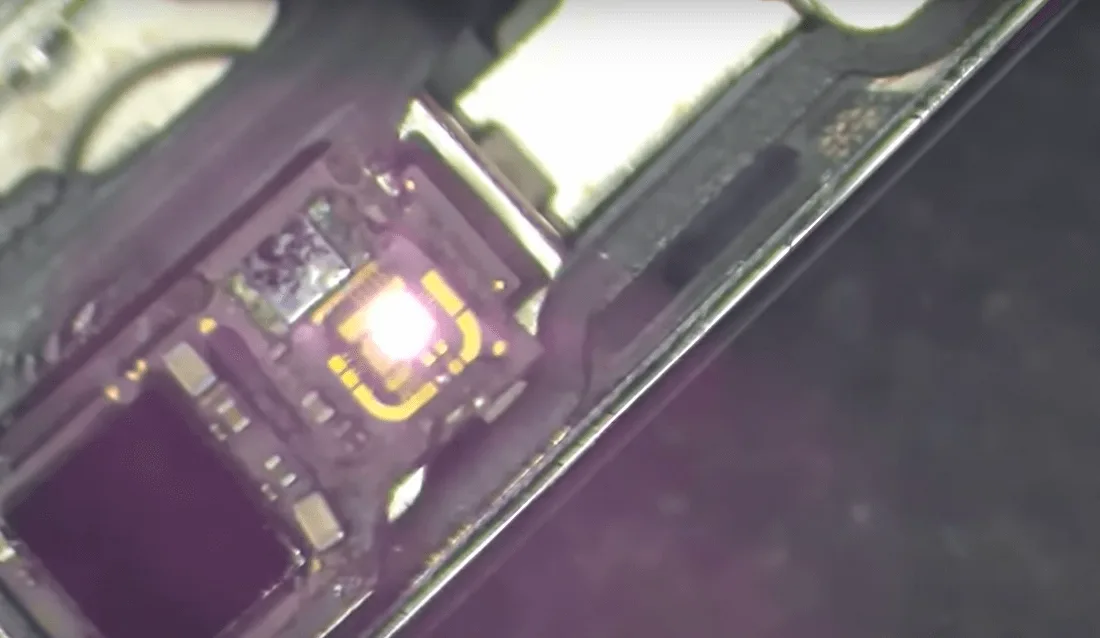
    The flood illuminator working fine

    iphone 13 pro face id not available repair the flood illuminator working

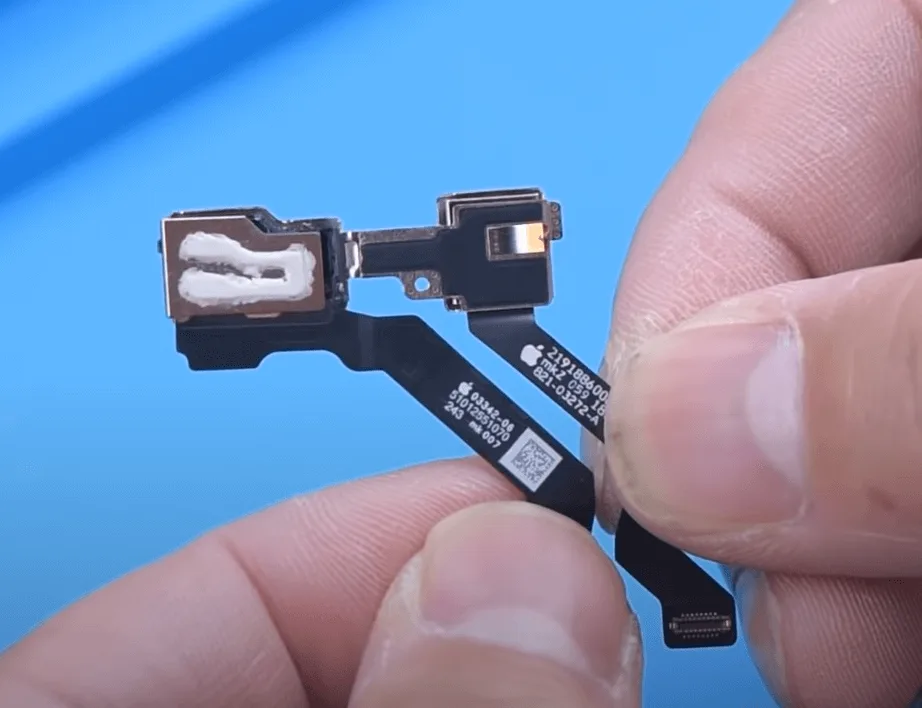
    Ok, the test is OK. Then let’s assemble the front camera module
    iphone 13 pro face id not available repair assemble the camera module

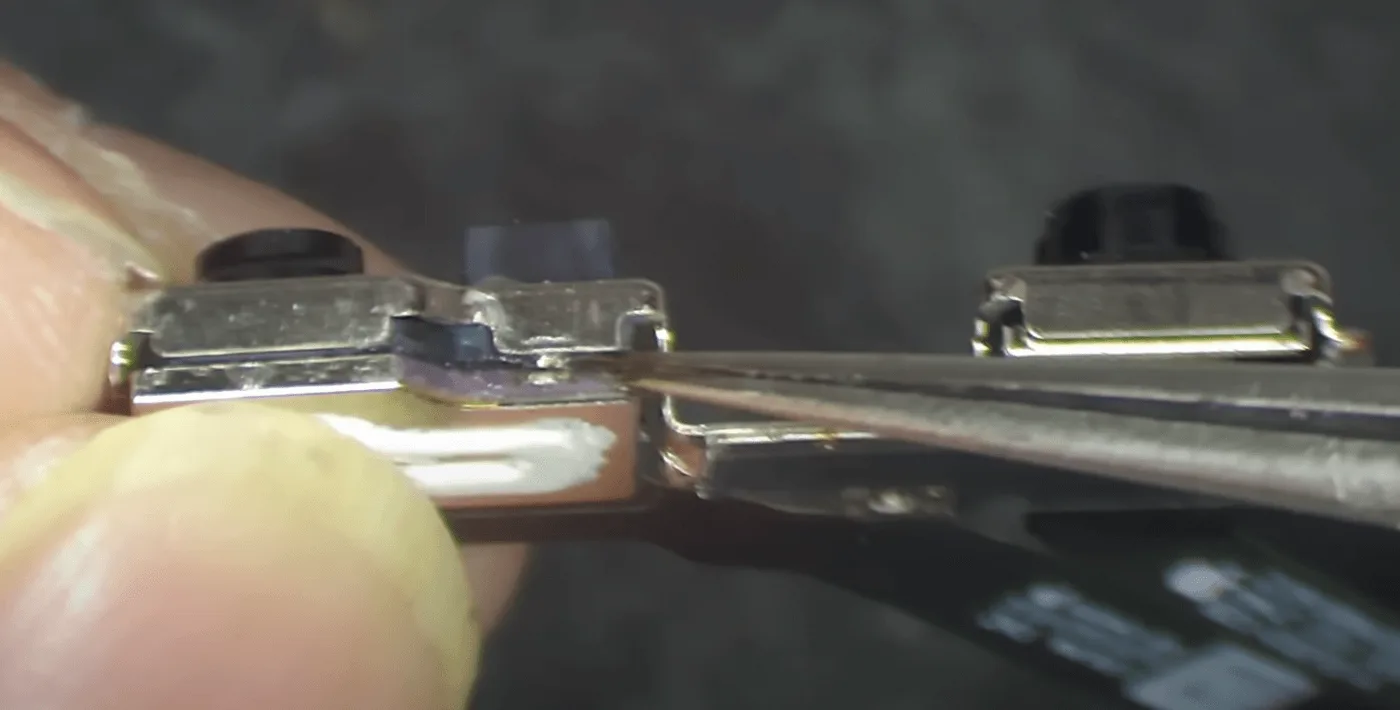
    After alignment apply some specialized adhesive glue
    iphone 13 pro face id not available repair after alignment apply some

    Once the adhesive is set, install the front camera module, and connect the screen and battery to test.

    Final Test:

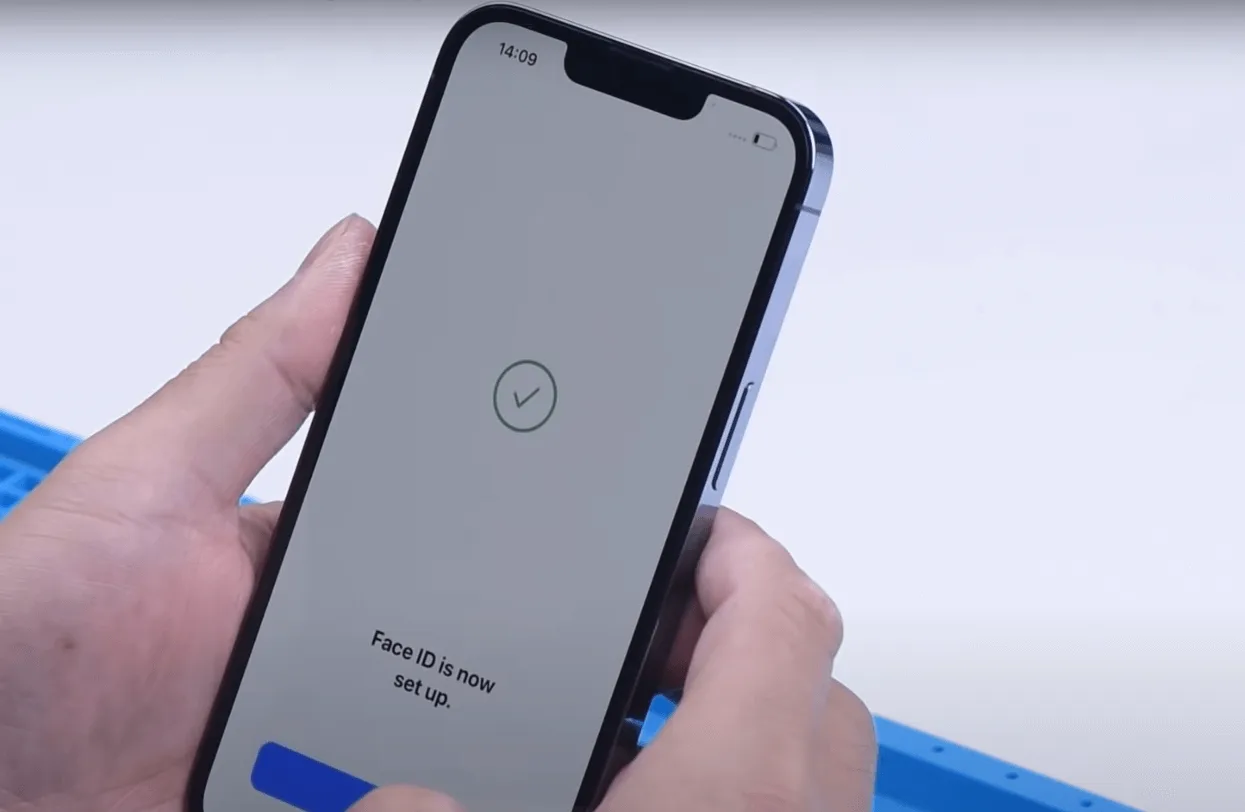
    Turn on the iPhone, and set up Face ID. If the setup is successful, the Face ID repair is complete, and the feature should work perfectly.
    iPhone 13 Pro Face ID Is Not Available Repair

    Tips

    The integration of the flood illuminator with the dot projector in the iPhone 13 Pro not only reduces the notch size but also complicates Face ID repairs. Compared to previous methods involving flex cable replacement and module transfer, this new approach requires more precision and skill. The repair process is more demanding, emphasizing the importance of excellent handwork and attention to detail.
  • Repair Drop-Damaged iPhone 13 Pro No Display Issue Solutions

    Repair Drop-Damaged iPhone 13 Pro No Display Issue Solutions

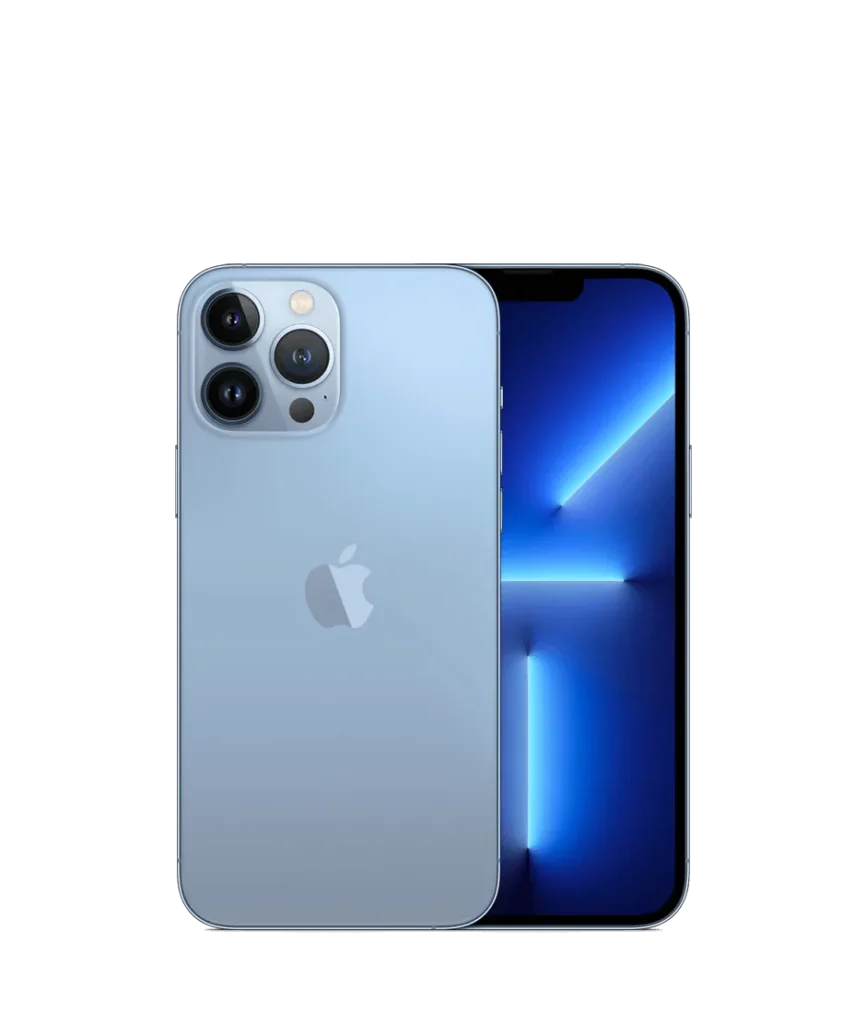
    In September 2021, Apple released iPhone 13 Pro and received a lot of praise from the tech community.
    Nevertheless, accidents happen, and even seemingly functional devices can be rendered unusable after getting damaged by a drop. If you’ve recently suffered a drop-damaged iPhone 13 Pro with a cracked back cover and a faulty screen, you’re not alone. Throughout this blog post, we’ll look at effective solutions for diagnosing and repairing your iPhone 13 Pro no display issue.

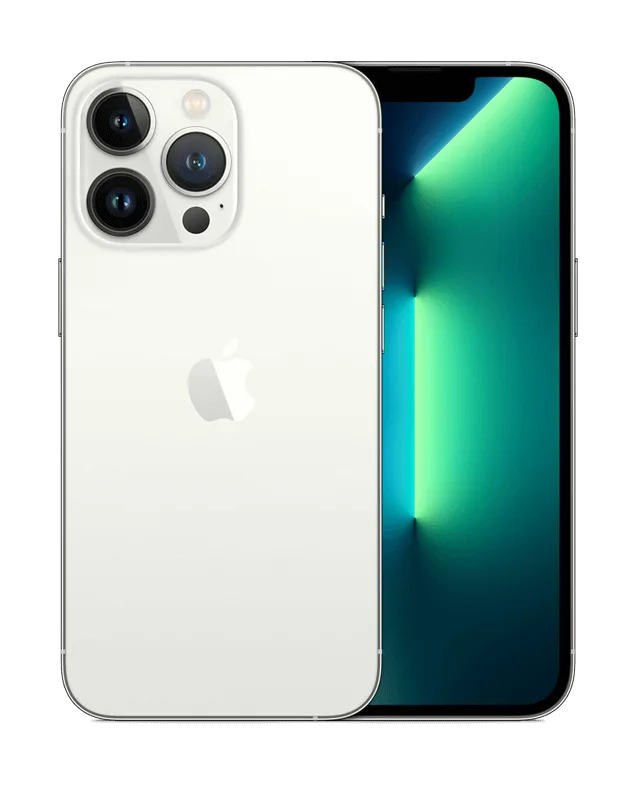
    iPhone 13 Pro

    Phone Details:

    Model: iPhone 13 Pro

    Announced: 2021, September 14

    Defect Phenomenon

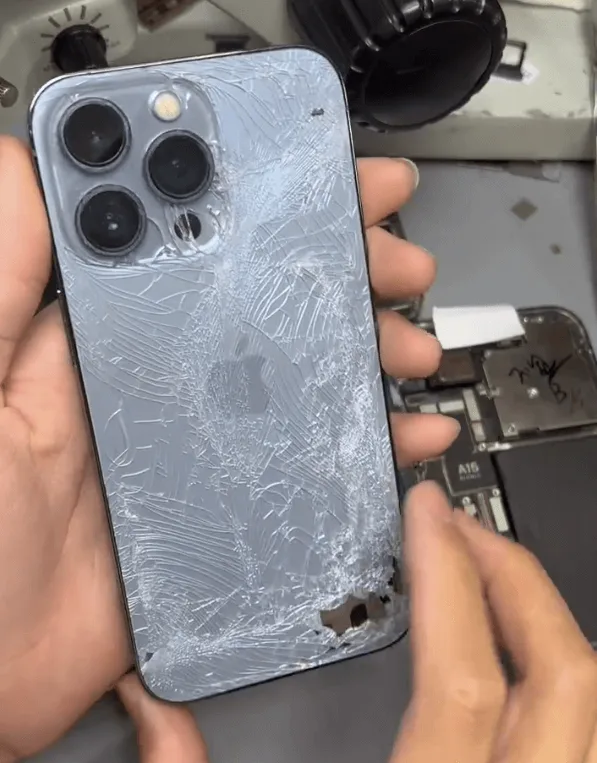
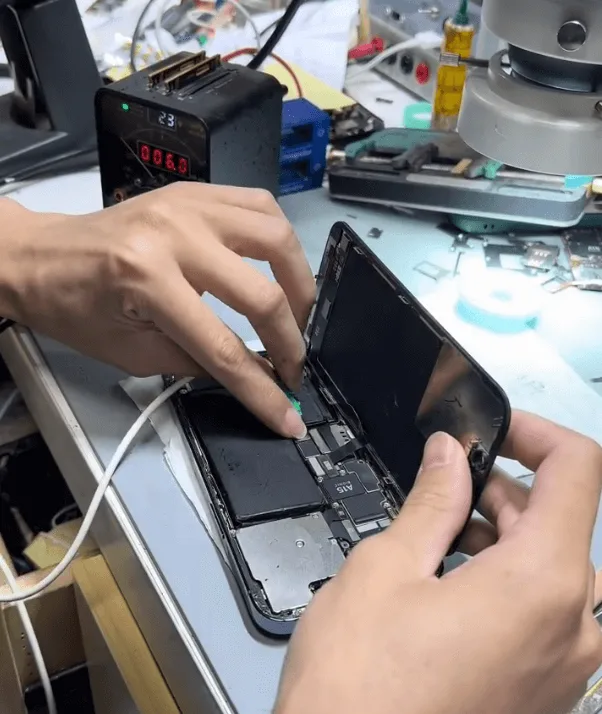
    A second-hand, recycled iPhone 13 Pro came in for repair. The phone appears to have sustained drop damage, evidenced by the severely cracked back cover glass and a slightly deformed motherboard. Despite these issues, the phone’s boot current is normal, but there is no display on the screen.

    Troubleshooting

    1: Initial Checks

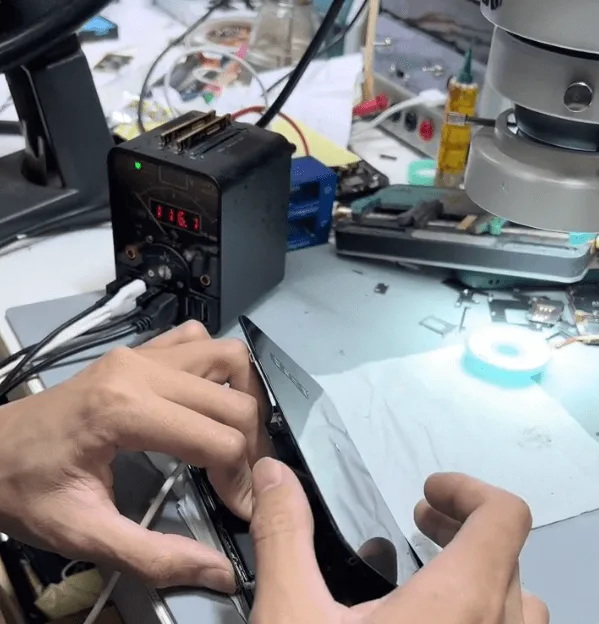
    connect iphone 13 pro with dc power supply
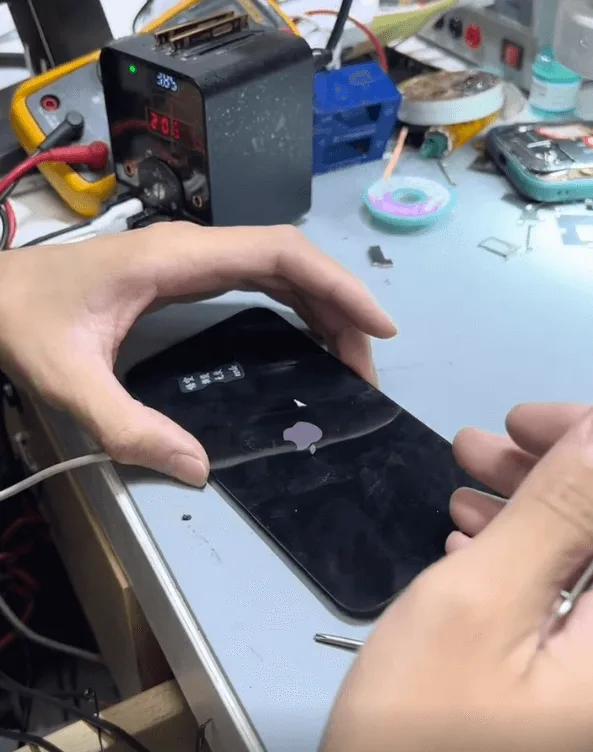
    • Connect the motherboard to a DC power supply machine. The boot current appears normal, indicating that the phone is attempting to start up, but the screen remains blank.
    • Suspect that the screen might be damaged. Replace the screen with a new one to test, but the issue persists—there is still no display.
    • Conclude that the problem likely originates from the motherboard rather than the screen.

    2: Identifying the Issue:

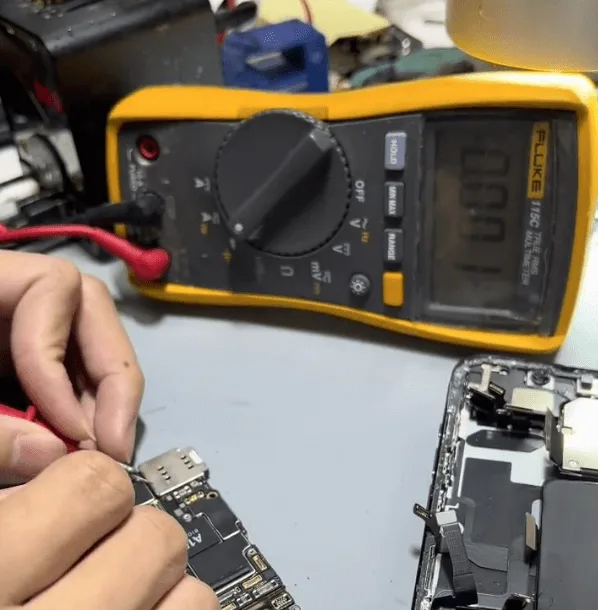
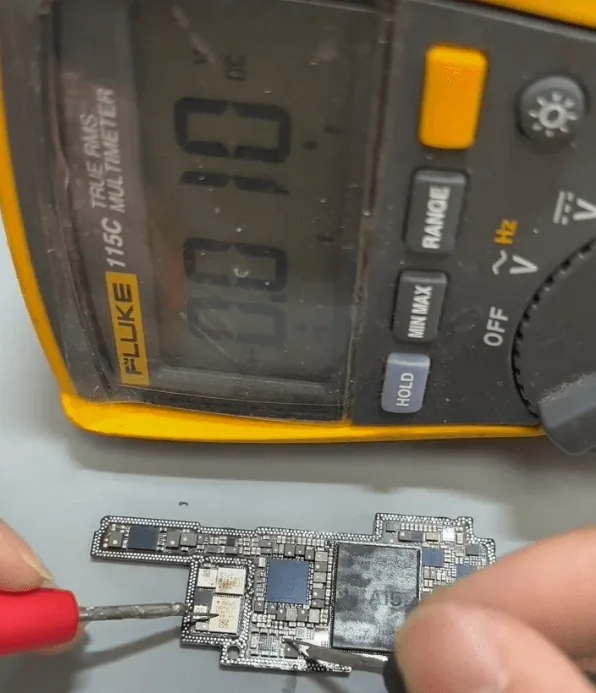
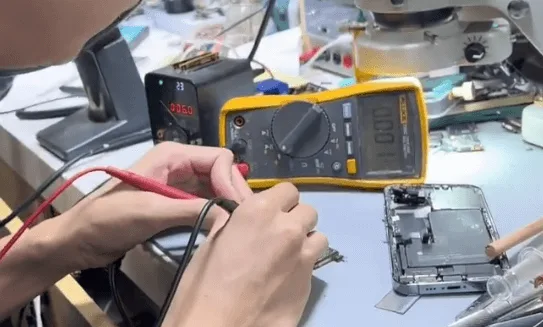
    check iphone 13 pro with multimeter
    • Based on repair experience with the iPhone 13 Pro, a common issue causing a no-display condition is damage to a small capacitor on the 1.8V power supply rail.
    • Measure the diode value on the 1.8V voltage rail and confirm that there is indeed a short circuit.

    Repair Process

    1: Locating the Faulty Component:

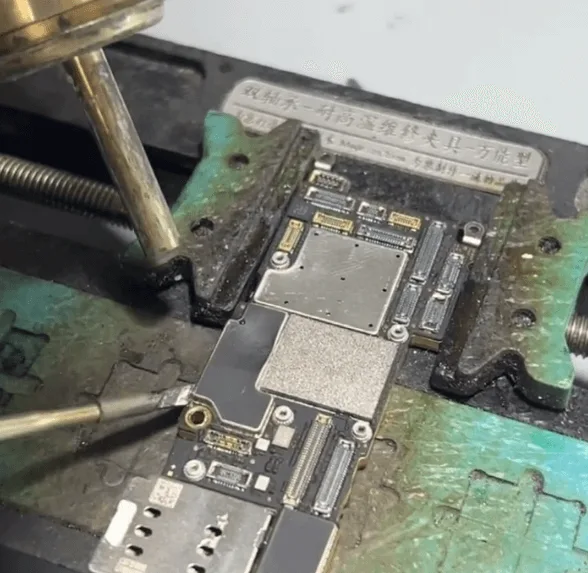
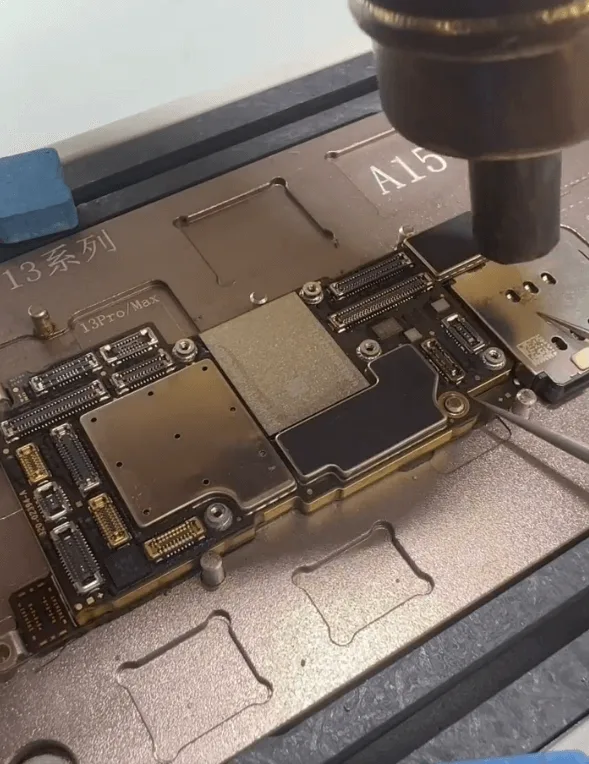
    soldering iphone 13 pro
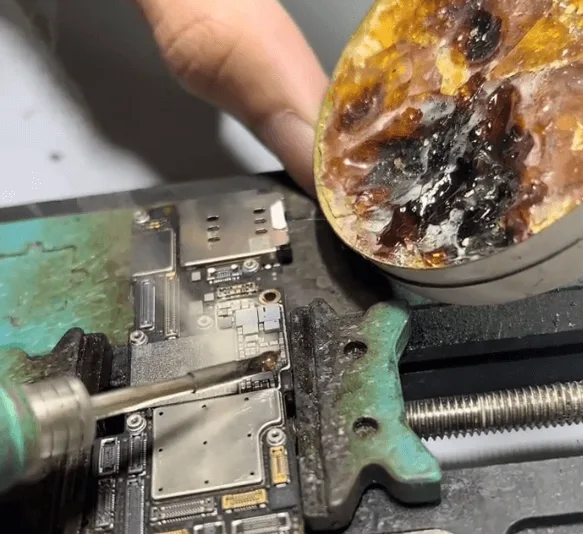
    apply rosin iphone 13 pro motherboard

    To precisely locate the damaged component, use the rosin inspection method:

    • Apply rosin to the components.
    • Connect the motherboard to a DC power supply, gradually increasing the voltage.
    • Observe the rosin; it will melt on the surface of the shorted component.
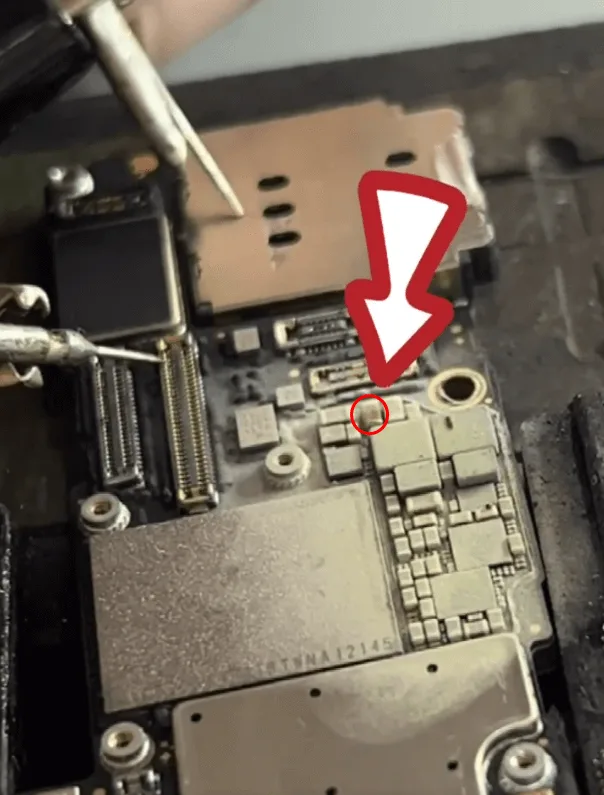
    iphone 13 pro motherboard
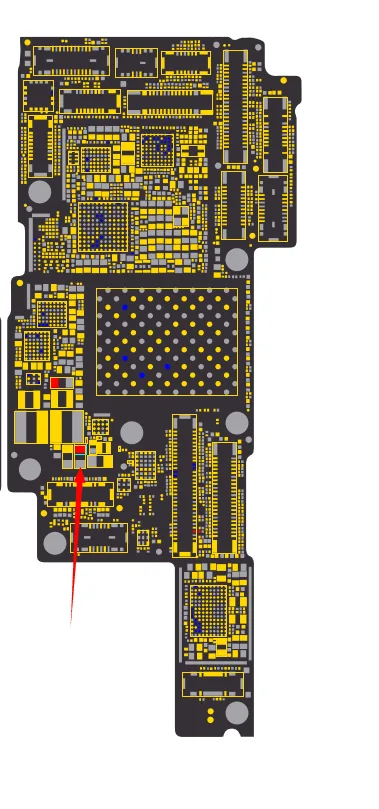
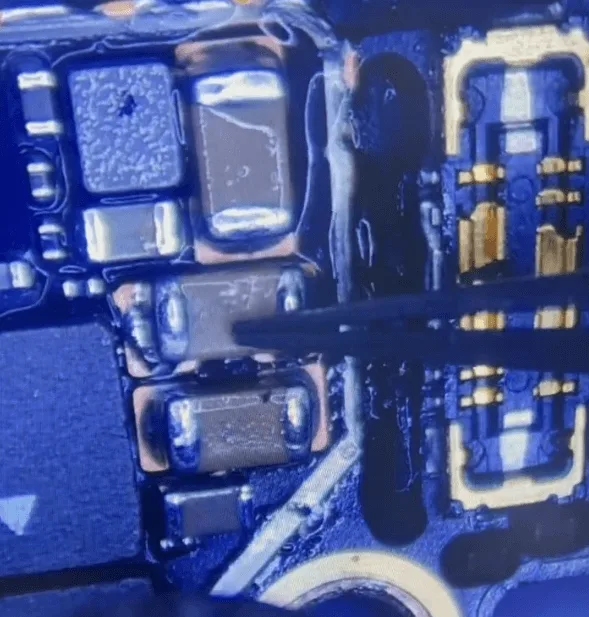
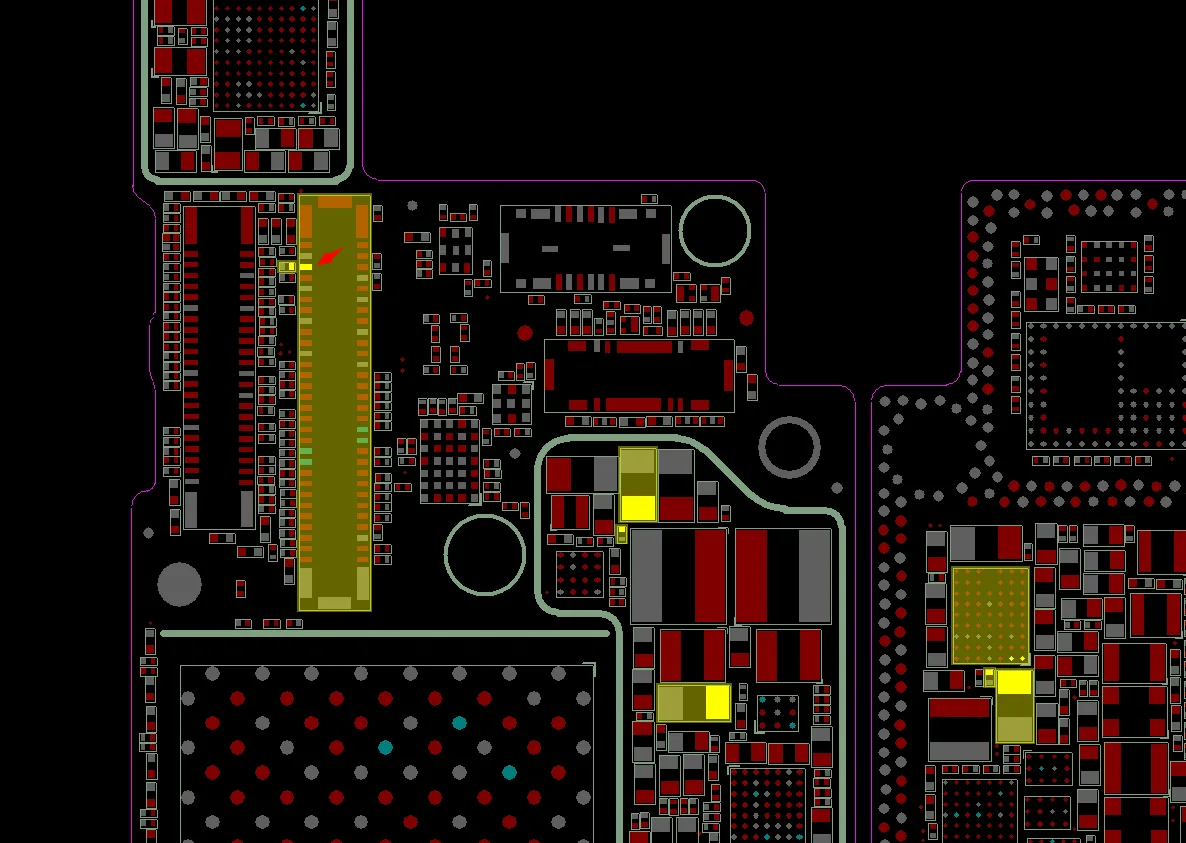
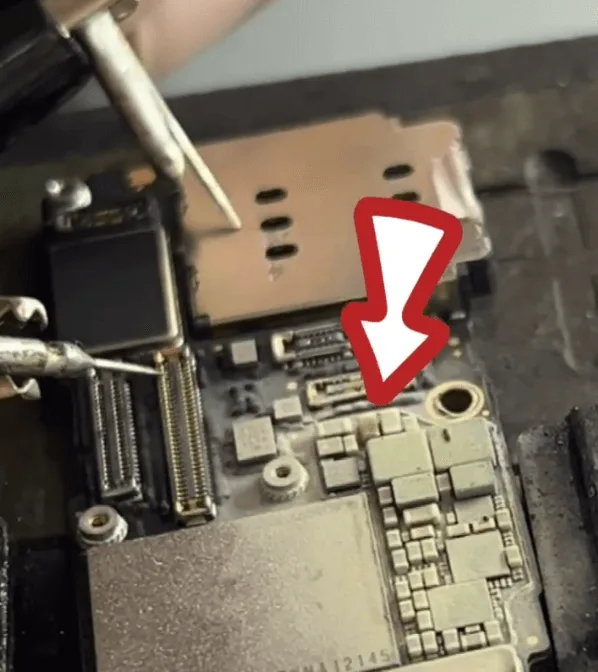
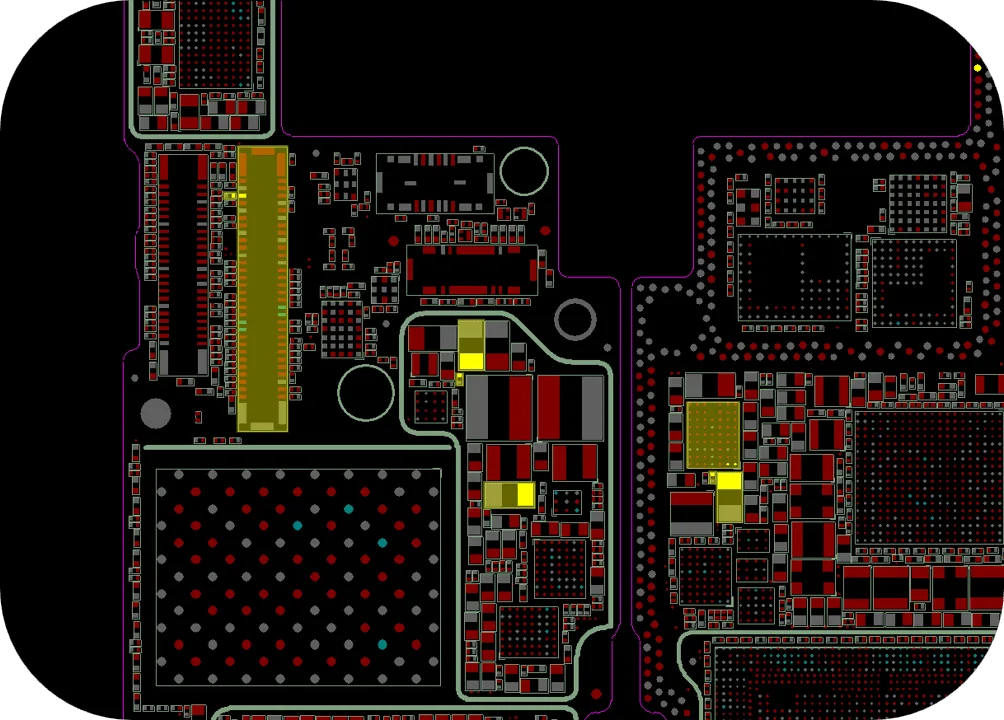
    • Identify the shorted capacitor near the NAND (with the CPU on the back side) and battery connector.

    2: Removing the Damaged Capacitor:

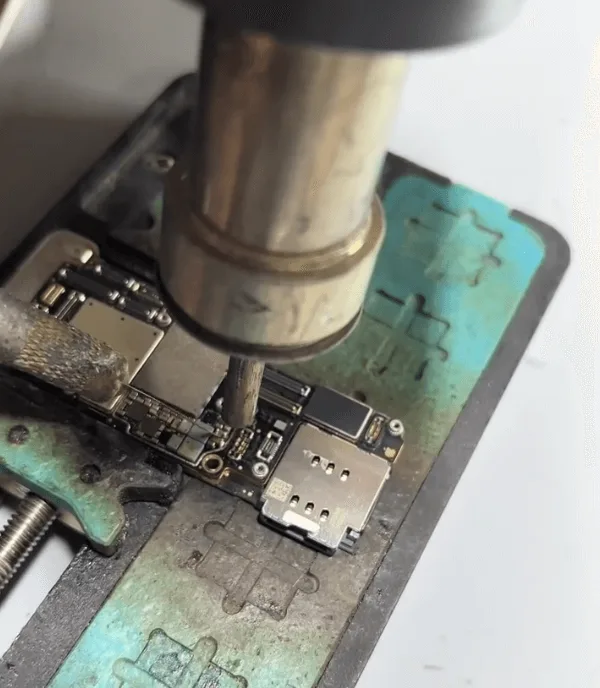
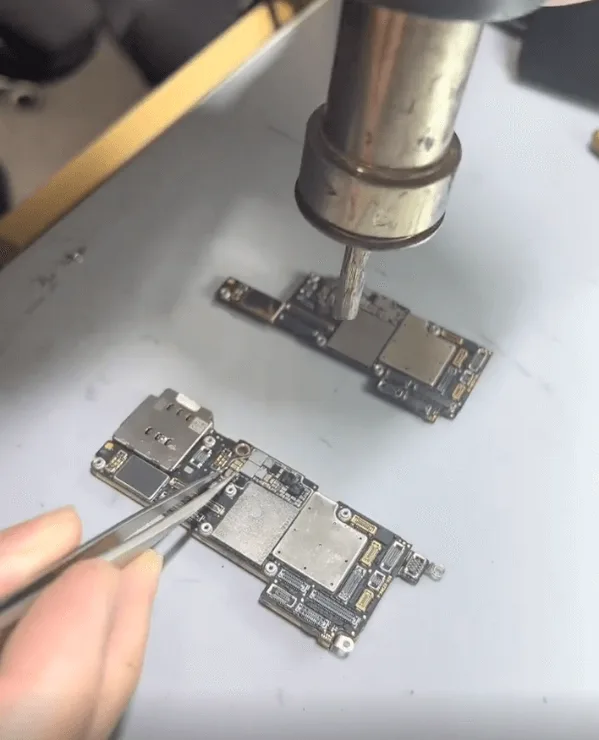
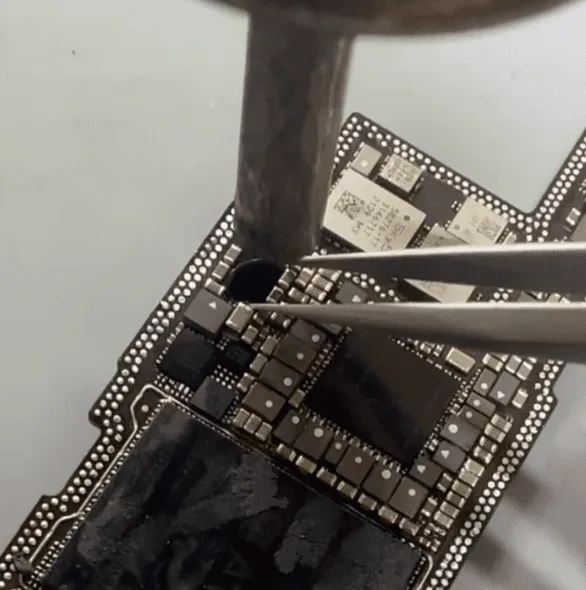
    • Carefully apply solder paste flux and use a hot air gun to remove the damaged capacitor from the motherboard.
    • Take extra care with the heating process to avoid damaging nearby components such as the NAND, CPU, or battery connector.

    3: Replacing the Capacitor:

    iPhone 13 Pro capacitor replacing
    • If skilled enough, solder back a new capacitor with the same specifications as the one removed.

    Final Steps

    Reassembly and Testing:

    • Reassemble the phone and trigger it to boot.
    • Confirm that the phone boots normally and that all functions are working correctly.

      Conclusion

      The no-display issue on the iPhone 13 Pro was successfully resolved by identifying and replacing a faulty filter-type capacitor on the 1.8V power supply rail. This repair restored full functionality to the device.

    1. How to Repair iPhone 13 Pro Display Issues After Drop Damage: Step-by-Step Guide

      How to Repair iPhone 13 Pro Display Issues After Drop Damage: Step-by-Step Guide

      An iPhone 13 Pro with a damaged display often won’t turn on after severe drop damage, even when the screen is replaced. This guide offers a step-by-step repair process for iPhone 13 Pro display issue, including diagnostic tips, replacing key components, and safely reassembling the motherboard to restore display functionality and ensure all other features are working. Whether you’re a technician or a DIY enthusiast, follow this guide to effectively resolve display issues caused by drop damage.

      damaged iPhone 13 pro

      Device Details

      Model: iPhone 13 Pro

      Release: 2021

      Defect Phenomenon

      This iPhone 13 Pro arrived with a cracked screen and back cover glass after a fall. After testing with a new screen, the display still wouldn’t turn on.

      Troubleshooting

      Disassemble the Phone

      iphone 13 pro dissamble

      Remove the motherboard to begin testing.

      Measure Diode Values

      Use a multimeter to check diode values on the display connector, revealing one shorted pin connected to the display PMIC (Power Management Integrated Circuit).

      Repair Process

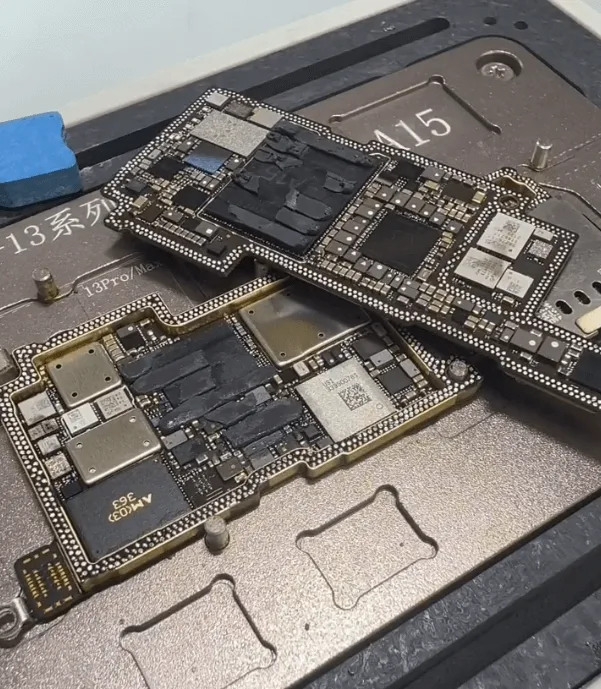
      Separate the Motherboard Layers

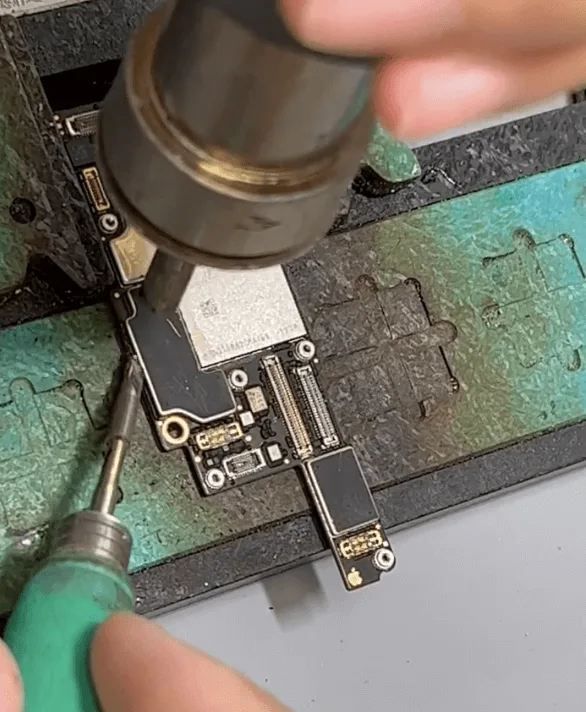
      • Place the motherboard on a heating platform.
      • Use a hot air gun to evenly heat the surface while the platform is on. This safely separates the layers.

      Remove the Display IC

      remove iphone 13 pro display IC
      • Use the hot air gun to detach the display IC from the motherboard.
      • After removal, measure the diode values again to check for shorts. The short remains, suggesting another component is damaged.

      Locate the Overheated Component

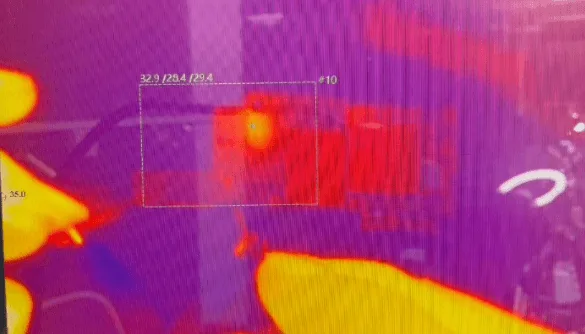
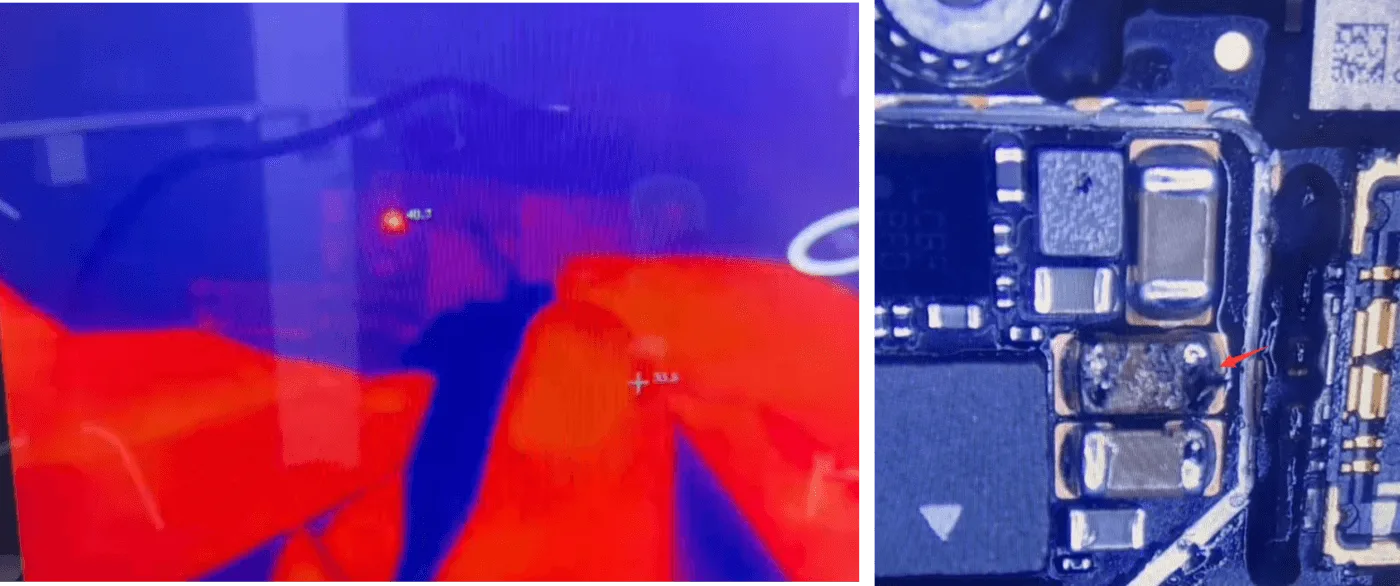
      Connect the upper motherboard layer to a DC power supply and observe through a thermal imager. The imager reveals an unusually hot component beneath the shielding cover.

      Remove the Shielding Cover

      detach sielding cover

      Carefully detach the shielding cover without disturbing the nearby encrypted EEPROM chip.

      Recheck with the thermal imager to precisely locate the damaged component.

      thermal imager to check iphone 13 pro motherboard

      Replace the Faulty Capacitor

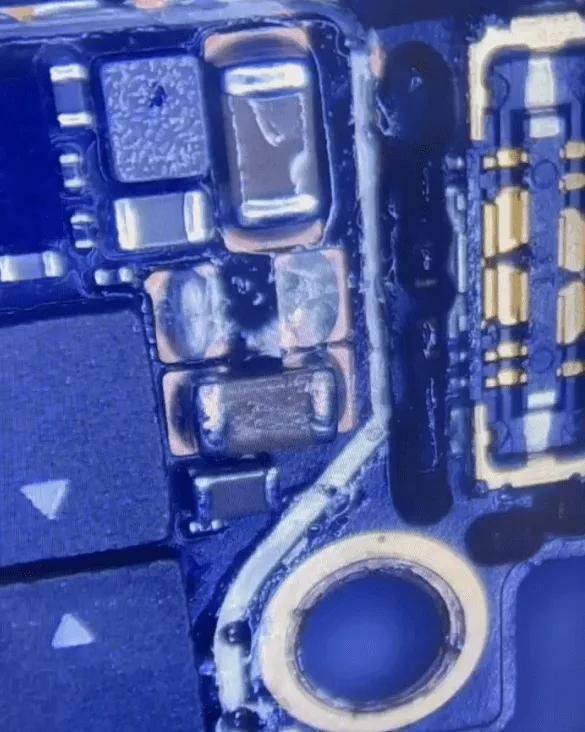
      • Identify and remove the faulty capacitor (a common issue in dropped iPhones).
      • Install a replacement capacitor with the same specifications to restore proper function.

      Reball and Reattach the Display IC

      reballing solder balls
      • Prepare the removed display IC by reballing it (reapplying solder balls).
      • Carefully solder it back onto the motherboard to ensure proper connections.

      Reassemble and Test

      iphone 13 pro display issue

      After the motherboard cools, attach the screen and boot up the phone to check if the display functions normally. In this case, the display returned to full functionality.

      Inspect for Additional Damage

      signal board

      Since drop damage can affect multiple components, thoroughly inspect the motherboard. A few chips on the signal board were loose; carefully resolder these to secure their connections.

      Recombine the Motherboard Layers

      iPhone 13 Pro Does Not Display

      Finally, reattach the motherboard layers using the heating platform, then reassemble and test the phone. All functions, including Wi-Fi, baseband, cameras, and Face ID, were working correctly.

      Summary

      This iPhone 13 Pro display issue was resolved by:

      1. Replacing a damaged capacitor beneath the shielding cover (a common problem after drops).
      2. Resoldering loose chips on the signal board.
      3. Recombining the motherboard layers.

      This repair process restored the display and other critical functions, fully fixing the phone.

      Tools & Parts List

    2. How to Repair Drop-Damaged iPhone 13 Pro No Display: Step-by-Step Guide

      How to Repair Drop-Damaged iPhone 13 Pro No Display: Step-by-Step Guide

      After a serious drop while skateboarding, this iPhone 13 Pro experienced a complete display failure, despite other functions appearing normal. In this detailed repair guide, we’ll walk through diagnosing the root of the issue—caused by a small but critical capacitor failure—and outline the step-by-step process for restoring the display.

      iphone 13 pro

      Device Details

      Model: iPhone 13 Pro

      Announced: 2021, September 14

      Defect Phenomenon

      The iPhone 13 Pro experienced severe drop damage while playing skateboard, resulting in a completely unresponsive display.

      Troubleshooting

      Inspect the Motherboard

      Disassemble the phone and remove the motherboard, which showed signs of minor deformation from the drop.

      Replace and Test Display

      iphone 13 pro no display

      Swap in a new screen and connect the phone to a DC power supply. The boot current appeared normal, indicating the motherboard may be the root issue.

      Further Testing

      Testing with another screen confirmed the problem lies with the motherboard, as the display still did not function.

      Repair Process

      Measure Display Connector Diode Values

      Use a multimeter to check the diode values on the display connector pins. One pin, the 4th, indicated a short. This pin connects to the display power IC (PMIC), which is essential for screen functionality.

      Display PMIC (Power Management IC): PMIC stands for Power Management Integrated Circuit. This chip controls power flow to the display and other components. A damaged or malfunctioning PMIC can often result in issues like a black screen or no display.

      Diode Values: Diode values refer to the measurements that indicate the health of electronic circuits. In troubleshooting, measuring these values can reveal if specific pins on the connector are “shorted” (unintended electrical connection), helping to pinpoint damaged components.

      Identify Common Causes of No Display Issues:

      Typical issues affecting the display in drop-damaged iPhones include:

      • Poor soldering between motherboard layers
      • Display PMIC damage
      • Shorted capacitors

      Inspect Capacitors with Rosin Method

      Rosin Inspection

      apply rosin on motherboard

      Apply rosin to the component area, then apply voltage to the display connector. If rosin melts around a capacitor, it indicates a current draw. In this case, a shorted capacitor was located.

      What is Rosin Method?

      Rosin is a sticky substance that technicians apply to electronic components. When voltage is applied, heat generated by faulty components will melt the rosin, making it easier to locate the source of the problem. This method helps identify shorts and faults in capacitors and other small parts.

      Inspect Capacitors with Rosin Method

      Remove the Shielding Cover

      remove shielding cover

      Gently remove the shielding cover with a hot air gun and tweezers to expose the capacitors.

      Rosin Inspection

      apply rosin
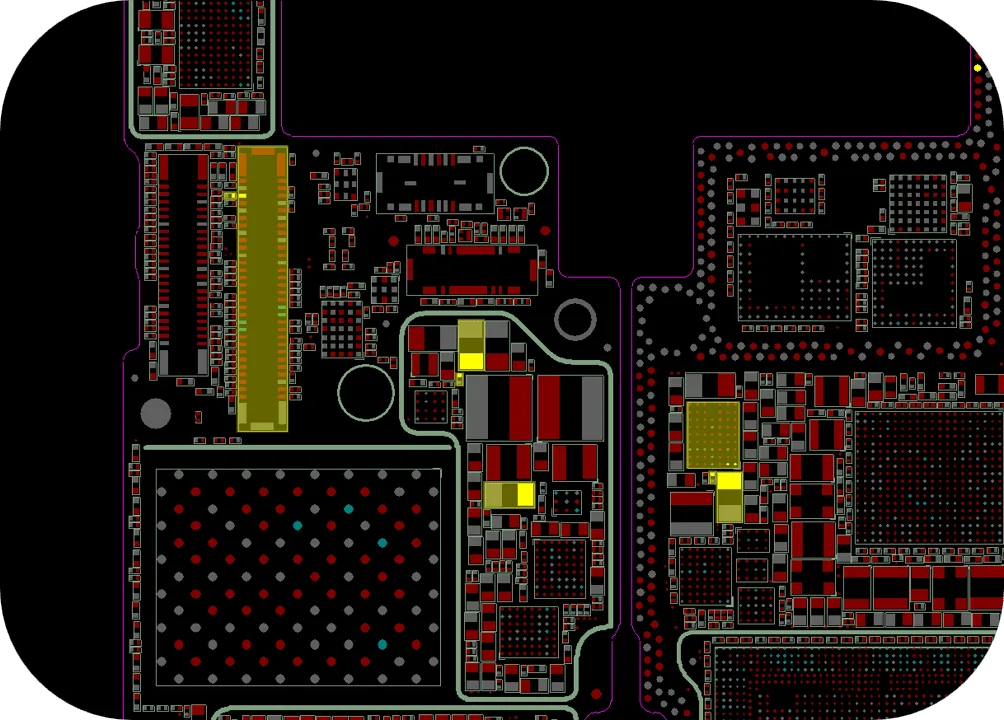
      iphone 13 pro diagram

      Apply rosin to the component area, then apply voltage to the display connector. If rosin melts around a capacitor, it indicates a current draw. In this case, a shorted capacitor was located.

      Replace the Faulty Capacitor

      • Carefully remove the shorted capacitor with a hot air gun.
      • Since a schematic for the iPhone 13 Pro isn’t available, replace it with a capacitor of similar specifications from another board.
      • Solder the replacement capacitor onto the motherboard.

      Final Assembly and Testing

      Reassemble the phone and connect the display for a final test. The display was successfully restored, and all other functions, including Face ID, Wi-Fi, and the camera, worked as expected.

      Summary

      This repair process effectively restored the iPhone 13 Pro’s display by replacing a faulty capacitor. This method provides a reliable solution to similar no-display issues often found in drop-damaged devices.

      Tools & Parts List

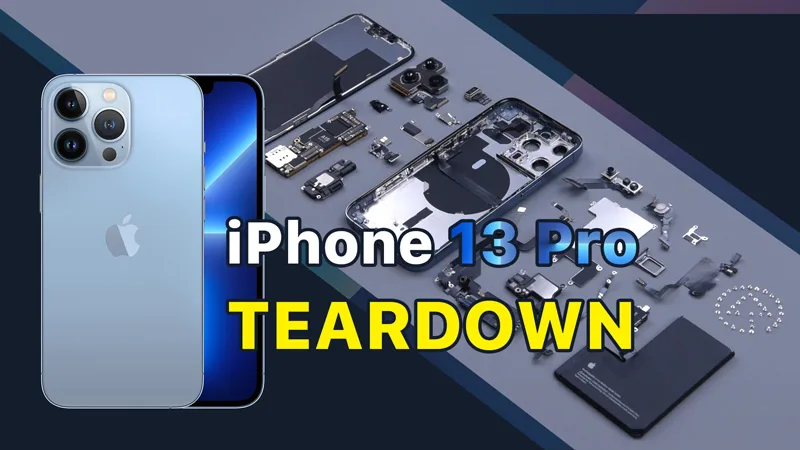
    3. iPhone 13 Pro Teardown

      iPhone 13 Pro Teardown

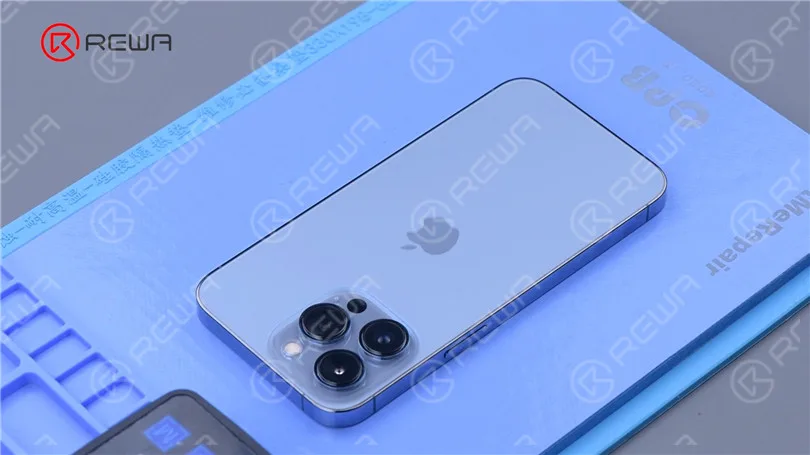
      Apple’s new iPhone 13 lineup made its debut at the 14th September Apple Event, with four new models shown off.

      New models with technology upgrade always come with new repair challenges.

      Today we will disassemble iPhone 13 Pro to see the interior structural changes and how those changes will affect repair.

      iPhone 13 Pro Teardown

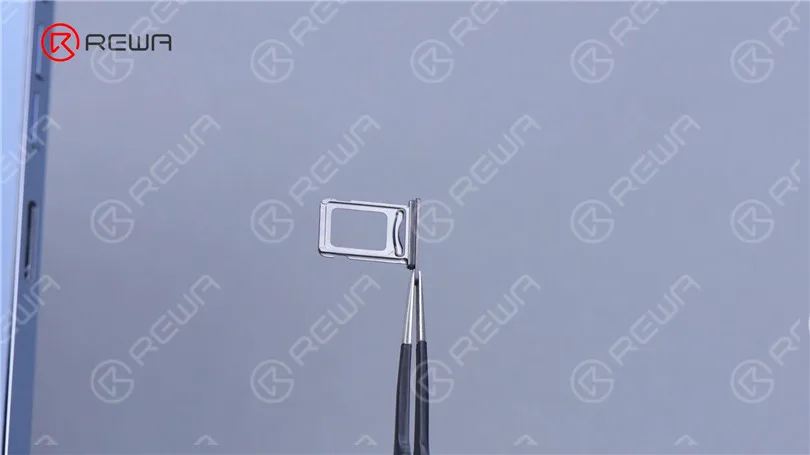
      In the first place, remove the card tray. The card tray is made of metal and features Dual SIM with waterproof and dustproof rubber ring inside.

      iPhone 13 Pro Teardown

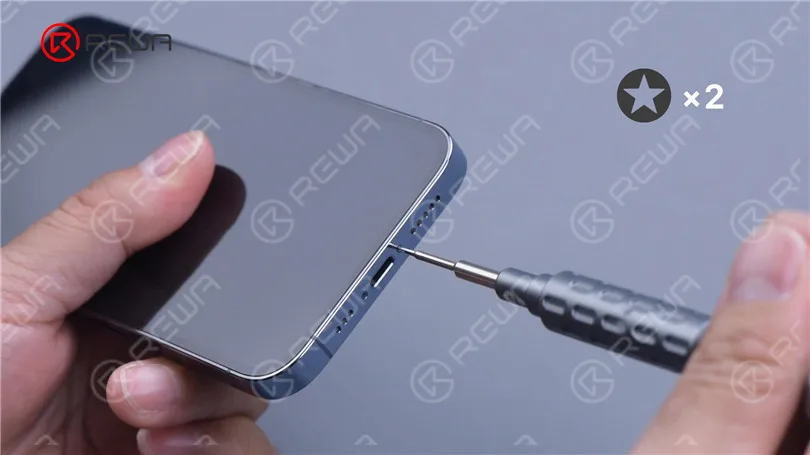
      Besides the adhesive, iPhone also uses the bottom screws to reinforce the fastening. Remove two screws from the bottom.

      iPhone 13 Pro Teardown

      Heat the phone with Heating Pad for about 3 minutes. Lift the display with a Suction Cup.

      Insert a Plastic Card when there is a gap.

      Then slide along the gap. Like iPhone 12 Pro, the display flex cable of iPhone 13 Pro is on the left.

      So the iPhone 13 Pro display also opens from the right edge.

      iPhone 13 Pro Teardown

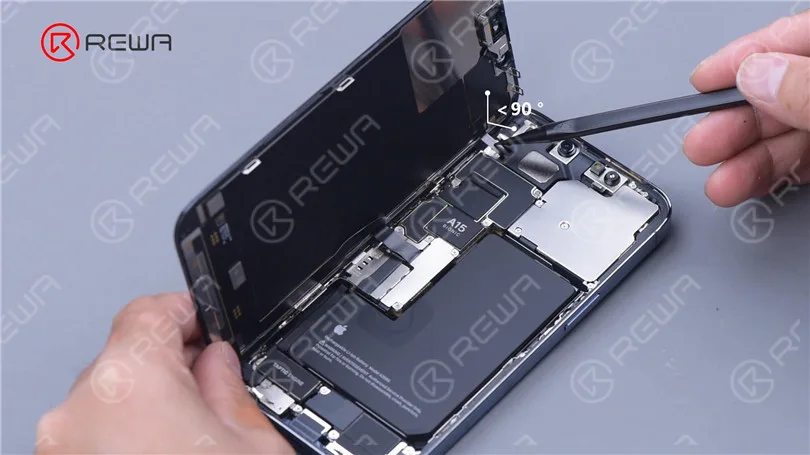
      In addition, the flex cable of the sensor module is very short.

      So when lifting the display,  the angle should not be greater than 90 degrees to avoid breaking the flex cable.

      iPhone 13 Pro Teardown

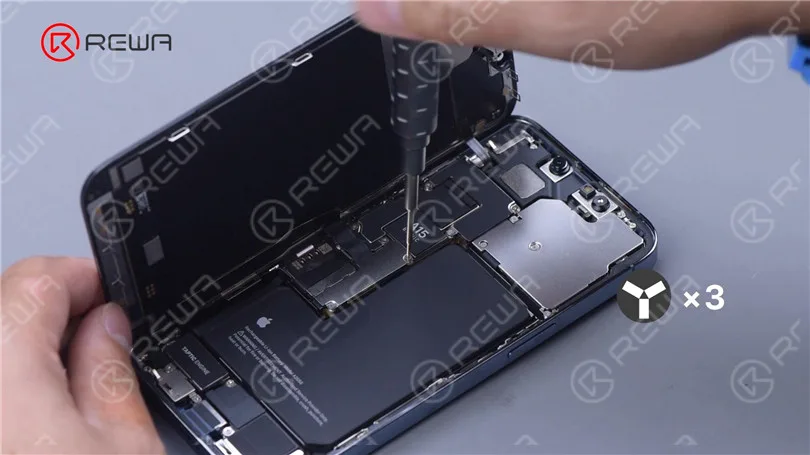
      Remove the three screws that secure the battery shielding cover.

      Detach the shielding cover. Disconnect the battery.

      iPhone 13 Pro Teardown

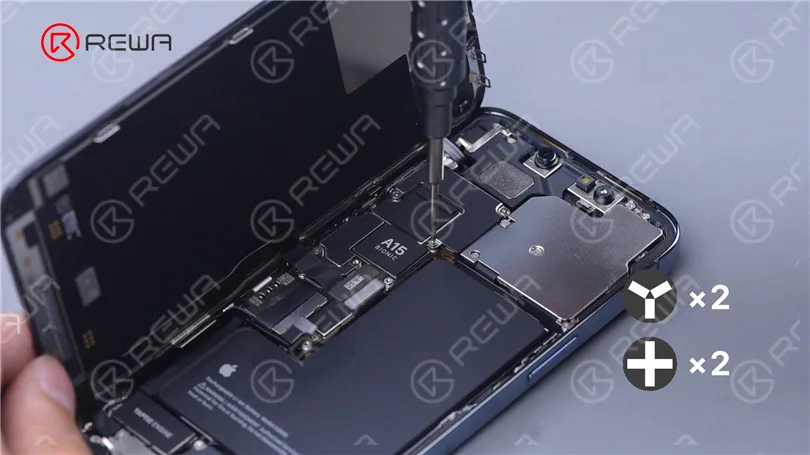
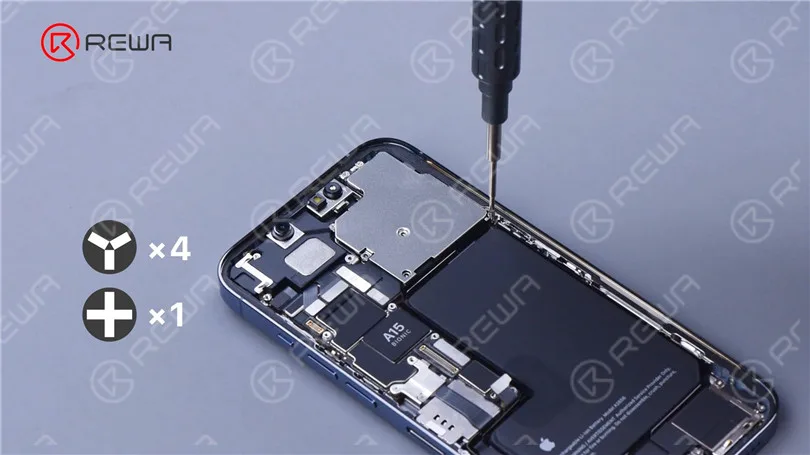
      Continue to remove the four screws that hold the sensor module shielding cover.

      Disconnect the flex cables of the sensor and screen to remove the screen.

      iPhone 13 Pro Teardown

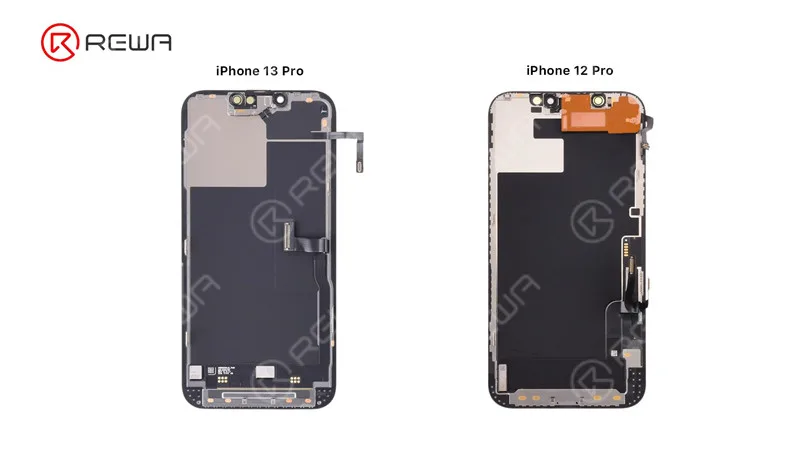
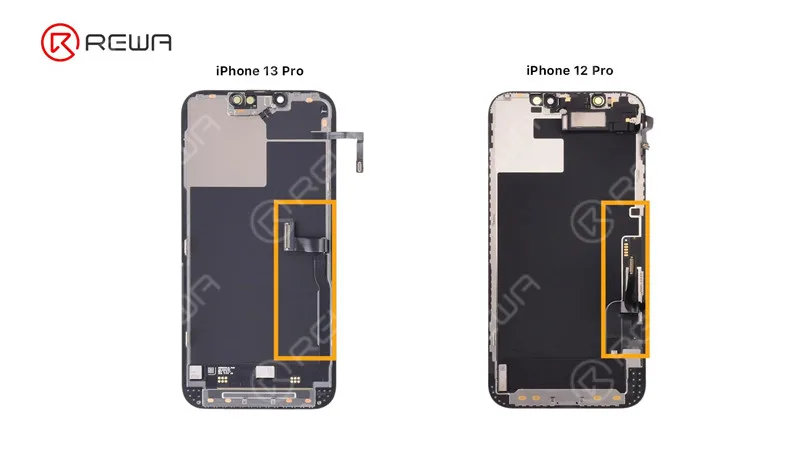
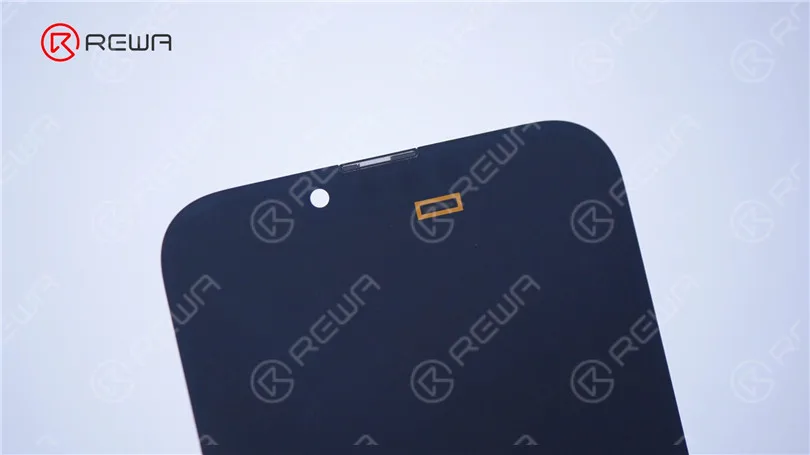
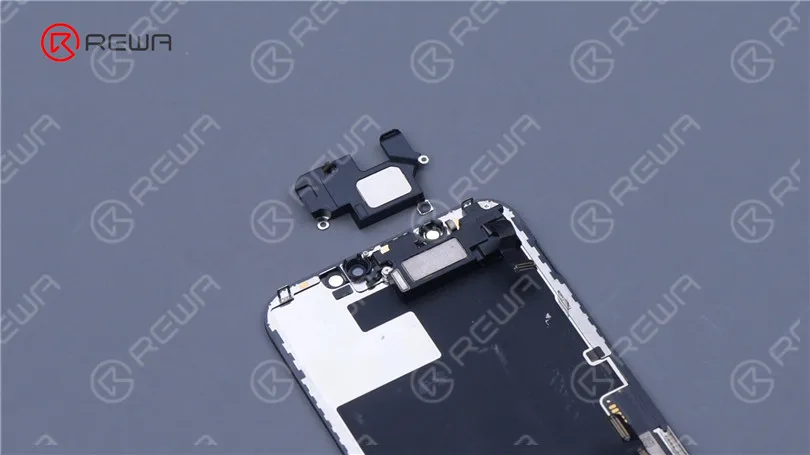
      The earpiece of iPhone 13 Pro is moved to the housing while the earpiece of iPhone 12 Pro and previous models is on the screen.

      The flex cables of display and touch are now integrated. The screen refurbishment difficulty of iPhone 13 Pro is expected to be higher.

      iPhone 13 Pro Teardown
      iPhone 13 Pro Teardown
      iPhone 13 Pro Teardown

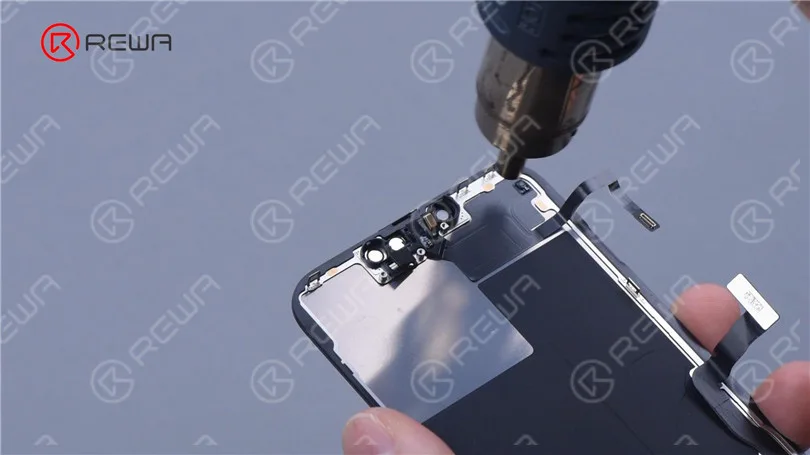
      Remove the three screws that hold the sensor flex cable. Heat with Hot Air Gun to remove the flex cable.

      iPhone 13 Pro Teardown

      The aperture of the ambient light sensor is at the bottom right of the notch.

      iPhone 13 Pro Teardown

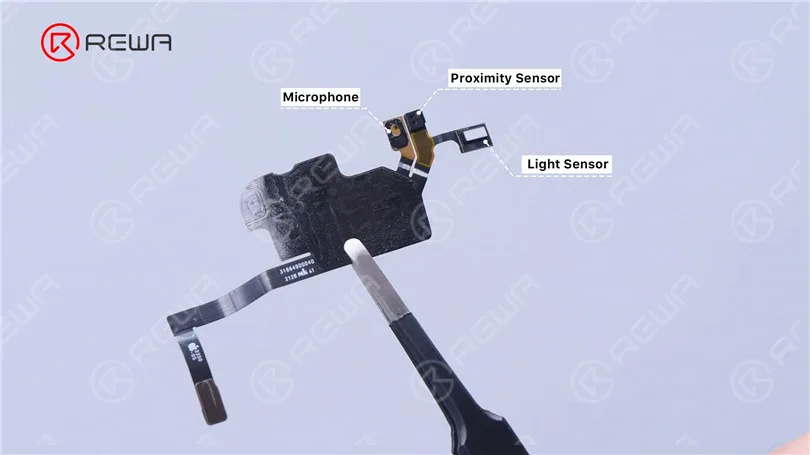
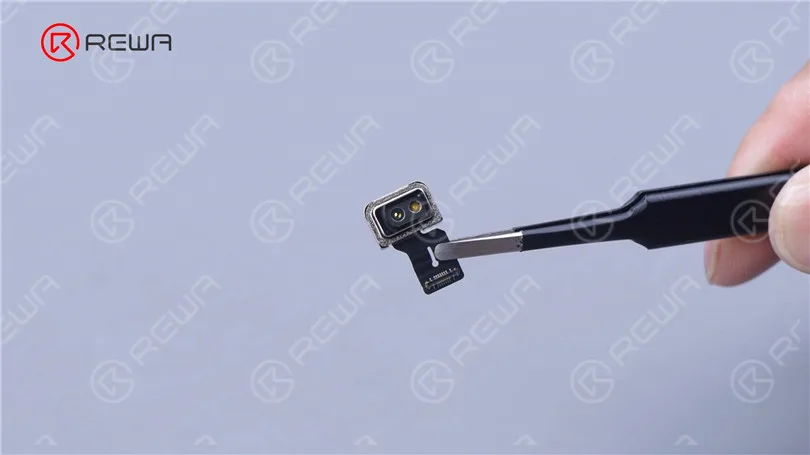
      The flex cable integrates a front microphone, a distance sensor, and an ambient light sensor.

      It is less of a floodlight illuminator than the iPhone 12 Pro.

      iPhone 13 Pro Teardown

      The iPhone 13 Pro’s dot projector has moved to the middle.

      iPhone 13 Pro Teardown

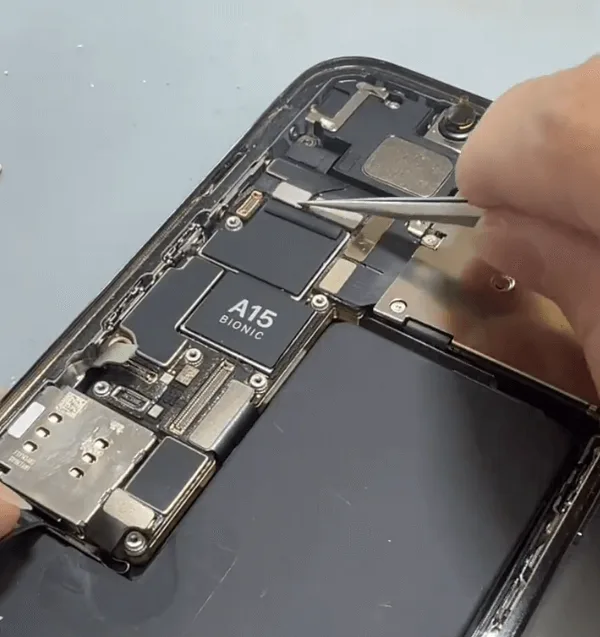
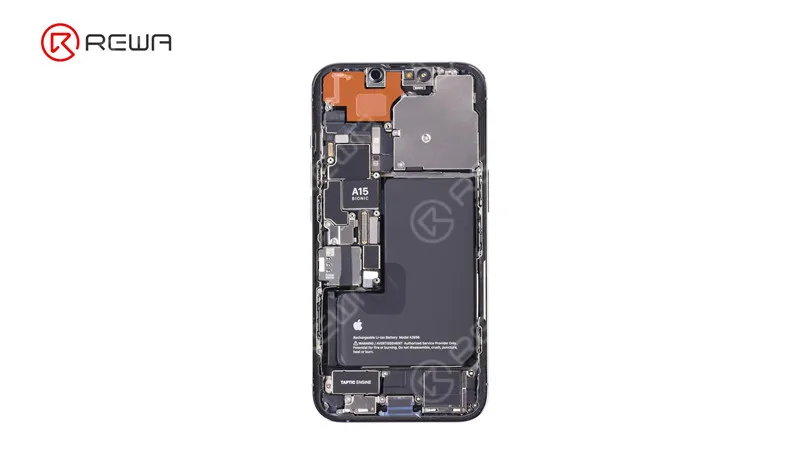
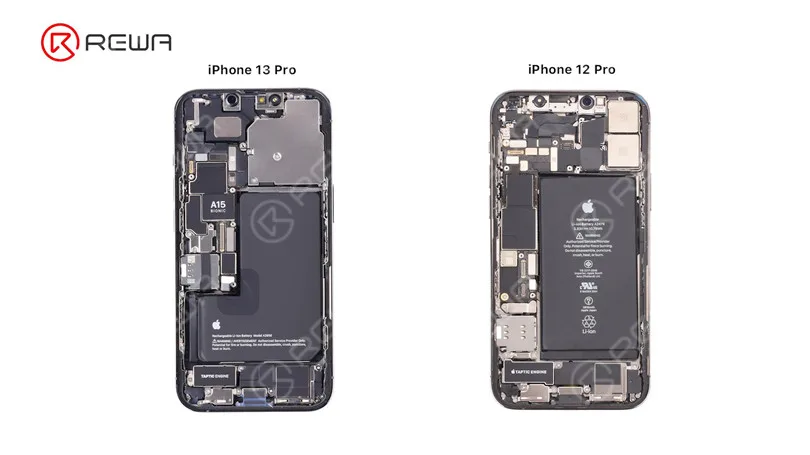
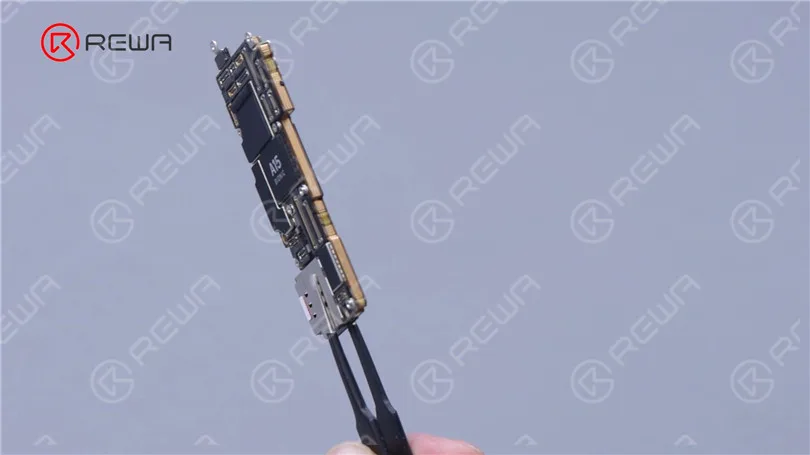
      Next, let’s take a look at the overall interior structure. iPhone 13 Pro looks much cleaner than iPhone 12 Pro because there is less printing on the battery surface. And there’s A15 on the motherboard.

      iPhone 13 Pro Teardown

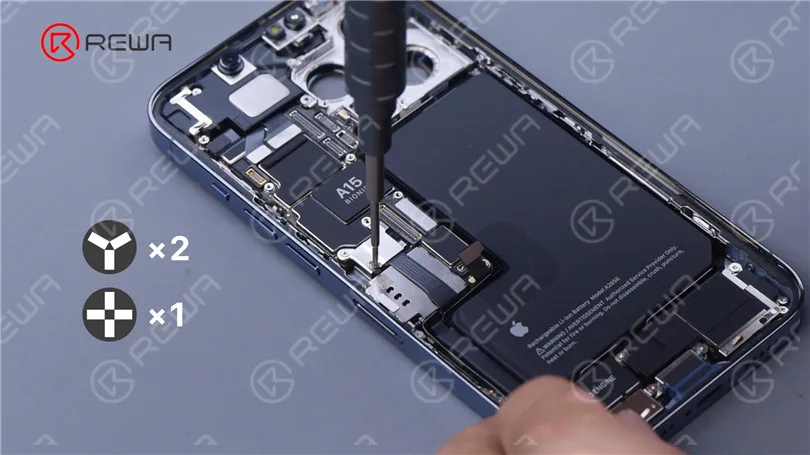
      Remove the 5 screws that hold the rear camera shielding cover.

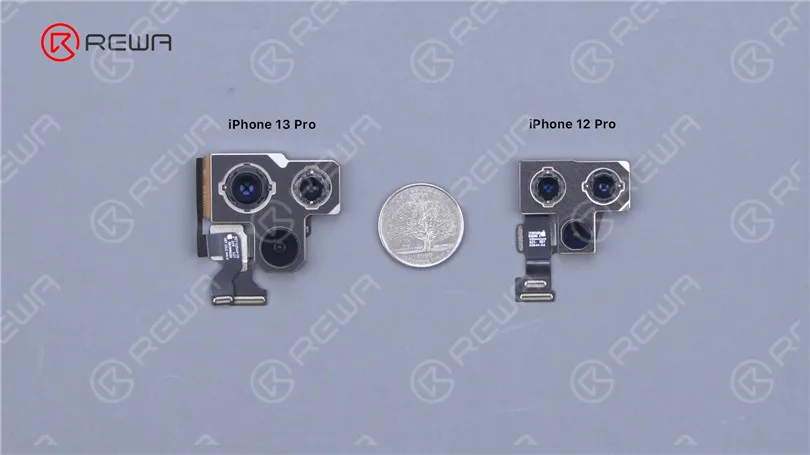
      Disconnect the flex cable of the camera. Remove the camera. iPhone 13 Pro has a bigger camera than the iPhone 12 Pro. 

      iPhone 13 Pro Teardown
      iPhone 13 Pro Teardown

      Detach the LiDAR. All sides of the LiDAR are protected by buffer foam.

      iPhone 13 Pro Teardown

      Disconnect the lower antenna and charging port flex cables. Then disconnect the dot projector and Face ID module flex cables.

      iPhone 13 Pro Teardown

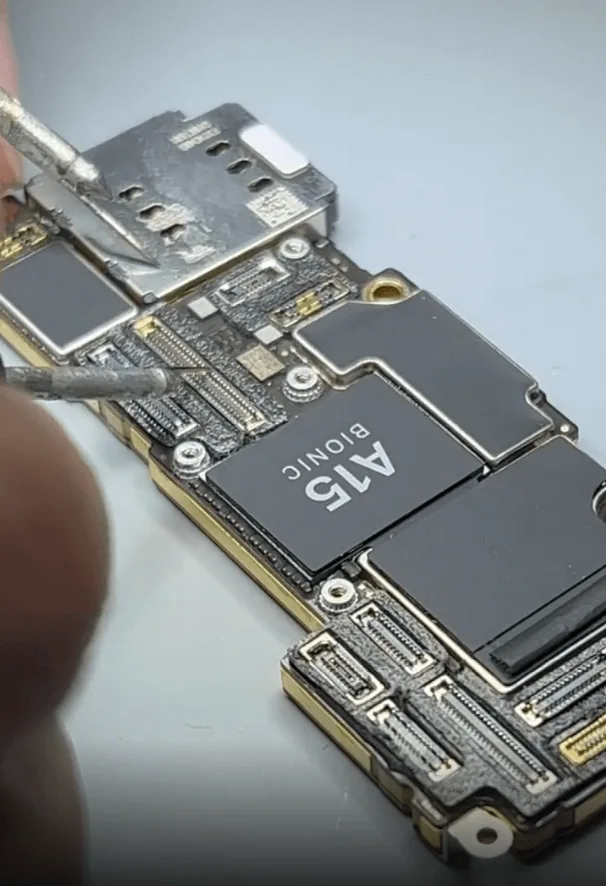
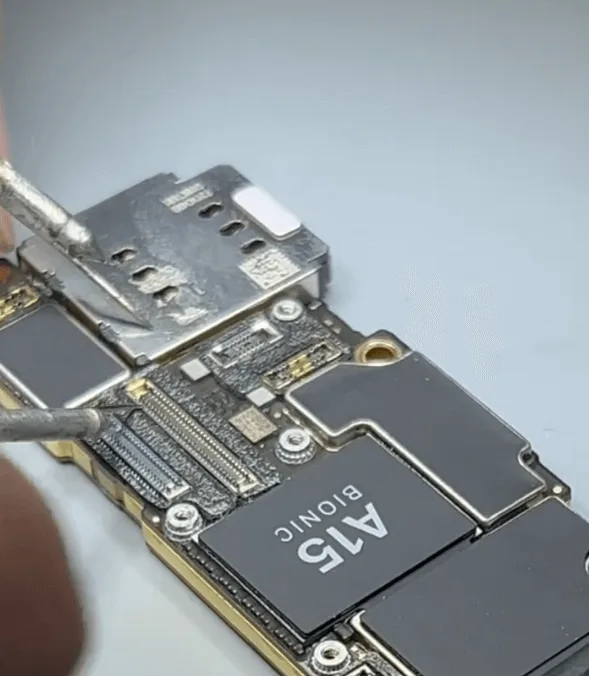
      Remove the motherboard. The motherboard still adopts a double-layered design. SIM card reader is welded on the motherboard.

      There are heat dissipation tapes on both sides of the motherboard.

      iPhone 13 Pro Teardown

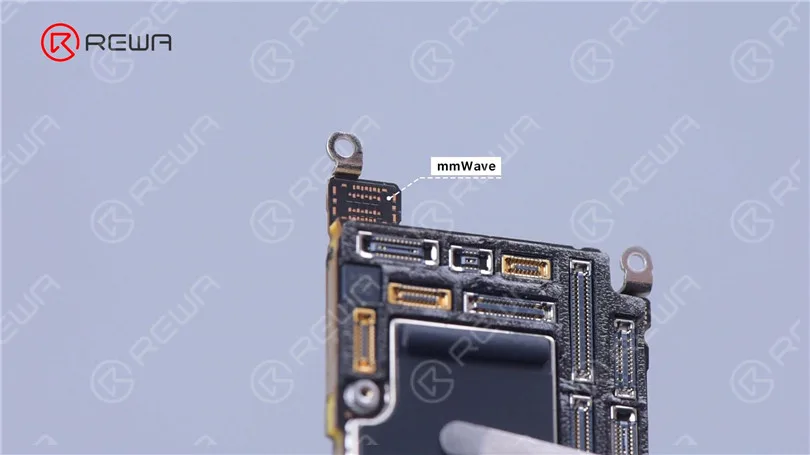
      The seat of mmWave is empty on the motherboard.

      iPhone 13 Pro Teardown

      Remove the earpiece. The size has been increased compared with the previous model.

      iPhone 13 Pro Teardown

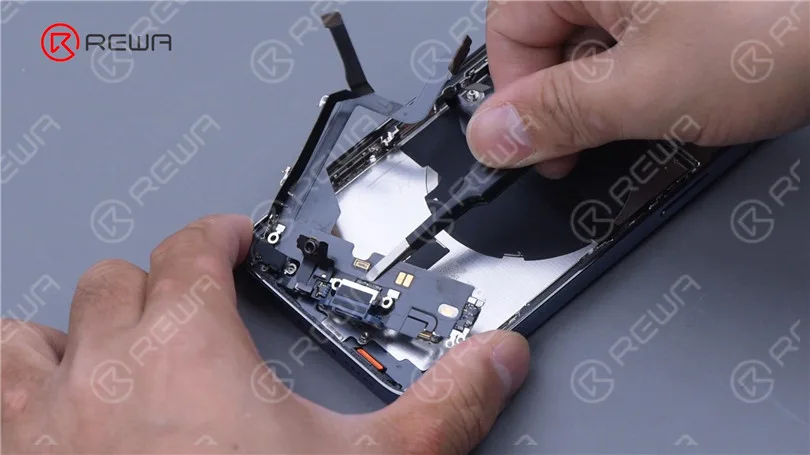
      Remove the Face ID flex cable. The dot projector and infrared camera of iPhone 13 Pro are integrated into one flex cable. 

      This undoubtedly makes future Face ID repair more difficult.

      iPhone 13 Pro Teardown

      Remove the flash flex cable.

      Unbolt the screws that secure the signal antenna and then the signal antenna. Remove the NFC antenna.

      iPhone 13 Pro Teardown

      Remove the screws that hold the charging port flex cable.

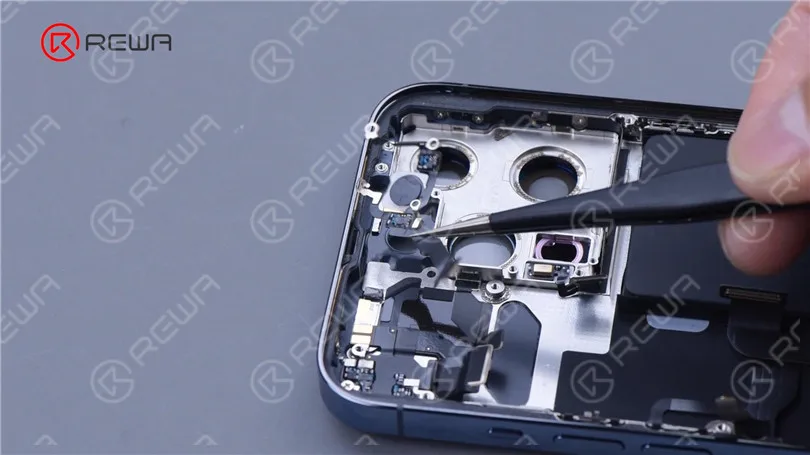
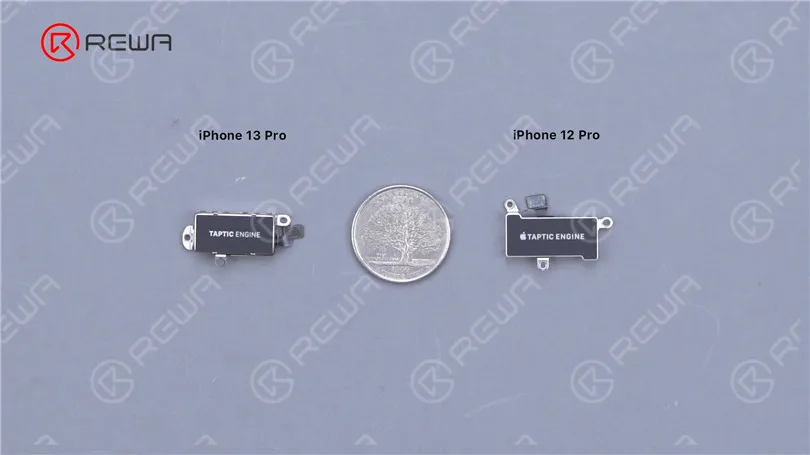
      Yank the speaker and Taptic Engine out. The Taptic Engine of iPhone 13 Pro is smaller.

      iPhone 13 Pro Teardown

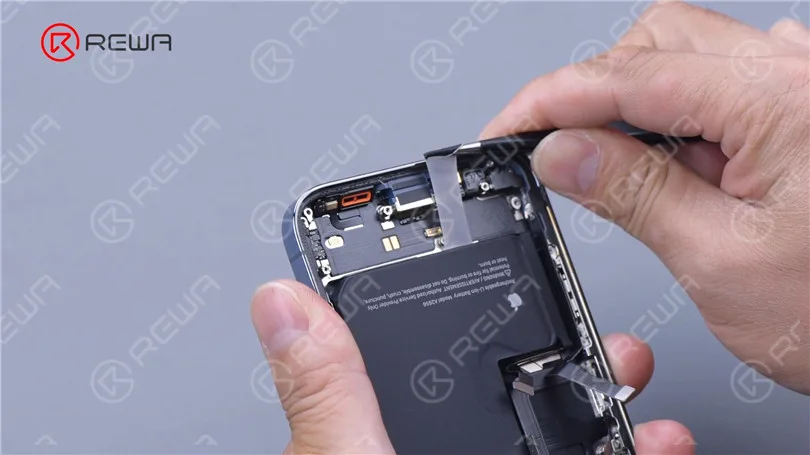
      Then we remove the battery. 

      Use tweezers to slowly pull out the adhesive strips.

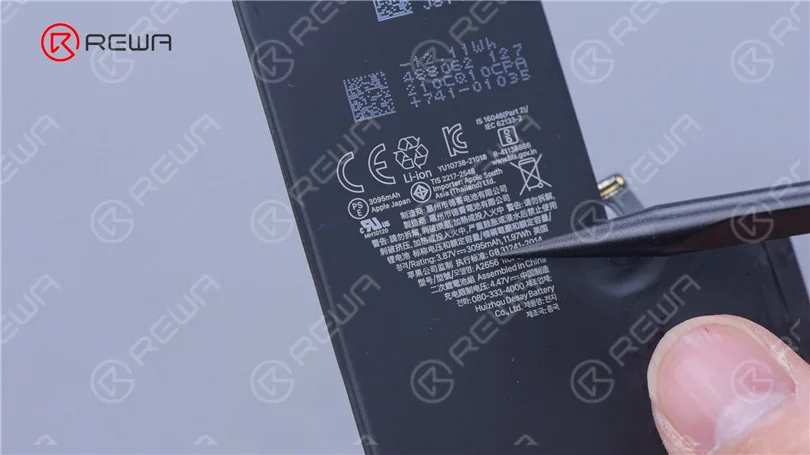
      Battery capacity has increased from 2815 mAh to 3095 mAh.

      iPhone 13 Pro Teardown
      iPhone 13 Pro Teardown

      Finally, remove the plastic part and then the charging port flex cable.

      iPhone 13 Pro Teardown

      The back cover of the iPhone 13 Pro looks the same as the iPhone 12 Pro.

      We assume that the refurbishment method is the same as the iPhone 12 Pro. In general, iPhone 13 Pro teardown is easier than its predecessor.

      Screen refurbishment and Face ID repair will become more difficult. Later we will have videos on motherboard separation, screen and back cover refurbishment to discuss the repair difficulty of iPhone 13 Pro in detail. Please stay tuned.
      iPhone 13 Pro Teardown
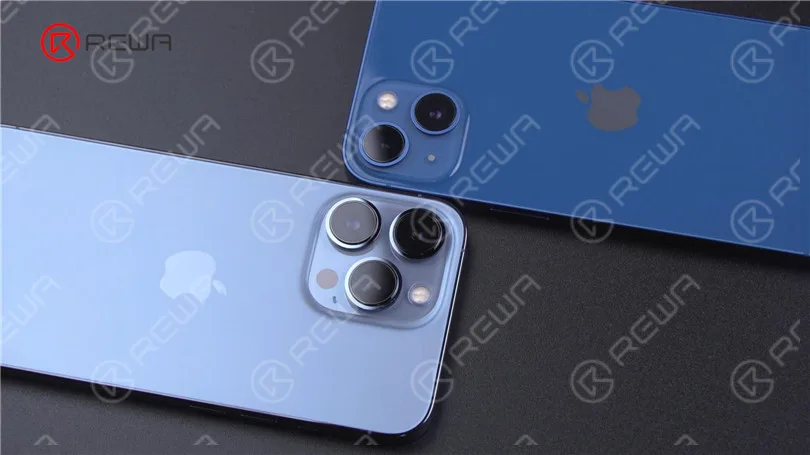
    4. iPhone 13 Vs iPhone 13 Pro Parameter Configuration Comparison

      iPhone 13 Vs iPhone 13 Pro Parameter Configuration Comparison

      In a world where technology evolves at a breakneck pace, it’s essential to stay updated on the latest innovations. Today, we’re diving into the Apple iPhone 13 series, specifically comparing the iPhone 13 and iPhone 13 Pro. These two models share the same 6.1-inch screen size, but there are several noteworthy differences that set them apart.

      1. Build Materials:

      The iPhone 13 features a glass back and an aluminum frame, while the iPhone 13 Pro boasts a more premium build with a glass back and a stainless steel frame, giving it a more robust and elegant feel.
      2. Storage Options:
      When it comes to storage, the iPhone 13 offers three options: 128GB, 256GB, and 512GB. In contrast, the iPhone 13 Pro provides more extensive storage choices, including 128GB, 256GB, 512GB, and a whopping 1TB, ideal for users with substantial storage needs.

      3. Display Technology:

      Both phones sport a 6.1-inch OLED full screen with a 2532×1170 pixel resolution and 460ppi. However, the iPhone 13 Pro takes the lead with its Super Retina XDR display that supports Promotion adaptive refresh rate technology, offering a smoother experience and a maximum brightness of up to 1200 nits for HDR content.

      4. Processor Power:

      Under the hood, both phones are equipped with Apple’s A15 Bionic chip. However, the iPhone 13 Pro takes a slight edge with its 5-core graphics processor compared to the iPhone 13’s 4-core GPU, potentially leading to better graphics performance.

      5. Camera Systems:

      The camera systems are where the Pro model truly shines. The iPhone 13 boasts a dual-camera setup, with a 12-megapixel wide-angle and ultra-wide-angle lens. In contrast, the iPhone 13 Pro features a triple-camera setup, which includes a telephoto lens in addition to the wide and ultra-wide lenses. The Pro model also boasts larger apertures, making it more versatile in various lighting conditions.

      6. Battery Life:

      When it comes to battery life, the iPhone 13 offers impressive performance with up to 19 hours of video playback, 15 hours of streaming video, and 75 hours of audio playback. The iPhone 13 Pro slightly outperforms it, with up to 22 hours of video playback, 20 hours of streaming video, and the same 75 hours of audio playback.

      Conclusion:

      The iPhone 13 and iPhone 13 Pro, though similar in size, offer distinct features that cater to different user needs. The Pro model’s stainless steel frame, extended storage options, superior display, enhanced graphics capabilities, and advanced camera system make it a compelling choice for photography and tech enthusiasts.

      Whether you’re looking for a powerful device with extended storage or a premium feel with advanced camera capabilities, understanding the key differences between these two models can help you make an informed decision. Stay up to date with the latest in mobile technology, and make the right choice for your needs.