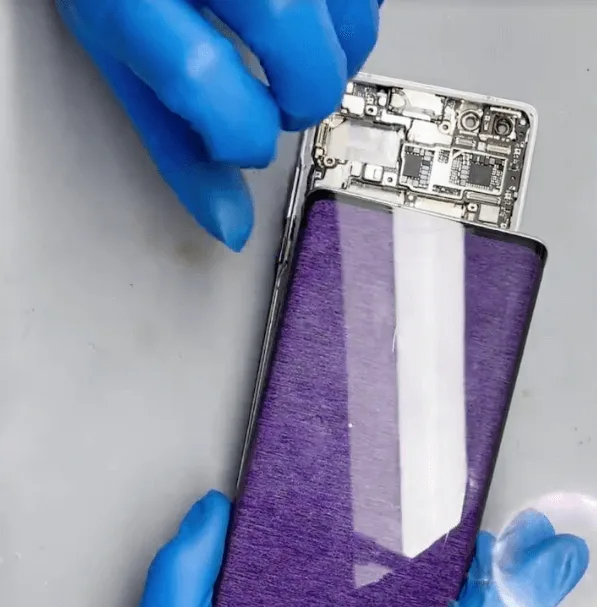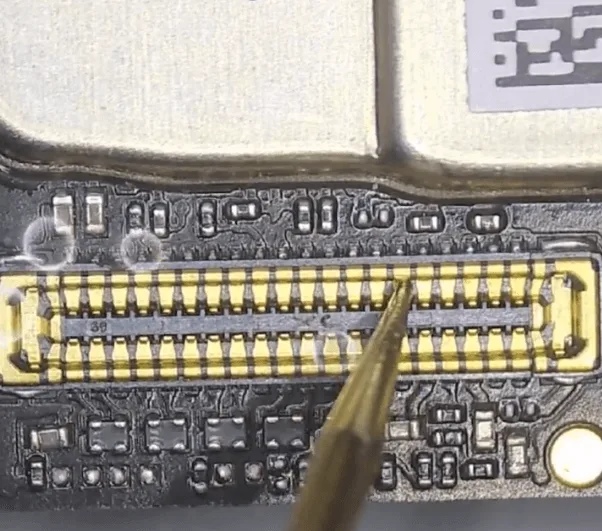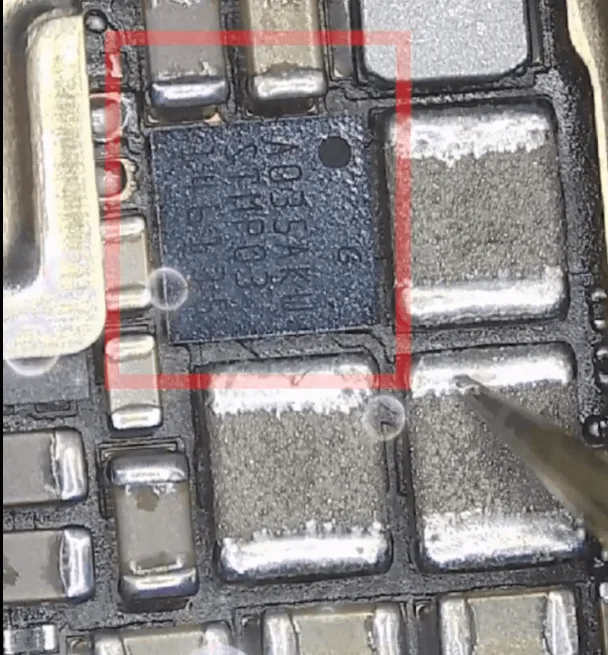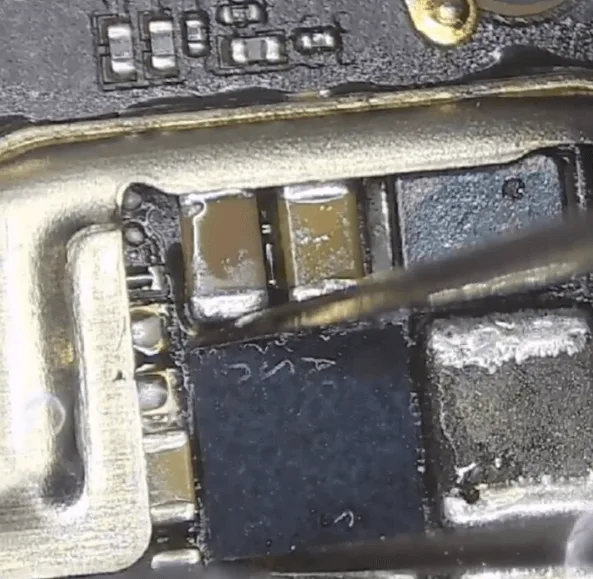
Tag: huawei

  • HUAWEI MateBook X Pro stops Working During Normal Use

    HUAWEI MateBook X Pro stops Working During Normal Use

    The HUAWEI MateBook X Pro is a high-performance laptop known for its sleek design and robust functionality. However, users may sometimes encounter issues where the laptop stops working during normal use. This guide outlines the troubleshooting and repair process for this problem, particularly when no water or drop damage is evident.

    Defect Phenomenon

    A customer reported that their HUAWEI MateBook X Pro stopped working during normal use. Despite previous repairs by several shops, the issue remained unresolved. The laptop exhibited no signs of water or drop damage.

    Troubleshooting

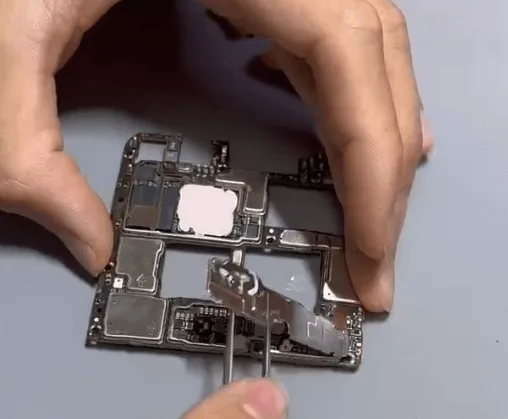
    First, let’s disassemble the MateBook X. Before connecting the motherboard with the DC power supply machine, it’s advised to check the condition of the motherboard first, in case it’s a water-damaged board and causes more serious issues.

    (customer’s feedback only for repair reference, we still need to follow the correct repair process.)
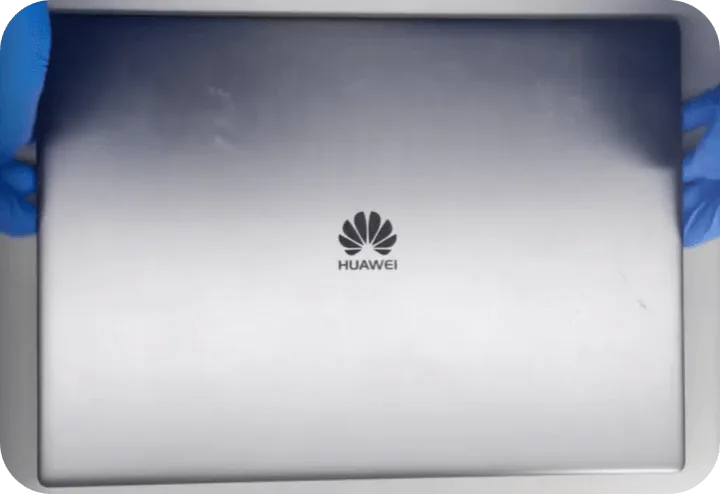
    huawei matebook pro stops working during normal use the cannot boot

    After removing the rear cover, we can smell burnt from the motherboard. 
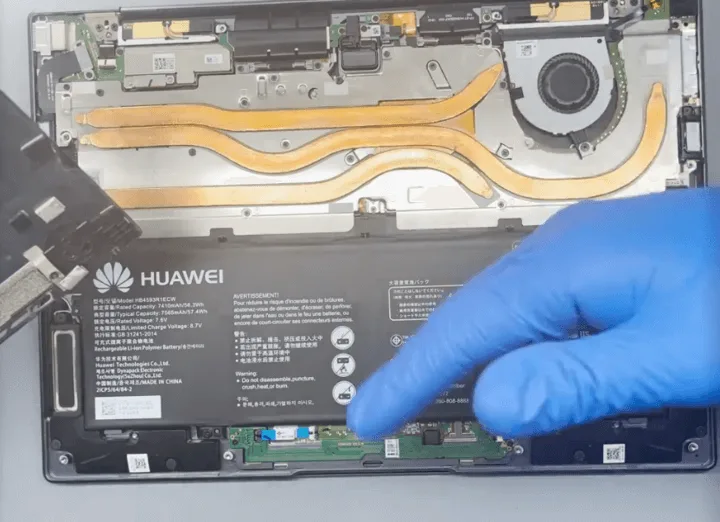
    huawei matebook pro stops working during normal use disassemble the

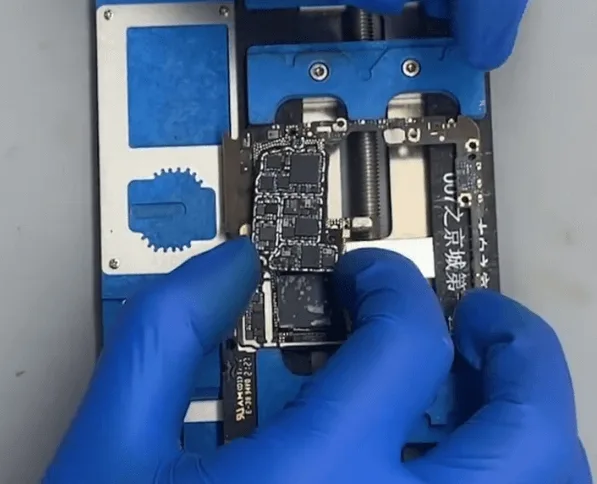
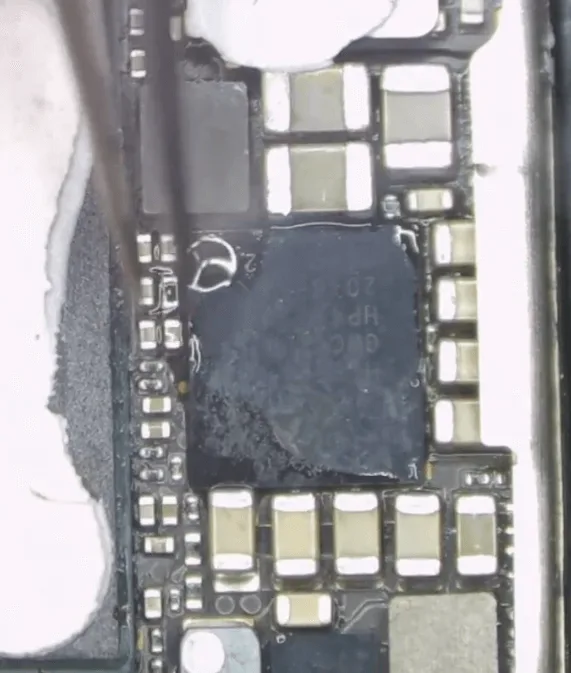
    Take out the motherboard and check carefully, there’s a chip that is seriously burnt, we can see the burning traces with our eyes directly.
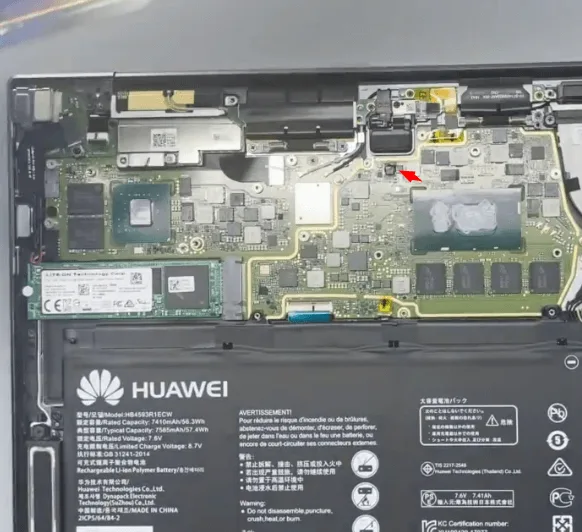
    huawei matebook pro stops working during normal use we can see the

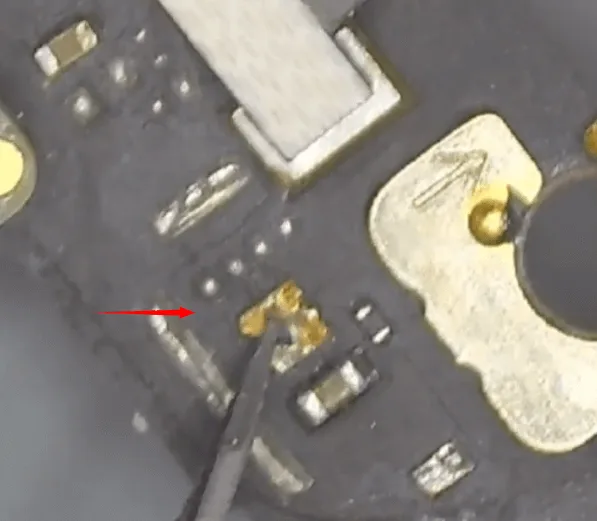
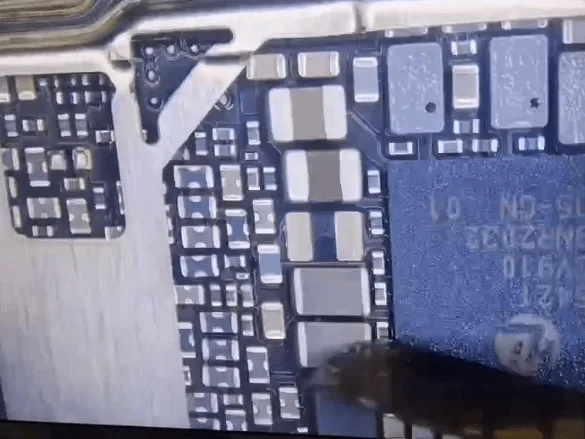
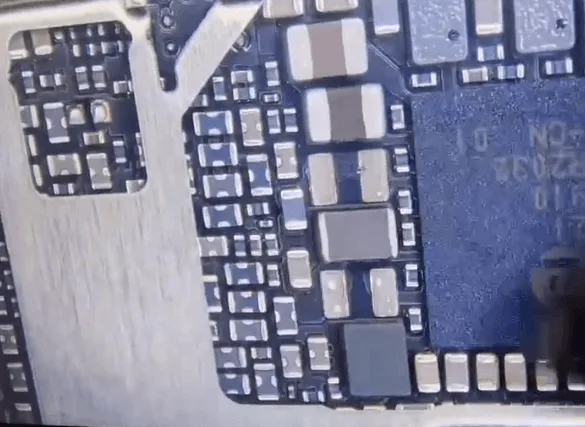
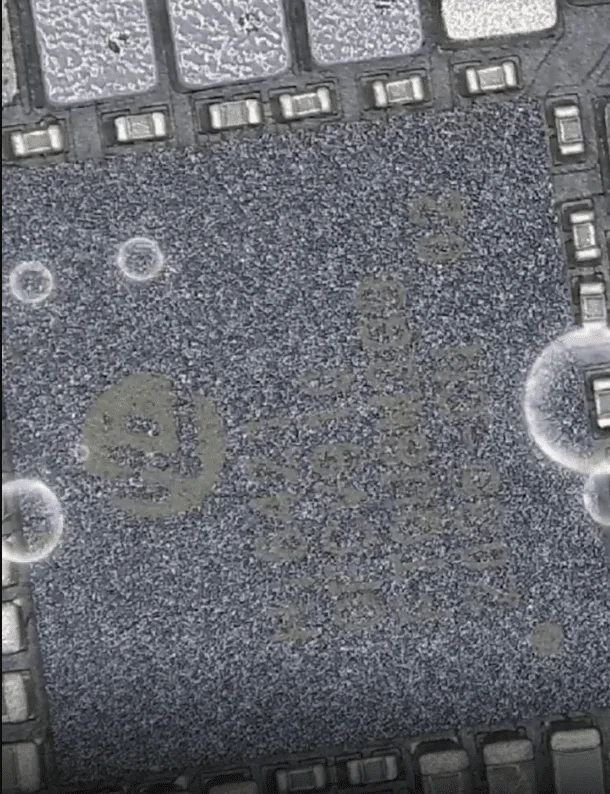
    Check under the microscope, the components have been burnt and carbonized. 
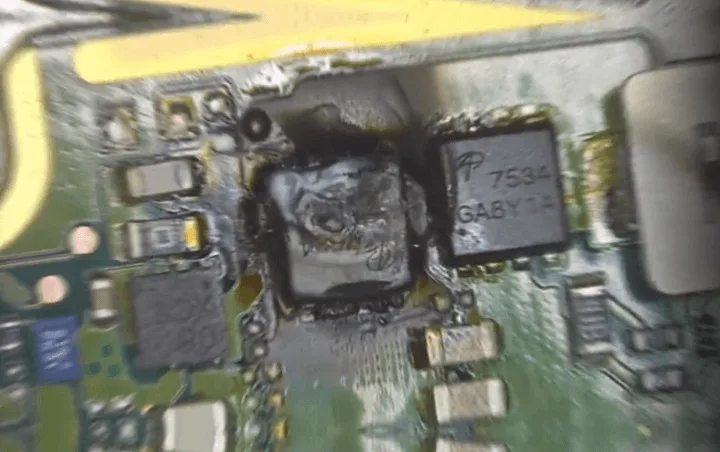
    huawei matebook pro stops working during normal use burnt and carbonized
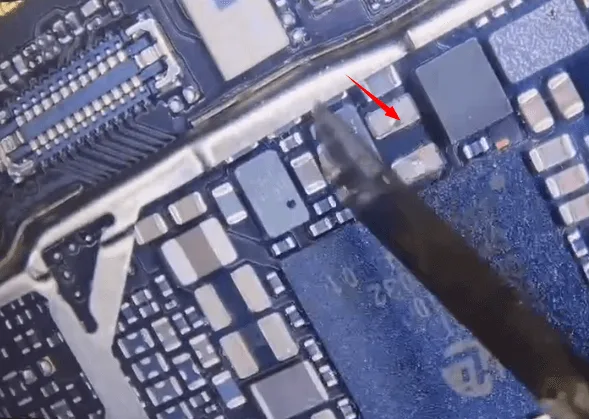
    • The one on the left side is seriously carbonized, we can take it off easily with tweezers.
    • The one on the right side also looks bad, later we need to resolder it.

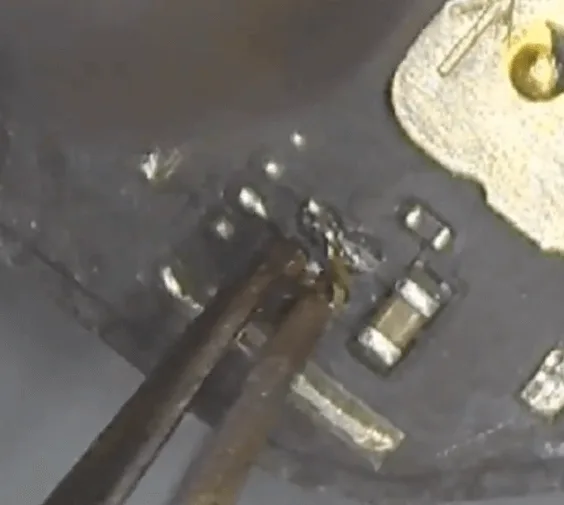
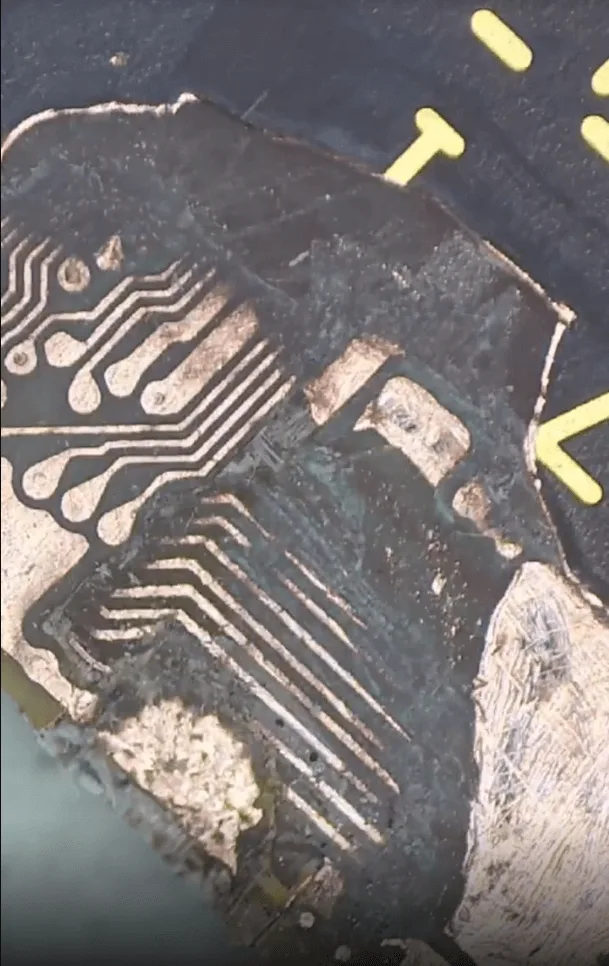
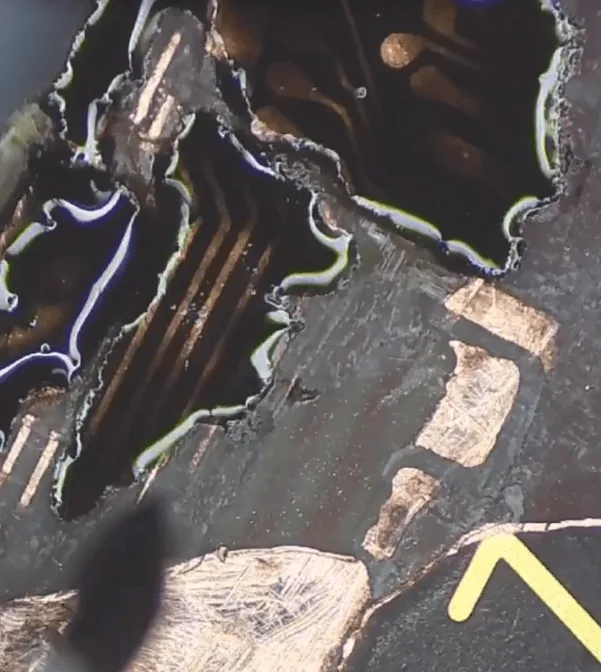
    After removing the two chips, we should also cut off the surface carbonized PCB with a sculpture knife carefully. The carbonized PCB is conductive once connected with the power, just like a delicate operation, we need to be extra careful to deal with the motherboard.
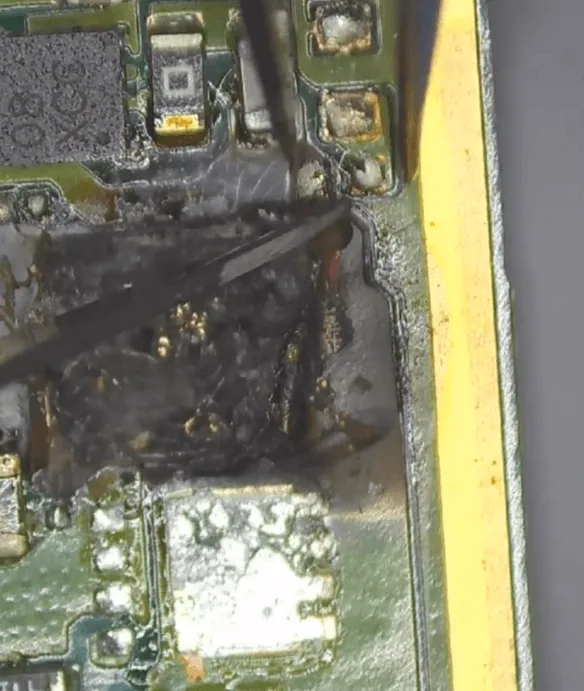
    huawei matebook pro stops working during normal use cut off the

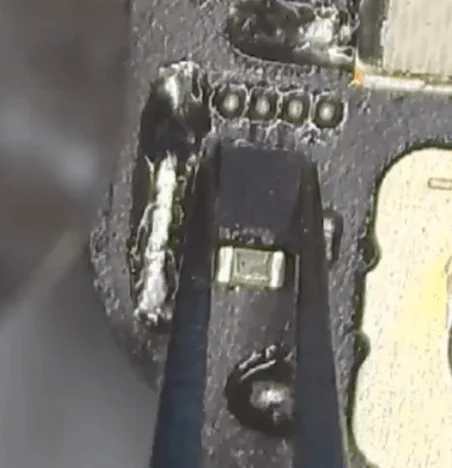
    After that, measure the diode value of the MOSFET chip. The front side diode value is OK, but the rear side diode value is shorted. 
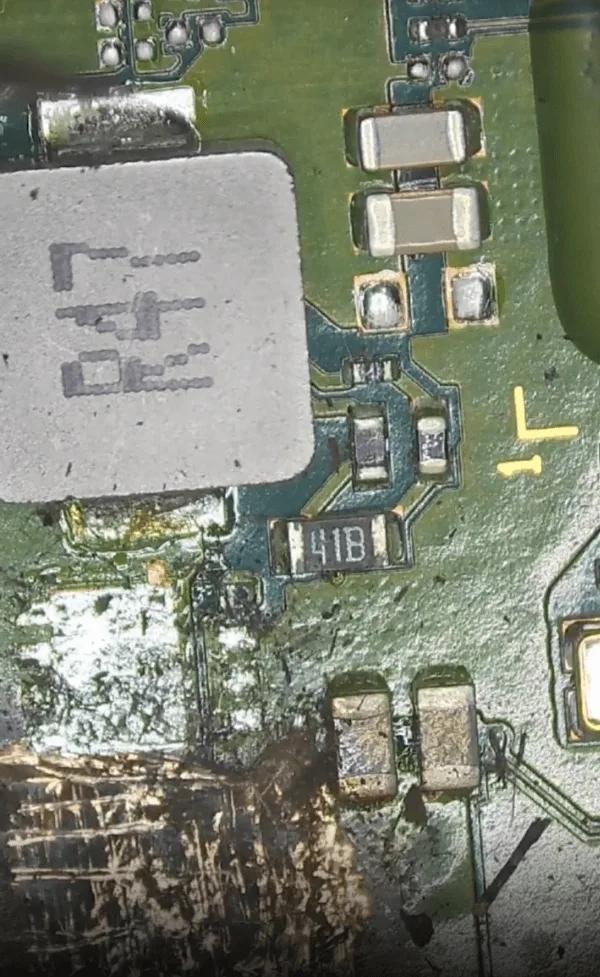
    huawei matebook pro stops working during normal use measure the diode

    The rear side is connected with the CPU, the shorted diode value means it might be the CPU shorted or the inner PCB rail is damaged.

    Before verifying whether the CPU is good or not, let’s measure all the main inductors first to see if there is any other shortage on the other main power supply rails. 
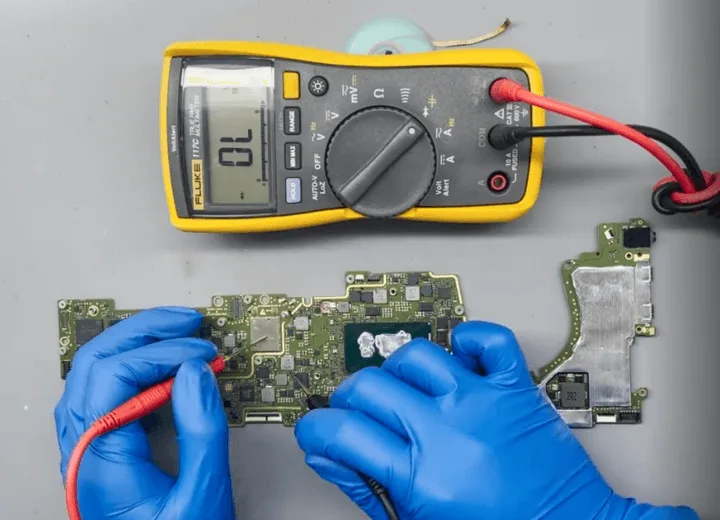
    huawei matebook pro stops working during normal use check the inductors

    After measuring, all the inductors’ diode values are OK.

    Next, let’s remove the CPU

    The brief operation process 

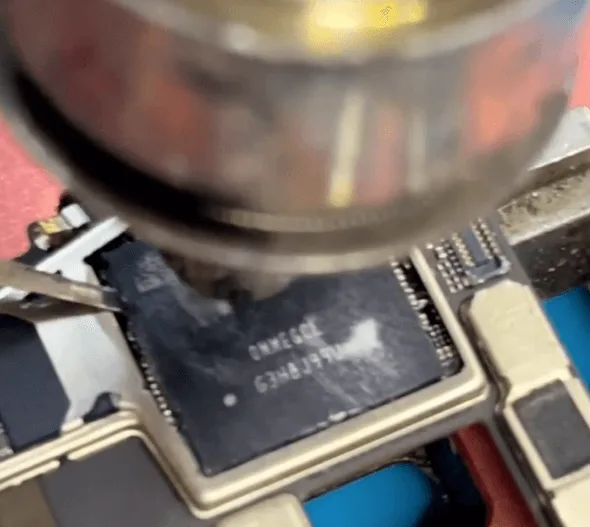
    First, let’s remove the thermal grease on the CPU with the anti-static wiper.
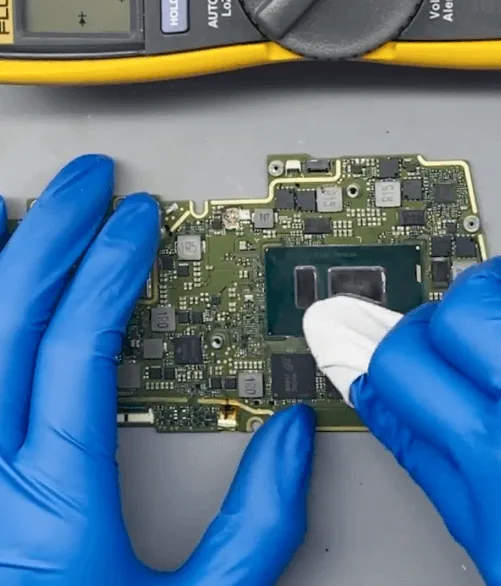
    huawei matebook pro stops working during normal use remove the thermal

    Then, mark the location of the CPU with a sculpture knife slightly.
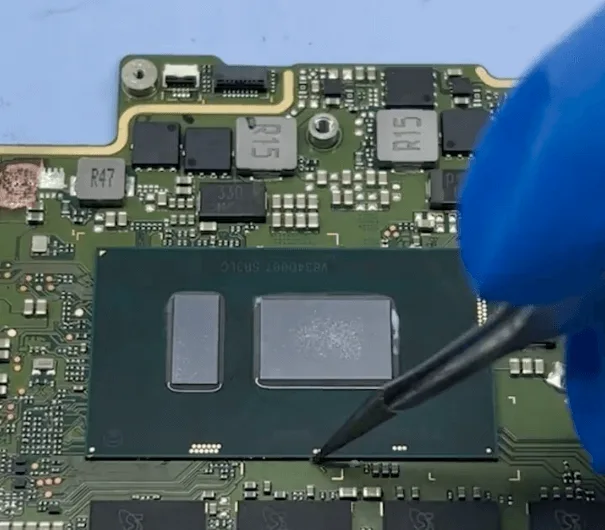
    huawei matebook pro stops working during normal use mark the location of

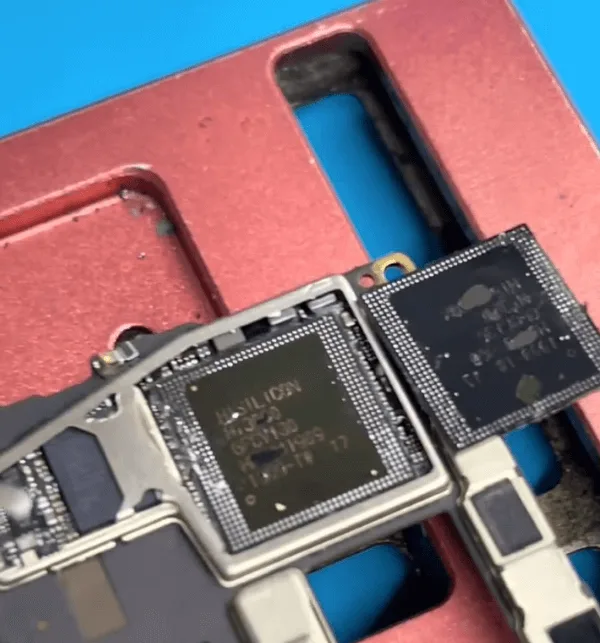
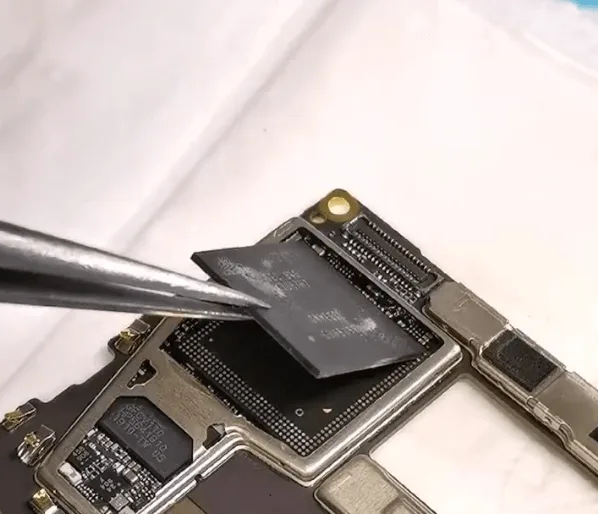
    Next, let’s heat the CPU chip with the hot air gun evenly, and take off the chip when the tin between the PCB and CPU chip is melted.
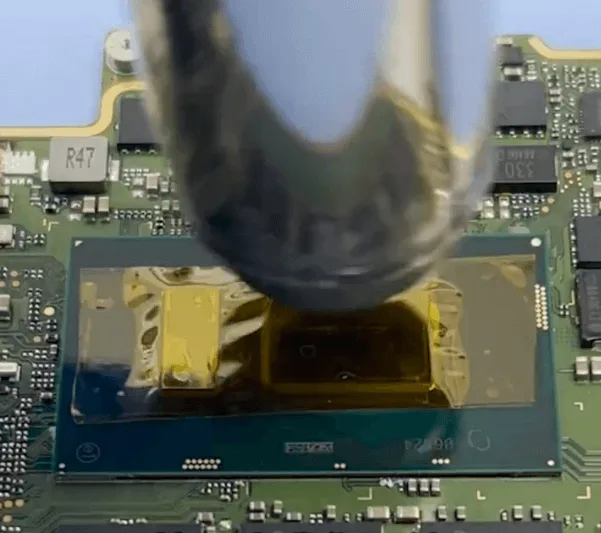
    huawei matebook pro stops working during normal use take off the cpu

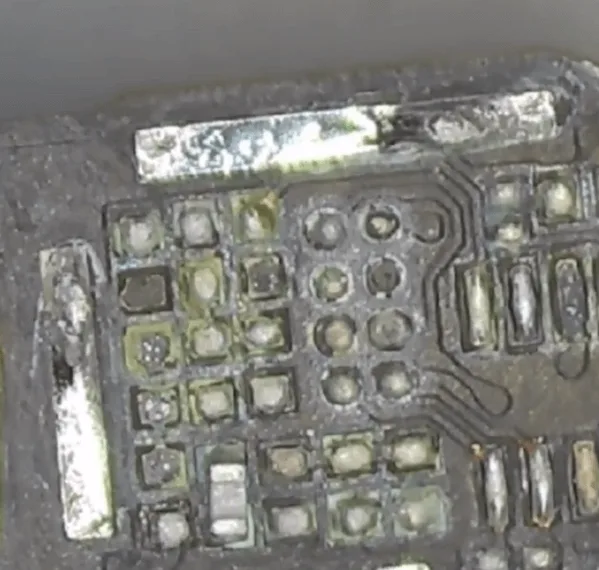
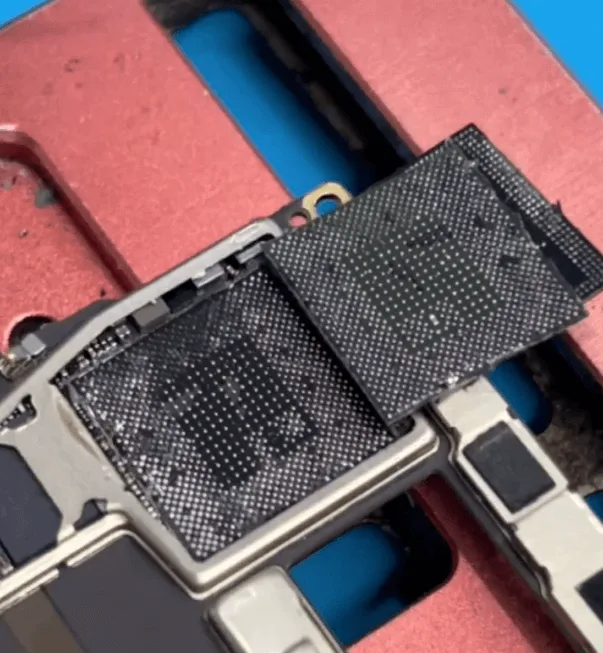
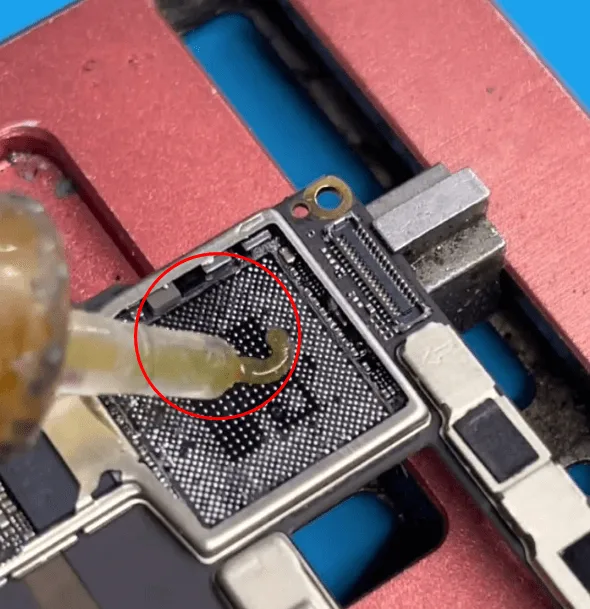
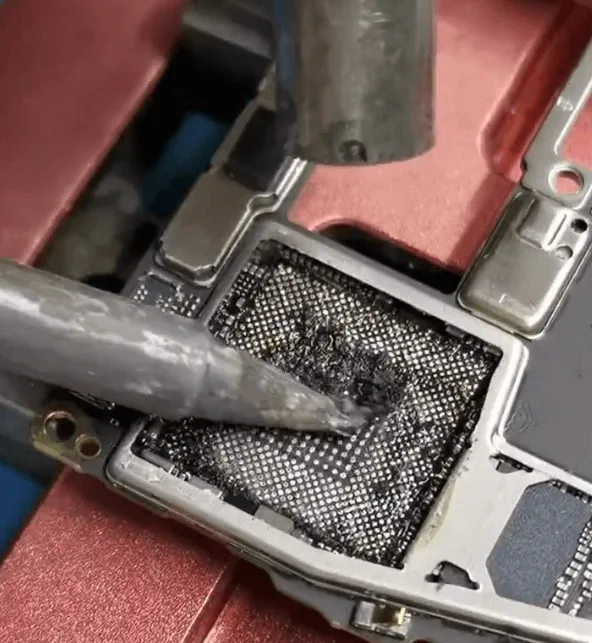
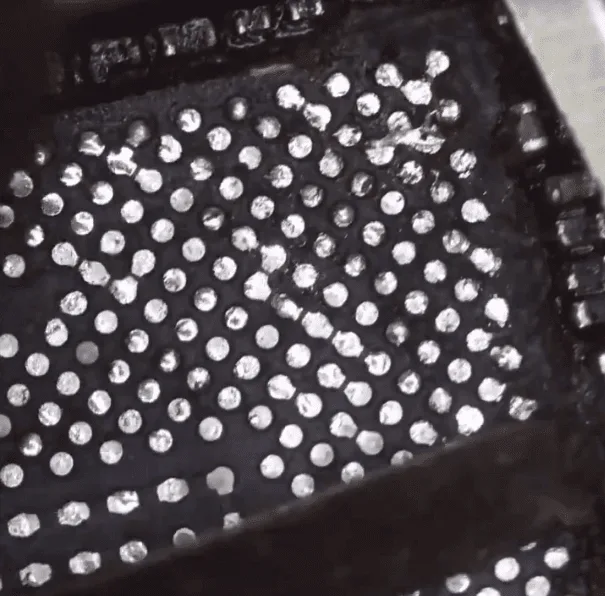
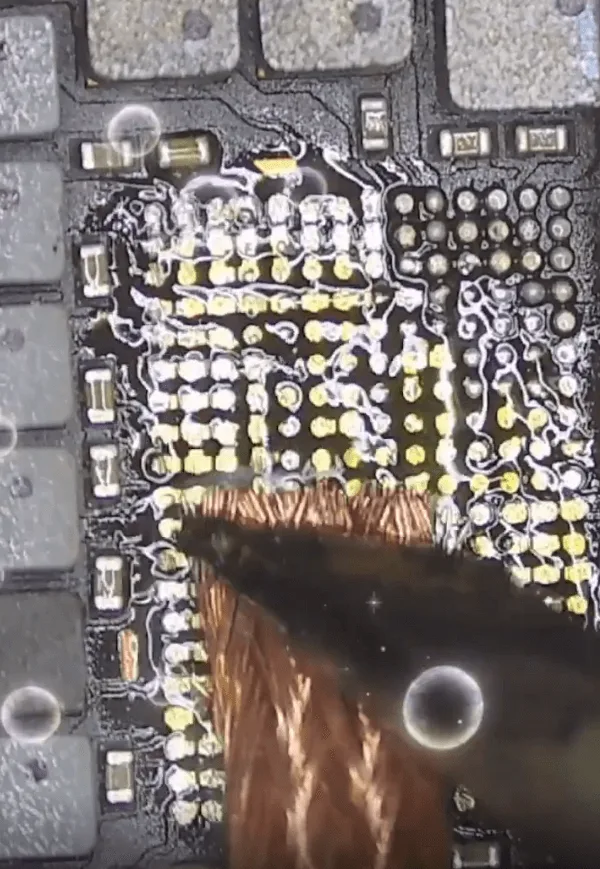
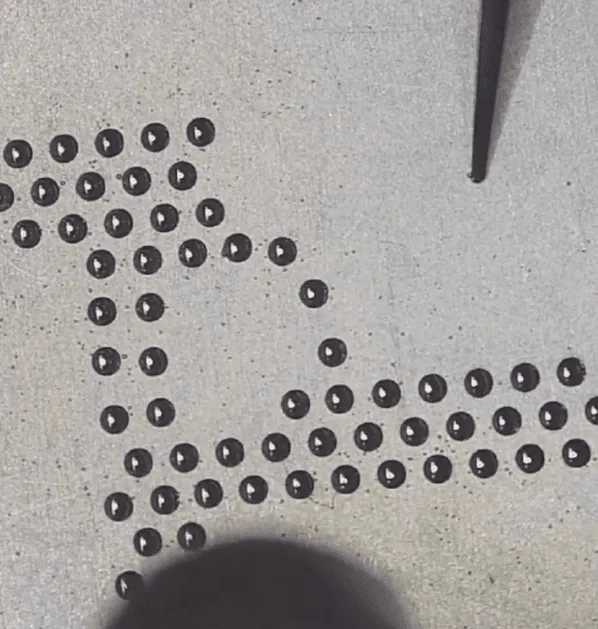
    After removing the CPU chip, let’s clean the bonding pads on the PCB with the soldering iron and solder wick.
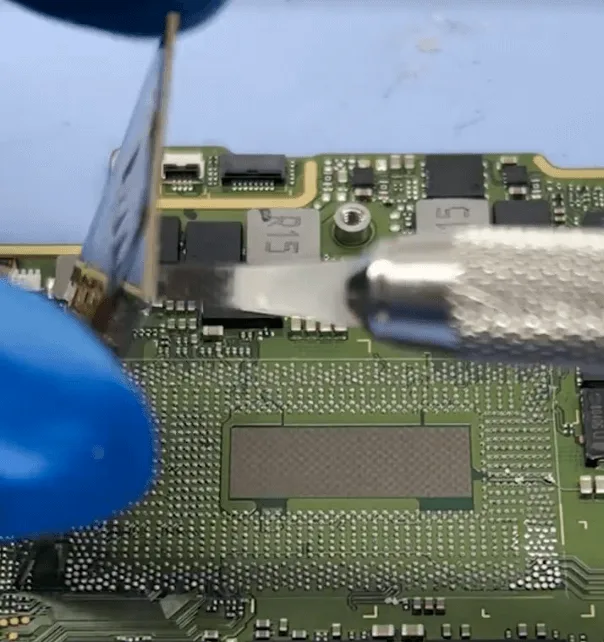
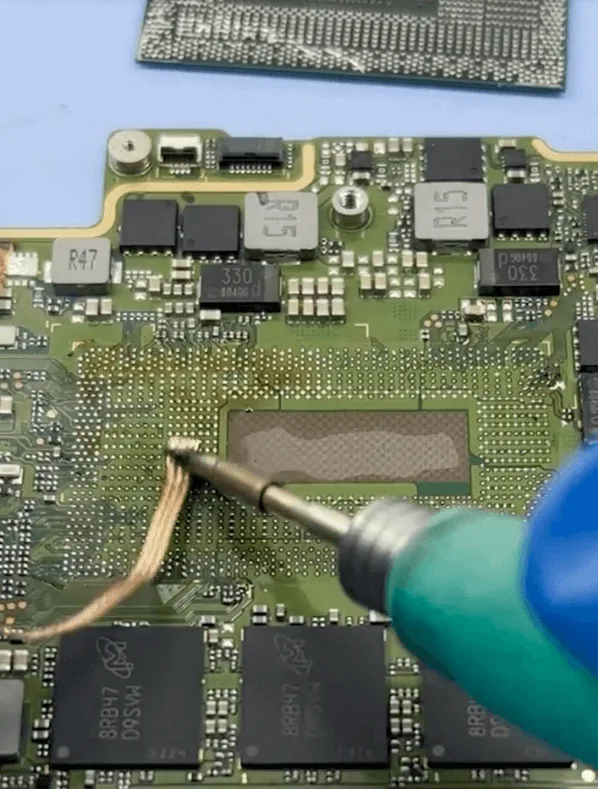
    huawei matebook pro stops working during normal use remove the cpu chip
    huawei matebook pro stops working during normal use flatten the tins on

    CPU and Damaged Chips Replacement

    After removing the CPU chip, let’s measure the diode value on the rear side of the MOSFET, the shortage is gone, which means the original CPU is damaged.
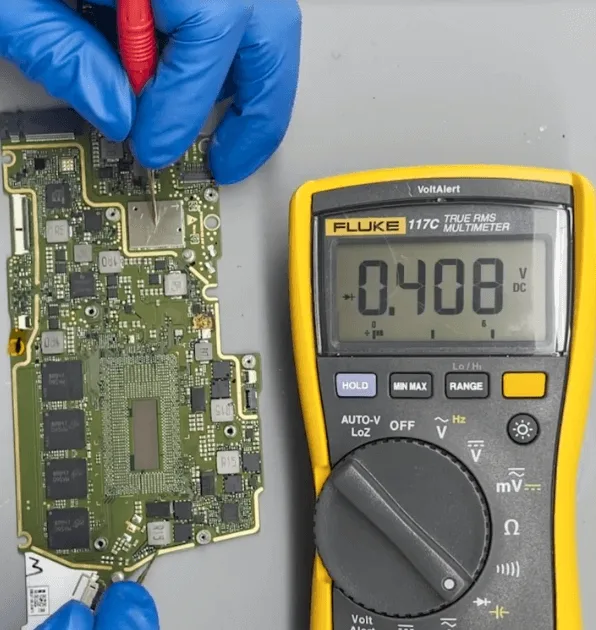
    huawei matebook pro stops working during normal use the short on rear

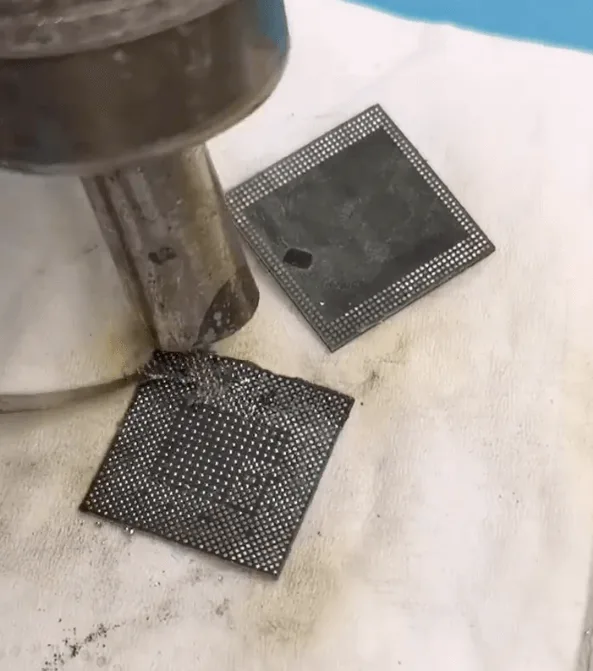
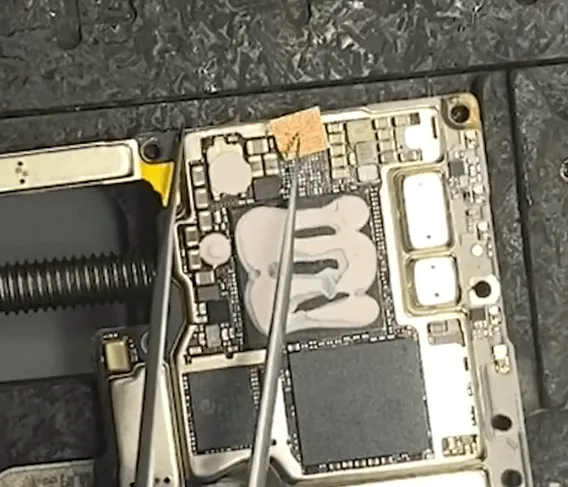
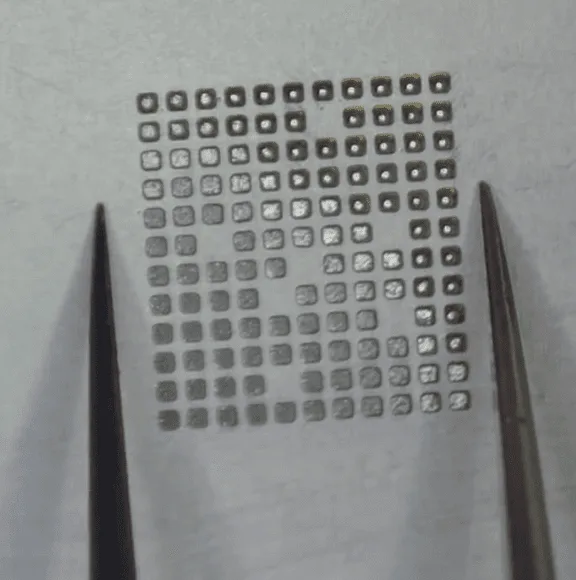
    Find a CPU chip with the same specification, a lot of models of laptops use this CPU, and we can find a good one easily. Then reball it with the stencil and hot air gun.
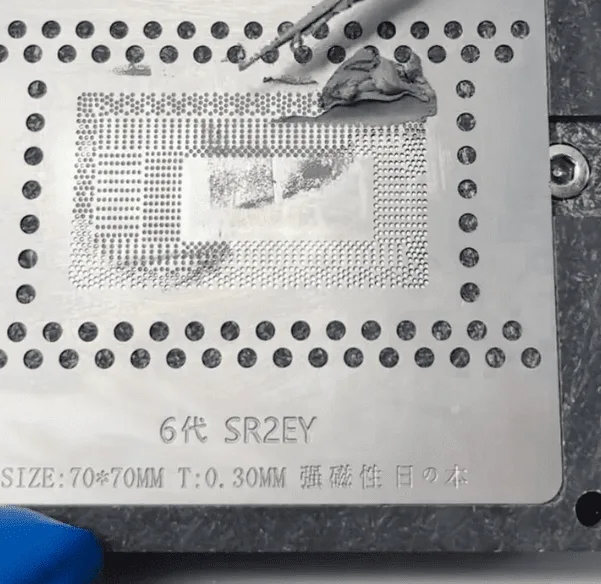
    huawei matebook pro stops working during normal use reball the cpu with

    Then align the new CPU on the marked location, and heat it with the hot air gun to solder the CPU chip on the motherboard. 
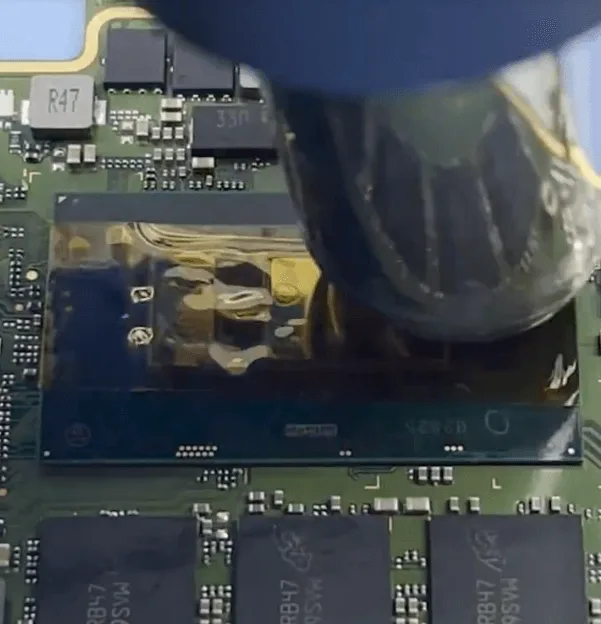
    huawei matebook pro stops working during normal use solder the chip on

    For the damaged MOSFETs

    One we can just solder it back with a new one directly
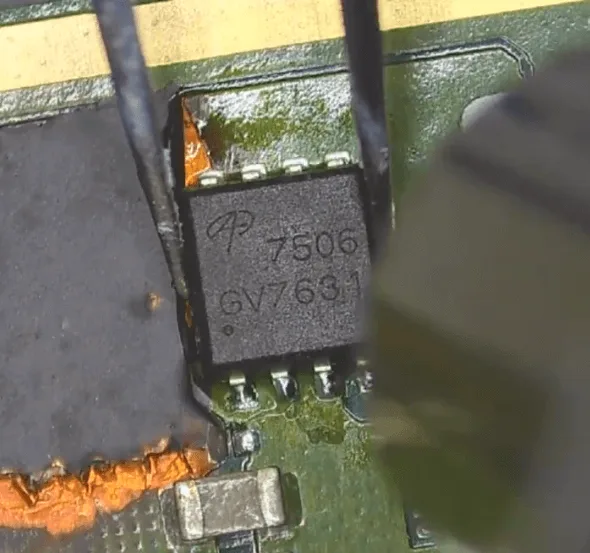
    huawei matebook pro stops working during normal use solder back one will

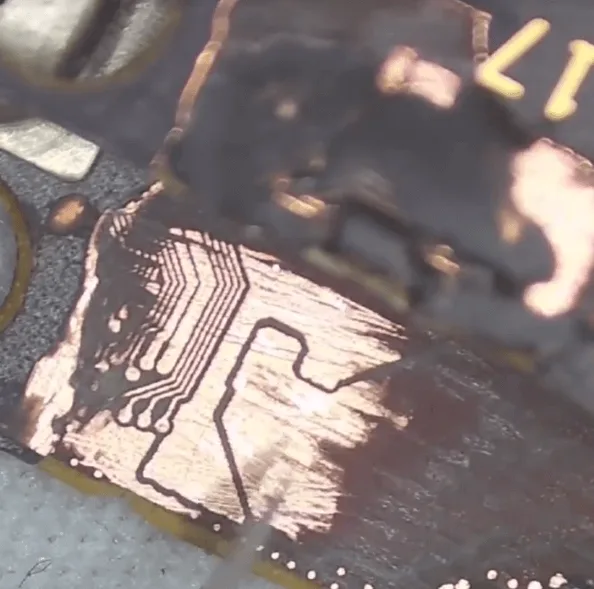
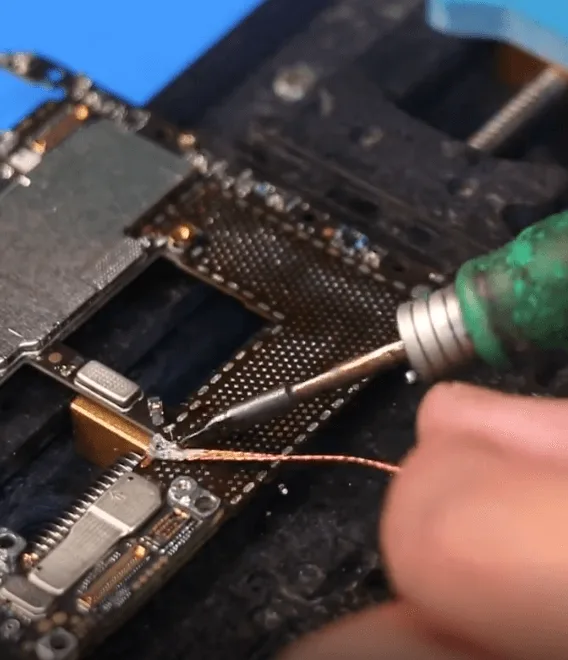
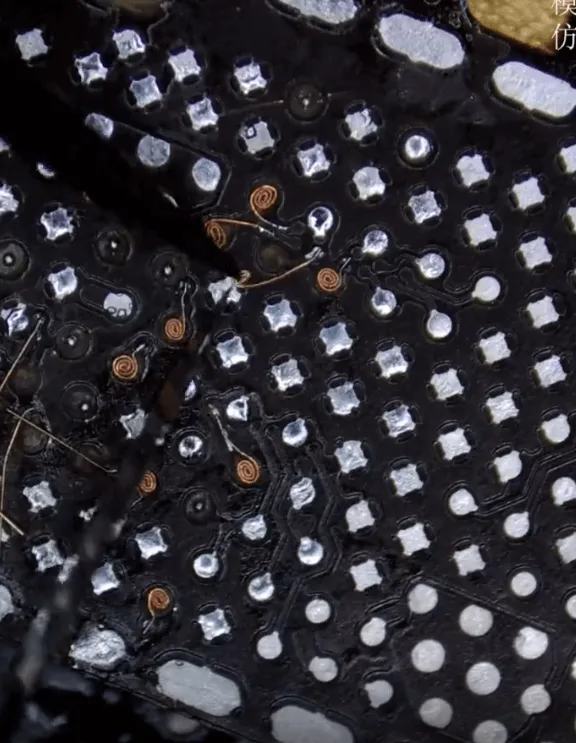
    Another one, the PCB is seriously burnt. So we need to jump wires

    1. Scratch out the pads on the PCB first
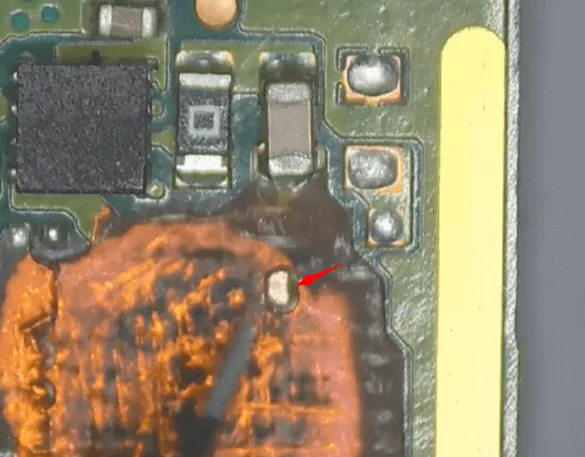
    huawei matebook pro stops working during normal use scratch out the pads

    2. Apply UV mask and cure it UV lamp for isolation
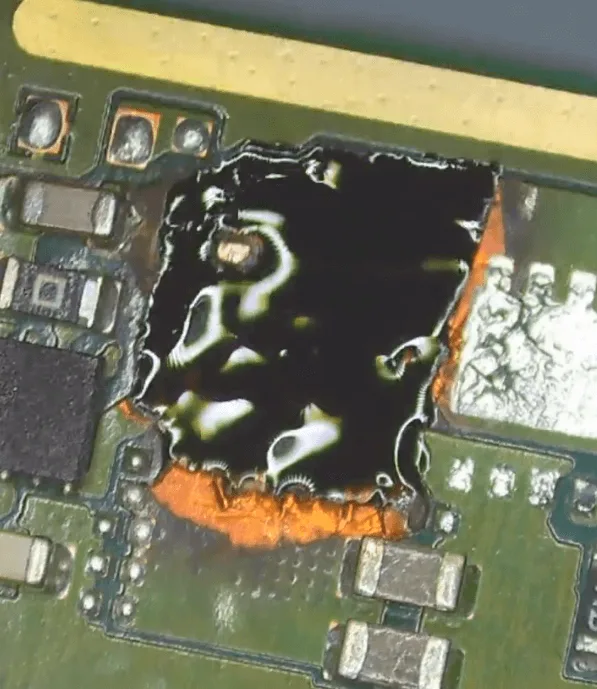
    huawei matebook pro stops working during normal use uv isolation

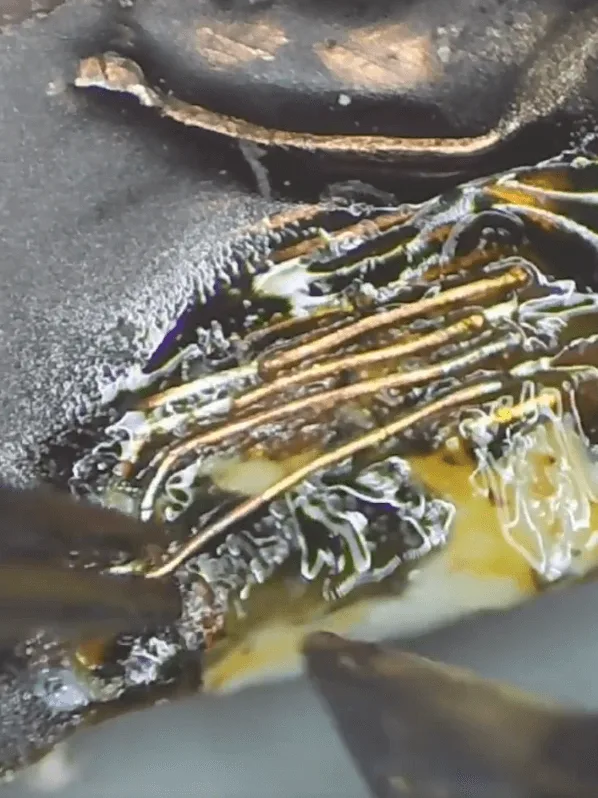
    3. Since the PCB is seriously damaged, we should flip the MOSFET to jump wires
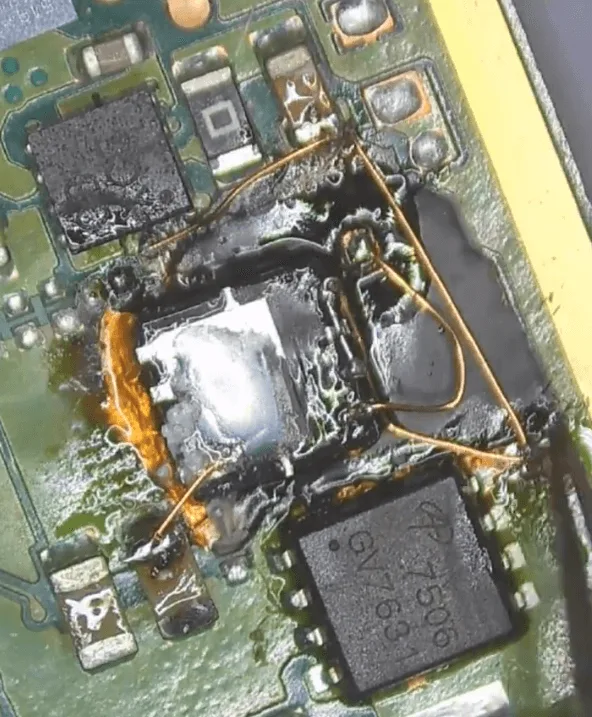
    huawei matebook pro stops working during normal use jump wires upside

    4. After the jumping wire operation is finished, let’s also apply some UV mask and cure it with the UV lamp
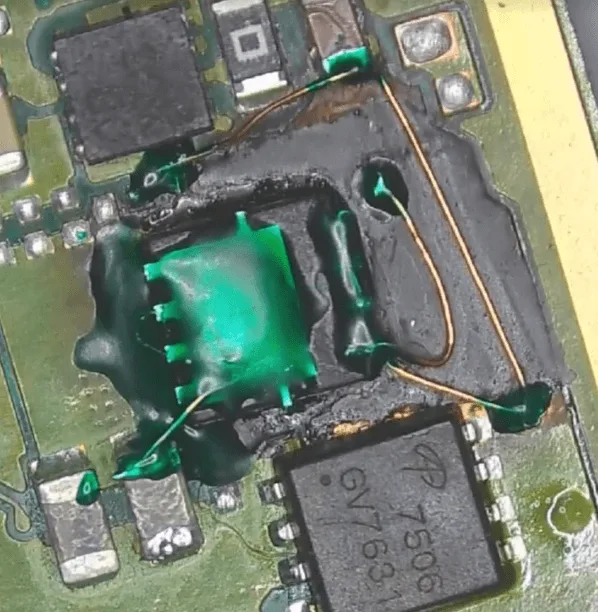
    huawei matebook pro stops working during normal use cure the chip with

    After the MOSFET chips replacement, let’s measure all the relative diode values again, no problem!
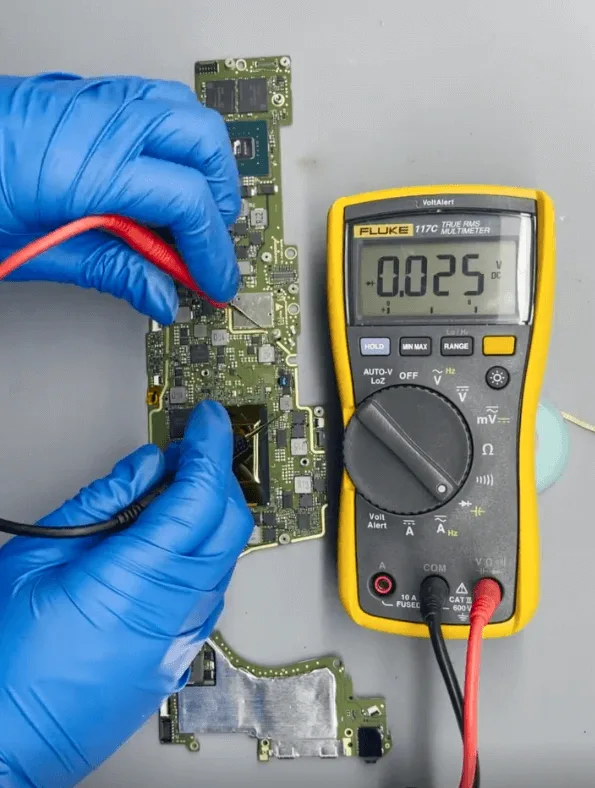
    HUAWEI MateBook X Pro stops Working

    Rewrite the BIOS

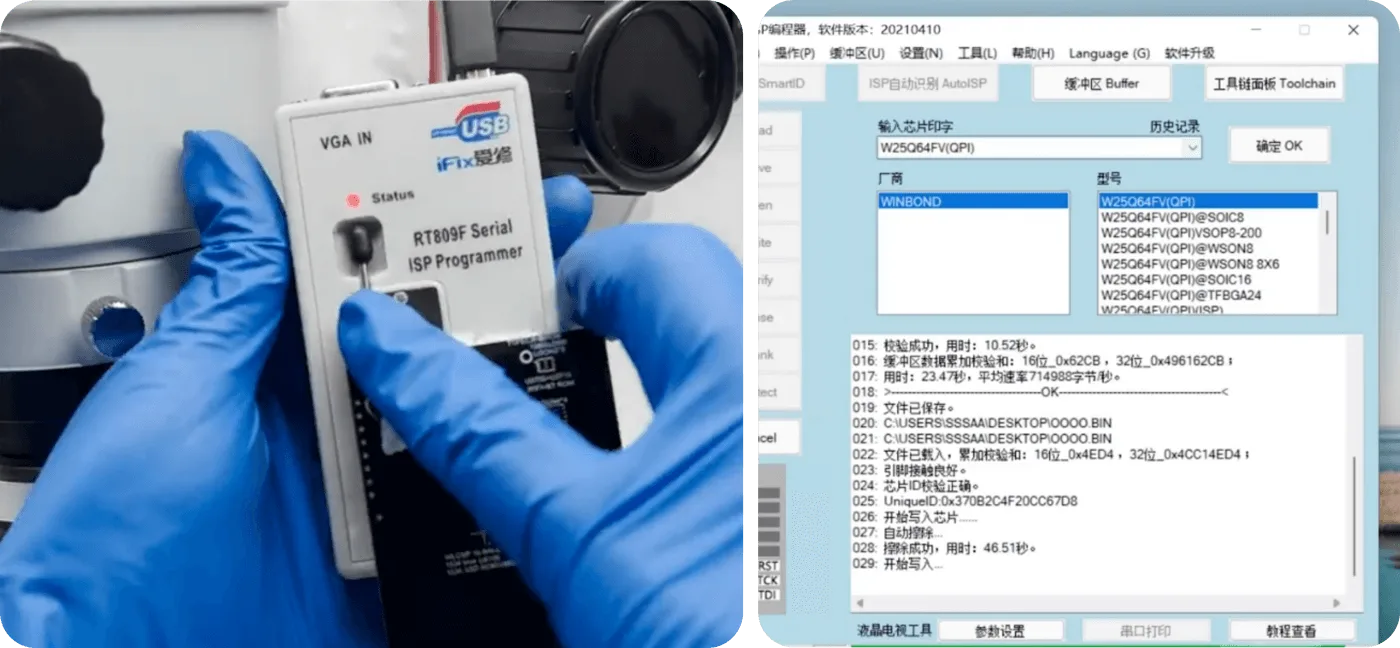
    Since the CPU has been replaced with a new one, we should rewrite the BIOS data with a specified programmer

    1. remove the BIOS chip with the hot air gun
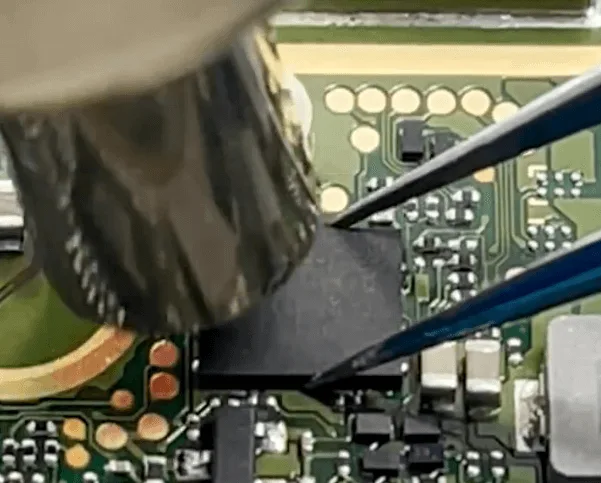
    huawei matebook pro stops working during normal use remove the bios chip

    2. Solder the BIOS chip on the programmer board
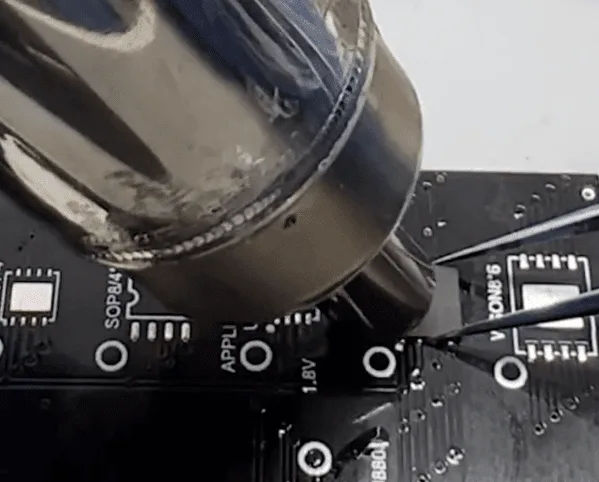
    huawei matebook pro stops working during normal use solder the bios chip

    3. Rewrite BIOS data with programmer

    huawei matebook pro stops working during normal use wow

    4. After the rewriting process is finished, let’s solder the chip back to the motherboard
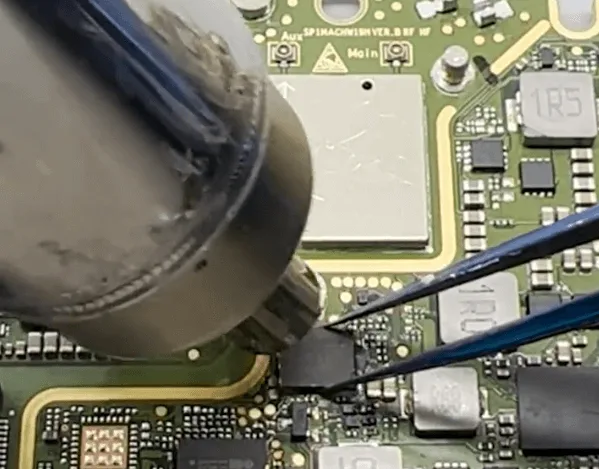
    huawei matebook pro stops working during normal use solder back the chip

    Assemble the Laptop and Test

    Assemble the whole laptop and press the power button to start up, then Matebook can enter into the system successfully, the cannot boot issue gets fixed perfectly by CPU and burnt MOQFET chips replacement.
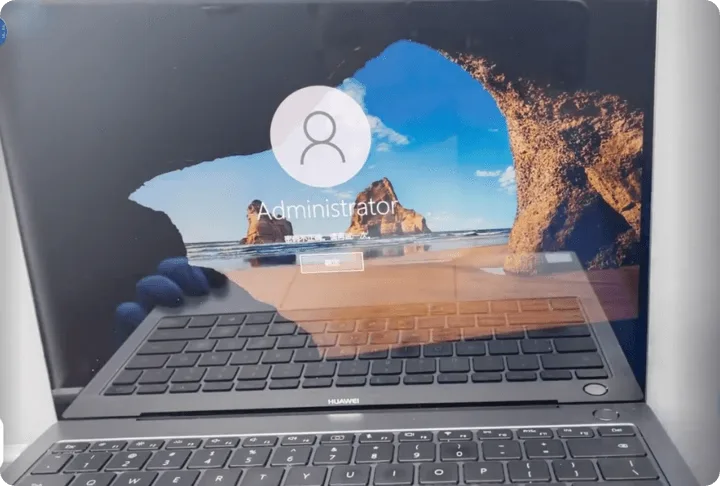
    huawei matebook pro stops working during normal use finally gets

    Summary

    The HUAWEI MateBook X Pro issue of stopping during normal use was resolved by:

    • Identifying and removing burnt components.
    • Replacing the damaged CPU and MOSFETs.
    • Rewriting the BIOS data.

    This repair requires precise work and careful inspection to ensure the laptop is restored to full functionality without causing additional damage.

  • HUAWEI Mate X2 Seawater Damage Repair (II)

    HUAWEI Mate X2 Seawater Damage Repair (II)

    HUAWEI Mate X2 Seawater Damage Repair (Part II)

    Let’s continue with the previous repair process. The cannot start issue has been resolved by cleaning the PCB board with the ultrasonic cleaner and jumping wires to fix the burned PCB layers.

    But the phone still with two issues

    1. The font displayed on the main screen is fatter than the normal display
    2. The outside vice screen displays the HUAWEI logo only

    Let’s fix them!

    Troubleshooting

    For the display font larger and wider, based on the repair experience it should be caused by the compass IC being damaged. Take out the motherboard and check carefully under the microscope again

    The motherboard is a two-layer combined structure and seems with some poor soldering.

    Let’s remove the upper layer of the motherboard and resold it.

    huawei mate x2 seawater damage repair ii resolder the upper layer

    Then recombine the two layers of the motherboard

    huawei mate x2 seawater damage repair ii recombine the two layers of

    After the motherboard cooling down, assemble the phone temporarily to test again. The phone still with the same issue (font is wider and bigger than normal)

    Check the motherboard under the microscope, and find there are some parts that are corrosion carbonization

    Let’s scratch them off one by one with the sculpture knife slightly

    huawei mate x2 seawater damage repair ii lets scratch them off one by

    huawei mate x2 seawater damage repair ii lets scratch them off one by 2

    Later we will deal with these pads, to resolder them.

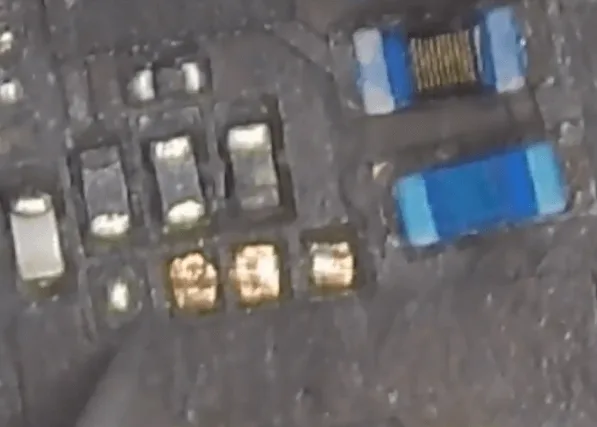
    Then let’s find the compass chip, just as guessed, it’s corrosive so seriously and there’s almost nothing left on the motherboard.

    huawei mate x2 seawater damage repair ii the compass chip is gone  

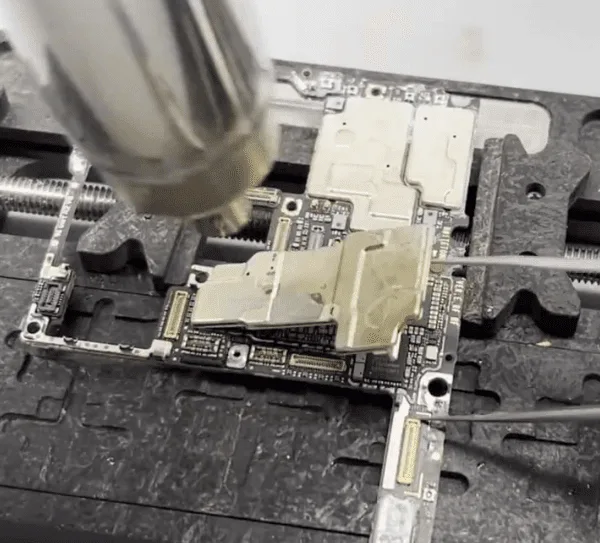
    Let’s heat with the hot air gun and remove the residuals with tweezers slightly.

    huawei mate x2 seawater damage repair ii remove the residuals

    Then take another good compass IC from the same model motherboard, and then solder it to the motherboard.

    huawei mate x2 seawater damage repair ii take the same one

    For the signal parts, there’s a shielding cover that also gets corrosive.

    Let’s remove it and check the chips/components under the shielding cover are also seriously corrosive.

    huawei mate x2 seawater damage repair ii chips under the shielding cover

    Let’s clean the pads on the PCB with solder paste and soldering iron first. Then swap the same components and chips from the donation board.

    Assemble and test

    After soldering back the compass IC and the missing chips, let’s assemble the phone to test again.

    The phone can boot normally, and the main screen also displays normally.

    Mate X2 Seawater Damage Repair

    When folding the screen, the outside vice screen also displays normally.

    huawei mate x2 seawater damage repair ii the outside screen also

    Test the other functions one by one, everything is OK.

    The issue gets resolved perfectly by replacing a new compass IC and swapping the corrosive signal chips.

  • HUAWEI Mate X2 Seawater Damage Repair (I)

    HUAWEI Mate X2 Seawater Damage Repair (I)

    HUAWEI Mate X2 Seawater Damage Repair

    huawei mate x2 seawater damage repair png

    Model: HUAWEI Mate X2

    Announced: 2021, February 22

    Defect Phenomenon

    The phone was seawater damaged and then cannot be booted.

    The seawater is very corrosive, after the seawater damage if the phone has not been dealt with timely and properly will cause a lot of issues.

    Troubleshooting Process

    Let’s place the phone on the heating pad to heat and then separate.

    huawei mate x2 seawater damage repair put the phone on heating pad to

    After heating a while, the glue on the frame became very soft and we can separate the rear cover with a very thin plastic card easily.

    huawei mate x2 seawater damage repair separate with thin card

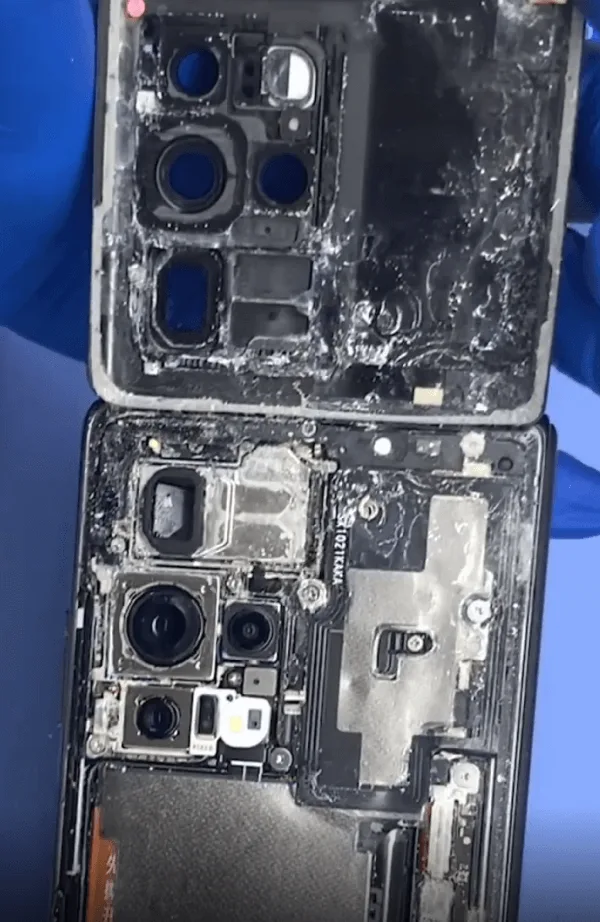
    Check the inside situation, the mainboard is covered with solidified sea salt.

    huawei mate x2 seawater damage repair full of salt

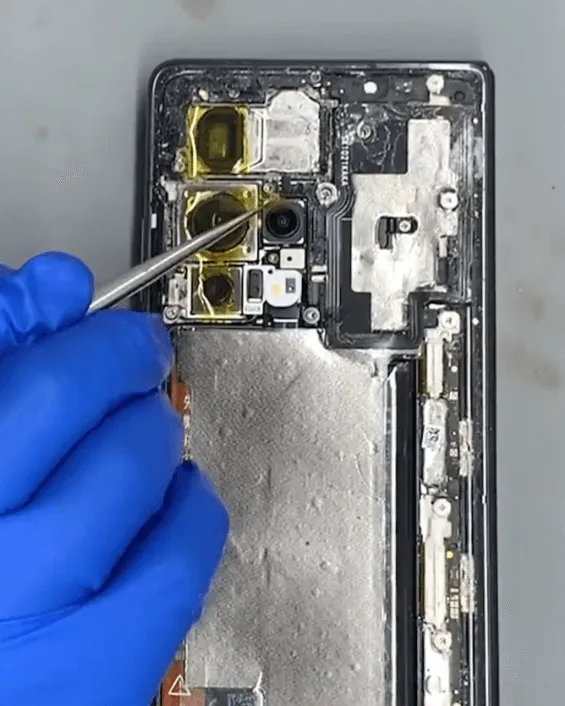
    Let’s protect the cameras with stickers first.

    huawei mate x2 seawater damage repair protect with stickers

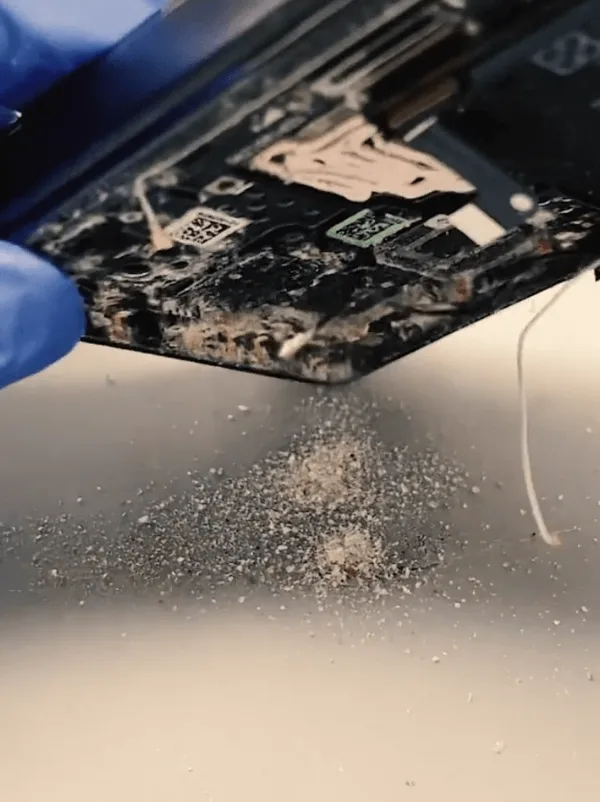
    Take out the motherboard, it’s amazing that there are still so many sea salt particles inside the phone.

    huawei mate x2 seawater damage repair sea salt can be found in the phone

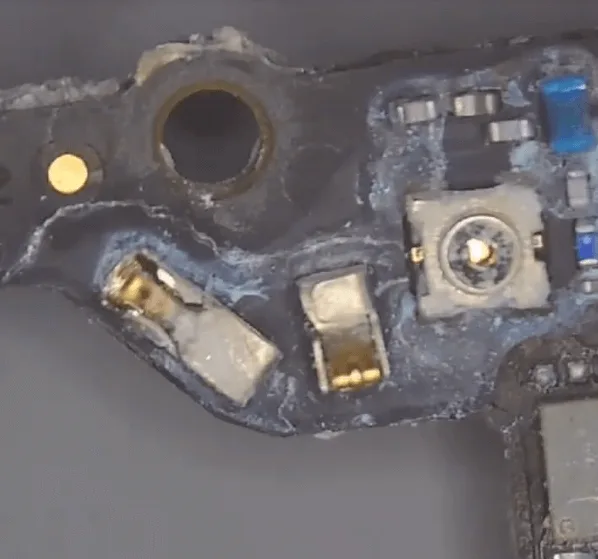
    Then let’s check the motherboard under the microscope carefully, as guessed, there are many components on the motherboard that are corroded.

    huawei mate x2 seawater damage repair the corrosive parts on motherboard

    After checking, many capacitors and resistors are missing. Besides this, even a small shielding cover has fallen off, and many areas with green/blue corrosive electrolytes.

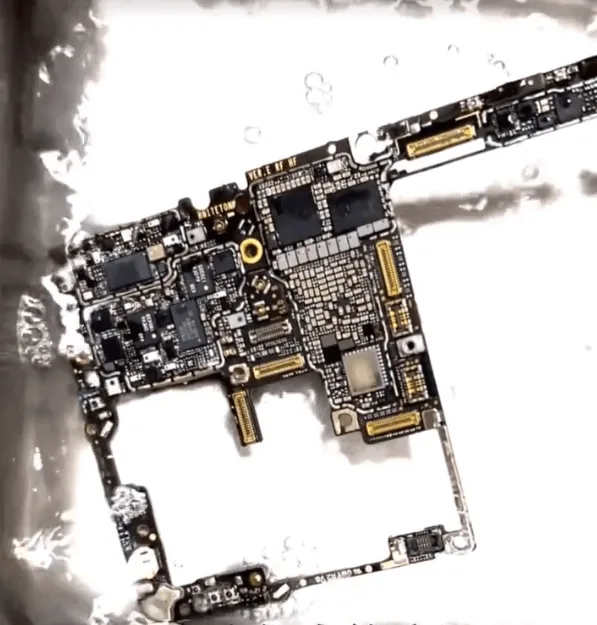
    Like this kind of serious corrosion, we have to remove all the shielding covers and clean the components inside with the ultrasonic cleaner + PCB cleaner liquid thoroughly.

    huawei mate x2 seawater damage repair remove the shielding covers

    huawei mate x2 seawater damage repair ultrasonic cleaner to clean the

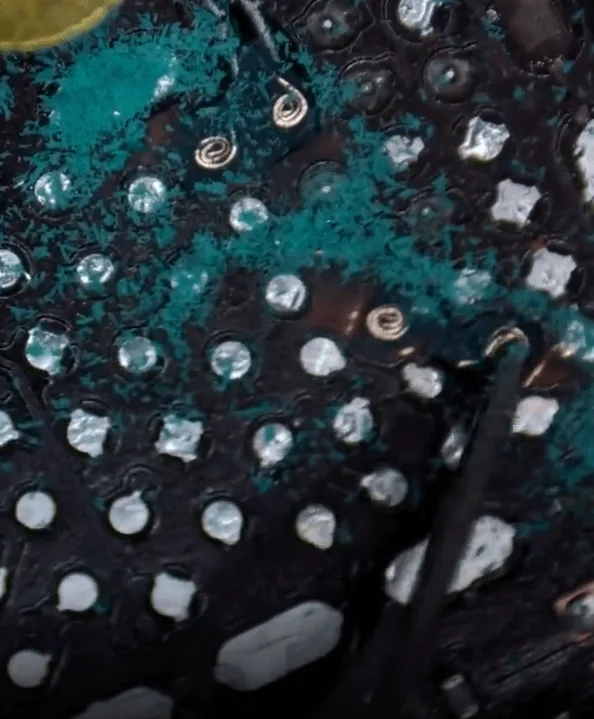
    After cleaning, scratch off the corrosive and blacken pads carefully.

    huawei mate x2 seawater damage repair scratch off the corrosive and

    The 1st stage of physical cleaning is finished, let’s clean the motherboard with the PCB cleaner + brush again.

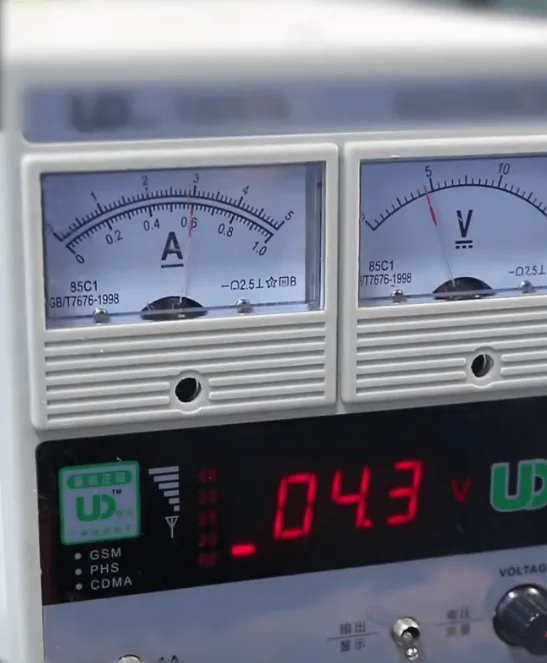
    Then connect with the DC power supply machine to have a test, after testing, there is a large current leakage.

    huawei mate x2 seawater damage repair large current leakage can be

    huawei mate x2 seawater damage repair large current leakage

    Where there is current leakage, there is a hot component or chip. Let’s inspect the motherboard under the thermal imager, and find the heat is coming from the PCB layers.

    huawei mate x2 seawater damage repair find the heat is come from pcb

    We can see the corrosive from the side of the PCB board.

    huawei mate x2 seawater damage repair the inner rail is broken

    For this kind of defect, we can only fix it by scratching off the layers and jumping wires to fix it.

    huawei mate x2 seawater damage repair scratch off the layers

    There are many layers inside the PCB board, so we need to scratch off layer by layer until reaching the layer that has no short.

    huawei mate x2 seawater damage repair scratch off many layers already

    The scratching-off layers process requires a lot of patience and carefulness.

    Then the next step, we need to jump wires.

    How to Jump Wire

    First, apply some UV mask and cure it with a UV lamp for isolation

    huawei mate x2 seawater damage repair apply uv for isolation

    Secondly, there’s no inner layers structure for this model on the bitmaps yet. So we should scratch off the layers on the same motherboard for reference to avoid wrong jump wire connections.

    huawei mate x2 seawater damage repair the same motherboard for reference

    In the third step, let’s refer to the good motherboard to jump wires

    huawei mate x2 seawater damage repair jump wires layer by

    After jumping wires, apply some UV mask for isolation and strengthen again.

    Mate X2 Seawater Damage

    Assemble and Test

    When the motherboard cooling down and the UV mask is isolated, let’s assemble the phone to have a test.

    huawei mate x2 seawater damage repair assemble the phone to test

    The phone can start up

    huawei mate x2 seawater damage repair can start up

    But there are still some other issues when entering into the system

    1. the display is abnormal on the main screen, the font display wider and fatter than normal
    2. the outside vice screen displays the HUAWEI logo only, and cannot enter into the standby user interface

    huawei mate x2 seawater damage repair fatter and wider display

    huawei mate x2 seawater damage repair the outter screen abnormal display

    For the two issues, let’s continue to introduce the repair method in the next article.

  • How to Fix Huawei Mate 40 Pro Keeps Restarting

    How to Fix Huawei Mate 40 Pro Keeps Restarting

    Imagine a scenario where a Huawei Mate 40 Pro keeps restarting because of significant drop damage, resulting in a cracked screen and visible liquid crystal leakage. As a consequence, the phone continuously reboots, displaying the HUAWEI logo for a brief moment before shutting off again. In this blog, we will explore potential repairs to address this challenging issue and help you get your Huawei Mate 40 Pro back to optimal functionality.

    huawei mate 40 pro

    Phone Details:

    Model: HUAWEI Mate 40 Pro

    Announced: 2020, October 22

    Why Huawei Mate 40 Pro Keeps Restarting

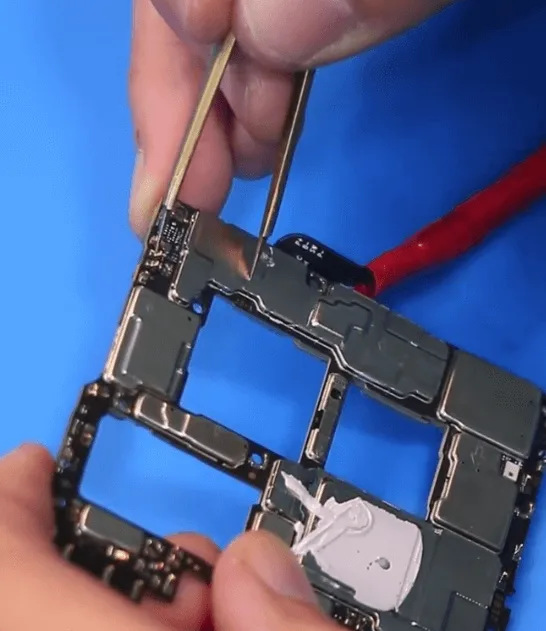
    A Huawei Mate 40 Pro that has sustained serious drop damage is experiencing a persistent restarting issue. The screen is cracked, with visible liquid crystal leakage. When attempting to start the phone, it continuously reboots, showing the HUAWEI logo for a second before shutting off again.

    Troubleshooting

    1: Disassemble the Phone

    • Begin by removing the back cover. Due to the severe drop damage, the cover should come off easily.
    • Remove the screws securing the motherboard using a screwdriver.

    Carefully separate the wireless charging coil module. Be cautious of the hidden flex cable to avoid damaging it.

    2: Screen Test

    how fix huawei mate 40 pro keeps restarting reboot
    • Replace the damaged screen with a new, functioning screen to test the device.
    • The phone continues to reboot, indicating that the problem is not with the screen but with the motherboard.

    3: Identifying the Root Cause

    Based on repair experience, a common cause of the rebooting issue in such cases is poor soldering or loosening of buck inductors on the motherboard.

    Repair Process

    1: Inspect the Buck Inductors:

    • Remove the shielding covers from the motherboard to expose the components.
    • Focus on the buck inductors around the Power Management Integrated Circuit (PMIC).
    • Use a tweezer or blade knife to gently pry the inductors, checking for any that are loose or poorly soldered.

    2: Identify Loose Components:

    how fix huawei mate 40 pro keeps restarting removed eaily
    • Due to the PCB design, small inductors around the chip can easily become loose or poorly soldered after serious drop damage.
    • If an inductor or other small component drops off easily when pressed, it indicates poor soldering.

    3: Resolder the Loose Inductors:

    how fix huawei mate 40 pro keeps restarting lets solder them back
    • Thoroughly check all the inductors around the PMIC.
    • Resolder any loose or detached inductors and components back onto the motherboard.

    4: Reassemble and Test:

    • Replace the damaged screen with a new one and reassemble the phone.
    • Test the device to ensure it boots normally and all functions are operational.

    Conclusion

    The restarting issue on the Huawei Mate 40 Pro, caused by drop damage, was resolved by identifying and resoldering the loosened buck inductors on the motherboard. This repair demonstrates the importance of repair experience and steady handwork in addition to theoretical knowledge and troubleshooting logic. Accumulating hands-on experience and refining soldering skills are crucial for successful repairs.

  • How to Repair HUAWEI Mate 40 Pro After a Hard Drop

    How to Repair HUAWEI Mate 40 Pro After a Hard Drop

    Dropping your HUAWEI Mate 40 Pro can be a heart-stopping moment, especially when you pick it up to find a black screen, a shattered rear cover, and disturbing signs of liquid crystal leakage. These damages can make your once-premium device seem beyond repair, but don’t worry—there’s hope. In this blog, we’ll walk you through a detailed, step-by-step guide on how to restore your HUAWEI Mate 40 Pro to its former glory.

    huawei mate 40 pro

    Phone Details

    Model: HUAWEI Mate 40 Pro

    Announced: 2020, October 22

    Defect Phenomenon

    A HUAWEI Mate 40 Pro was dropped to the floor, causing the screen to turn black and the rear cover to crack into pieces. The upper corner of the screen also shows signs of liquid crystal leakage.

    Troubleshooting

    1: Screen Test

    • Replace the damaged screen with a new one to test the display functionality.
    • Despite the new screen, the phone still does not display, indicating the issue could be related to the display circuit or a boot problem.

    2: Motherboard Inspection

    • Remove the motherboard and perform a thorough cosmetic inspection.
    • Discover that the motherboard is deformed and the DOCK flex cable connector is missing.
    • The HUAWEI Mate 40 Pro has a double-layer structure motherboard with the 5G signal board soldered to it. The display connector is located on the 5G signal board.
    • The no-display issue is likely due to a poor connection between the two layers of the motherboard.

    3: Boot Test

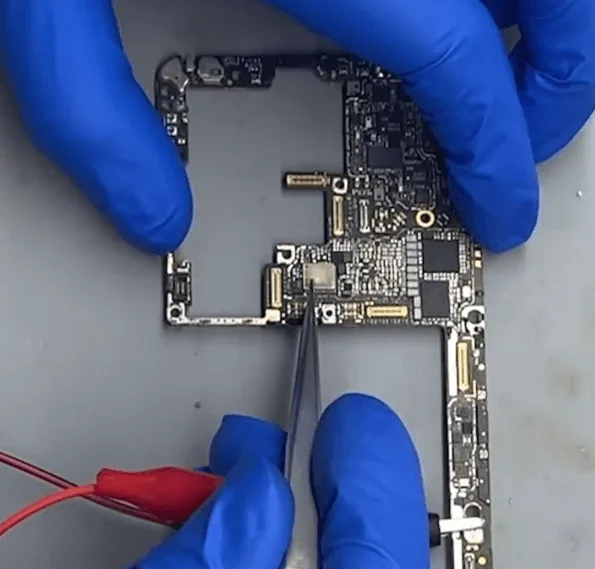
    • Connect the motherboard to a DC power supply and attempt to boot the device using tweezers.
    • The boot current is normal, further pointing to a connection issue within the motherboard.

    Repair Process

    1: Separate the Motherboard Layers

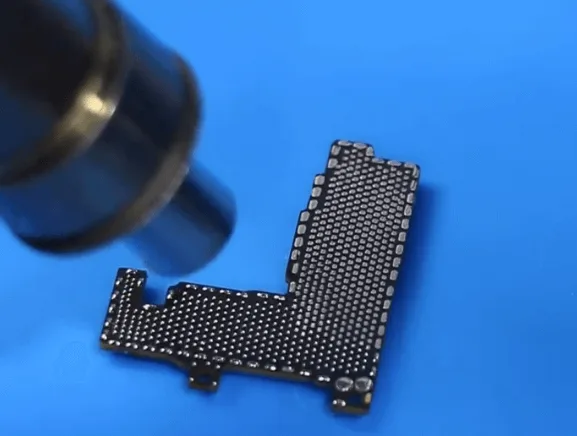
    • Place the motherboard on a PCB holder and use a hot air gun to heat and separate the two layers.
    • After separation, observe that several pads are missing.

    2: Repair the Missing Pads on the Main Motherboard

    how repair huawei mate 40 pro hard drop clean with solder wick
    • Clean the pads on the main motherboard.
    • Apply solder paste flux on the pads.
    • Mix medium-temperature solder paste with high-temperature solder paste on the tin pads using a soldering iron.
    • Thoroughly clean the pads with a solder wick.

    3: Fix the Missing Pads

    • Carefully scratch out the roots of the missing pads.
    • For pads requiring jumper wires, make circles patiently.
    • Apply a small amount of UV mask and cure it with a UV lamp.
    • Scratch out the jumper wires once the UV mask is cured.

    4: Repair the 5G Signal Board

    how repair huawei mate 40 pro hard drop reball the signal board
    • Scratch out the necessary pads on the 5G signal board.
    • Resolder the board using a stencil and a hot air gun.

    5: Recombine the Motherboard Layers:

    • Reassemble the two layers of the motherboard and test the display using the original screen.
    • The screen lights up normally, indicating the connection issue has been resolved.

    Replace the DOCK Flex Cable Connector:

    how repair huawei mate 40 pro hard drop the connector is
    • Solder a new DOCK flex cable connector to the motherboard.
    • With all issues fixed, the phone can be fully reassembled and tested.

    Conclusion

    The severe drop damage to the HUAWEI Mate 40 Pro, which resulted in a black screen and missing DOCK flex cable connector, was resolved by separating the motherboard layers, repairing missing pads, and resoldering the 5G signal board. After completing these repairs and replacing the DOCK flex cable connector, the phone’s display function was restored.

  • How to Repair Huawei Mate X2 Charge to Smoke and Cannot Boot Issue

    How to Repair Huawei Mate X2 Charge to Smoke and Cannot Boot Issue

    The Huawei Mate X2 is a cutting-edge foldable smartphone with an innovative design that pushes mobile technology to new heights. Due to a charging incident, the phone smoked, leaked current, and had a black screen, rendering it unusable. In this article, you will learn how to fix a damaged motherboard on a HUAWEI Mate X2 due to improper charging. This guide provides valuable insight into the repair process, regardless of whether you are a technician or a DIY enthusiast.

    huawei mate x2

    Phone Details:

    Model: HUAWEI Mate X2

    Announced: 2021, February 22

    Defect Phenomenon:

    • The phone emitted smoke during charging and subsequently failed to charge.
    • The screen turned black, and the phone could no longer be powered on.
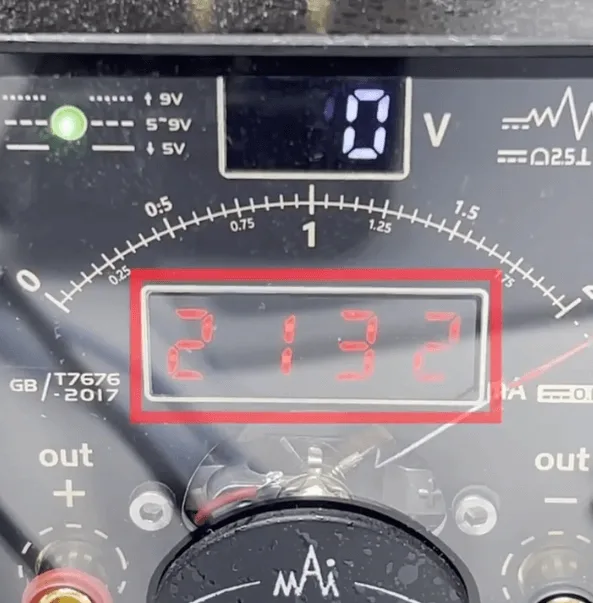
    • A diagnosis at a repair shop indicated motherboard damage, with a 10mA current leakage on the battery (BATT), preventing the phone from booting.

    Troubleshooting

    1: Initial Check:

    • The phone was disassembled, revealing a motherboard that appeared new and had not been previously repaired.
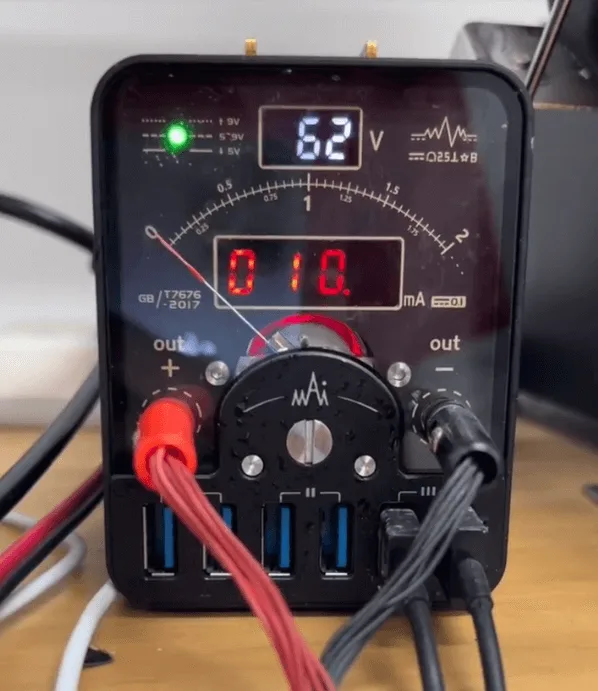
    • Connecting the motherboard to a DC power supply revealed a 10mA current leakage.

    2: Boot Attempt:

    • The phone was assembled and an attempt to boot was made.
    • The HUAWEI logo appeared briefly, then the screen went black again.
    • Suspecting a battery detection issue, the battery was activated and tested again, but the phone still couldn’t boot.

    2: Thermal Imaging

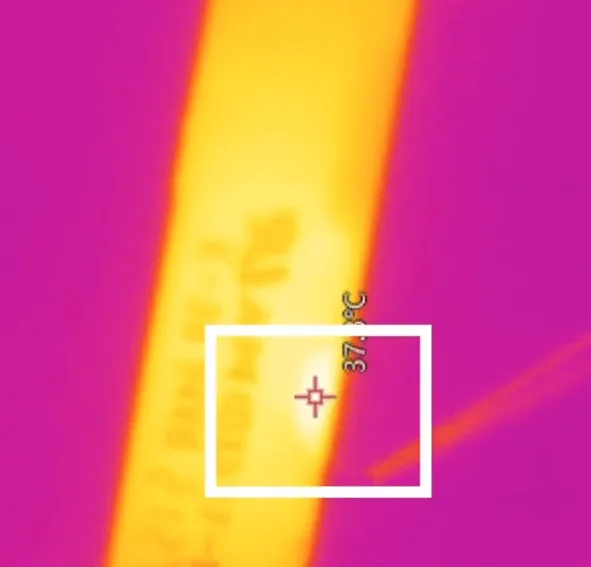
    • The DC power supply showed current leakage, so a thermal imager was used to identify the overheated component.
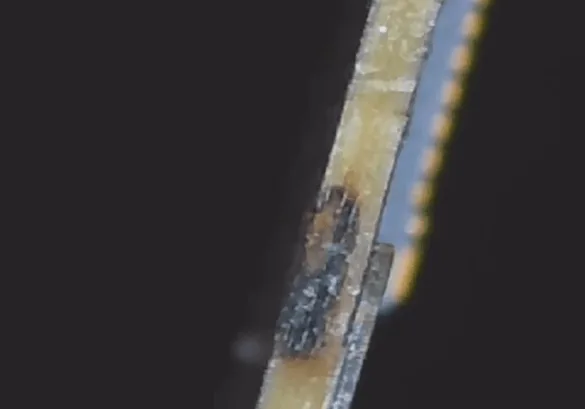
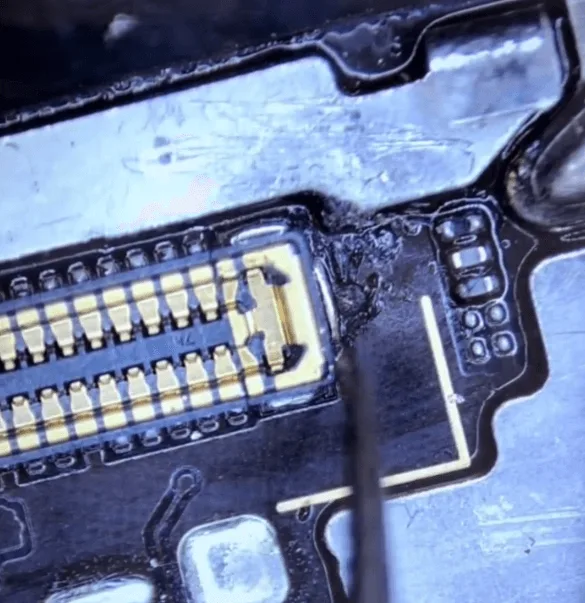
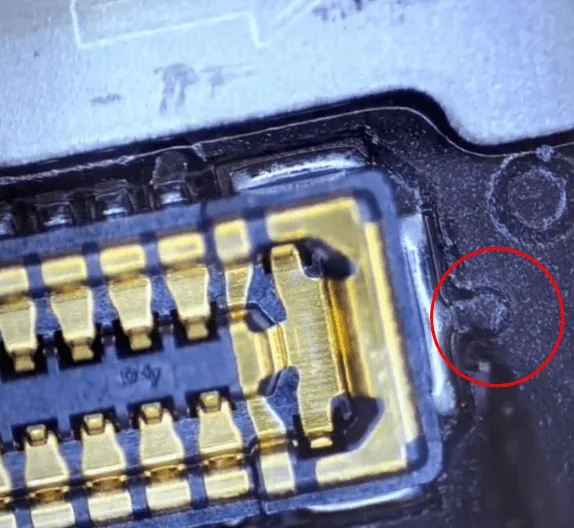
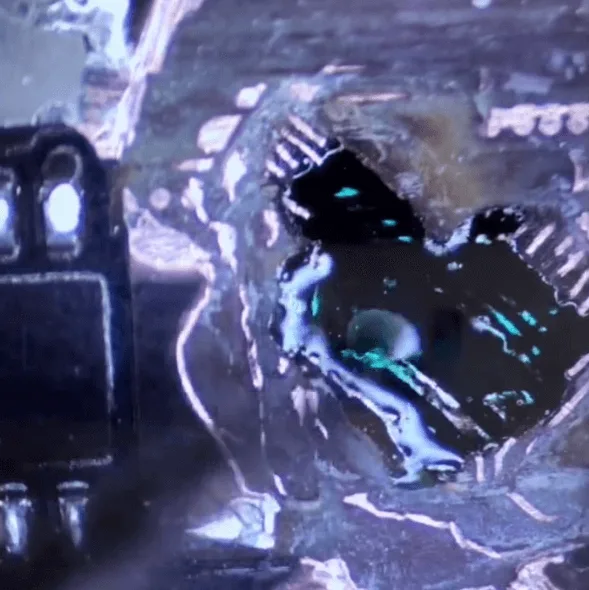
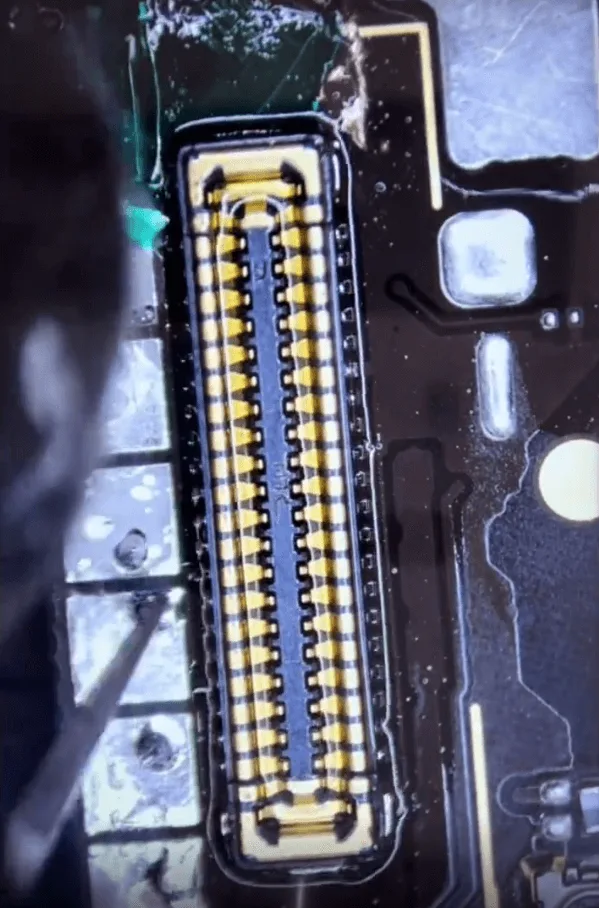
    • A small hole was discovered around the display connector under a microscope, indicating potential rail damage beneath the surface.

    Even though it’s only a very tiny hole, it’s a serious problem, as the underlying layers with many rails are broken.

    Repair Process

    1: Damage Assessment:

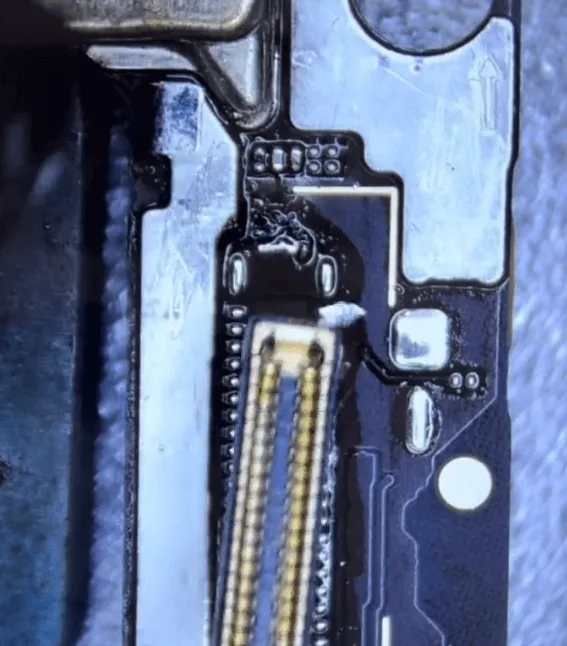
    huawei mate x2 pcb
    • The connector was removed to assess the extent of the damage.
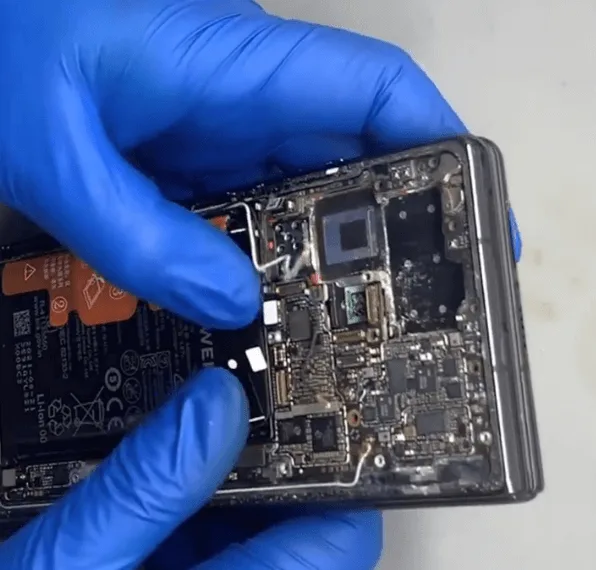
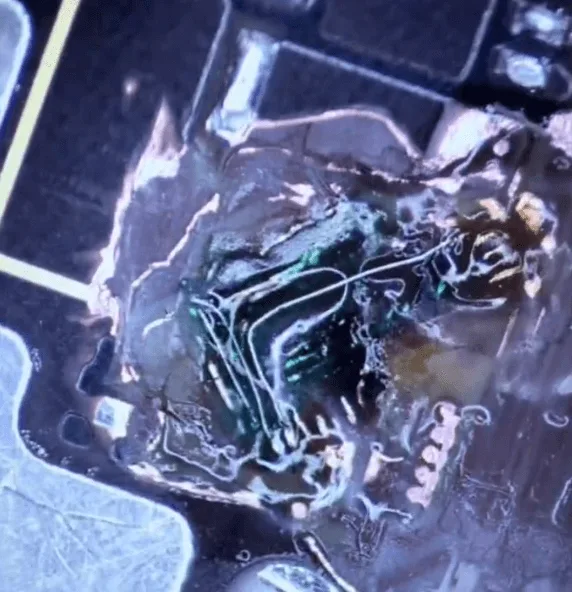
    • The small hole revealed deeper damage than initially expected, with multiple PCB layers likely affected.

    2: Repairing Broken Rails

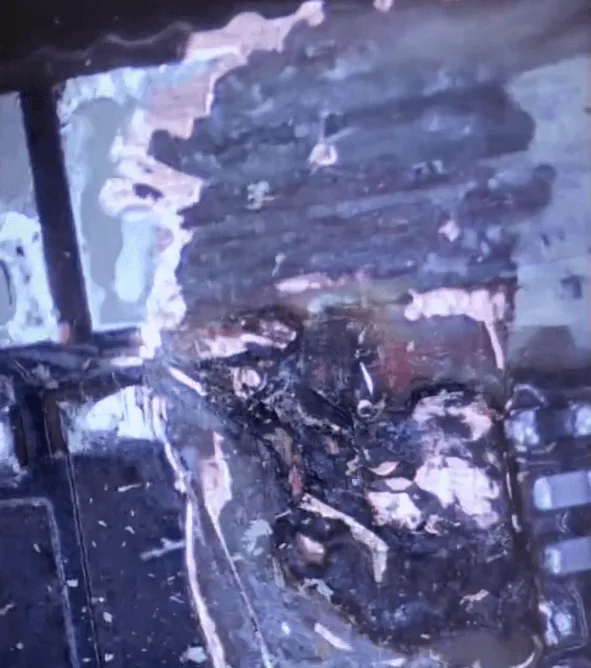
    huawei mate x2 scratched pcb
    • The surrounding shielding covers were removed to access the damaged area.
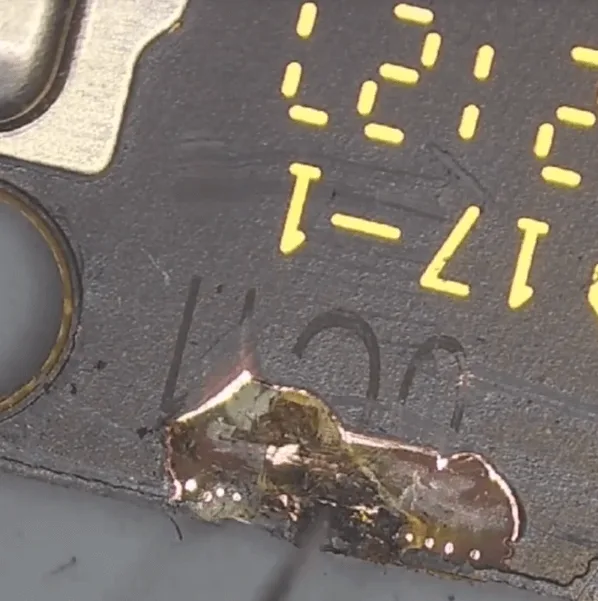
    • The PCB layers were carefully scratched away using a blade knife to expose the broken rails.
    • Around 3-4 layers of rails were found to be broken.

    3: Jumping Wires

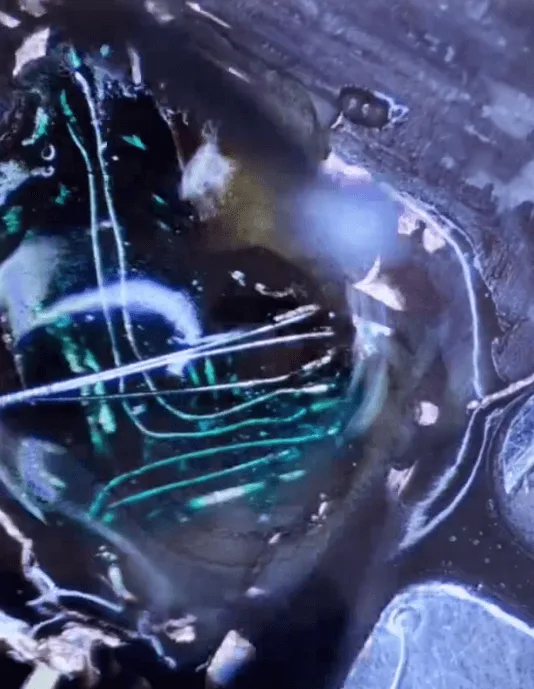
    • A UV mask was applied to cover the grounding rail layer.
    • Wires were jumped across the broken layers, ensuring each rail was connected to its correct destination without causing shorts or bridges.
    • This delicate process took approximately an hour to complete.

    4: Reassembly and Testing

    • The connector and surrounding components, such as small capacitors and resistors, were soldered back onto the board.
    • The phone was reassembled and connected to the DC power supply.
    • The current leakage was no longer present, and the phone successfully booted up.

    Tips for Prevention

    • The issue may have been caused by using a poor-quality charger or charging cable.
    • To avoid similar issues, it’s important to use reliable and scientifically tested charging methods to keep your phone safe.

    Conclusion

    The Huawei Mate x2 charge to smoke, and it cannot boot or turn on isn’t normal, but it does happen occasionally. REWA Tech wrote this article based on a case study. This tutorial is intended to help repair technicians and DIYers learn something new.

  • Fixing HUAWEI Mate 20 Pro Boot Issues Caused by CPU Soldering Problems

    Fixing HUAWEI Mate 20 Pro Boot Issues Caused by CPU Soldering Problems

    The HUAWEI Mate 20 Pro is a powerful device, but improper charging habits or environmental factors can lead to serious hardware issues. In this case, the phone was charged overnight and placed under a pillow, only to fail to boot the next morning. A fixed current reading during testing suggests that the CPU’s connection to the PCB may be compromised. Thankfully, this is a repairable issue.

    huawei mate 20 pro

    Devices Details

    Model: HUAWEI Mate 20 Pro

    Announced: 2018, October 16

    This guide will show technicians and DIYers how to tackle poor CPU soldering—an increasingly common issue in Android phones, especially with high-performance chips like the Kirin 980 in the Mate 20 Pro.

    Defect Phenomenon

    After charging the phone overnight, the device won’t boot. Connecting it to a charging multimeter reveals a 0mA current, confirming that the phone is not charging.

    Troubleshooting Steps

    1: Disassemble the Phone

    huawei mate 20 pro boot issue
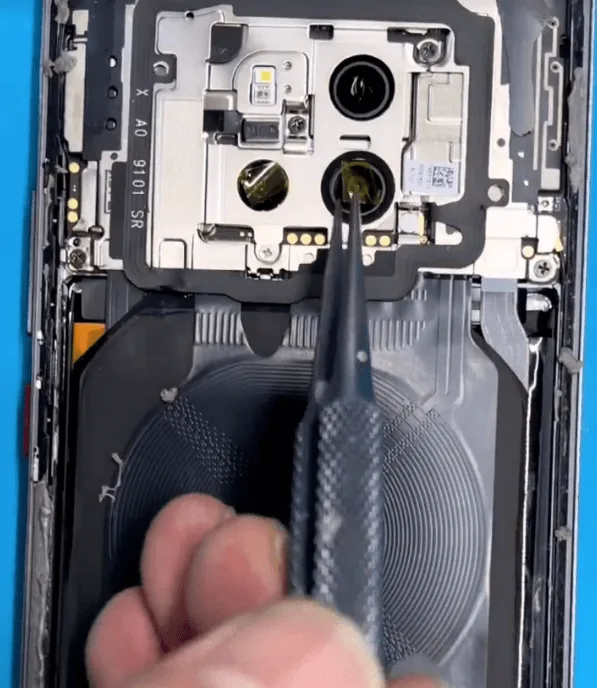
    • Begin by carefully disassembling the phone. Protect the camera lenses with stickers, and remove the motherboard.

    2: Test Boot Current

    multimeter

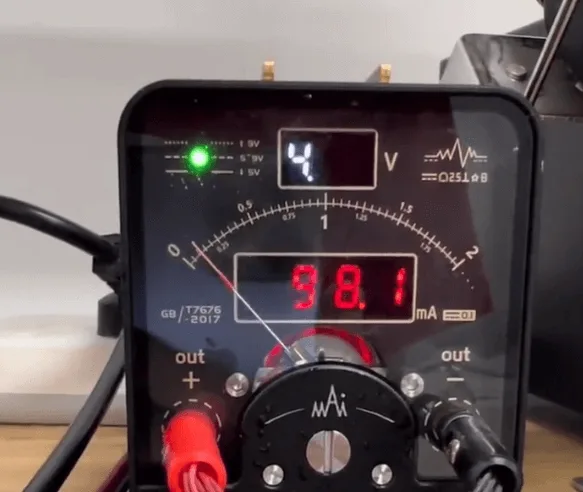
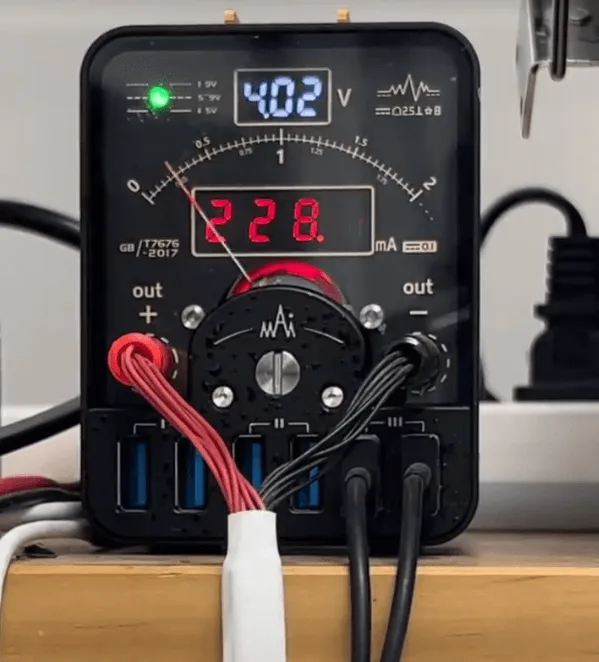
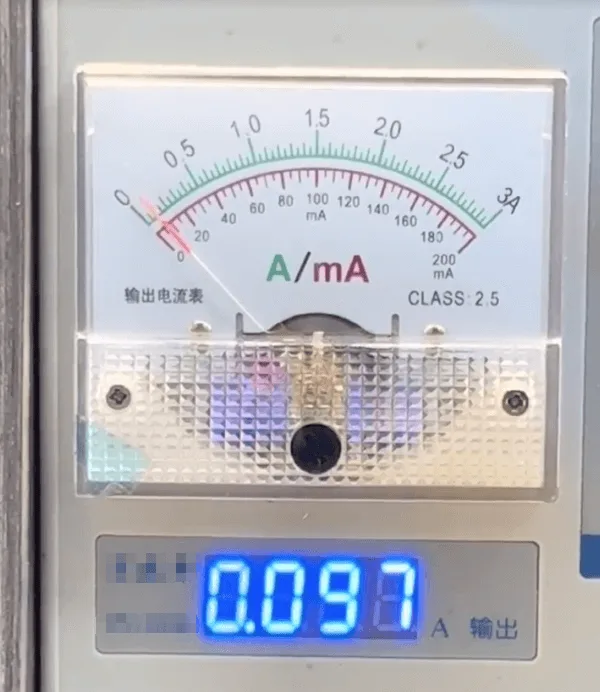
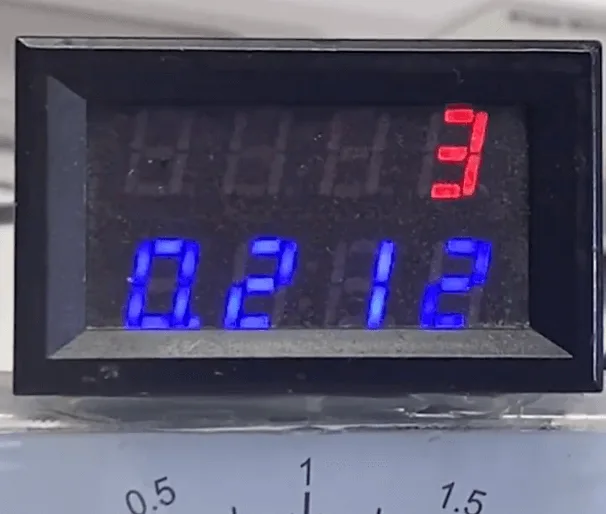
    Connect the motherboard to a DC power supply and attempt to trigger the boot process. The current is fixed at 97mA, indicating the phone cannot boot. Based on repair experience, this can be caused by:

    • CPU overheating, leading to poor soldering between the CPU and the PCB.
    • A broken inner PCB rail, disrupting the connection between the CPU and related circuits.

    Since the phone has no signs of water damage or physical drops, the most likely cause is CPU poor soldering.

    How to Repair Huawei Mate 20 Pro Won’t Turn On

    1: Remove the CPU

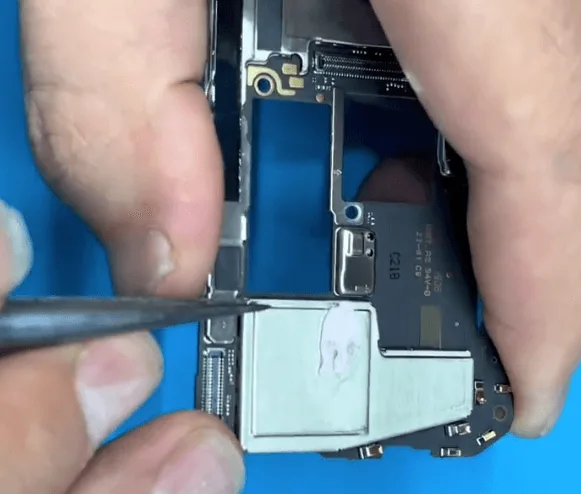
    • First, remove the shielding cover to access the Kirin 980 CPU.
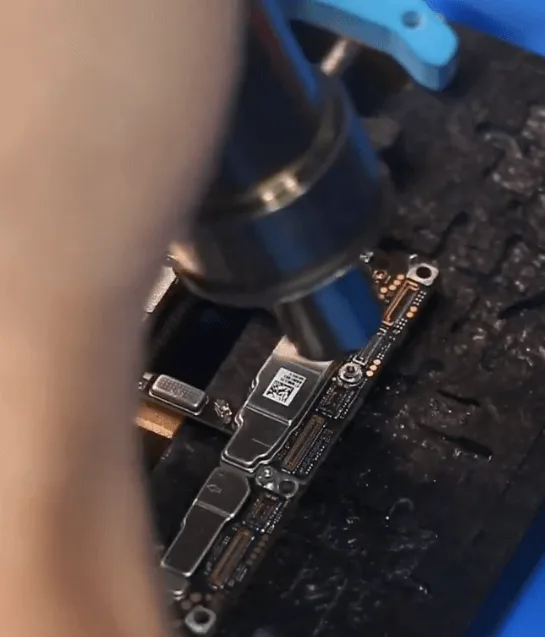
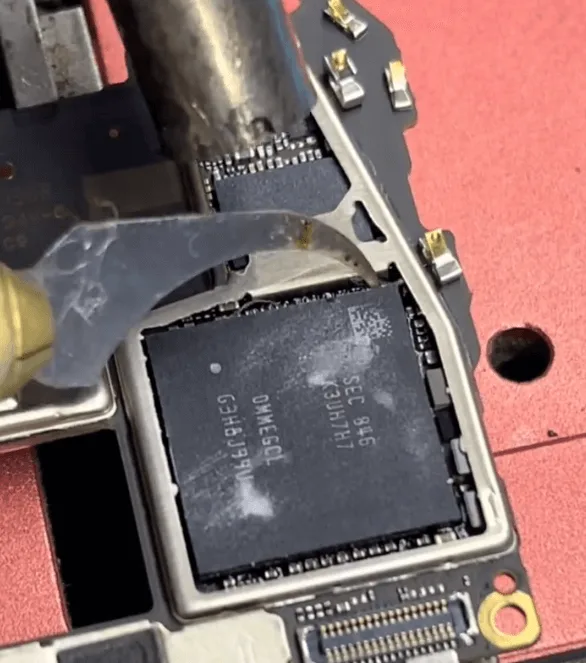
    • The Kirin 980 is prone to poor soldering, so we need to rework it. Start by removing the glue surrounding the CPU chip using a hot air gun set to 290°C. Be cautious not to overheat any specific area.

    2: Disassemble the CPU Layers

    The CPU is composed of two layers: the upper RAM layer and the lower core CPU layer.

    • Remove the upper RAM layer first.
    • Next, slightly heat the lower CPU layer until the solder melts, and carefully pry it up from the PCB.

    3: Inspect the PCB Pads

    inspecting huawei mate 20 pro pcb
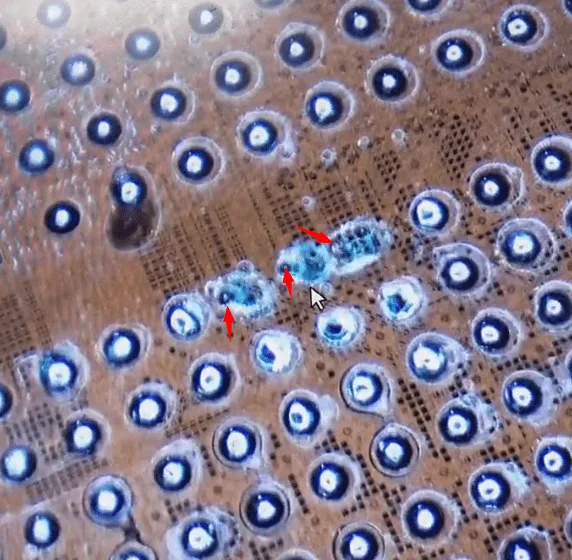
    • After removing the CPU, inspect the PCB. Some pads may have turned black due to corrosion, leading to poor connections.

    4: Clean and Reball the CPU

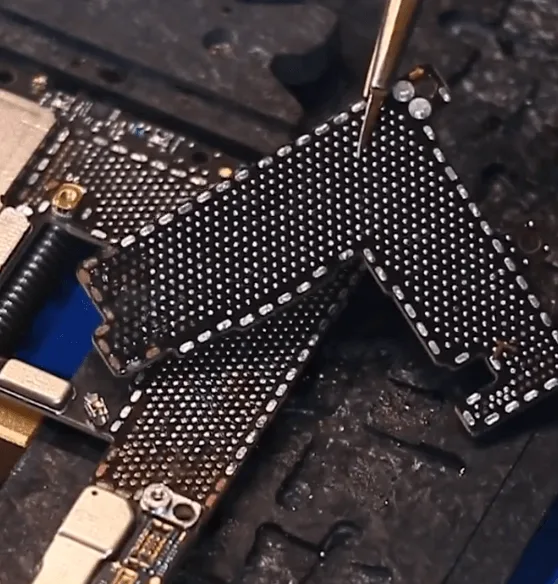
    • Clean the PCB pads using solder paste flux, a hot air gun, and a soldering iron. Use solder wick to remove excess solder and ensure the pads are flat.
    • Carefully remove the hard black glue from the PCB, especially around the corners, under a microscope. Ensure the pads are spotless and flat to ensure proper CPU re-soldering.

    5: Reball the CPU Chips

    reballing cpu
    • Reball the CPU’s upper and lower layers using a stencil. Be patient, as this process requires precision.

    6: Resolder the CPU

    • Align the lower CPU layer with the cleaned PCB and reflow the solder using the hot air gun. Heat the board evenly until the solder melts, allowing the CPU to seat itself onto the PCB.
    • Afterward, resolder the upper RAM layer using a similar method.

    7: Reassemble and Test

    • Reassemble the phone and test it. The phone should now boot normally, and charging, along with other functions, should work perfectly.

    Conclusion

    CPU poor soldering is a frequent issue in Android devices, and the Kirin 980 in the HUAWEI Mate 20 Pro is no exception. By carefully removing, cleaning, and resoldering the CPU, Huawei Mate 20 Pro boot issue can be successfully resolved. Proper handling and repair skills, especially in CPU rework, can fix up to 90% of boot issues caused by soldering problems.

    Tips for Prevention

    To avoid future soldering issues caused by overheating or improper charging:

    1: Adopt Better Charging Habits

    • Avoid using the phone while it’s charging.
    • Use a certified charger and USB cable.
    • Charge the phone in a well-ventilated, cool area.
    • Try to keep the battery between 30% and 90% rather than allowing it to drop to 0% or charge fully to 100%.

    2: Avoid Overnight Charging

    • Charging the phone overnight, especially under a pillow or in hot environments, can contribute to CPU overheating, which may weaken solder joints.

    By following this step-by-step guide, you can resolve most HUAWEI Mate 20 Pro boot issues caused by poor CPU soldering. This comprehensive solution can help you avoid unnecessary motherboard replacements, saving both time and money. If you have any questions or need further assistance, feel free to leave a comment below!

    1. HUAWEI P40 Pro Won’t Boot – Fix Improper Charging Issues

      HUAWEI P40 Pro Won’t Boot – Fix Improper Charging Issues

      The HUAWEI P40 Pro is a high-end smartphone that delivers excellent performance, but improper charging can lead to serious problems, such as the phone refusing to boot. This particular case involves using a motorcycle charger, which likely damaged critical components related to charging and the USB circuit. Many users may think the only solution is to replace the entire motherboard, but with the right troubleshooting techniques and component-level repair, we can fix this issue effectively and at a lower cost.

      This guide is perfect for technicians, DIY enthusiasts, and anyone looking to resolve charging issues in their HUAWEI P40 Pro without replacing the entire device.

      Huawei P40 Pro

      Device Details

      Model: HUAWEI P40 Pro

      Announced: 2020, March 26

      Defect Phenomenon

      The phone was charged using a motorcycle charger, which resulted in the device being unable to boot. The cause was likely a malfunctioning charger or improper charging operation, leading to damage in the phone’s charging circuits.

      Troubleshooting

      1: Initial Assumptions

      • Since the problem is charging-related, we can reasonably assume the issue stems from either the USB circuit or charging IC.

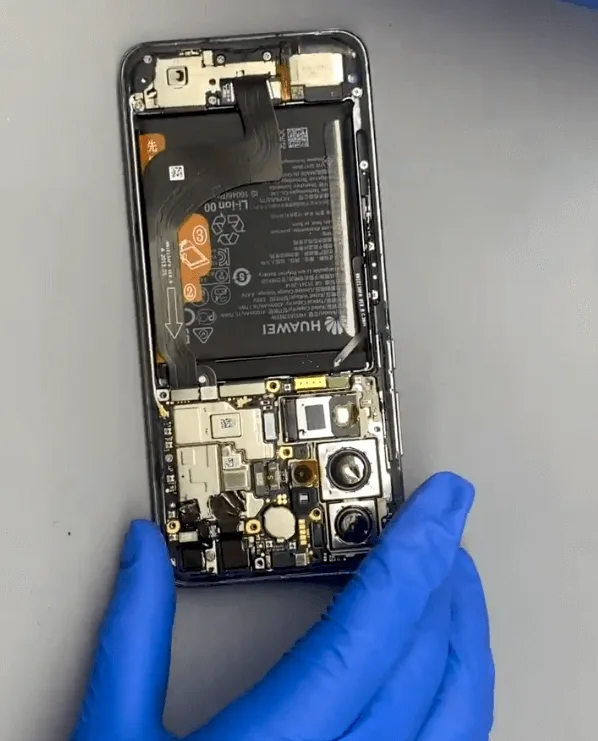
      2: Disassembling the Phone

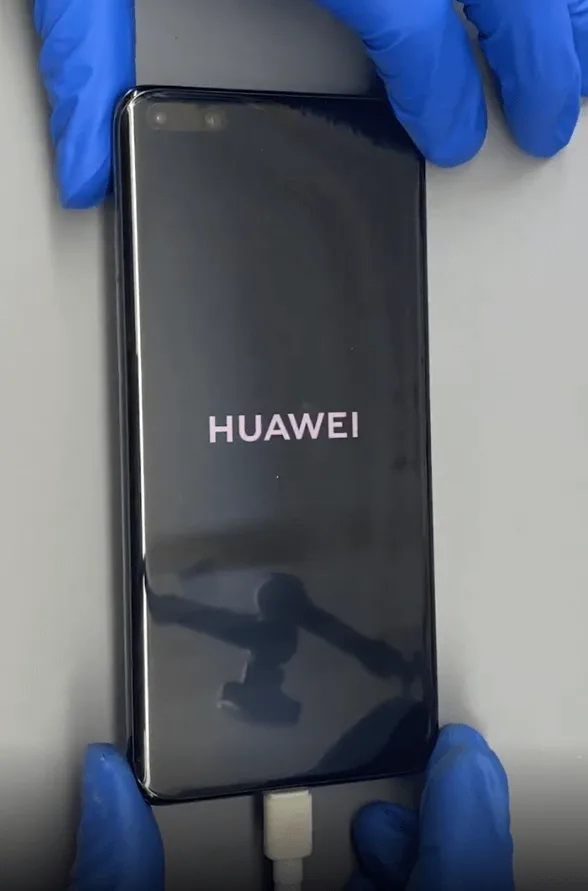
      huawei p40 pro won't boot
      • Begin by disassembling the phone. Ensure the cameras are protected with stickers and carefully remove the motherboard.

      3: Testing for Current Leakage

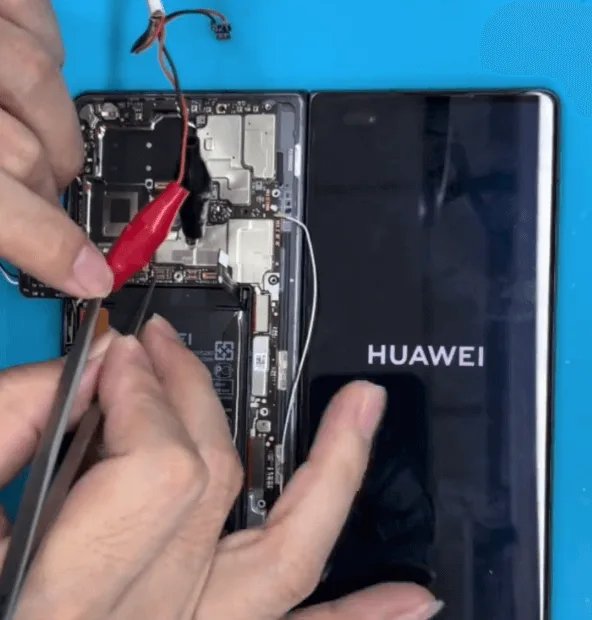
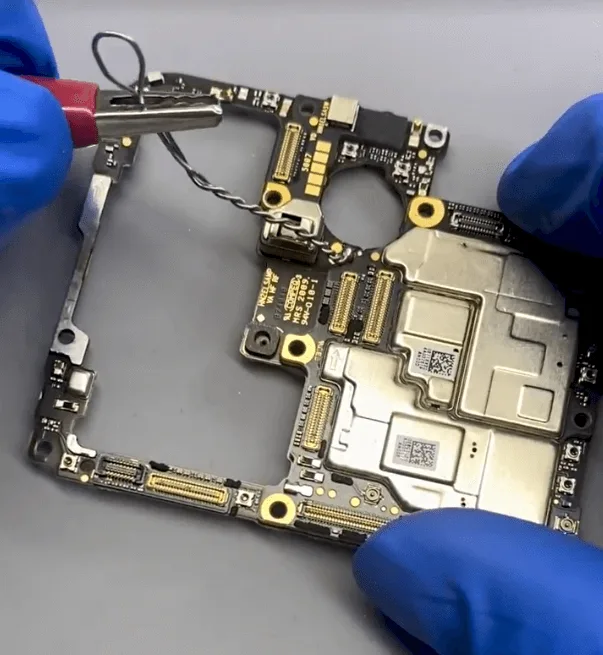
      • Solder a wire onto the motherboard and connect it to the positive clamp of a DC power supply.
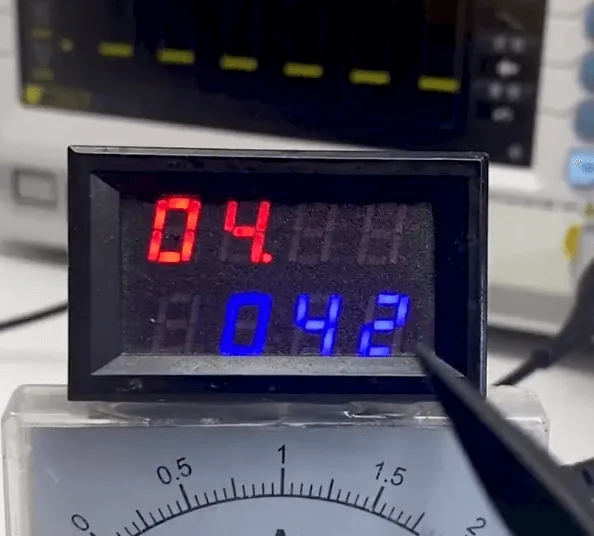
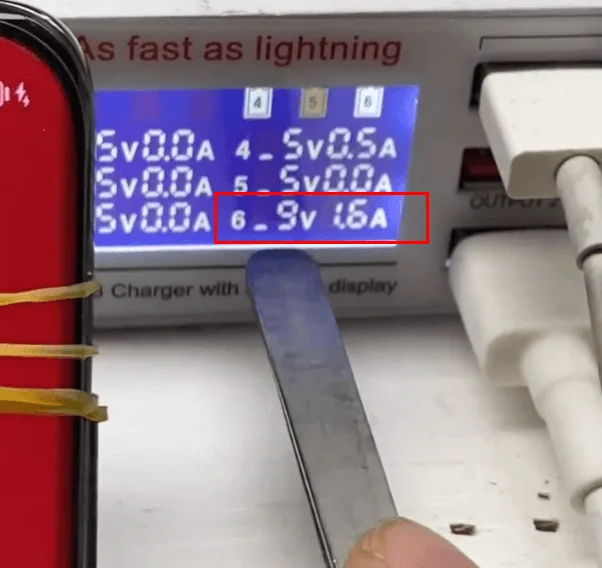
      • Trigger the boot process, and observe a 42mA current leakage, indicating potential chip damage causing overheating.

      4: Thermal Imaging

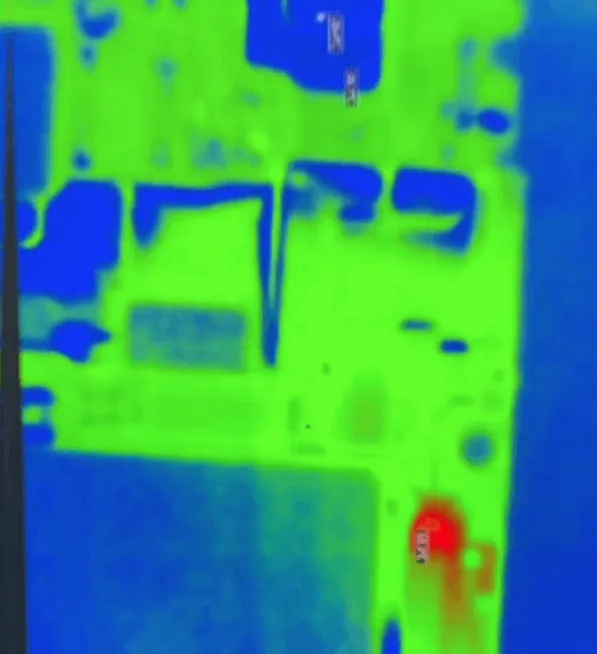
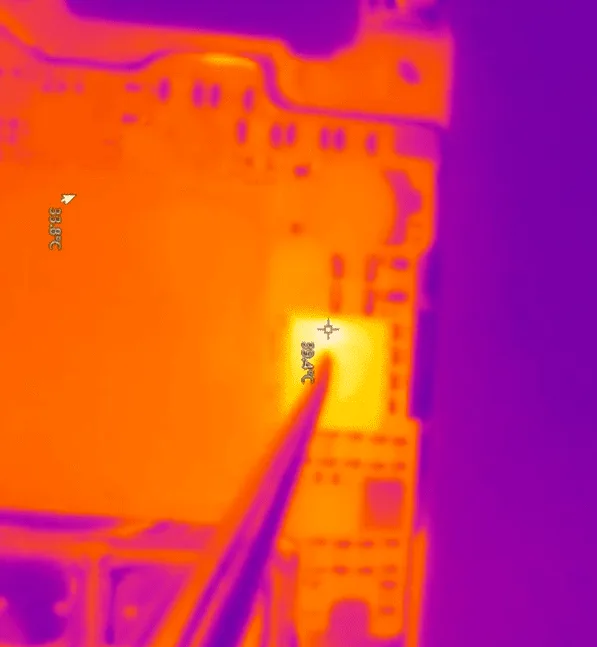
      • Use a thermal imager with the DC power supply connected to locate the overheated chip.
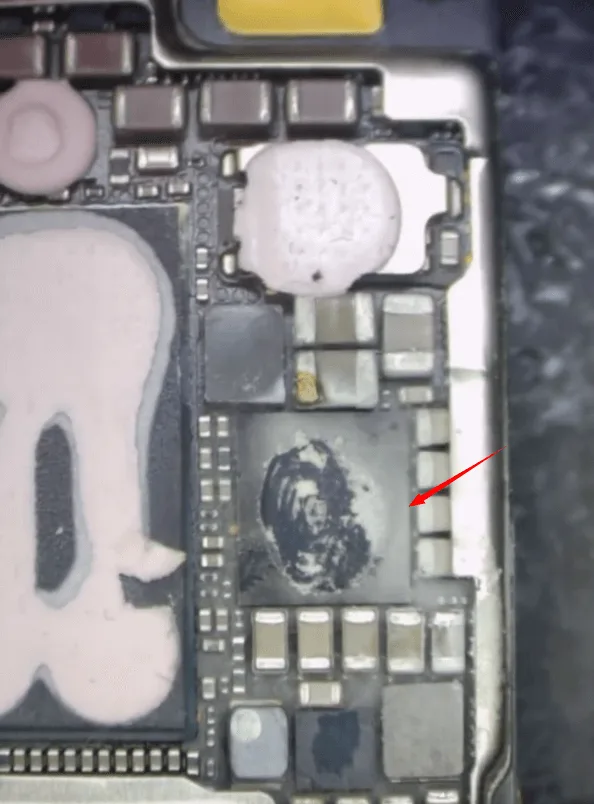
      • The thermal image reveals that the charging IC is the culprit, and its thermal grease has already turned black, confirming the damage.
      5: Charging IC Removal

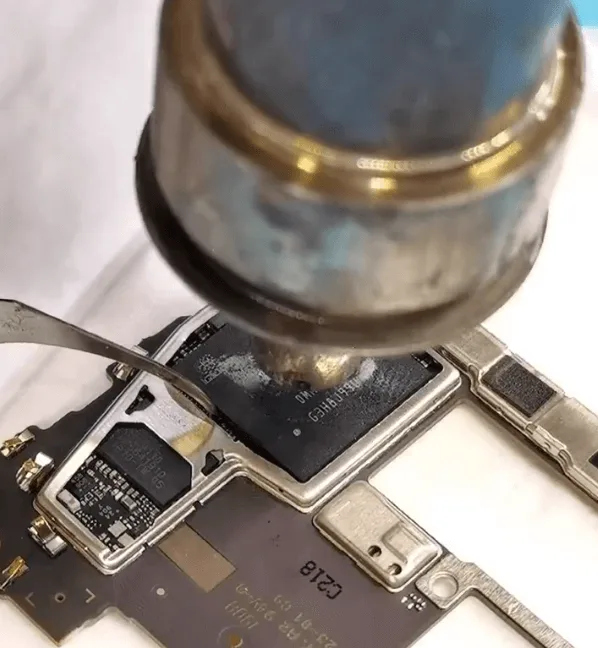
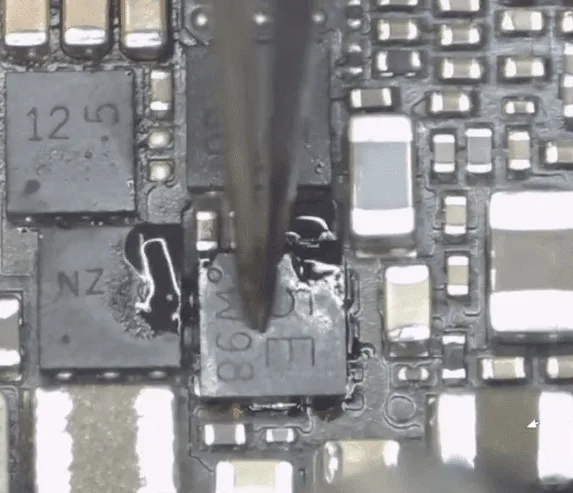
      • Apply solder paste to the charging IC area and heat it with a hot air gun to remove the faulty IC.
      • Clean the PCB pads using solder wick and reball a new charging IC.
      • Solder the new charging IC back onto the motherboard.

      6: Testing for Current Stability

      dc power supply
      • Connect the DC power supply again and verify that the current leakage has disappeared.
      • The boot current curve returns to normal, confirming that the charging IC replacement resolved the booting issue.

      Charging Issue Diagnosis and Repair

      Although the phone now boots up properly, it still does not charge. The next step is to troubleshoot the charging system:

      1: Dock Flex Cable Check

      measure diode value
      • Measure the 5V charging voltage on the dock flex cable and confirm that the correct voltage is present.

      2: Diode Value Measurement

      • Measure the diode value on the 5V voltage rail of the motherboard. A low value is observed, indicating a further issue in the charging circuit.

      3: Filter Capacitor Removal

      • Remove the black glue around the connector. Based on repair experience, remove the filter capacitor near the charging connector to test if it resolves the low diode value.
      • The diode value remains low, indicating the problem lies deeper in the circuitry.

      Signal Board and Additional Chip Replacement

      To identify the root cause of the charging issue, we need to inspect the signal board:

      1: Motherboard Separation

      • Separate the two layers of the motherboard to inspect the signal board.
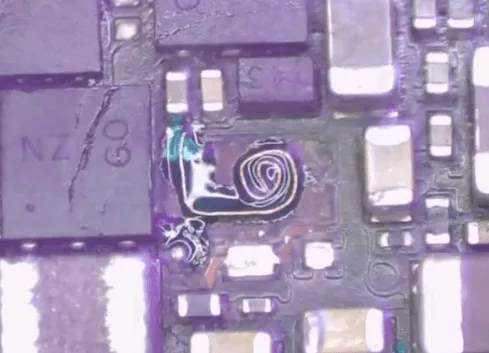
      • Identify three damaged chips, including a burned MOSFET and two other components, as seen under the red circles.

      2: Chip Replacement

      damaged chips replacement
      • Replace all three damaged chips.
      • For the MOSFET, some PCB pads are damaged, requiring a jump wire to bypass the missing pad.

      3: Reassembly

      huawei p40 pro won't boot
      • Recombine the two layers of the motherboard.
      • Assemble the phone and run a final test to ensure everything is working.

      Final Test and Results

      After completing the repairs

      HUAWEI P40 Pro Improper Charging Causes No Boot
      • Booting Functionality: The phone successfully boots up without any current leakage.
      • Charging Restored: The charging function is fully operational, allowing the phone to charge normally once again.

      Conclusion

      When a HUAWEI P40 Pro won’t boot or charge due to improper charging, many assume the entire motherboard needs replacement. However, through precise troubleshooting and component-level repair, the charging IC and other damaged components can be replaced, restoring full functionality to the device. This guide demonstrates that detailed analysis and targeted repairs can save both time and money.

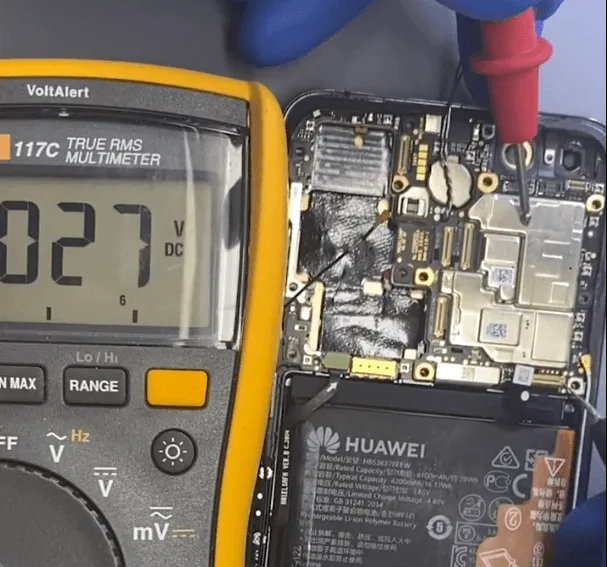
      If you’ve encountered similar charging issues or would like further clarification on the steps mentioned, feel free to reach out or leave a comment below!

    2. How to Fix HUAWEI Mate 40 Pro Water Damage and Display Issues: A Step-by-Step Repair Guide

      How to Fix HUAWEI Mate 40 Pro Water Damage and Display Issues: A Step-by-Step Repair Guide

      Water damage can be a major setback for any smartphone, especially when it leads to issues like a non-functional display or inability to boot. If your HUAWEI Mate 40 Pro has encountered water exposure and now refuses to power on or shows display problems, don’t worry—there’s hope for repair. In this guide, we’ll walk you through diagnosing the root cause of water damage, replacing critical components like the display IC, and reflowing the PMIC to bring your device back to life. Whether you’re a technician or a DIY enthusiast, this tutorial will help you get your HUAWEI Mate 40 Pro back in working order.

      Huawei Mate 40 pro

      Device Details

      Model: HUAWEI Mate 40 Pro

      Announced: 2020, October 22

      Defect Phenomenon

      The issue began when the phone was used for watching videos while taking a shower, causing water vapor to enter the device. The phone’s display became blurry, and after charging it overnight, it would not power on the next day.

      Troubleshooting

      The phone likely suffered from water vapor entering its internal components, leading to a short circuit. Here’s the process to identify the problem:

      1. Screen Test: Separate the motherboard and connect it to a different screen. The replacement screen displays abnormal behavior, indicating a deeper issue.
      2. Diode Measurement: Use a multimeter to measure the diode values on the display connector; all values are normal.
      3. Component Check: Inspect the small components around the display PMIC with a multimeter; the diode values appear normal as well.

      Repair Process

      Even though the diode values around the PMIC were normal, it’s possible the display IC could be faulty. The next step involves replacing the display IC:

      how fix huawei mate 40 pro water damage display issues step repair guide 5
      • Remove the Original Display IC: Carefully desolder and remove the display IC.
      • Clean the PCB Pads: Use a cleaning solution to ensure the PCB pads are free from residue.
      • Reball and Solder: Apply fresh solder balls to the new display IC and reattach it to the motherboard.

      After reassembling the phone and testing it again, the display issue persisted.

      Additional Investigation

      Upon further inspection under a microscope, water damage stains were found around the PMIC. It was possible that poor soldering of the PMIC caused the issue. To address this:

      how fix huawei mate 40 pro water damage display issues step repair guide 6
      1. Reflow the PMIC: Apply solder paste flux around the PMIC and reflow the chip.
      2. Test Again: Reassemble the phone, and this time, the display functions normally.

      To ensure a permanent fix, the following steps were taken:

      1. Remove and Clean the PMIC: Remove the PMIC chip completely and clean the corrosive residue on the PCB pads.
      2. Reball and Resolder the PMIC: Apply fresh solder and reattach the PMIC.
      3. Final Testing: After reassembling the phone, all functions, including the display, worked perfectly.

      Conclusion

      The HUAWEI Mate 40 Pro’s display issue was ultimately caused by poor PMIC soldering due to water damage. By reballing and properly resoldering the PMIC, the phone’s display function was restored. This process ensured that the corrosive damage would not cause future problems. With careful diagnosis and repair, even water-damaged phones like the HUAWEI Mate 40 Pro can be brought back to life, saving time and money.
      Tools & Parts List

      • Replacement Display IC
      • PMIC chip
      • Soldering iron and hot air rework station
      • Solder paste flux
      • Cleaning solution (e.g., isopropyl alcohol)
      • Multimeter for diode measurements
      • Microscope for inspecting small components
      • Reballing kit
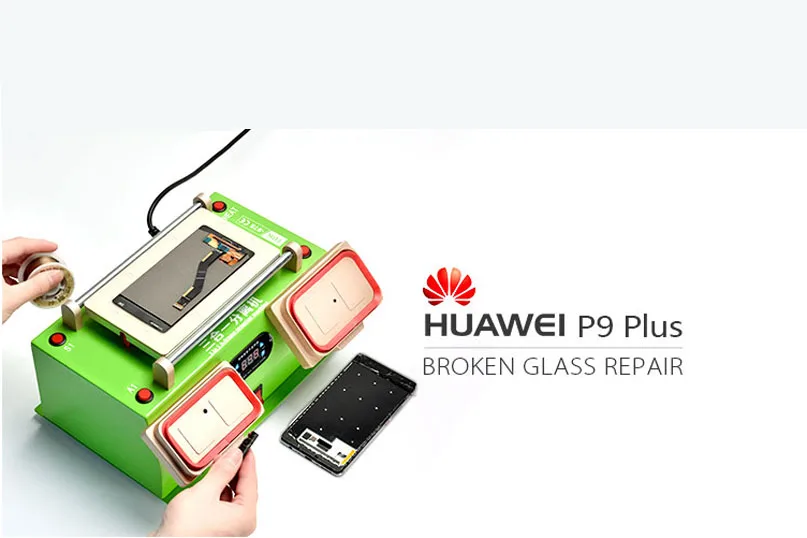
    3. HUAWEI P9 Plus OLED Screen Glass Repair Guide

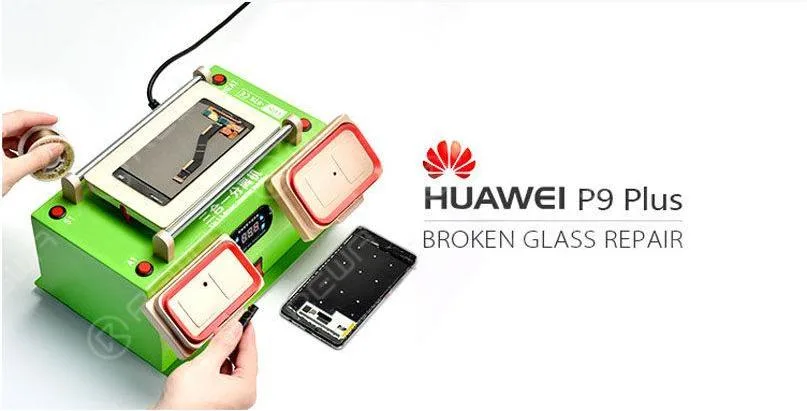
      HUAWEI P9 Plus OLED Screen Glass Repair Guide

      huawei p9 plus oled screen glass repair guide

      From our previous article, we have learned the difference between OLED and LCD, an OLED can be a really big trend in the future.

      HUAWEI, one of the most popular Chinese smartphone brands, has also impressed users all around the world with its 5.5-inch Super AMOLED display of 1080p resolution on HUAWEI P9 Plus.

      This innovation gives HUAWEI P9 Plus almost perfect viewing angles, which means a nice big canvas for films and games.

      The use of an AMOLED screen also guarantees superb contrast while ensuring no brightness loss at an angle.

      We can not deny that HUAWEI P9 Plus has a generous dollop of luxury with the AMOLED screen.

      So it is a real pity if this amazing experience got stuck by a broken glass lens.

      That’s why REWA put up with this tutorial for broken screen glass-only repair.

      I hope we can enlighten you somehow.

      Testing

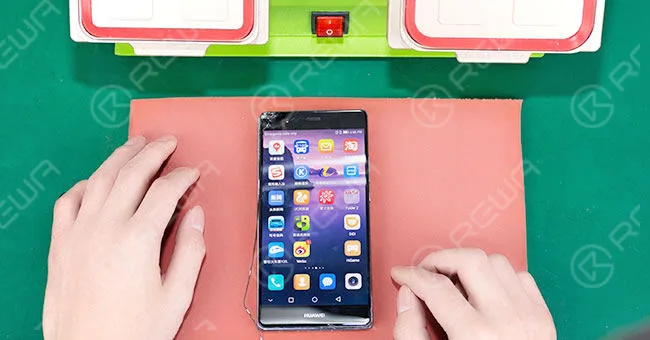
      Start up your phone, testing whether the display and touch function work well on the glass-cracked screen.

      huawei p9 plus oled screen glass repair guide 2

      Frame Separating

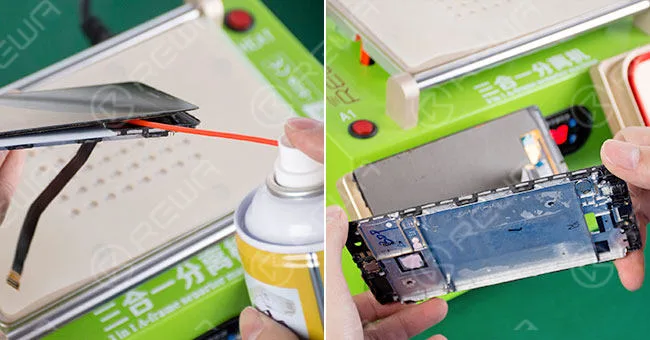
      Put the OLED on the Heat Platform to heat it, 30 seconds later, use a metal pry bar to lift one corner of the screen and spray some 530 cleaner into the gap(Be aware of the 530 cleaner, make sure it does not go inside OLED).

      After that, separate the OLED and frame preliminarily with a plastic pry piece, then separate them with a Frame Separator.

      huawei p9 plus oled screen glass repair guide 3

      Glass Separating

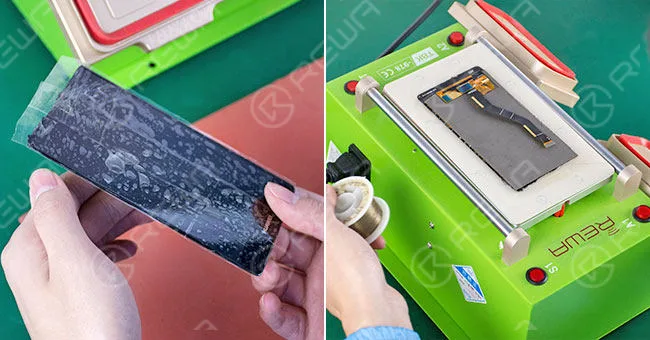
      Stick a layer of adhesive tape on the full surface of the cracked screen to prevent further damage.
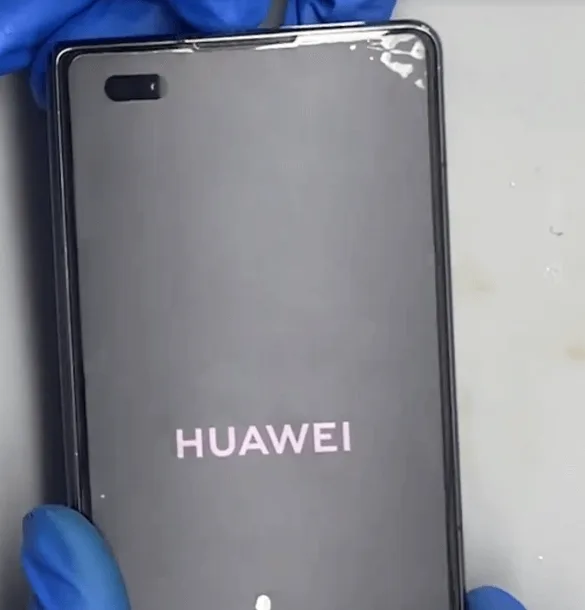
      Place the screen upside down on the Heat Platform and heat it for the 30s.

      Then take it down, and put it upside down on the separator machine.

      Press the vacuum button and use Gold Cutting Wire to separate the glass from an OLED screen

      huawei p9 plus oled screen glass repair guide 4

      Glue Removing

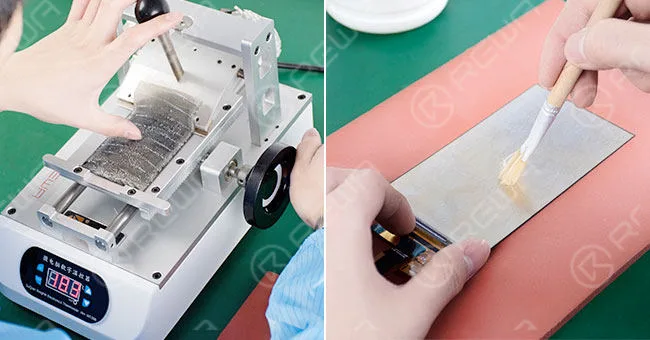
      Use the Glue/POL Film Removing Machine to remove the POL, then use the LCM Glue Cleaner to remove OCA residue. After all has been done, clean it up with N-hexane.
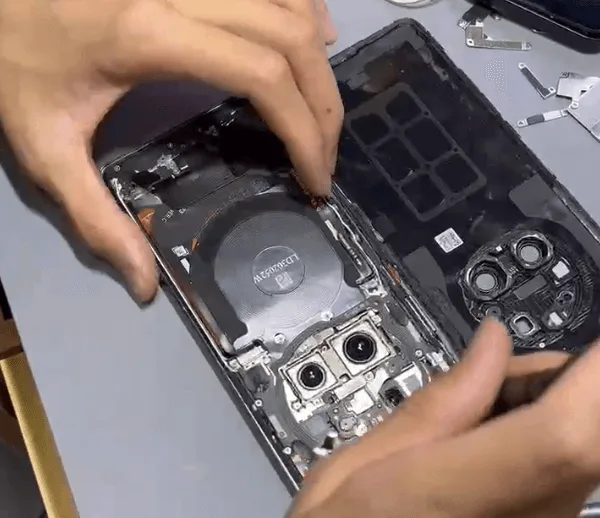
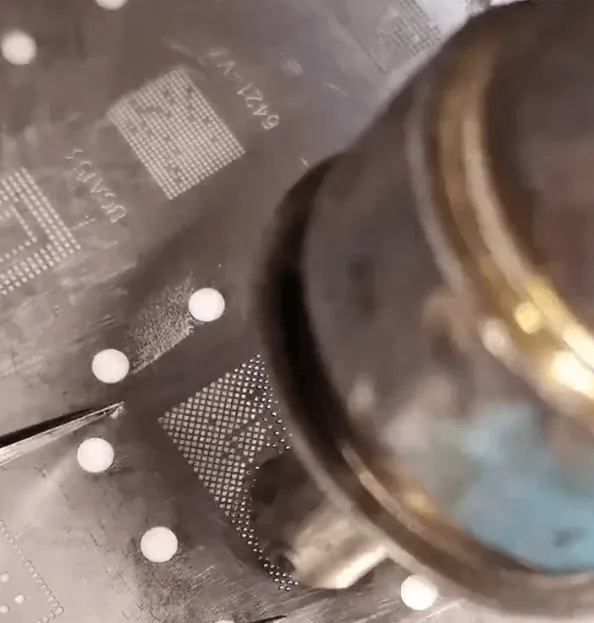
      huawei p9 plus oled screen glass repair guide 5

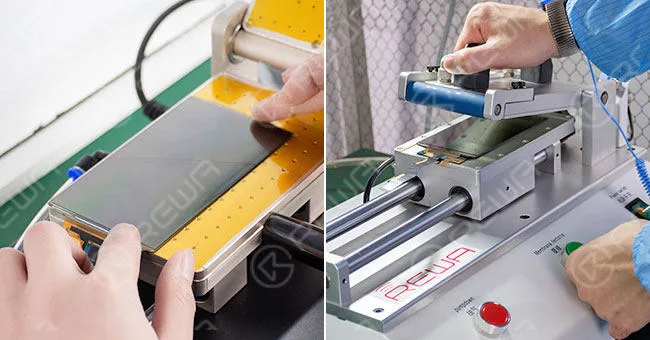
      Film Adhering

      Align POL film and OCA respectively to the OLED, then laminate with the help of the OCA Laminating Machine.
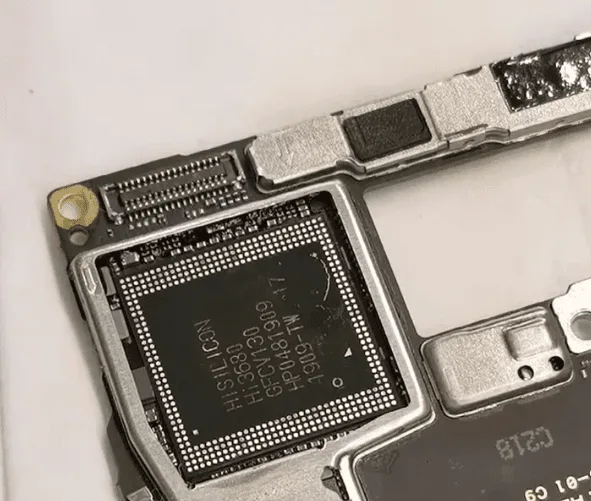
      huawei p9 plus oled screen glass repair guide 6

      Laminating

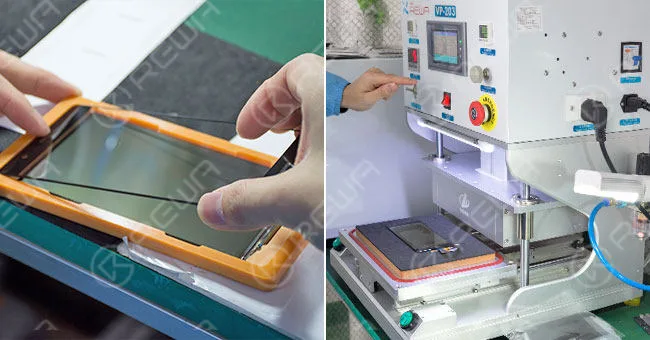
      Put the OLED into an Alignment Mold, tear off the protective film on OCA glue, and align the glass lens to it.

      Turn it upside down and take out the OLED screen, then put it into a Glass Laminating Machine with a laminate cushion placed under it.

      huawei p9 plus oled screen glass repair guide 7

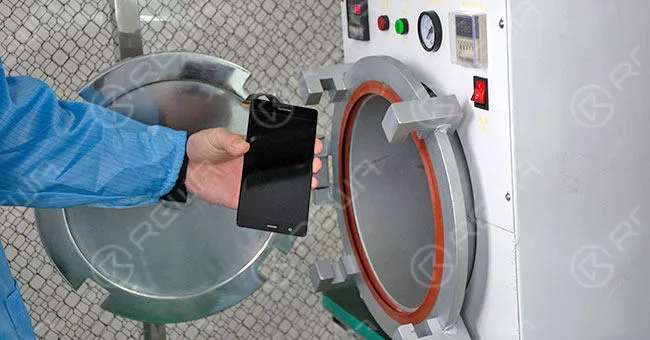
      Bubble Removing

      Put it into the Bubble Removing Machine for 10 minutes. Make sure the OCA is bubble-free on OLED.

      huawei p9 plus oled screen glass repair guide 8

      Repaired Screen Testing

      Connect the screen to a motherboard and test the display and touch functionality again, both are OK.

      huawei p9 plus oled screen glass repair guide 9

      For more details on the repair guide, please go to the REWA YouTube channel.

      As for LCD refurbished machines, materials, demo videos, and technical support, please feel free to contact us via  service@rewa.tech or visit the online store at REWA shop.

      Video Tutorial