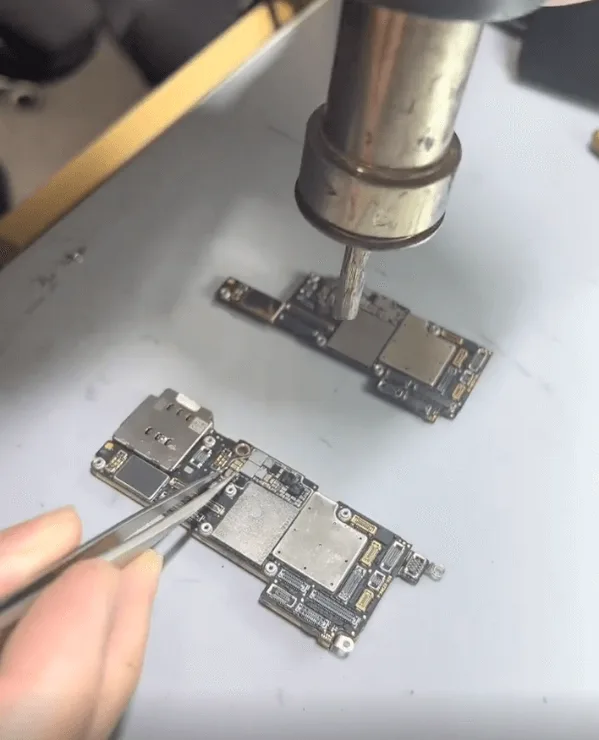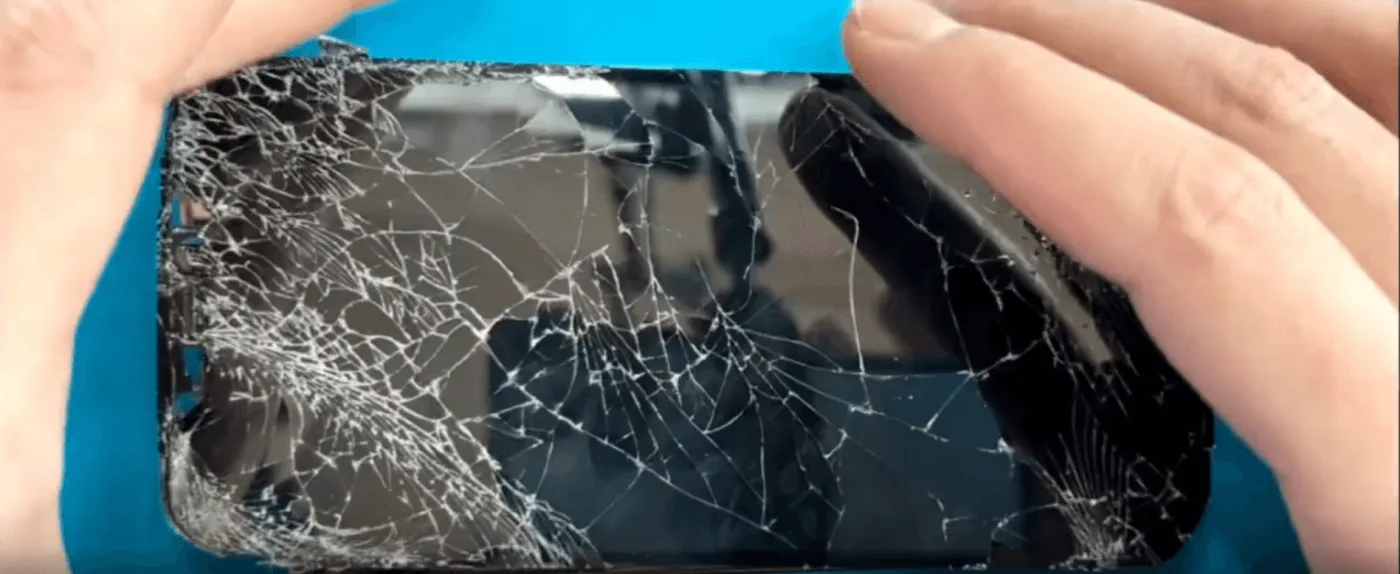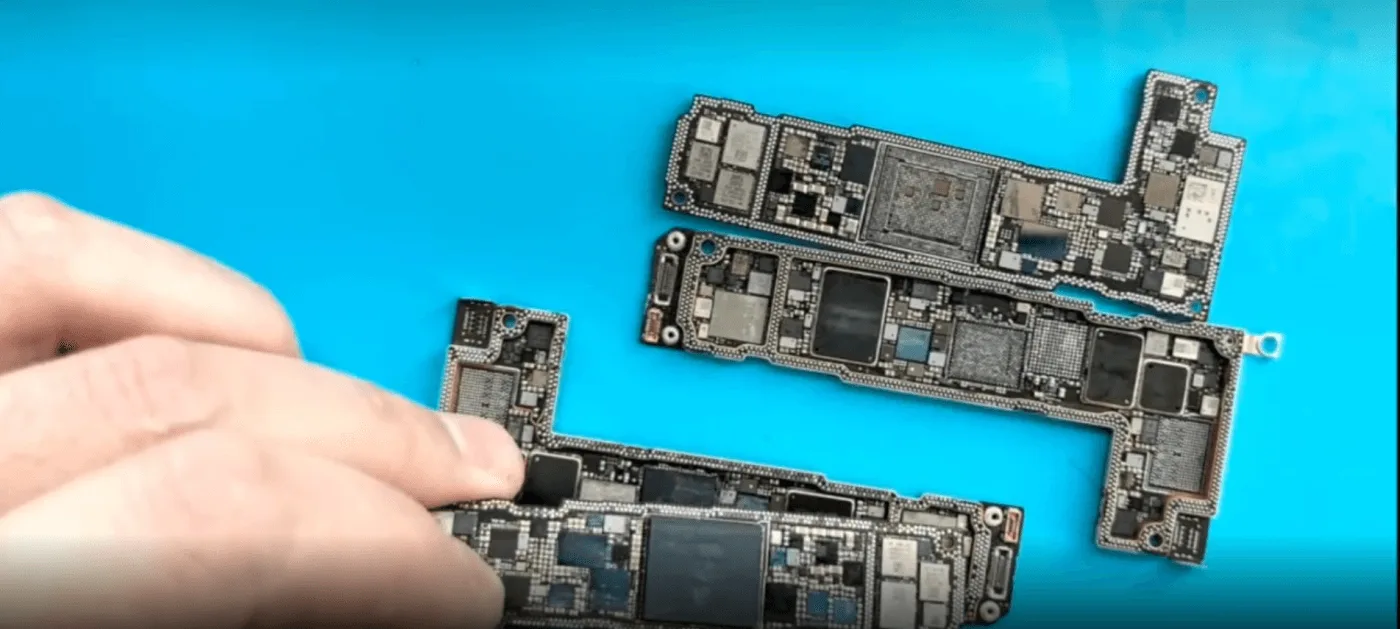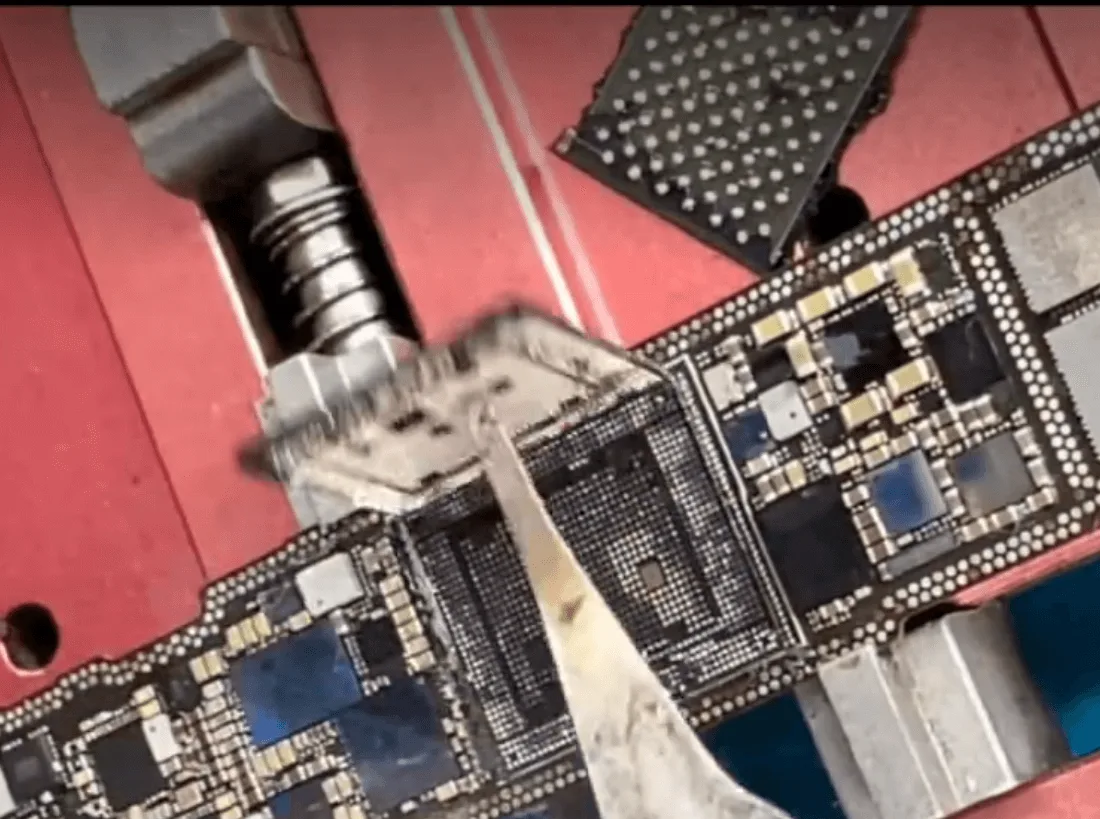
Tag: drop damage

  • Xiaomi Mi 8 Drop Damage Repair

    Xiaomi Mi 8 Drop Damage Repair

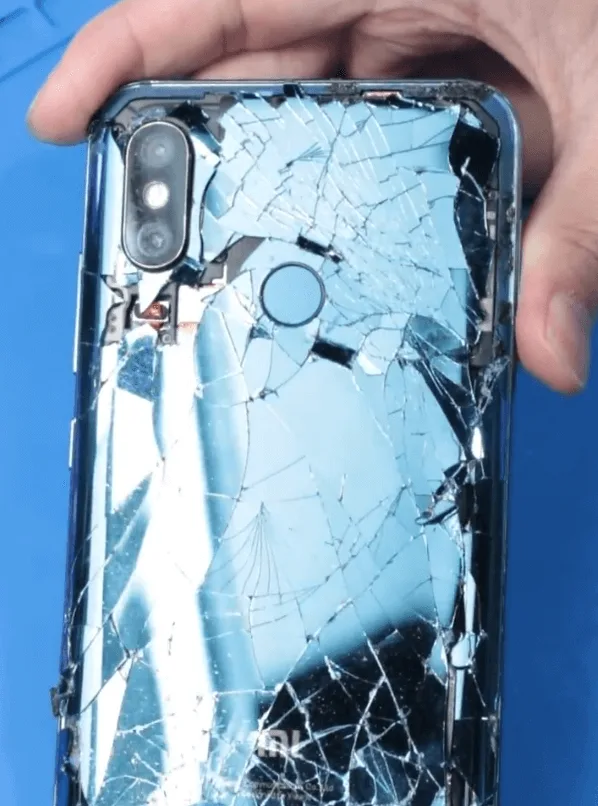
    A stunning flagship was introduced by Xiaomi in May 2018, the Xiaomi Mi 8. It quickly gained popularity among smartphone enthusiasts because. Accidents can happen to even the most advanced technology, as one unfortunate Xiaomi Mi 8 owner discovered. The incident involved a severe drop that caused extensive damage to the rear cover and front screen glass of the Xiaomi Mi 8. The phone was also found to have suffered serious motherboard damage, rendering it unrepairable. This blog post, however, will discuss how to repair Xiaomi Mi 8 Drop Damage.

    xiaomi mi drop damage repair

    Phone details

    Model: Xiaomi Mi 8

    Announced: 2018, May

    Defect Phenomenon

    A Xiaomi Mi 8 was severely damaged in an accident, resulting in both the rear cover and front screen glass being heavily cracked. The phone was taken to a repair shop, where it was diagnosed with serious motherboard damage, making it seemingly unrepairable. However, the owner needed to retrieve important pictures and videos stored on the device.
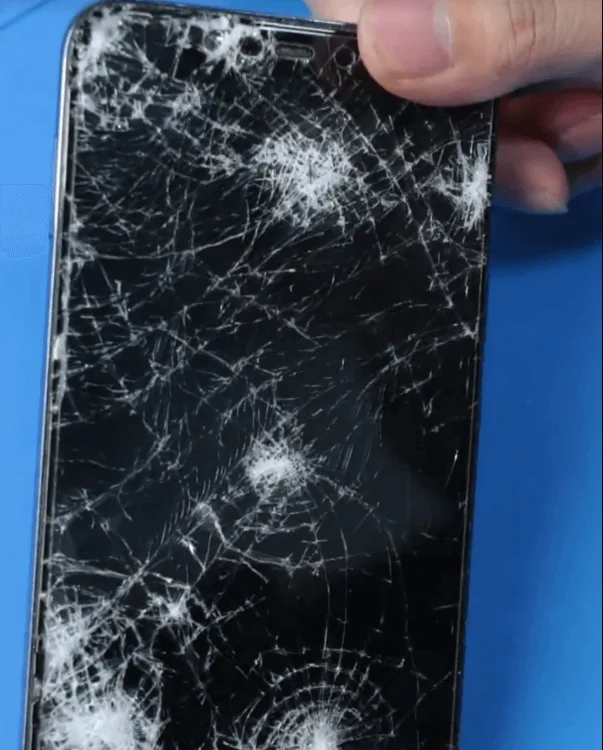
    Troubleshooting

    1: Initial Assessment
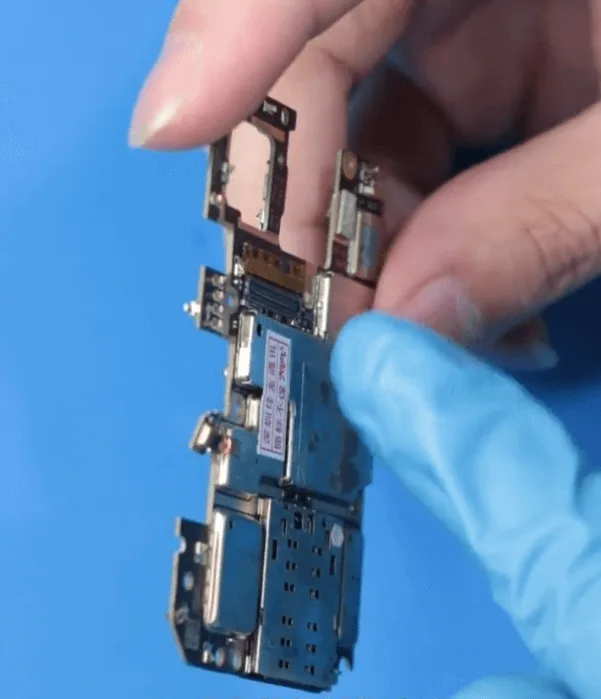
    xiaomi mi drop damage repair take out the motherboard of mi8
    • Due to the severe damage, it is assumed that the screen is broken and the motherboard may be cracked.
    • Disassemble the phone to examine the motherboard for any visible signs of damage.

    2: Motherboard Inspection
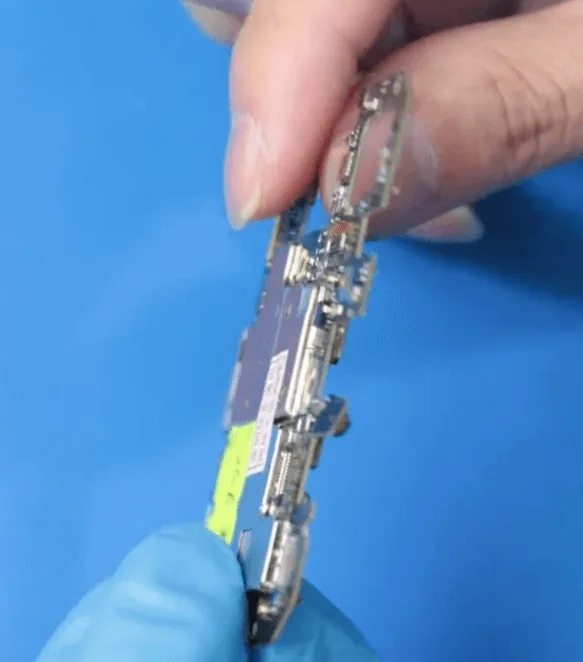
    xiaomi mi drop damage repair the motherboard has get cracked
    • Upon inspection, there are no prior repair traces, but the motherboard is significantly deformed.
    • The shielding cover over the CPU and PMIC (Power Management Integrated Circuit) is also uneven, indicating possible internal damage.

    3: PMIC Check
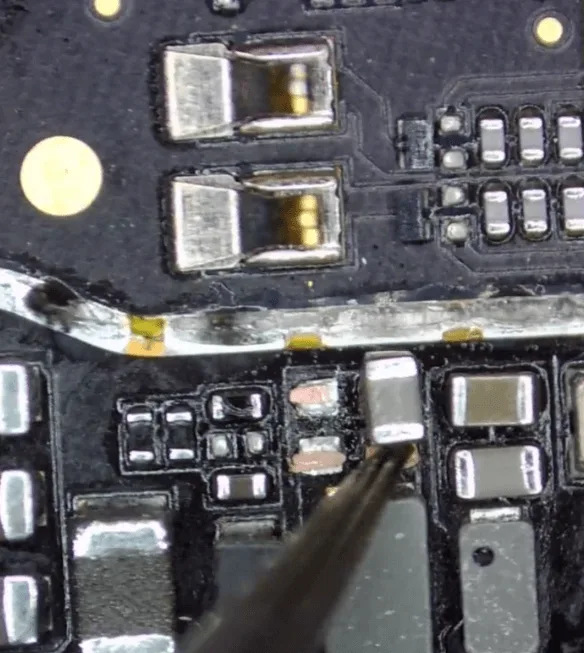
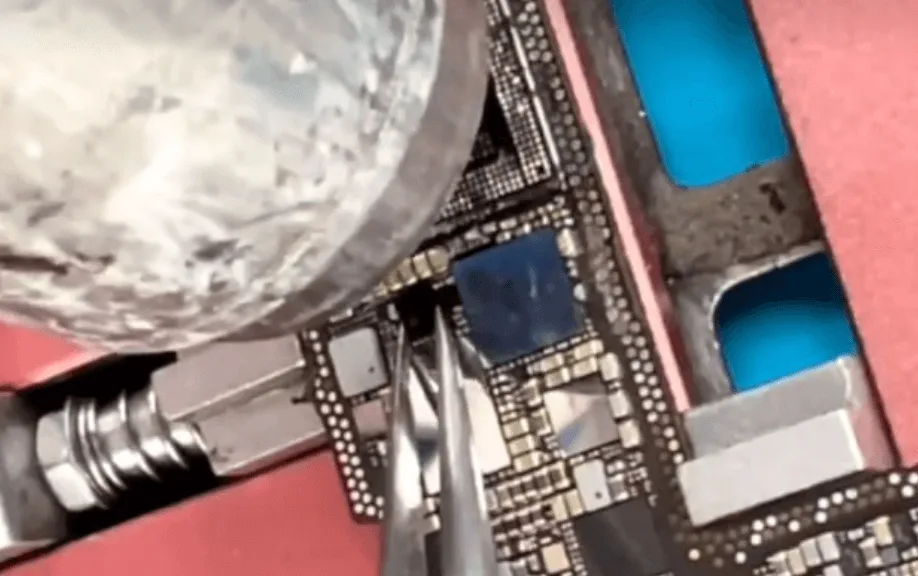
    • Remove the shielding cover on the PMIC to inspect the chips and components.
    • Two capacitors are found to have poor soldering and fall off easily when touched. As they are filter-type capacitors, they are not critical to the immediate repair and can be ignored for now.
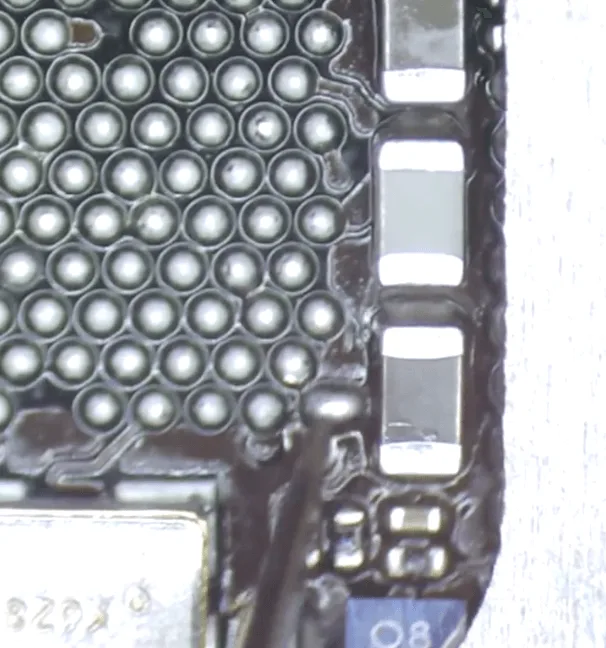
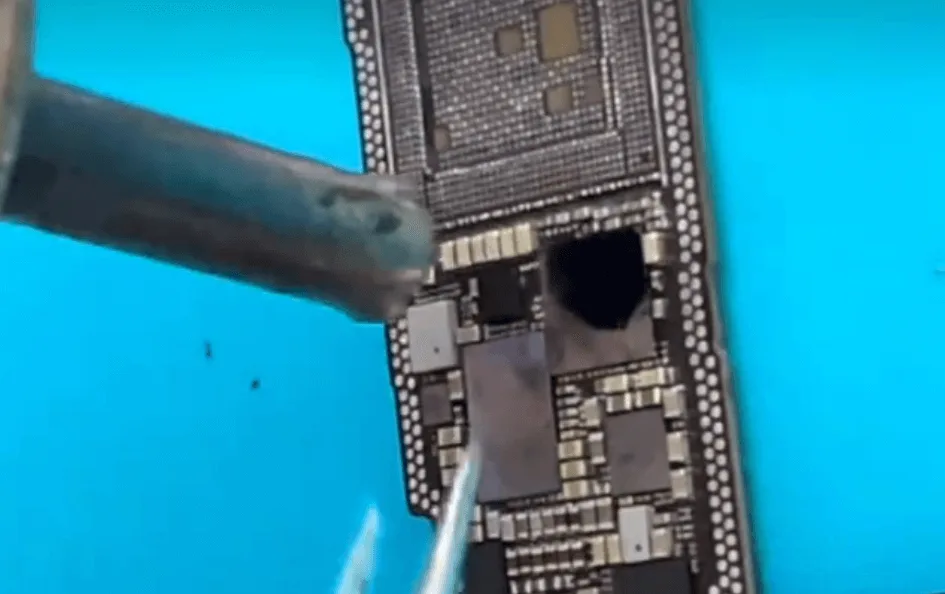
    • Remove the PMIC to inspect the pads on the PCB. Fortunately, there are no missing pads or broken rails.
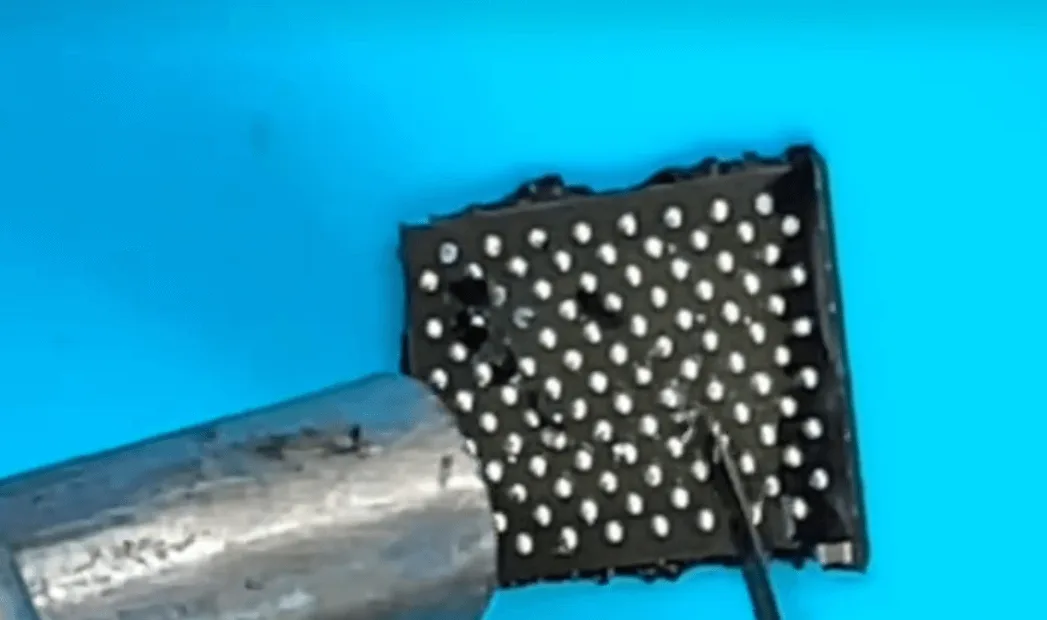
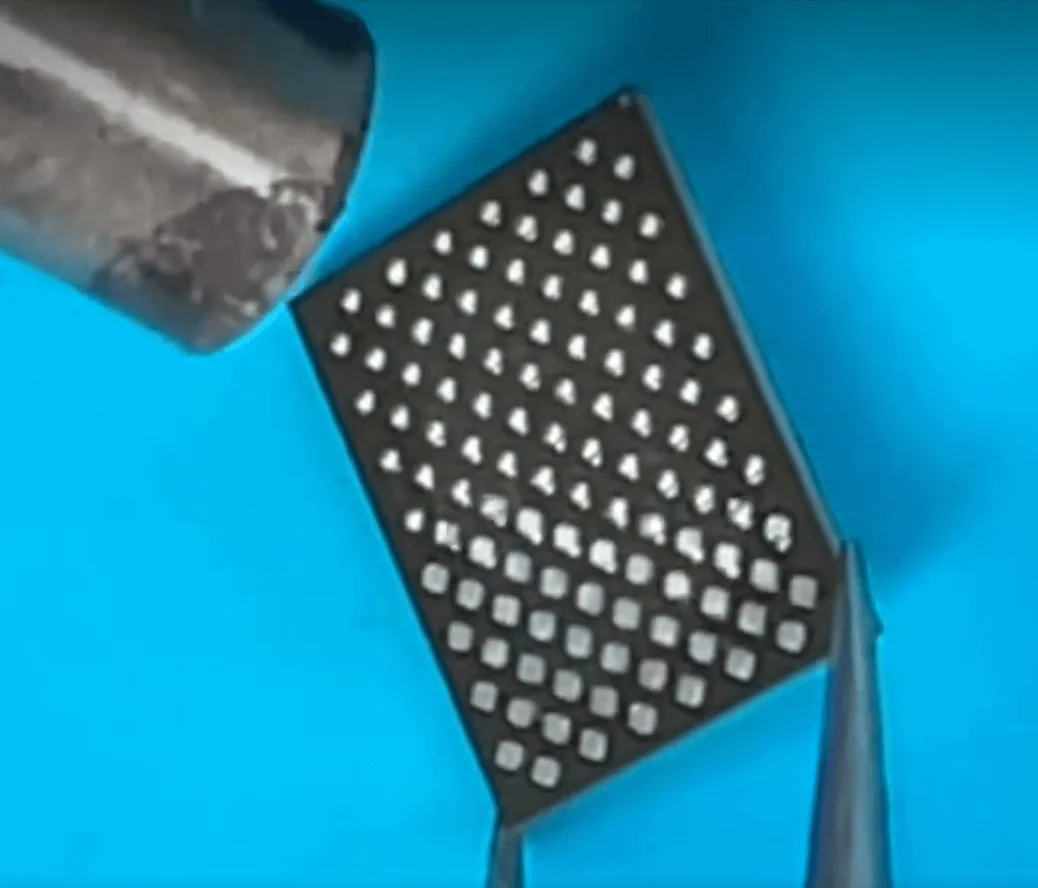
    • Reball the PMIC and solder it back onto the PCB.

    4: Testing the Phone:

    • Reassemble the phone temporarily to test it.
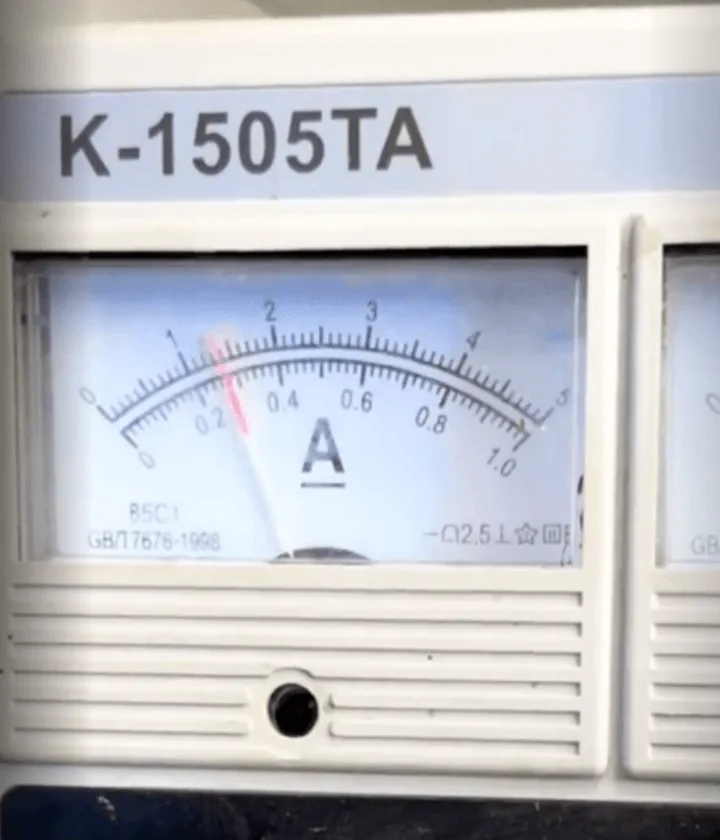
    • Connect it to a USB cable to charge, but there is no charging current. Attempt to boot the phone, but it fails to start. This suggests the issue is not related to the PMIC or capacitors.

    5: CPU Examination
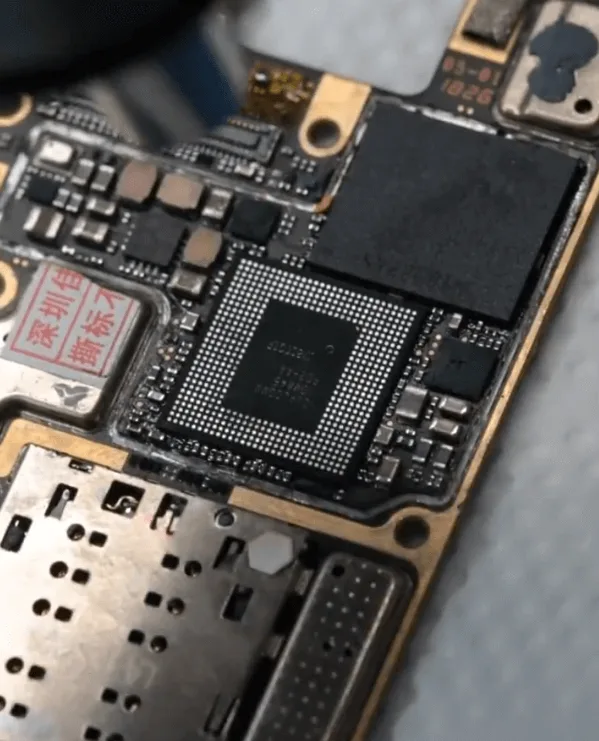
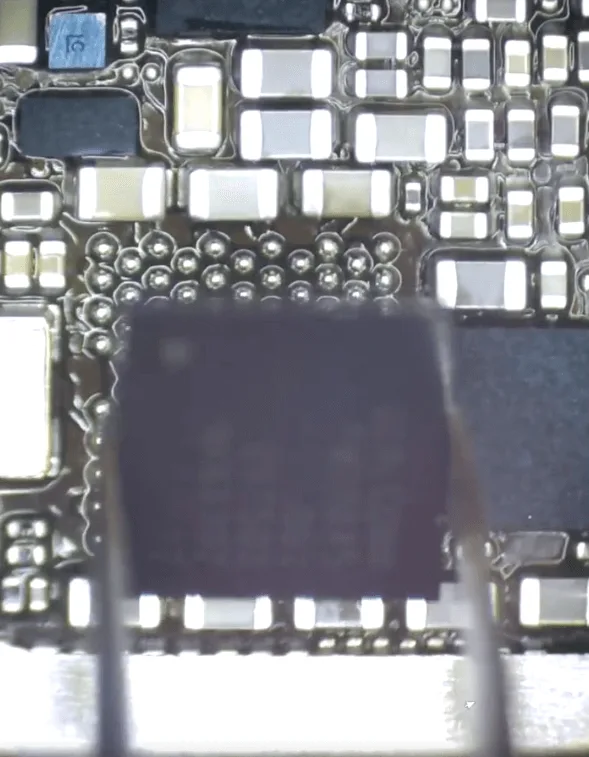
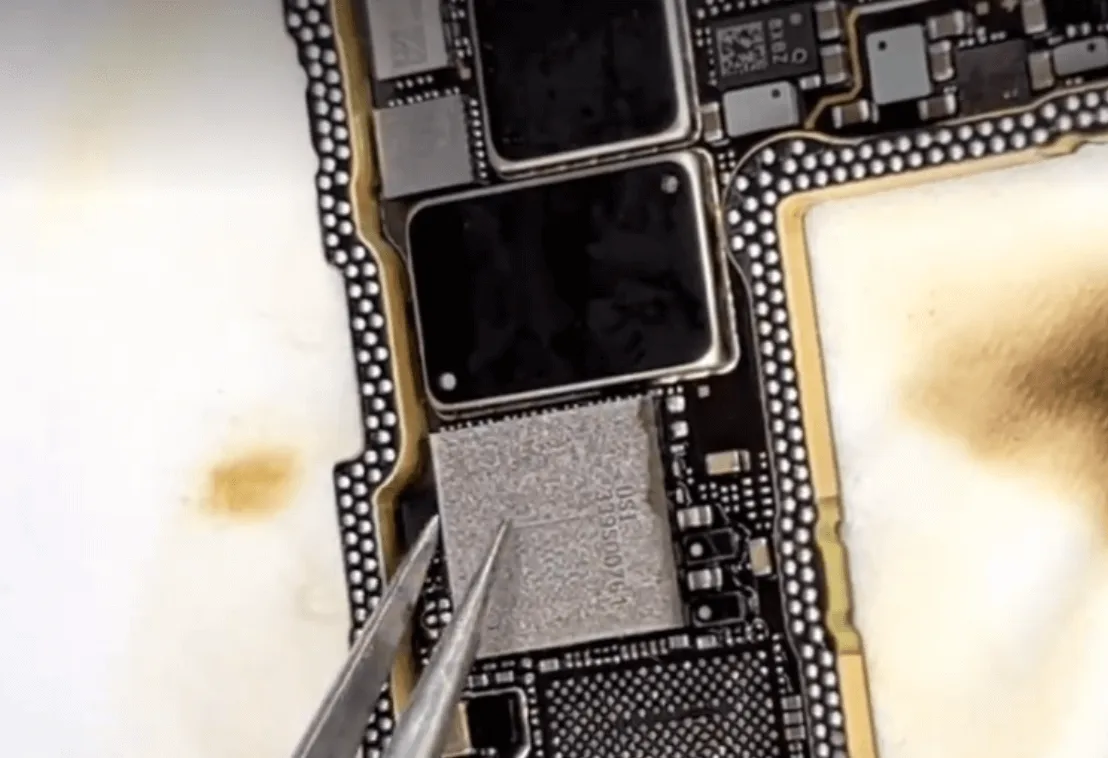
    xiaomi mi drop damage repair resolder the cpu
    • The CPU appears cosmetically intact, with no visible cracks or signs of poor soldering.
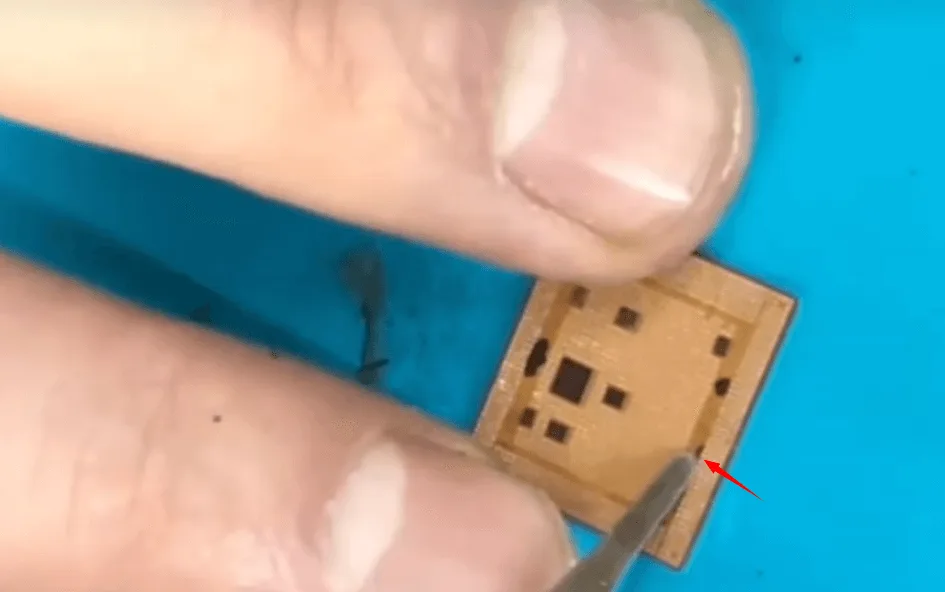
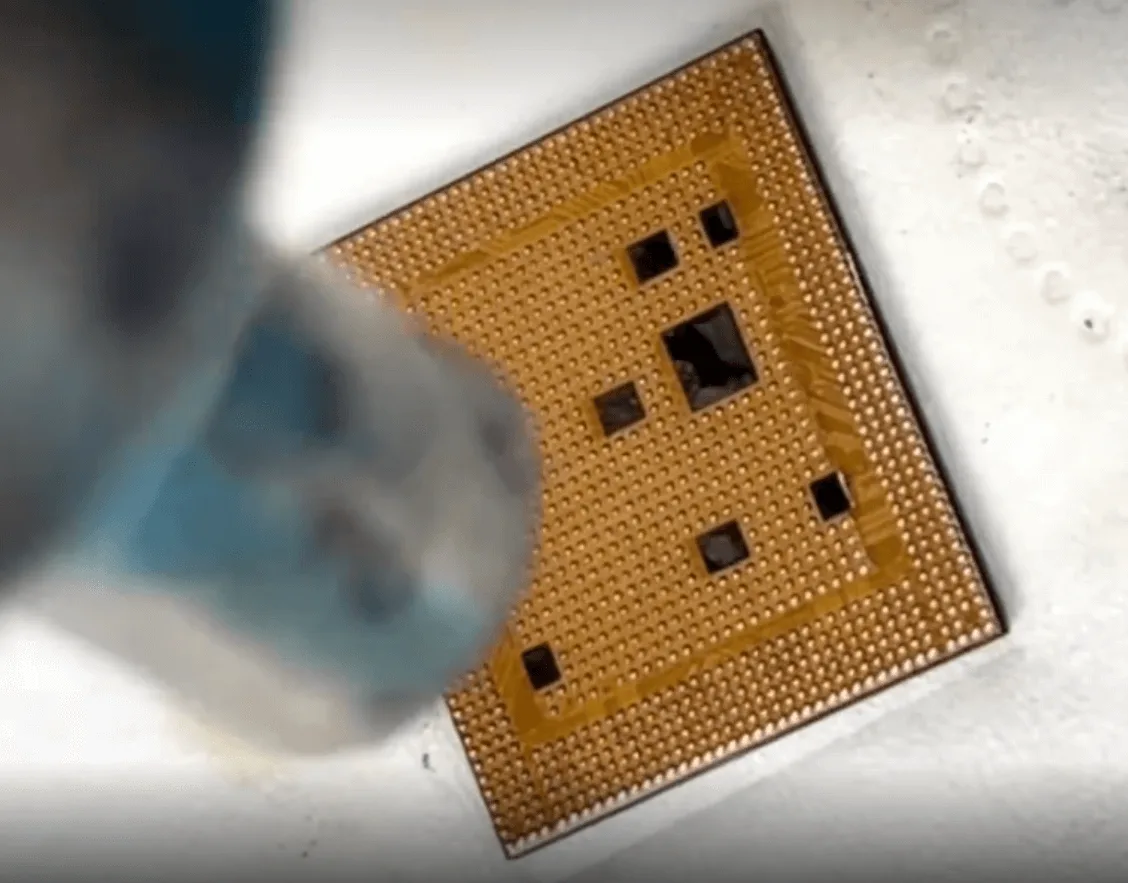
    • Despite this, the CPU is resoldered as a precaution. The CPU consists of two layers: the upper layer is RAM, and the lower layer is the core CPU.
    • Remove and clean the layers, then resolder the chips using stencils.

    6: Further Testing:
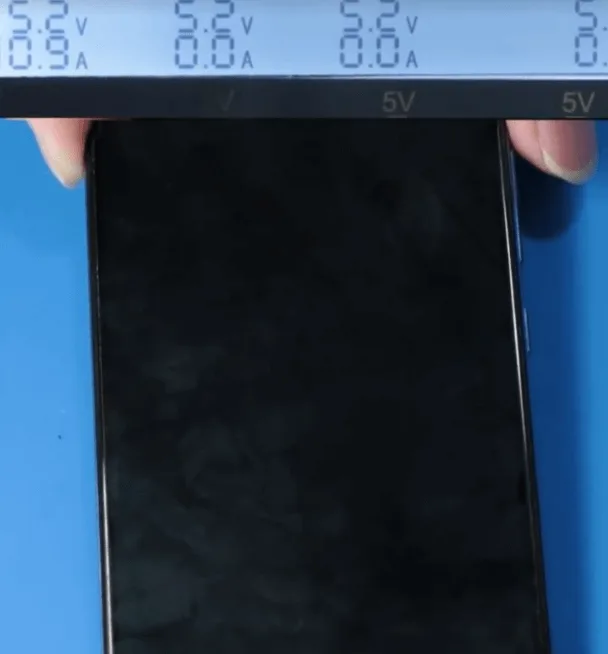
    xiaomi mi drop damage repair connect with charging cable to have try
    • After reassembling the phone, connect it to the charging cable again, but still, there is no charging current, and the phone does not boot.
    • Given the serious drop damage, it’s likely that internal PCB rails are broken

    Repair Process

    1: Chip Swapping

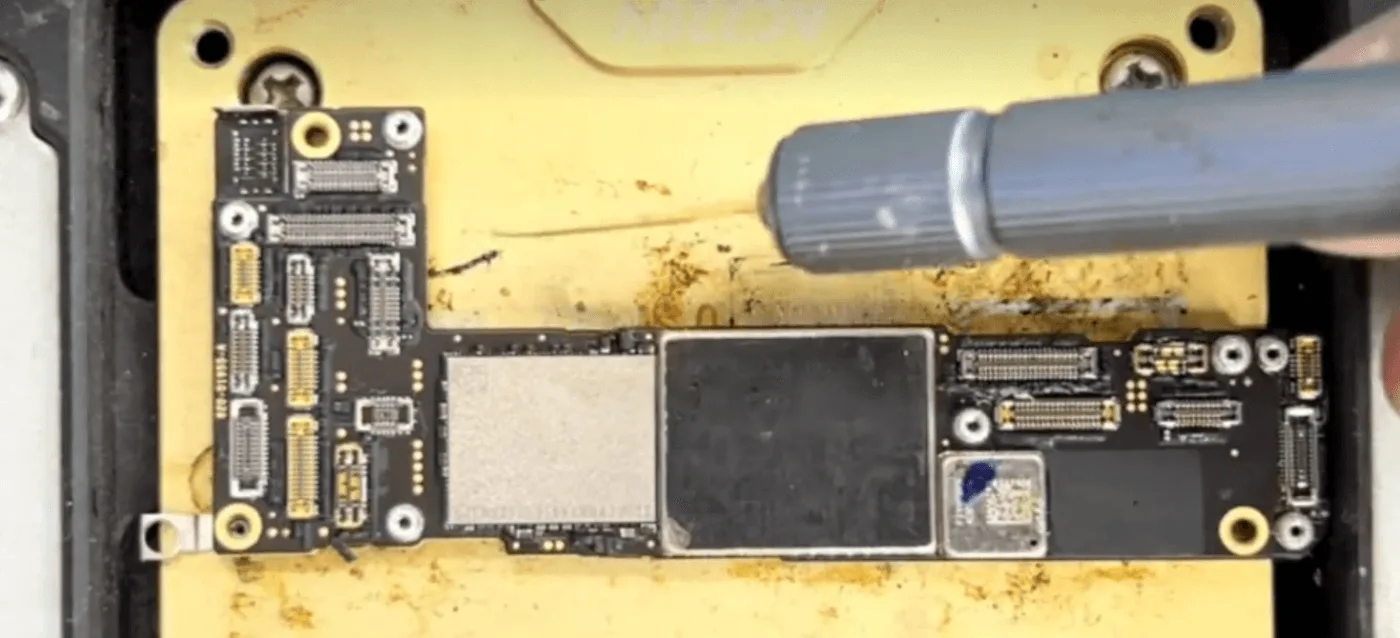
    • To attempt recovery, the CPU and UFS (Universal Flash Storage) chips are swapped to a new motherboard.
    • After the swap, the phone is connected to the charging cable, and this time, there is a charging current.
    • Assemble the phone and trigger it to boot, which it does successfully.

    2: Data Recovery

    • Connect the phone to a computer and back up the important data.

    3: Final Assembly
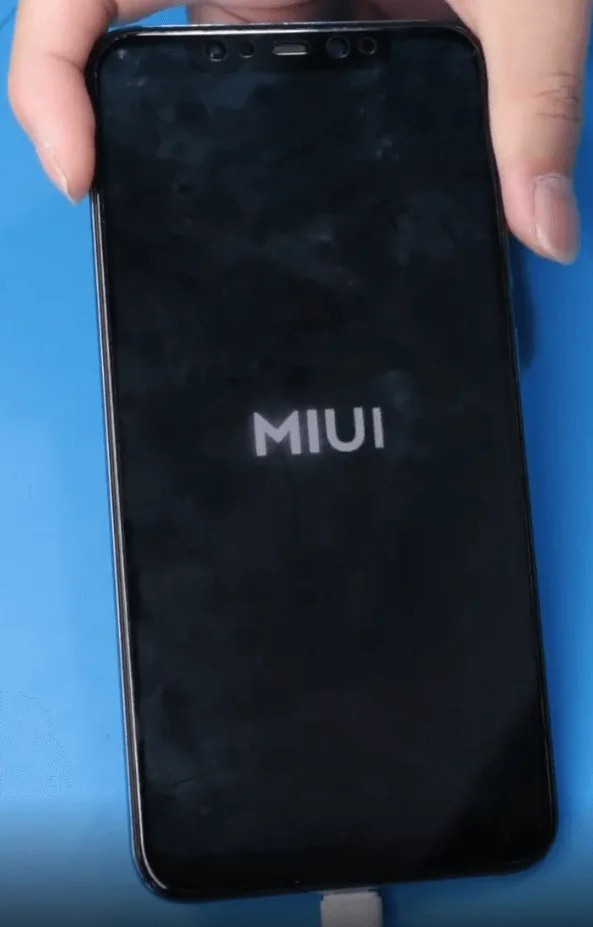
    Xiaomi Mi 8 Drop Damage Repair
    • Replace the damaged screen, battery, and housing.
    • Test all functions to ensure the phone is working normally.

    Conclusion

    The Xiaomi Mi 8, which was severely damaged in a drop, had an unbootable motherboard likely due to internal PCB rail damage. By swapping the CPU and UFS chips to a new motherboard, the phone was successfully repaired, allowing for data recovery and restoring full functionality.

  • iPhone 7 Serious Drop Damage Repair and Restoring Functionality

    iPhone 7 Serious Drop Damage Repair and Restoring Functionality

    When an iPhone 7 is slammed to the ground, the damage can be severe, affecting not only the screen but also internal components. In this guide, we’ll walk through the process of diagnosing and repairing an iPhone 7 serious drop damage, rendering it unable to boot. From addressing display issues to resolving baseband problems, this step-by-step guide will help you restore your iPhone 7 to full working order.

    iphone 7 black

    Phone Details:

    Model: iPhone 7

    Announced: 2016, September 07

    Defect Phenomenon

    The iPhone 7 was slammed to the ground during an argument, resulting in a shattered screen and the inability to boot.

    Troubleshooting to Repair iPhone 7 Drop Damage

    1: Initial Inspection

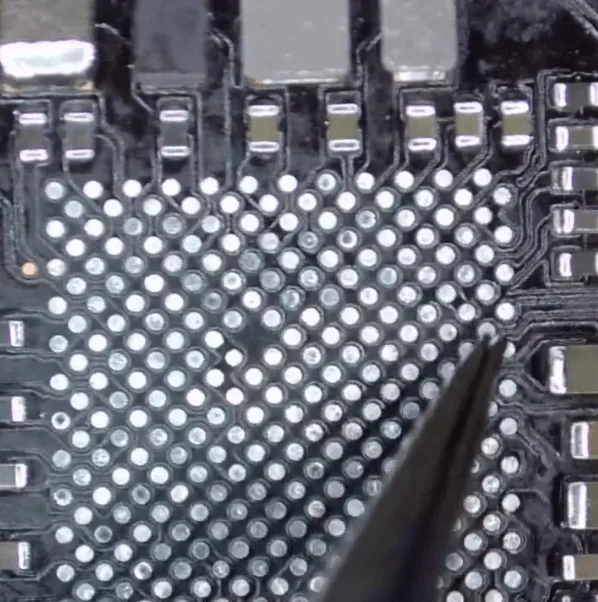
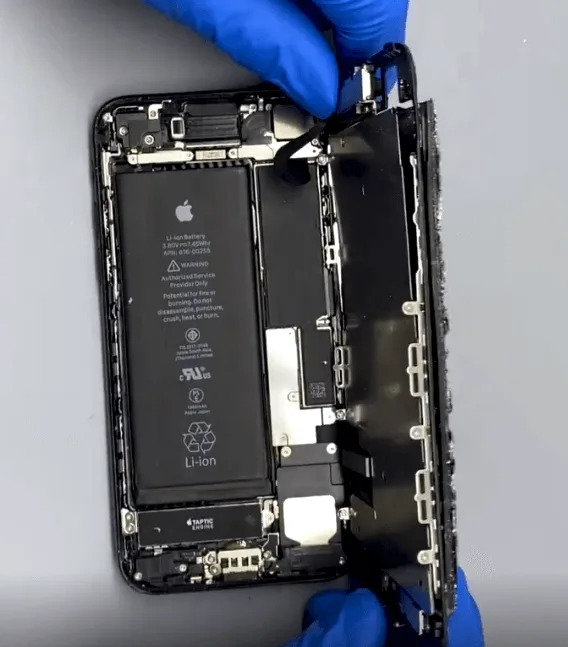
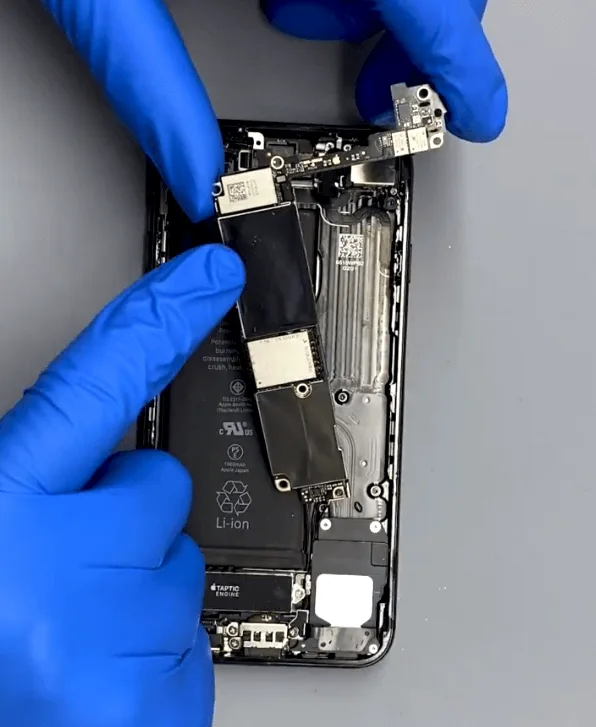
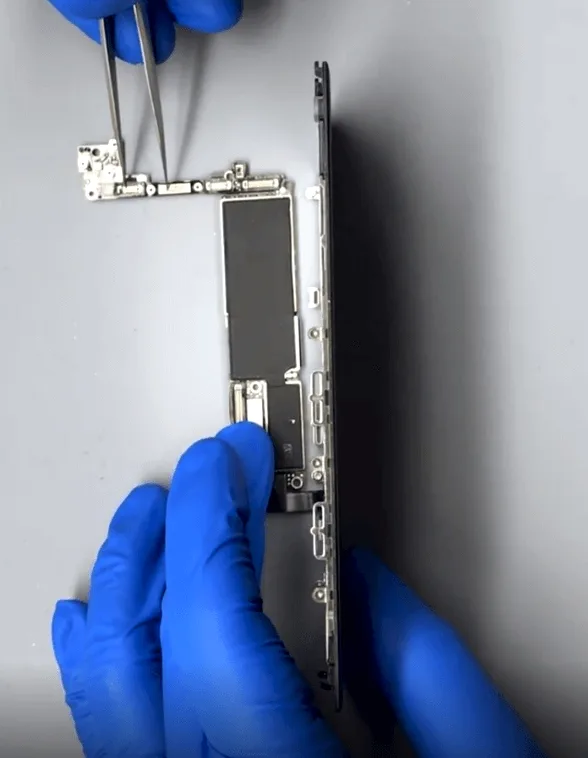
    • Disassemble the phone and carefully remove the motherboard for inspection.
    • The motherboard appears to be in good condition with no visible deformation or missing components.

    2: Screen Replacement and Testing

    • Replace the shattered screen with a new one and attempt to boot the phone.
    • The boot current is normal, but the screen remains blank, indicating a possible issue with the display circuit.

    3: Diagnosing the Display Circuit:

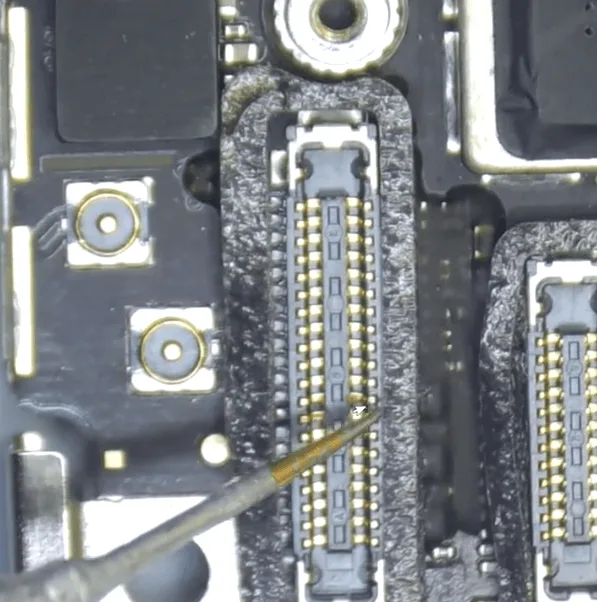
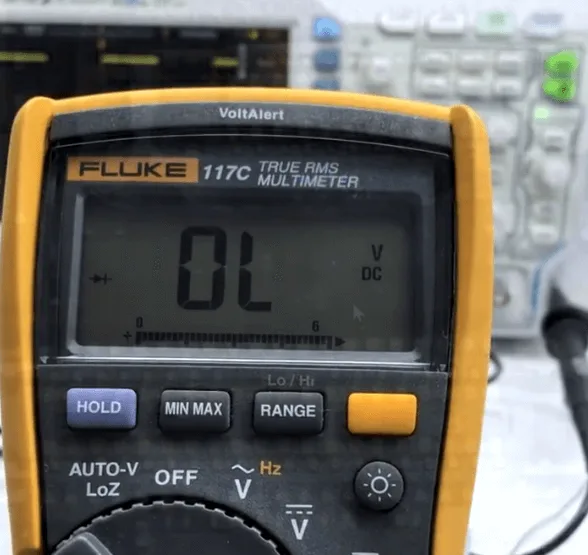
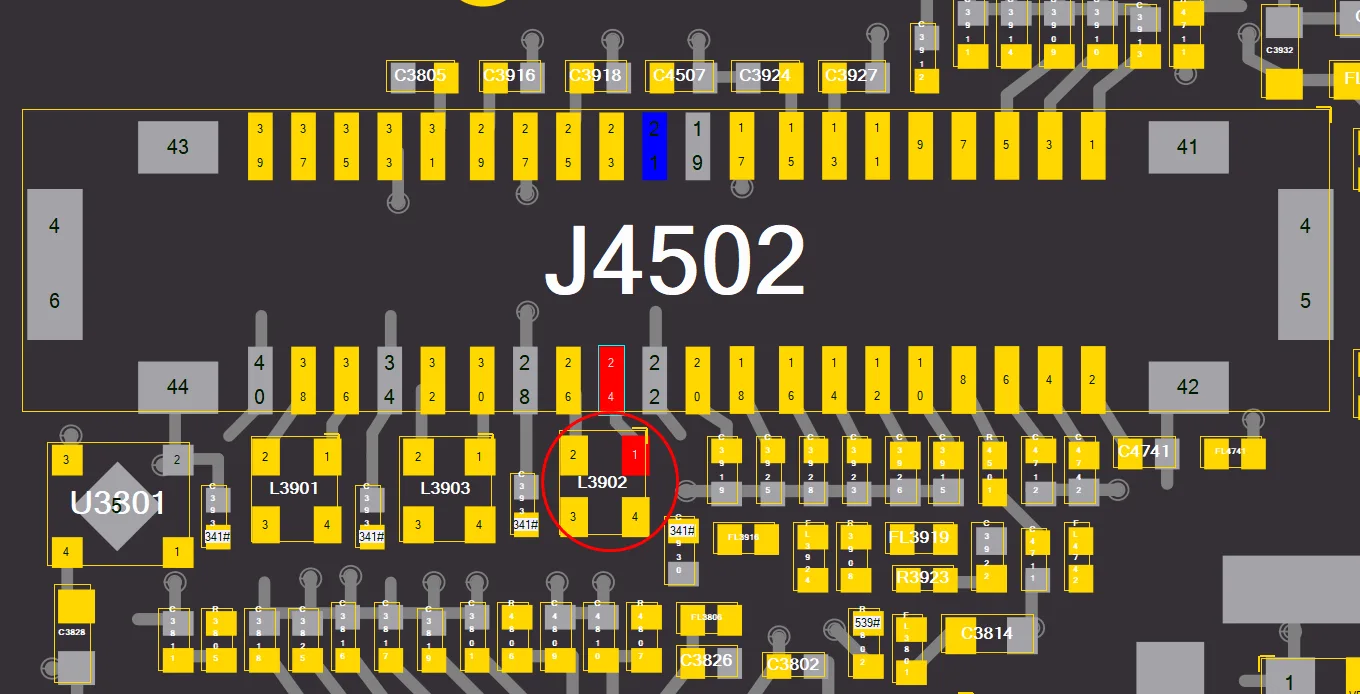
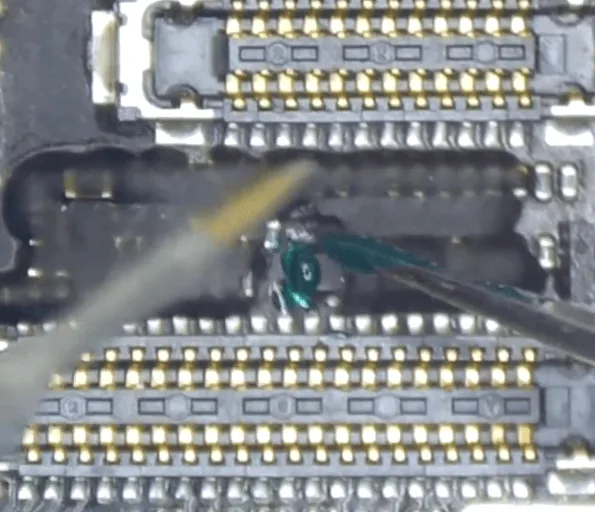
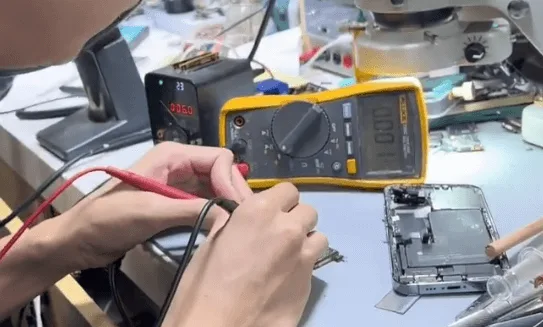
    • Measure the diode values on the display connector. One pin shows an abnormal diode value of OL (open loop).
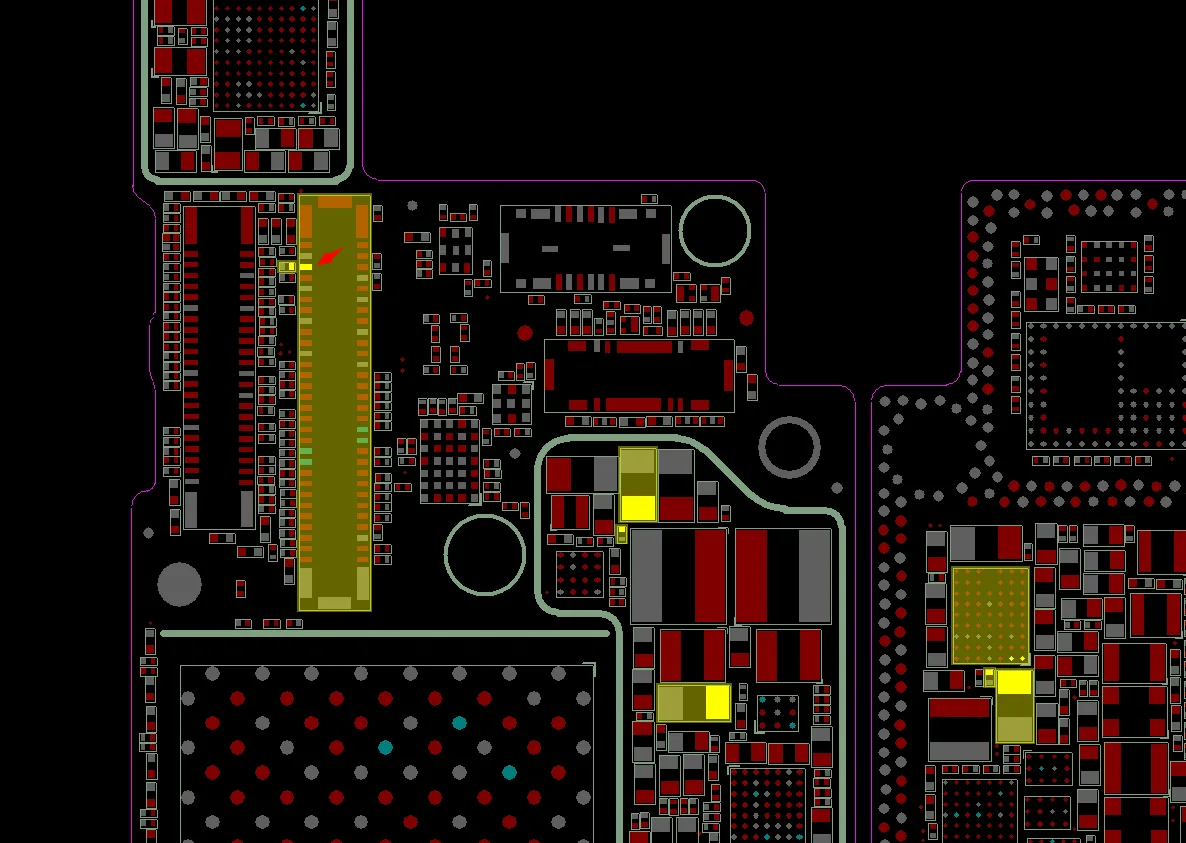
    • According to the bitmap, this pin is connected to L3902, indicating a problem with the combined inductor.

    4: Repairing the Inductor

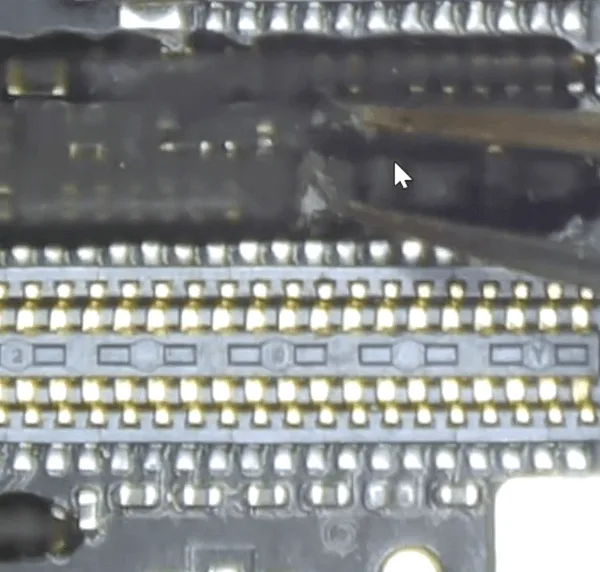
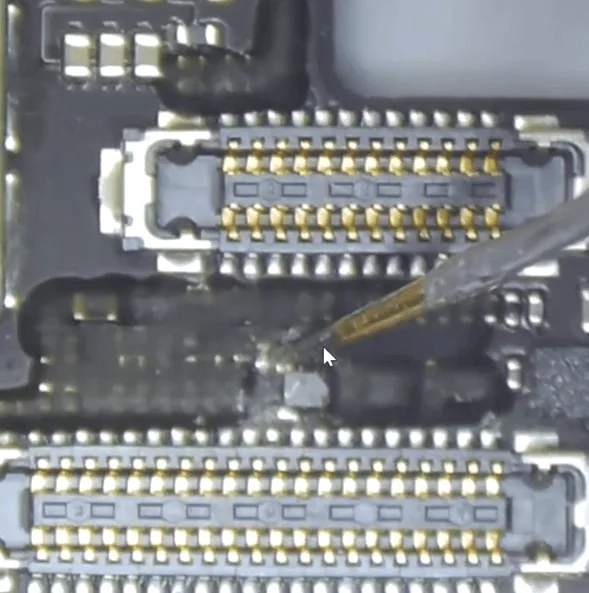
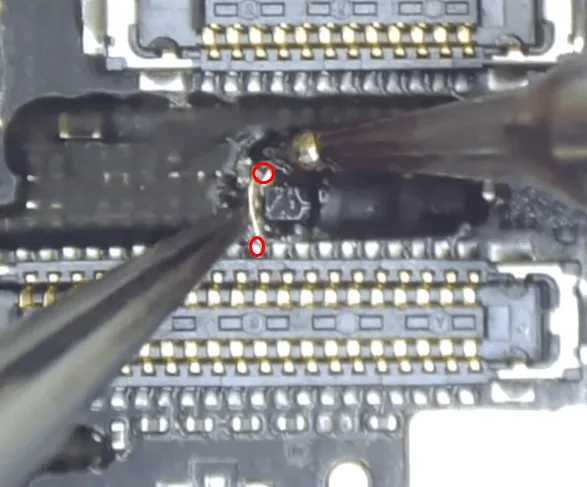
    • Remove the black glue on the surface of the inductor.
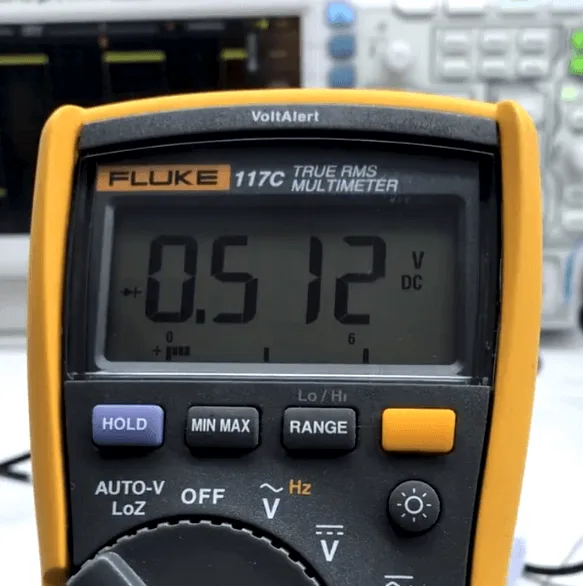
    • After removal, the diode value on the inductor pin is 512, confirming that the inner rail is broken.
    • Instead of replacing the inductor, which could cause soldering issues due to the number of connectors, jump a copper wire to repair the connection.

    5: Completing the Display Repair

    • Use the red-circled points to jump a wire, reconnecting the display signal (90_MIPI_AP_TO_LCM_DATA0_P).
    • Apply a UV mask and cure it with UV light to secure the connection.
    • Reassemble the phone and test it again. The phone now boots normally, and the display functions properly.

    Addressing the Baseband Issue

    1: Identifying the Problem

    iphone 7 no internet
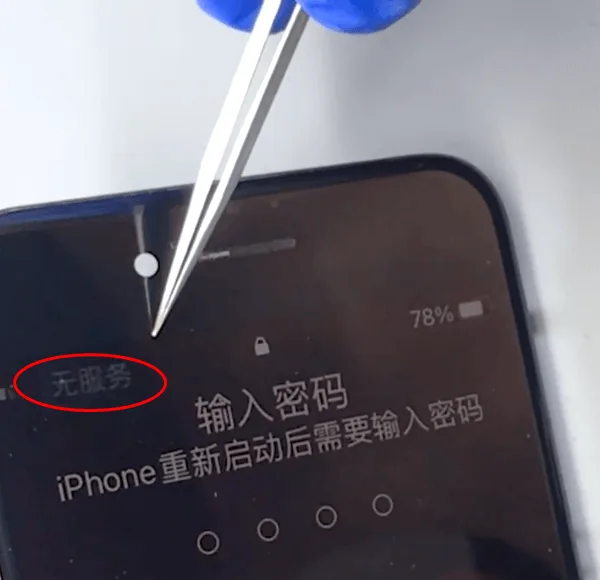
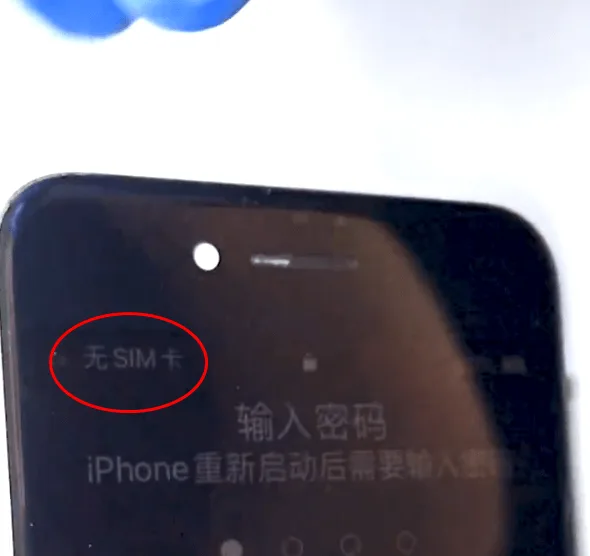
    • After the initial repair, the phone boots, but there is no service, which is a common issue in iPhone 7s after serious drops. This typically points to damage in the Baseband PMU or Baseband CPU.

    2: Repairing the Baseband PMU

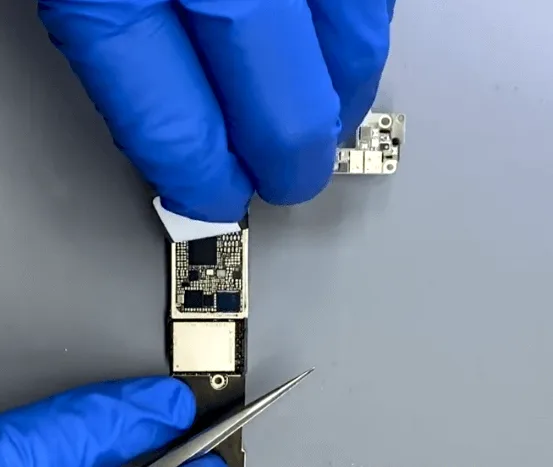
    • Remove the protective sticker to access the Baseband PMU chip.
    • Apply solder paste and use a hot air gun to carefully remove the chip.
    • Reconnect the broken wire using a soldering tin ball and resolder the Baseband PMU chip in place.

    3: Final Testing

    iPhone 7 Serious Drop Damage Repair
    • Clean the motherboard with PCB cleaner to ensure all components are properly soldered and free of debris.
    • Reassemble the phone and test it again. This time, the phone successfully recognizes the SIM card, and the “No Service” issue is resolved.

    Conclusion

    Repairing an iPhone 7 serious drop damage is a multi-step process that requires careful diagnosis and precision. By addressing both the display circuit and the baseband issues, you can restore full functionality to your device. If you encounter similar issues, follow these steps to effectively repair and revive your iPhone 7. For more detailed repair tutorials, visit REWA Academy and enhance your technical skills.

  • How to Repair iPhone 13 Pro Display Issues After Drop Damage: Step-by-Step Guide

    How to Repair iPhone 13 Pro Display Issues After Drop Damage: Step-by-Step Guide

    An iPhone 13 Pro with a damaged display often won’t turn on after severe drop damage, even when the screen is replaced. This guide offers a step-by-step repair process for iPhone 13 Pro display issue, including diagnostic tips, replacing key components, and safely reassembling the motherboard to restore display functionality and ensure all other features are working. Whether you’re a technician or a DIY enthusiast, follow this guide to effectively resolve display issues caused by drop damage.

    damaged iPhone 13 pro

    Device Details

    Model: iPhone 13 Pro

    Release: 2021

    Defect Phenomenon

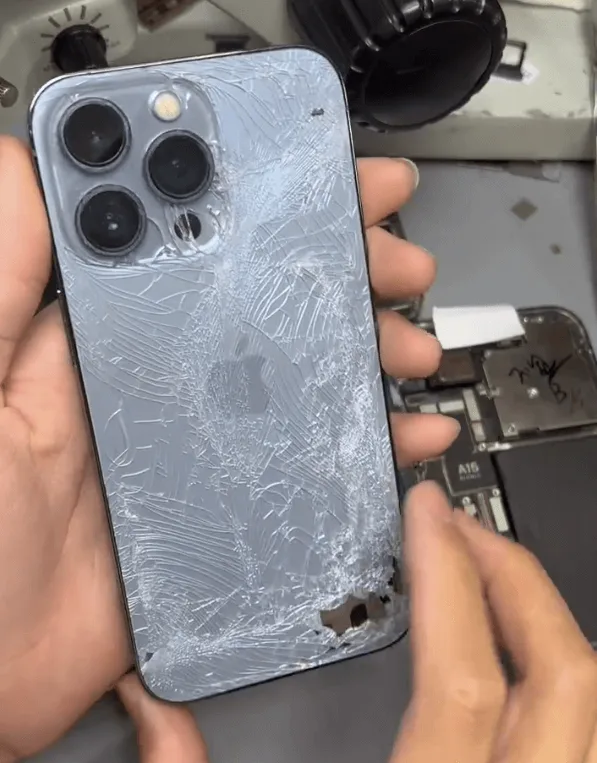
    This iPhone 13 Pro arrived with a cracked screen and back cover glass after a fall. After testing with a new screen, the display still wouldn’t turn on.

    Troubleshooting

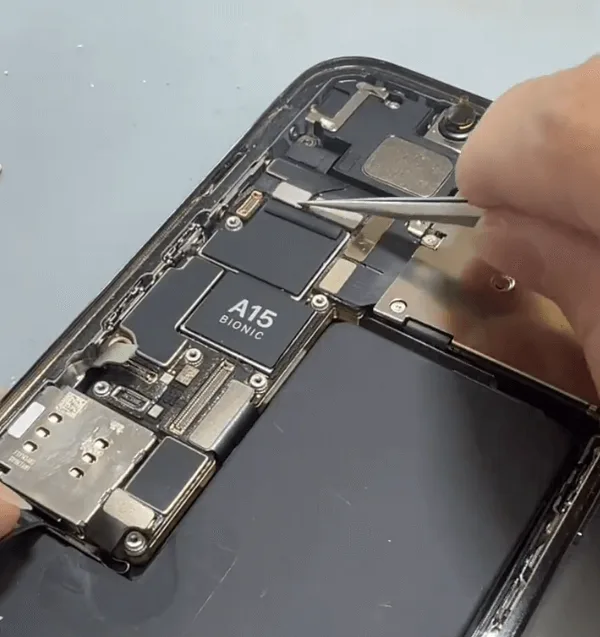
    Disassemble the Phone

    iphone 13 pro dissamble

    Remove the motherboard to begin testing.

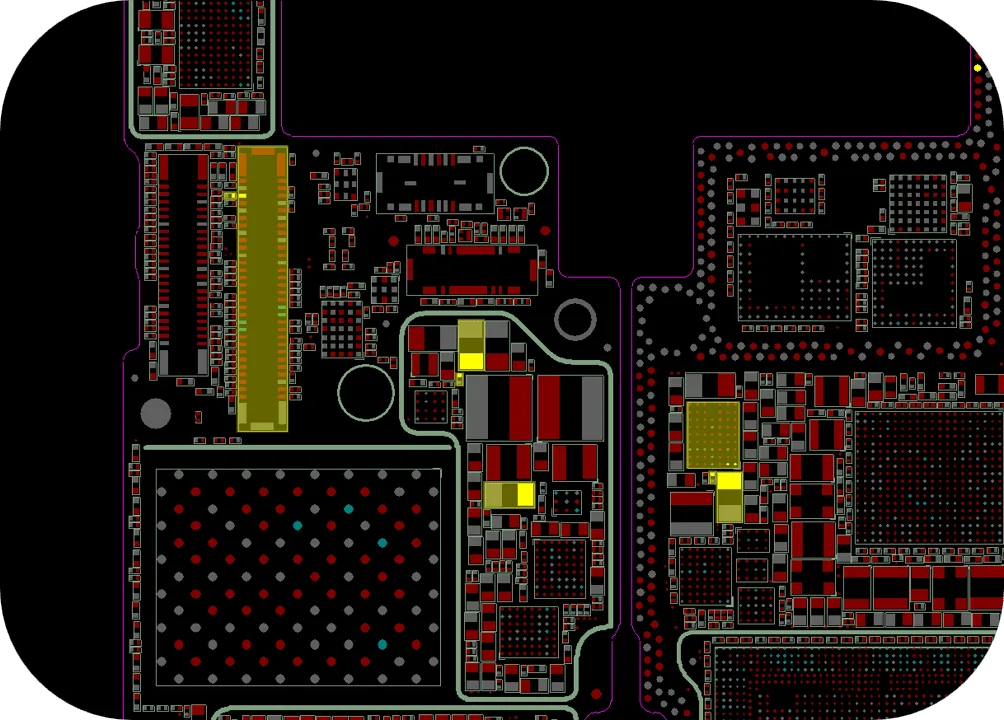
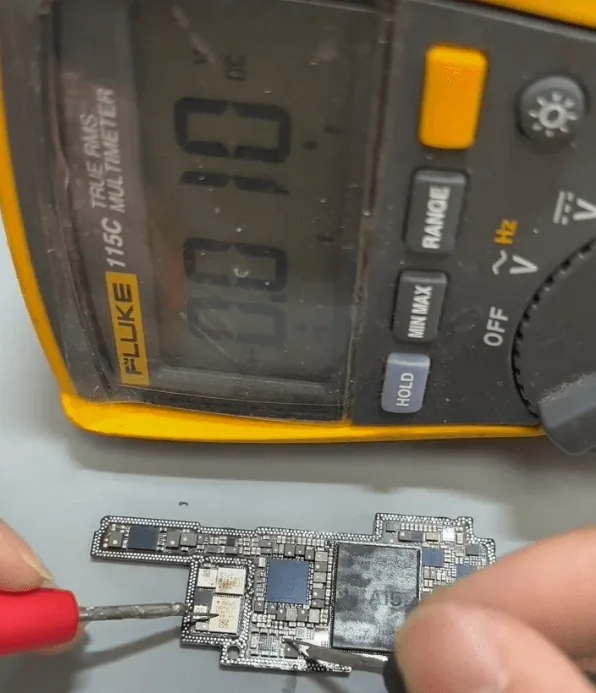
    Measure Diode Values

    Use a multimeter to check diode values on the display connector, revealing one shorted pin connected to the display PMIC (Power Management Integrated Circuit).

    Repair Process

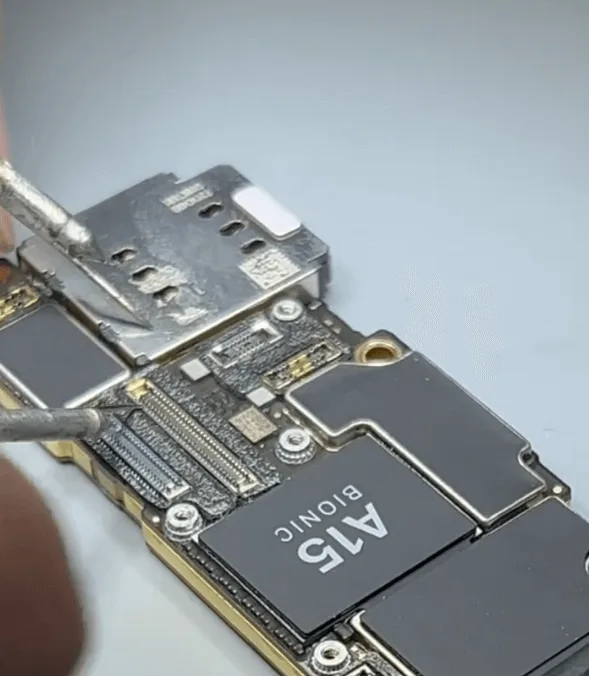
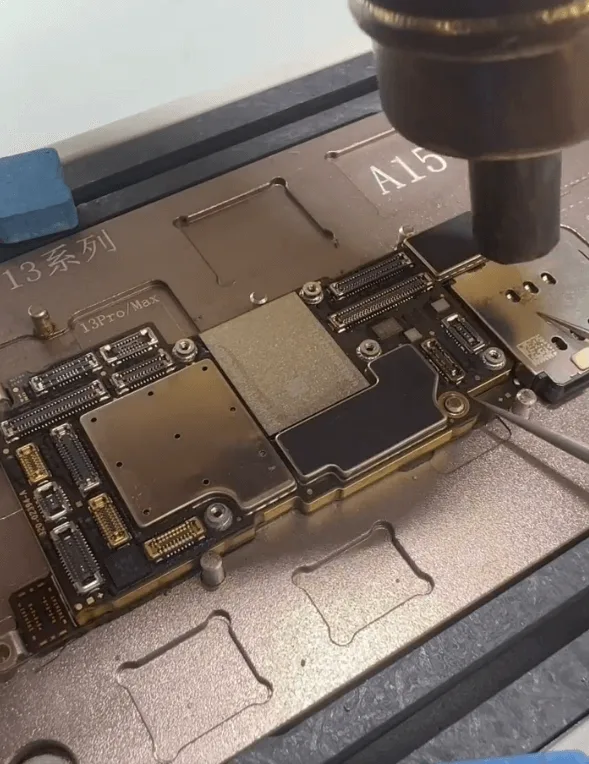
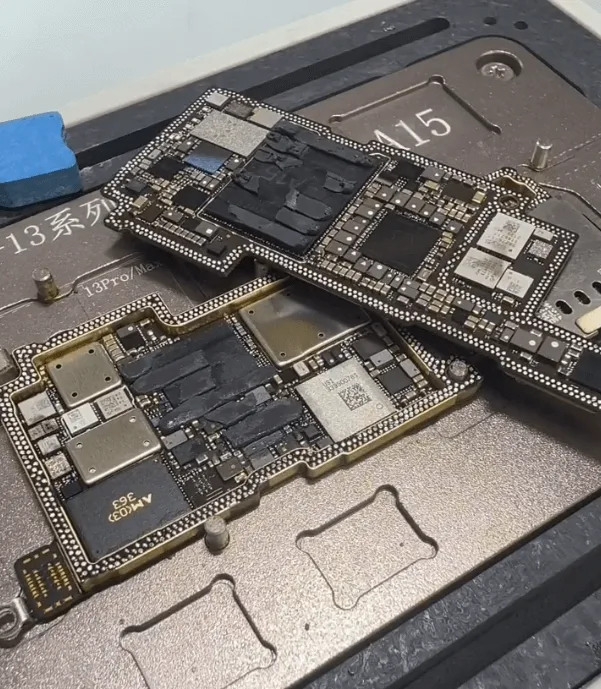
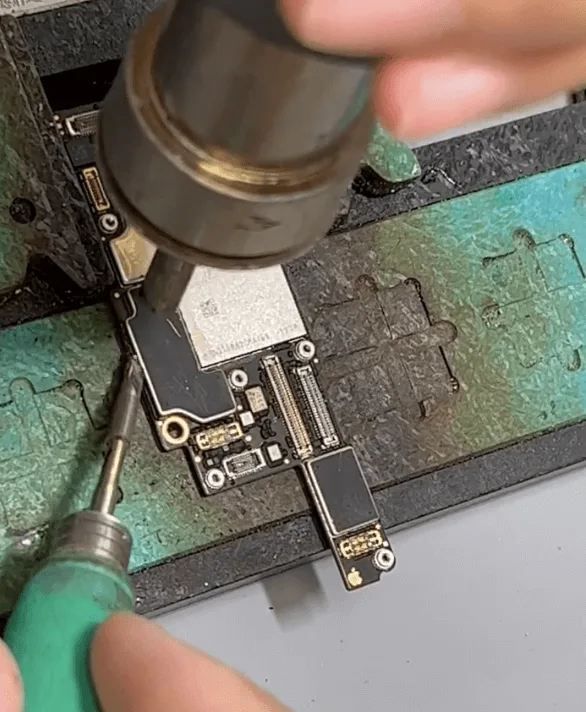
    Separate the Motherboard Layers

    • Place the motherboard on a heating platform.
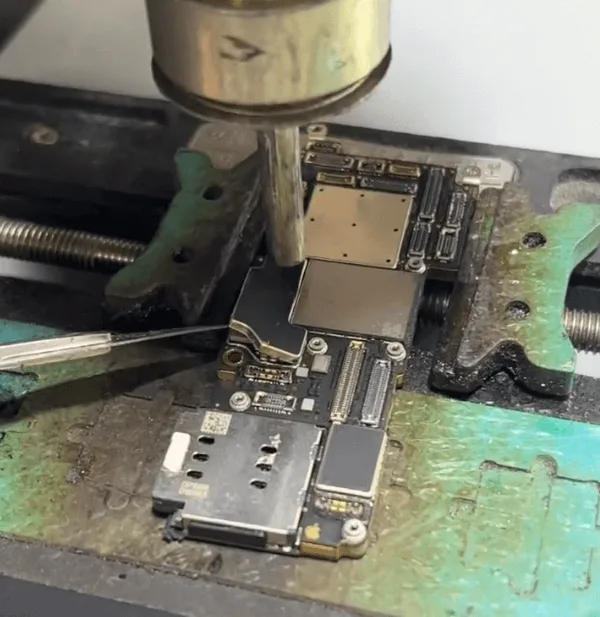
    • Use a hot air gun to evenly heat the surface while the platform is on. This safely separates the layers.

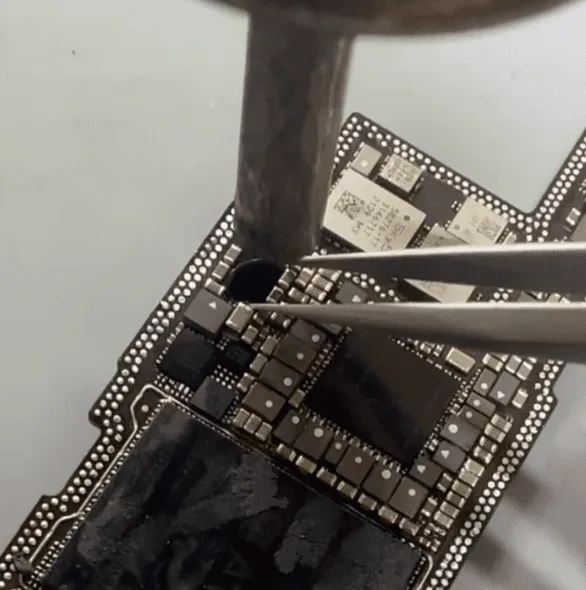
    Remove the Display IC

    remove iphone 13 pro display IC
    • Use the hot air gun to detach the display IC from the motherboard.
    • After removal, measure the diode values again to check for shorts. The short remains, suggesting another component is damaged.

    Locate the Overheated Component

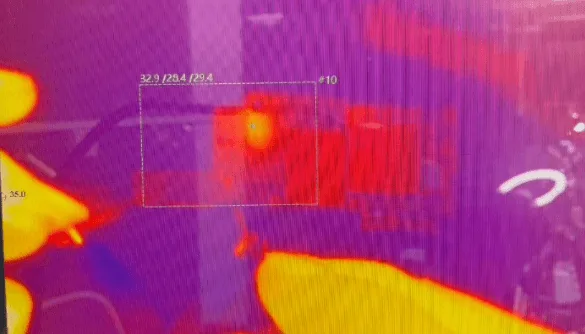
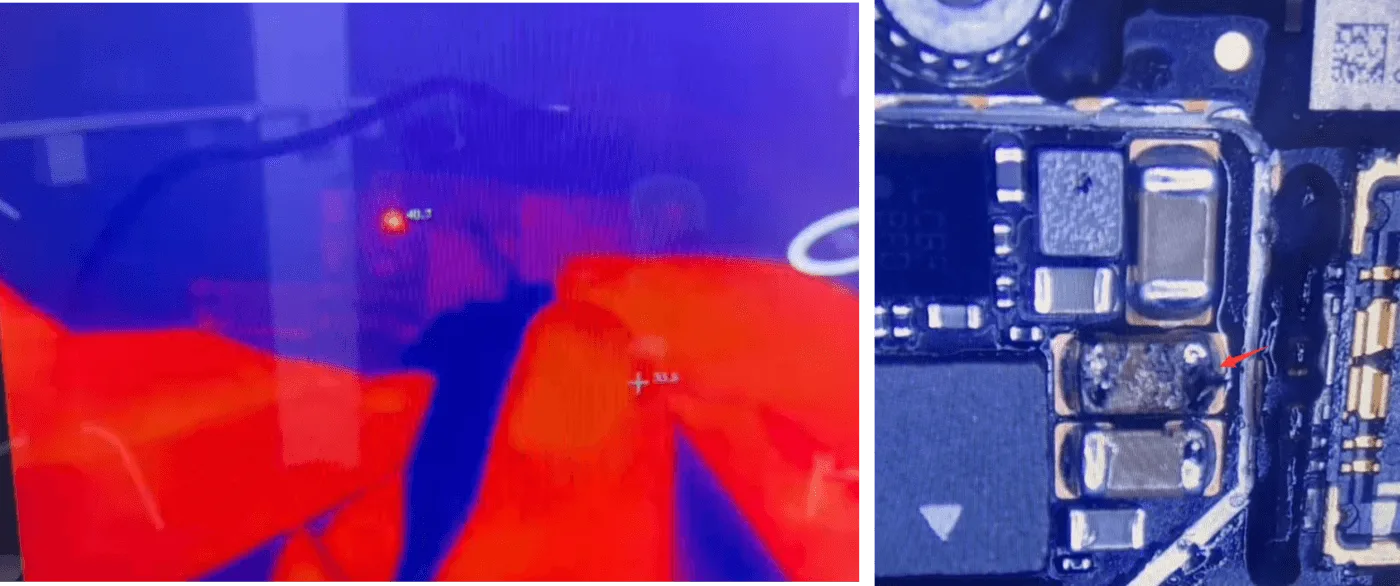
    Connect the upper motherboard layer to a DC power supply and observe through a thermal imager. The imager reveals an unusually hot component beneath the shielding cover.

    Remove the Shielding Cover

    detach sielding cover

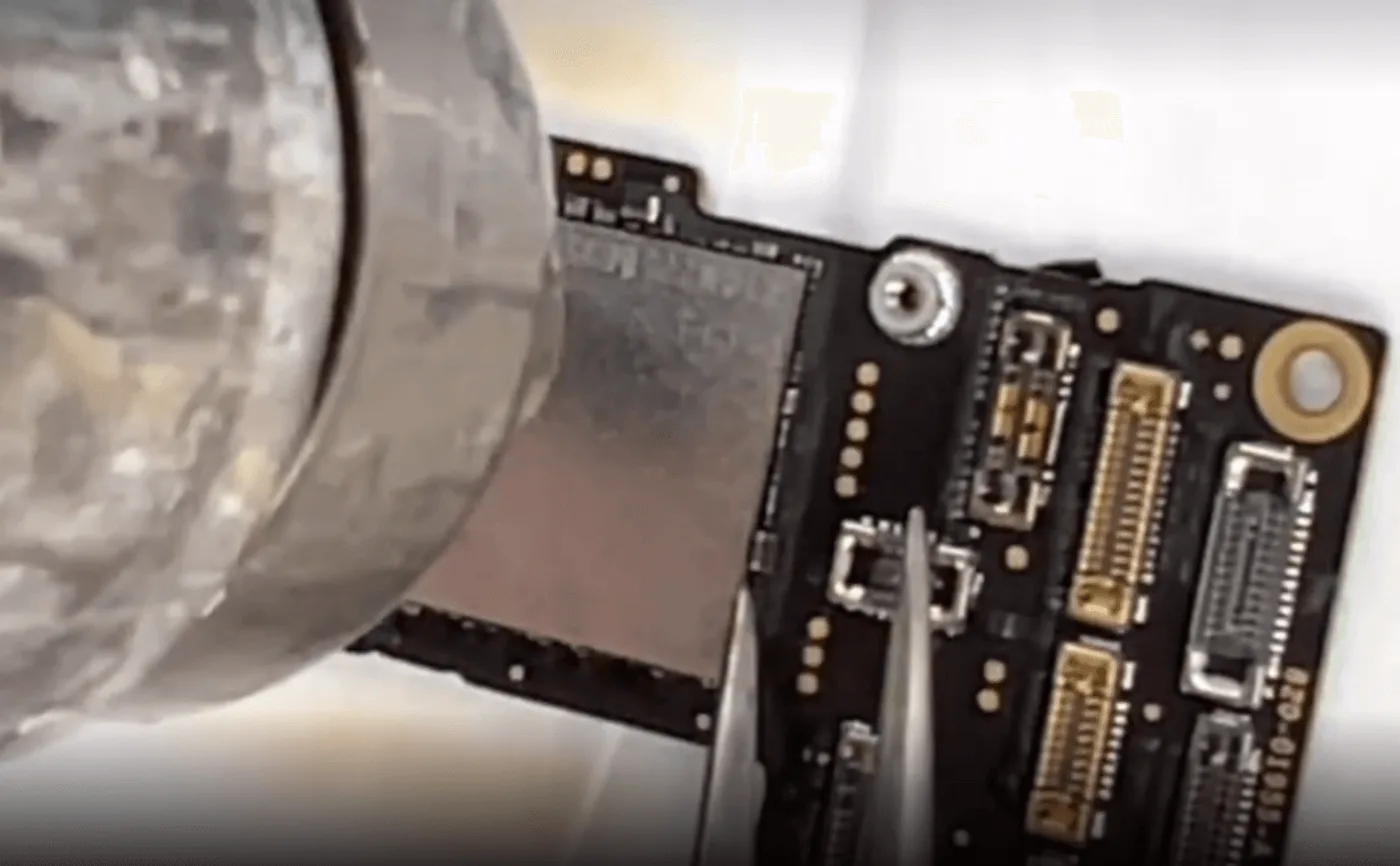
    Carefully detach the shielding cover without disturbing the nearby encrypted EEPROM chip.

    Recheck with the thermal imager to precisely locate the damaged component.

    thermal imager to check iphone 13 pro motherboard

    Replace the Faulty Capacitor

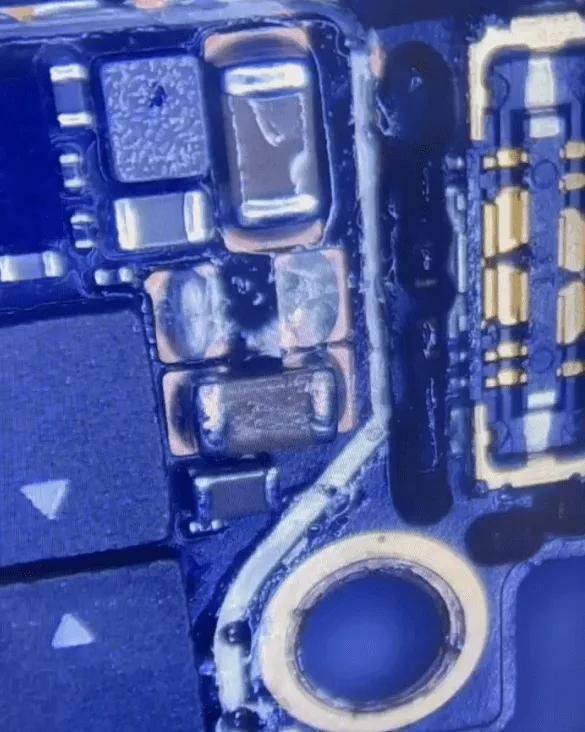
    • Identify and remove the faulty capacitor (a common issue in dropped iPhones).
    • Install a replacement capacitor with the same specifications to restore proper function.

    Reball and Reattach the Display IC

    reballing solder balls
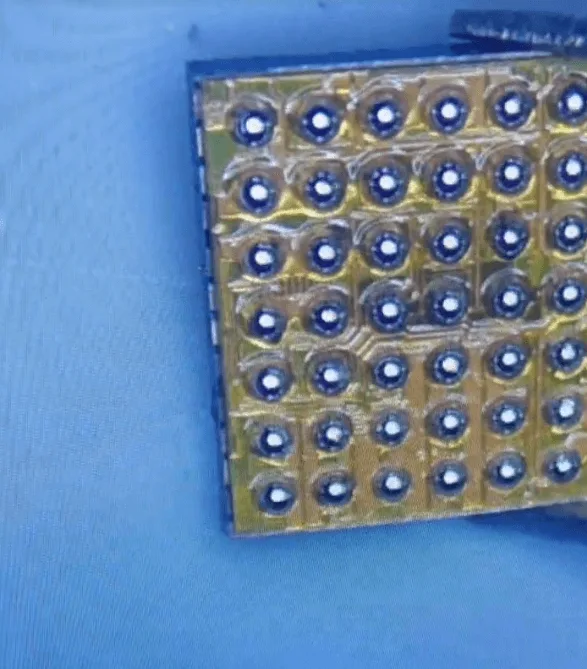
    • Prepare the removed display IC by reballing it (reapplying solder balls).
    • Carefully solder it back onto the motherboard to ensure proper connections.

    Reassemble and Test

    iphone 13 pro display issue

    After the motherboard cools, attach the screen and boot up the phone to check if the display functions normally. In this case, the display returned to full functionality.
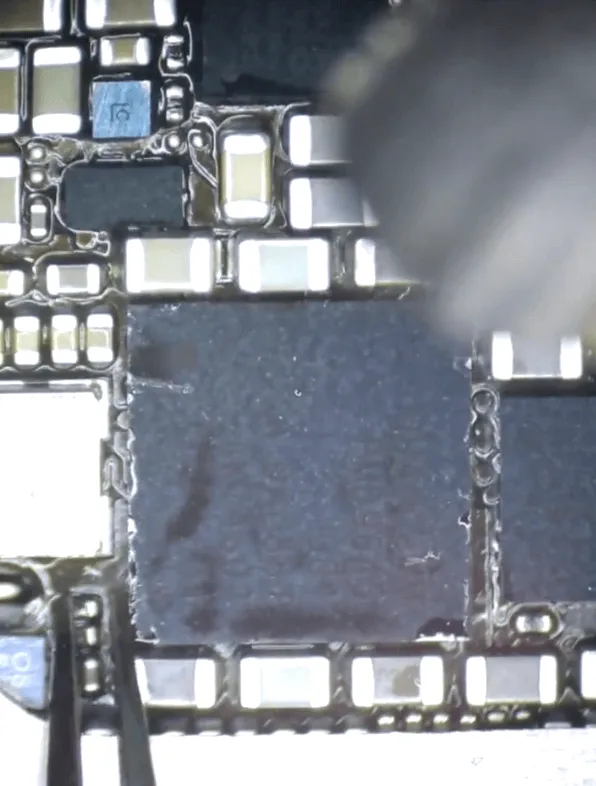
    Inspect for Additional Damage

    signal board

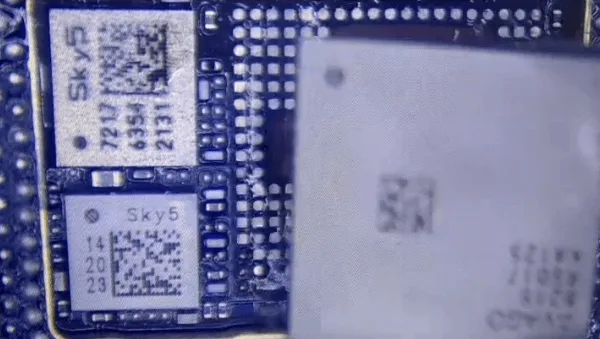
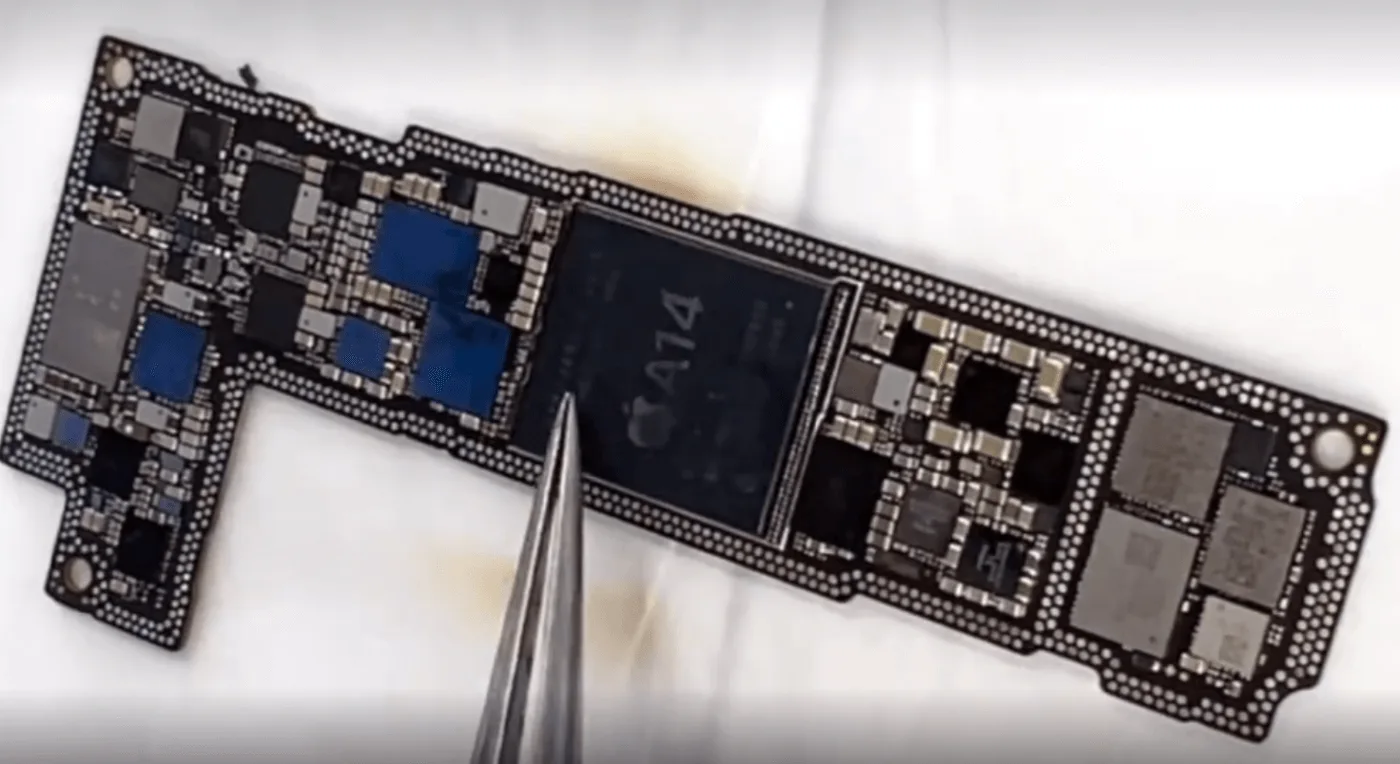
    Since drop damage can affect multiple components, thoroughly inspect the motherboard. A few chips on the signal board were loose; carefully resolder these to secure their connections.

    Recombine the Motherboard Layers

    iPhone 13 Pro Does Not Display

    Finally, reattach the motherboard layers using the heating platform, then reassemble and test the phone. All functions, including Wi-Fi, baseband, cameras, and Face ID, were working correctly.

    Summary

    This iPhone 13 Pro display issue was resolved by:

    1. Replacing a damaged capacitor beneath the shielding cover (a common problem after drops).
    2. Resoldering loose chips on the signal board.
    3. Recombining the motherboard layers.

    This repair process restored the display and other critical functions, fully fixing the phone.

    Tools & Parts List

  • How to Repair Drop-Damaged iPhone 13 Pro No Display: Step-by-Step Guide

    How to Repair Drop-Damaged iPhone 13 Pro No Display: Step-by-Step Guide

    After a serious drop while skateboarding, this iPhone 13 Pro experienced a complete display failure, despite other functions appearing normal. In this detailed repair guide, we’ll walk through diagnosing the root of the issue—caused by a small but critical capacitor failure—and outline the step-by-step process for restoring the display.

    iphone 13 pro

    Device Details

    Model: iPhone 13 Pro

    Announced: 2021, September 14

    Defect Phenomenon

    The iPhone 13 Pro experienced severe drop damage while playing skateboard, resulting in a completely unresponsive display.

    Troubleshooting

    Inspect the Motherboard

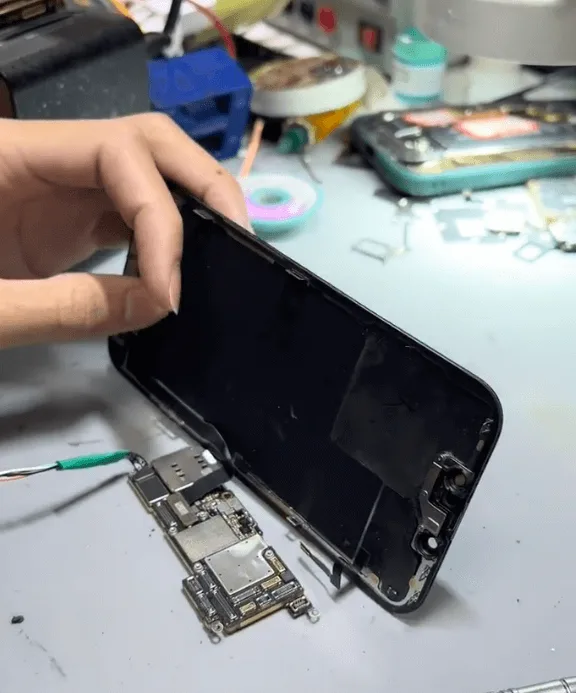
    Disassemble the phone and remove the motherboard, which showed signs of minor deformation from the drop.

    Replace and Test Display

    iphone 13 pro no display

    Swap in a new screen and connect the phone to a DC power supply. The boot current appeared normal, indicating the motherboard may be the root issue.

    Further Testing

    Testing with another screen confirmed the problem lies with the motherboard, as the display still did not function.

    Repair Process

    Measure Display Connector Diode Values

    Use a multimeter to check the diode values on the display connector pins. One pin, the 4th, indicated a short. This pin connects to the display power IC (PMIC), which is essential for screen functionality.
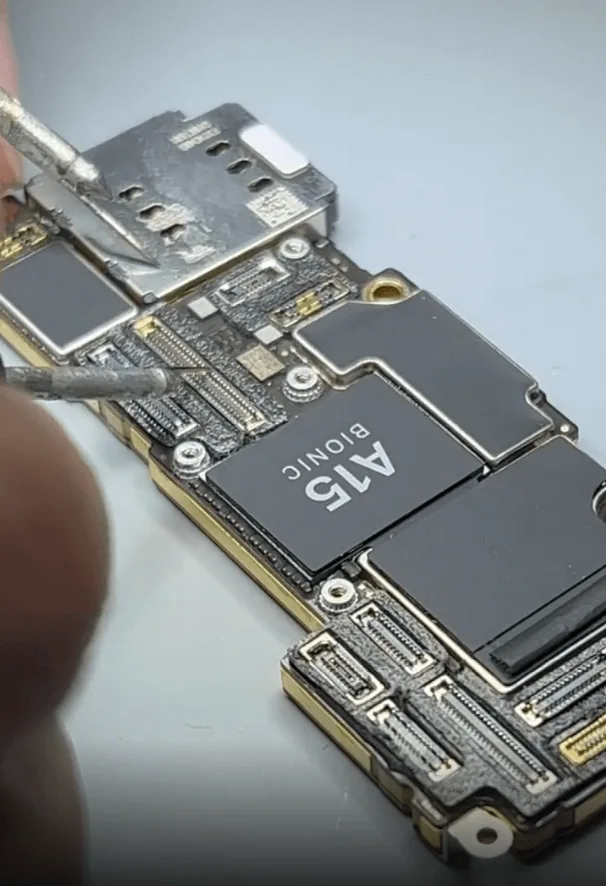
    Display PMIC (Power Management IC): PMIC stands for Power Management Integrated Circuit. This chip controls power flow to the display and other components. A damaged or malfunctioning PMIC can often result in issues like a black screen or no display.
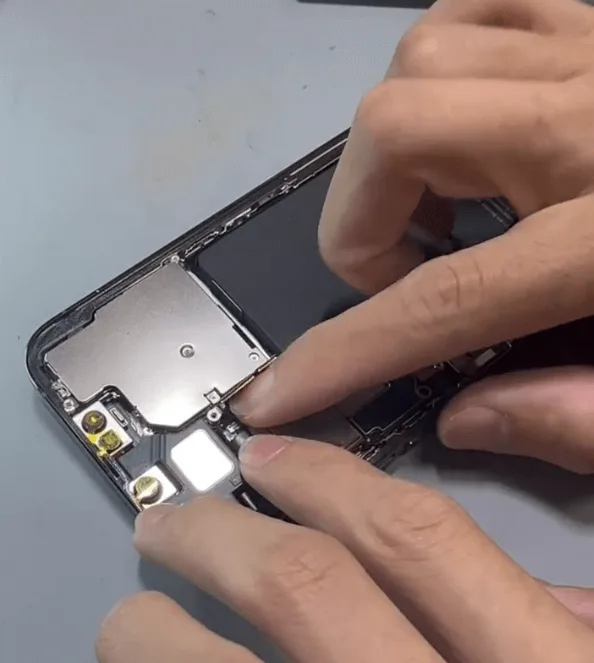
    Diode Values: Diode values refer to the measurements that indicate the health of electronic circuits. In troubleshooting, measuring these values can reveal if specific pins on the connector are “shorted” (unintended electrical connection), helping to pinpoint damaged components.
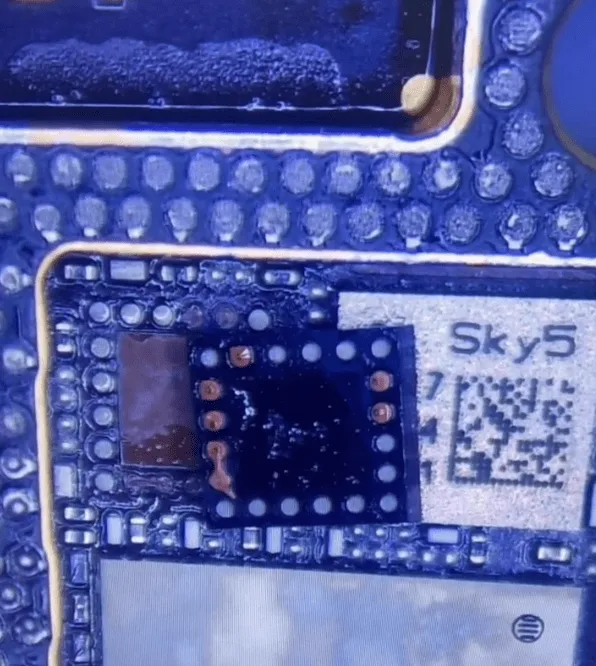
    Identify Common Causes of No Display Issues:

    Typical issues affecting the display in drop-damaged iPhones include:

    • Poor soldering between motherboard layers
    • Display PMIC damage
    • Shorted capacitors

    Inspect Capacitors with Rosin Method

    Rosin Inspection

    apply rosin on motherboard

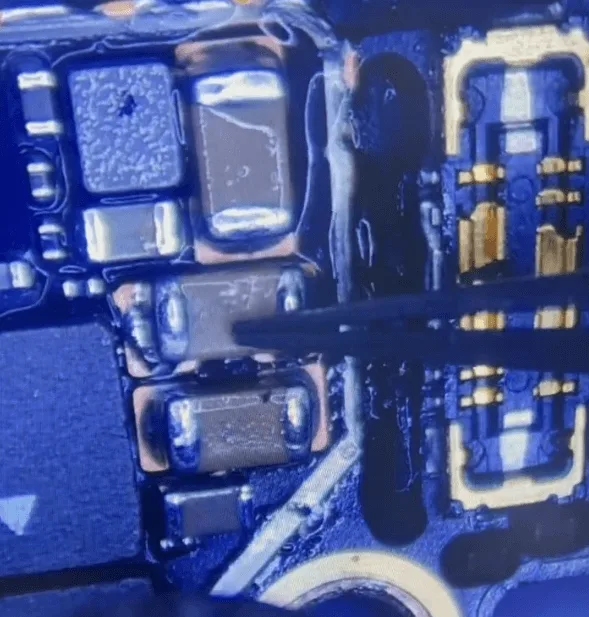
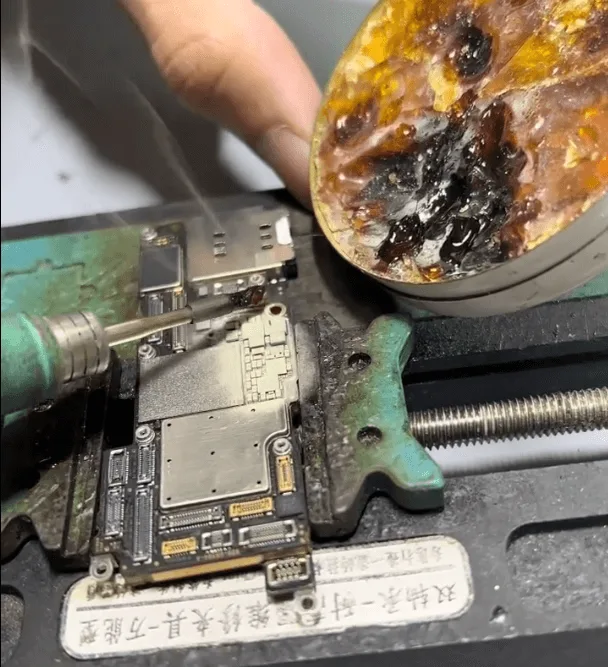
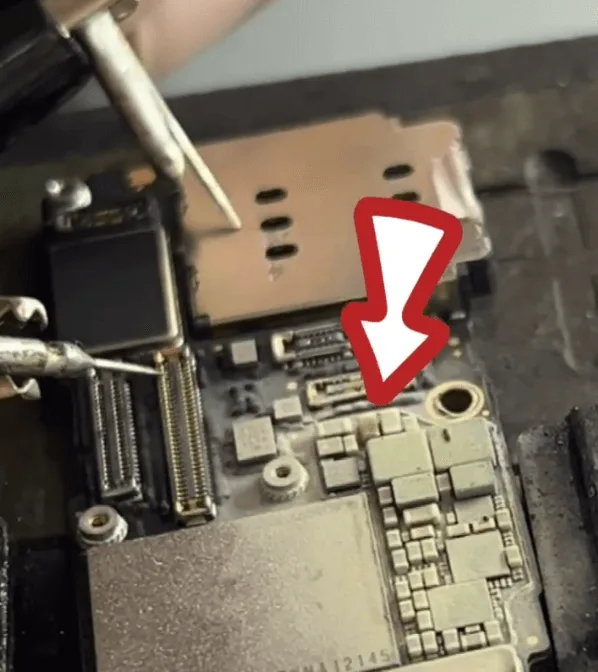
    Apply rosin to the component area, then apply voltage to the display connector. If rosin melts around a capacitor, it indicates a current draw. In this case, a shorted capacitor was located.

    What is Rosin Method?

    Rosin is a sticky substance that technicians apply to electronic components. When voltage is applied, heat generated by faulty components will melt the rosin, making it easier to locate the source of the problem. This method helps identify shorts and faults in capacitors and other small parts.

    Inspect Capacitors with Rosin Method

    Remove the Shielding Cover

    remove shielding cover

    Gently remove the shielding cover with a hot air gun and tweezers to expose the capacitors.

    Rosin Inspection

    apply rosin
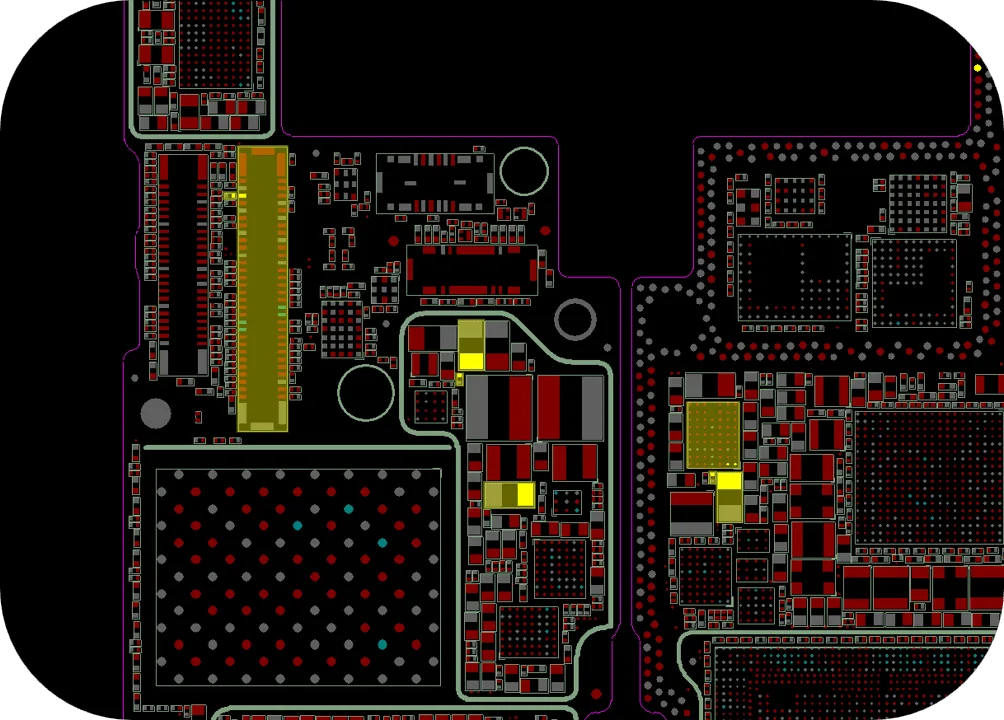
    iphone 13 pro diagram

    Apply rosin to the component area, then apply voltage to the display connector. If rosin melts around a capacitor, it indicates a current draw. In this case, a shorted capacitor was located.

    Replace the Faulty Capacitor

    • Carefully remove the shorted capacitor with a hot air gun.
    • Since a schematic for the iPhone 13 Pro isn’t available, replace it with a capacitor of similar specifications from another board.
    • Solder the replacement capacitor onto the motherboard.

    Final Assembly and Testing

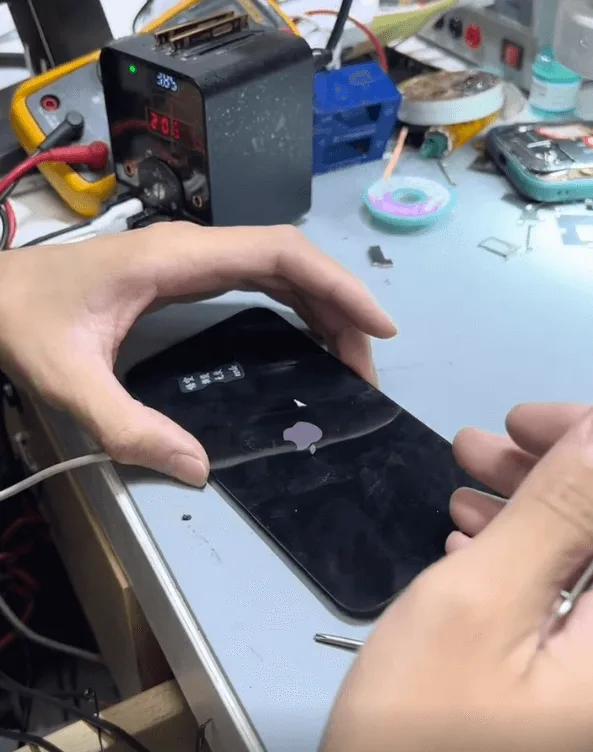
    Reassemble the phone and connect the display for a final test. The display was successfully restored, and all other functions, including Face ID, Wi-Fi, and the camera, worked as expected.

    Summary

    This repair process effectively restored the iPhone 13 Pro’s display by replacing a faulty capacitor. This method provides a reliable solution to similar no-display issues often found in drop-damaged devices.

    Tools & Parts List

  • Drop-damaged iPhone 12 Pro Repair

    Drop-damaged iPhone 12 Pro Repair

    A severely drop-damaged iPhone 12 Pro can seem beyond repair, especially when both the screen and back cover are shattered, the camera module is damaged, and worst of all, the motherboard is separated. However, for those who want to preserve their data, a motherboard chip swap is a viable solution. In this guide, we’ll walk you through the intricate repair process, ensuring the encrypted chips are transferred to a new donor motherboard successfully. Whether you’re a repair professional or a DIY enthusiast, follow along to learn the essential techniques required for motherboard-level iPhone repairs.

    Damage Assessment

    Upon receiving the iPhone 12 Pro, we identified the following issues:

    • Cracked screen and glass back cover
    • Damaged camera module
    • Separated motherboard (severely deformed with missing pads on the middle layer)
    • CPU, NAND chip, and Logic EEPROM appear intact

    The customer’s primary concern is data recovery, so a full motherboard replacement isn’t an option. Instead, we will swap the essential encrypted chips to a donor motherboard.

    broken iphone 12 pro

    Step-by-Step Repair Process

    Step 1: Motherboard Disassembly

    • Carefully disassemble the iPhone and remove the motherboard.
    • Since the motherboard is already separated due to the impact, we inspect all components to determine salvageable parts.
    Drop-damaged iPhone 12 Pro Repair

    Repair Process

    Step 2: Extracting the Encrypted Chips

    To successfully retain the user’s data, we must transfer three key components:

    • NAND chip (stores system and user data)
    • CPU (central processing unit responsible for processing tasks)
    • Logic EEPROM (important for device-specific configurations)

    Removing the NAND Chip and CPU

    • Use a special knife and a hot air gun to remove the black glue securing the NAND chip.
    • Gently lift the NAND chip and reball the pads to ensure clean and smooth connections.
    • Repeat the process for the CPU, carefully removing residual glue before reballing.

    Step 3: Soldering to the Donor Motherboard

    • Align and solder the NAND chip, CPU, and Logic EEPROM onto the donor motherboard.
    • Ensure each pad is clean and correctly positioned to avoid soldering errors.
    agin nand chip
    clean and position nand chip

    Step 4: Testing the Boot Process

    • Trigger the boot process using a signal board only to verify if the CPU and NAND chip are functioning correctly.
    • A normal boot current confirms a successful chip transfer.
    signal board

    Step 5: Wi-Fi Module Transfer for Data Backup

    Since the data backup will be performed via Wi-Fi, the original encrypted Wi-Fi module must also be swapped.

    • Heat and remove the Wi-Fi module chip.
    • Clean and reball the Wi-Fi module before soldering it onto the donor motherboard.
    wifi module chip

    Step 6: Reassembling the Motherboard

    • Use a heating platform to recombine the two layers of the motherboard.
    reassembling the motherboard

    Step 7: Final Assembly and Data Backup

    • Reassemble the iPhone and ensure all connections are secure.
    • Power on the device and connect to Wi-Fi to begin the data backup process.

    Tools & Parts Required

    Conclusion

    Successfully repairing a severely damaged iPhone 12 Pro while preserving data requires precision, expertise, and the right tools. By carefully transferring the encrypted NAND, CPU, and Logic EEPROM to a donor motherboard, the device can be restored, allowing the user to recover important data. If you’re looking to refine your repair skills further, visit REWA Academy for detailed training and advanced repair techniques.

    Stay tuned for more iPhone repair insights and professional tips from REWA!