Tag: black shark

  • How to Fix The Black Shark 5 Pro No Display

    How to Fix The Black Shark 5 Pro No Display

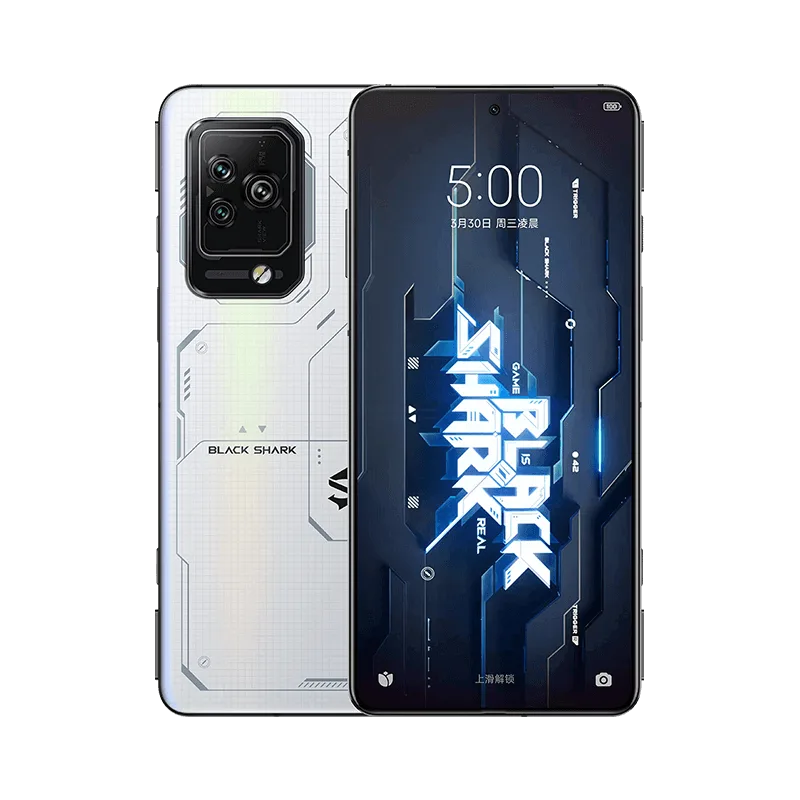
    The Black Shark 5 Pro is a high-performance gaming smartphone from Xiaomi, announced in March 2022. It features a Snapdragon 8 Gen 1 (4nm) CPU, making it a powerful device for gaming enthusiasts. This guide will walk you through troubleshooting and fixing a no-display issue, particularly when it’s caused by water damage.
    how fix black shark pro no display

    Black Shark 5 Pro Basic Information

    Announced: 2022, March 30

    CPU: Snapdragon 8 Gen 1 (4nm)

    Defect Phenomenon

    The phone won’t turn on due to water damage. However, it is hard to determine whether it is a display problem or a boot problem before checking the motherboard.

    Troubleshooting

    First, check the cosmetics of the phone carefully and it looks good, there’s no obvious sign of water or drop damage.

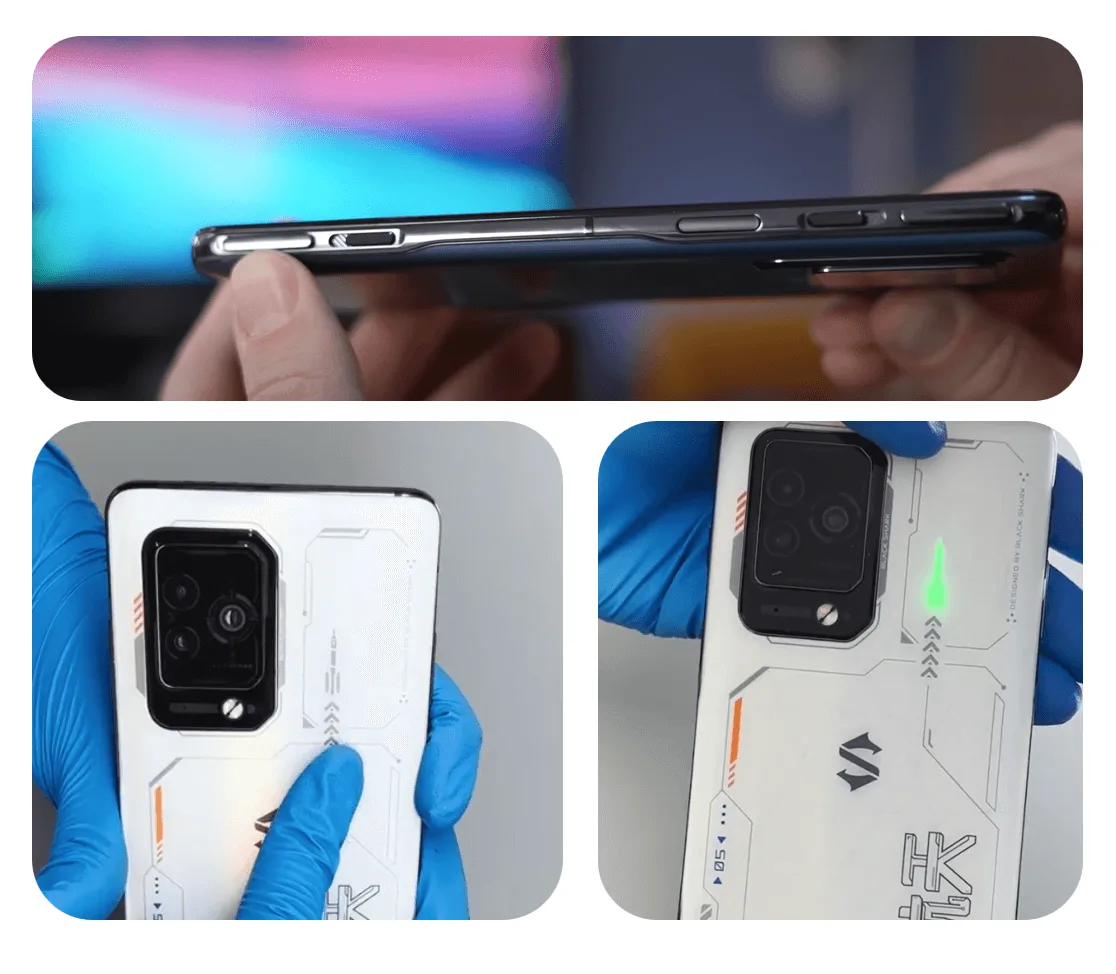
    And it is worth mentioning that there are some interesting and considerable designs, like the shoulder trigger buttons and the little glowing rocket on the back side. The details must be loved by game enthusiasts.
    how fix black shark pro no display shoulder trigger button and glowing

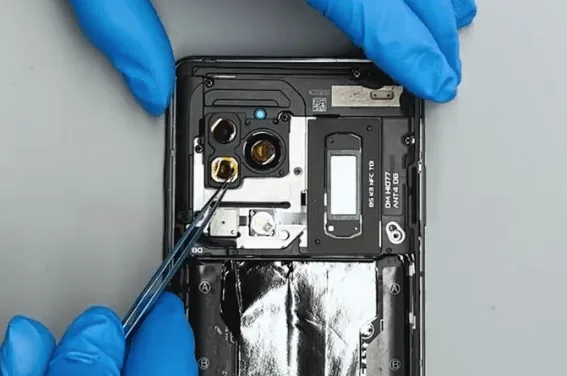
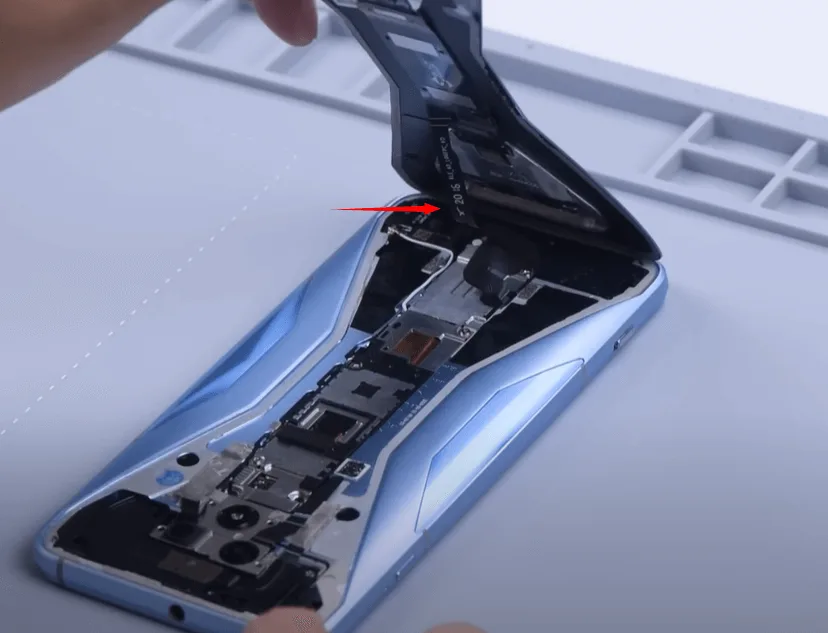
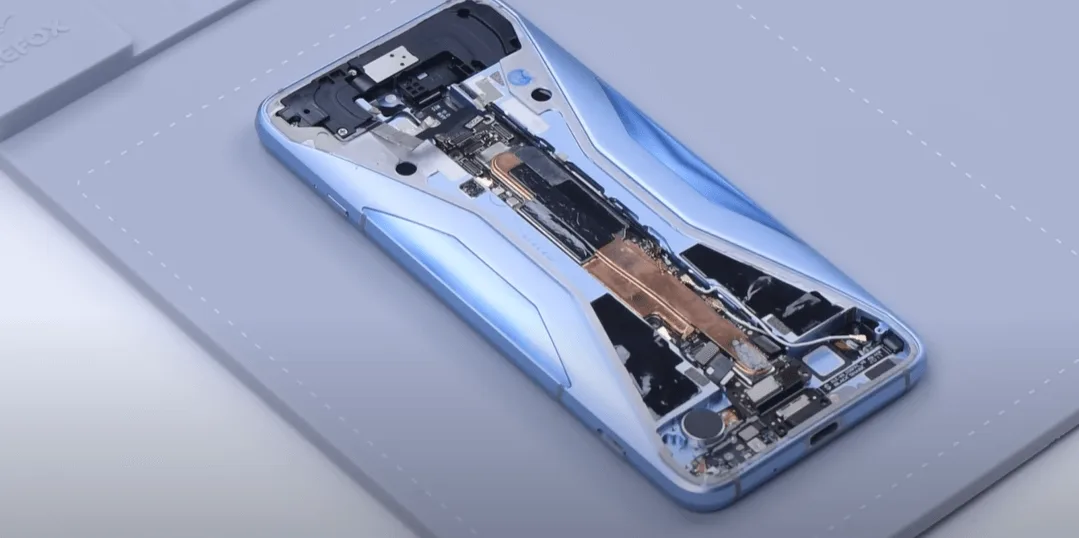
    Then let’s disassemble the phone to check the parts and motherboard inside.

    1. Place the phone on the heating pad for screen separation (heat at 90℃ for 3 minutes)
    2. Remove the back housing cover
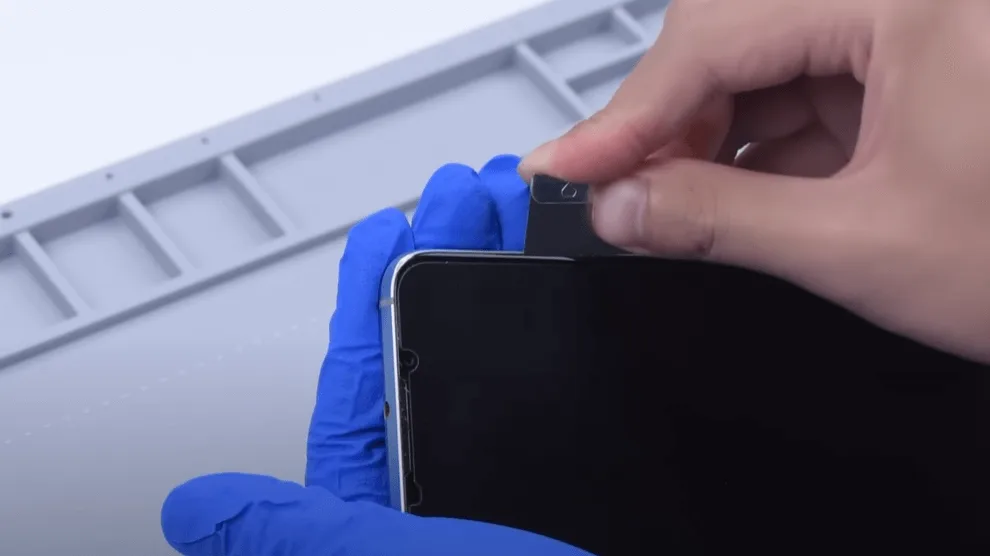
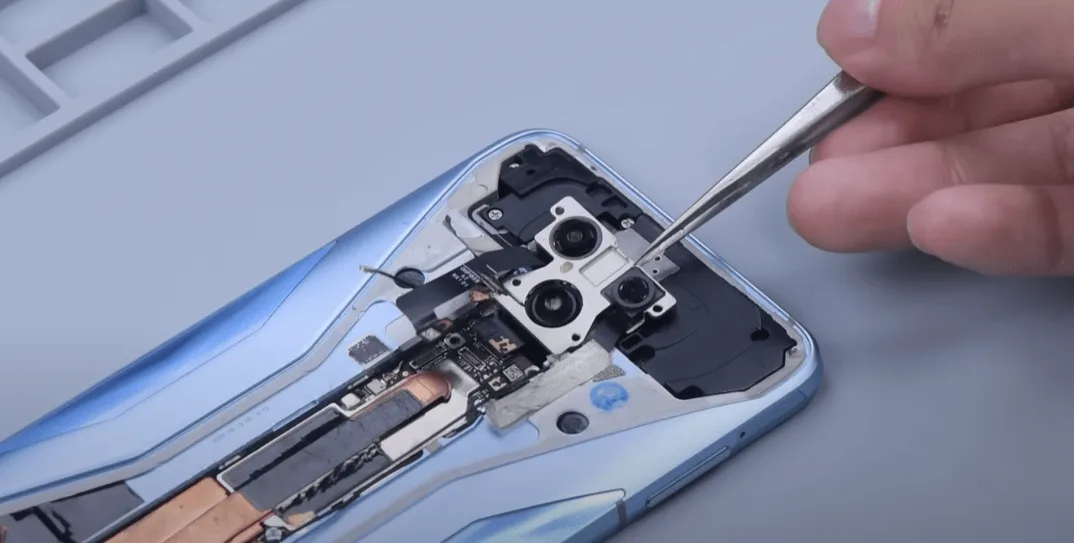
    3. Remove the screws and protect the cameras with the tape stickers
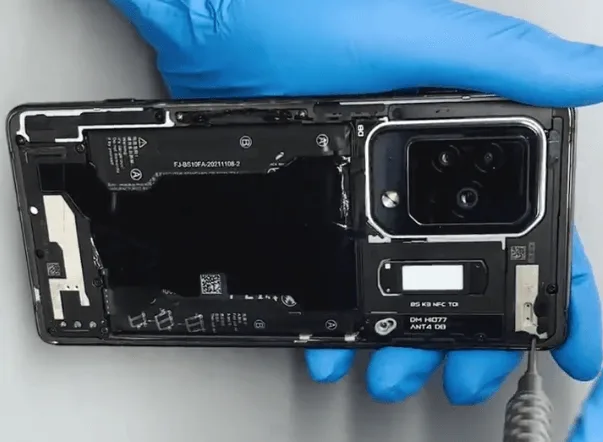
    how fix black shark pro no display remove the screws

    how fix black shark pro no display protect the cameras with tape

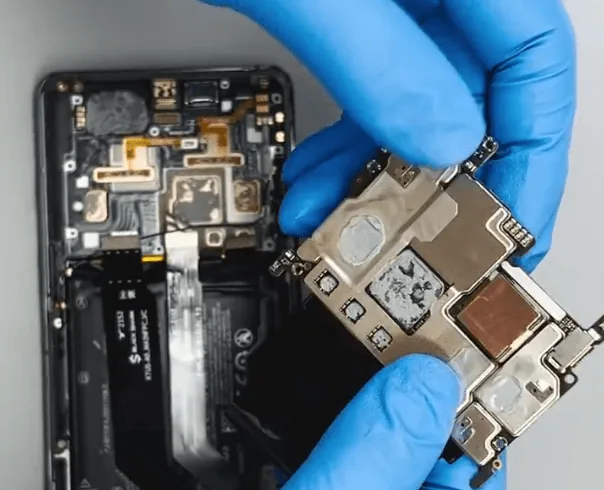
        4. Then take out the motherboard

    how fix black shark pro no display take out the motherboard

    The motherboard also looks very new and has not been repaired yet, it’s good news for the repair technician. Compare with the 2 or 3 times repaired cellphones, the phone has not been repaired with a higher success rate.

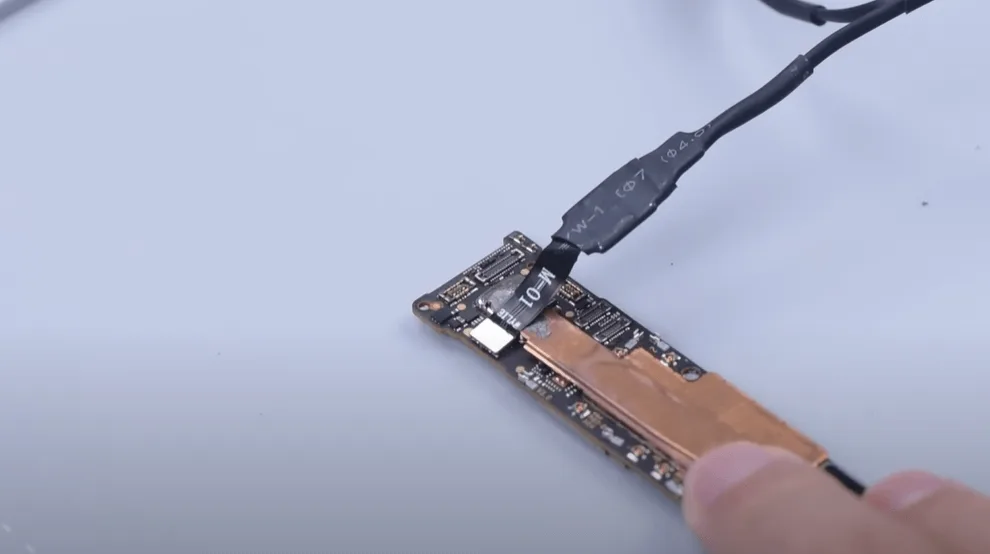
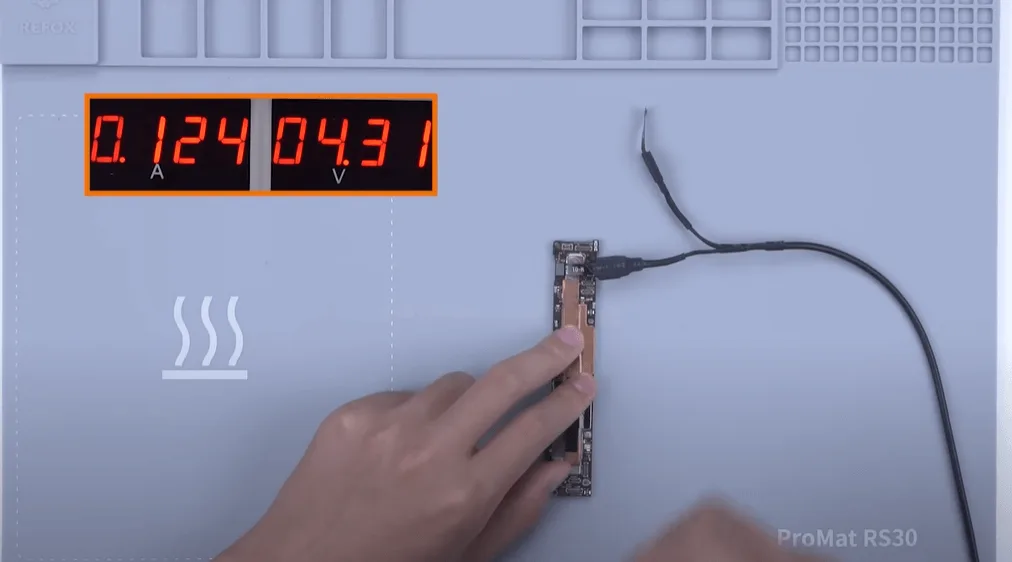
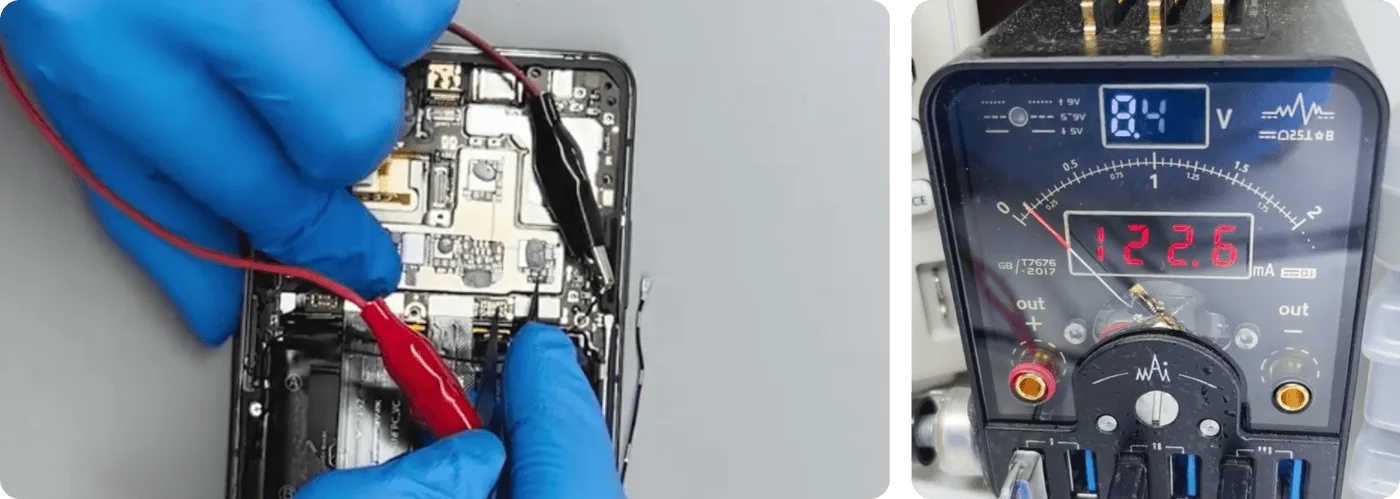
    Then connect the DC power supply machine with the motherboard, and trigger the boot process with tweezers.

    The boot current is normal, but there is no display
    how fix black shark pro no display trigger to boot

    So we can preliminarily determine that there is a problem with the display circuit.

    Repair Process

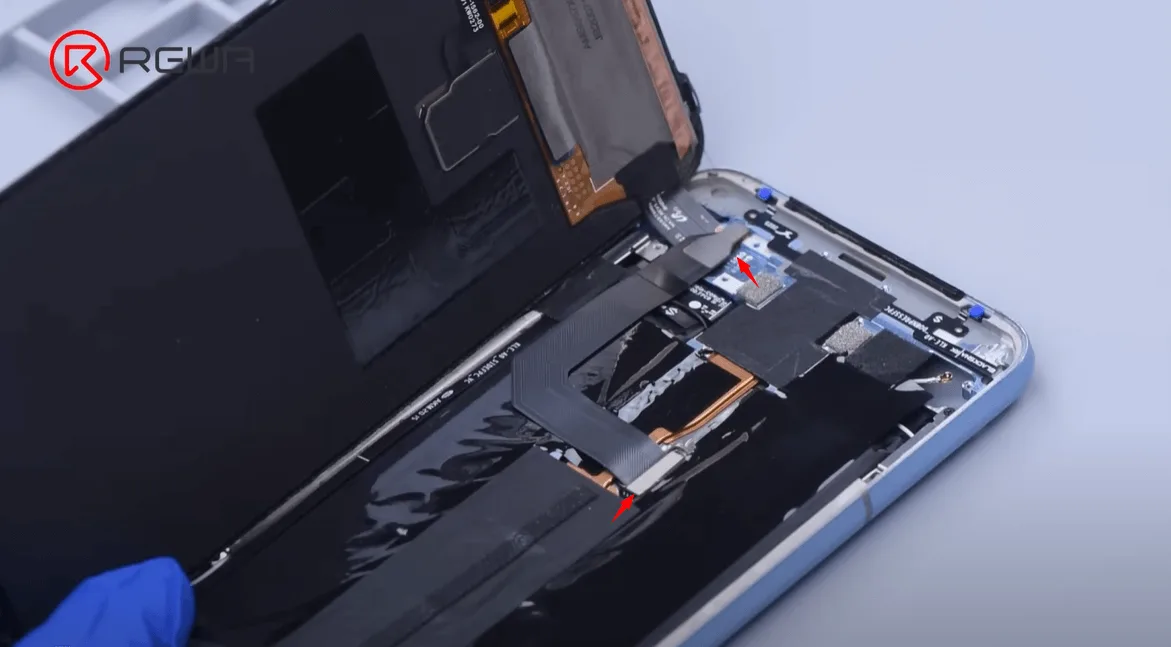
    First, let’s detach the display flex cable from the motherboard.
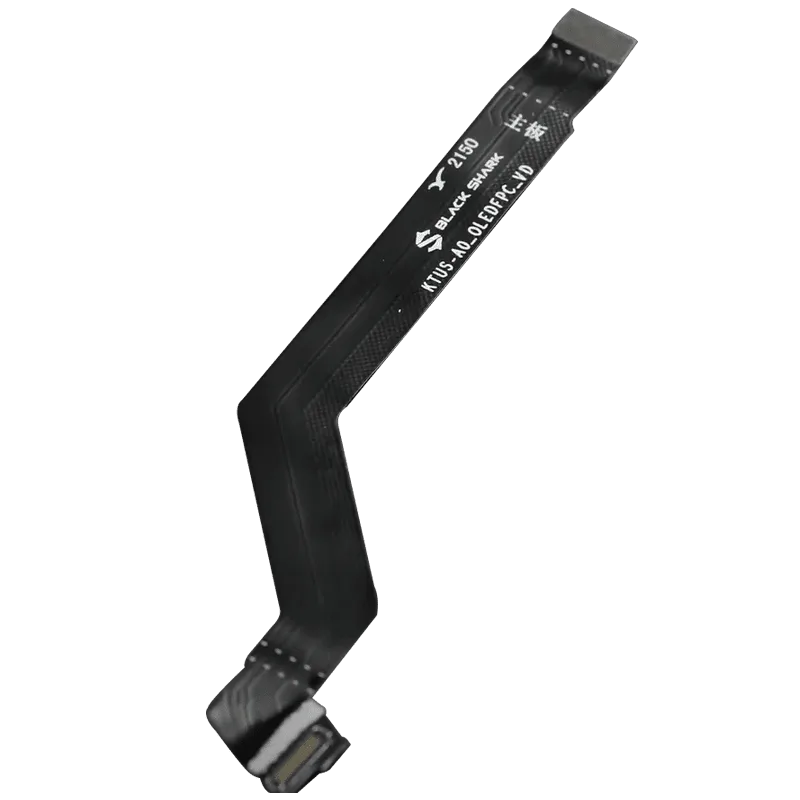
    how fix black shark pro no display flex cable png

    Then measure the diode values on the display connector which is located on the motherboard. After measuring, the diode values are OK.
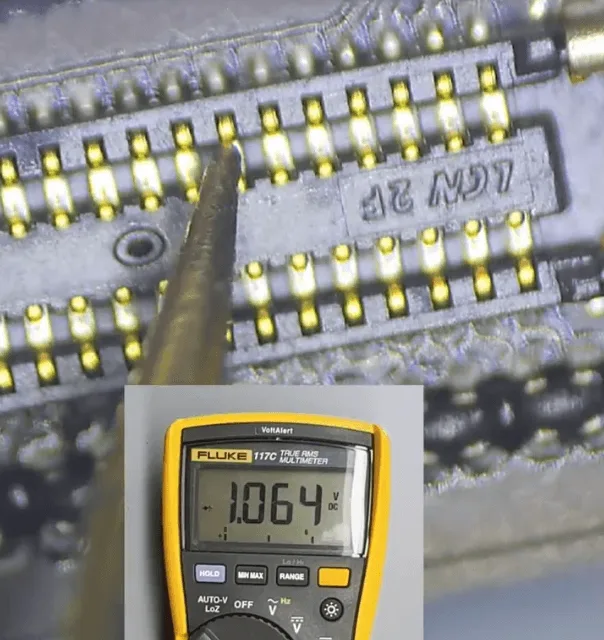
    how fix black shark pro no display connector diode value on the

    Since the diode values on the display connector are OK, there’s a lower chance the no display is caused by the motherboard. So let’s continue to check the OLEDFPC.

    Check under the microscope, there are some obvious corrosive signs on the OLEDFPC flex connector.
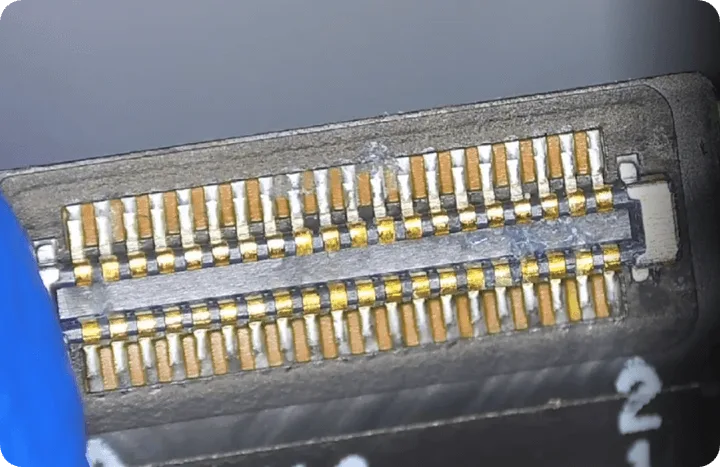
    how fix black shark pro no display corrosive signs on the flex cable

    So let’s deal with the abnormal parts first

       ● Apply a little bit of solder paste flux on the flex cable connector
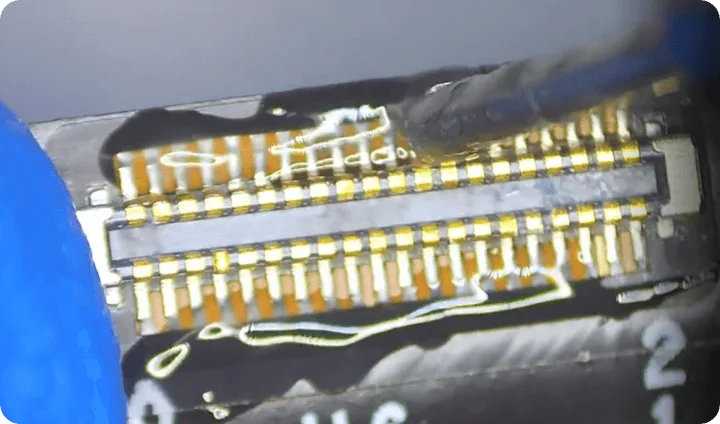
    how fix black shark pro no display apply

       ● Use the soldering iron to resolder the pins
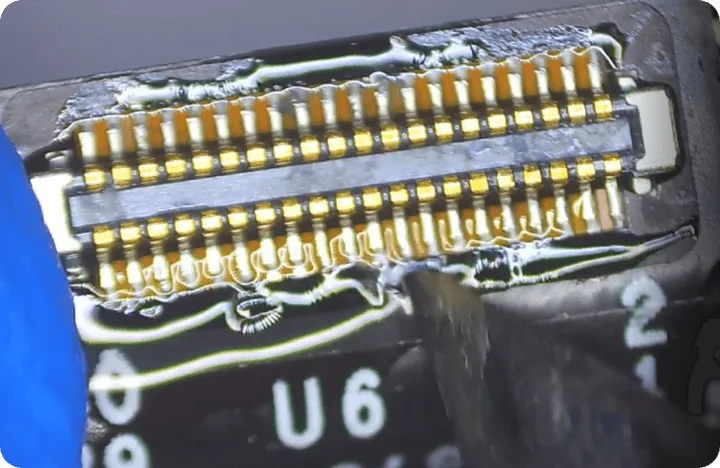
    how fix black shark pro no display use the solderin iron to resolder

    The other side of the flex cable is connected with the little board on the bottom, it’s also corrosive.

    Let’s resolder the connector 

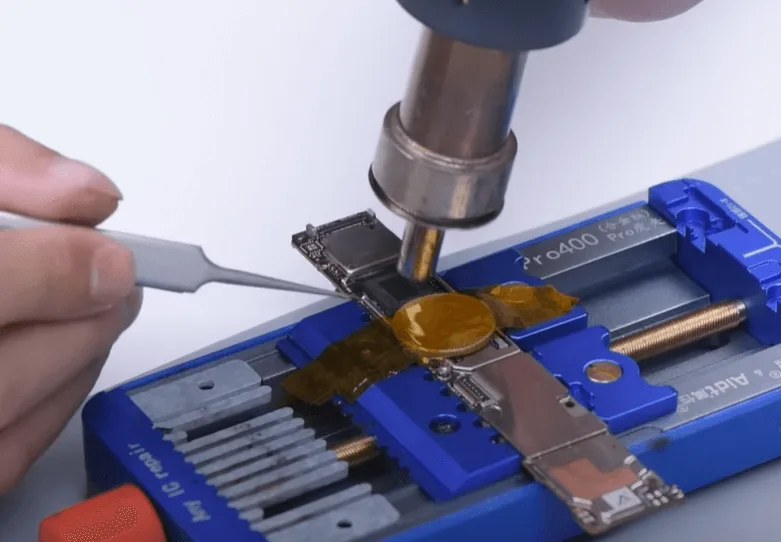
      ● 1. Hold the flex cable on the PCB holder

      ● 2. Apply a little solder paste flux then heat with the hot air gun to take off the connector

      ● 3. Deal with the pads on the flex cable with soldering iron and solder paste

      ● 4. Align the connector and heat with the hot air gun to solder the connector back to the flex cable
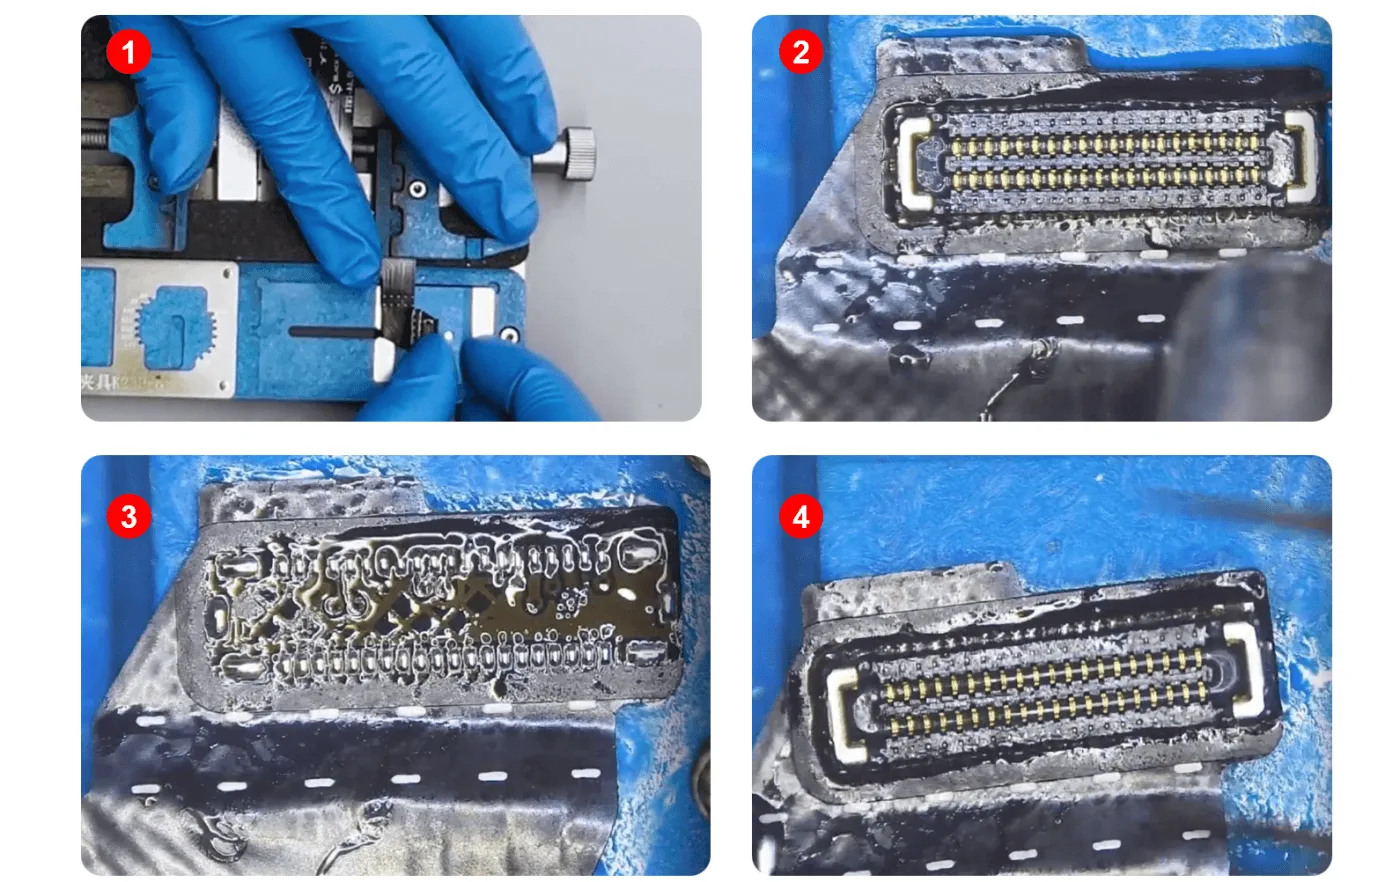
    how fix black shark pro no display resolder the connector

    For the connector on the motherboard, deal with it with the same process.
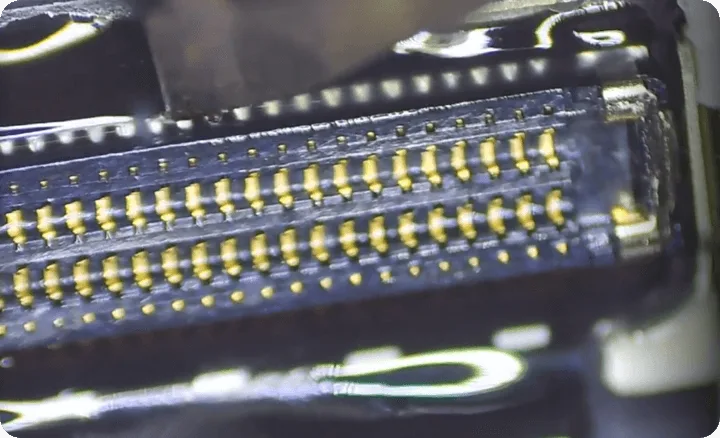
    how fix black shark pro no display the connector on motherboard

    After that, clean the connectors with PCB cleaner and assemble the phone to have a test.

    The display function is normal, other functions like charging, audio, Wi-Fi, etc. are also OK.
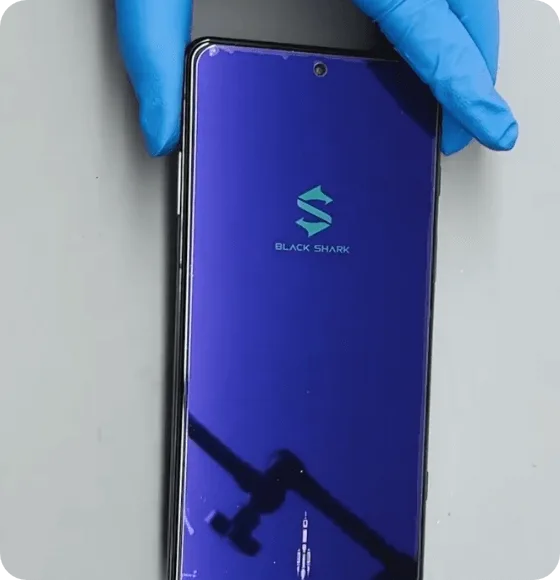
    how fix black shark pro no display the function come back to normal

    The repair is not finished yet!

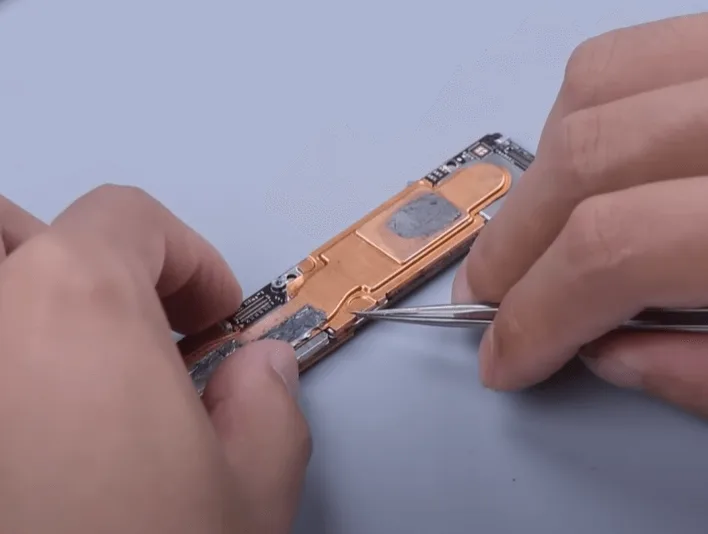
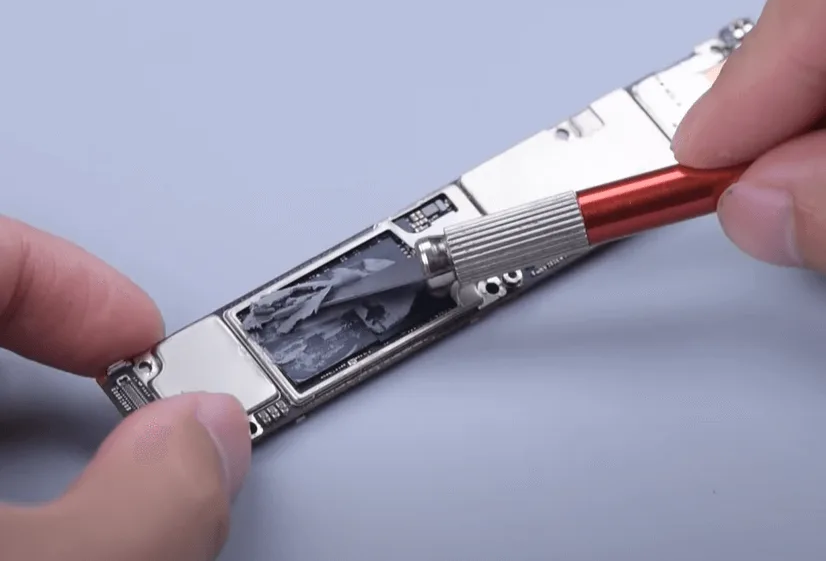
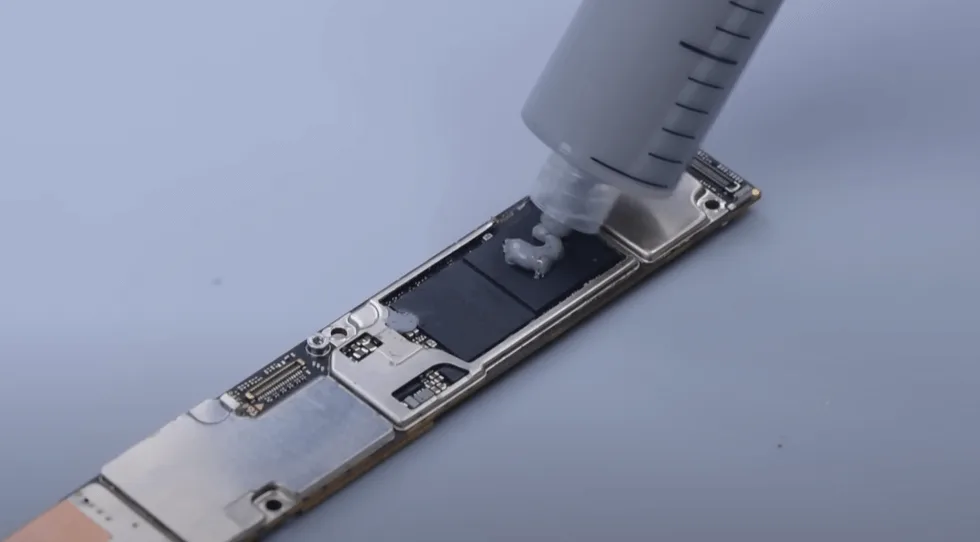
    The Snapdragon 8 Gen 1 is quite emotional and easy to get ‘angry’, so we need to apply a little bit more thermal grease on the CPU.

    With the thermal paste to cool down the CPU, the black shark will not be so hot and perform better when playing the games, and it can also extend the life of the mobile phone to some extent.
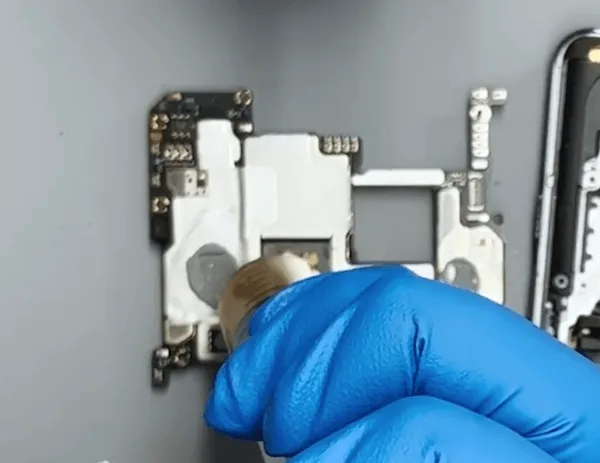
    Black Shark 5 Pro No Display

    Summary

    The no display issue gets fixed easily by resoldering the display connector on the motherboard as well as the connectors on the OLEDFPC flex cable.

    We don’t have to always focus on the motherboard when there’s a defect happens.
  • Black Shark 3 Won’t Turn On Repair

    Black Shark 3 Won’t Turn On Repair

    Are you struggling with a Black Shark 3 that just won’t turn on? You’re not alone. Many users experience the frustration of pressing the power button only to face a lifeless screen. Even plugging in the power cable fails to revive the device, leaving you feeling stuck and helpless. But don’t despair; we’ll guide you through some effective troubleshooting steps and repair techniques to bring your phone back to life. 

    black shark won turn repair

    Phone Details

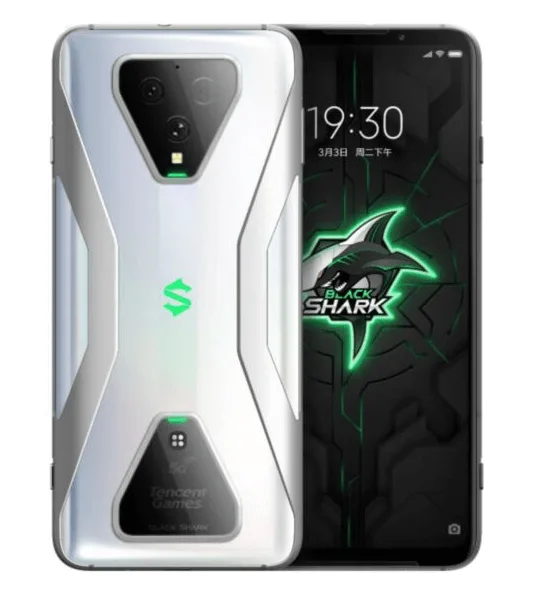
    Model: Xiaomi Black Shark 3

    Announced: 2020, March 03

    Defect Phenomenon

    The phone won’t turn on when pressing the power button. Plugging in the power cable does not help, and the phone remains dead.

    Troubleshooting Process

    Disassembly:

    • Place the phone on a heating pad set to 100℃ for 2 minutes to soften the adhesive.
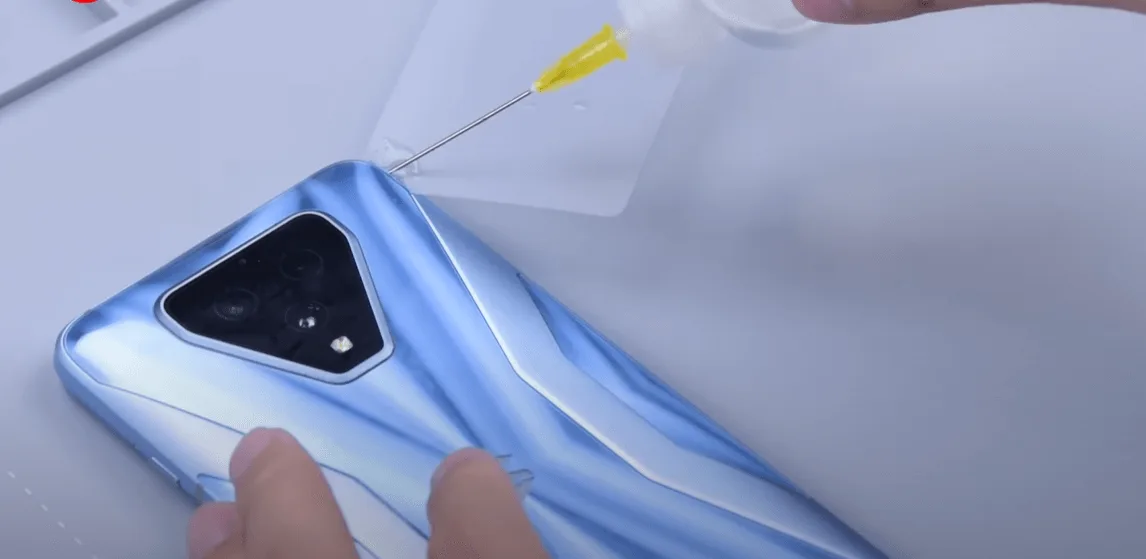
    • Insert a plastic card to separate the rear housing, adding alcohol periodically to assist with the separation.
    • Be careful not to damage the flex cable when lifting the back cover.

    Accessing the Motherboard:

    • Remove the shielding cover and screws, and disconnect the flex cable.
    • Since the motherboard is fixed to the screen with a screw, heat the screen at 100℃ for about 5 minutes.
    • Use a razor blade and plastic card to carefully separate the screen, then disconnect the flex cable to remove the motherboard.

    Testing the Motherboard:

    • Connect the motherboard to a DC power supply and trigger the boot process with tweezers.
    • Observe the boot current, which jumps between 120mA and 240mA, indicating a potential CPU soldering issue.

    Reballing the CPU:

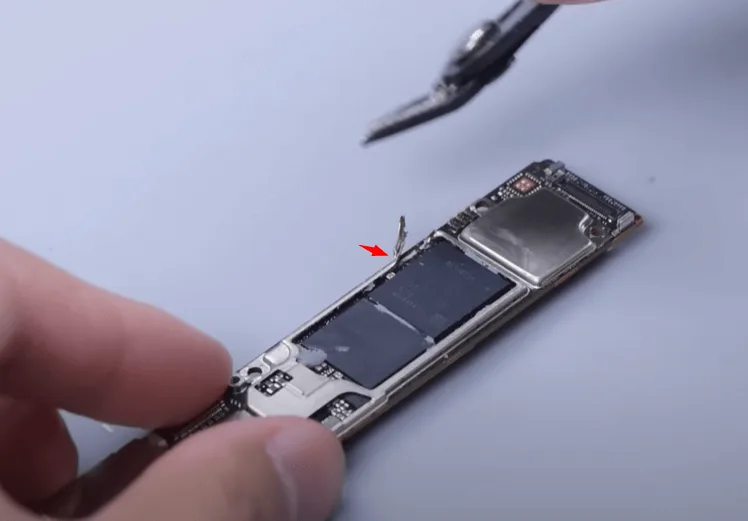
    • Remove the shielding cover and scrape off the thermal paste.
    • Cut a gap in the shielding cover to access the CPU.
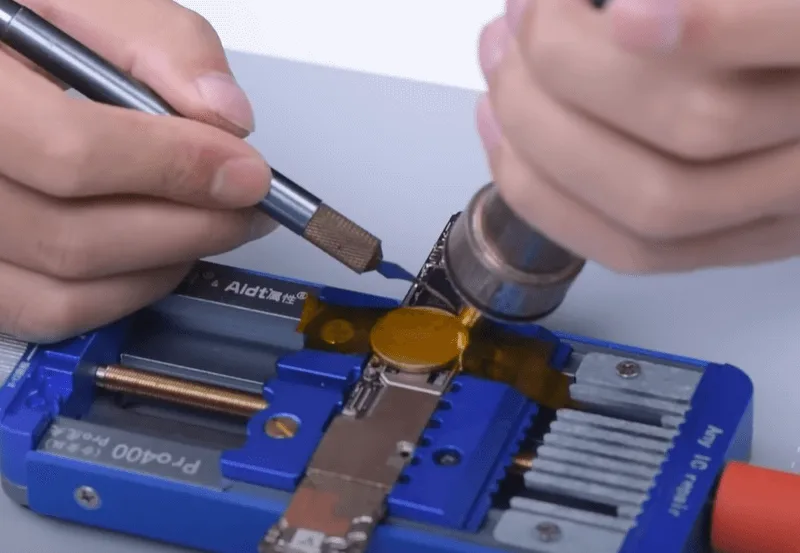
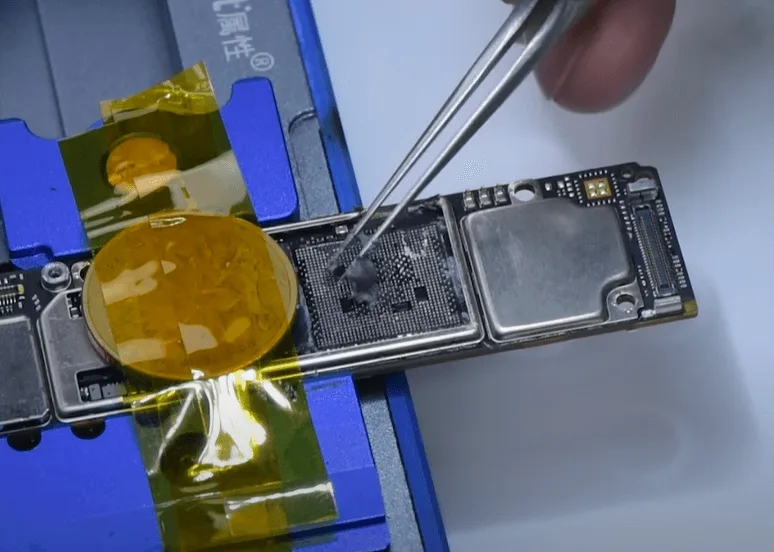
    • Fix the motherboard on a PCB holder and protect the NAND flash memory chip with high-temperature resistant tape and a coin.
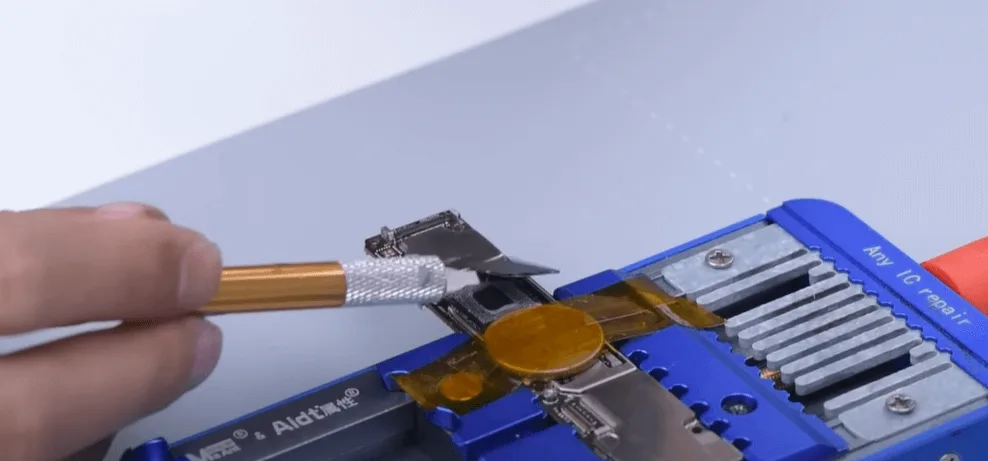
    • Remove the black adhesive around the CPU with a specified knife and hot air gun set to 300℃.
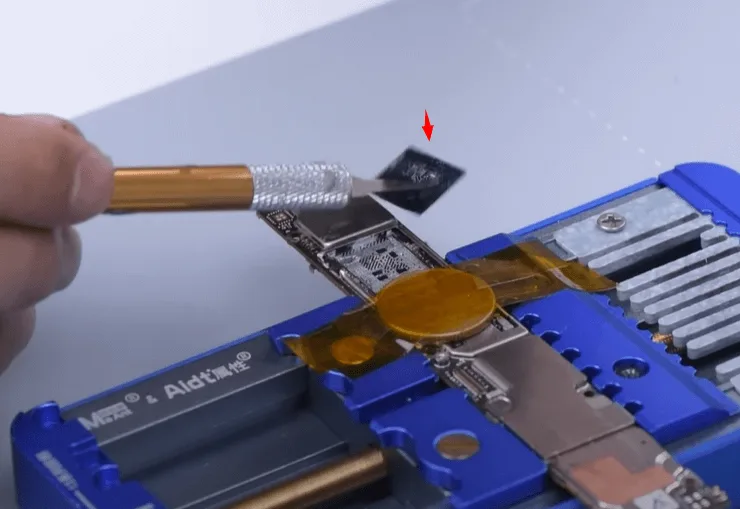
    • Heat the RAM (upper layer) at 380℃ and gently pry it up when loose. Continue heating to remove the CPU.

    Cleaning and Preparing for Reballing:

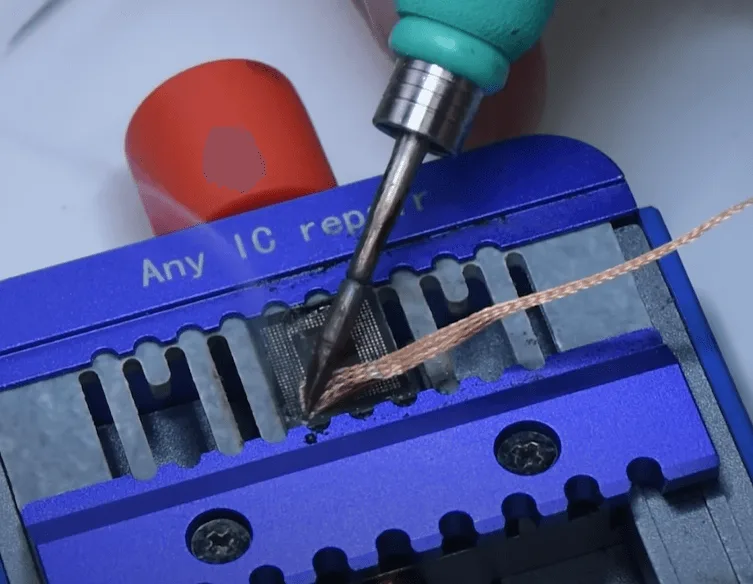
    • Apply medium-temperature solder paste to the PCB pads and neutralize with the original pads using a soldering iron set to 380℃.
    • Clean the tin on the bonding pads with solder wick until they are clean and flat.
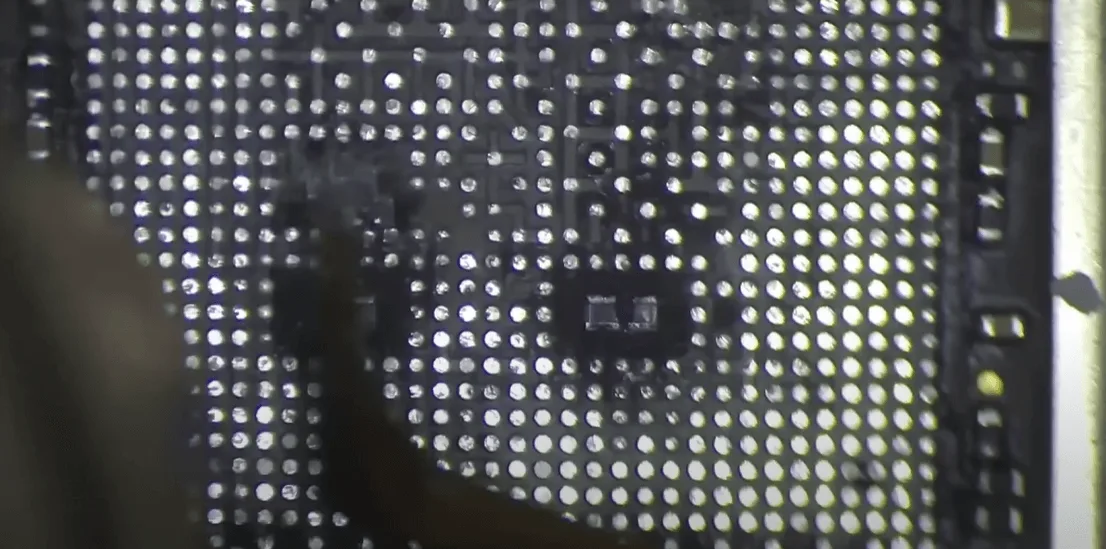
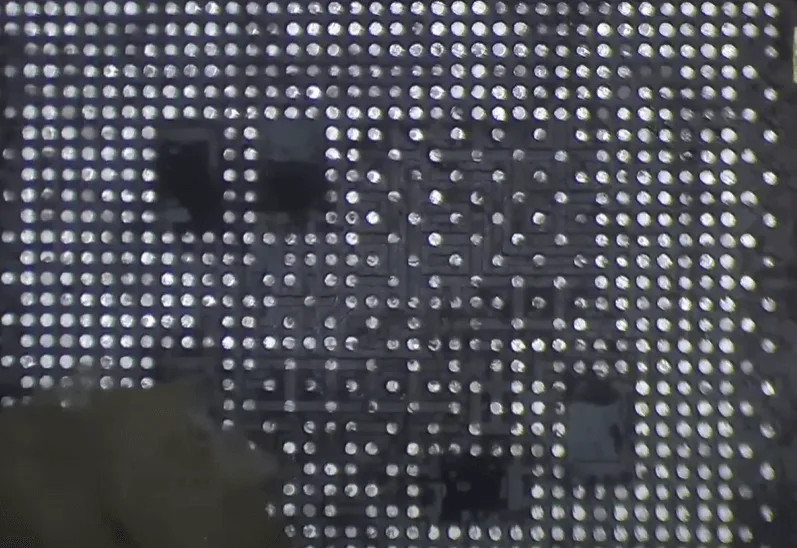
    • Remove any remaining adhesive on the PCB with a specified sculpture knife.
    • Clean the CPU core chip and RAM chip using the same method: neutralize the tin, clean with solder wick and hot air gun, and remove adhesive.

    Reballing the CPU and RAM:

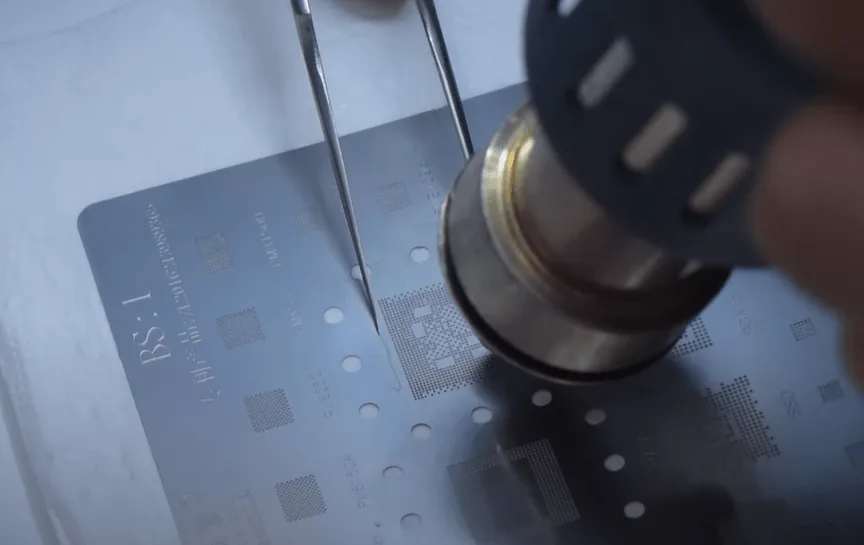
    • Use a stencil and medium-temperature solder paste to form solder balls on the CPU and RAM.
    • Apply solder paste flux on the PCB and align the CPU to its proper location.
    • Solder the CPU with a hot air gun set to 350℃ and airflow at 100. Gently touch the CPU with tweezers to ensure it is properly positioned.
    • Repeat the process to resolder the RAM.

    Final Assembly and Testing:

    • Apply thermal paste on the CPU surface and reattach the shielding cover.
    • Reassemble the motherboard, install a good screen, and press the power button to boot the phone.
    • Confirm that the phone turns on and functions normally.

    Summary:

    The Black Shark 3’s inability to turn on was resolved by reballing the CPU. After the process, the phone was successfully booted, and all functions were tested to be working correctly.