Tag: apple watch 3

  • Remove Scratches from iPhone 12 & Apple Watch 3 with REFOX Grinding & Polishing Machine

    Remove Scratches from iPhone 12 & Apple Watch 3 with REFOX Grinding & Polishing Machine

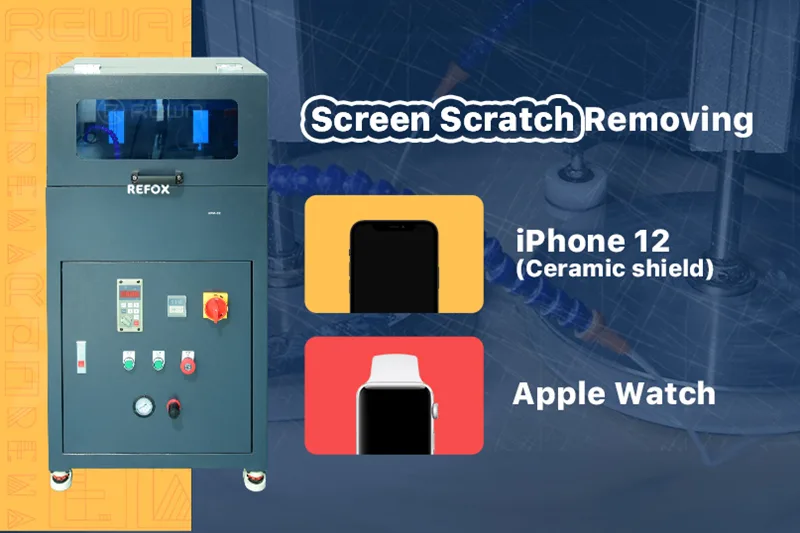
    The REFOX Grinding and Polishing Machine, newly selected by REWA, has quickly become a favorite among phone refurbishers and repair technicians worldwide. Its powerful grinding capabilities and impressive efficiency make it the go-to tool for refurbishing devices like the iPhone 12 and Apple Watch. In this guide, we’ll walk you through how to use the REFOX machine to remove scratches and restore your devices to like-new condition.

    Testing the Devices

    Before starting the refurbishment process, it’s important to test the display and touch functionality of both the iPhone 12 and the Apple Watch.
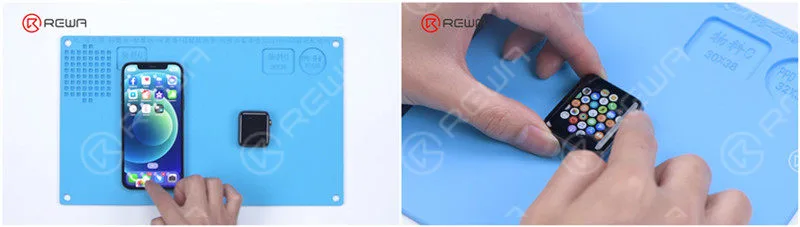
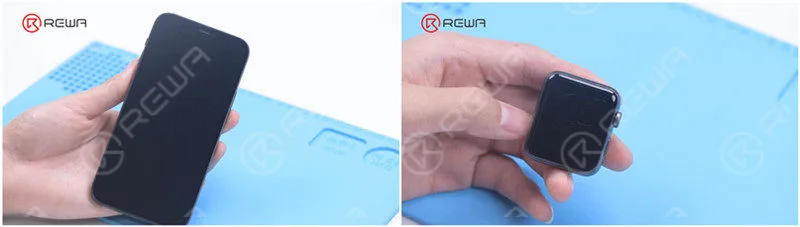
    Test the display and touch of the phone. All going well. Test the display and touch of the Apple Watch. The watch functions normally.
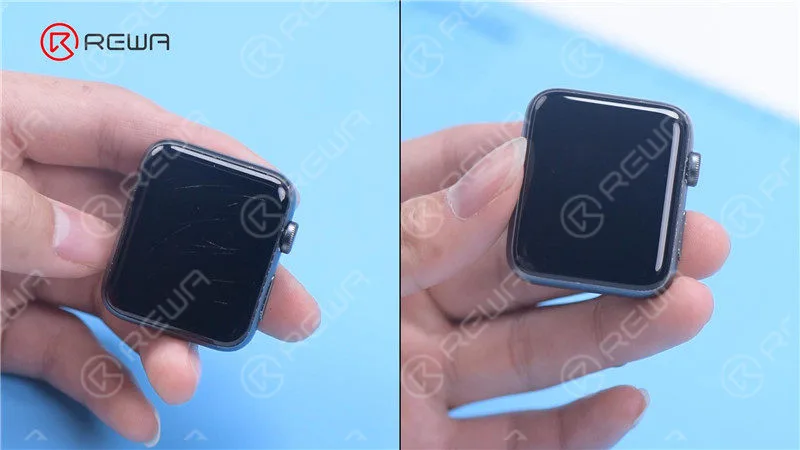
    There are obvious scratches on the phone and Apple Watch.

    In our case, both devices were functioning properly, despite having obvious surface scratches.

    Waterproofing

    The first step in refurbishing these devices is waterproofing. This is crucial to avoid water damage during the grinding and polishing process.
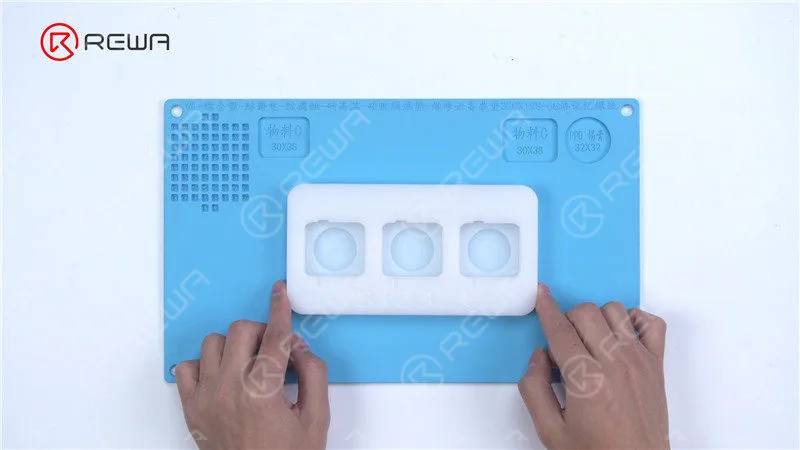
    Get the special mold for Apple Watch. The mold can grind and polish three watches at the same time.

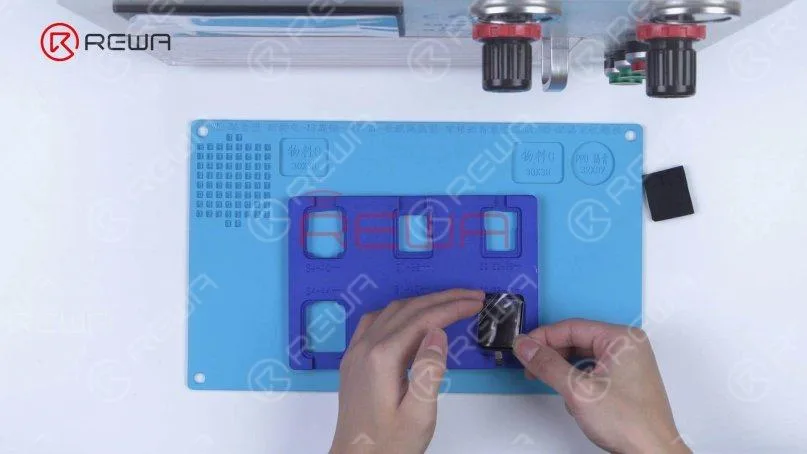
    Apple Watch Mold: Use the special mold that can hold three Apple Watches at a time. The phone and watch should be securely placed in their respective molds.
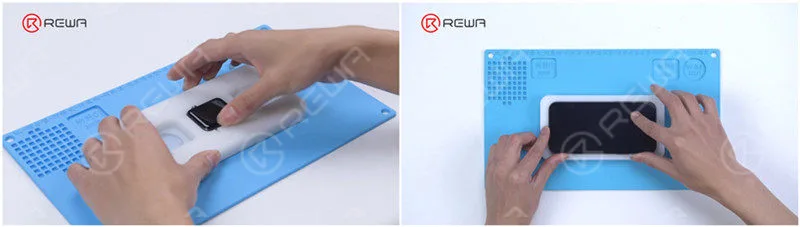
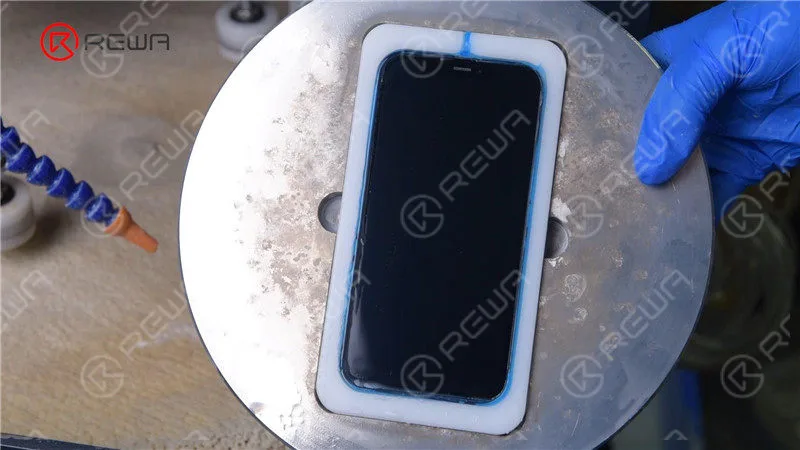
    Put the phone and watch into the mold respectively and prepare for waterproofing.

    Automatic Adhesive Dispenser: Waterproofing is the most important step for refurbishing electronic devices with the grinding and polishing machine. If waterproofing is not done well, it may lead to water damage to the device. In the last article, our technicians were applying waterproof adhesive manually. To improve refurbishment efficiency and reduce operation difficulty, REWA recommends a fully automatic adhesive dispenser for you.
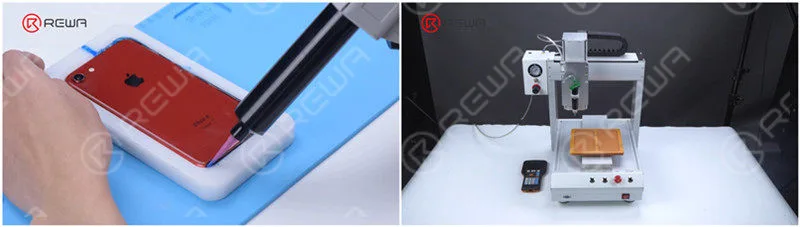
    automatic adhesive dispenser

    Attach the molds to the platform. The first time you use the dispenser, you need to draw the drawing of the corresponding mobile phone models.
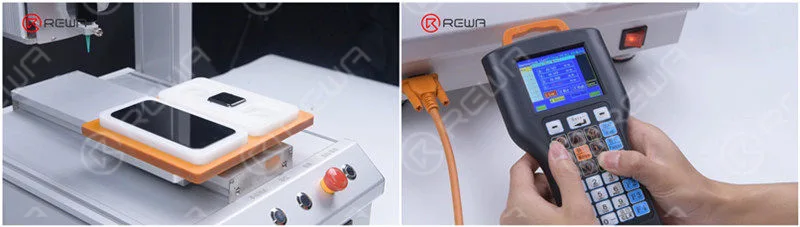
    automatic adhesive dispenser

    It is convenient that the drawing can be saved for direct usage. Click reset after the drawing has completed. The dispenser returns to the starting point. Then we press the start button and begin dispensing adhesive.
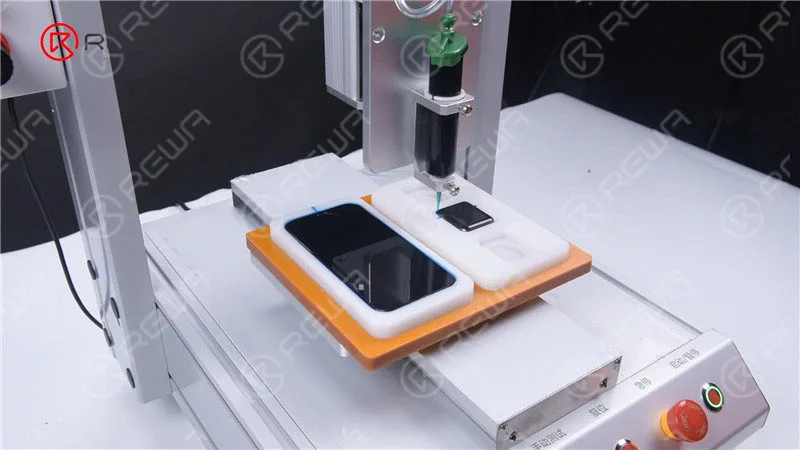
    automatic adhesive dispenser

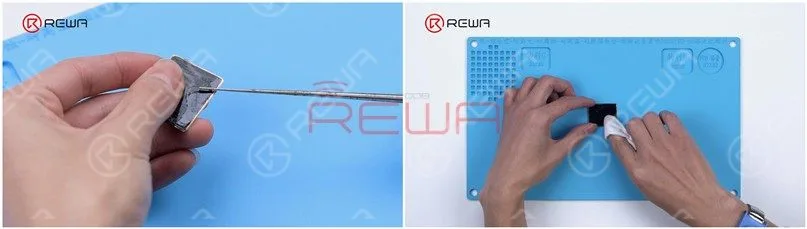
    Please scrape the adhesive on the receiver with a blade. After the adhesive has been cured by a UV Lamp, we can put the mold plates into the grinding and polishing machine.
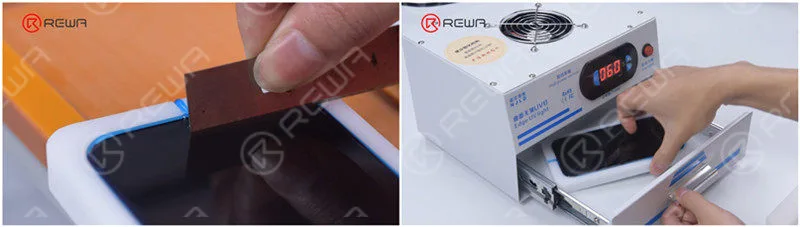
    Please scrape the adhesive on the receiver with a blade. After the adhesive has been cured by a UV Lamp, we can put the mold plates into the grinding and polishing machine.

    Grinding and Polishing

    Now that the devices are waterproofed, it’s time to start the grinding and polishing process:

    Since the scratches on the watch and phone are deep, we set the grinding and polishing time for 12 minutes. Press the start and reset button. The machine begins to work
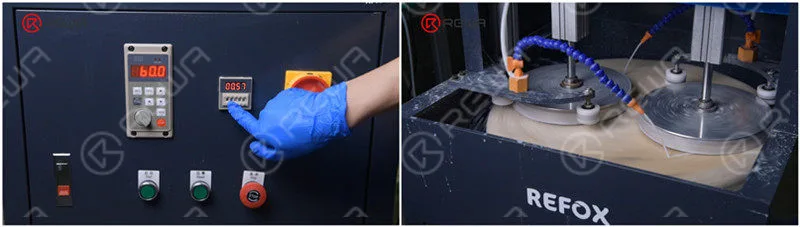
    iPhone 12 (Ceramic Shield) and Apple Watch 3 Scratches Removing By Grinding & Polishing

    After the first grinding and polishing, the Apple Watch with deep scratches has been refurbished successfully but there are still some small scratches on the iPhone 12.

    The scratches are completely gone after the second grinding and polishing. It can be seen that iPhone 12 takes longer to remove the same scratches than other iPhone series.
    After the first grinding and polishing, the Apple Watch with deep scratches has been refurbished successfully but there are still some small scratches on the iPhone 12.  The scratches are completely gone after the second grinding and polishing. It can be seen that iPhone 12 takes longer to remove the same scratches than other iPhone series.

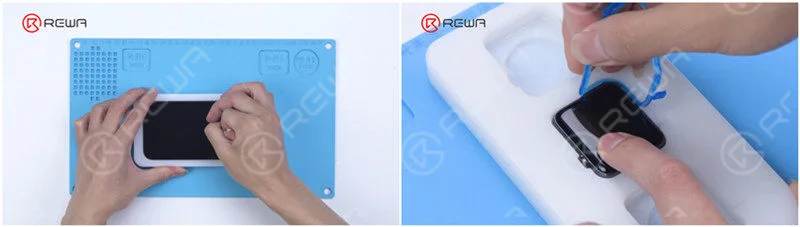
    Then we peel off the waterproof adhesive of the phone. Since there are less adhesive on the receiver, we need to apply adhesive again and solidify it to make it fall.
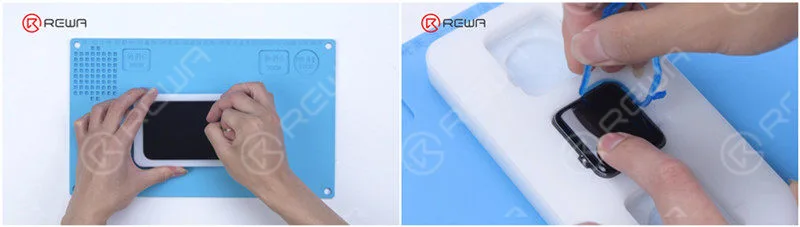
    Then we peel off the waterproof adhesive of the phone. Since there are less adhesive on the receiver, we need to apply adhesive again and solidify it to make it fall.

    Take out the phone with a suction cup.Remove the waterproof adhesive of the Apple Watch. The scratches are gone.
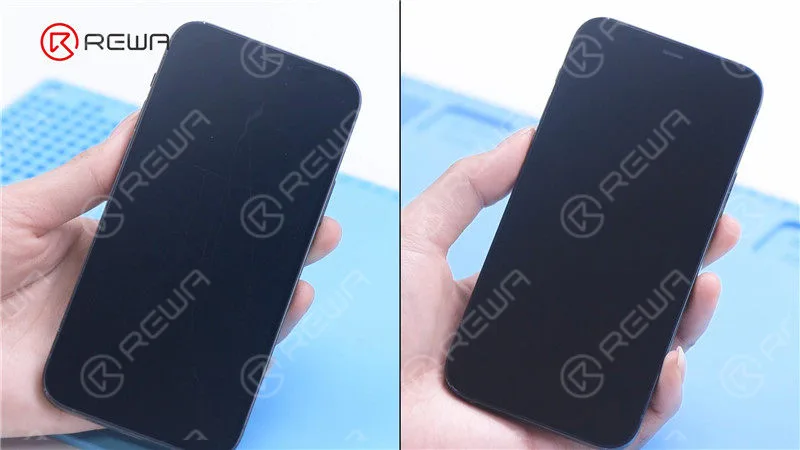
    Take out the phone with a suction cup.Remove the waterproof adhesive of the Apple Watch. The scratches are gone.
    Take out the phone with a suction cup.Remove the waterproof adhesive of the Apple Watch. The scratches are gone.
    Take out the phone with a suction cup.Remove the waterproof adhesive of the Apple Watch. The scratches are gone.

    Testing

    Turn on the phone and watch to test. The watch and the phone work fine.
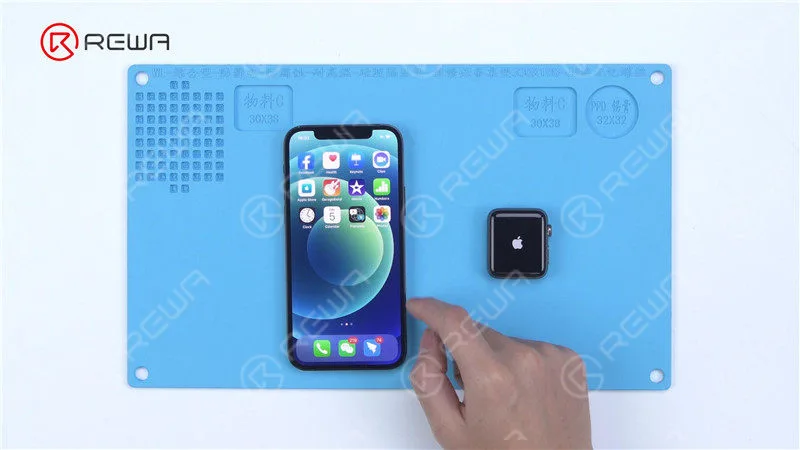
    Turn on the phone and watch to test. The watch and the phone work fine.

    Hydrophobic Effect

    Then we add hydrophobic effect to the screen. Coat the screen with Oleophobic Coating and apply evenly. Solidify with a UV Lamp.
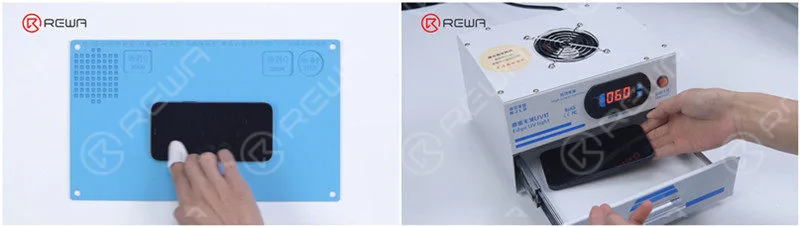
    Then we add hydrophobic effect to the screen. Coat the screen with Oleophobic Coating and apply evenly. Solidify with a UV Lamp.

    The screen of the watch and phone has now regained the hydrophobic effect.
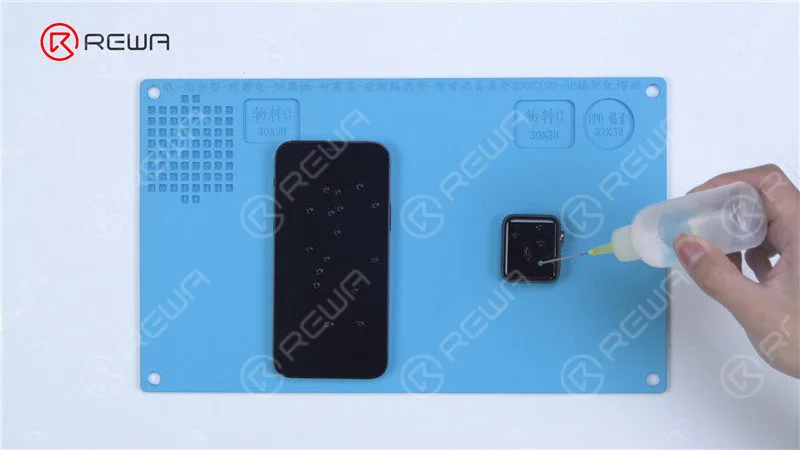
    The screen of the watch and phone has now regained the hydrophobic effect.

    The iPhone 12 and Apple Watch have been refurbished successfully.

    Summary

    The scratches on iPhone 12 have become more difficult to remove than previous models because of the ceramic shield. Nonetheless, the grinding and polishing machine managed to remove the scratches with high efficiency. Furthermore, the machine gave full of its talent by successfully removing scratches on an Apple Watch. Without a doubt, the grinding and polishing machine will be your first choice if you want to carve a place in the refurbishment industry.

    To put in more specifically, the old way to refurbish the screen is to replace the front glass, which is not only difficult but also costly. Therefore, the emergence of the polishing and grinding machine can greatly improve the efficiency of refurbishment and reduce the refurbishment cost effectively. Moreover, the operation is relatively simple.

    The efficiency of the grinding and polishing machine is of paramount concern. There are currently three kinds of hot-selling grinding and polishing machine. One is the machine from the video that can grind and polish four phones simultaneously. The other two can grind and polish two and eight phones at the same time. You can choose the right model according to your workload. REWA offers a complete screen and back glass refurbishment solution, which includes all tools and supplies. If you need the grinding and polishing machine, you can contact us to learn more about the details.

    Watch the full video below to see how we remove iPhone 12 and Apple Watch scratches by grinding and polishing.
  • Apple Watch Series 3 Glass Replacement

    Apple Watch Series 3 Glass Replacement

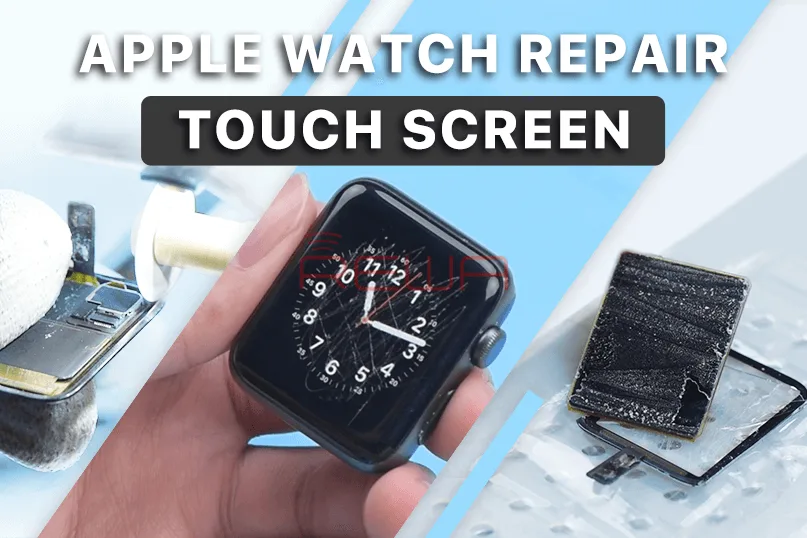
    As a wearable device launched by Apple, the Apple Watch product line market shipments and share are growing day by day. The demand for screen replacement and battery replacement has accordingly increased. Since the price of the display assembly and other parts is very high, REWA LAB will show you how to replace the glass of the Apple Watch Series 3. The solution will be more economical than the replacement of the display assembly.

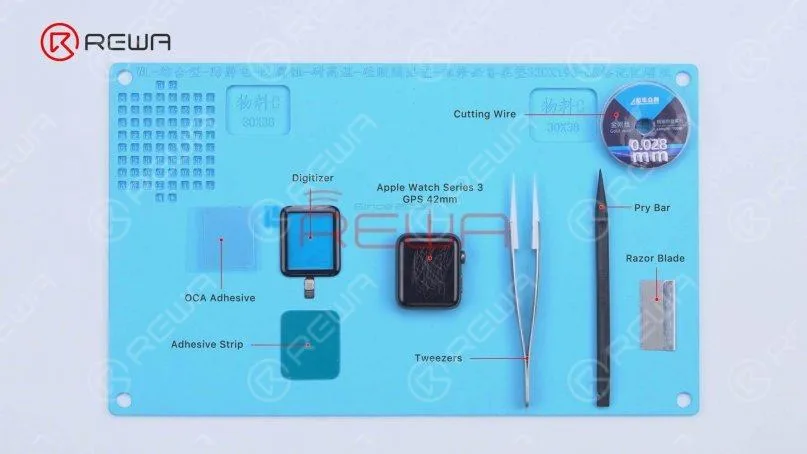
    The tools and supplies needed are digitizer, OCA adhesive, adhesive strip, cutting wire, tweezers, pry bar, and razor blade.

    The tools and supplies needed are digitizer, OCA adhesive, adhesive strip, cutting wire, tweezers, pry bar, and razor blade.

    Screen Testing

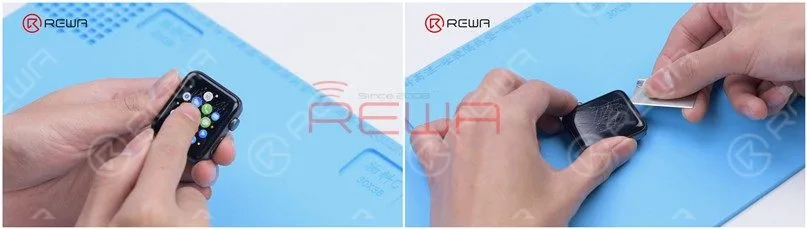
    First of all, test the screen. The touch, display, and Force Touch function well. Turn the watch off and pry the screen open with a Razor Blade slowly.
    First of all, test the screen. The touch, display, and Force Touch function well. Turn the watch off and pry the screen open with a Razor Blade slowly.Lift the screen. Please pay attention to the screen flex cables to avoid damage. It can be seen that three flex cables are connected to the motherboard.
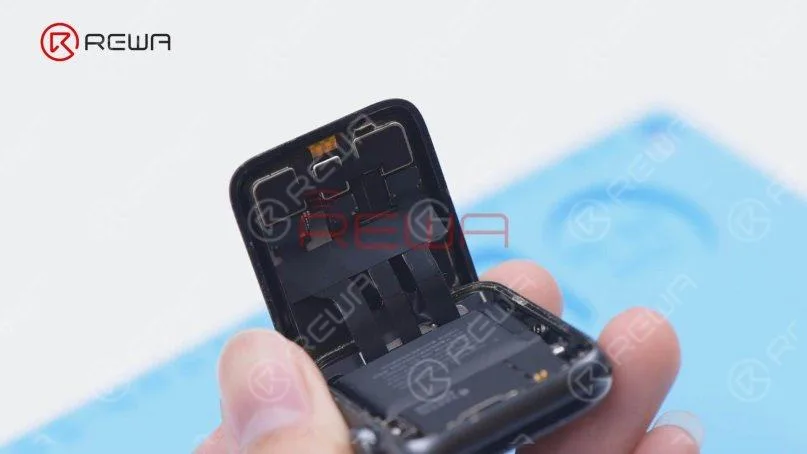
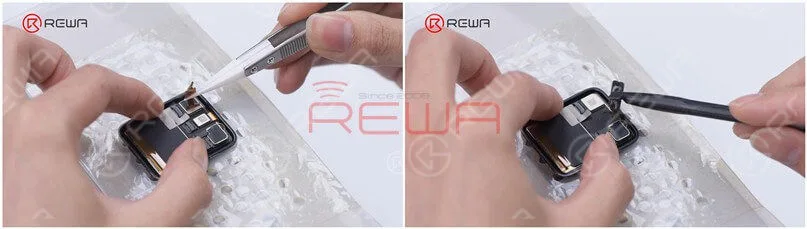
    Lift the screen. Please pay attention to the screen flex cables to avoid damage. It can be seen that three flex cables are connected to the motherboard.Peel off the tape covering the display flex cables with tweezers. Please do not damage the flex cables while peeling off. Then disconnect the flex cables.
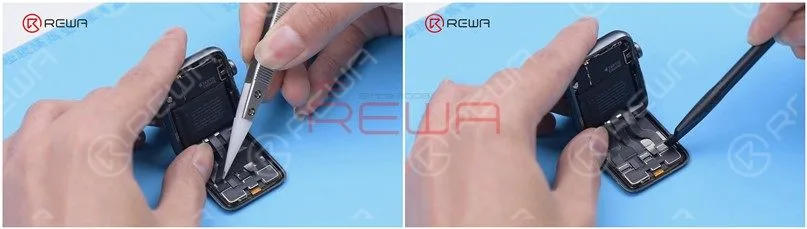
    Peel off the tape covering the display flex cables with tweezers. Please do not damage the flex cables while peeling off. Then disconnect the flex cables.

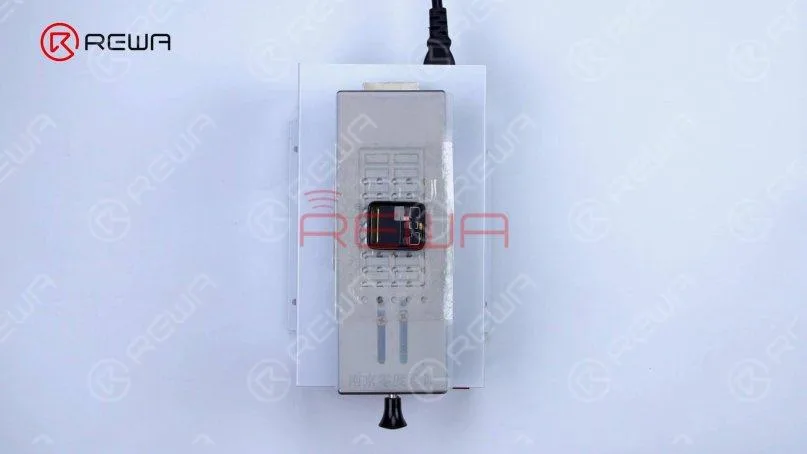
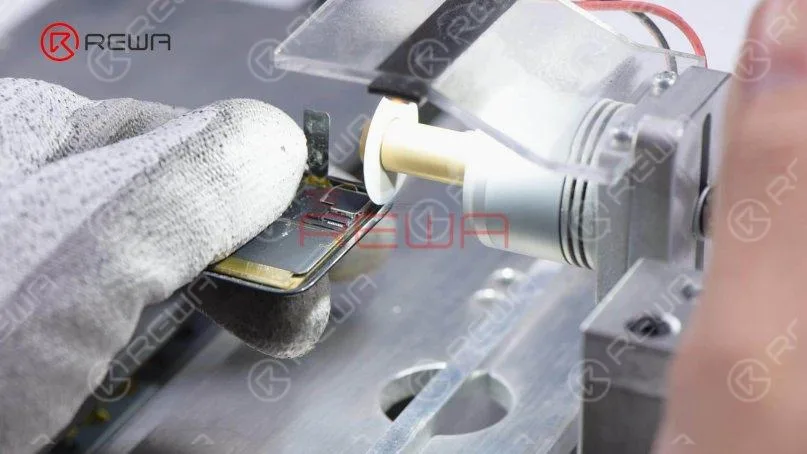
    Next, we need to pry up the connector of the touch flex cable. Put the screen on the Heating Platform at 120℃ for 30 seconds. After heating, peel off the tape with tweezers and pry up the connector.

    Next, we need to pry up the connector of the touch flex cable. Put the screen on the Heating Platform at 120℃ for 30 seconds. After heating, peel off the tape with tweezers and pry up the connector.
    Next, we need to pry up the connector of the touch flex cable. Put the screen on the Heating Platform at 120℃ for 30 seconds. After heating, peel off the tape with tweezers and pry up the connector.

    Glass Cutting

    Then we use the Cutting Machine to cut the glass. We need to cut both sides of the glass to get the cutting wire in. Please be careful during the operation.
    Then we use the Cutting Machine to cut the glass. We need to cut both sides of the glass to get the cutting wire in. Please be careful during the operation.We can see that a side of the glass has been cut off and the bottom has broken too.
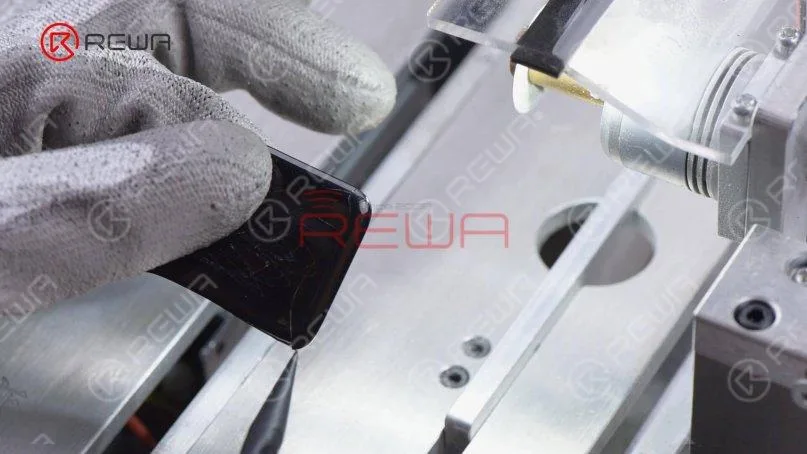
    We can see that a side of the glass has been cut off and the bottom has broken too.Then we cut the other side. Lastly, polish the corners. A point well mentioning is that the difficulty of replacement will be reduced if the glass is broken.
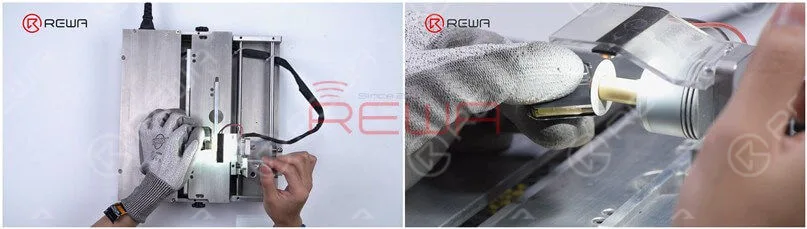
    Then we cut the other side. Lastly, polish the corners. A point well mentioning is that the difficulty of replacement will be reduced if the glass is broken.

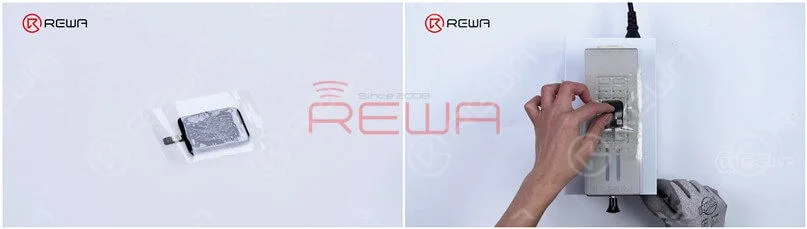
    Glass Separating

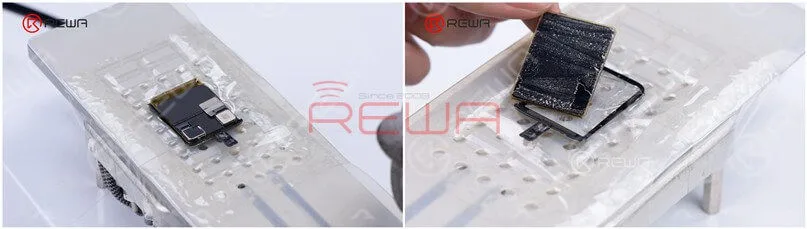
    Tape the screen. Then put the screen on the Heating Platform and start the suction.
    Tape the screen. Then put the screen on the Heating Platform and start the suction.Next, separate the glass with Cutting Wire. Pull the Cutting Wire slowly and the glass is successfully separated.
    Next, separate the glass with Cutting Wire. Pull the Cutting Wire slowly and the glass is successfully separated.

    OCA Removing

    Then we remove the OCA adhesive with the Electric Adhesive Removing Tool and clean the OLED with N-hexane.
    Then we remove the OCA adhesive with the Electric Adhesive Removing Tool and clean the OLED with N-hexane.Install the OLED to test. Since the touch panel has been separated, we only need to test the display function. The display function is normal. Clean the OLED completely with N-hexane.
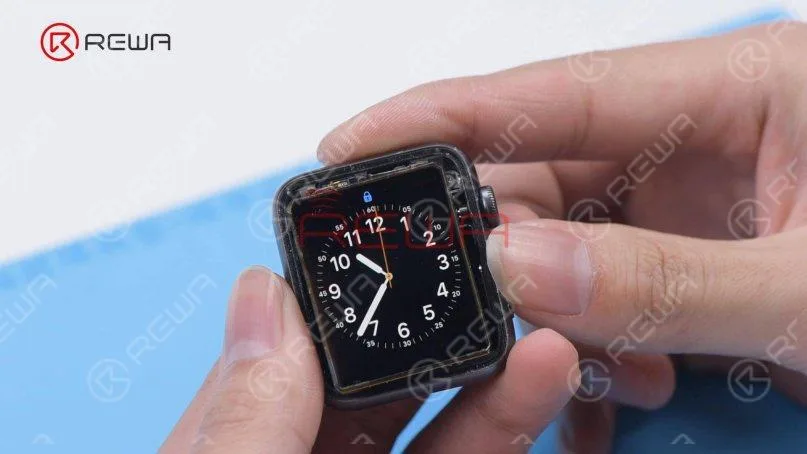
    Install the OLED to test. Since the touch panel has been separated, we only need to test the display function. The display function is normal. Clean the OLED completely with N-hexane.

    Laminating

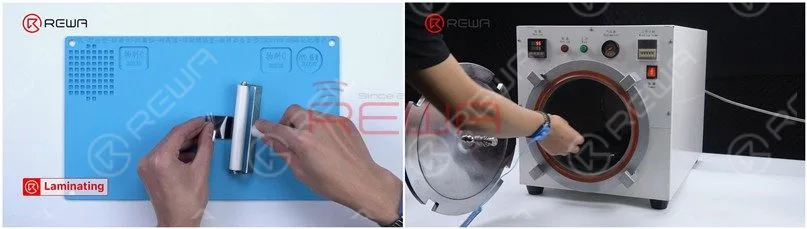
    Attach the OCA adhesive to the OLED with Laminating Roller and put the OLED into the Bubble Removing Machine for 3 minutes.
    Attach the OCA adhesive to the OLED with Laminating Roller and put the OLED into the Bubble Removing Machine for 3 minutes.Take the OLED out and put it into the UV Lamp for Curing OCA Glue for 5 seconds.
    Take the OLED out and put it into the UV Lamp for Curing OCA Glue for 5 seconds.Stick a corner of the OLED with Easy Tear Sticker and peel off the OCA protective film.
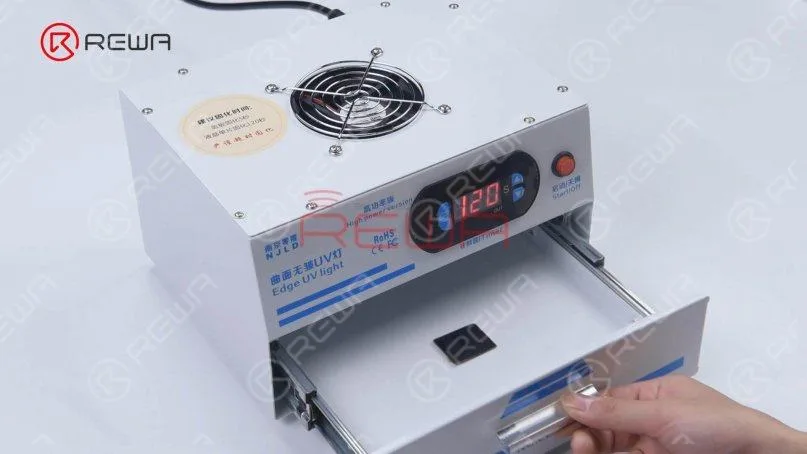
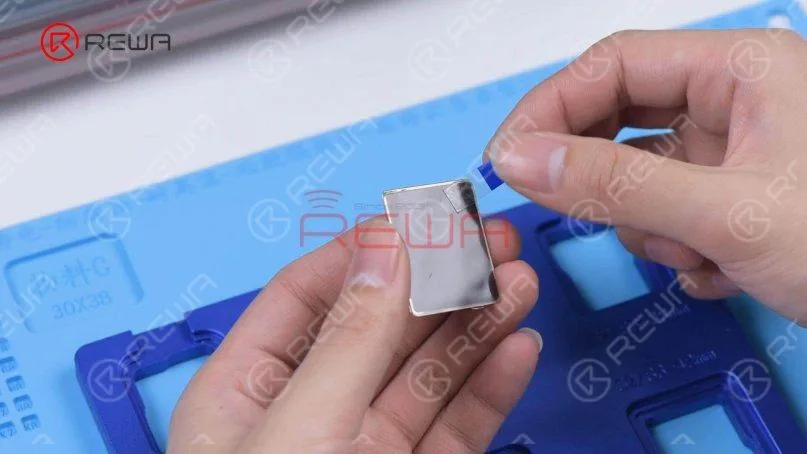
    Stick a corner of the OLED with Easy Tear Sticker and peel off the OCA protective film.Attach the OLED to the Laminating Mold. Stick a corner of the Apple Watch Series 3 digitizer and peel off the OCA protective film.
    Attach the OLED to the Laminating Mold. Stick a corner of the Apple Watch Series 3 digitizer and peel off the OCA protective film.Align the digitizer with the OLED.
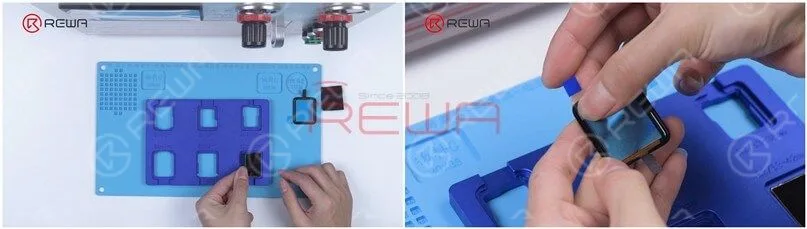
    Align the digitizer with the OLED.Detach the screen and put the screen on the Laminating Sponge. Then put the screen into the Laminating Machine and press “LCD laminate start”.
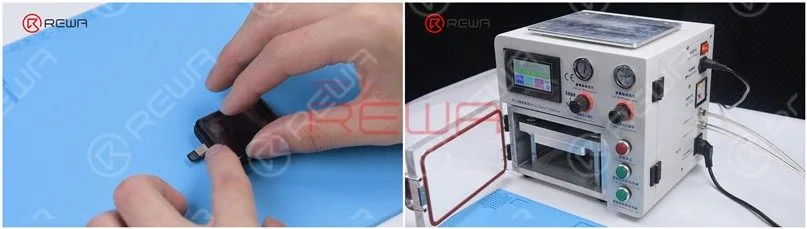
    Detach the screen and put the screen on the Laminating Sponge. Then put the screen into the Laminating Machine and press “LCD laminate start”.Take the screen out and there are still bubbles on the screen. Put the screen back into the Bubble Removing Machine for ten minutes and the bubbles are gone.
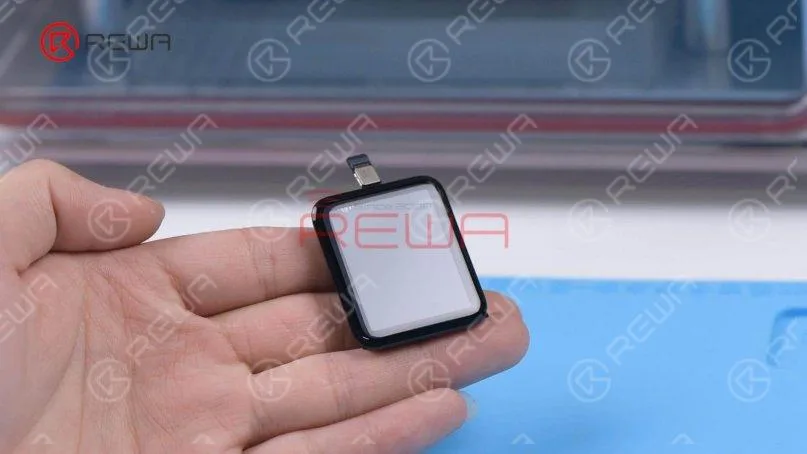
    Take the screen out and there are still bubbles on the screen. Put the screen back into the Bubble Removing Machine for ten minutes and the bubbles are gone.Put the screen back into the UV Lamp for two minutes. Then we connect the screen to test. The function of the display and touch is good.
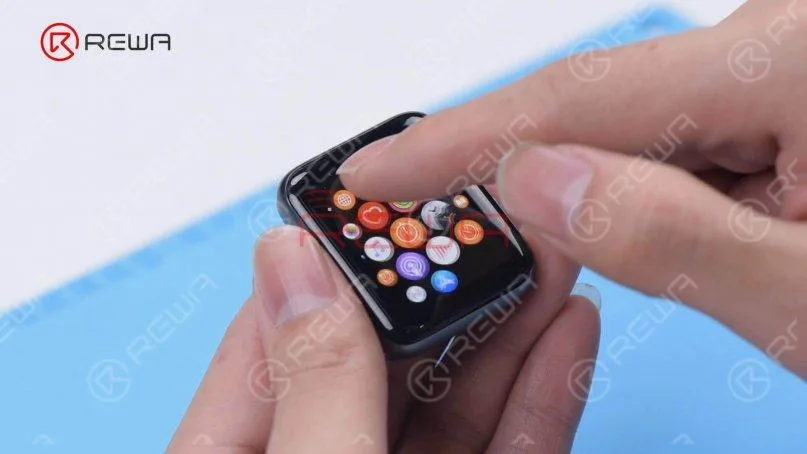
    Put the screen back into the UV Lamp for two minutes. Then we connect the screen to test. The function of the display and touch is good.Lastly, we install the screen on the watch. Attach the adhesive strip to the frame and peel off the protective film.
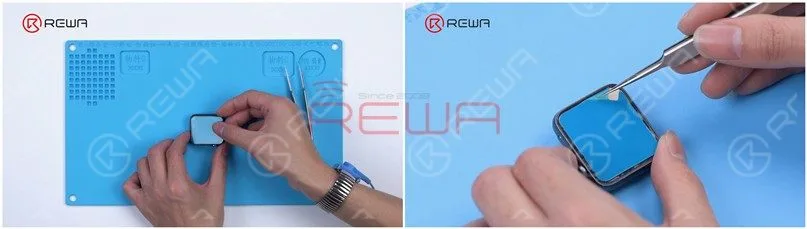
    Lastly, we install the screen on the watch. Attach the adhesive strip to the frame and peel off the protective film.Connect the screen and turn on the watch. The watch is turned on and all functions work well.
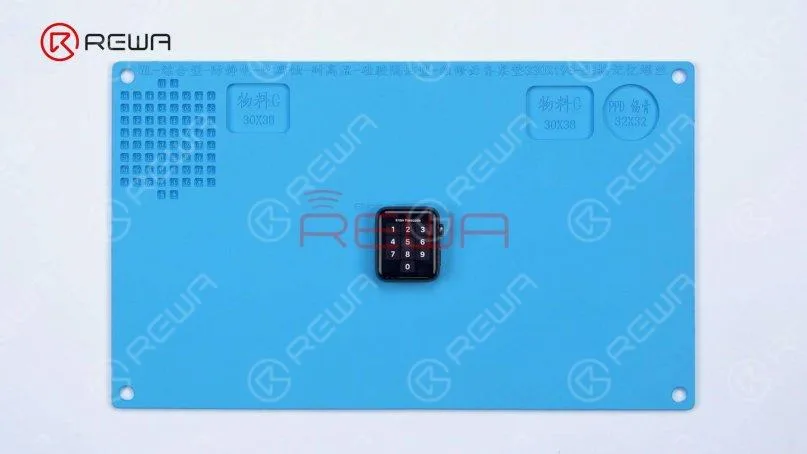
    Connect the screen and turn on the watch. The watch is turned on and all functions work well.Feel free to visit our online shop for Apple Watch parts and repair tools.Watch the video below to get a detailed Apple Watch Series 3 Glass Replacement guide.