The era of the curved screen has arrived since the release of Samsung S6 Edge. After years of development, a brand new curved full screen has been adopted, which comes as a combination of curved screens and full screens. Compared with curved screens, the new curved full screen undoubtedly bears a much higher repair/refurbishing cost. In our video today, we will take Samsung Galaxy Note 8 as an example and show you the latest curved full-screen refurbishing technology. Our REWA is willing to share repair tips with you and helping to solve your issues. Now, following REWA to restore your broken screen smartphone to a new condition.
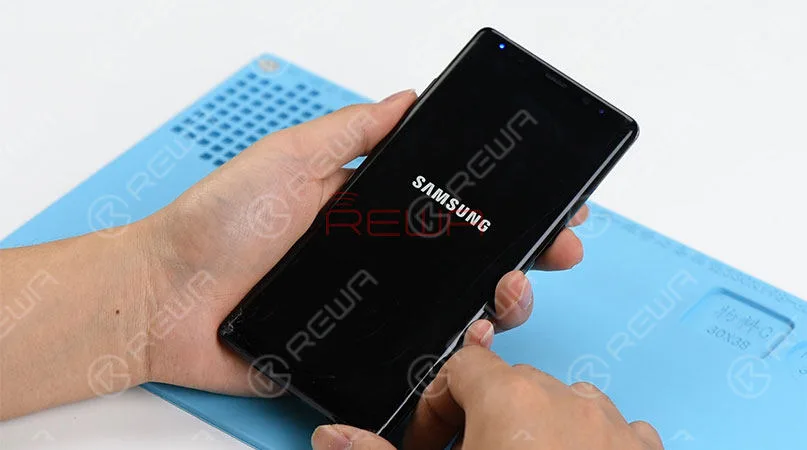
Step 1 – Cracked Screen Testing
Function test – Display & Touch
Both are OK
Step 2 – Phone Disassembling
Place the phone upside down on the Heat Platform, remove the back cover slowly with Pry Piece and Glue Cleaner. (Be careful with flex cables when operating) Continue to discharge the rear plate. Take out the battery and some other accessories, then take out the motherboard.
Step 3 – Glass Lens Separating
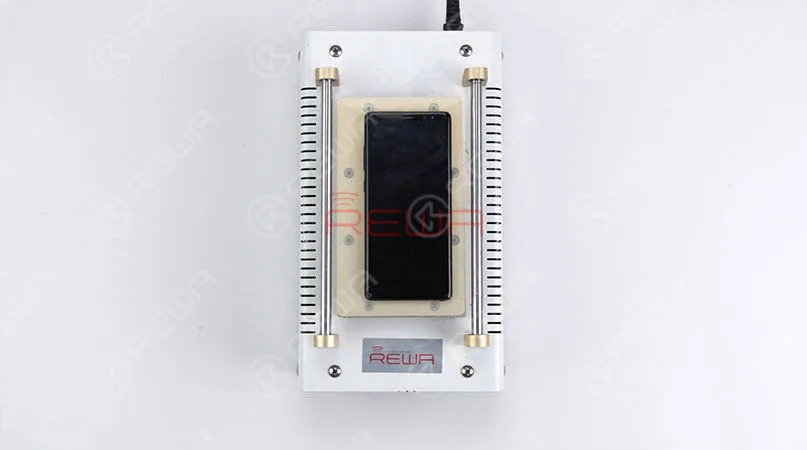
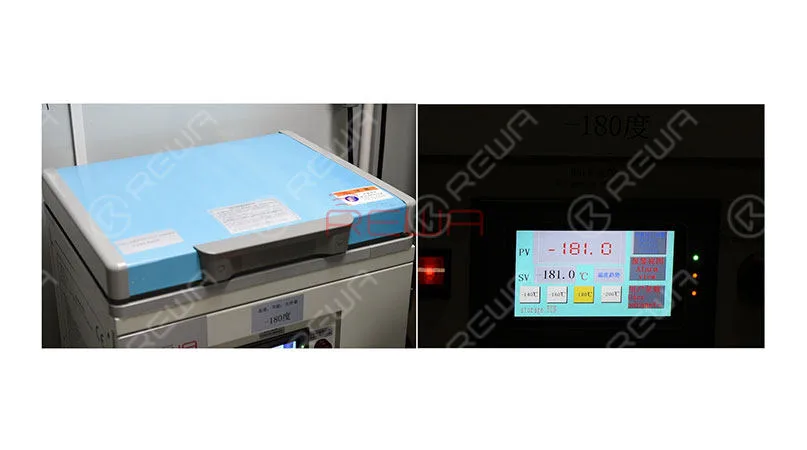
Put the OLED screen assembly into the -180℃ Frozen Screen Separator, the get the lid on and wait for 5 minutes and remove the glass lens carefully. Next, place the room temperature OLED screen on the Heat Platform, remove residual glue with the Electric Glue Removing Device. Once done, clean with N-hexane.
Step 4 – Mid-frame Separating
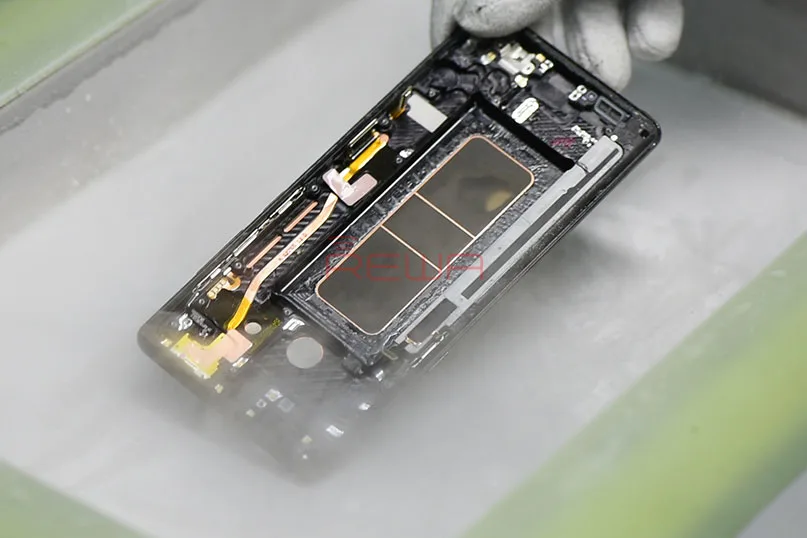
As same as the glass lens separating. Put the OLED screen into the -180℃ Frozen Screen Separator, get the lid on and wait for 5 minutes. And then separate the OLED screen from the mid-frame.
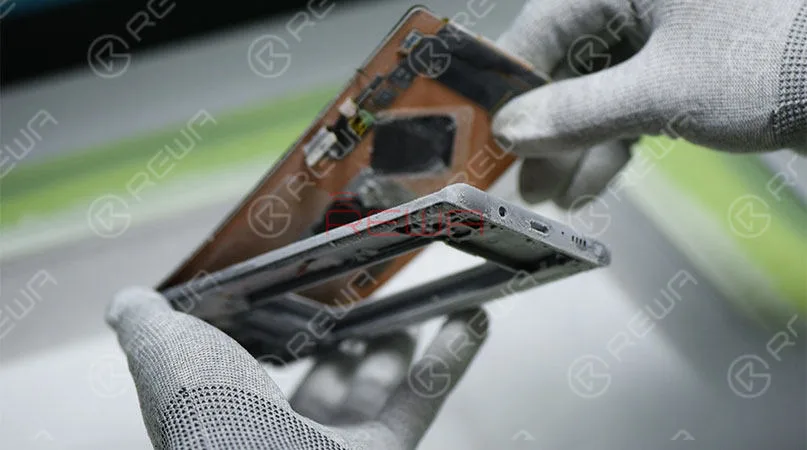
Step 5 – OCA Laminating
The OCA should be laminated to the glass lens at first. Place the mold into the laminating machine, press ‘OCA lamination’ button and the machine starts to work until the Laminating finished. Next, take out the OCA attached glass lens.
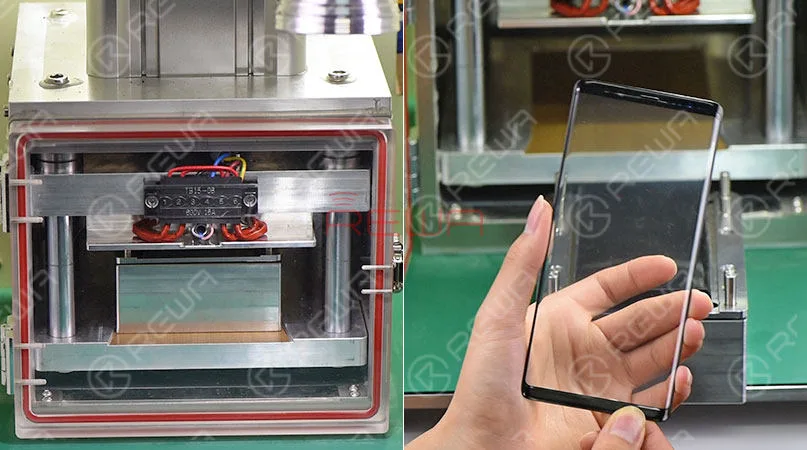
Step 6 – Bubble Removing
Put the OCA attached glass lens into Macchina per la rimozione delle bolle per 5 minuti, once finished, take out the OCA attached glass lens.
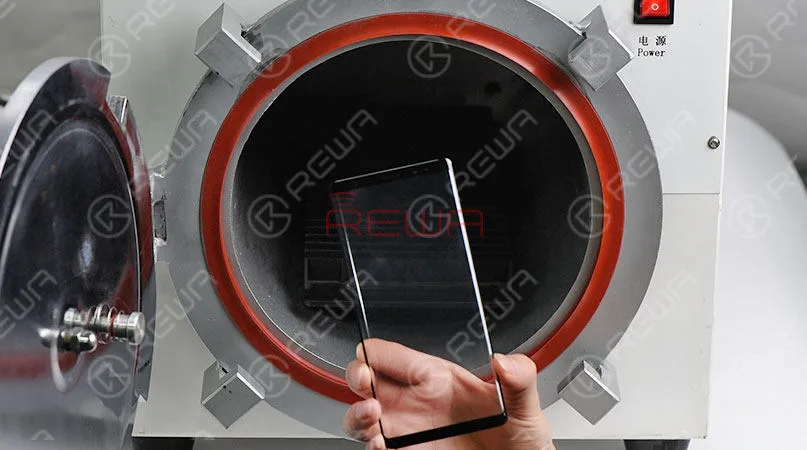
Step 7 – OLED Laminating
Now we need to laminate the OCA attached glass lens to the OLED screen. First, place the mold into the laminating machine, press ‘LCD lamination’ button. Then the machine starts to work till the Laminating finished. Last, take out the OLED screen assembly.
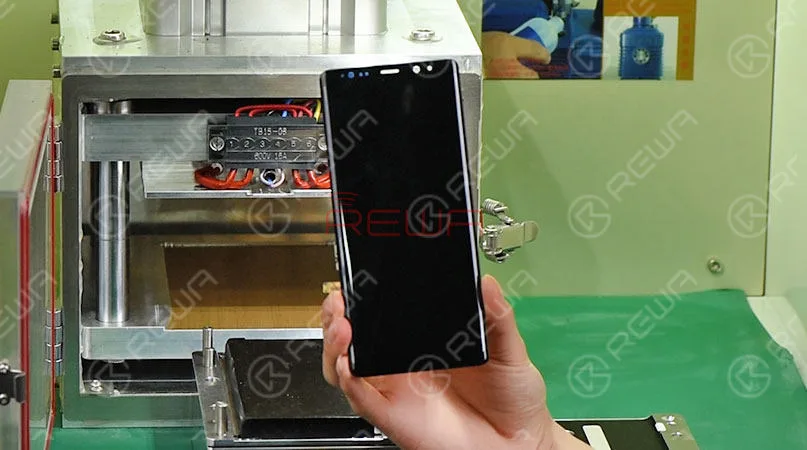
Step 8 – Bubble Removing
Put the OLED screen assembly into Bubble Removing Machine for 10 minutes. Once finished, take out the OLED screen assembly.
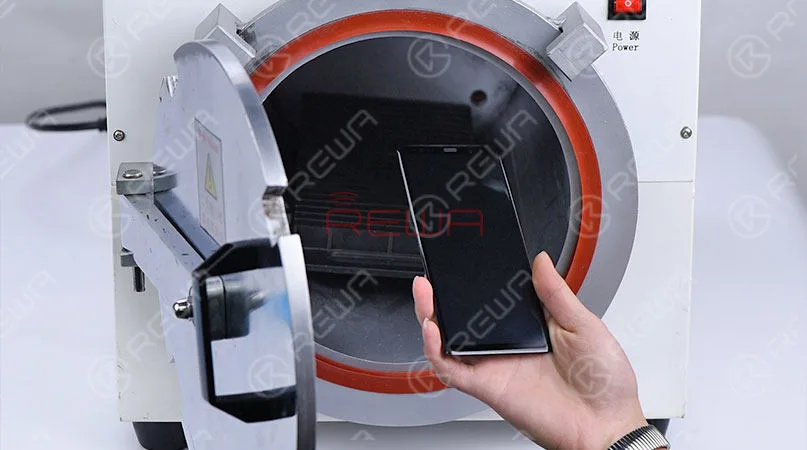
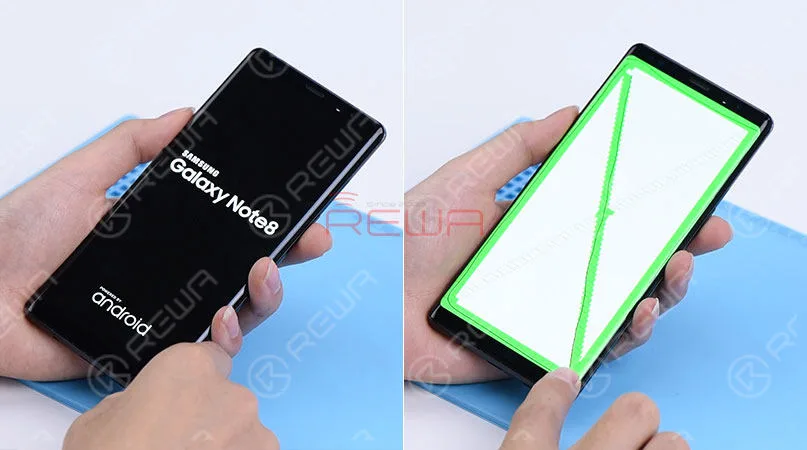
Step 9 – Refurbished Screen Testing
Power on to run function test – Display & Touch. Both display and touch function is show normal. Samsung Galaxy Note 8 screen refurbishing completed perfectly
The above is the complete process of Samsung Galaxy Note 8 broken screen glass repair. Have you got it? If NOT, watch the video below. Meanwhile, have you met any problem during the crack screen refurbishing? If YES, welcome to share with us at comment below. Our REWA is willing to share repair tips with you and helping to solve your issues. As an old saying “ if three walks together, one can be my teacher”. We can learn from each other.
 English
 Español
 Français
 Deutsch
 Italiano