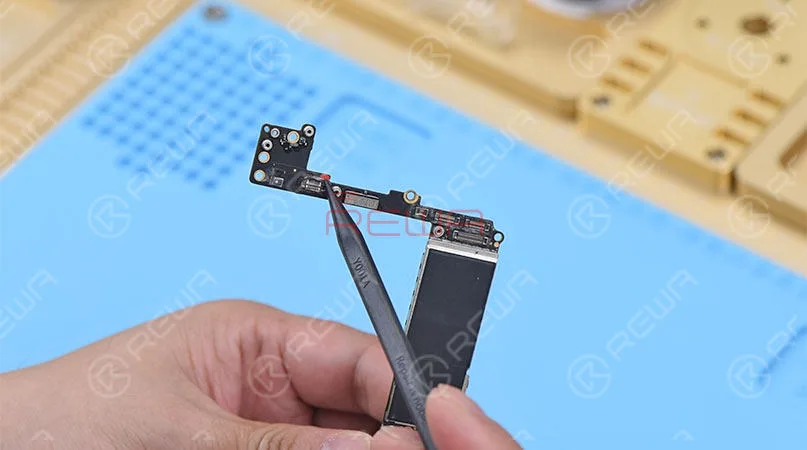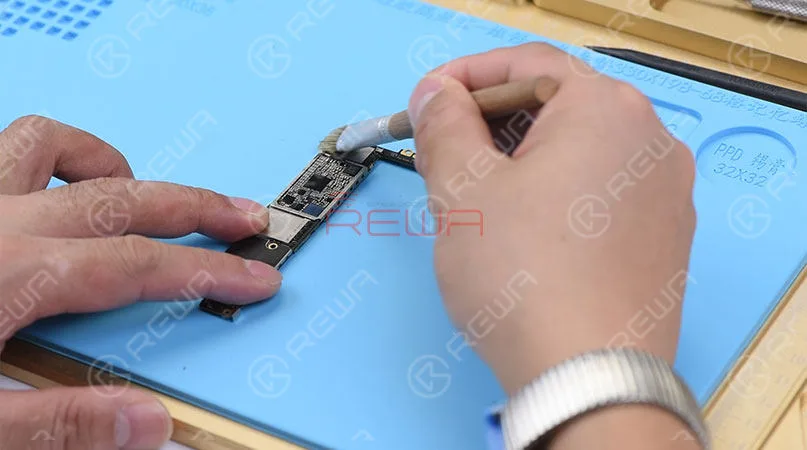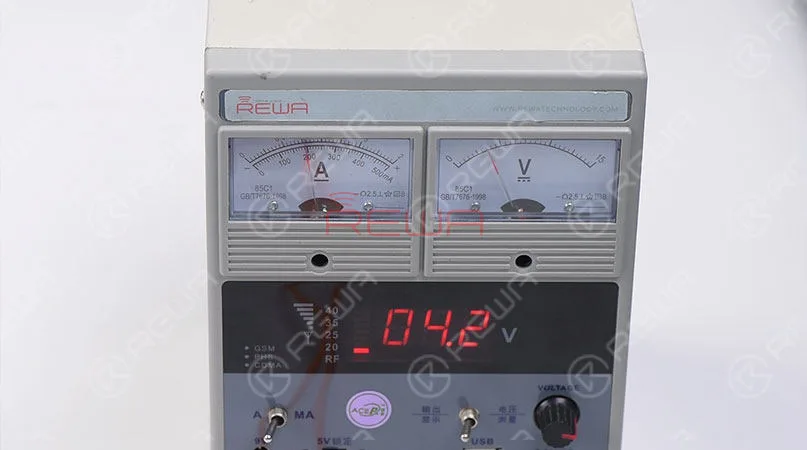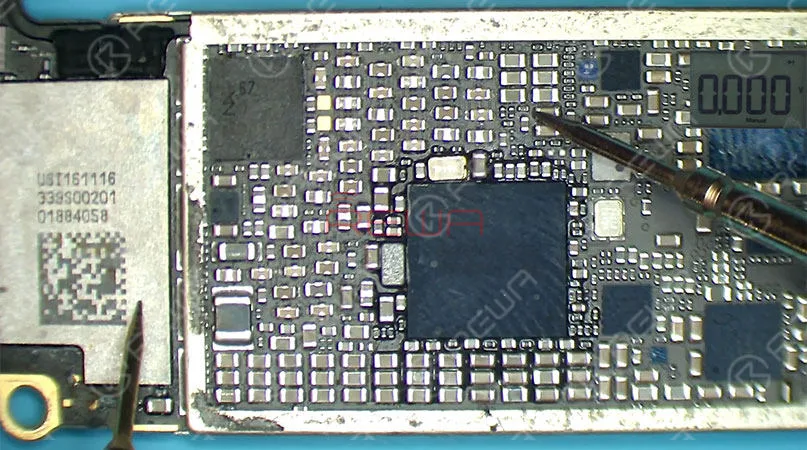
Tag: riparazione iphone 7

  • Suggerimenti per la risoluzione dei problemi dell'iPhone 7 senza servizio

    Suggerimenti per la risoluzione dei problemi dell'iPhone 7 senza servizio

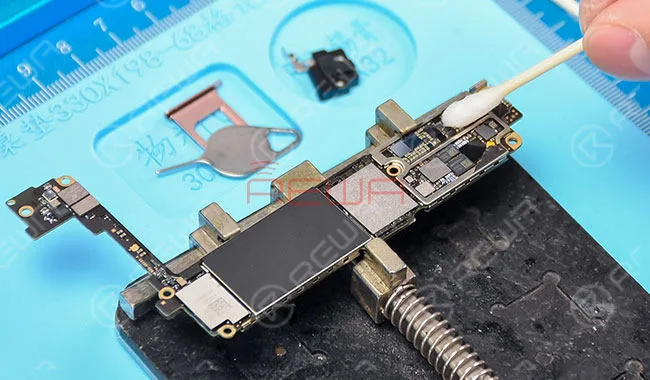
    L'anno scorso Apple ha annunciato il programma di riparazione dell'iPhone 7 per i problemi "No Service". I tecnici di REWA hanno confermato che il problema dell'assenza di servizio è causato da un difetto del circuito stampato. In genere si pensa di individuare il componente difettoso escludendo una per una le possibili cause. Tuttavia, un tecnico esperto conferma la versione della scheda logica fin dall'inizio. Pertanto, il componente difettoso può essere individuato rapidamente e il tempo di riparazione risparmiato.

    iPhone 7 nessun servizio è dovuto principalmente a due motivi. La PMU in banda base è stata pseudo-saldata. Oppure, la CPU in banda base è andata in cortocircuito. Per quanto riguarda il problema della pseudo-saldatura, è possibile risolverlo saldando nuovamente la PMU in banda base. Per quanto riguarda il problema del cortocircuito, poiché la CPU in banda base non può essere sostituita da sola, è necessario sostituire contemporaneamente CPU, CPU in banda base e PMU in banda base o sostituire direttamente la scheda logica.

    Seguite il nostro caso di riparazione dell'iPhone 7 No Service a causa del cortocircuito della CPU della banda base oggi e imparate come individuare rapidamente il componente difettoso analizzando il guasto all'inizio per risparmiare tempo.

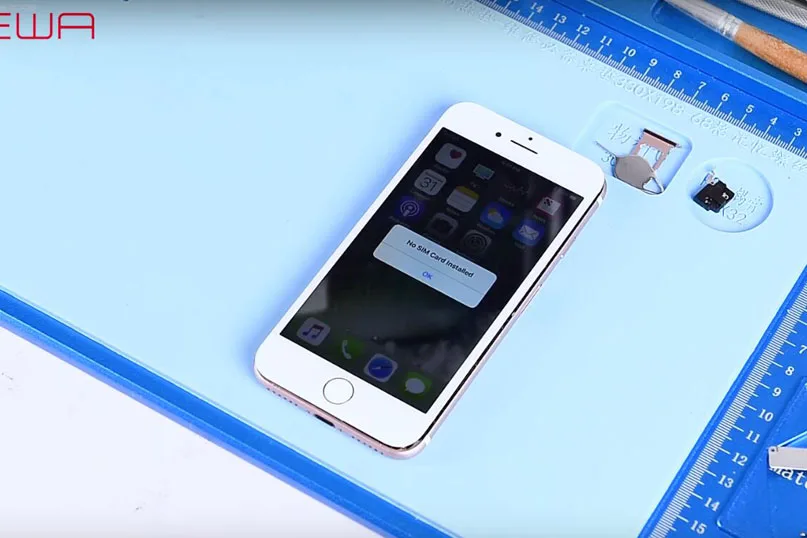
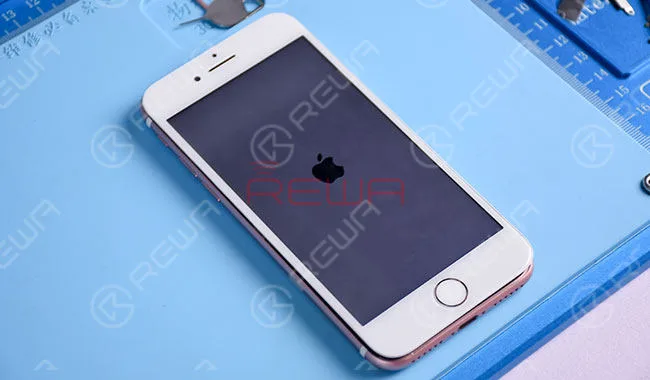
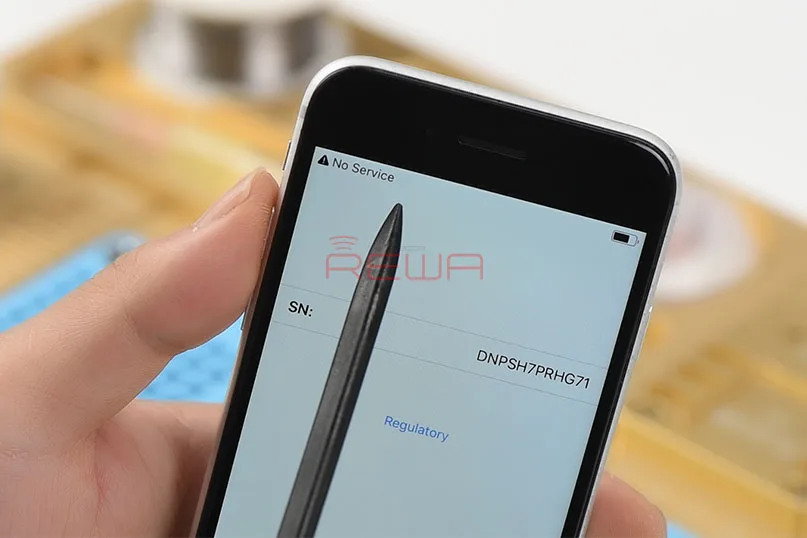
    Tenere premuto il pulsante di accensione per accendere il telefono. Il numero di serie viene visualizzato normalmente sullo schermo, mentre il numero IMEI non compare. Il telefono mostra un errore di assenza di servizio nell'angolo in alto a sinistra. A giudicare da questo, il circuito di baseband è malfunzionante. Di seguito, vi mostreremo due diverse soluzioni di riparazione per questo problema.
    Suggerimenti per la risoluzione dei problemi dell'iPhone 7 senza servizio

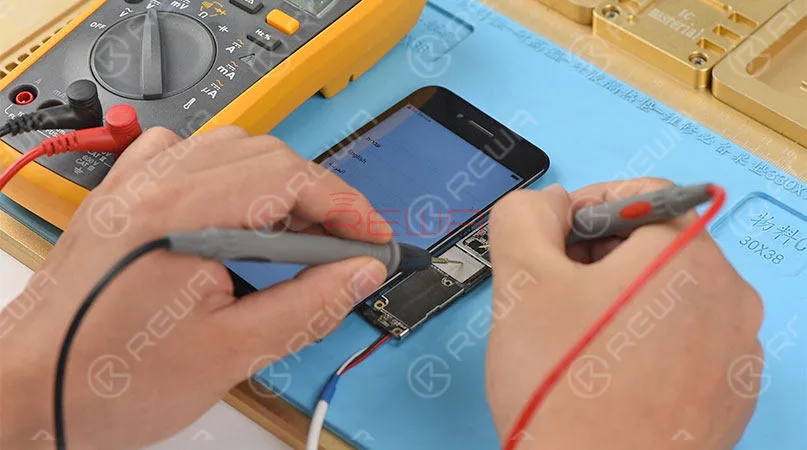
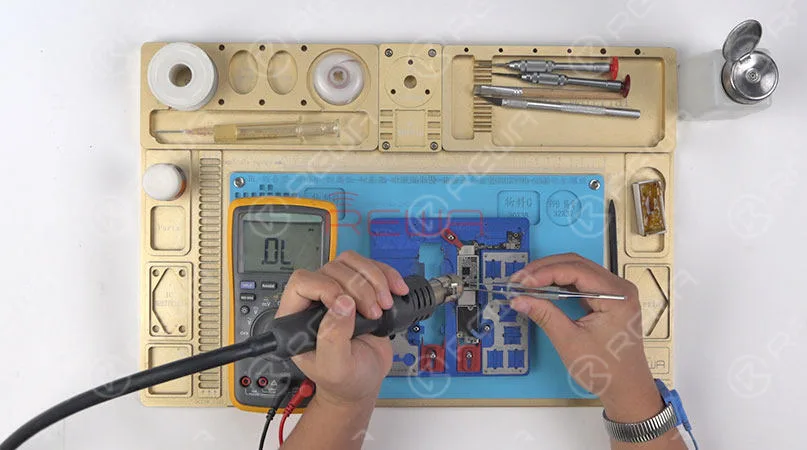
    L'idea tradizionale è quella di misurare prima l'alimentazione della PMU in banda base per individuare il difetto - area difettosa. Non è stato misurato alcun valore di tensione su C5630 e C5730. Ciò indica che l'alimentazione della PMU in banda base è anomala. Continuare a eseguire la misurazione in modalità diodo di C5630 e C5703. Il risultato indica che C5630 e C5703 sono in cortocircuito verso terra.

    Il circuito relativo a C5630 e C5703 è composto dalla PMU in banda base, dalla CPU in banda base e da più condensatori di filtro. Per individuare il componente difettoso, dobbiamo escluderne uno per uno.
    Suggerimenti per la risoluzione dei problemi dell'iPhone 7 senza servizio

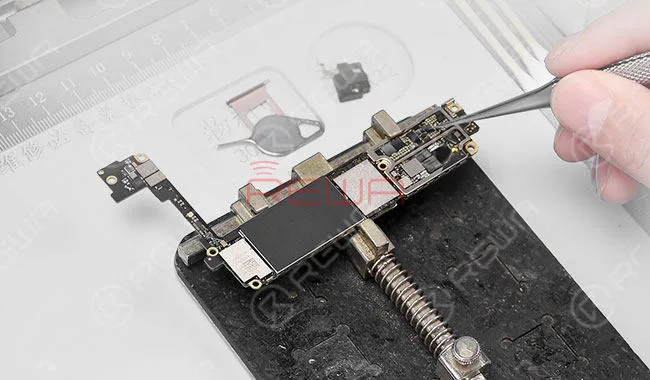
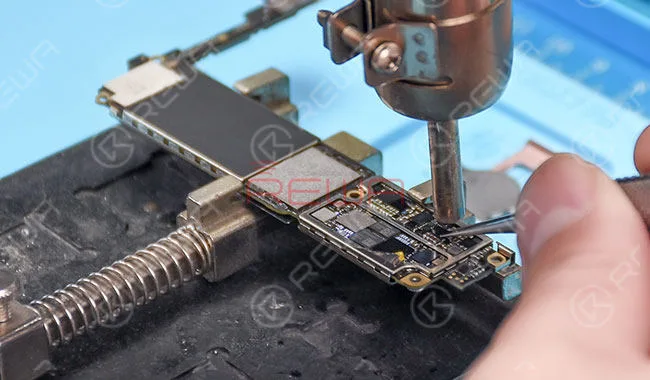
    Rimuovere la PMU in banda base. Eseguire di nuovo la misurazione in modalità diodo di C5630 e scoprire che C5630 è cortocircuitato a terra. Ciò indica che il PMU in banda base non è il componente difettoso. Continuiamo a rimuovere i condensatori di filtro sul circuito con la pistola ad aria calda ed eseguiamo la misurazione in modalità diodo della piazzola di collegamento di C5630. Il valore misurato indica una condizione di cortocircuito. Quindi anche questi condensatori di filtro non hanno nulla a che fare con il guasto. Rimuovere la CPU in banda base ed eseguire la misurazione in modalità diodo del chip staccato. La CPU in banda base è in cortocircuito. Poiché la CPU di baseband non può essere sostituita una volta danneggiata, non è necessario procedere alla riparazione.

    I passaggi precedenti, che costano ai tecnici circa 35 minuti, portano a un risultato non riparabile. Il che è indegno per un tecnico. Quindi ora vi presenteremo un nuovo modo per individuare il difetto in 2 minuti secondo il nostro tecnico esperto REWA. Quindi ora vi presenteremo un nuovo modo, presentato dai tecnici esperti REWA, per localizzare il componente difettoso in 2 minuti.
    Suggerimenti per la risoluzione dei problemi dell'iPhone 7 senza servizio

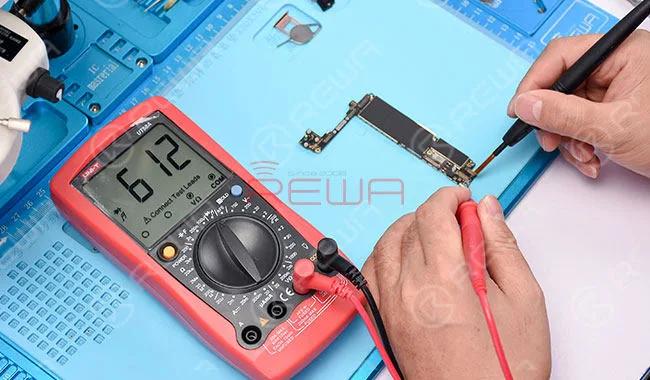
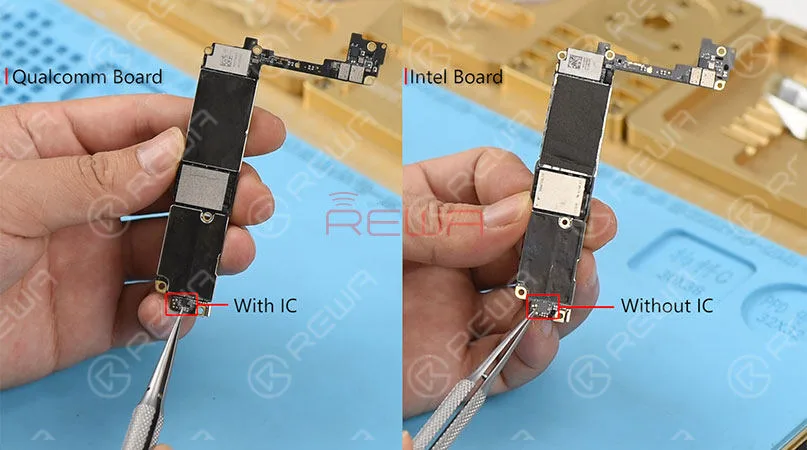
    Innanzitutto, verificare la versione della scheda logica. Si tratta di una scheda logica della versione Qualcomm. Eseguire la misurazione in modalità diodo di C5630 o C5703. Il valore misurato è 0, il che indica che la CPU di banda base è in cortocircuito. In questo caso, non è necessario procedere alla riparazione.

    Ecco la domanda che ci si può porre. "Come si fa a sapere che la CPU di baseband è andata in cortocircuito in base al valore misurato?". Come abbiamo detto sopra, l'anno scorso Apple ha annunciato il programma di riparazione dell'iPhone 7 per il problema "No Service". I tecnici di REWA hanno confermato che il problema dell'assenza di servizio è causato da un difetto del circuito stampato. A causa del difetto di progettazione della scheda logica Qualcomm dell'iPhone 7, le piazzole di incollaggio del pin 93 e del pin 98 della PMU di banda base si staccano facilmente. Il risultato è una tensione anomala e una grande corrente in uscita dalla PMU in banda base alla CPU in banda base. In questo caso, non è necessario procedere alla riparazione. È sufficiente sostituire la scheda logica. Per maggiori dettagli, visitare il sito:

    Per gli strumenti utilizzati nel video, consultare il sito Negozio REWA per ordinare se ne avete bisogno.
  • iPhone 7 Plus Half Backlight/Dim Screen Repair

    iPhone 7 Plus Half Backlight/Dim Screen Repair

    Backlight issues, including no backlight, dim backlight, half backlight, or iPhone won’t turn on etc., are commonly seen in iPhone repair for a repairman. Here we will introduce the repair case of iPhone 7 Plus half backlight issue due to pseudo soldering of the display connector and the related backlight circuit. Hope to enlighten you on this subject.

    For mobile phone logic board repair, cosmetic inspection always comes to the first. Check the logic board carefully, there is no deformation nor signs of water damage.

    iPhone 7 Plus Half Backlight/Dim Screen Repair

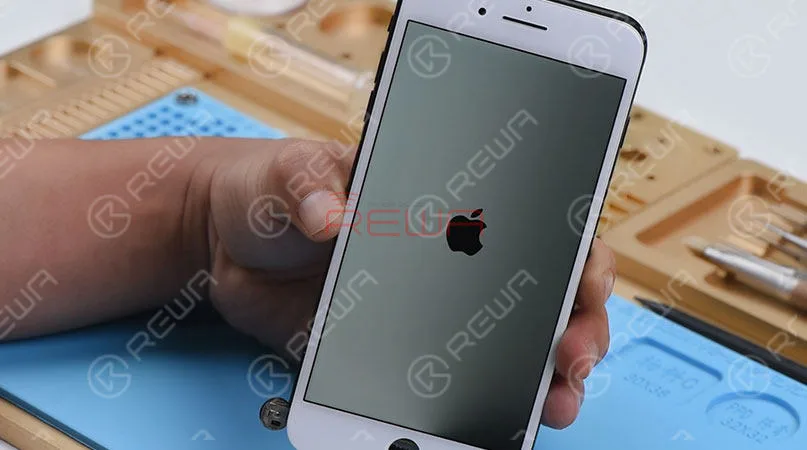
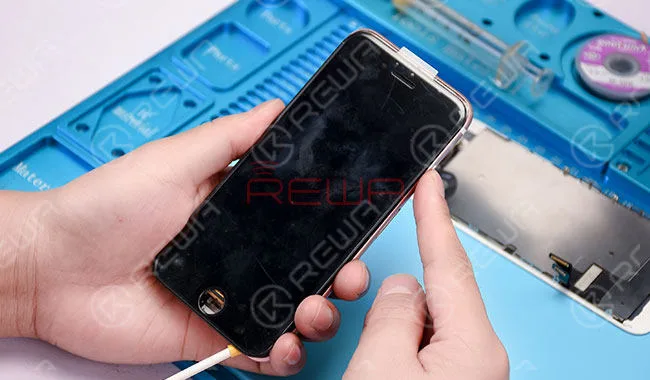
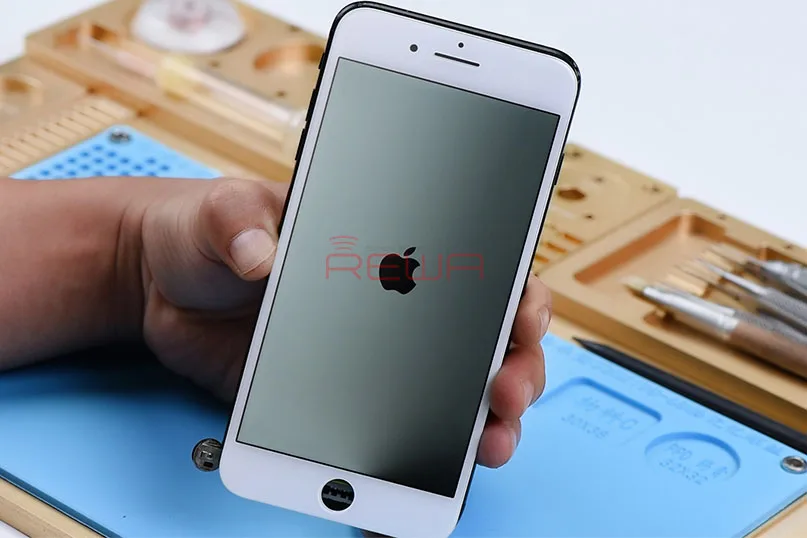
    Next, let’s assemble the phone and test. Get the logic board and display assembly installed. Connect the battery and press power button. The screen lights up and Apple logo appears. We can see with naked eyes that the right side of the screen is darker than the left side. Judging by this, the fault might be related to the backlight circuit.

    the fault might be related to the backlight circuit

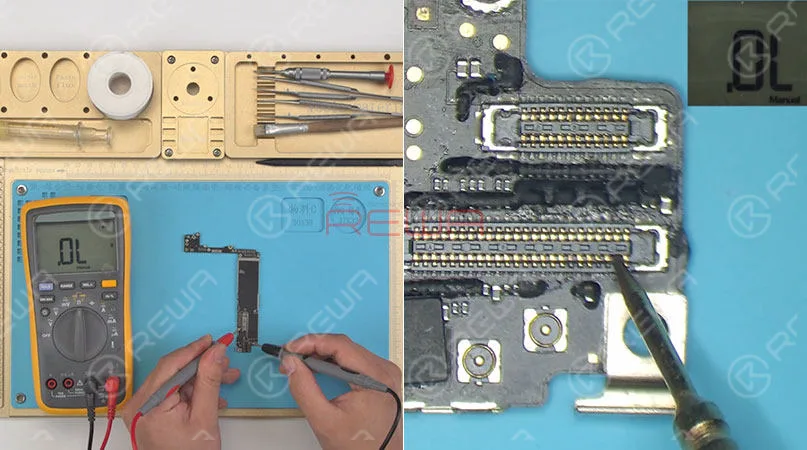
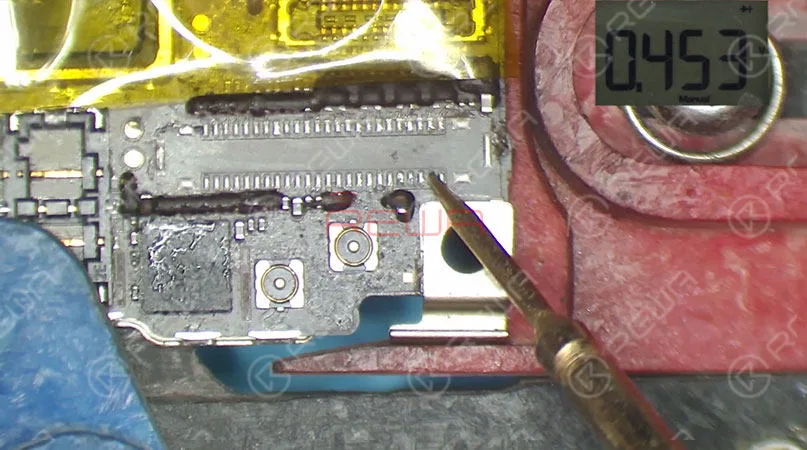
    Take apart the phone and remove the display assembly. Take out the logic board. Run diode mode measurement of backlight relevant pins on the display connector J4502. The measured value of Pin 45 is OL, which is abnormal. A normal value should be around 450.

    Take out the logic board

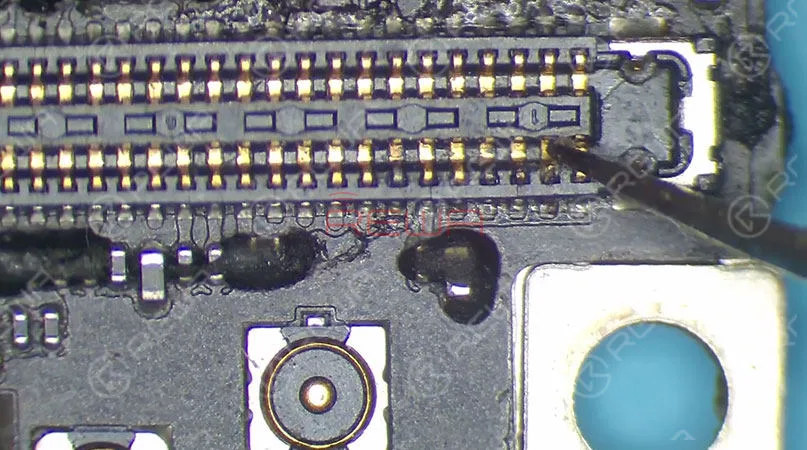
    Check with schematics, you will see the voltage outputted from the backlight IC U4601 reaches Pin 45 of J4502 by way of C4602, FL4601 and C4605. So continue to run diode mode measurement of C4602. The measured value is normal. Judging by this, the abnormal value of Pin 45 is probably caused by open-circuited condition of its relevant circuit or malfunction of the display connector J4502. Check J4502 carefully and we find that Pin 45 has been pseudo soldered.

    Pin 45 has been pseudo soldered

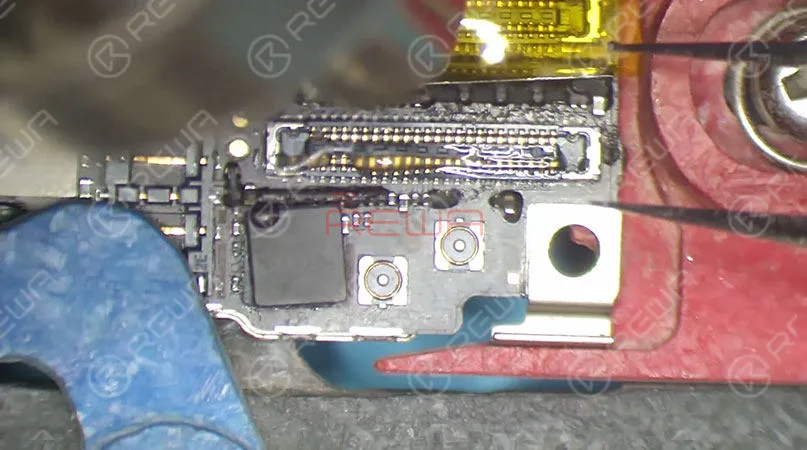
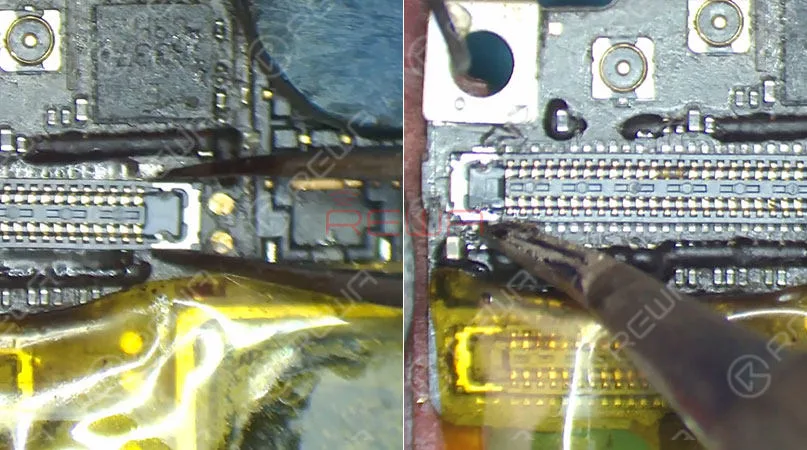
    To further confirm the faulty position, desolder the J4502 from the logic board. To desolder the connector, first stick High-Temperature Tape on components around for protection. Then apply some Paste Flux to J4502 and remove J4502 with 858D Hot Air Gun afterward.

    J4502 from the logic board

    After the removing of connector, we get access to measure the diode value of Pin 45 on the bonding pad. The measured value is normal.

    Il valore misurato è normale.

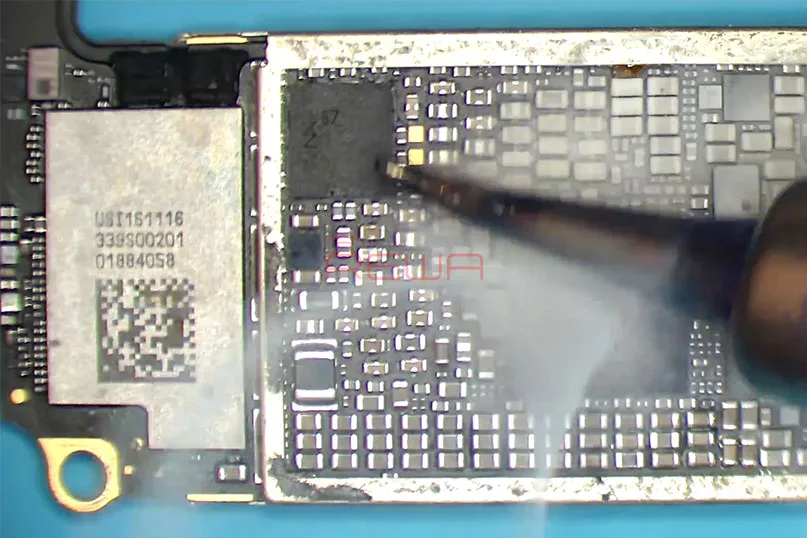
    As of now, we can confirm that the fault is related to J4502. We can fix the problem by replacing with a new display connector. Next, heat with 858D Hot Air Gun. Clean the bonding pad with rosin soaked Solder Wick. And clean with PCB Cleaner afterwards. Apply some Paste Flux to the bonding pad. Get a new display connector in position and solder with 858D Hot Air Gun. Next, secure the four sides with Solder Paste for successful soldering. Once done, clean with PCB Cleaner.

     Once done, clean with PCB Cleaner.

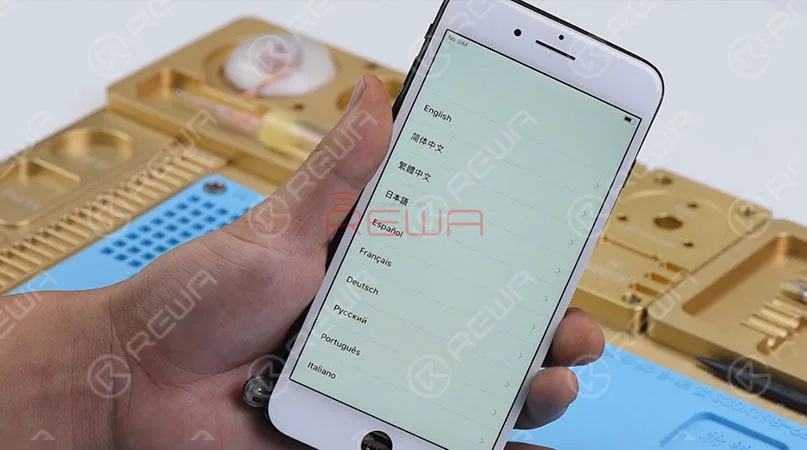
    Now we can assemble the phone and test. Get the logic board and display assembly installed. Connect the battery and press power button to power on. The phone turns on normally. The screen is also back to normal. Fault cleared.

     Connect the battery and press power button to power on

    Suggerimenti caldi: ottenere il telefono completamente assemblato dopo la conferma dell'eliminazione del guasto.

    Tools used in the video. You can also find more great buys on the REWA Online Store.

  • Find The Faulty Component With Rosin – iPhone 7 Plus Won’t Turn On

    Individuare il componente difettoso con la colofonia - iPhone 7 Plus non si accende

    Come tutti sappiamo, quando si alimenta la scheda logica in cortocircuito, i componenti difettosi si surriscaldano. Per la scheda logica con febbre significativa, possiamo individuare il componente difettoso in modo rapido e preciso con il metodo di 'rilevamento della colofonia'. Per un'applicazione più dettagliata, guardate il nostro video di oggi e vi mostreremo come risolvere il problema dell'iPhone 7 Plus che non si accende dopo un danno d'acqua con il metodo di 'rilevamento della colofonia'.

    In primo luogo, l'ispezione estetica della scheda logica, che non è deformata. Tuttavia, le aree intorno al modulo WiFi presentano evidenti segni di danni causati dall'acqua e si può vedere chiaramente che l'indicatore di danni causati dall'acqua è rosso.

    L'iPhone 7 Plus non si accende

    Per prima cosa, puliamo l'area ammuffita sulla scheda logica con PCB Cleaner.

    L'iPhone 7 Plus non si accende

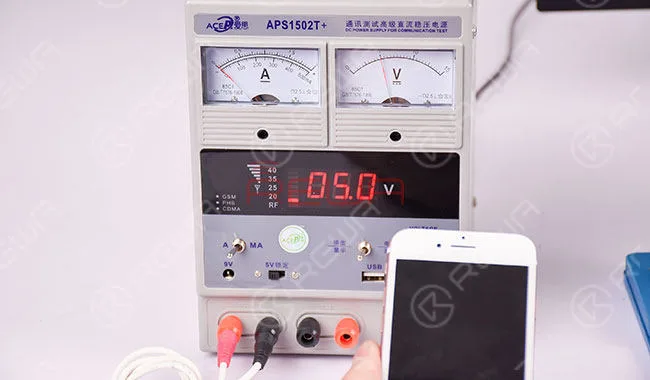
    Quindi, collegare la scheda logica con l'alimentatore e premere il pulsante di accensione sul Fornitore di energia all'accensione. La lettura della corrente sull'amperometro è superiore al valore normale, A giudicare dalla lettura della corrente sull'amperometro, un binario dell'alimentazione della scheda logica potrebbe essere stato cortocircuitato.

    L'iPhone 7 Plus non si accende

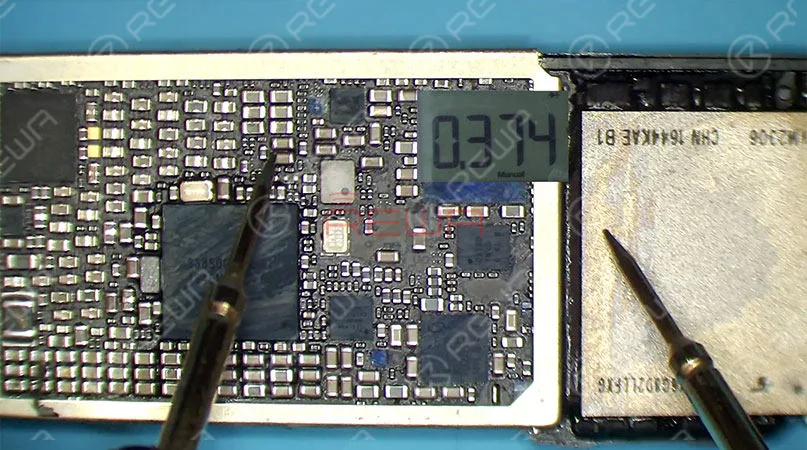
    Eseguire la misurazione in modalità diodo dei due binari dell'alimentazione principale PP_BATT_VCC e PP_VDD_MAIN. A giudicare dal valore misurato, i due binari sono in condizioni normali.

    Successivamente, è necessario controllare diversi binari dell'alimentazione in uscita dalla PMU, eseguire la misurazione in modalità diodo dei condensatori su questi circuiti di alimentazione. Il valore misurato di C2302 e C2308 su PP_VDD_BOOST è 0, un valore anomalo. Pertanto, PP_VDD_BOOST è stato cortocircuitato a terra. Su PP_VDD_BOOST sono presenti diversi componenti associati, PMU U1801, U3101, U2501, U3001, U3702 e diversi condensatori di filtro.

    L'iPhone 7 Plus non si accende

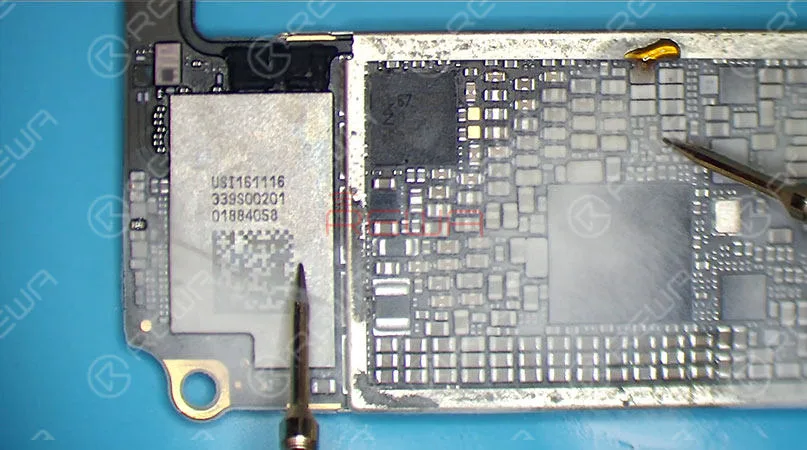
    Poiché i componenti del circuito sono numerosi, possiamo confermare il componente difettoso con il "rilevamento della colofonia". Immergere un po' di colofonia con Saldatoree fumare la colofonia sui componenti rilevanti.

    L'iPhone 7 Plus non si accende

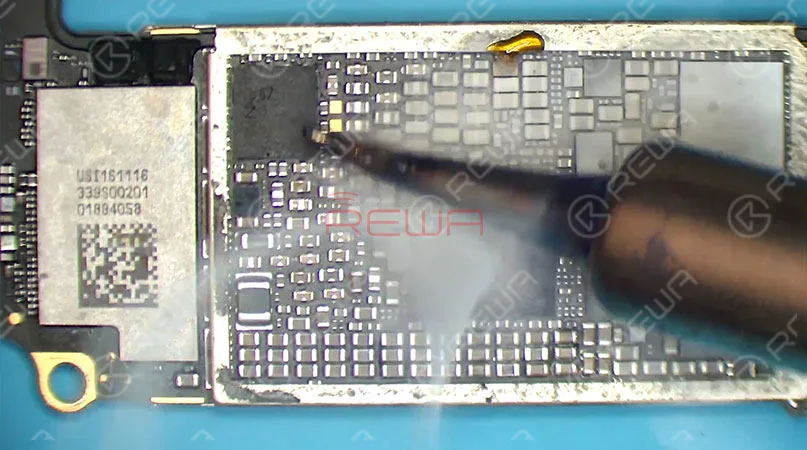
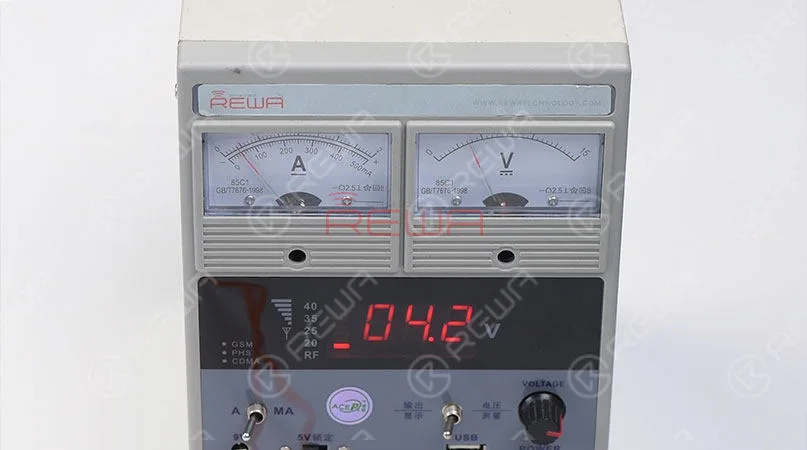
    Quindi, collegare i due puntali del multimetro con l'alimentatore CC, impostare la tensione dell'alimentatore CC a 3 V, mettere a terra il puntale nero e nel frattempo far toccare il puntale rosso con il pin 1 di C2308, la colofonia su C3002 si scioglie immediatamente.

    A giudicare da questo, la condizione di cortocircuito è causata dal danneggiamento di C3002. Poiché C3002 è un condensatore di filtro, possiamo risolvere il problema staccandolo dalla scheda.

    L'iPhone 7 Plus non si accende

    Rimuovere C3002 con la pistola ad aria calda, attendere che la scheda logica si raffreddi per 5 minuti, quindi pulire con il detergente per PCB. Continuare la misurazione in modalità diodo di C2308, il valore misurato è normale.

    L'iPhone 7 Plus non si accende

    Collegare quindi la scheda logica all'alimentatore e premere il pulsante di accensione sull'alimentatore per accenderlo. La lettura della corrente sull'amperometro è normale.

    L'iPhone 7 Plus non si accende

    Ora possiamo assemblare il telefono e testarlo, installare la scheda logica e il display, collegare la batteria e premere il pulsante di accensione, il telefono si accende normalmente e il guasto viene eliminato.

    Suggerimenti caldi: ottenere il telefono completamente assemblato dopo la conferma dell'eliminazione del guasto.

    L'iPhone 7 Plus non si accende

    I passaggi sopra descritti sono dettagliati L'iPhone 7 Plus non si accende per la riparazione - trovare il componente difettoso con la colofonia. È difficile da capire o non si sente bene? Non preoccupatevi, abbiamo anche il video che fa al caso vostro. Fare clic per guardare il video qui sotto. Per qualsiasi domanda o suggerimento, non esitate a comunicarcelo con un commento qui sotto. REWA cercherà di rispondervi in tempo.

    In allegato l'elenco degli strumenti utilizzati nel video, benvenuto per informarsi sales@rewatechnology.com. Ulteriori parti di ricambio e strumenti di riparazione sono disponibili sul sito il nostro negozio online per ottenere.

  • A New Way to Repair iPhone 7/7Plus Home Button

    A New Way to Repair iPhone 7/7Plus Home Button

    Il iPhone 7 home button will only work with the original home button that it was shipped with; if it breaks and needs to be replaced, it means that replaced home button would be a non-functional home button. No Touch ID and no return-to-home functionality. Don’t worry. Use our customized charging port flex cable to restore the return-to-home function of your home button. Also, if you have met the issue about iPhone 7 touch ID, please check our iPhone 7 Broken Touch ID Hardware Fixed tutorial.

    Let’s see how it works

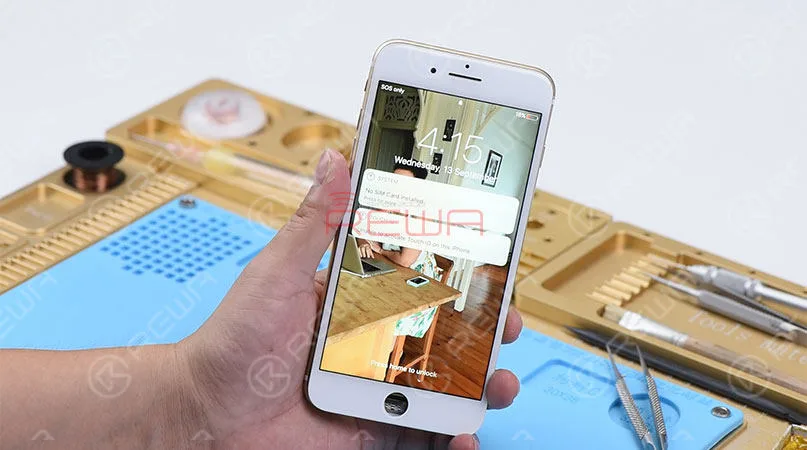
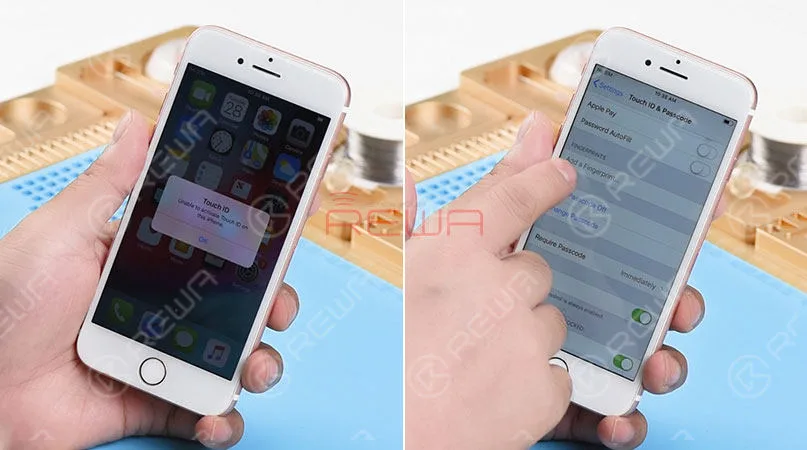
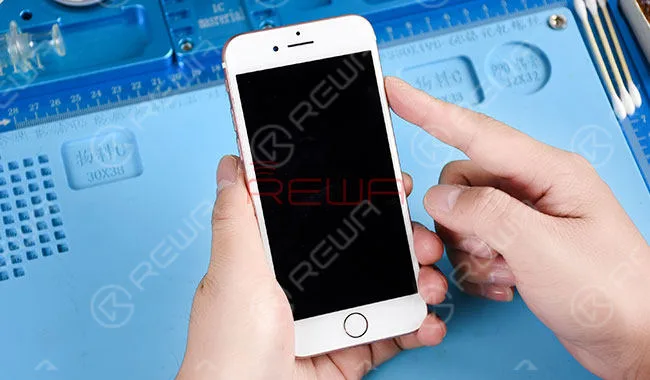
    We got an iPhone 7 that powers on with “Unable to activate Touch ID on this iPhone” alert. Press the home button. And no Return-to-home functionality either. Go to Settings>Touch ID & Passcode. The“Add a fingerprint’ is grayed out. The home button of this iPhone 7 is totally damaged.

    A New Way to Repair iPhone 7/7Plus Home Button

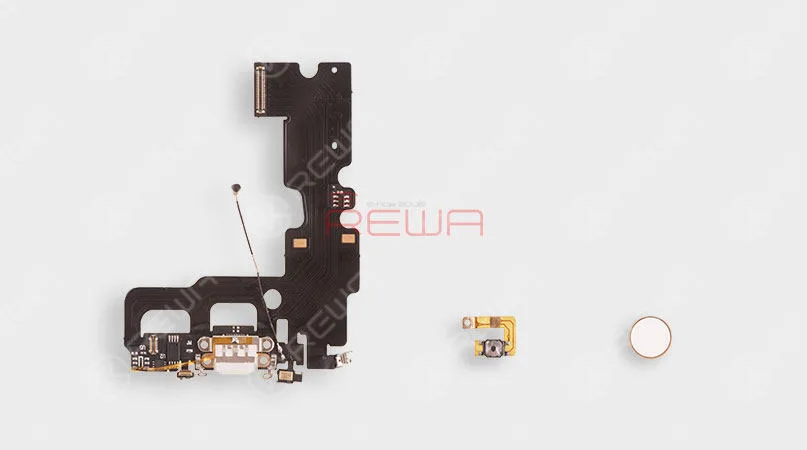
    Here comes our customized charging port flex cable that can restore return-to-home functionality of the home button.

    A New Way to Repair iPhone 7/7Plus Home Button

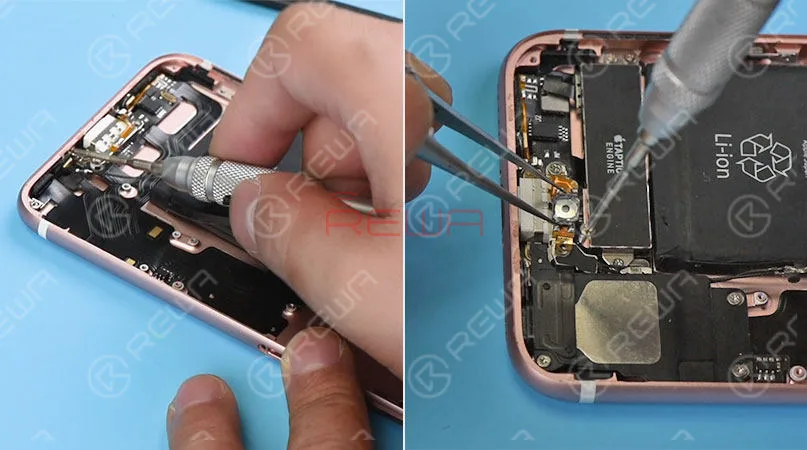
    To get the home button repaired, we need to disassemble the phone. First, remove the display assembly and take out the logic board. Then remove the Vibrator, Loudspeaker, and charging port flex cable.

    Replaced it with our new customized charging port flex cable. And then install the Vibrator and Loudspeaker. Here comes the second part – the customized Home Button Flex cable. Folded it in half and get it installed. Then get the logic board in the place and installed.

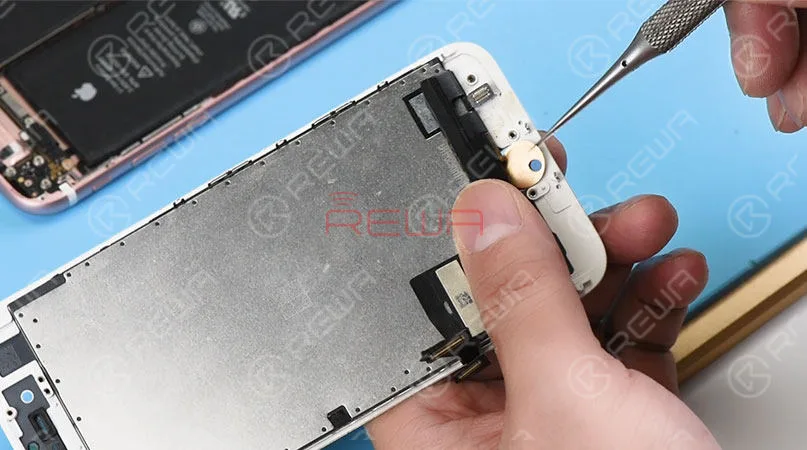
    The last part of our customized return-to-home group is the home button face. Therefore, the next thing we do is to install it in the home button hole. Then connect the logic board with display assembly.

    A New Way to Repair iPhone 7/7Plus Home Button
    A New Way to Repair iPhone 7/7Plus Home Button

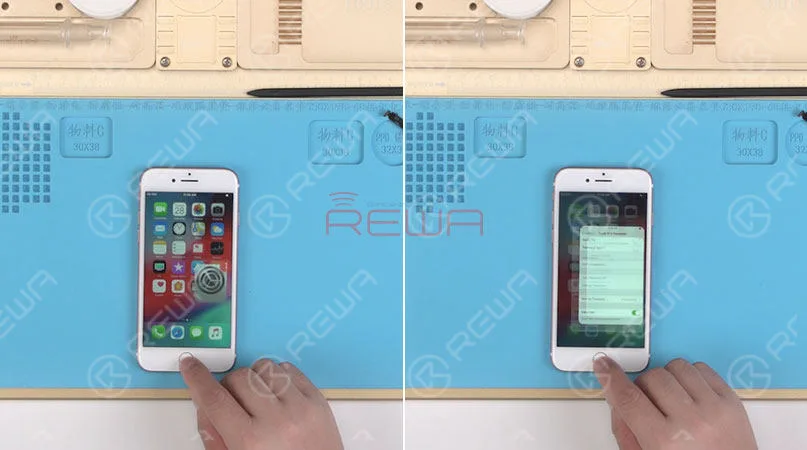
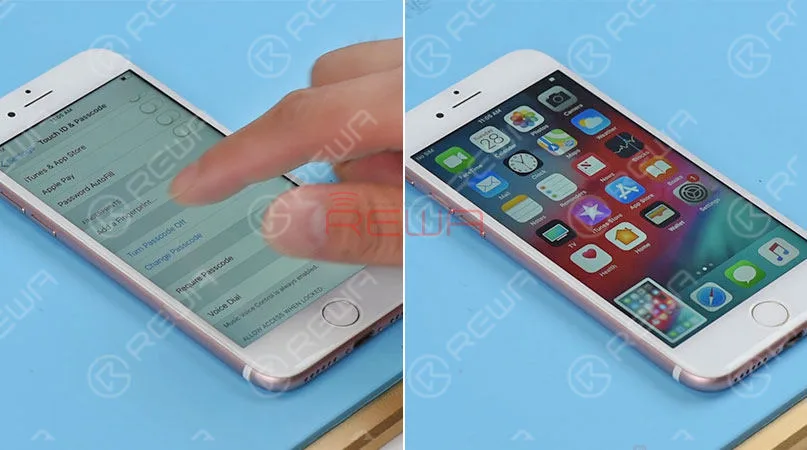
    Connect the battery connector to the logic board. And turn on the phone. Press the home button, The Return-to-home functionality is back to normal. Fully install the phone. And the Home button matches perfectly with the phone. Press the Power button and the home button at the same time. A screenshot can be taken successfully. As we test the functions, our engineers find out some defects of this customized charging port flex cable.

    1. The lightning earphone is not available. We can’t here voice with the earphone plugged-in.

    2. The hand feel of the home button is not so comfortable as the original.

    3.  No vibrate alert when returning to home.

    4. Touch ID function is not available.All these shortages cannot offer enough motivations for you to use it. However, we believe this technology would perfect as you expected in the near future. Let’s be patient and wait for it to be maturer.

    A New Way to Repair iPhone 7/7Plus Home Button
    A New Way to Repair iPhone 7/7Plus Home Button

    Attaching the iPhone 7 Home Button Broken Repair video for you for more details. As well as the tools listing used in the video. You can go to our online store shop.rewa.tech to order or need assistance placing your order, email sales@rewatechnology.com and we will help you with whatever you need.

    Strumenti e parti usate

    *Charging Port Flex Cable Replacement

    *Integrated Mobile Phone Repair Platform

    *Barra di plastica antistatica

    *Pinzetta dritta

    Visitate il nostro negozio online per ulteriori parti e strumenti.

    Now the upgraded version is coming with the following features:

    Restore return-to-home function

    Support PD fast charging

    Support different type of charger adapters from 0.5A-2.4A

    Be able to take screenshots on all iOS versions

    More comfortable touch feeling

    Though the headphone function is still unsolved, a wireless Bluetooth headset can be an alternative. So will you replace your broken home button with these upgraded parts?

    Quando ripariamo schede logiche dell'iPhone, identifichiamo prima il problema, poi scopriamo perché si è verificato e infine troviamo come risolverlo. Questo è un processo generale adottato da tecnici di riparazione professionisti in tutto il mondo.

    Vuoi diventare un tecnico di riparazione professionista e gestire riparazioni difficili di iPhone? Hai bisogno di corsi di formazione sistematici su Accademia REWA

  • Cool Gadget: Repair Your iPhone 7 Home Button Return Function

    Cool Gadget: Repair Your iPhone 7 Home Button Return Function

    Home button of iPhone 7 can be paired only with one specific logic board,which means that home button replacement will result in a non-functional home button. No Touch ID and no return-to-home functionality.Thus, most of the iPhone 7 home button not working issue can not be repaired properly for a long time. Don’t worry. With our customized charging flex cable, return-to-home functionality of the home button can be successfully restored. Let’s check the video to see how to fix your iPhone 7 home button.

    Tools & Parts:

    • Customized Charging Port Flex Cable
    • Piattaforma integrata per la riparazione dei telefoni cellulari
    • Barra di plastica antistatica
    • Pinzetta dritta
  • iPhone 7 Black Screen Repair – Logic Board Solution

    iPhone 7 Black Screen Repair – Logic Board Solution

    iPhone 7 starts up with a black screen or no display, yet the boot current is normal. Screen replacing also cannot solve the problem. We can draw the conclusion that the logic board backlight circuit broke down. REWA offers a logic board solution regarding the iPhone 7 black screen issue (iPhone 7 home button not working).

    iPhone 7 Black Screen Repair - Logic Board Solution

    iPhone 7 Black Screen Repair – Logic Board Solution Power key power up, the phone shows no response.

    iPhone 7 Black Screen Repair - Logic Board Solution Power key power up, the phone shows no response.

    Take apart the phone and disconnect the battery. Connect the phone with the DC Power Supply. Booting current displays normally, yet the phone goes with no display.

     Take apart the phone and disconnect the battery. Connect the phone with the DC Power Supply. Booting current displays normally, yet the phone goes with no display.

    Disconnect the power supply and detach the display assembly. Replace with a new display assembly. Connect the phone with the DC Power Supply and power up. The phone still goes with no display

    Disconnect the power supply and detach the display assembly. Replace with a new display assembly. Connect the phone with the DC Power Supply and power up. The phone still goes with no display

    Preliminary judgment – backlight circuit of the logic board broke down

    Take out the logic board. The test grounding resistance value of J4502 – normal value. Which shows that backlight circuit is also normal. Yet backlight signal is connected directly with backlight IC U3701.

    Take out the logic board. The test grounding resistance value of J4502 - normal value. Which shows that backlight circuit is also normal. Yet backlight signal is connected directly with backlight IC U3701.

    Preliminary judgment – retroilluminazione IC U3701 broke down

    Apply some BGA Paste Flux, take down the backlight IC with Hot Air Gun at 320 degrees.

    Apply some BGA Paste Flux, take down the backlight IC with Hot Air Gun at 320 degrees.

    Clean the tins with Soldering Iron and then clean again with PCB Cleaner.

    Clean the tins with Soldering Iron and then clean again with PCB Cleaner

    Apply some BGA Paste Flux. Align the backlight IC to the right place and solder it with Hot Air Gun at 320 degrees.

    Apply some BGA Paste Flux. Align the backlight IC to the right place and solder it with Hot Air Gun at 320 degrees.

    Once the logic board is cooling enough, clean it with PCB Cleaner.

    Once the logic board is cooling enough, clean it with PCB Cleaner.

    Assemble the phone and test. The phone boots normally with screen display—fault cleared.

    Assemble the phone and test. The phone boots normally with screen display—fault cleared

    For more details on iPhone 7 Black Screen Repair guide, please go to Canale YouTube di REWA.

    Parti e strumenti necessari

    • Programmatore di chip di memoria flash NAND PCIE
    • 256 GB NAND Flash Memory Chip – iPhone 7 Plus
    • Saldatore Pistola ad aria calda
    • Flusso di pasta BGA
    • Supporto per PCB
    • Cinghia da polso antistatica
    • Driver per viti
    • LCD Opening Pliers (M)
    • Tweezers (ESD – 10 / ESD – 15)
  • Come riparare il touch screen dell'iPhone 7 che non funziona

    Come riparare il touch screen dell'iPhone 7 che non funziona

    It’s natural to feel frustrated when your iPhone 7 touch screen is not working. You can’t use your iPhone for many things such as making calls, through pictures, read news or chat by social networks…iPhone (especially iPhone 6/6S/7/7 Plus) touch screen not working is a common repair issue for Apple users,and there are many reasons for the iPhone screen unresponsive to touch and iPhone screen not responding. REWA here presents a chip level repair solution video steps to fix your iPhone screen not responding, that can be fixed at home, and recommend some great repair options, if it comes to that.

    Why is my iPhone Touch screen not responding?

    There are a lot of reasons why your iPhone touch screen unresponsive to touch. Thankfully, there are also a lot of ways to fix those problems. The first thing we need to do is figure out why your iPhone touch screen. Usually, the problem is caused when the physical part of your iPhone’s display that processes touch stops working correctly or when your iPhone’s software stops “talking” to the hardware the way it should. In other words, it could be a hardware or a software problem. Troubleshooting iPhone software problems typically doesn’t cost anything. It’s also easier than prying off your screen with suction cups (please don’t do this). But Rewa is focused on hardware fixes.

    There are steps to teach you How to repair iPhone 7 touch screen not working:

    1. Smontaggio del telefono

    Turn on the phone, the touch function is incapacitated. Remove charging port screws and detach the display assembly. Disconnect flex cables and remove logic board screws. Then take out the logic board.

    2. Malfunction Diagnosing

    Test resistance of the display assembly connector with digital multimeter. Resistance of pin 10 displays abnormal value (470 under normal circumstances).

    Prendi il disegno di manutenzione come riferimento.

    Il pin 10 ha funzionato come segnale AP_TO _TOUCH _MAMBA _CONN _MAMBA _CONN _L. Il segnale era collegato al pin AT2 della CPU tramite l'induttore FL3904.

    Circuit between pin 10 and inductor FL3904 displays normally.

    Test resistance from inductor FL3904 to CPU, the device displays normal value. Then we can draw the conclusion that inductor FL3904 was damaged.

    3. Riparazione dei malfunzionamenti

    Dissalda l'induttore con il saldatore a stagno.
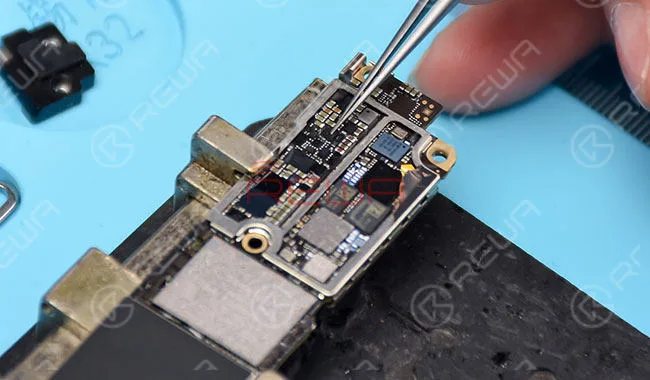
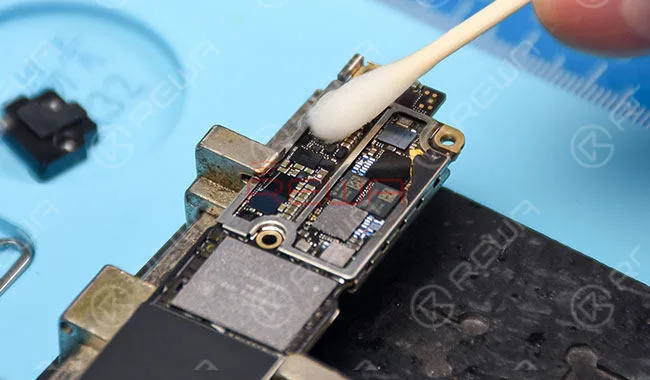
    Solder tins on the copper wire. After that, connect the two bonding pads of the inductor with the copper wire. Then cut off the rest of it with a sculpture knife.

    Test pin 10 resistance with digital multimeter again, this time we get a normal value, which means the problem has been fixed.

    4. Test di funzionalità

    Pulisci il pad di bonding con il detergente per PCB.

    Assemble the phone and test. Touch function is back to normal.

    For more details on iPhone 7 touch screen not working repair guide, please go to Canale YouTube di REWA. 

    Strumenti utilizzati:

    • Piattaforma di manutenzione
    • Pinzette (ESD-10 / ESD-15)
    • Pinze di apertura LCD (M)
    • Multimetro digitale
    • Microscopio elettronico
    • Saldatore
    • Coltello da scultura
    • Cinghia da polso antistatica
  • Come riparare il Touch ID o il tasto Home dell'iPhone 7 che non funziona

    Come riparare il Touch ID o il tasto Home dell'iPhone 7 che non funziona

    Spesso abbiamo sentito molti utenti di iPhone porre questa domanda: “Il Touch ID e il pulsante Home del mio iPhone 7 non funzionano più. Devo premere il pulsante Home molto forte per farlo rispondere e la funzione Touch ID non funziona, è rotto permanentemente? C'è una soluzione?’

    Pulsante Home o Touch ID dell'iPhone non funzionante (appare anche su iPhone 5S, iPhone 6/6 Plus, iPhone 6S/6S Plus, iPhone 7/7 Plus, iPhone 8 e iPhone X)? Per alcuni modelli di iPhone (in particolare i vecchi iPhone 4, sebbene anche alcuni iPhone più recenti siano stati interessati) questo è un reclamo comune, ma potremmo essere in grado di offrire alcuni consigli su come risolverlo. Abbiamo anche una comoda soluzione software che potrebbe rendere la vita sopportabile se il tuo iPhone è fuori garanzia o se è altrimenti impossibile riparare il problema hardware.

    Ecco come riparare un tasto Home rotto di iPhone e Touch ID, video dettagliato e immagini, passo dopo passo per insegnarti “Come risolvere il problema di Touch ID o del pulsante Home dell'iPhone che non funziona”. Quando il Touch ID del tuo iPhone 6 o iPhone 7 non funziona, non sarai in grado di attivare il touch ID su questo iPhone, c'è una soluzione dettagliata per la sostituzione del Touch ID o del pulsante Home dell'iPhone 6 che ti aiuterà a riparare il tuo iPhone.

    iPhone 7 soluzionare problemi Touch ID dettagliata guida passo passo:

    È risaputo che il chip Touch ID è esclusivamente abbinato alla scheda madre. Se si cambia solo un nuovo pulsante Home, la funzione Touch ID scompare in quanto viene cambiato anche il chip unico. Quindi, se il pulsante Home è purtroppo rotto, come riparare il Touch ID dell'iPhone che non funziona? Ecco la soluzione!

    I passaggi

    1. Accendi il telefono, impossibile attivare il suo Touch ID.

    2.Vai su impostazioni – Touch ID e codice – inserisci il tuo codice, l'impronta digitale è disattivata.

    3. Rimuovere il cavo flessibile del pulsante Home.

    4.Abbiamo controllato il cavo flessibile del tasto Home al microscopio, abbiamo riscontrato che il cavo a nastro è rotto.

    5. Rimuovere il rivestimento dal cavo del nastro con un coltello.

    6. Applicare un po' di flussante in pasta BGA e saldare i pin con la stazione saldante.

    7. Rimuovere la guaina dal filo sul lato posteriore.

    8. Applicare un po' di flussante in pasta BGA, quindi saldare le stagnature con la stazione di saldatura.

    9. Tagliare i fili, quindi allinearli correttamente, riscaldare con una pistola ad aria calda e saldare.

    10. Ruotare il cavo flessibile sul retro, saldarlo con il filo.

    11.Verificare se si tratta di un cortocircuito con un multimetro digitale.

    12. Installare il pulsante home e testare.

    13. Applicare un po' di mastice saldante UV-curable sul filo per fissare il giunto di saldatura.

    14.Installare il gruppo dello schermo LCD e testare, il lettore di impronte digitali funziona bene.

    Riguardo alla riparazione del tasto Home dell'iPhone 7, abbiamo utilizzato i seguenti strumenti, se non li avete potete controllare i link e acquistarli, per diventare un riparatore professionista di iPhone.

    Touch ID dell'iPhone non funziona

    Da quando l'iPhone 7 e l'iPhone 7 Plus non hanno più un tasto Home fisico, c'è ancora la possibilità che il tasto si guasti, come è successo a Dwayne sui forum di MacRumors. Fortunatamente, Apple ha integrato un'opzione di riserva che mostra una notifica che ti informa di usare un ‘tasto Home sullo schermo’ prima di portarlo in assistenza.

    Questa nuova funzionalità di Apple è passata inosservata – principalmente perché la maggior parte non ha notato alcun problema con il proprio nuovo acquisto di telefono. Troviamo questa funzionalità fantastica per gli utenti di iPhone 7 e iPhone 7 Plus – in quanto fornisce un'opzione secondaria di default. Se non hai il nuovo iPhone, continua a leggere per scoprire le nostre soluzioni.
    Se vuoi saperne di più su come riparare i tuoi iPhone, puoi visitare il nostro sito o iscriverti al nostro canale YouTube, aggiorneremo regolarmente video tutorial di qualità.