Il vostro Samsung Z Flip 4 si spegne automaticamente quando viene piegato? Questo problema potrebbe essere causato da un cavo flessibile della cerniera difettoso. In questo video, il laboratorio REWA vi guiderà passo dopo passo nella sostituzione del cavo flessibile della cerniera per risolvere questo fastidioso problema. Verrà spiegato tutto, dalla diagnosi del problema allo smontaggio del telefono e alla sostituzione del cavo flessibile della cerniera difettoso.
Per le parti Android, è possibile visitare il sito Web:
https://rewawp.iamtareq.com/small-parts/
Contattateci per maggiori dettagli: +852 5167 5273 / sales@rewa.tech
Tag: riparazione del telefono samsung
-
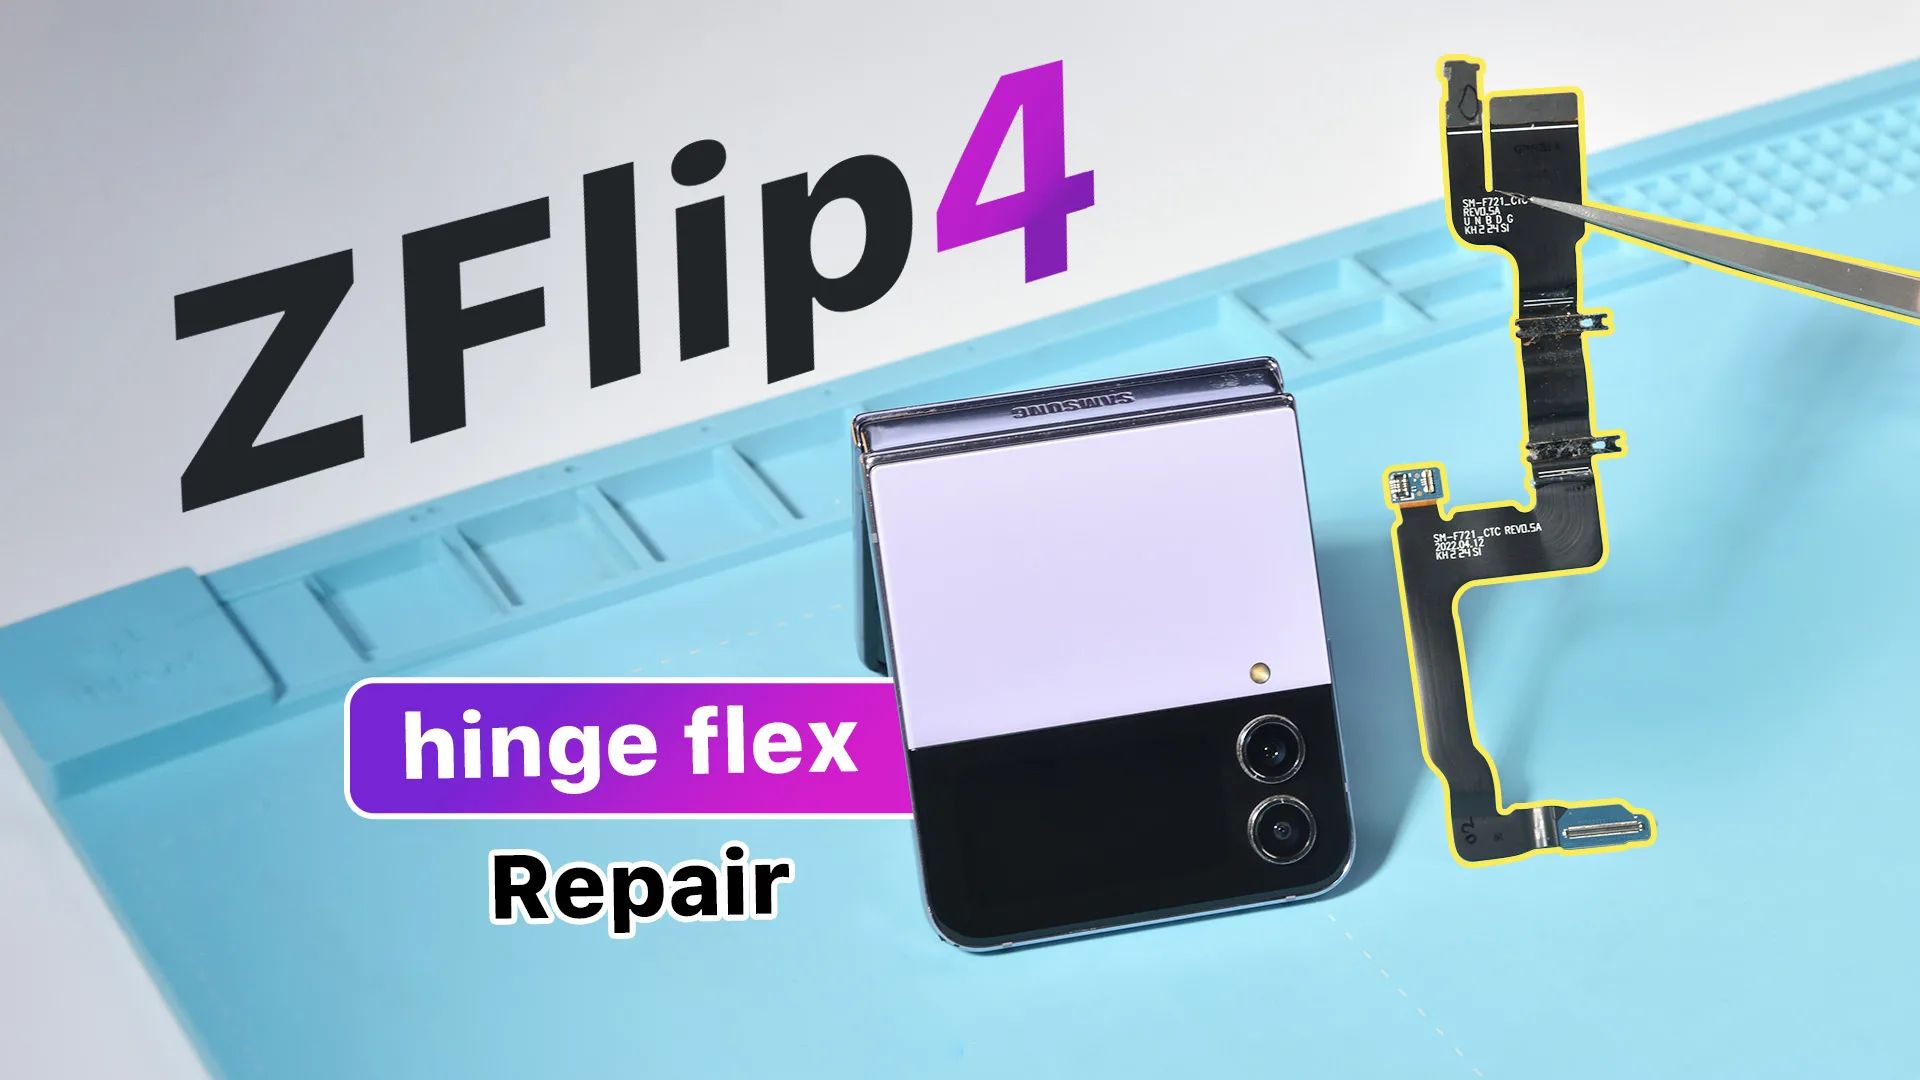
Samsung Z Flip 4 si spegne quando è piegato - Esercitazione sulla sostituzione del cavo flessibile della cerniera
-
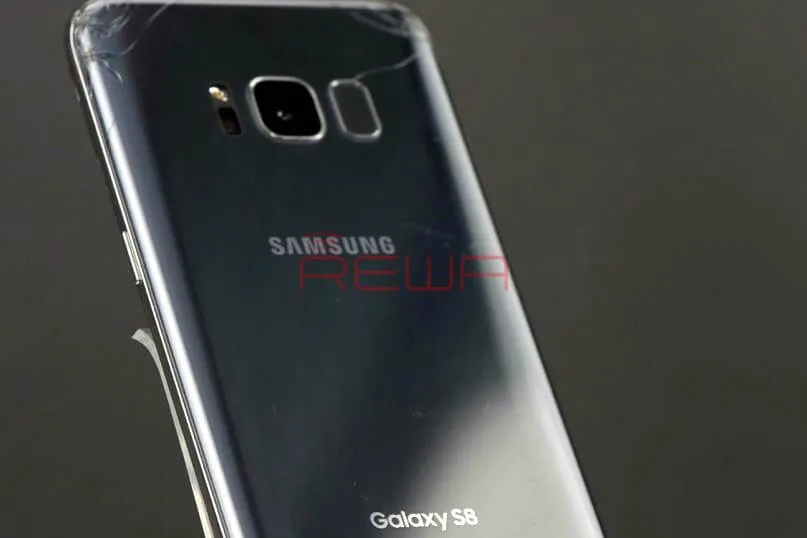
Suggerimenti e trucchi per la riparazione del telefono Samsung
Today REWA LAB will share tips and tricks for Samsung phone repair by demonstrating basic steps for Samsung S8 repair. When repairing Samsung series, we need to pay special attention to similarities in different Samsung series and choose the right tools to improve repair efficiency.Please be noted that these repair techniques can also be applied to complex repair needs, such as broken back cover refurbishing, screen replacement, battery replacement, etc..
Part 1 Function Test
Before repairing, we can test Samsung phones by using secret codes. This can help us narrow down the fault possibility: software problem or hardware problem.
Turn on the phone and enter the dial pad. Different secret codes can perform different tests.
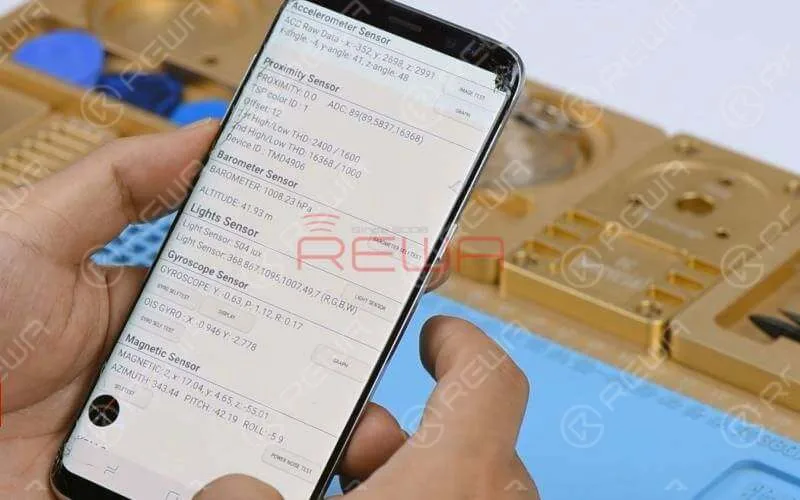
*#0*#: test MEGA CAM, SENSOR, TOUCH, etc..
*#7353#: test Light Sensor, Bluetooth, Proximity Sensor, etc..
*#0283#: for loopback test
*#1234#: check software and firmware version of the phone
Part 2 Flashing The Stock Firmware Of Samsung S8
Most system or software problems can be solved by flashing the stock firmware and therefore it is a must have skill for repair technicians. Follow our tutorial and see how we flash the stock firmware of Samsung S8.Power off the phone. Hold Power + Volume Down + Bixby until it launches into a warning screen. Press the Volume up button to continue and we will be in download mode.
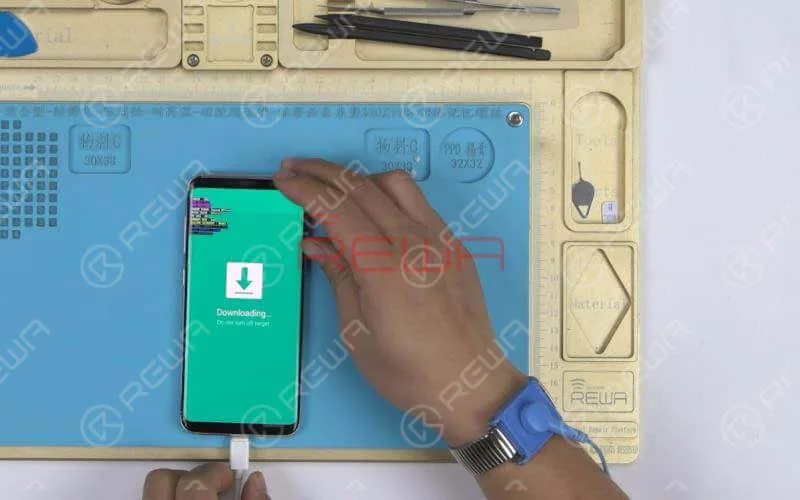
Open Odin on the computer. Connect the phone to the computer via USB cable. The ID: COM boxes turn blue, and we can also see a message ‘Added’ in the Log.Click on buttons and select the file that starts with the button name one by one. Click Start and wait for the process to complete.
Suggerimenti
If you failed to complete the stock firmware flashing process, just follow the error message and correct your mistakes in the previous process.
Part 3 Samsung S8 Teardown
Once we have confirmed that it is a hardware problem, we need to take apart the phone for further analyzing.The teardown process of Samsung phones varies from series to series. For Samsung A series, we need to separate the screen from the mid-frame at the very beginning. While for Samsung S series and Note series, we need to separate the back cover from the mid-frame at first.Now we will take Samsung S8 as an example and walk you through teardown tricks for Samsung S series.
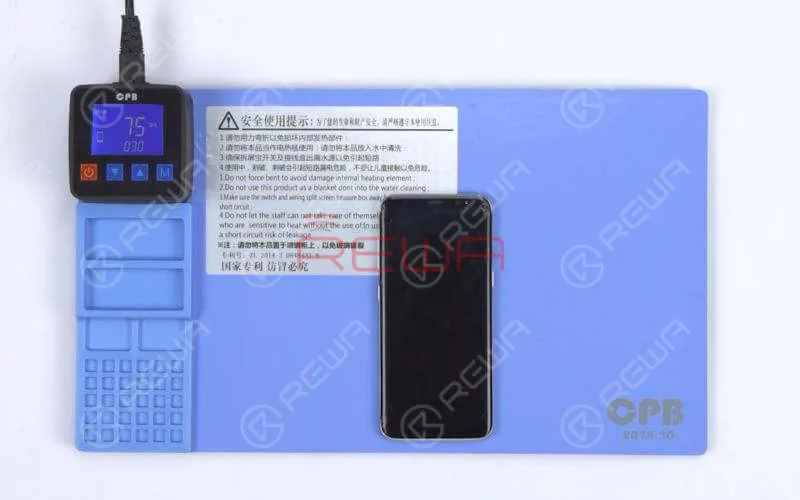
Tips: the Pre-heating Pad is a must for the teardown process.
First we need to heat the back glass with the pre-heating pad. Then apply a suction cup to the back glass. Lift on the suction cup carefully. There should be a tiny gap between the back glass and the mid-frame. Insert a blade into the gap. Then insert the plastic pry piece into the gap.Slide back and forth along edges of the screen to slice through the adhesive holding the back glass in place. If the slicing becomes difficult, you can also apply some alcohol to the gap for smooth operation.
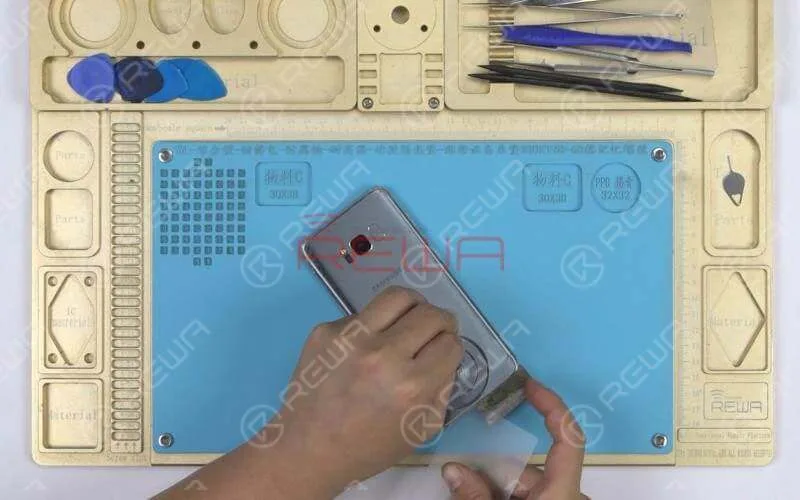
Tips: the plastic pry piece shouldn’t go too deep. You might damage the fingerprint sensor cable or the charging coil.To protect the fingerprint sensor cable, we need to open the phone carefully by swinging the back glass up from the side near the fingerprint sensor socket. Continue to disconnect the fingerprint sensor cable with the pry bar and remove the back glass.
Teardown Difficulties
We can see that the waterproof adhesive of Samsung S series and Note series are mainly applied on edges of the back cover and much more on top edges and bottom edges. So we need to heat evenly and control the heating temperature and time applied during the teardown.
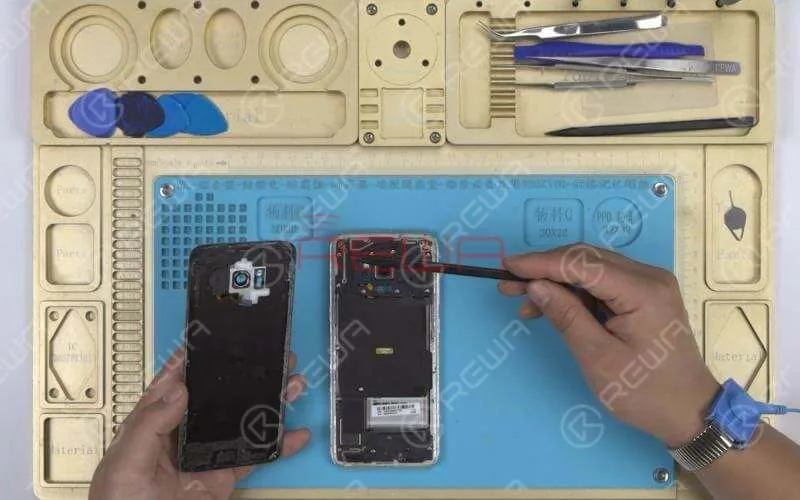
Then remove the antenna/NFC coil assembly and the speaker/antenna array.We can see that the motherboard is connected to the daughterboard by FPC, which is commonly seen in Android phones. Let’s see what’s special about Samsung motherboards.
Scheda madre
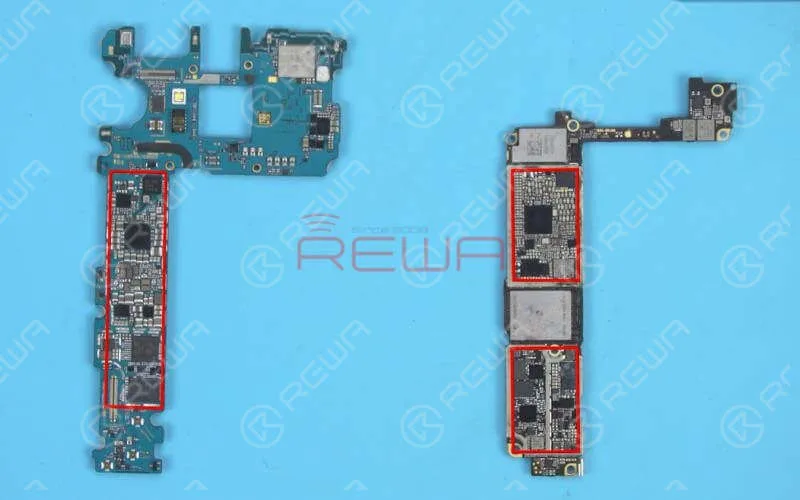
Compared with iPhone logic boards, Samsung motherboards feature relatively few components scattered across the board with high integration.
Most ICs on Samsung motherboards come with underfill.
Samsung motherboards are relatively thin and feature fast heat dissipation, adding to the difficulty of chip soldering and repairing.
Sostituzione della batteria
Battery replacement of Samsung is also a step we should pay special attention to. Not like Apple, who equips iPhones with special designed battery adhesive strips for easy battery replacement, Samsung phones come with a different battery adhesive strip design.
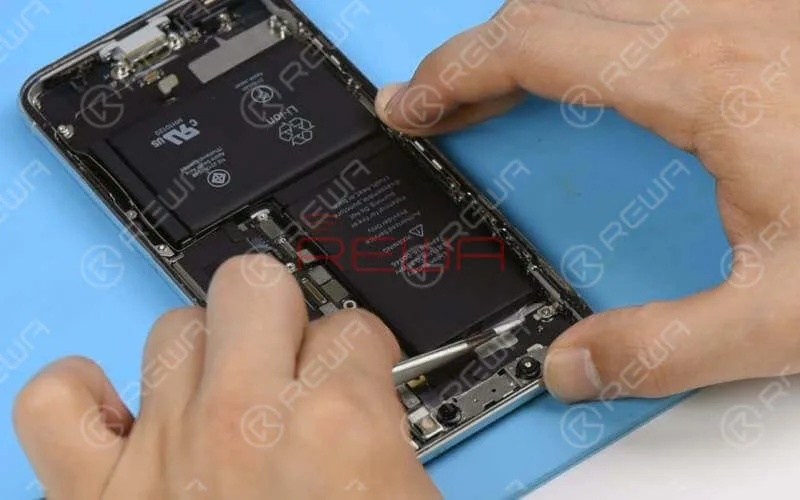
To remove the battery, we need to heat at the very beginning. During the heating, apply some alcohol to the gap to soften the adhesive. Then get a pry piece inserted into the gap and pry up the battery carefully from the bottom.REWA will launch Samsung phone repair courses(for Level 1 – Level 3) in 2020, which include Samsung phone disassembling/reassembling, unlock, data recovery and troubleshooting of other hardware issues. For more Samsung repair cases, please stay tuned to our YouTube channel.
You can also visit REWA social media platforms to share your repair thoughts with repair enthusiasts around the world.
Per il corso di formazione online sulla riparazione dei telefoni cellulari, visitare il sito web Accademia REWA da ottenere, che è disponibile da subito.
Strumenti e parti necessarie
- Piattaforma integrata per la riparazione dei telefoni cellulari
- Cuscinetto di riscaldamento Ventosa Plastic Card Spudoratore
- Cacciavite a croce Steel Straight Tweezer
Potete anche visitare Canale YouTube REWA to check our video for more detailed explanation.
-
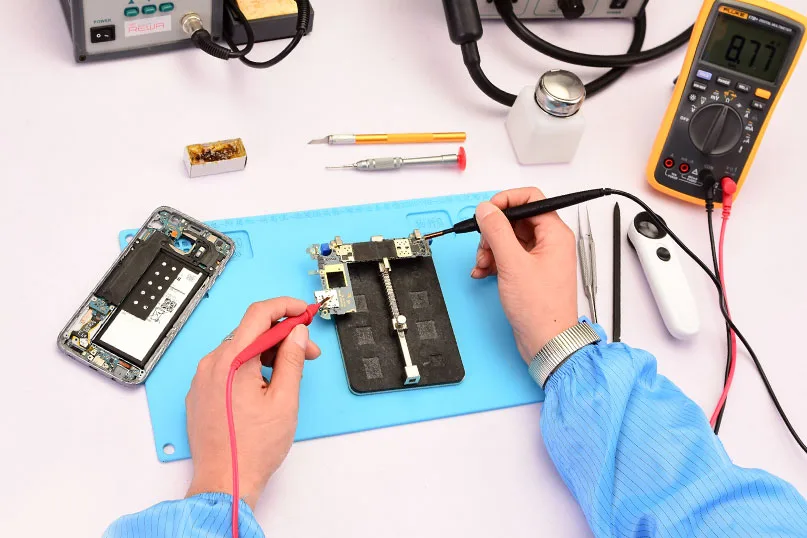
Servizio esperto - Riparazione scheda logica a livello di chip Samsung
Avete un lavoro difficile di riparazione della scheda logica a livello di chip Samsung? Chiedete supporto a REWA: abbiamo una soluzione per voi. La nostra rete di servizi di riparazione è in grado di offrire una riparazione efficiente delle schede logiche e di riparazione dello schermo incrinato servizi per tutti coloro che ne hanno bisogno. Abbiamo una guida per la sostituzione del vetro di Samsung S7 edge qualche volta fa, ora forniamo la riparazione della scheda logica a livello di chip Samsung con un prezzo meraviglioso. Controllate ora!
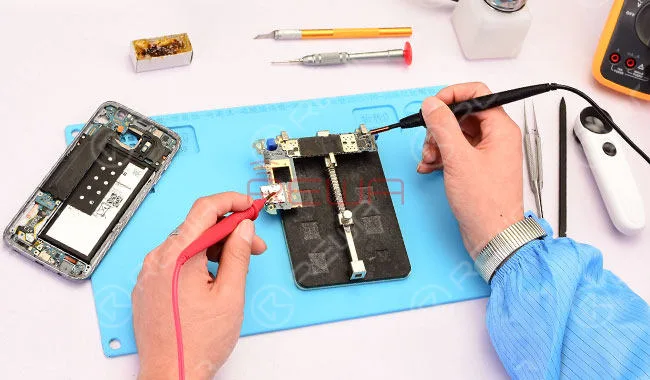
Vantaggi della riparazione con REWA

Uno sportello unico per tutti
REWA è in grado di soddisfare tutte le esigenze dei propri clienti nell'ambito dei propri servizi. Qualunque sia il vostro problema, grande o piccolo che sia, il nostro team di vendita e assistenza clienti dedicato vi fornirà una soluzione competitiva e affidabile.
Puntuale ed efficiente
Non fatevi prendere dall'ansia per un problema irrisolto, REWA offre un servizio rapido ed efficiente per le vostre emergenze. Contattateci subito per risolvere il vostro problema in modo rapido ed economico.
Tecnologia di punta
Dovete affrontare un problema per il quale i vostri esperti potrebbero avere dei dubbi? Rivolgetevi a REWA per ricevere assistenza. I nostri esperti e ingegneri sono altamente qualificati e attrezzati per trattare un'ampia gamma di prodotti come iPhone, Samsung, Huawei ecc. (Come la nostra guida per la sostituzione del vetro del S7 edge)
Servizio trasparente
La trasparenza crea fiducia! REWA ritiene che l'approccio migliore sia quello di uscire dall'ambito commerciale per entrare in quello umano. I nostri clienti vengono informati di tutte le informazioni di cui hanno bisogno, dal processo di riparazione ai dettagli sui prezzi e così via.
Come funziona la riparazione della scheda logica a livello di chip Samsung
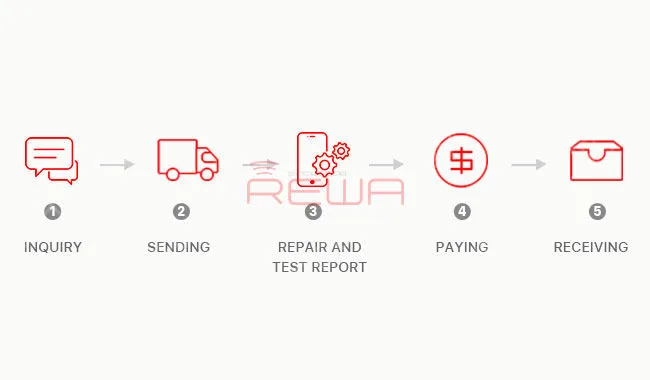
La riparazione della scheda logica a livello di chip Samsung include
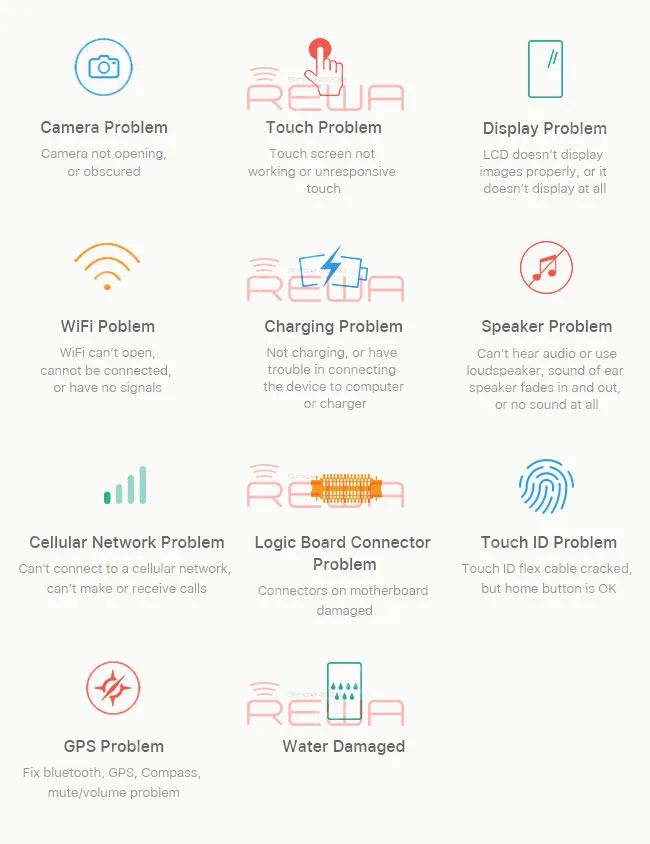
Riparazione della scheda logica a livello di chip Samsung - Modelli
S3, S4, S5, S6, S7, S8, Nota 2, Nota 3, Nota 4, Nota 5, Nota 7
Notifica al cliente
Ecco alcuni dettagli che vorremmo conosceste prima di spedire
1. Tutti i materiali di ricambio durante la manutenzione sono originali.
2. Nessun addebito ripetuto per la scheda logica con più di un guasto (per il problema della CPU, il prezzo della NAND flash e del circuito integrato di alimentazione deve essere sostenuto dal cliente).
3. Non offriamo il servizio di sostituzione della memoria NAND per S3/S4/S5/Note2/Note3.
4. MOQ: 10PCS.
5. I clienti devono essere consapevoli che la riparazione ha un tasso di fallimento.
6. Se non accettate il nostro rapporto di prova e decidete di rinunciare al servizio di riparazione. Le spese di spedizione di ritorno sono a vostro carico.
7. Il costo della riparazione dipende dal danno esatto e dalla quantità di danni subiti dal dispositivo. Possiamo solo offrire una stima del prezzo della riparazione prima che questa sia completata.
Politica di garanzia
1. Si prega di testare tutte le schede logiche una volta ricevuto il pacchetto. Se si trova qualche problema, si prega di feedback a noi immediatamente.
2. Tutti i servizi di riparazione sono coperti da una garanzia di 3 mesi. Per un problema di qualità che ci viene segnalato durante questo periodo, ripareremo gratuitamente o rimborseremo il vostro denaro.
REWA è uno dei maggiori fornitori di riparazione di telefoni cellulari in Cina. In REWA, tutto viene dopo la qualità. Qui abbiamo tipi di Parti di ricambio Samsungcome lo schermo LCD e l'assemblaggio del digitalizzatore tattile, il cavo flessibile, l'alloggiamento ed ecc. Non esitate a contattarci se siete interessati.
-
Come inserire due schede Nano SIM e una scheda Micro SD in Samsung
Prompt caldo:
1. Attention that you may break your SIM card, Micro SD card and/or Galaxy S7 Edge by these instructions.
2. Skilled technician is required for the operations.
3. Questo video serve solo a condividere la tecnica.
4. Il dispositivo nel video è la versione con scheda dual-SIM di Samsung S7 edge.
Those who need the dual SIM cards on their device might have been disappointed with the Samsung Galaxy S7 Edge.Because you can either choose Extra Space; or Dual Sim with internal space.
How to insert two Nano SIM cards and a Micro SD Card in Samsung Galaxy S7 edge? Here we have the solution for you.
Tools & Materials list:
- Thermostatic LCD Hot Air Gun – Type 3
- Anti-static Plastic Tip Tweezer – ESD00
- Lama di rasoio
- Anti – static Glass Wiper
 English
 Español
 Français
 Deutsch
 Italiano